Photo Story: Photographing the Milky Way
There are those shots that force you to go out into the field at times when others wouldn’t even consider it. There are other shots that require some planning and others where post-processing is critical. This particular photograph encompasses a bit of each of these types of photos. For this reason, I’d like to share the story of how it came to be.
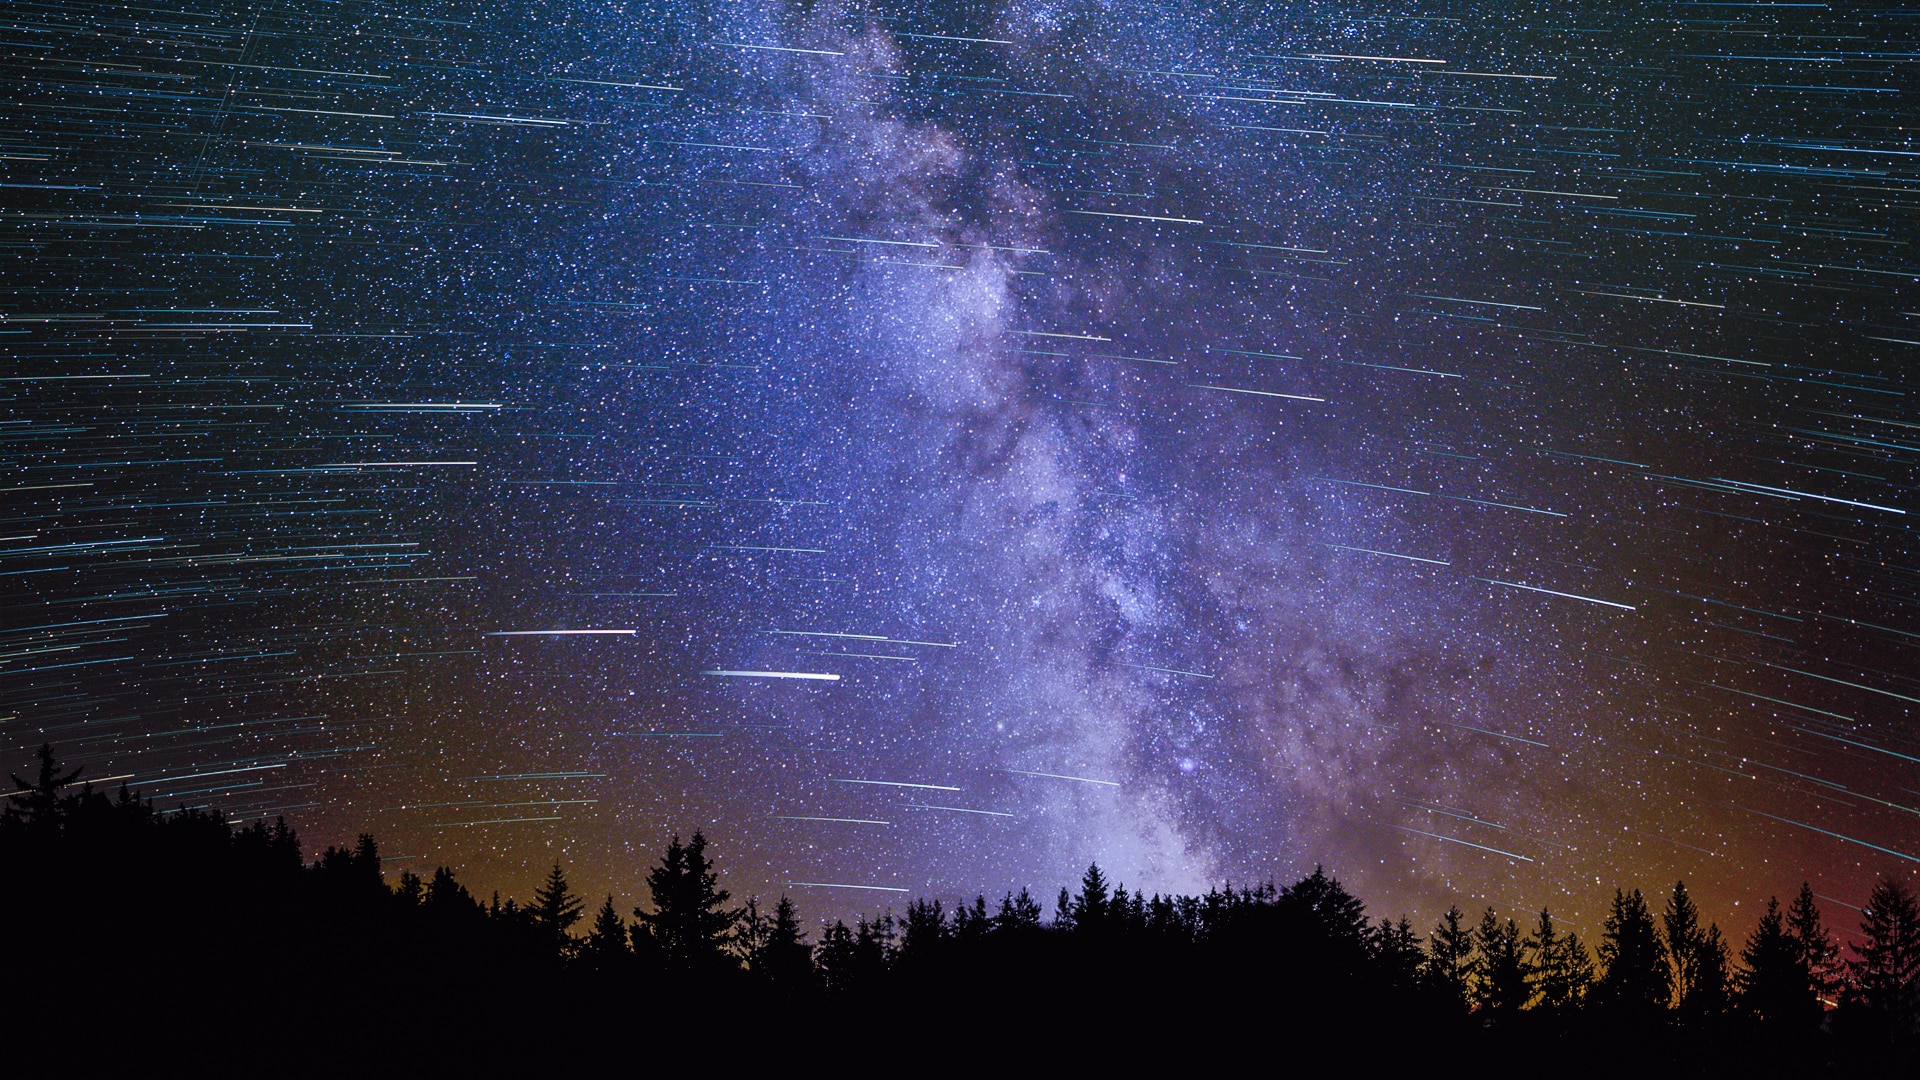
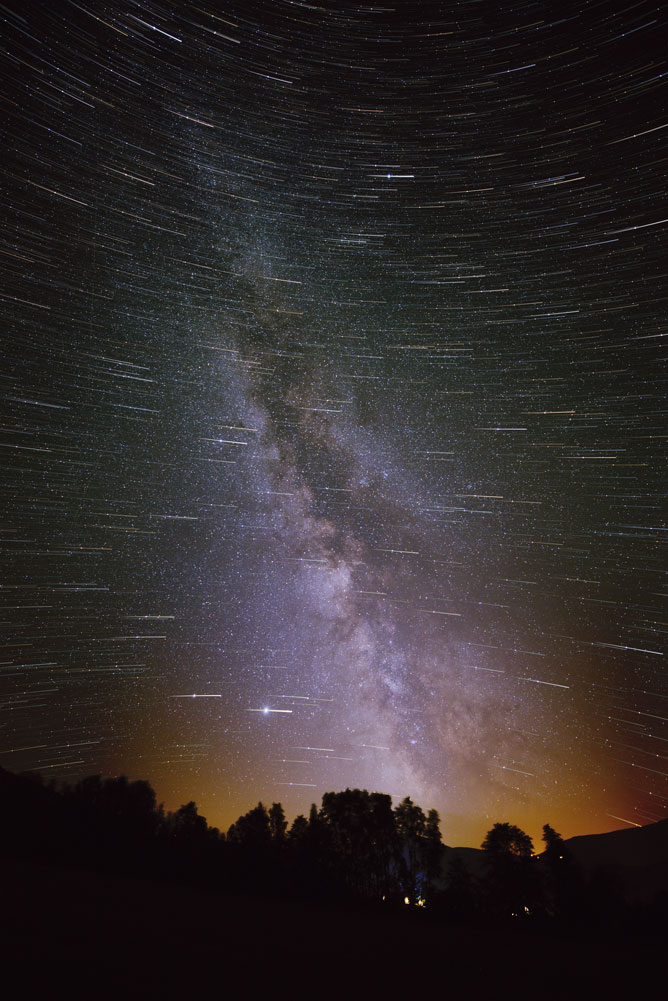
The image I’m referring to was taken in portrait orientation, so it didn’t fit as the cover photo for this article, so here it is in its original aspect ratio:

The secret to how it’s done
Simply put, it involves a unique type of astrophotography that combines two techniques.
The first technique combines, or stacks, the images together, highlighting the stars’ trajectory. The second also stacks everything together, but first shifts each image so that the stars are evenly aligned over one another. It averages the result, decreasing noise and giving us a sharp, high-quality picture.
After combining the results of these two techniques, the final result is a beautifully rendered picture of the Milky Way with stars trailing across it.
Setting and time
These pictures were taken during a “vacation” in the Jeseniky Mountains of the Czech Republic. I couldn’t resist the low level of light pollution and was sneaking out each night to take pictures.
Locations with low levels of light pollution are ideal, but even with less-than-ideal conditions closer to big cities, you can do astrophotography. However, it is best to have the camera turned away from where the most glare is found above the horizon. You can research where and when the Milky Way will be found beforehand as well as its level of visibility by using a number of apps or websites. A handy interactive map of the night sky can be found on the Stellarium website.
Another obvious requirement for your astro shot is a clear sky.
The actual shooting
We ended up in the middle of a harvested field several hundred meters from town. But even here, there were several light sources that could have cast glare on my otherwise dark photos and lowered the contrast. I tried to find a position where at least the strongest sources of light were blocked by the trees as much as possible.
After setting up the tripod with the camera, set the self-timer to have the camera take one picture after another. It is a good idea to test out shutter speed beforehand with several test shots. Shutter speed should be long enough so that the camera takes in as much light as possible and ISO can be lowered. On the other hand, the shutter speed should be fast enough so that the stars aren’t too blurred by motion.
Also, keep the width of the frame in mind: the wider it is, the longer the shutter speed. Also, the camera‘s resolution: the higher the resolution, the shorter the shutter speed. Finally, your requirements for image quality: for Facebook, use a long shutter speed, for a poster, a shorter speed.
In this case, I took 126 shots over the course of a half hour. All images were taken with the following settings: 16mm focal length, f/2.8 aperture, 1600 ISO, and 10-second shutter speed.
If you were to use a telephoto lens, you would get a relatively short shutter speed, around one second. With a self-timer that attempts to regularly trigger the shutter, it may result in non-shooting time that is longer than the time registered in the images. This can be a problem when stacking the images as not all software can handle closing the resulting gaps in the stars’ movement.
In these types of situations, I use a remote shutter release cable with the option to lock the shutter button in the pressed position. It then takes one picture after another on its own at maximum speed and I can be passing the time looking at my phone. You just have to be careful that the use of a remote shutter doesn’t cause vibrations (from the movement of the mirror or shutter) that would then blur the images.
Stacking the images
Single source images usually end up looking quite dull. This picture is purposely dark so as to not overexpose the stars.
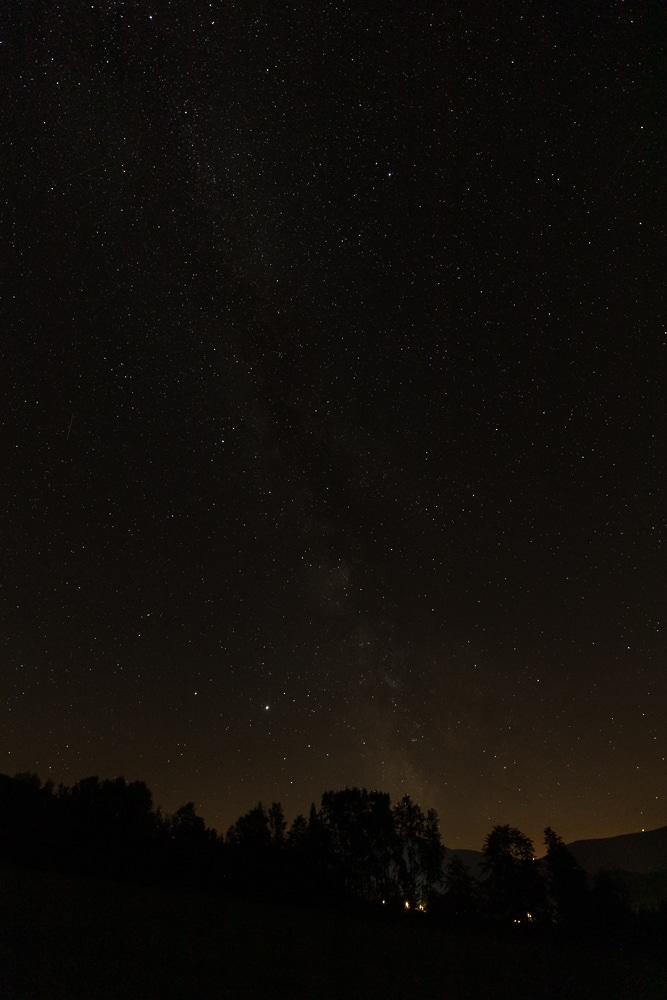
Canon 5D Mark IV, Canon EF 16-35/2.8 III, 10s, f/2.8, ISO 1600, focal length 16mm.
There is specialized software for processing astrophotography. The software does the majority of the work for you. I’ve tried several of them and find that many of their functions overlap. In this case, I used two: Sequator and StarStaX.
Sequator can align the position of the stars well and handle trees or houses in the foreground. However, their shape must be roughly sketched by the user.
On the other hand, StarStaX excels in its ability to join star trails. It can also fill in the gaps to some extent and has Comet mode, which makes the star trails not appear as solid lines, but rather fade out gradually as if they were the tail of a comet, which I find more effective.
Combining the intermediate results
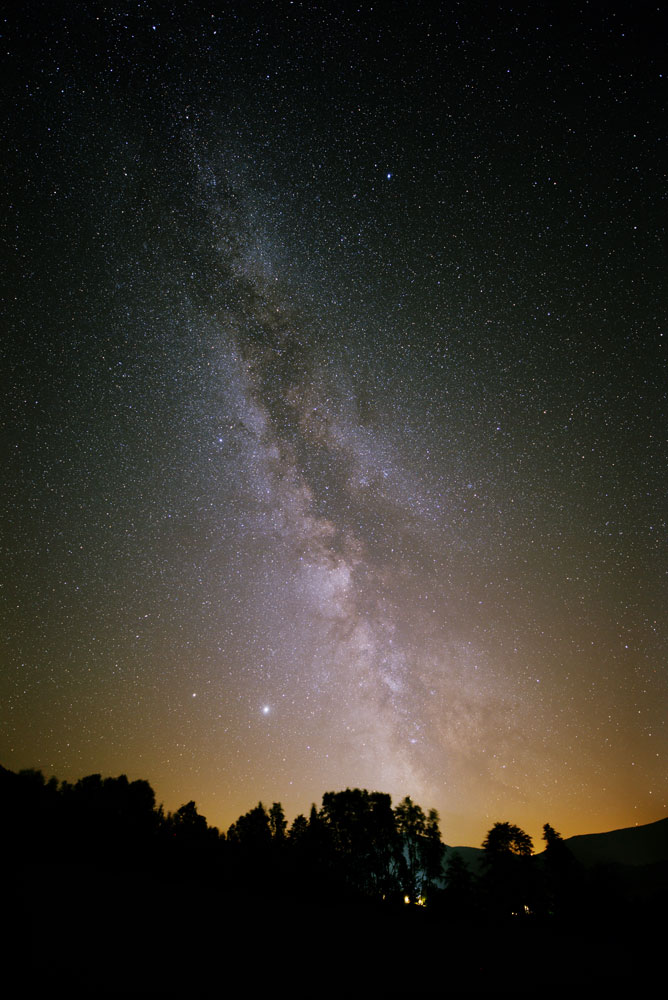
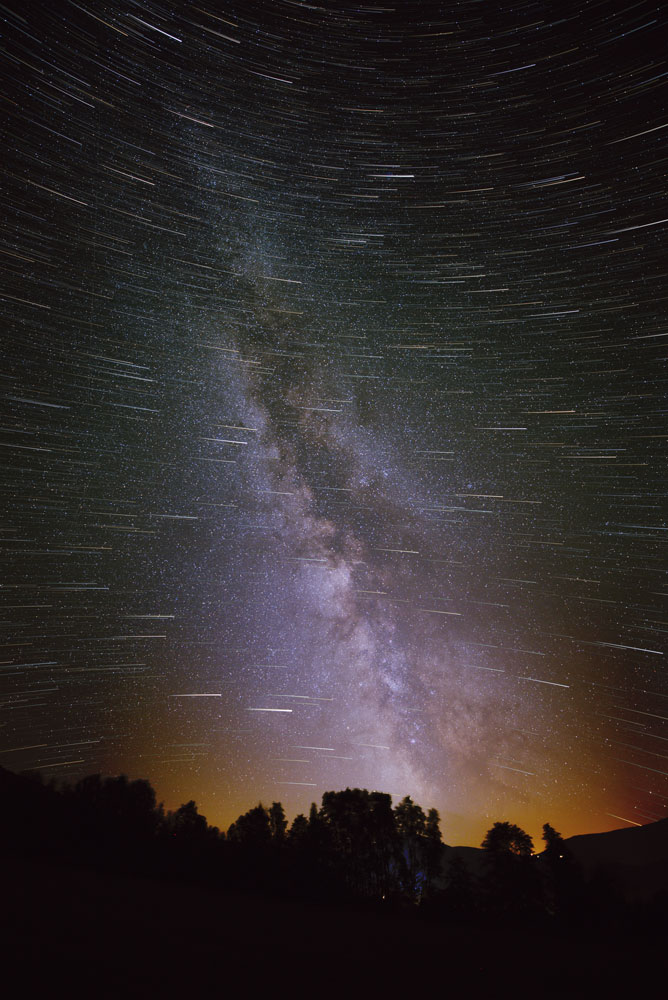
After using Sequator, the resulting image is similar to the source images, but with significantly less noise. Now we can experiment with applying curves in post-processing in order to brighten it:
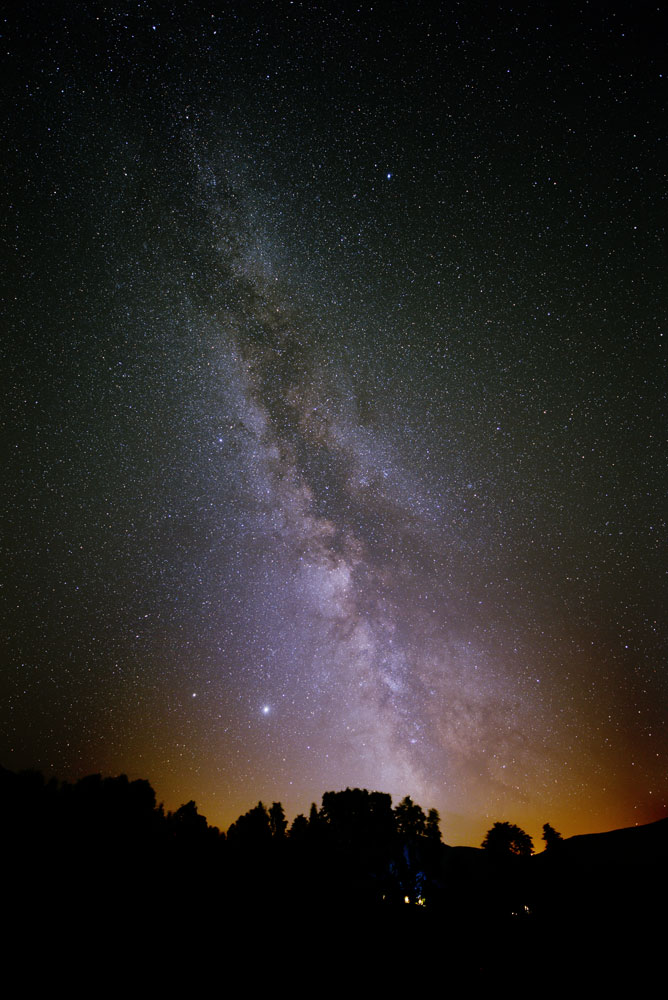
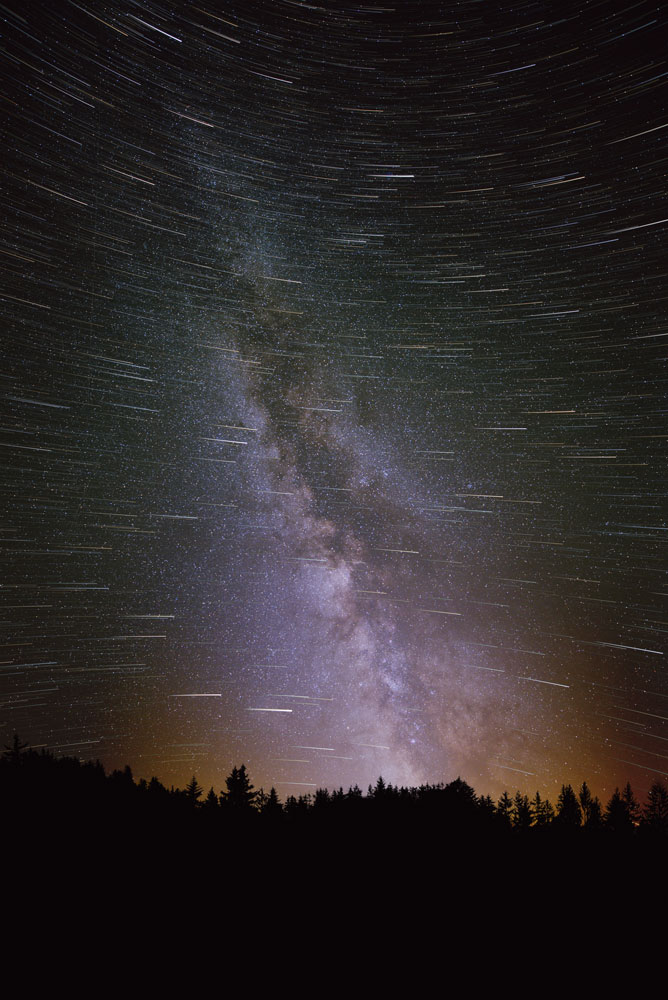
The bottom half still has too much light, so I used additional curves to reduce it. This time, the curves are limited to the bottom half using a mask that transitions upwards gradually into nothingness.
I replaced this layer with the image from StarStaX, i.e. the elongated stars. I set the layer mode to lighten to only show the light parts and ensure the dark sky didn’t cover the previous layer.
But now the middle of the star trail is lit up. This is due to the fact that Sequator automatically aligns the stars according to the middle frame. Ideally, it would align the stars according to the outermost frame, but it appears that that can’t be set (and other software has other limitations). I opted for a more drastic solution – deleting the problematic stars.
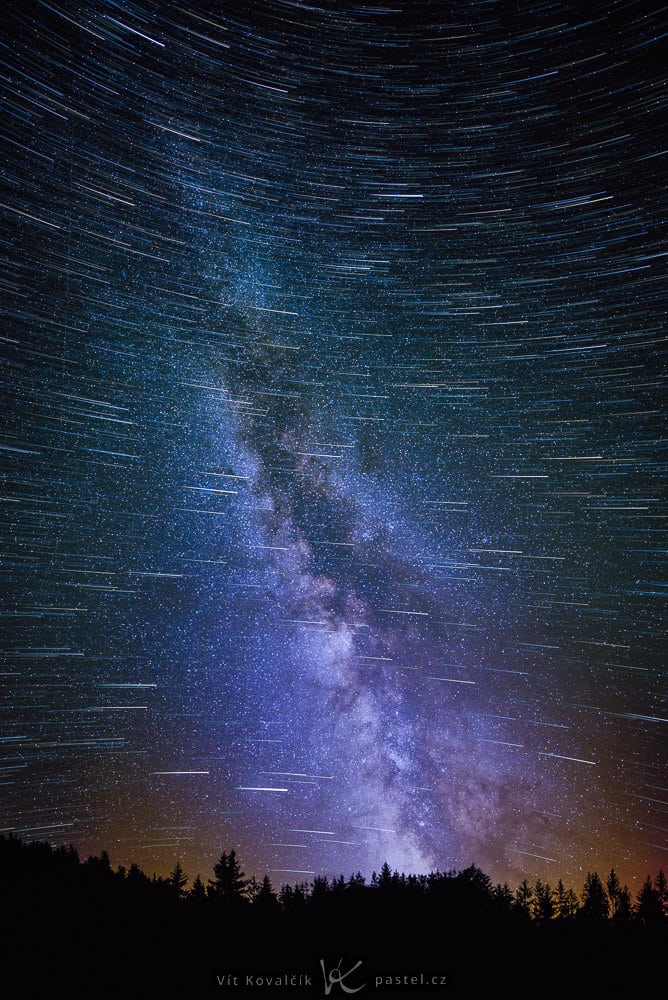
This looks like a lot of manual work, but fortunately there’s another trick we can use. We automatically select all areas with a specific brightness level from the bottommost layer, which has a sharp image of the Milky Way. Then we expand the selection by a few pixels to the sides and automatically add the appropriate feature to the mask that’s been created. This will cover up the overly bright stars with the surrounding cosmos. We’ve now managed to find a relatively quick solution to a complicated problem:
There is just one remaining final touch. The pictures were taken in strong wind, so even the trees in the distance are blurry. The solution was to use other trees from several unrelated photos. Using trees of approximately the same size is sufficient. They can even have been taken during the day, especially if their silhouette stands out against a bright sky.
Similarly to making a mask from the overly bright stars, then this time a mask is made from the dark trees. For the stars photo, only a black brush will be used so that the mask is painted over in the right places. It’s the equivalent of using a stencil over which you spray a desired shape.
Final adjustments
The last step includes several global edits which in my case included lowering color temperature, increasing contrast and color saturation, adding clarity, and adjusting the crop.
More creative options
As you can see, there are plenty of creative options for working with a photograph of the night sky. These options can certainly make a relatively dull shot go far. Of course, the final result will never compare to that of a professional or even some amateur astrophotographers, but you can do it all on your own and without any extra equipment. All you need is your camera, some additional software, and plenty of time for experimenting.
Gert
Hi I would like to use a milky way image for a large wall in my house.
Therefore I woud need a photograph with high resolution, like a few megabytes
Would you be willing to send me your fifth photograph on this page?
Thanks! any way