Photo Story Rock Formations in the Fog
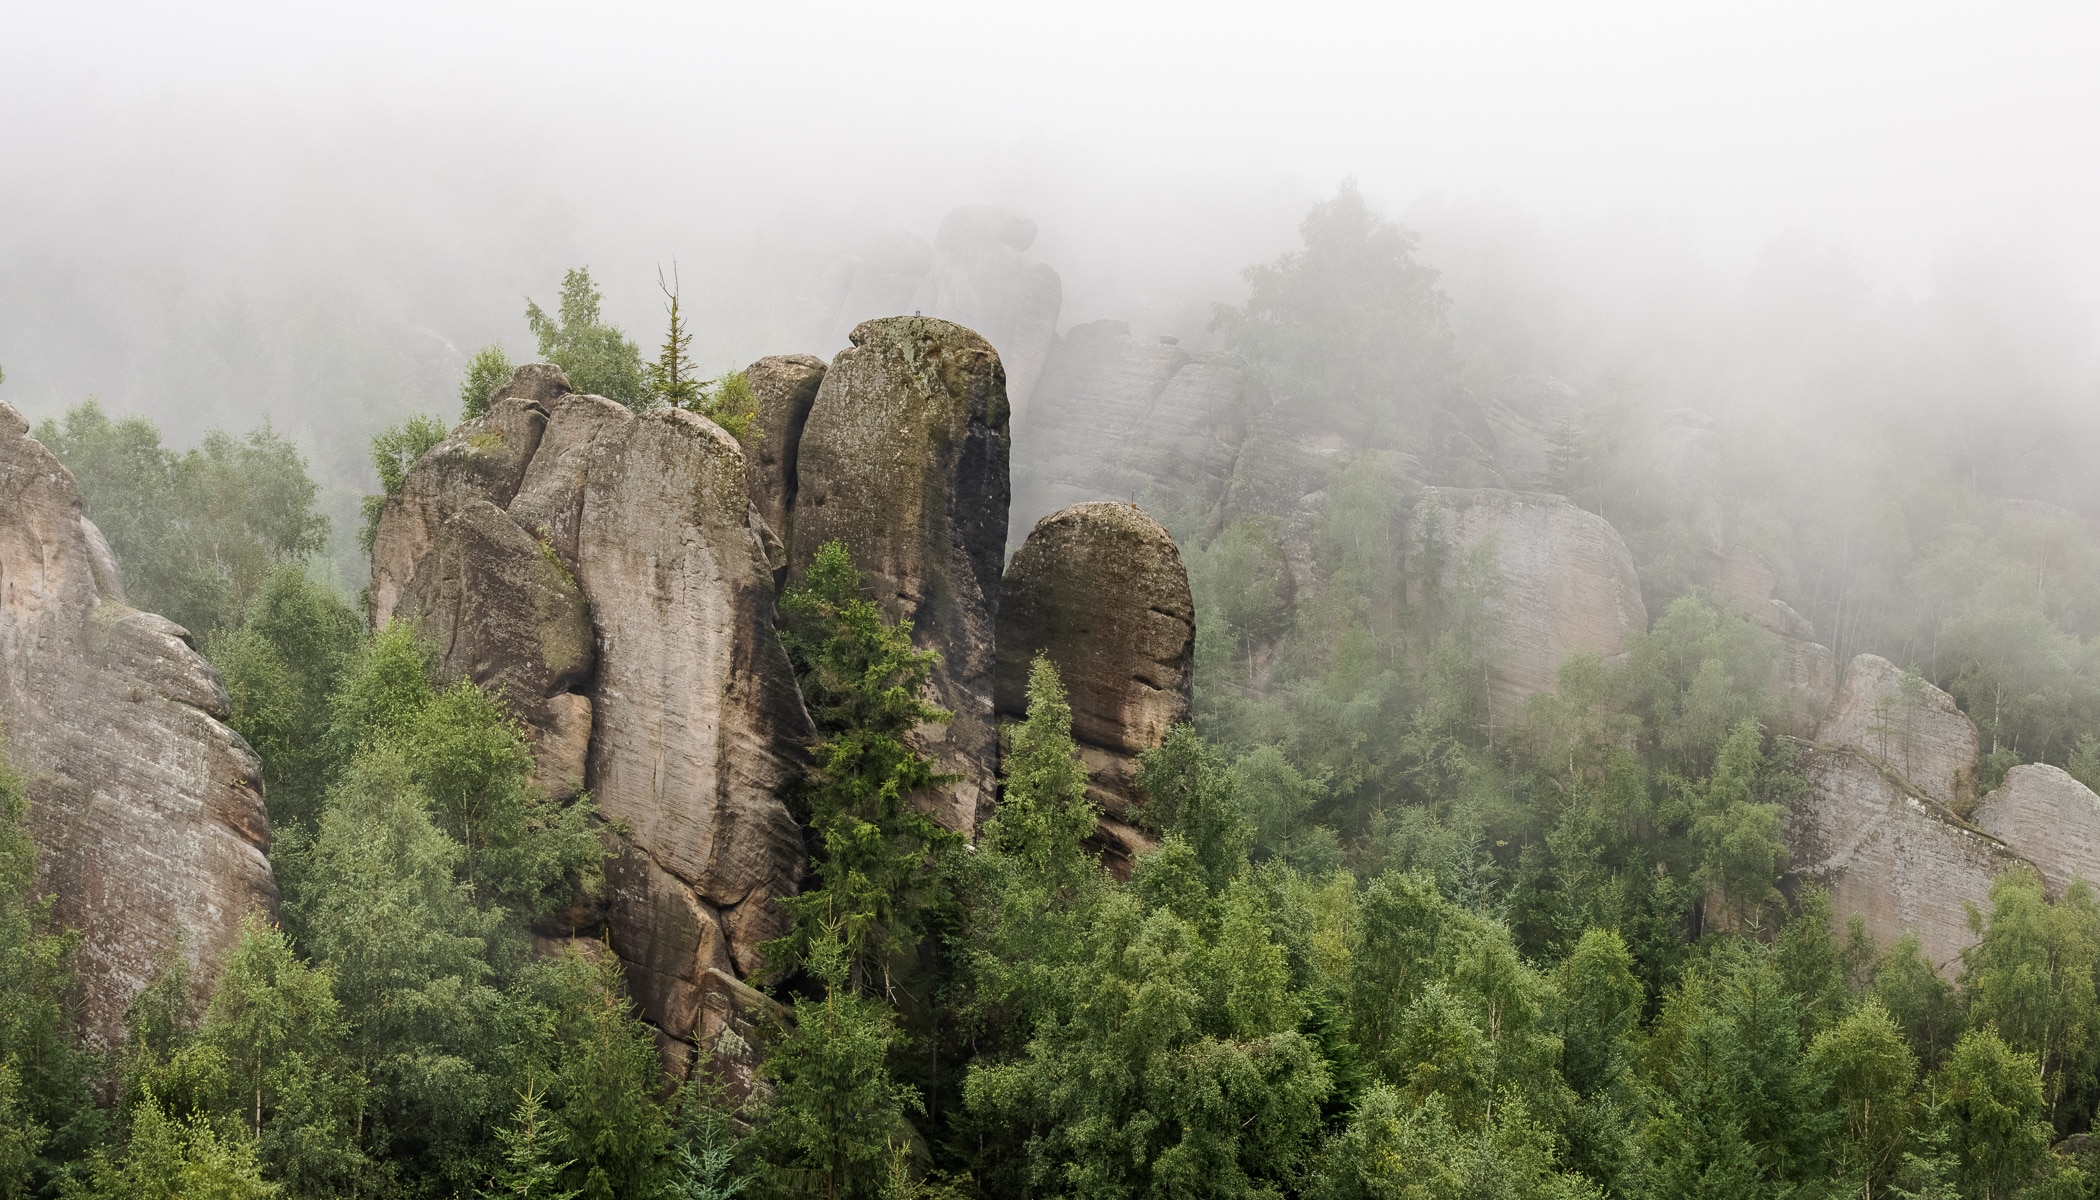
The photography you see from landscape photographers on social media often doesn’t show all of the hours or even days of work that was put in beforehand. This may include choosing the right location or waiting for the timing to be just right. It’s also not uncommon for a well thought-out plan to be scrapped due to bad weather, and the photographer is left with no choice but to go home empty-handed or with pictures different than what they expected. The unassuming cover photo for this article came about in a complicated way and its creation was no coincidence either. Read the story of how it came to be.
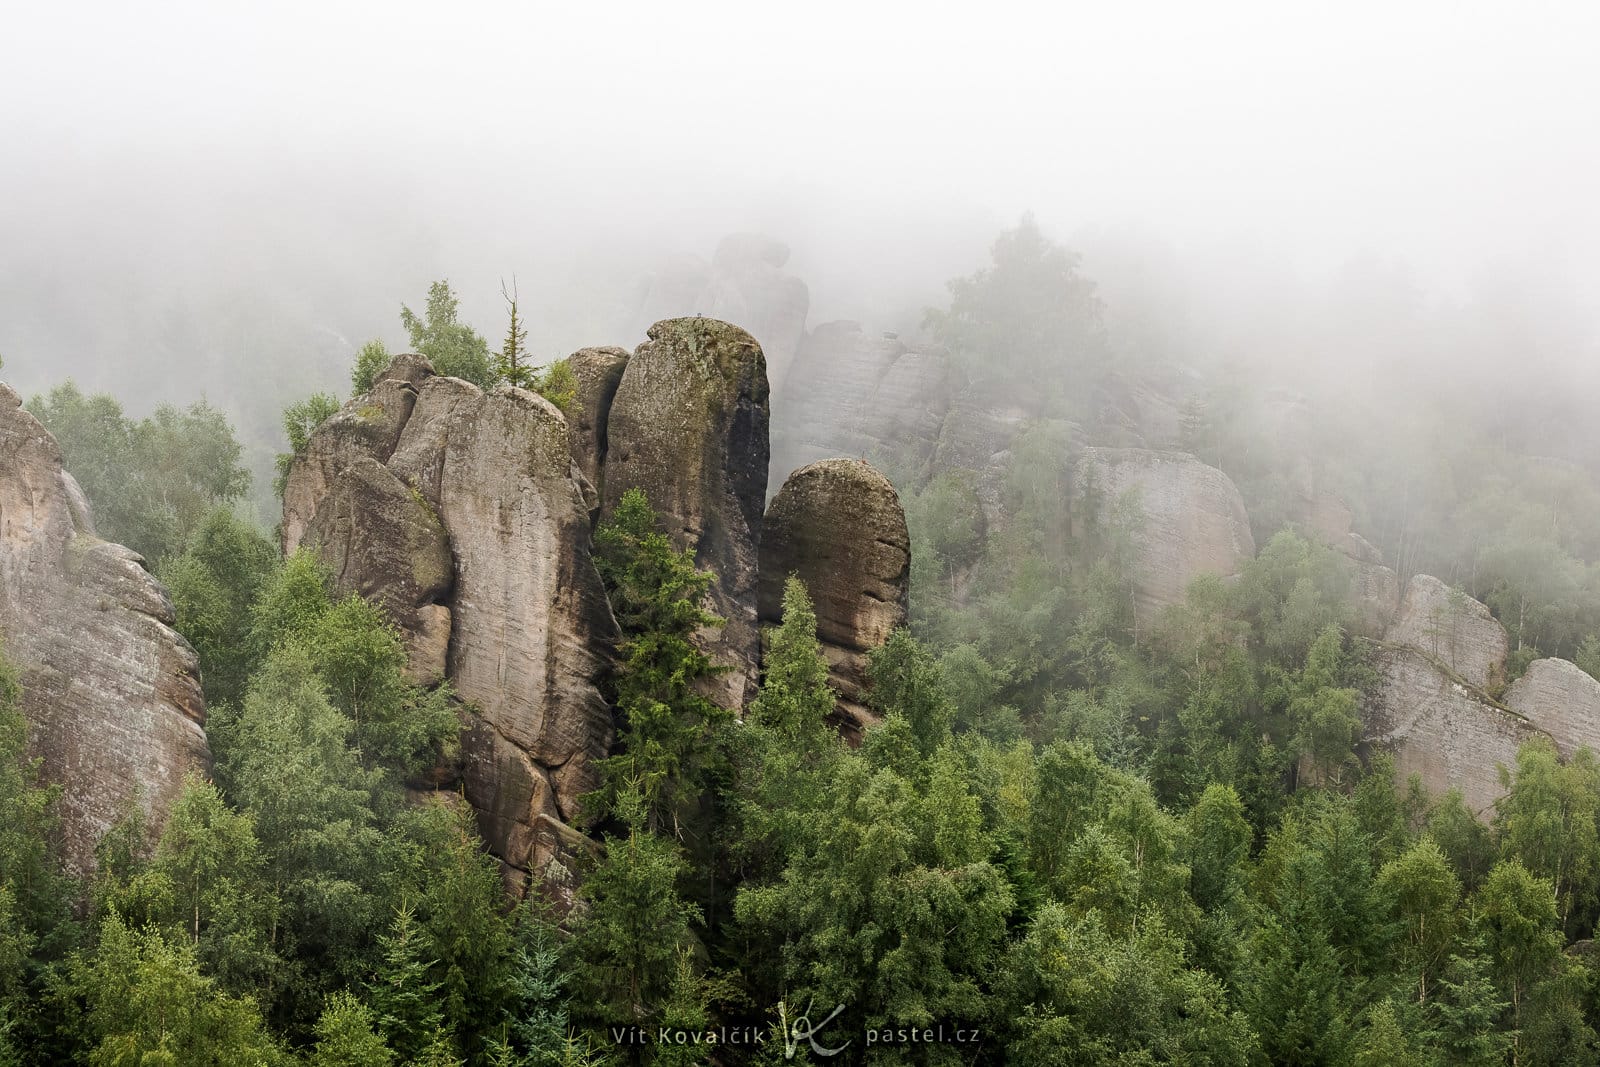
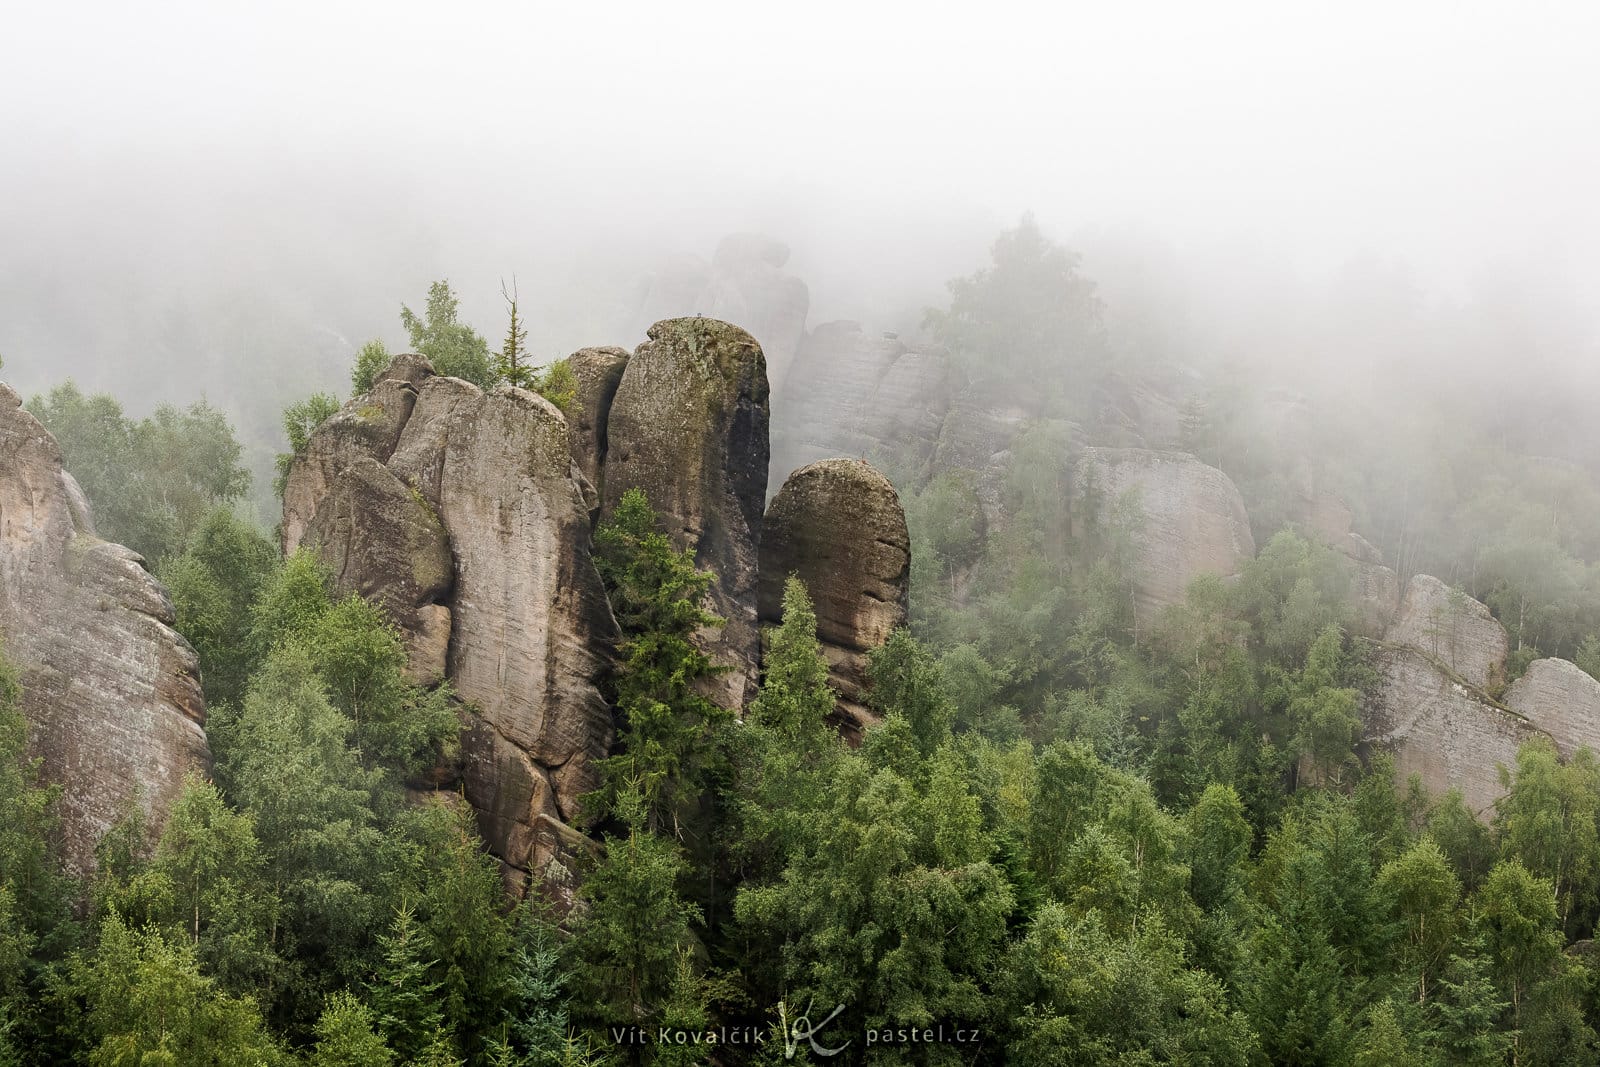
The photograph we are discussing was taken at the Skalní Divadlo (“Rock Formation Theater”) lookout of the Broumov ridge in the northern Czech Republic. You can open it again here:
Preparation
Everything happened while I was on vacation with my girlfriend. We spent every day hiking in the hills. These types of trips are great for planning a possible sunrise or sunset shoot. While you may have already used maps to research different vantage points and calculated the position of the sun, I recommend knowing things ahead of time, like where to park and how complicated the path through the forest will be to get to the lookout. If you don’t do your research, it will mean traveling through unfamiliar terrain for a sunrise shoot which, in addition to the time crunch, can be stressful or even dangerous.
Unfortunately, we ended up having a very rainy week. Any long-term planning was out the window and both the route and timing were planned from one day to the next.
We did a 10km loop in the Broumov ridge which I purposely planned so that it would pass through several potentially photo-worthy spots and I could learn as much as possible from them. It was the “Rock Theater” lookout in particular that struck me as the most fascinating. However, at midday, when we passed through it, it had a dull steel-gray sky. The view didn’t capture the full beauty of the place.
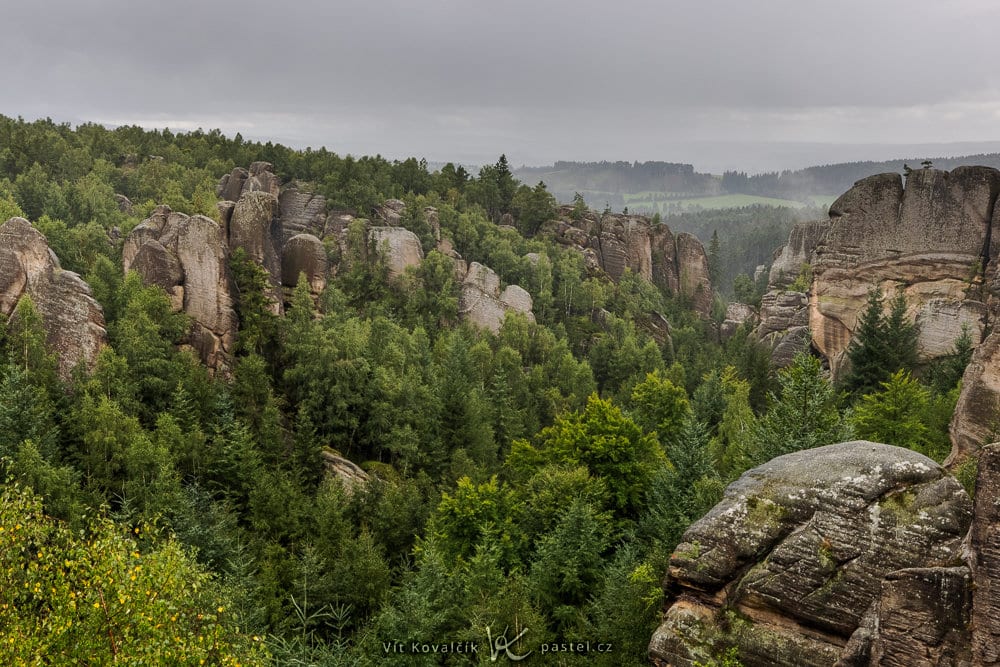
It was clear I needed to return at a different time.
On-site research
Once you already know how to get to a particular location, there are some additional things you should do to ensure your next visit is a success.
Specifically, find out from precisely which point you get the best view. It just may be that the most stunning picture you found on the internet was taken by a rock climber and you can’t get to the same place. But much more often, I find that pictures from the lookout are nice, but they’re even better when taken from somewhere else. It may be a few hundred meters further along the path, or next to the path. It certainly pays to check the well-beaten paths of the photographers that came before you.
In this case, space was tight so the scenic points I found were within ten meters of each other.
Another important factor is the path of the sun. There are mobile apps out there (such as Sun Surveyor for Android) that not only show you a map with the position of the sun at dawn or any time of day, but can also use a compass to project the sun‘s virtual position onto your smartphone’s live camera view as you rotate it around.
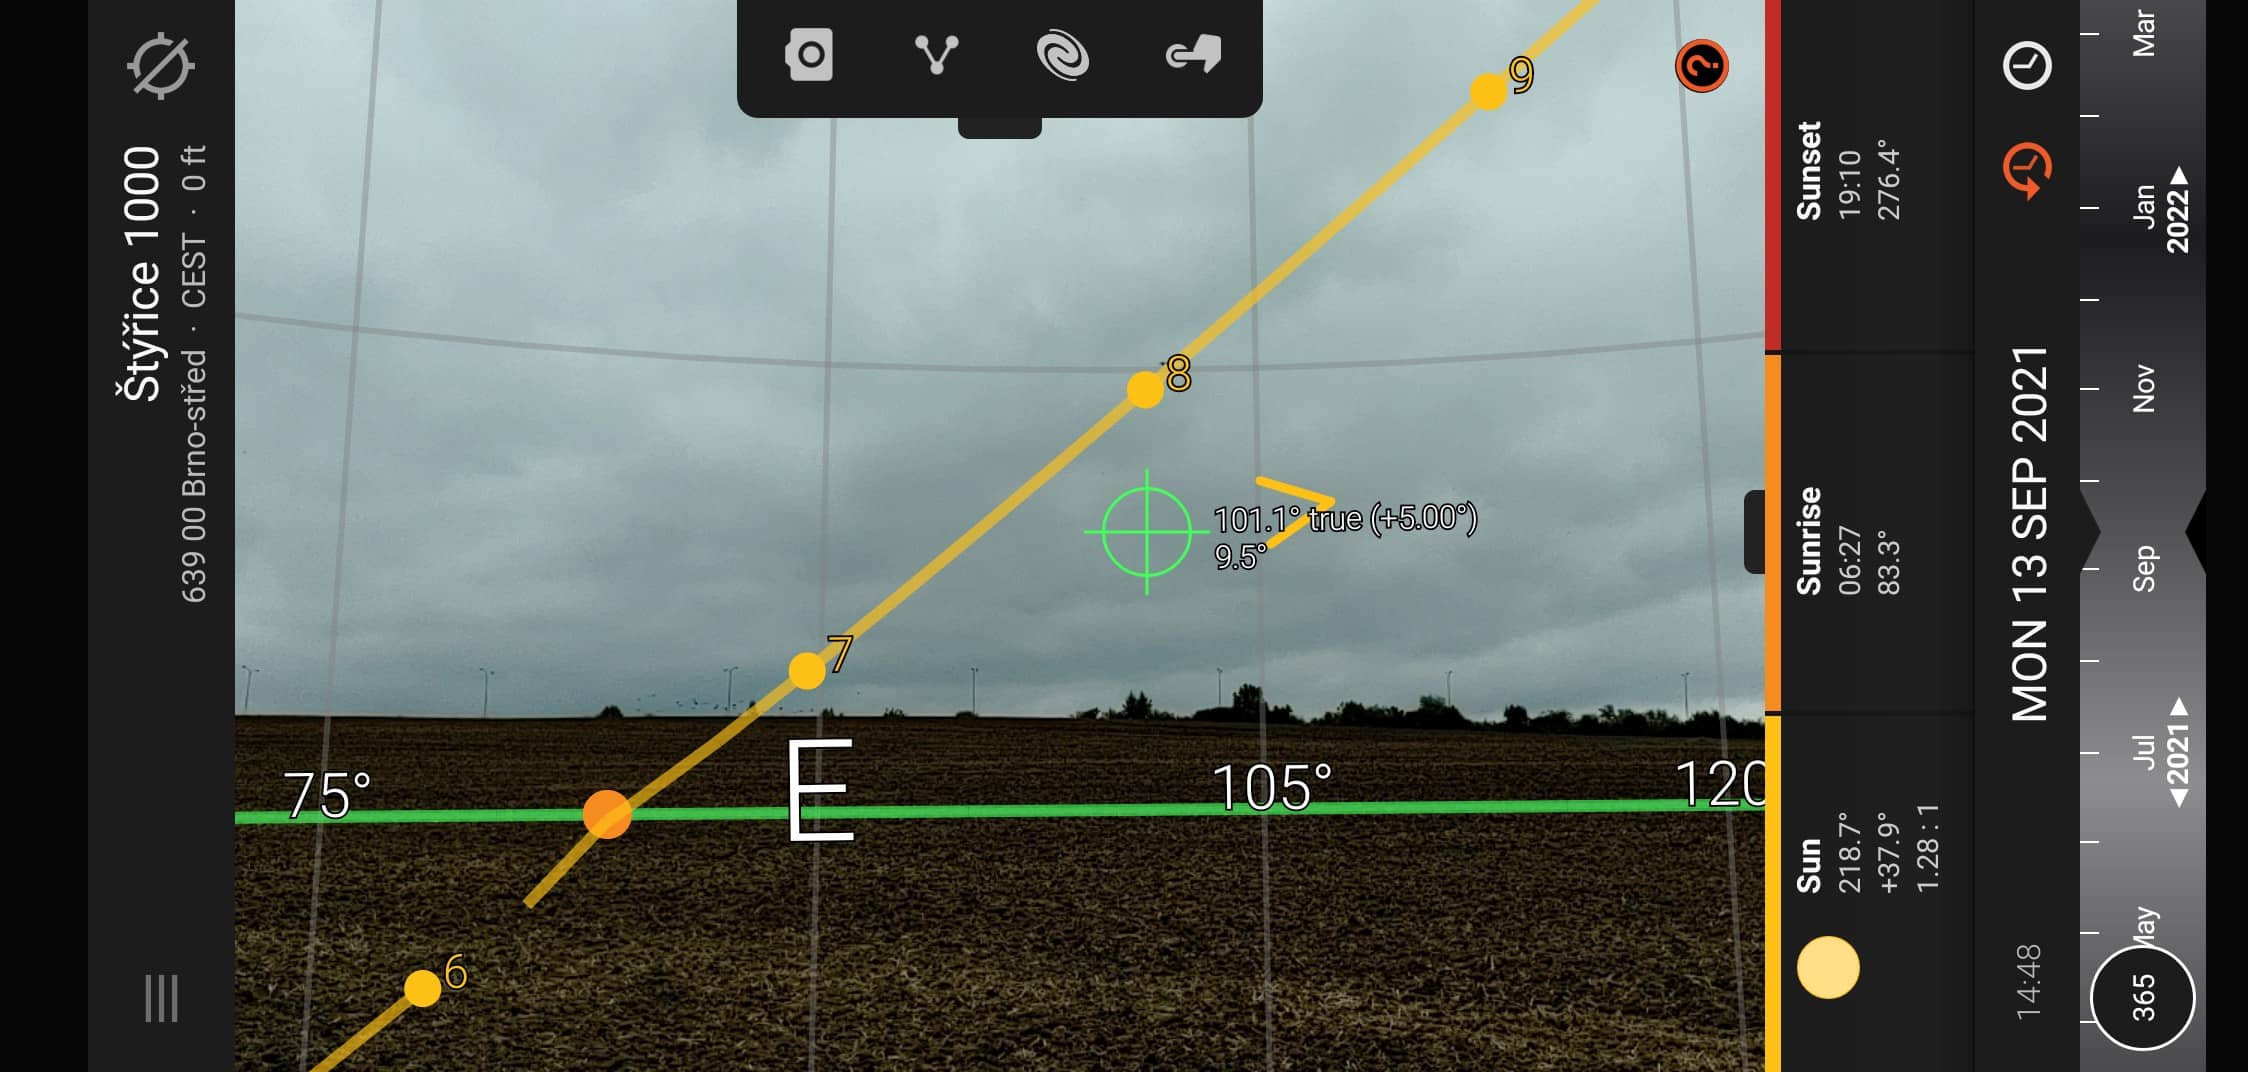
This system isn’t perfectly accurate, but you can still get a good idea of whether or not the sun might be hidden by nearby trees in the morning.
A plan B
The weather was supposed to worsen over the next few days, so the only viable option was to do the shoot the next morning. Even this wasn’t the perfect solution, but it still provided us with two options as far as scenery. We would either be lucky and see the sunrise or there would be low-lying fog. In the case of fog, the rock formations would hopefully be seen above it, so the view would be photo-worthy even without direct sunlight.
Both options were risky. On top of that, the location was a 45-minute drive from where we were staying, plus a 15-minute walk through the forest, meaning we were only able to guess what the weather would be so early in the morning. In this case, predicting the weather was pointless as we were dealing with changing clouds in a different location at a different time.
On the other hand, I didn’t think there would be a perfect sunrise and my research told me that the sun would be behind the rocks anyways. All that was left to do was convince my girlfriend to wake up at 4:45 am (thank you, by the way) and we arrived about 15 minutes after the “official” sunrise.
Only we couldn’t see anything.
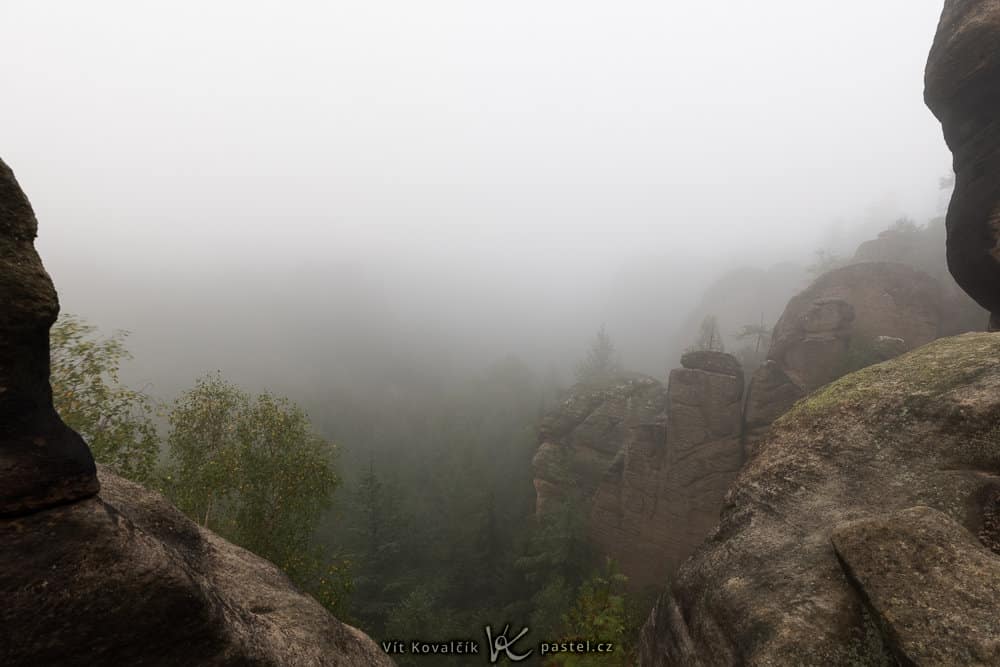
At an altitude of just under 700 meters, we were among the clouds. But it doesn’t matter, I thought. We’ll wait and maybe the clouds will go away and the sun will come out.
Responding to changes
Only that the sun wasn’t coming out. Instead, a strong wind took over which moved in new clouds and there was the occasional gap over the lookout’s valley. The scene was changing so rapidly that within ten seconds it changed from being a completely clear view of the valley to a completely cloud-covered view just a few seconds later.
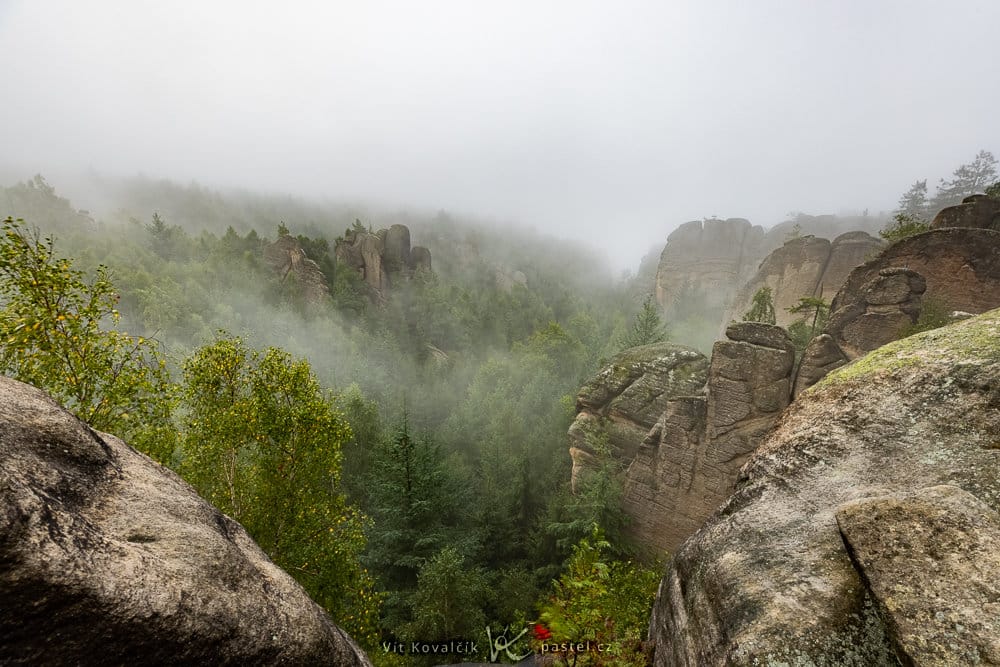
The changes were happening more frequently and larger and larger irregular gaps were appearing in the cloud cover.
I tried to capture fresh views of the valley as well as different details depending on what caught my eye at the time.
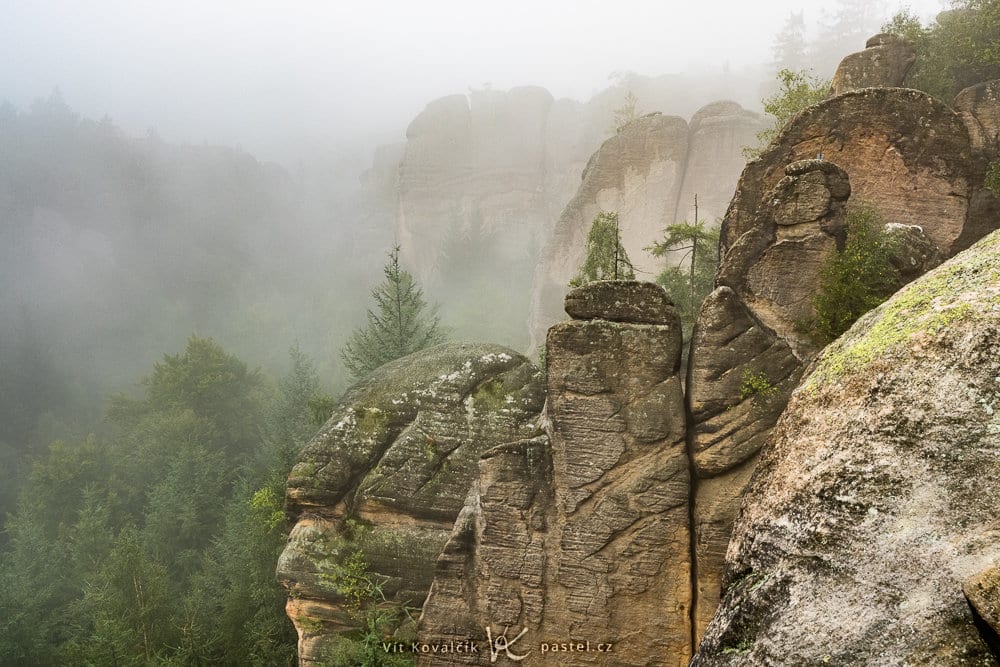
However, I wasn’t always so fast. Before I realized what was happening in front of me and could choose the right composition, the scene quickly changed, resulting in many missed opportunities.
Anticipating changes
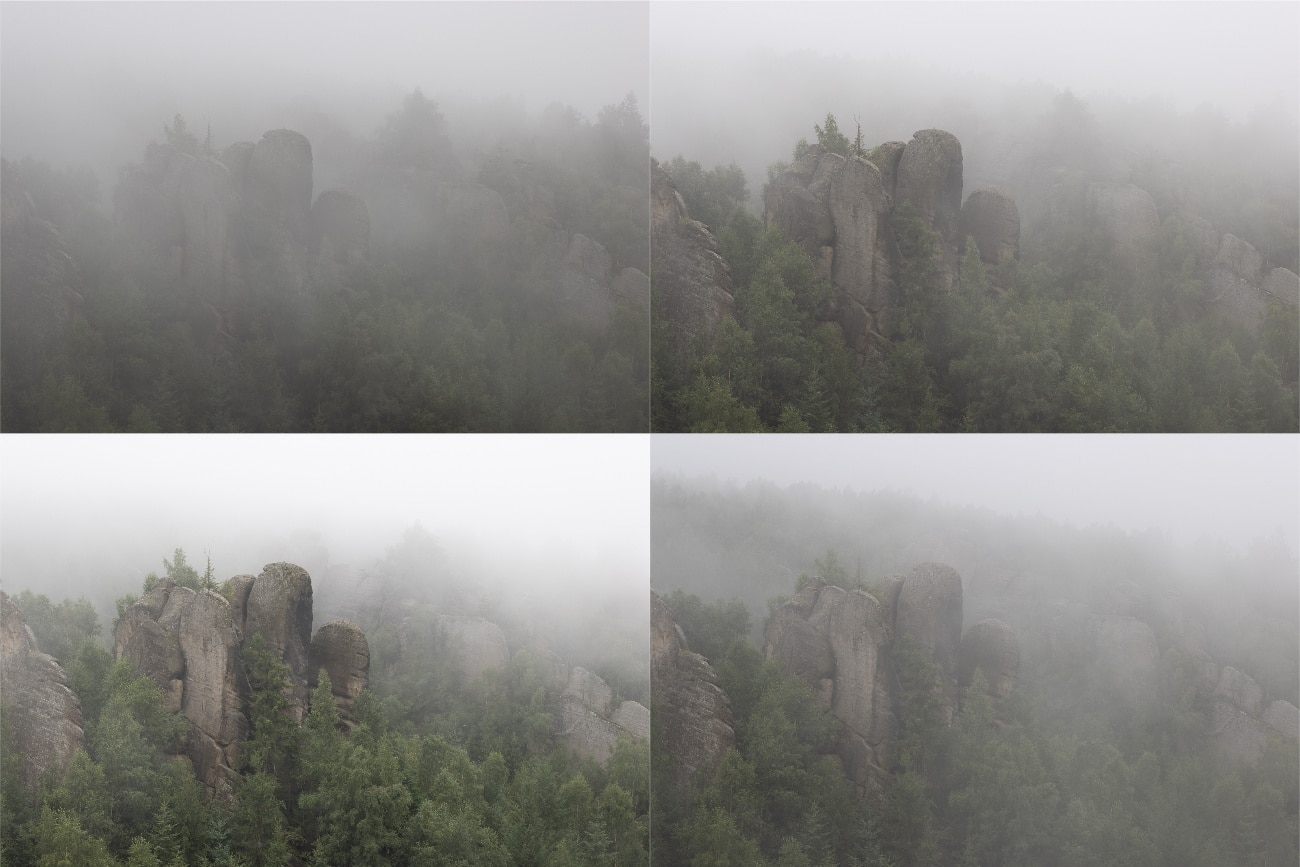
I decided to change my strategy: I chose a spot, put the camera on a tripod, and pointed the camera in a particular direction with prearranged composition. To do so, I tried to imagine what position I needed the fog to be in. Most of the time, the scene had multiple rock formations and my goal was to have just one of them emerging from the fog while the others remained covered.
Then it was just a matter of time.
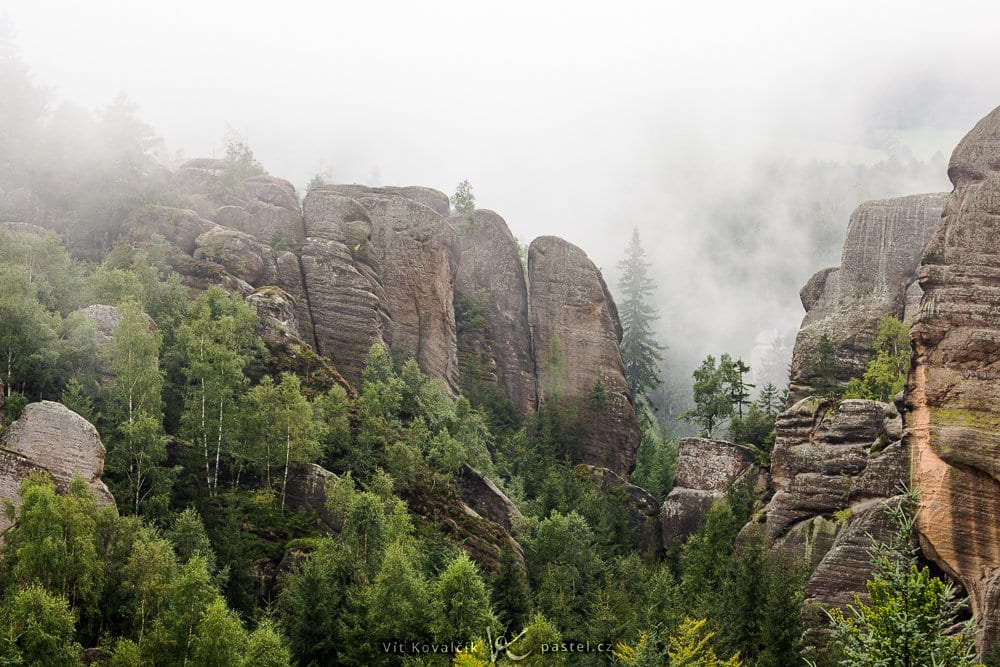
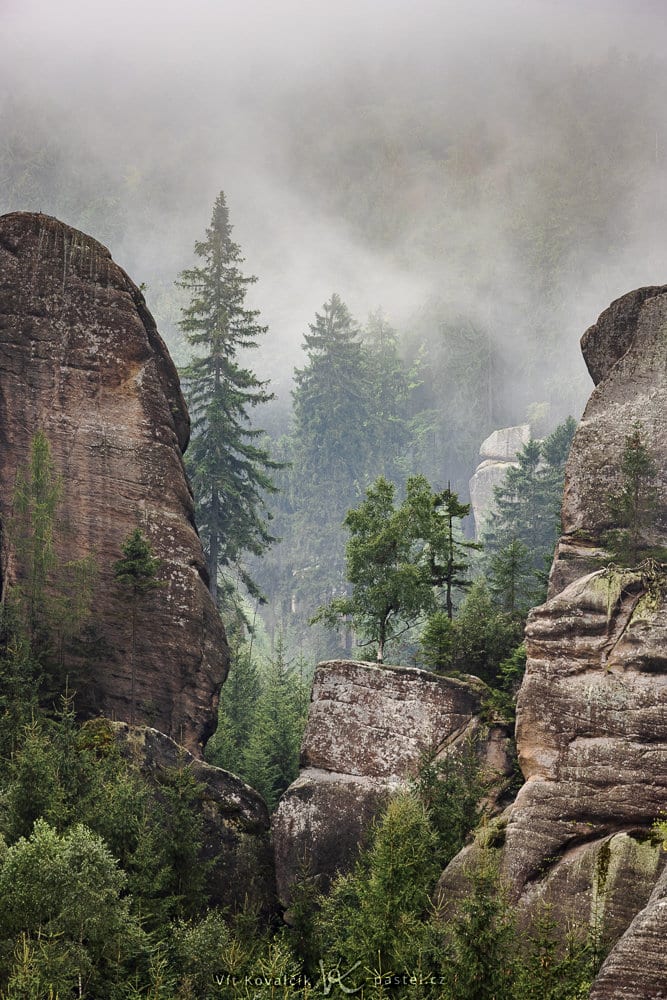
The outcome appeared within just a few moments. For instance, the following images all happened within three minutes of one another.
Increasing contrast
Objects shot in the distance lose contrast. Contrast must be increased during post-production – either by using the sliders dedicated to contrast or by using the special Dehaze slider in Zoner Photo Studio X. The resulting image, after some other minor adjustments, is much more visible.
Similar pictures
Using a previously arranged camera setup again, I took the following similar images.
Have a plan, but be prepared to improvise
The results of my plan B are images that couldn’t have been taken during the daytime. They also required a bit of luck, planning, and improvisation while dealing with the conditions on location.
Unfortunately, after waiting for two hours among the rock formations in the early morning, the sun never made its appearance and I didn’t get any of those spectacular shots. However, I was able to get other photos that are hopefully captivating all the same.
Further reading:
How to Photograph Foggy Landscapes: Focus on the Details

There are no comments yet.