Photography in the Mountains: Gearing up Right
Shooting pictures in the mountains isn’t easy, and in this article we’ll be showing you the best way to prepare up for it and choose the right equipment. No matter whether you’re getting ready for your first mountain vacation or you’re a winter mountain photography veteran, you’ll definitely appreciate our tips. Read our article, and you’ll come home with your gear intact, your health untouched, and your camera full of beautiful views.
Taking pictures in the mountains is a little more difficult than an everyday trip to the forest. You have be sure of yourself—and of the gear that has to protect you from the weather so that you get home in one piece. And just like you have to take care of yourself, you also need to take care of your equipment. So let’s take a look at how to gear up for winter photography in the mountains.
Pack Your Essentials
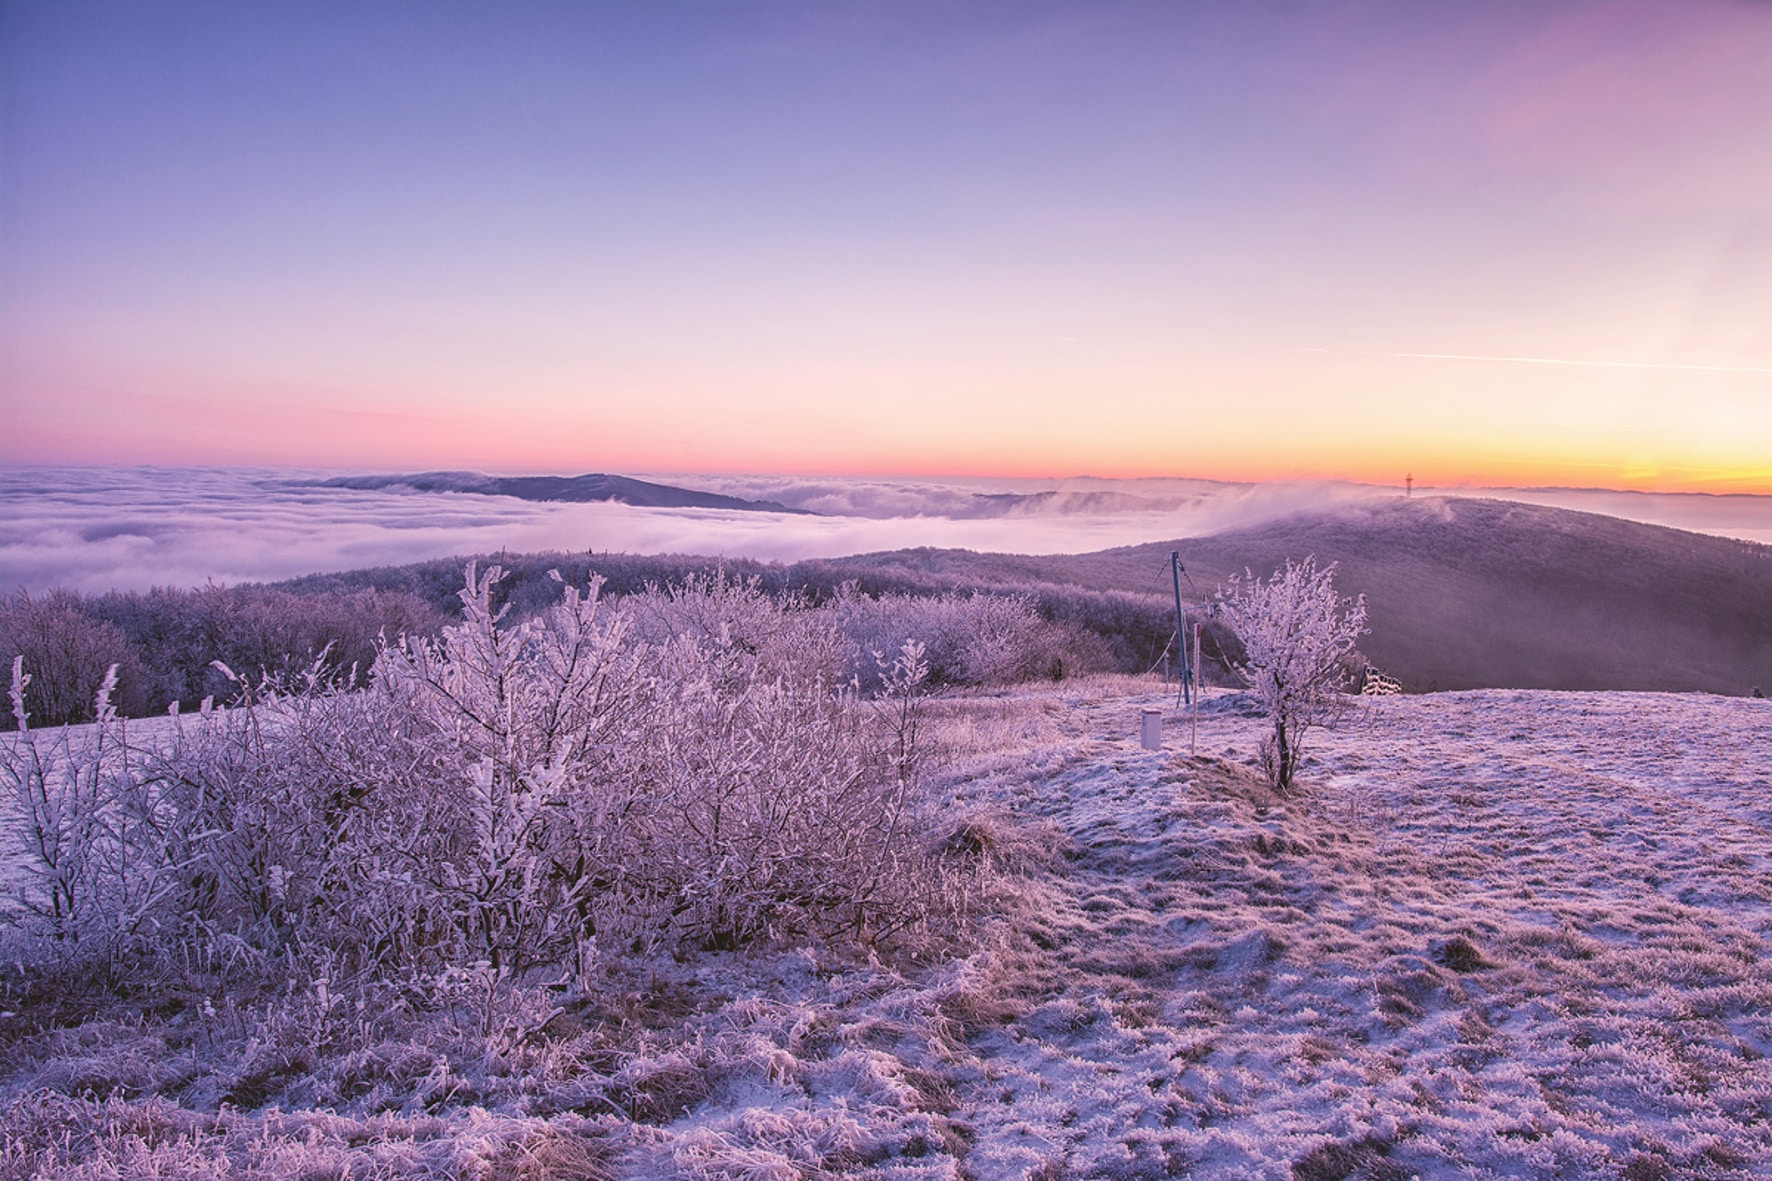
When you’re taking pictures in the mountains, we definitely recommend spending at least one night there. Photographs of the night sky and the rising run are a reward all their own. But naturally, to weather nights in the mountains, you need appropriate supplies and gear.
The first essential thing is to have enough water, and that’s why I carry a “camelbag” in my backpack. These bags can hold up to 2 liters of water. I have another 2 liters in collapsible bottles from my Sawyer Squeeze filter. Besides water, it’s also important to have some kind of light source; a headlamp is ideal because of how compact it is (don’t forget the replacement batteries).
It’s also useful to have a fully charged phone with a power bank so that you can call for help if you need to and you’re not at risk of your battery running out at the worst possible time. I also recommend putting together the lightest hiking gear you can find. After all, your photo gear itself may be fairly heavy, and when you have to drag a heavy backpack around because of the two sets of gear, it doesn’t make your photography experience very fun.
Be sure to also check out our other tips on how to photograph winter landscapes. Then you won’t have ugly surprises when you’re out in the mountains.
How to Carry Your Gear and How to Take Care of It
The key thing here is to keep your batteries warm and dry, so don’t carry them somewhere at the top of your backpack. The ideal approach is to keep your batteries close to your body, especially in cold and damp weather; it extends their lifetimes.
Even a fully charged battery can declare itself empty after a few pictures snapped if it has spent enough hours in the cold. It’s not an entirely bright idea to put batteries in your breast pocket (since your clothing lets water vapor through). The side pockets of your jacket are a better choice. Another option is to wrap your batteries in warm socks and put those in the middle of your backpack among the rest of clothing.
The question of what lenses to take is generally a dilemma. One traditional rule is to carry three lenses. Ideally 70–200 mm for closeups of the landscape, 10–24 mm for wide shots, and something universal on top of that. But the truth is that unless you’re shooting with a mirrorless camera, you’ll suffer a lot from the weight, and you’ll curse the telephoto lens the most. I personally only carry a single lens with me to the mountains: a universal focal length in my opinion—an APS-C Sigma 18–35 mm f/1.8. I only carry a telephoto when I’m really sure I’ll make use of it.
Learn how to choose a good camera and lens combo. We’ve compiled a few of the most important observations for you and added a few tips for specific equipment.
Here’s another “paperweight” to think about: your tripod. If you’re just heading up with your gang into the mountains, there’s no point in taking a big, heavy tripod with you; you can take most of your photos without it. But if your goal is to photograph the mountains at the sunrise and sunset, don’t leave your tripod at home—here the extra weight will be worth it.
If you take pictures in the mountains frequently, I’d recommend you go for a carbon tripod. These tripods’ prices aren’t astronomical today, and even a cheap carbon tripod can have a low weight from 1.5 to 2 kg along with sufficient stability and portability.
Several More Tips
Never fasten your camera or lenses to the side of your backpack, no matter how good their protective case is, because you can break them if you fall. I personally have seen a lens filter (luckily nothing more) get destroyed because I’d attached it to the side of my backpack. Even though it was in a thick protective case. That’s why now I prefer to put these things among my clothing in the middle of my backpack. Ideally in transport cases or wrapped in clothing.
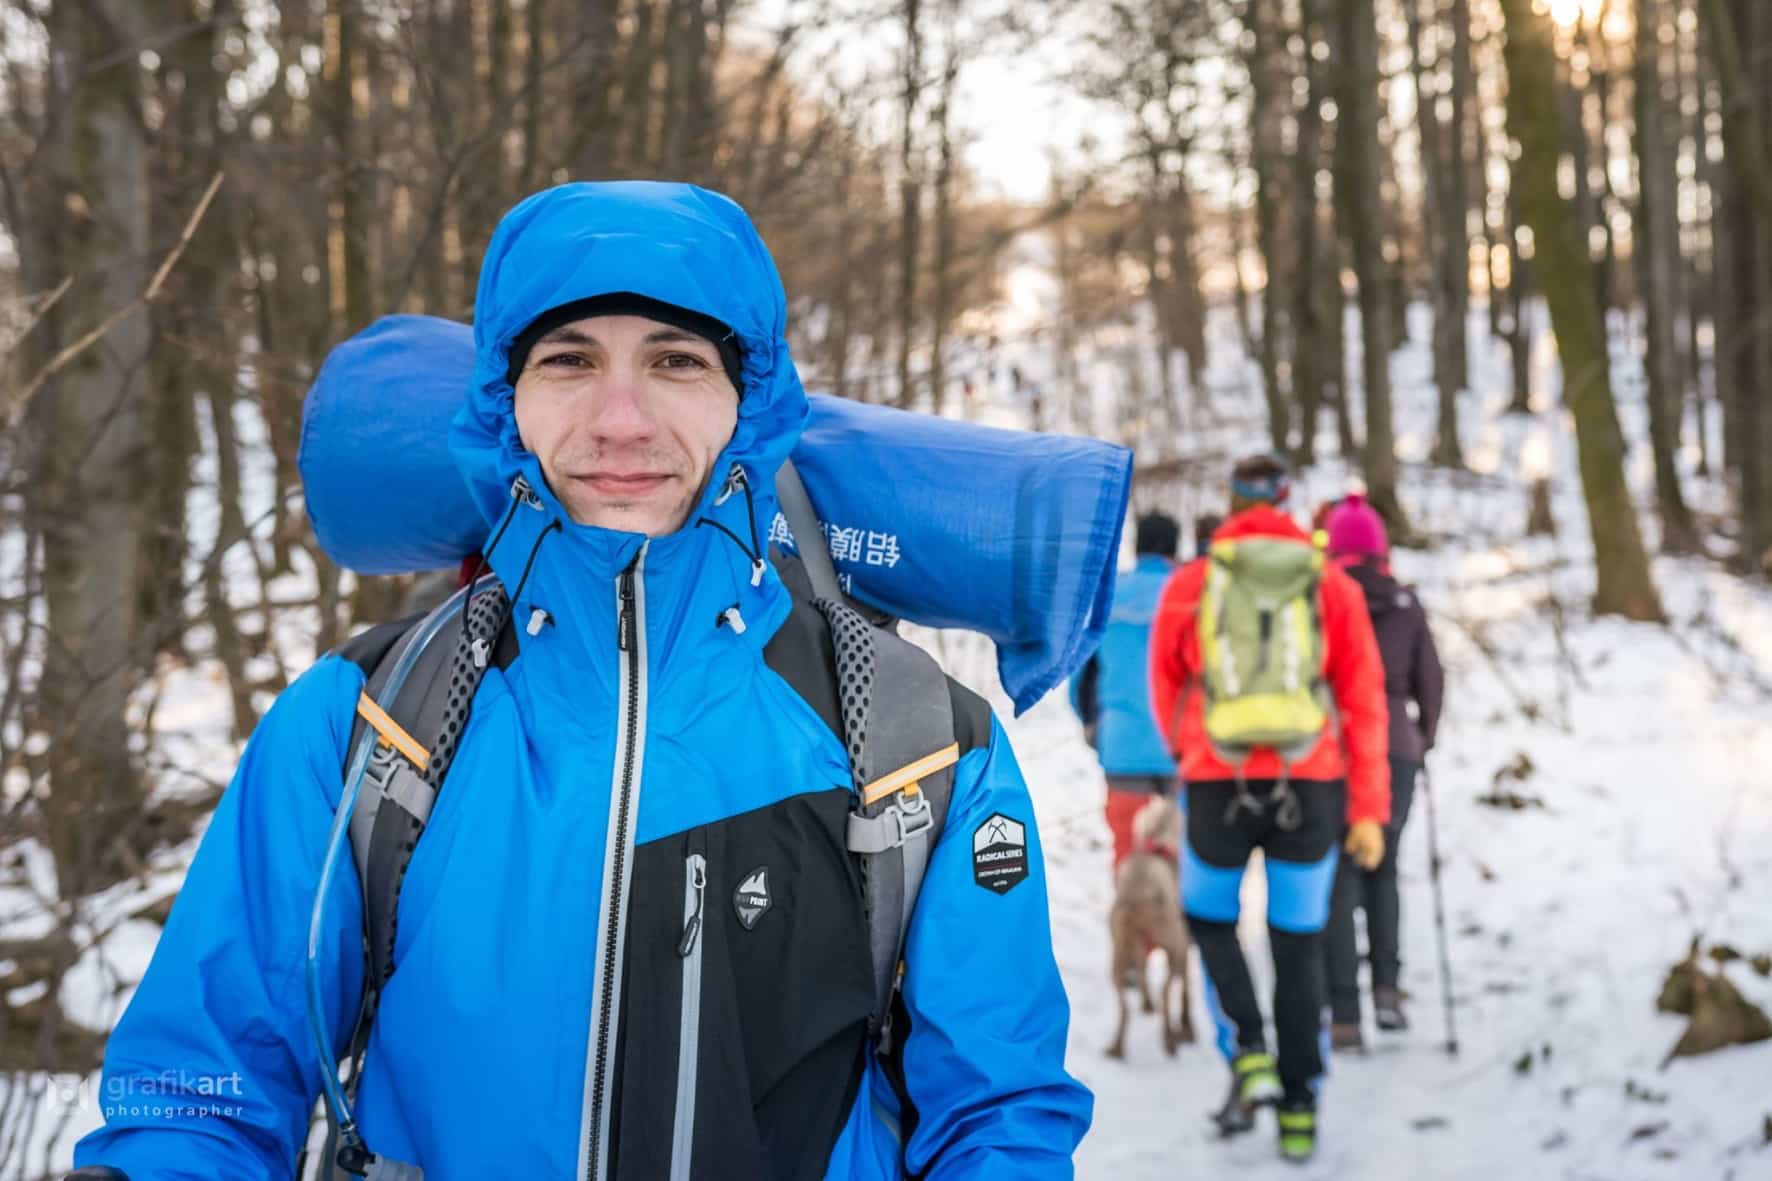
One great aid for easier mountain photography is a camera holder for your backpack. I use one from Peak Design. It lets you quickly snap your camera off of your backpack and put it back in place. That way you always have your camera right at hand, and it won’t fall off even when you’re running. During your actual picture-taking, look for interesting views of the mountains, and don’t be afraid to include hikers into your compositions when you’re on hiking trails.
Above all keep in mind that not even the best mountain photo is worth dying for.
The Hottest Mountain Fashion
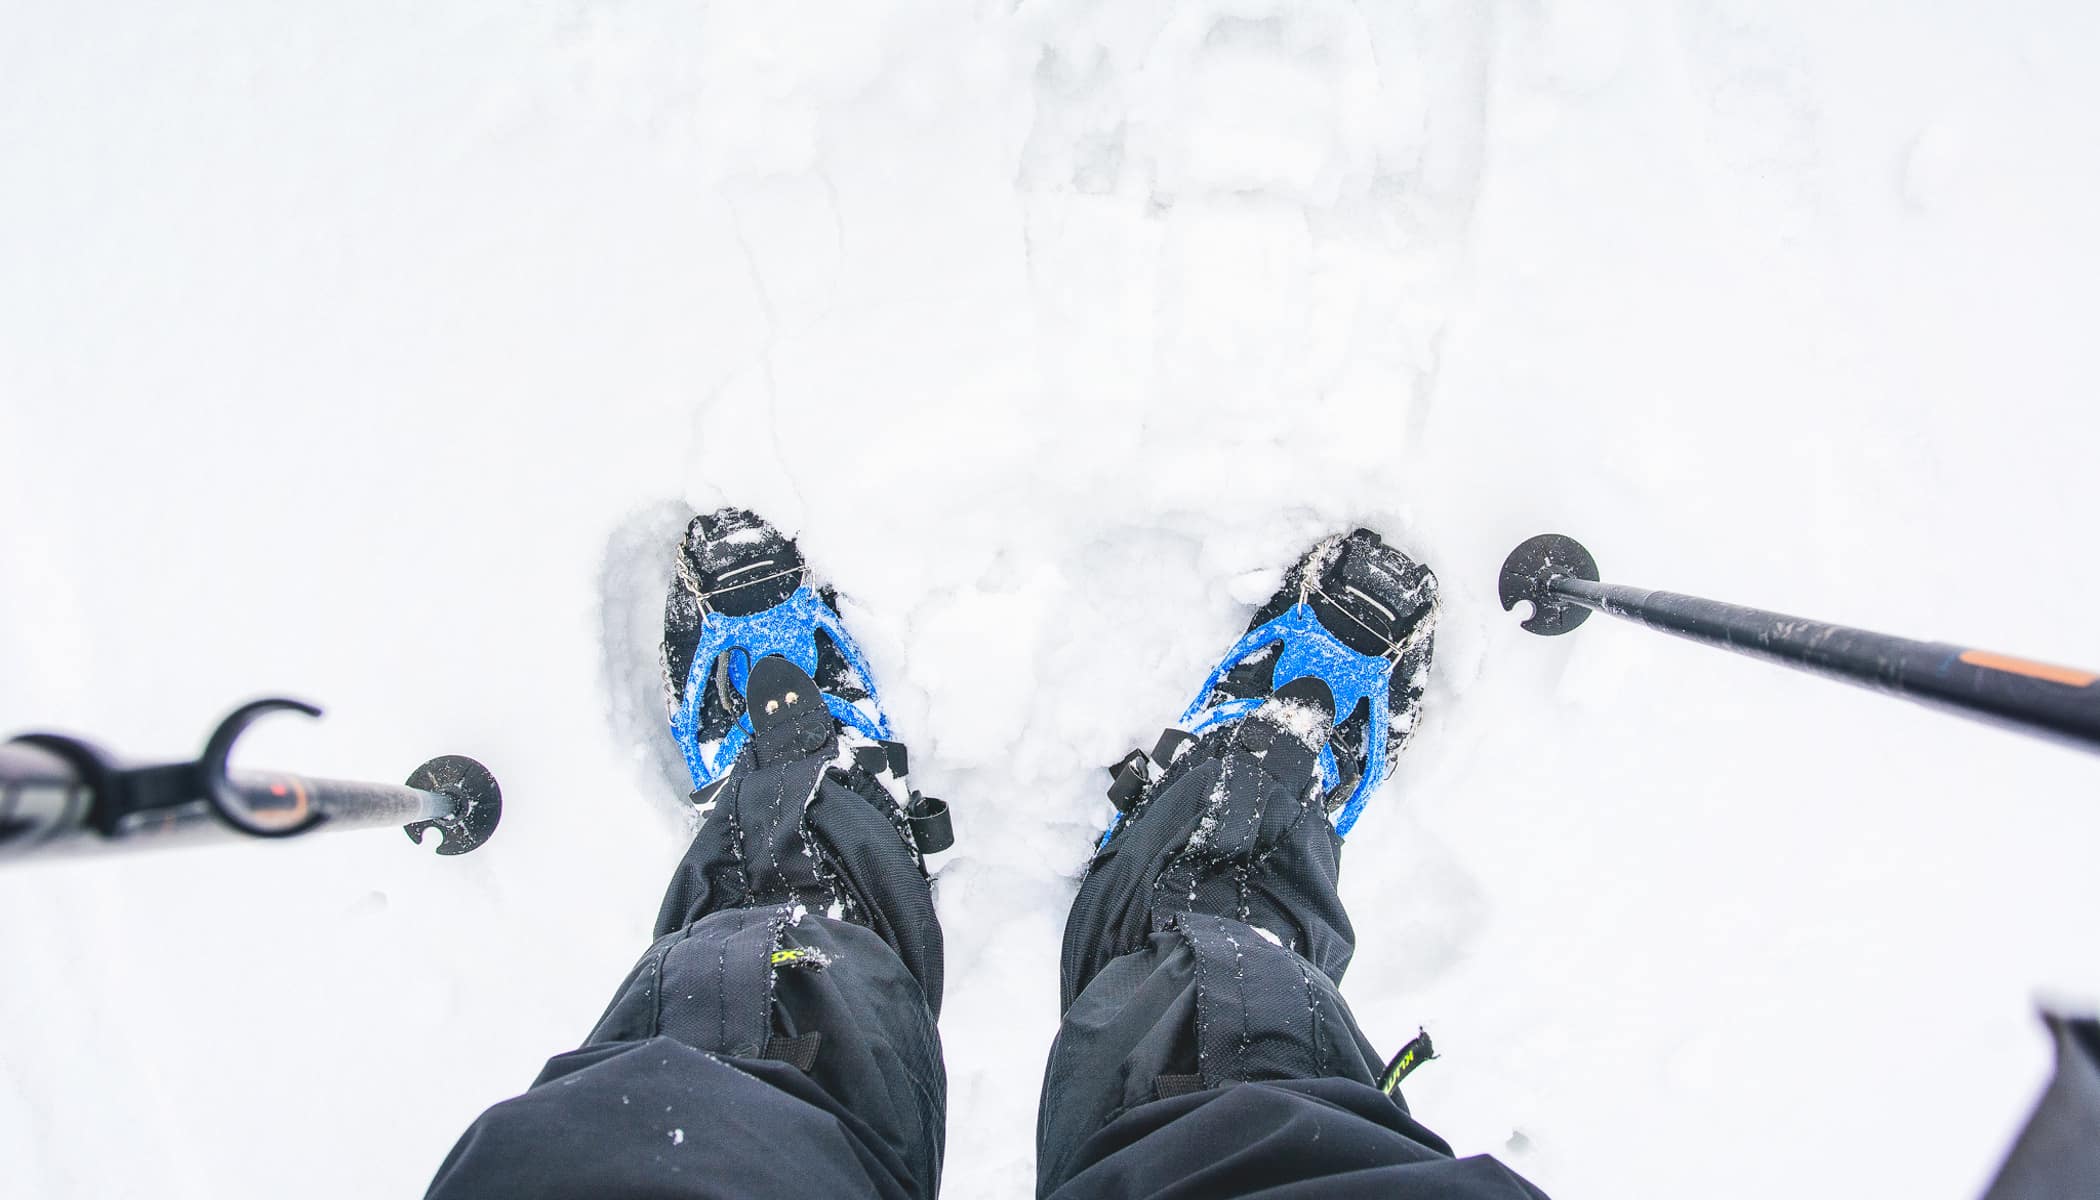
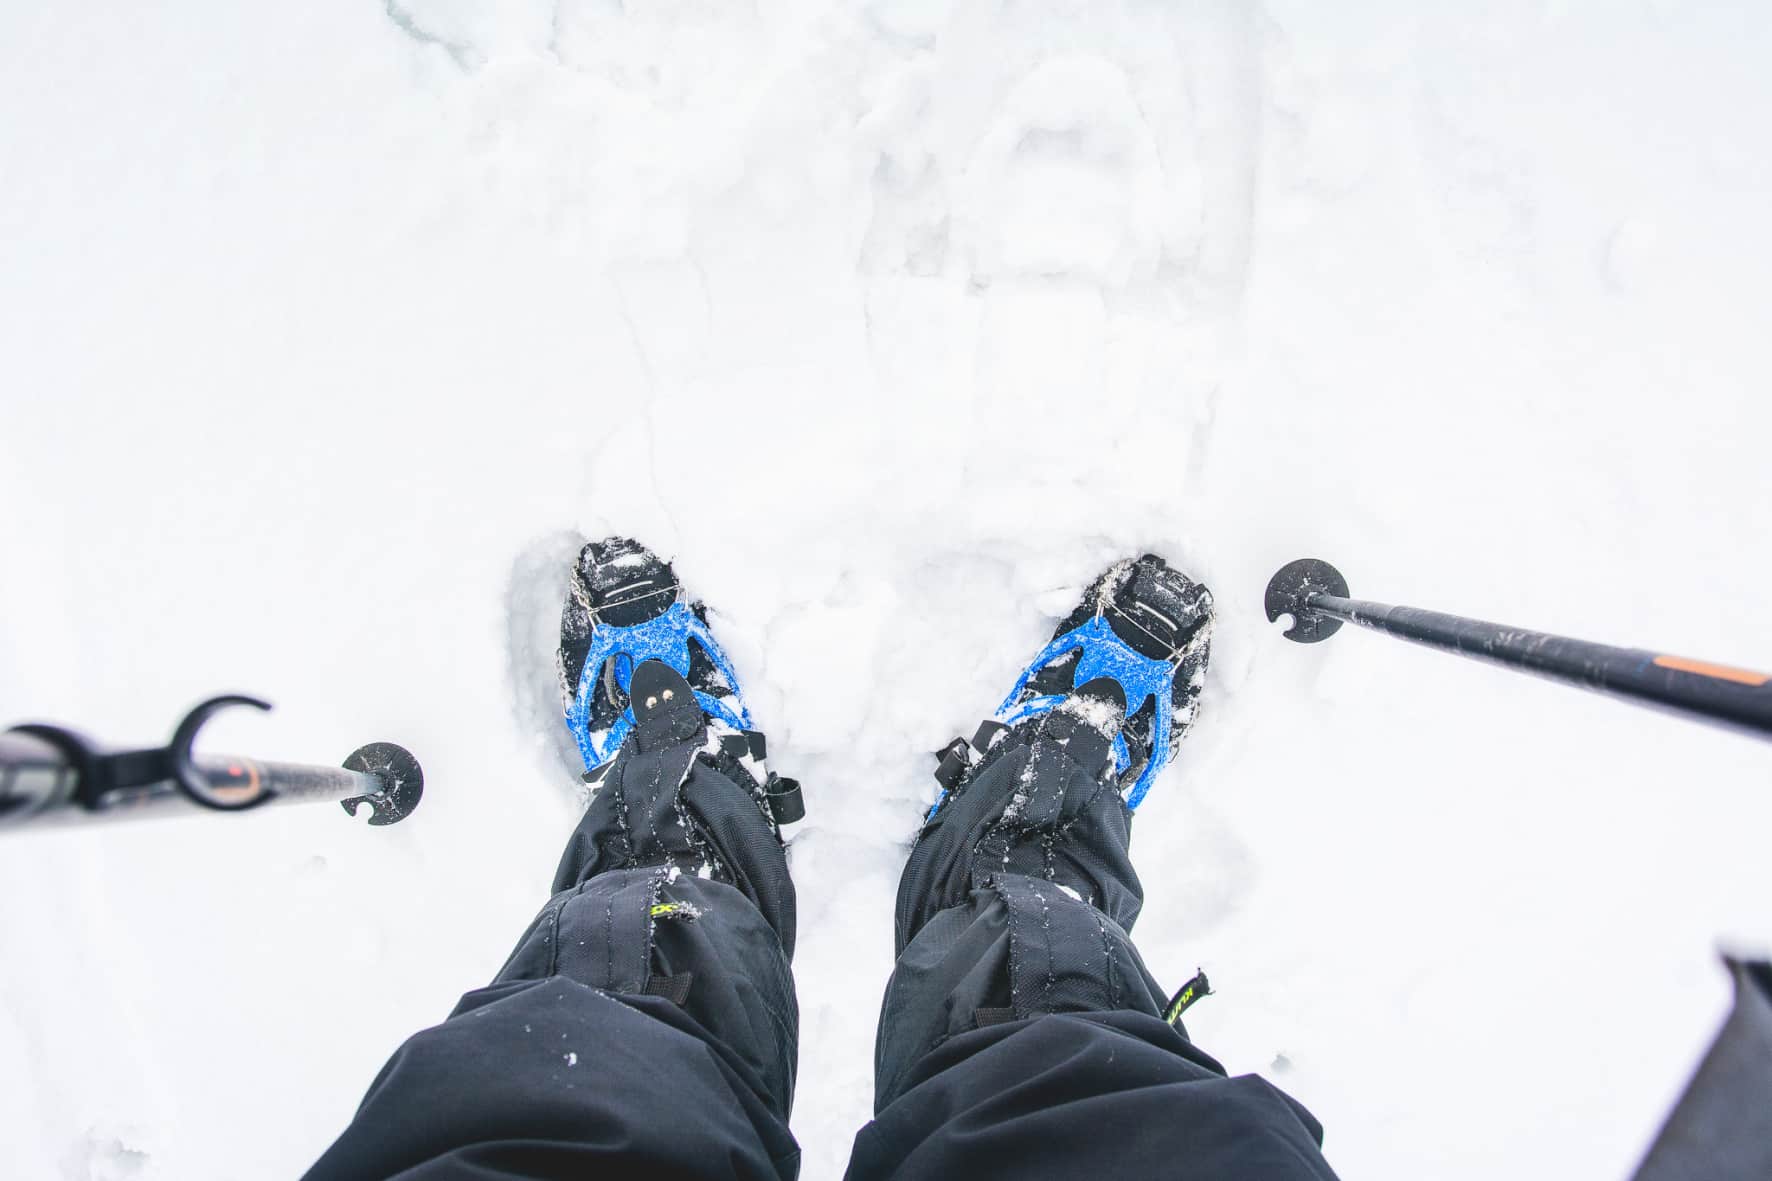
When it comes to clothing, I’ve had the best experience with the “onion” system. That is, piling on layers of clothing until there are enough. Choose your footwear based on the weather. If you know the terrain will be difficult or you’ll have to spend a long time standing in the snow, I’d recommend high-quality waterproof hiking boots. Take along merino wool socks to go with these; they’ll keep your feet warm and dry. For snowy terrain, take non-slip grips with you as well. These will keep you standing and will pull you up to the frozen top of your chosen photography spot.
If you’re only heading to your shot spot very briefly, I recommend tennis shoes with non-slip grips even in winter, along with waterproof socks. I find that this combination keeps me lighter-footed and a better walker.
For light hiking I’d tend to recommend light tennis shoes and warm waterproof socks—ideally with merino wool inside.
I choose the rest of my clothing based on the weather, but I regularly carry waterproof pants with me. The same goes for your jacket—you want one that’s light and waterproof and that also breathes well. And I recommend some kind of thin gloves no matter what the weather is. In the mountains it’s always cold with a chilly wind blowing. It’s hard to take pictures well with chilly hands.
Sleeping in the Mountains
My clothing for spending the night on Velká Javořina included a thermal shirt made of merino wool, a pullover, and a down jacket. A waterproof jacket served as my third layer. I kept my feet and legs warm and dry using merino thermal wear and waterproof pants with a membrane. I chose tall hiking boots with a non-slip grip as my footwear.
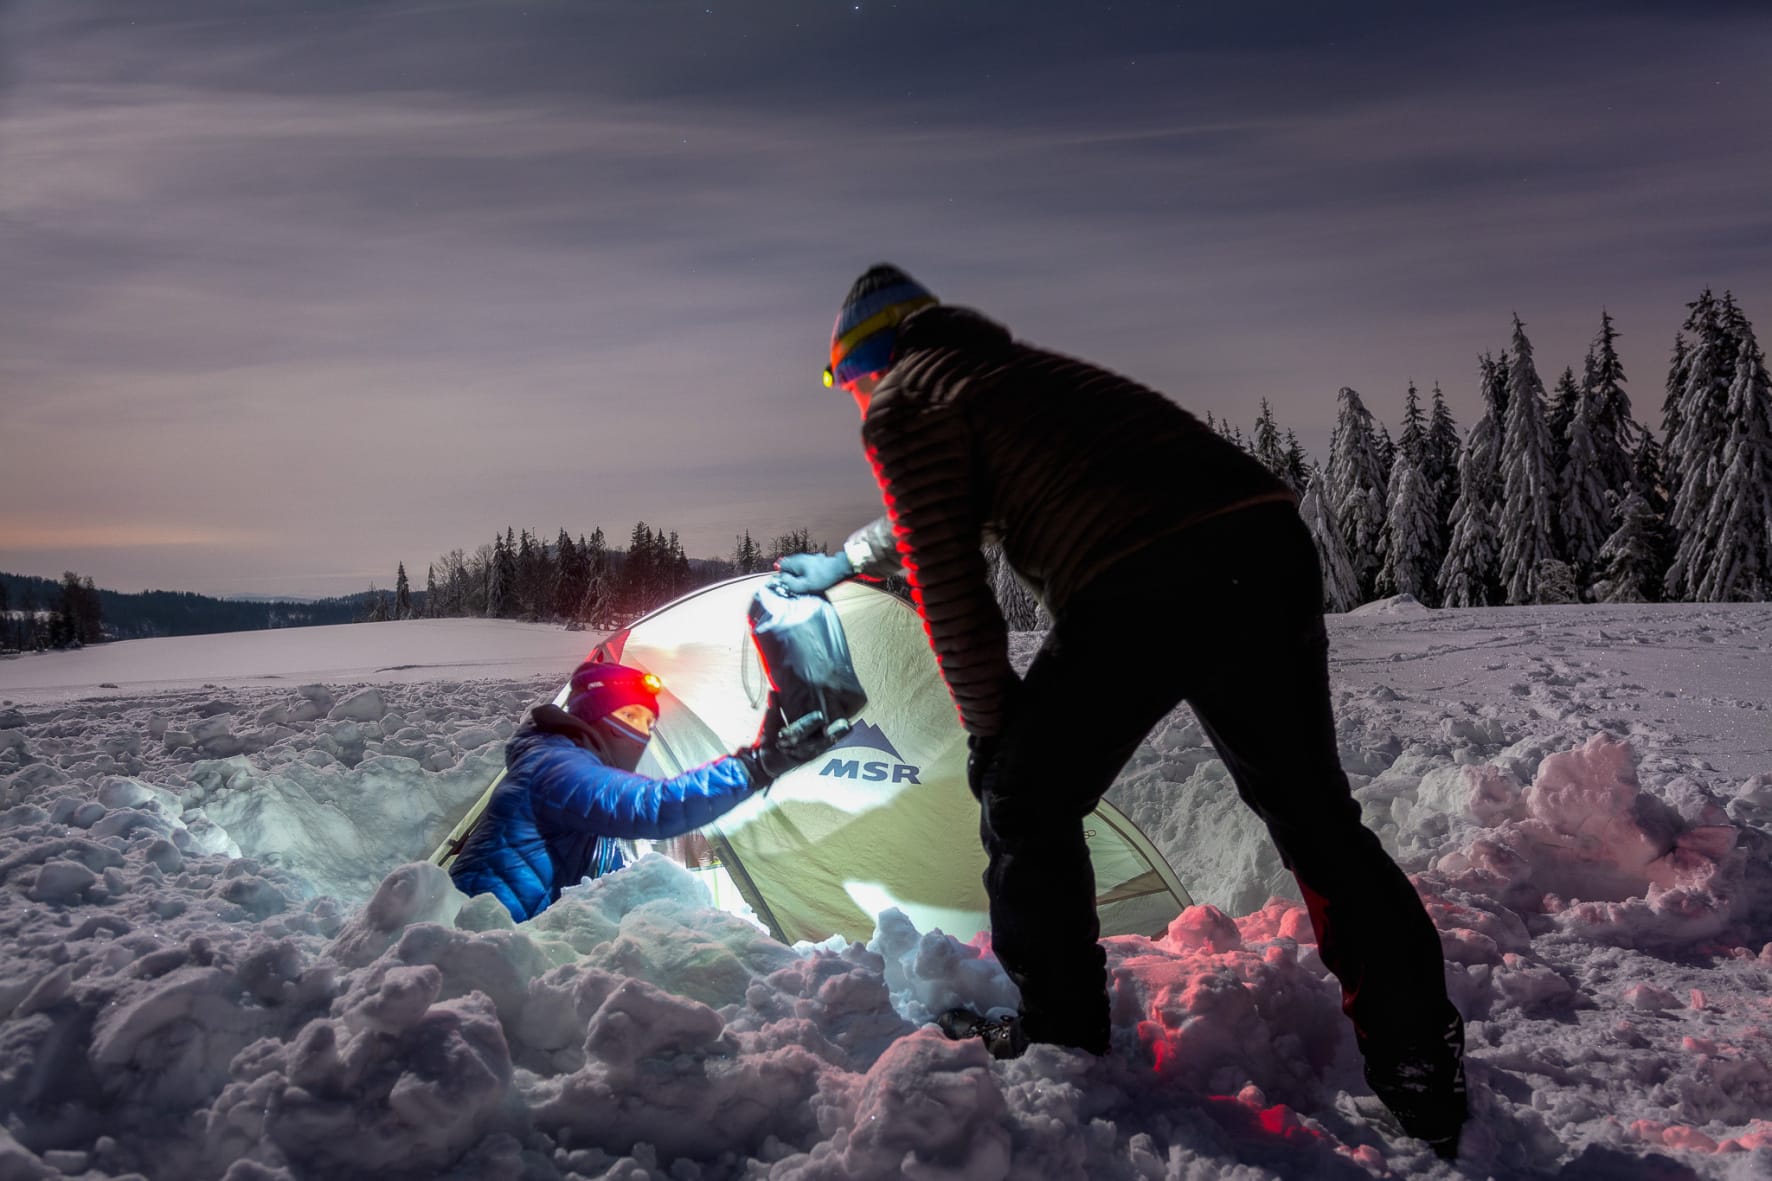
As for the actual time sleeping in the mountains, there are a variety of options—from a bivouac to a mountain cottage. I generally choose the middle of the road: a tent. If you choose a tent, it should be as light as possible, but also durable, so that it holds up to gusts of wind. I’ve had good experiences with two different tents. One is my old Vango Banshee 200 with a tunnel construction and a weight of around 2.3 kg. Unfortunately it doesn’t offer much room for sleeping.
The other one, which I use regularly, is an MSR Hubba Hubba NX. This is a two-person tent weighing 1.5 kg that’s spacious and wind-resistant. Definitely don’t take an ordinary camping tent with you into the mountains if you want to survive the night safely and get a good night’s rest.
The foundation for surviving overnight in a tent in the mountains is to make yourself something warm to drink just before you go to sleep. You may find yourself getting cold all the same if you don’t have a good sleeping pad and sleeping bag. The important thing is to be insulated from the ground, which is why I also use an inflatable sleeping pad with a thickness of 6.3 cm. Rolled up, it’s about the size of a half-liter drink bottle. I use a down sleeping bag rather than another type, because it gives me the best insulation from the cold and holds in my body heat.
For sleeping bags, ignore the bottom end of their rated temperature ranges. It maybe even go down to something like -28°C, but it is intended for experienced users and merely guarantees survival when you’re in a fetal position with all of your clothing on you. So instead check the comfort temperatures defined for women, and the limit temperatures defined for men.
It’s clear that gear like this won’t fit in a photography backpack, and so it’s smart to lean more towards a hiking backpack; these are comfortable and can fit everything you need, including your photography gear. I try to keep my carried weight as low as possible, and so my sleeping gear generally ranges from 2 to 7 kg depending on the season. I make my backpack decisions similarly. When I’m only out to take some pictures, I carry an Osprey Kestrel. When I’m heading out with my camera for long trips and new experiences, I carry a light backpack: a Gossamer Gear Gorilla (it only weighs 867 grams).
There are no comments yet.