Photos that have too much noise or need sharpening are common issues that many photographers encounter. Fortunately, they can often be solved with some photo editing. Learn how to reduce noise and increase sharpness in your photos. These two adjustments are closely related so you’ll also be learning how to properly balance the photo’s sharpness and digital noise.
The article is over 5 years old. The information in it may be outdated.
We are working on its update. In the meantime, you can read some more recent articles.
Photos that have too much noise or need sharpening are common issues that many photographers encounter. Fortunately, they can often be solved with some photo editing. Learn how to reduce noise and increase sharpness in your photos. These two adjustments are closely related so you’ll also be learning how to properly balance the photo’s sharpness and digital noise.
Both functions can be found in the Develop module of Zoner Studio. In the bottom half of the right side panel, you’ll find the Noise Reduction and Sharpness settings groups. It is a good idea to combine these adjustments since reducing noise often results in a loss of sharpness. For this reason, you must find a balance between reducing noise and sharpening.
There are two types of noise – monochromatic (Luminance) and color (Colors) noise. Use the Luminance and Colors sliders to adjust each noise component separately. They are divided this way because luminance noise sometimes doesn’t affect a photo, while color noise ruins the overall effect of the photo as it contains colors that don’t belong in the image.
How to reduce noise
Since color noise won’t harm the photo, the default value for RAW images is set to 50%.
Both types of noise reduction, Luminance and Colors, have an additional Detail preservation slider below them. This serves to minimize the soft contours, which often result when reducing noise. This way the photograph doesn’t lose as much sharpness.
Set Noise Reduction in Luminance and Colors according to how much digital noise is in the photo.
Setting the intensity of the noise reduction varies for each photo based on the ISO values and camera type. For this reason, we cannot recommend specific values. However, we can recommend reducing Colors more than Luminance. We also recommend clicking to view the photo at 1:1 zoom. This will make the noise and the results of the adjustments more visible.
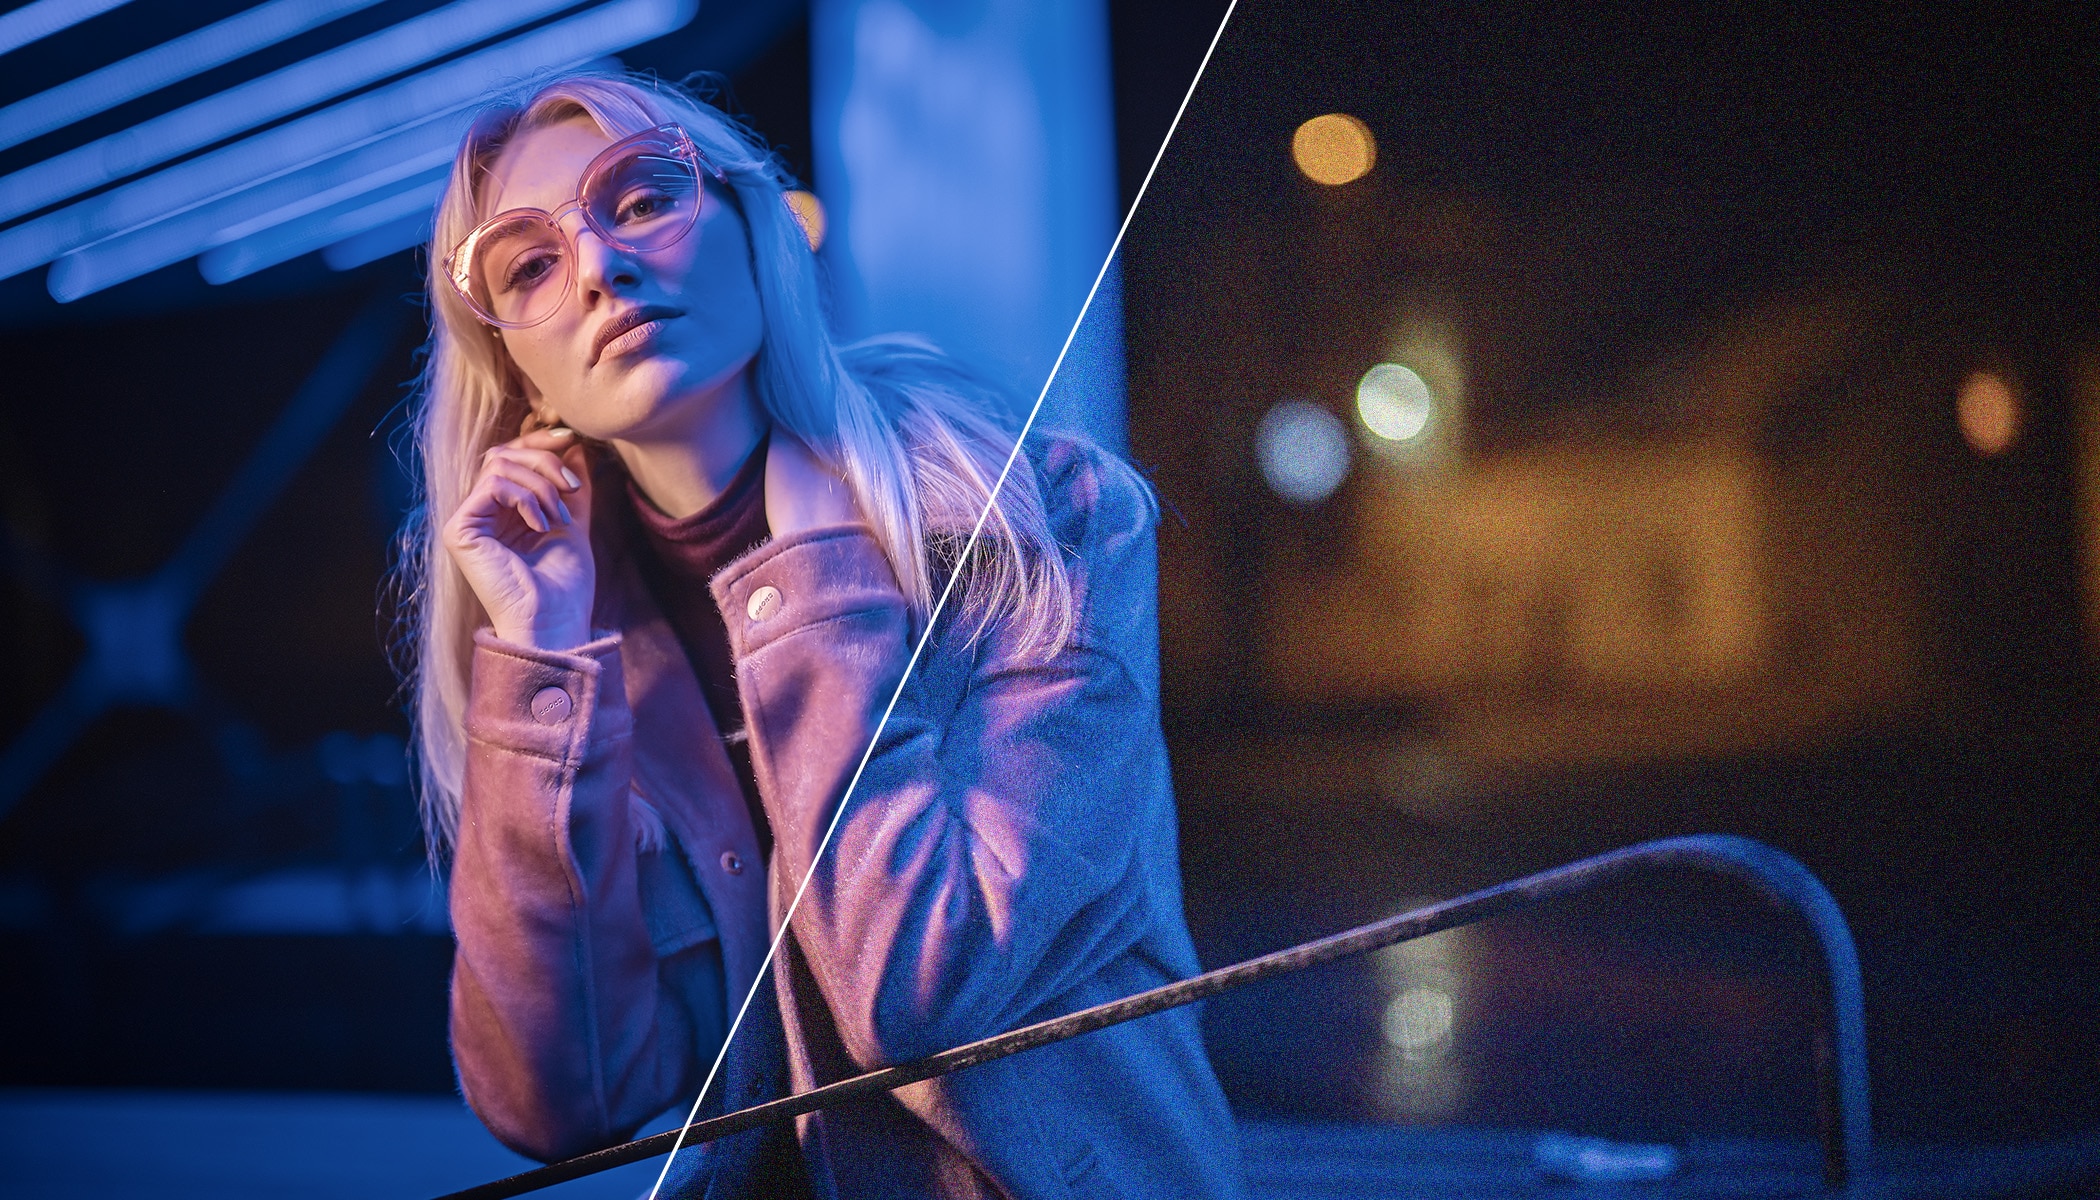
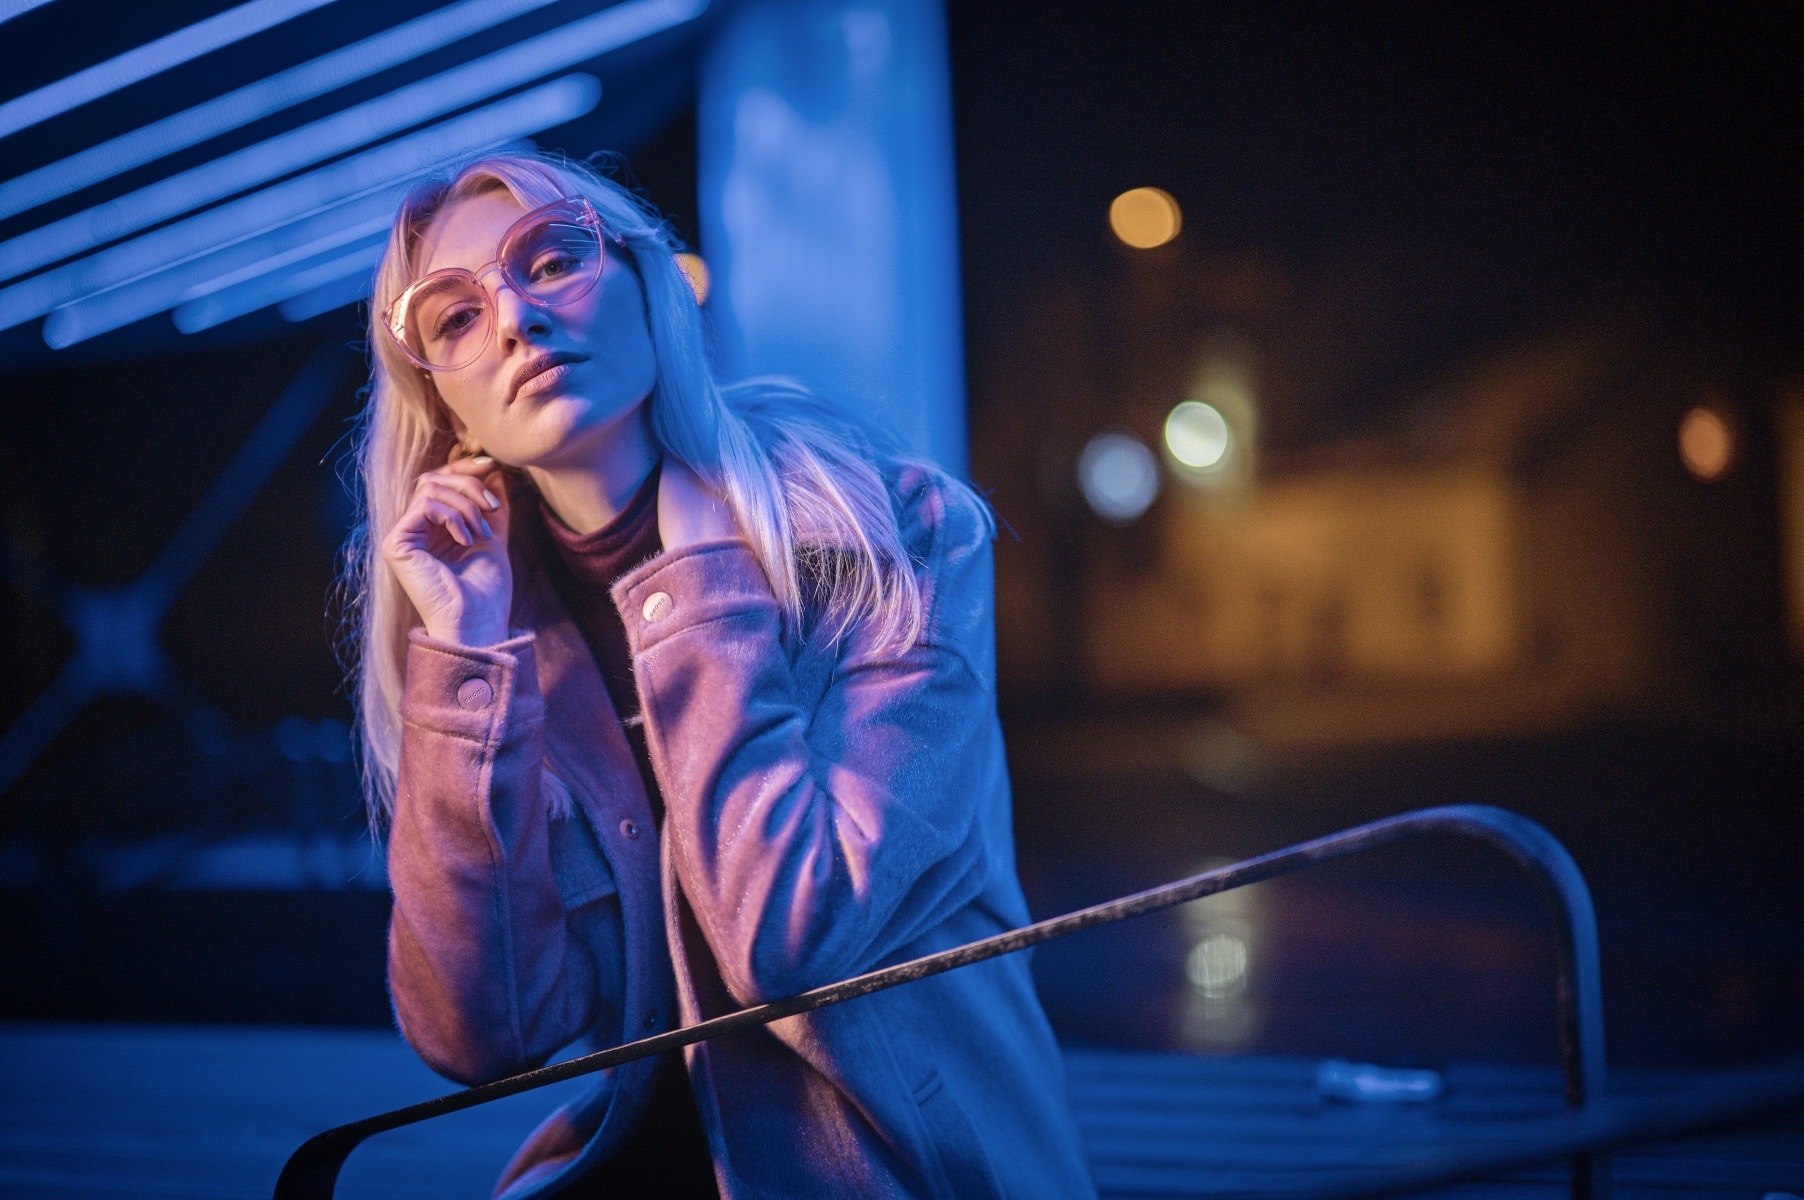
When viewing the photograph in its entirety, the result of the noise reduction isn’t so obvious. However, when printed in larger formats, it would be visible.
After zooming in we can see a substantial difference before and after reducing noise
Sharpening the photo
It’s a good idea to find a good balance between reducing noise and sharpening. Despite the use of Detail preservation, the result may still appear less sharp. For this reason, the Sharpness settings group comes right after Noise Reduction.
The Sharpening strength slider determines how much the edges, or contours of the photo are sharpened. Feel free to be generous with this setting and sharpen more.
However, do be careful with Sharpening radius. This determines how large of an area is sharpened. A larger radius gives you an unnatural result.
The Smart Sharpen method of sharpening also offers the option to Preserve contours. This ensures that sufficiently sharp edges are no longer affected by sharpening and only the less sharp parts of the photo are affected.
The last slider is Sharpening threshold. It determines how different the colors must be in order to result in sharpening. As a general rule, setting very low values is sufficient. However, if the image contains strong noise, increasing this value may lead to sharpening (and overly emphasizing) the noise.
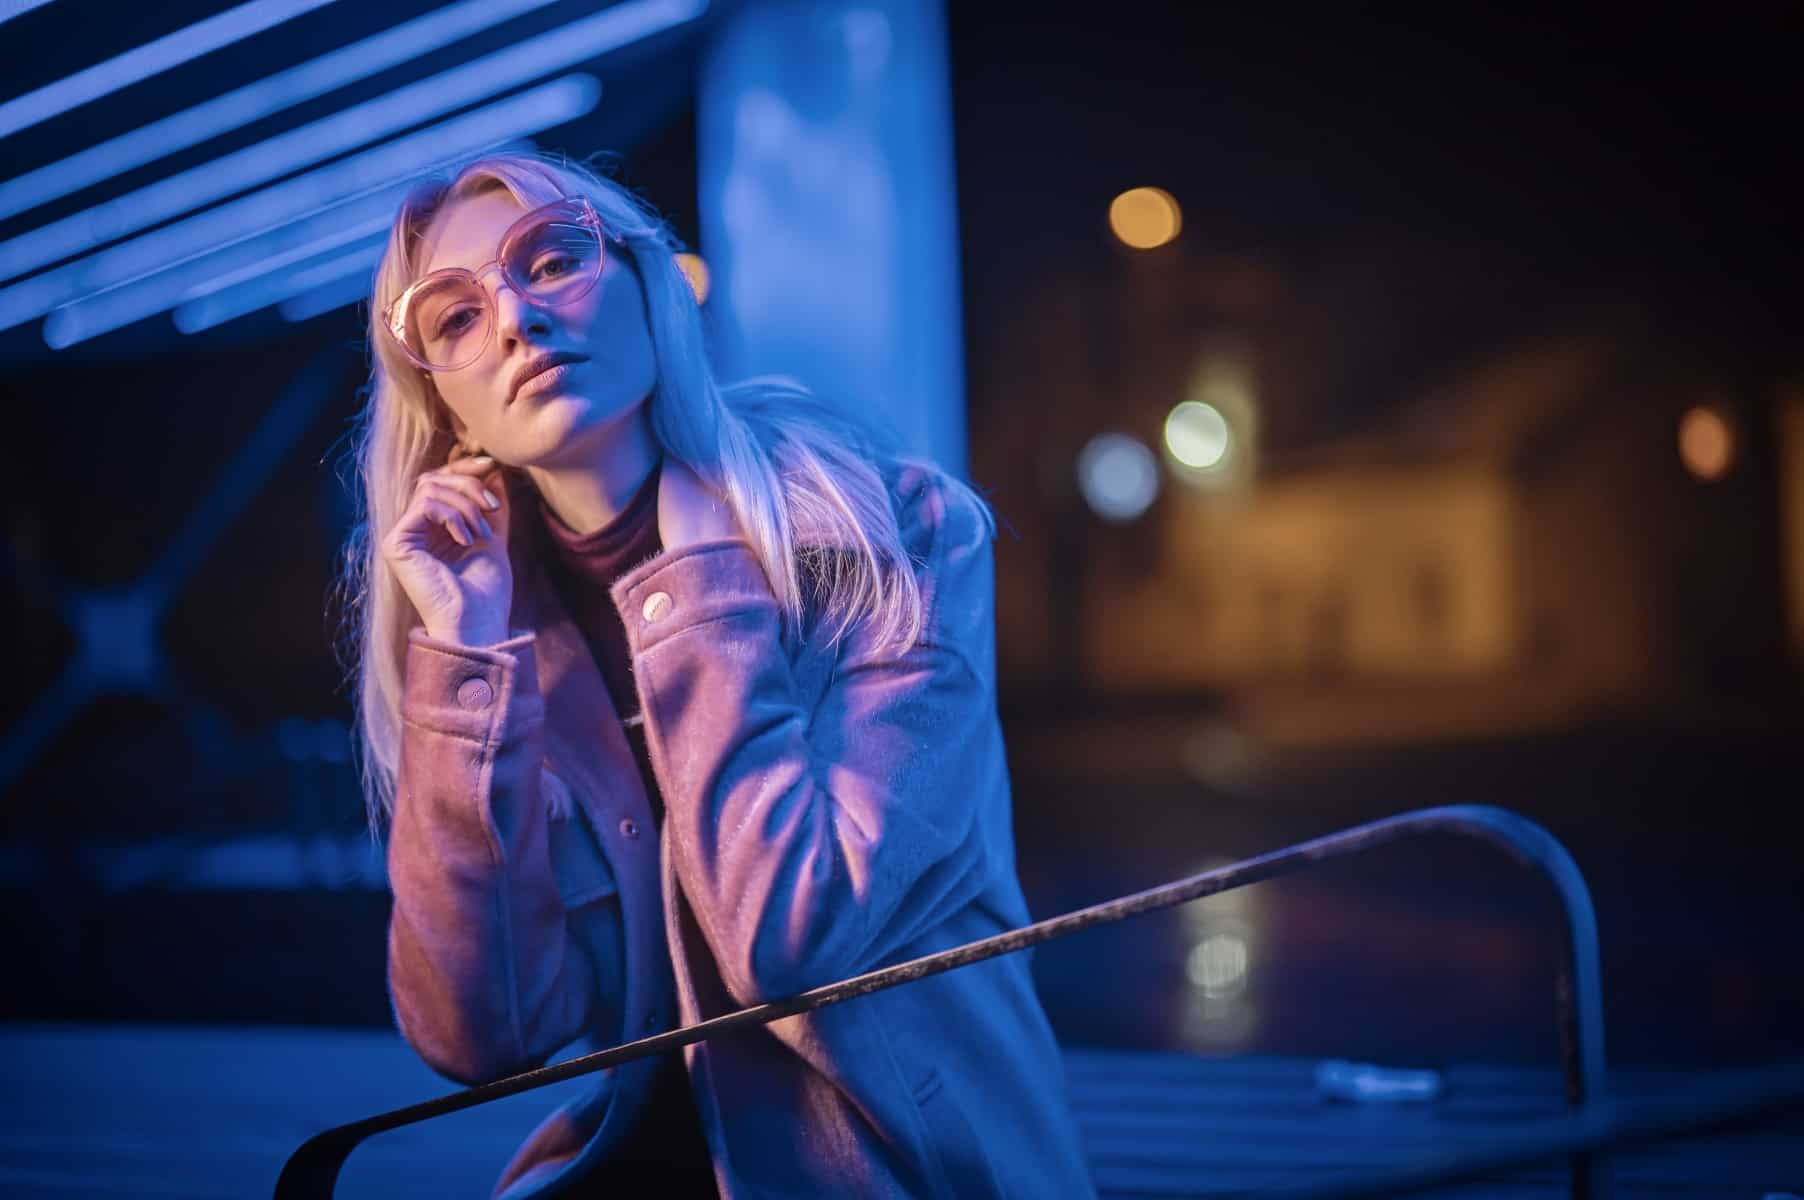
With the use of Sharpness tools, sharpen edges to cover up any soft contours that remain as a result of reducing noise
I most love taking pictures of people. Weddings, portraits, graduation photos, balls... I am always in search of backlight, but I enjoy various types of lighting and mostly like to use shorter lenses. I love my Nikon, my guitar, and a kebab. You’ll find my photography on my website or on Facebook.









There are no comments yet.