Take Striking Portraits Through Glass: Try Some Unique Portrait Photography in the Comfort of Your Home
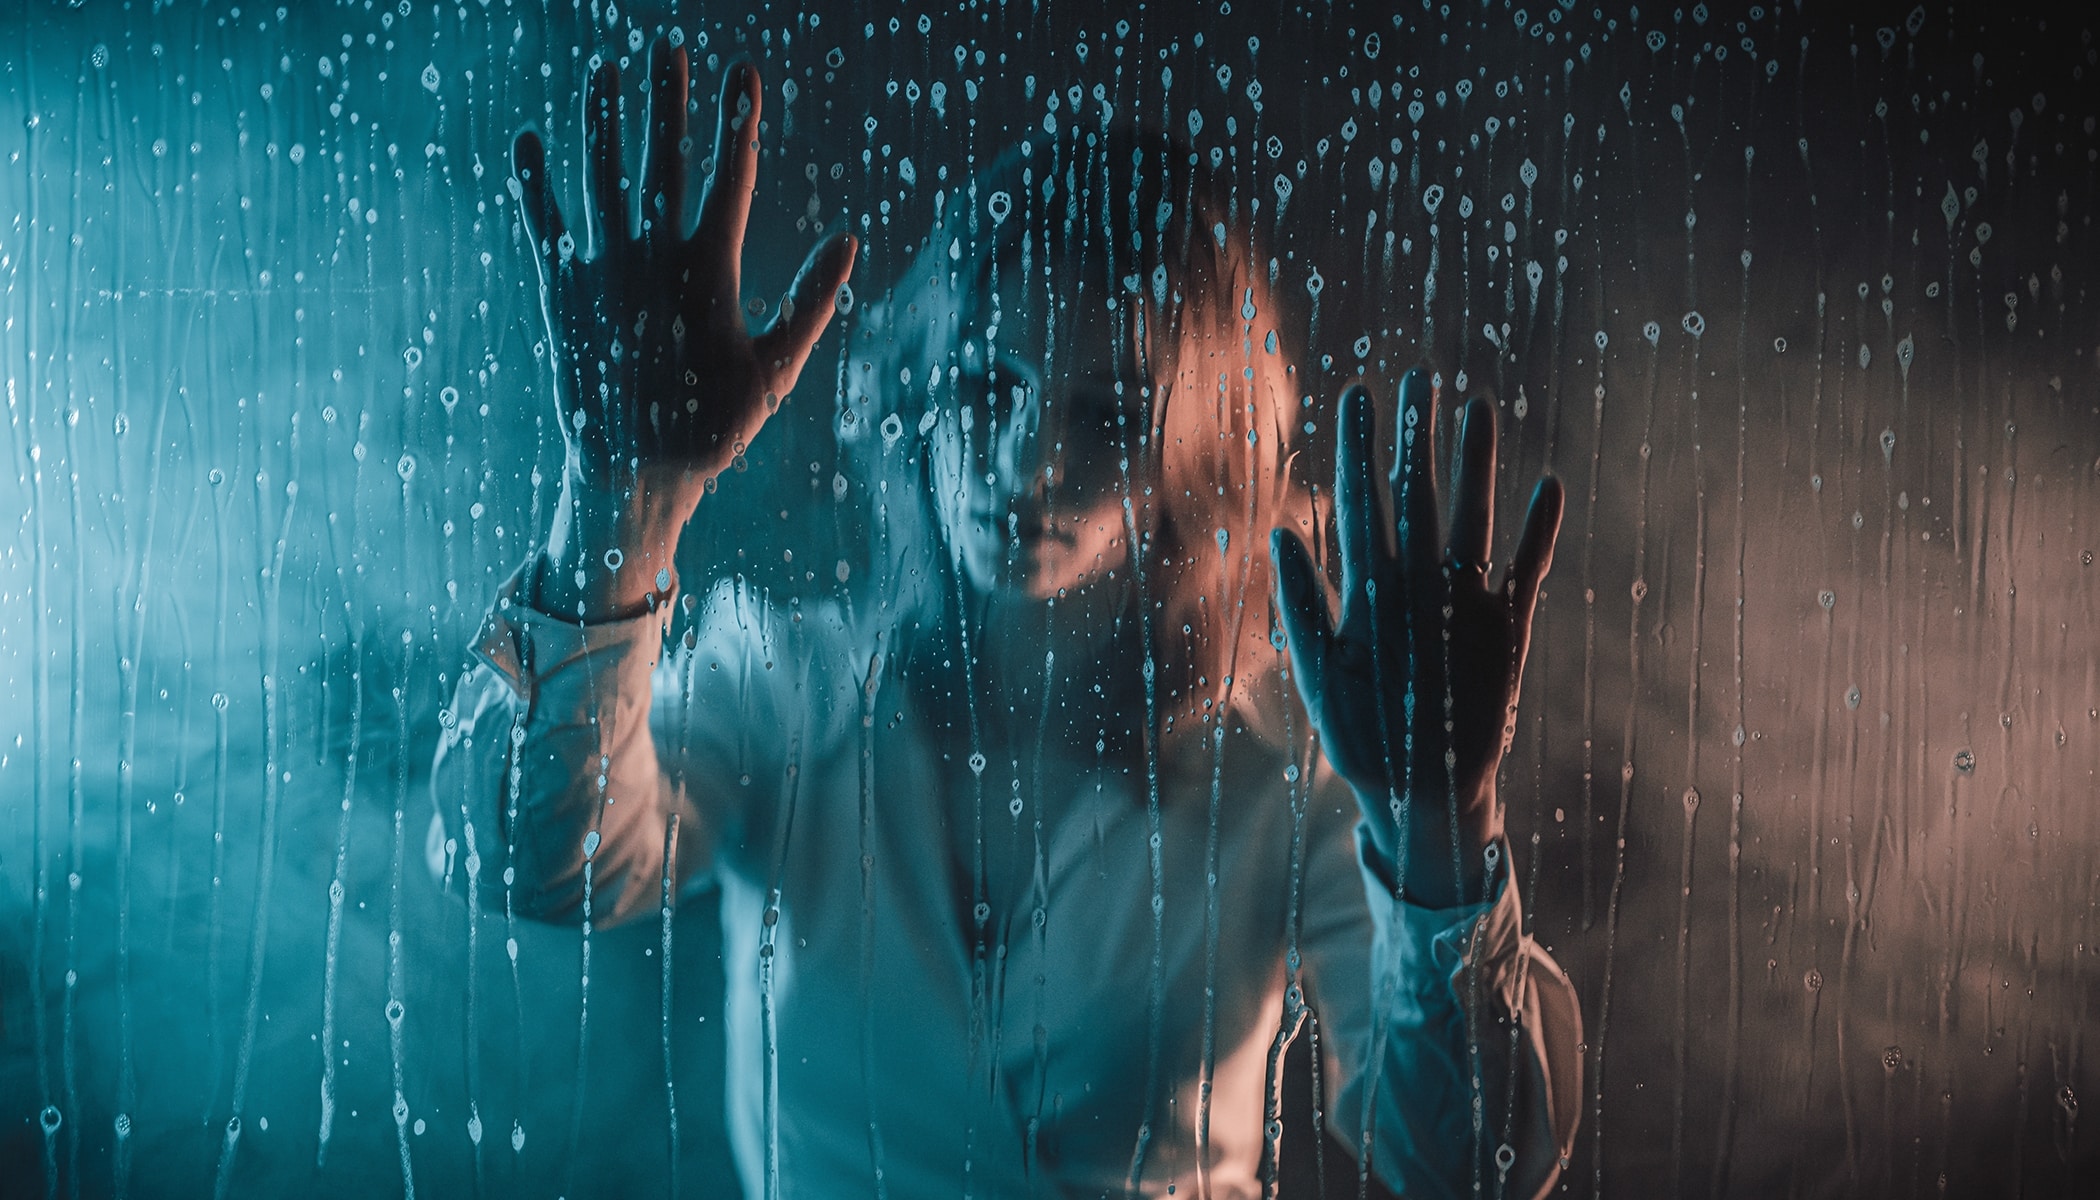
Taking pictures through glass is popular for e.g. lifestyle portraits. Your photo ends up with impressive glints and reflections of objects on the street, and you get an interesting view of your model. This time around, we’ll be covering a somewhat unusual approach—we’ll be showing you how to take impressive portraits through dew-covered glass in a home environment. You hardly need any extra items for this approach, and you’ll simply love the portraits it gives you!
We’ll show you how to take dramatic and impressive photos in the comfort of your home. You don’t need a studio or a special environment. All you need is a window and a few minor items. Naturally the bigger the window, the more possibilities it gives.
If you don’t have a suitable window, try a shower or a glass door, or buy a sheet of plexiglass and fasten something to it.
All You Need Is Light, a Spray Bottle, and Mist
Taking pictures in this style isn’t technically demanding at all. The foundation is to create a dark and dramatic atmosphere by producing droplets on glass and minimizing background distractions.
If you decide to shoot at home and you don’t want to clean your whole room beforehand (I didn’t), shoot at night. Then you can light just the foreground and leave all of the background dark. You’ll also need a spray bottle; you’ll be using it throughout the shoot to apply droplets to the glass. And to round out the atmosphere, it’s nice to use a mist generator as well. It’s not a necessity, but it also creates an interesting effect around your model. Without the mist, the surroundings would contain darkness and droplets on glass—that’s interesting too; it’s all up to you what you prioritize.
Dramatic Lighting
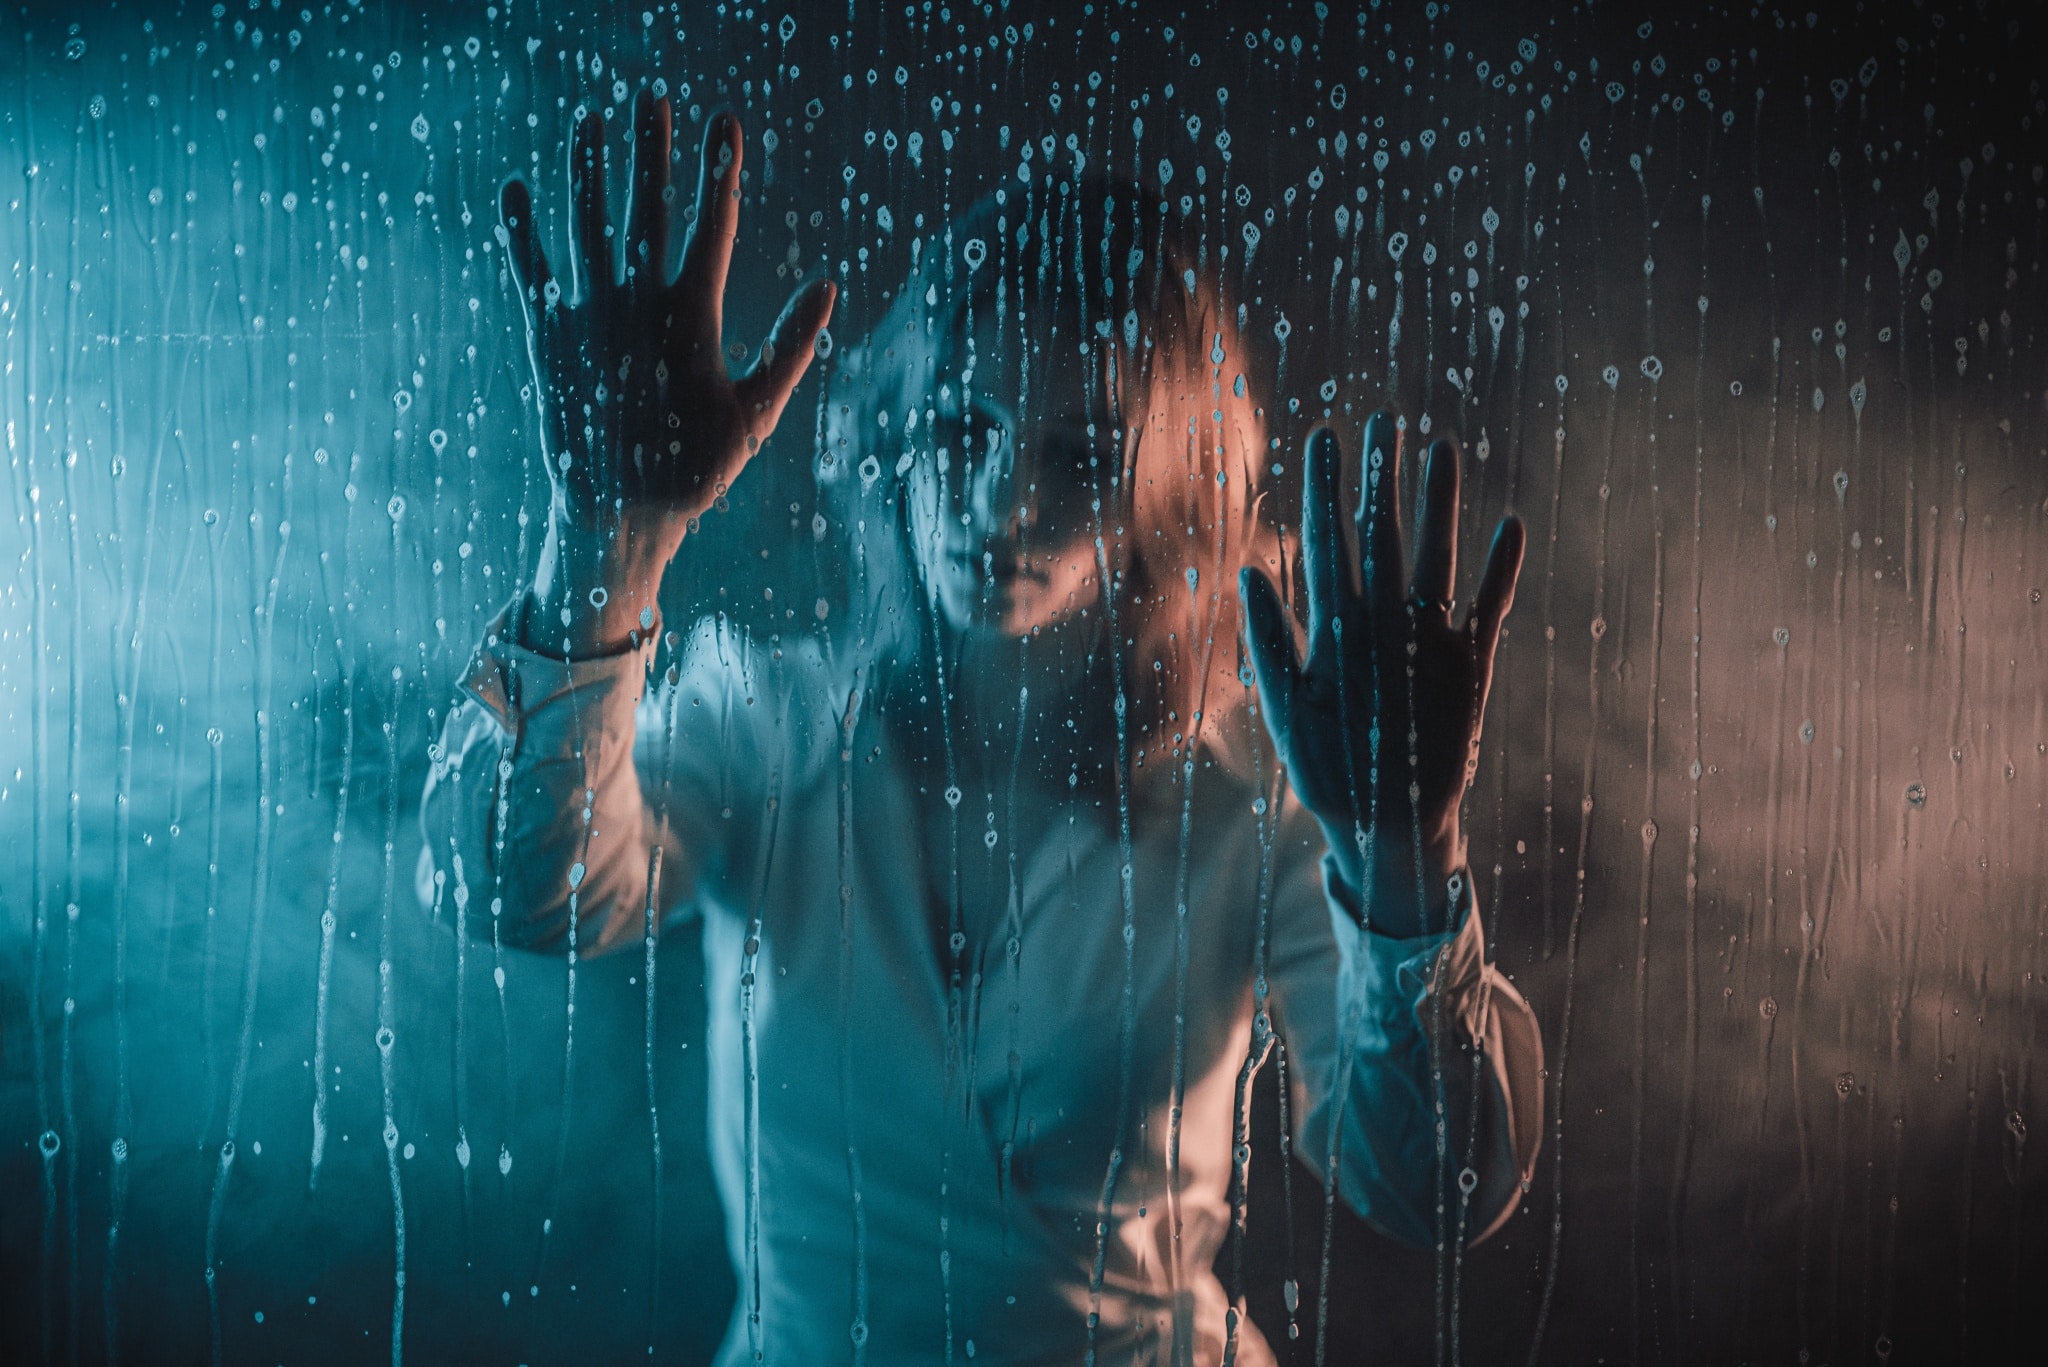
The lights basically have three functions here. First, they light the model; second, they provide some mild lighting facing the camera, so that the water on the glass will be shiny. And the third thing to watch over is that the light doesn’t shine into your background, so that it stays dark.
I chose a lighting angle of 90° from both sides. This is one of the most dramatic combinations, because it produces shadows in the middle of the subject’s face. I supported this effect with RGB light sticks in various colors. But for example flashes with colored filters or lamps with one warm white incandescent bulb and a cool fluorescent bulb, or tube, on the other side would work just as well.
Cleaning Agent, or Water?
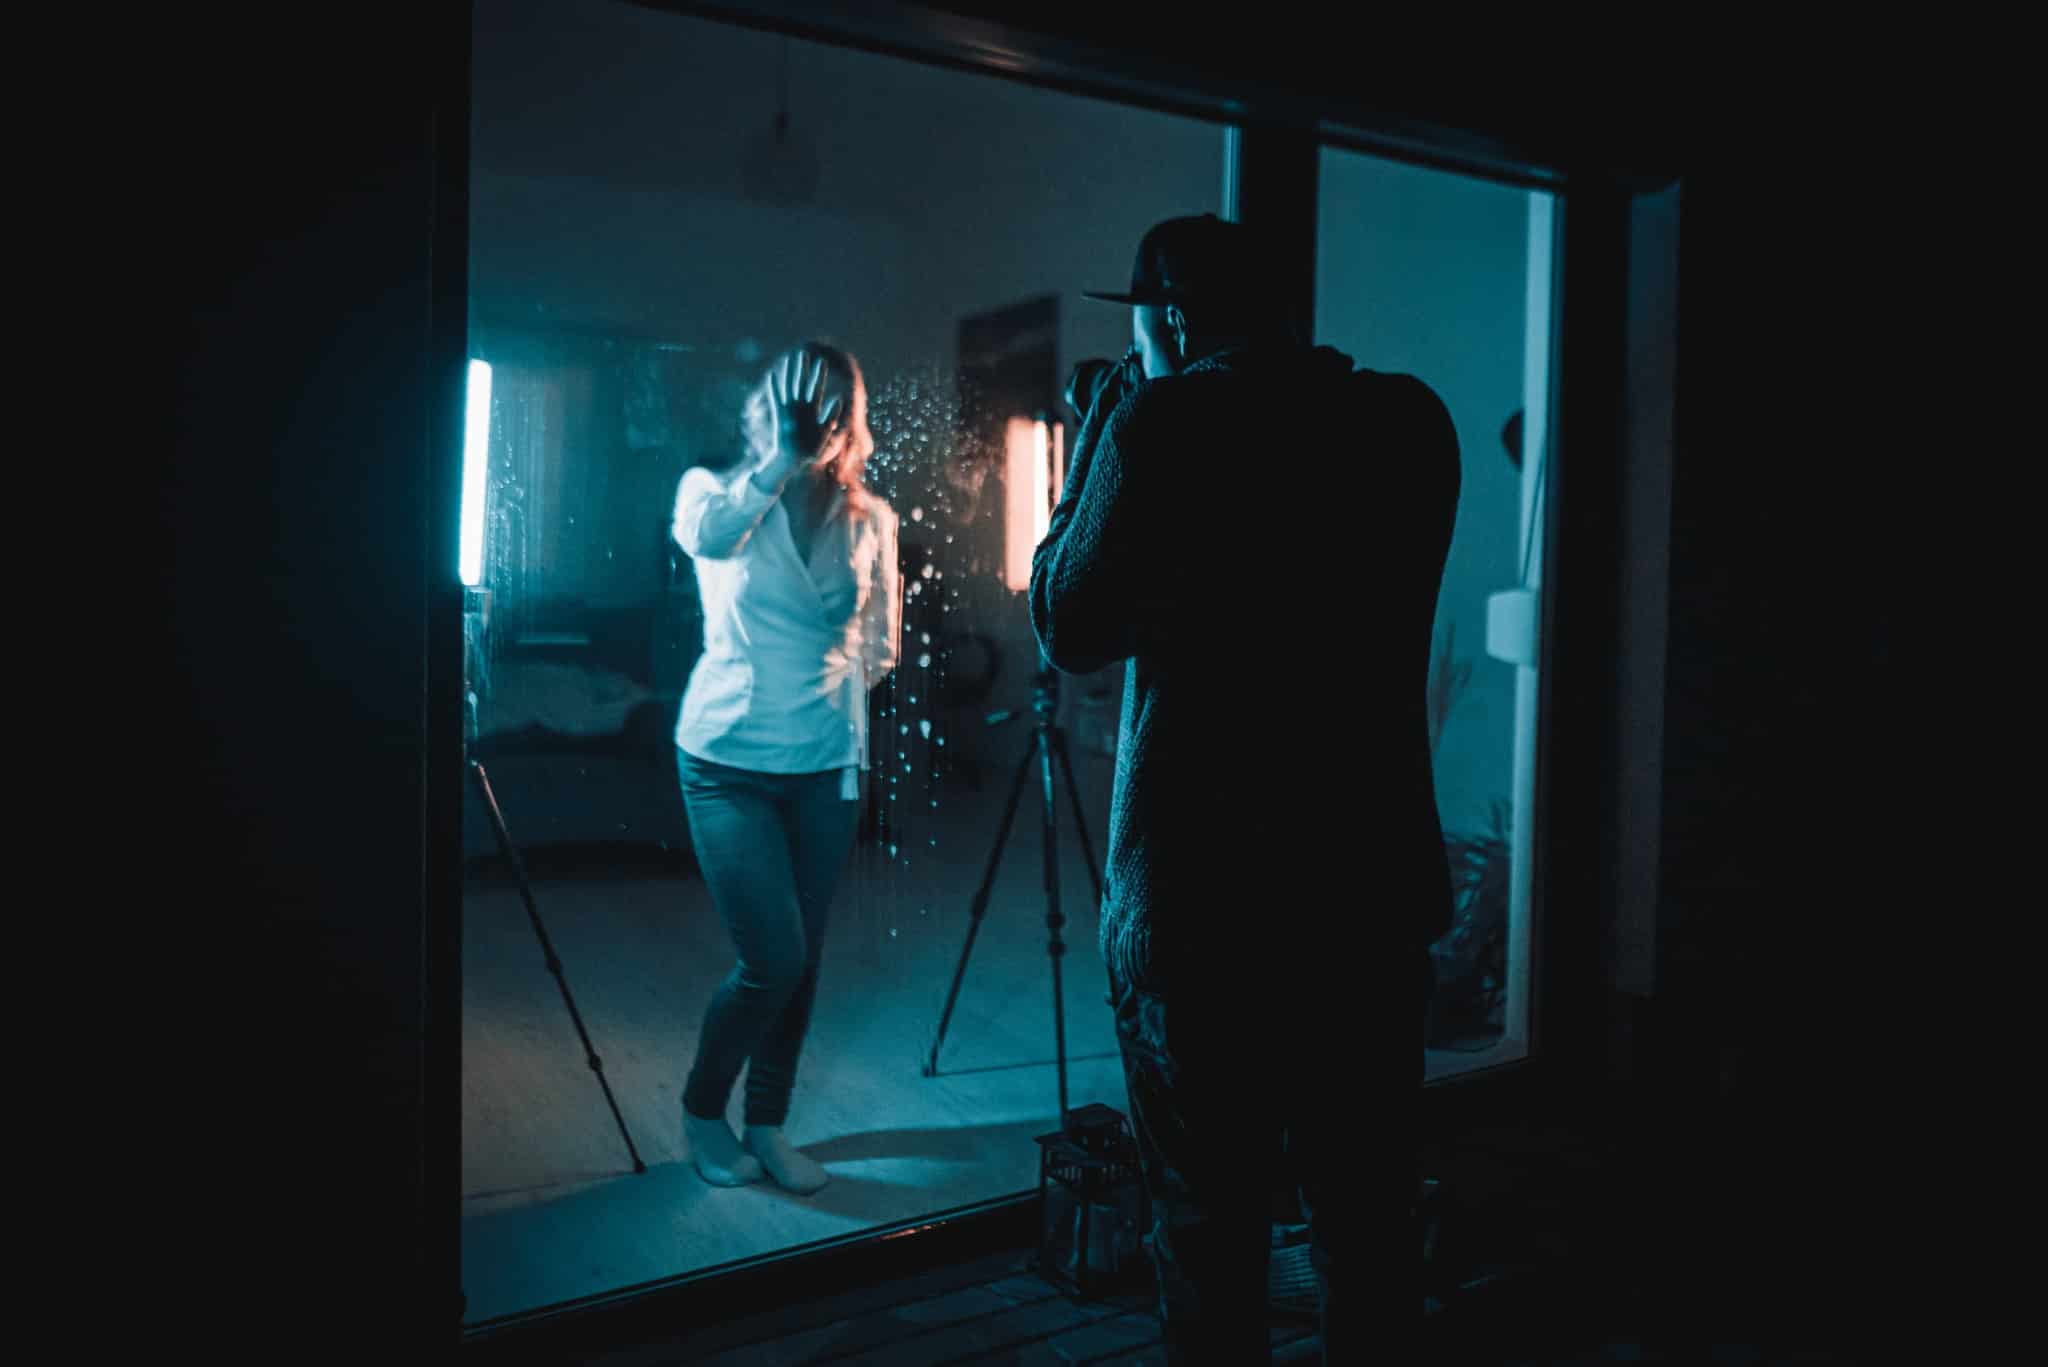
I first tried ordinary water on the glass, and it does produce an interesting effect, but it’s only a gentle texture with a blurred portrait in the background. It’s definitely a nice solution, and it’s a way to simulate for example the situation where a girl is watching rain through a window. But I had something more dramatic in mind.
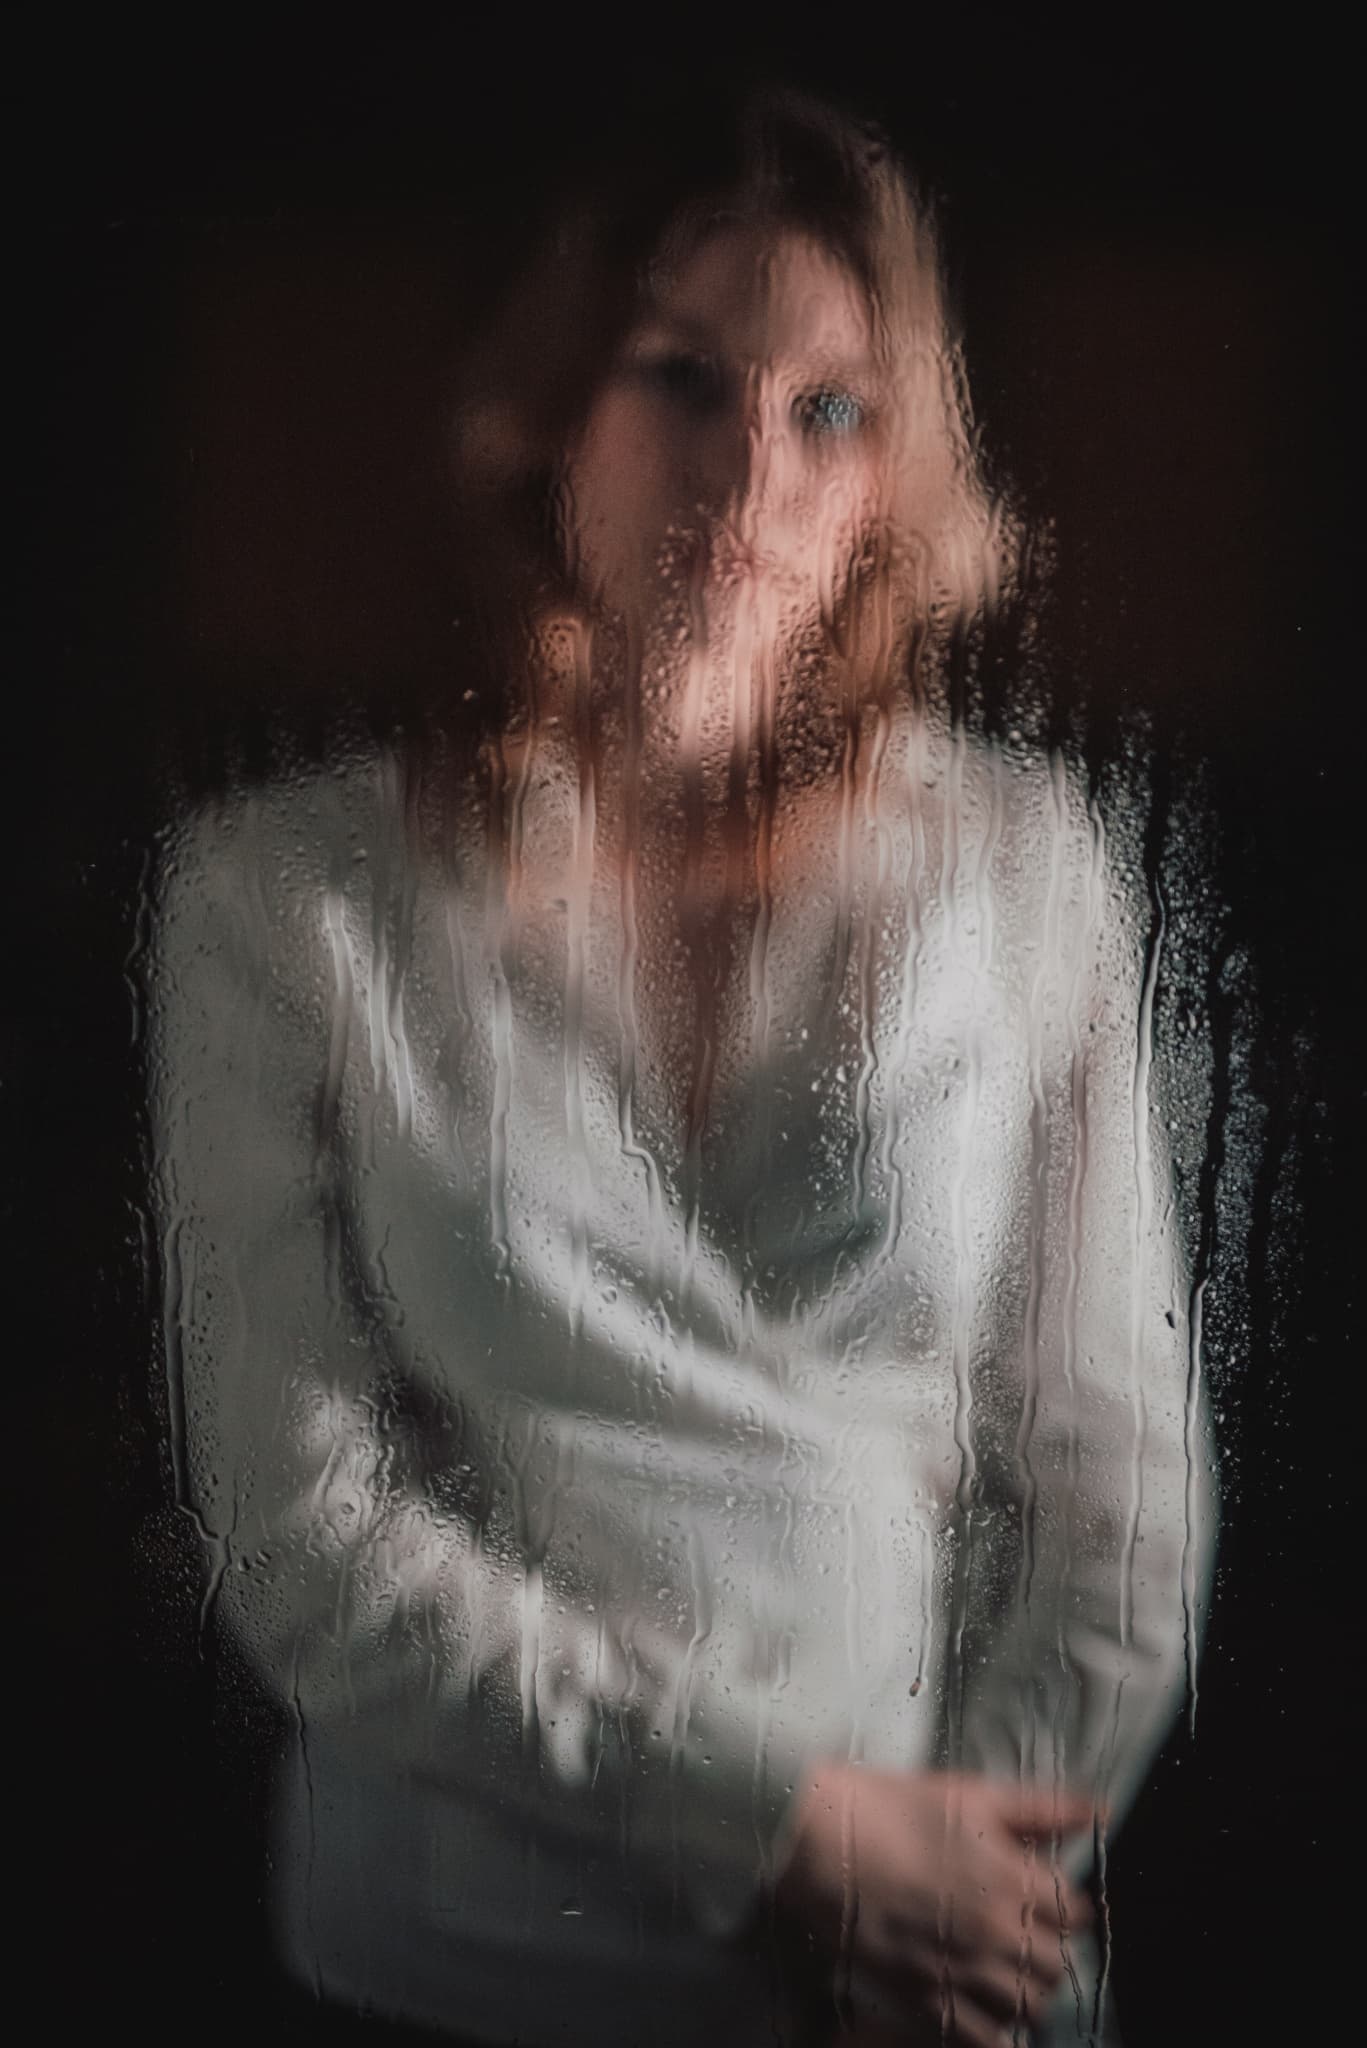
So I used a window cleaner. It leaves foam behind in addition to the water, and the bubbles are reflected off of the glass much more strongly. And it’s also much easier to focus on. It all would definitely also work with other cleaning agents, bath foams… in short anything that makes any kind of bubbles.
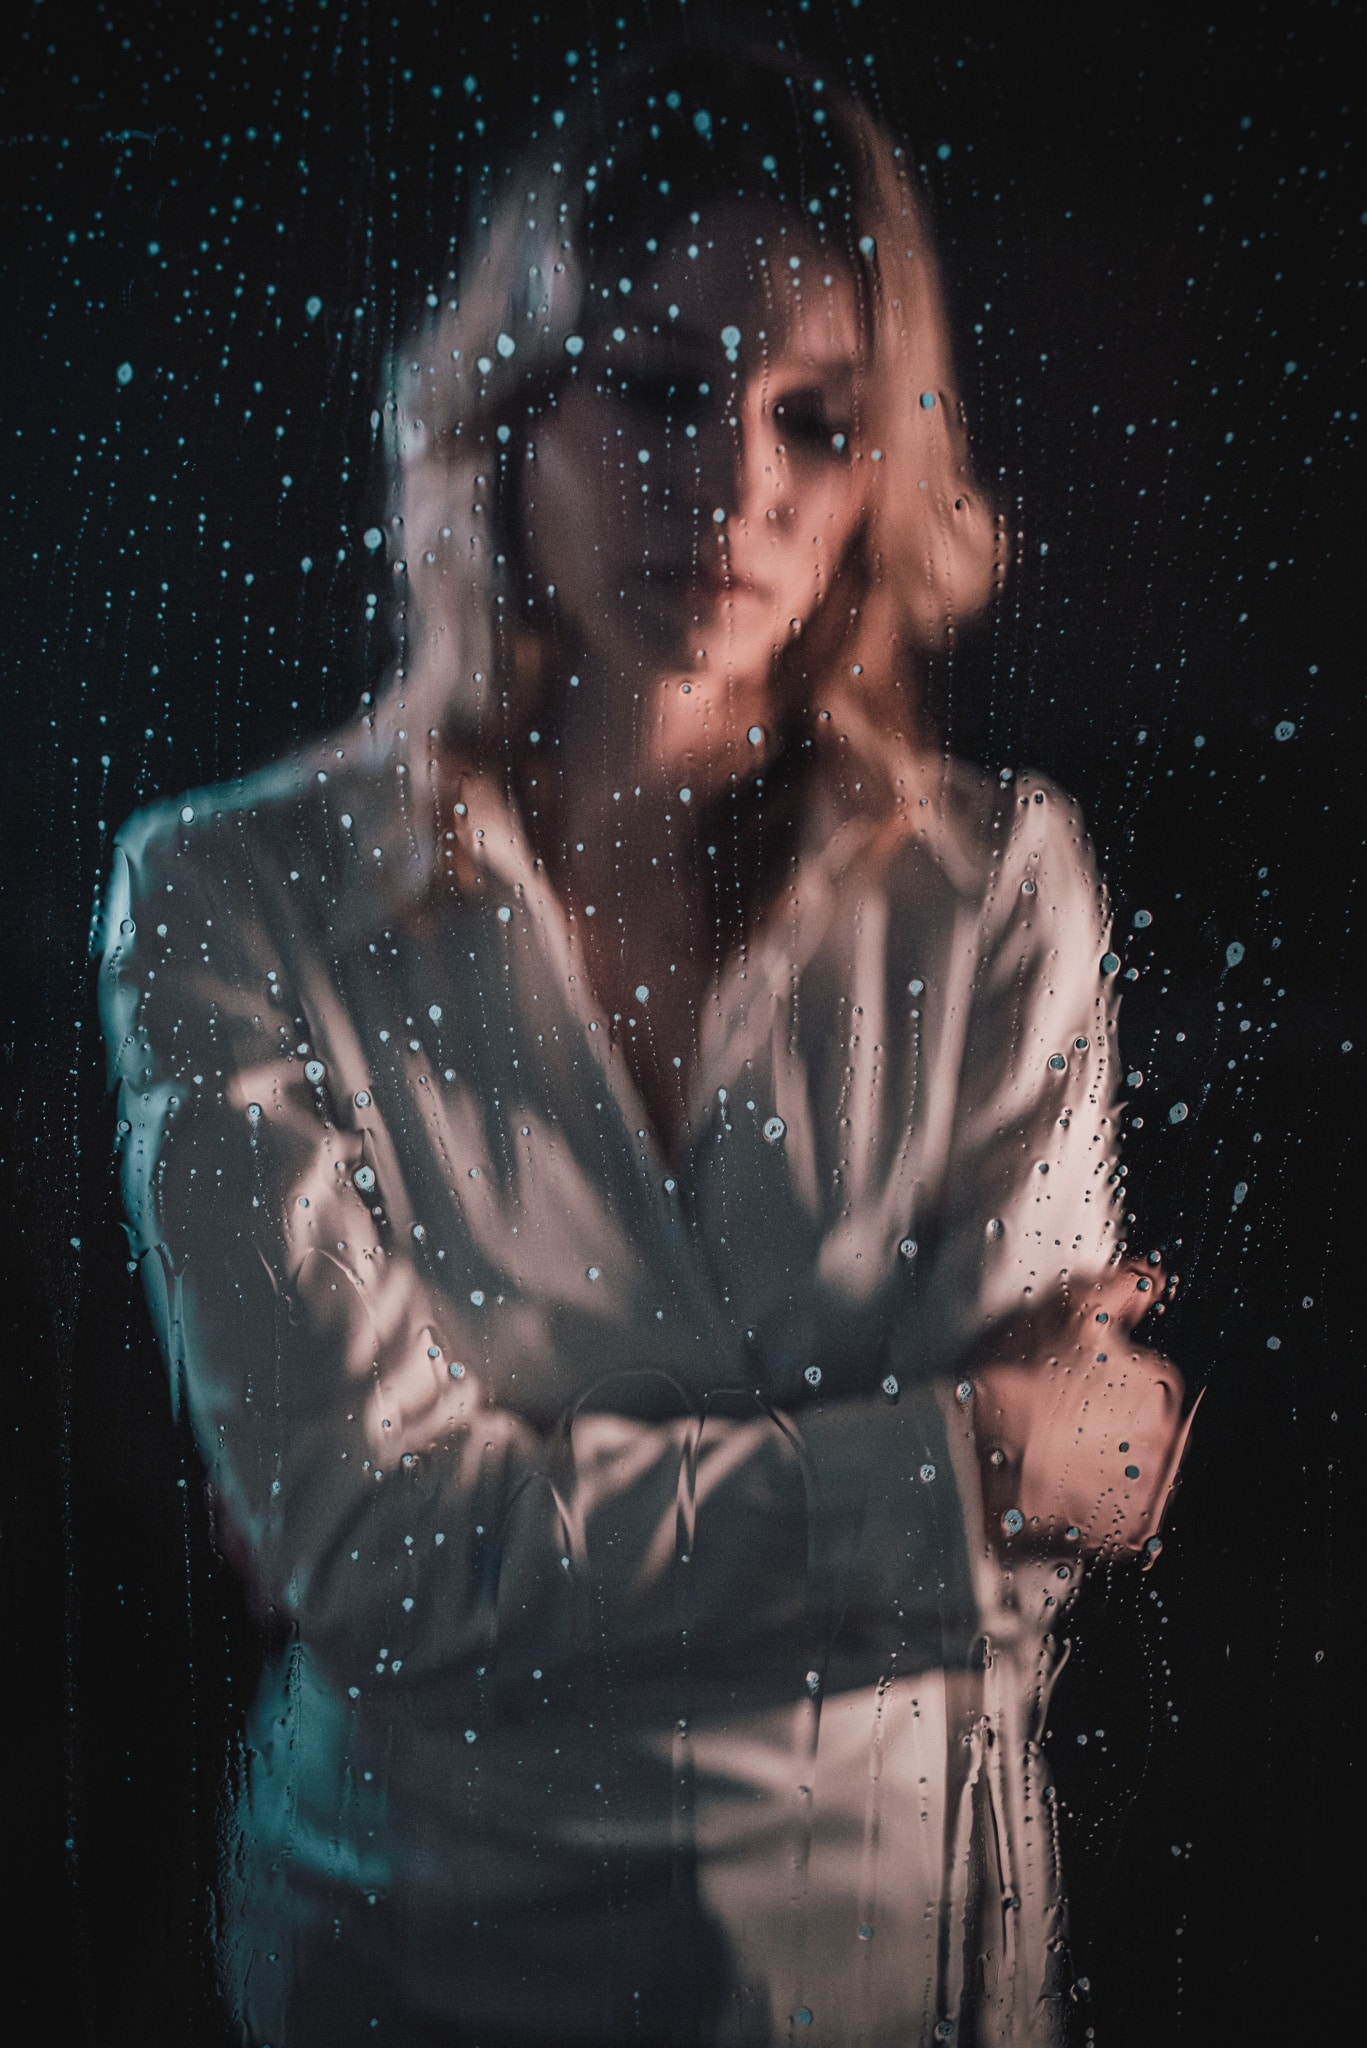
Experiment With Different Distances from the Window
Assuming that you’re focusing on the window, the depth of field for a 50 mm lens with a wide-open aperture works out to just a few centimeters. So everything that isn’t right by the glass will be blurry. And the farther from the glass your subject is, the blurrier they will be. So you can do things like create an interesting effect where they’re gradually drawing closer.
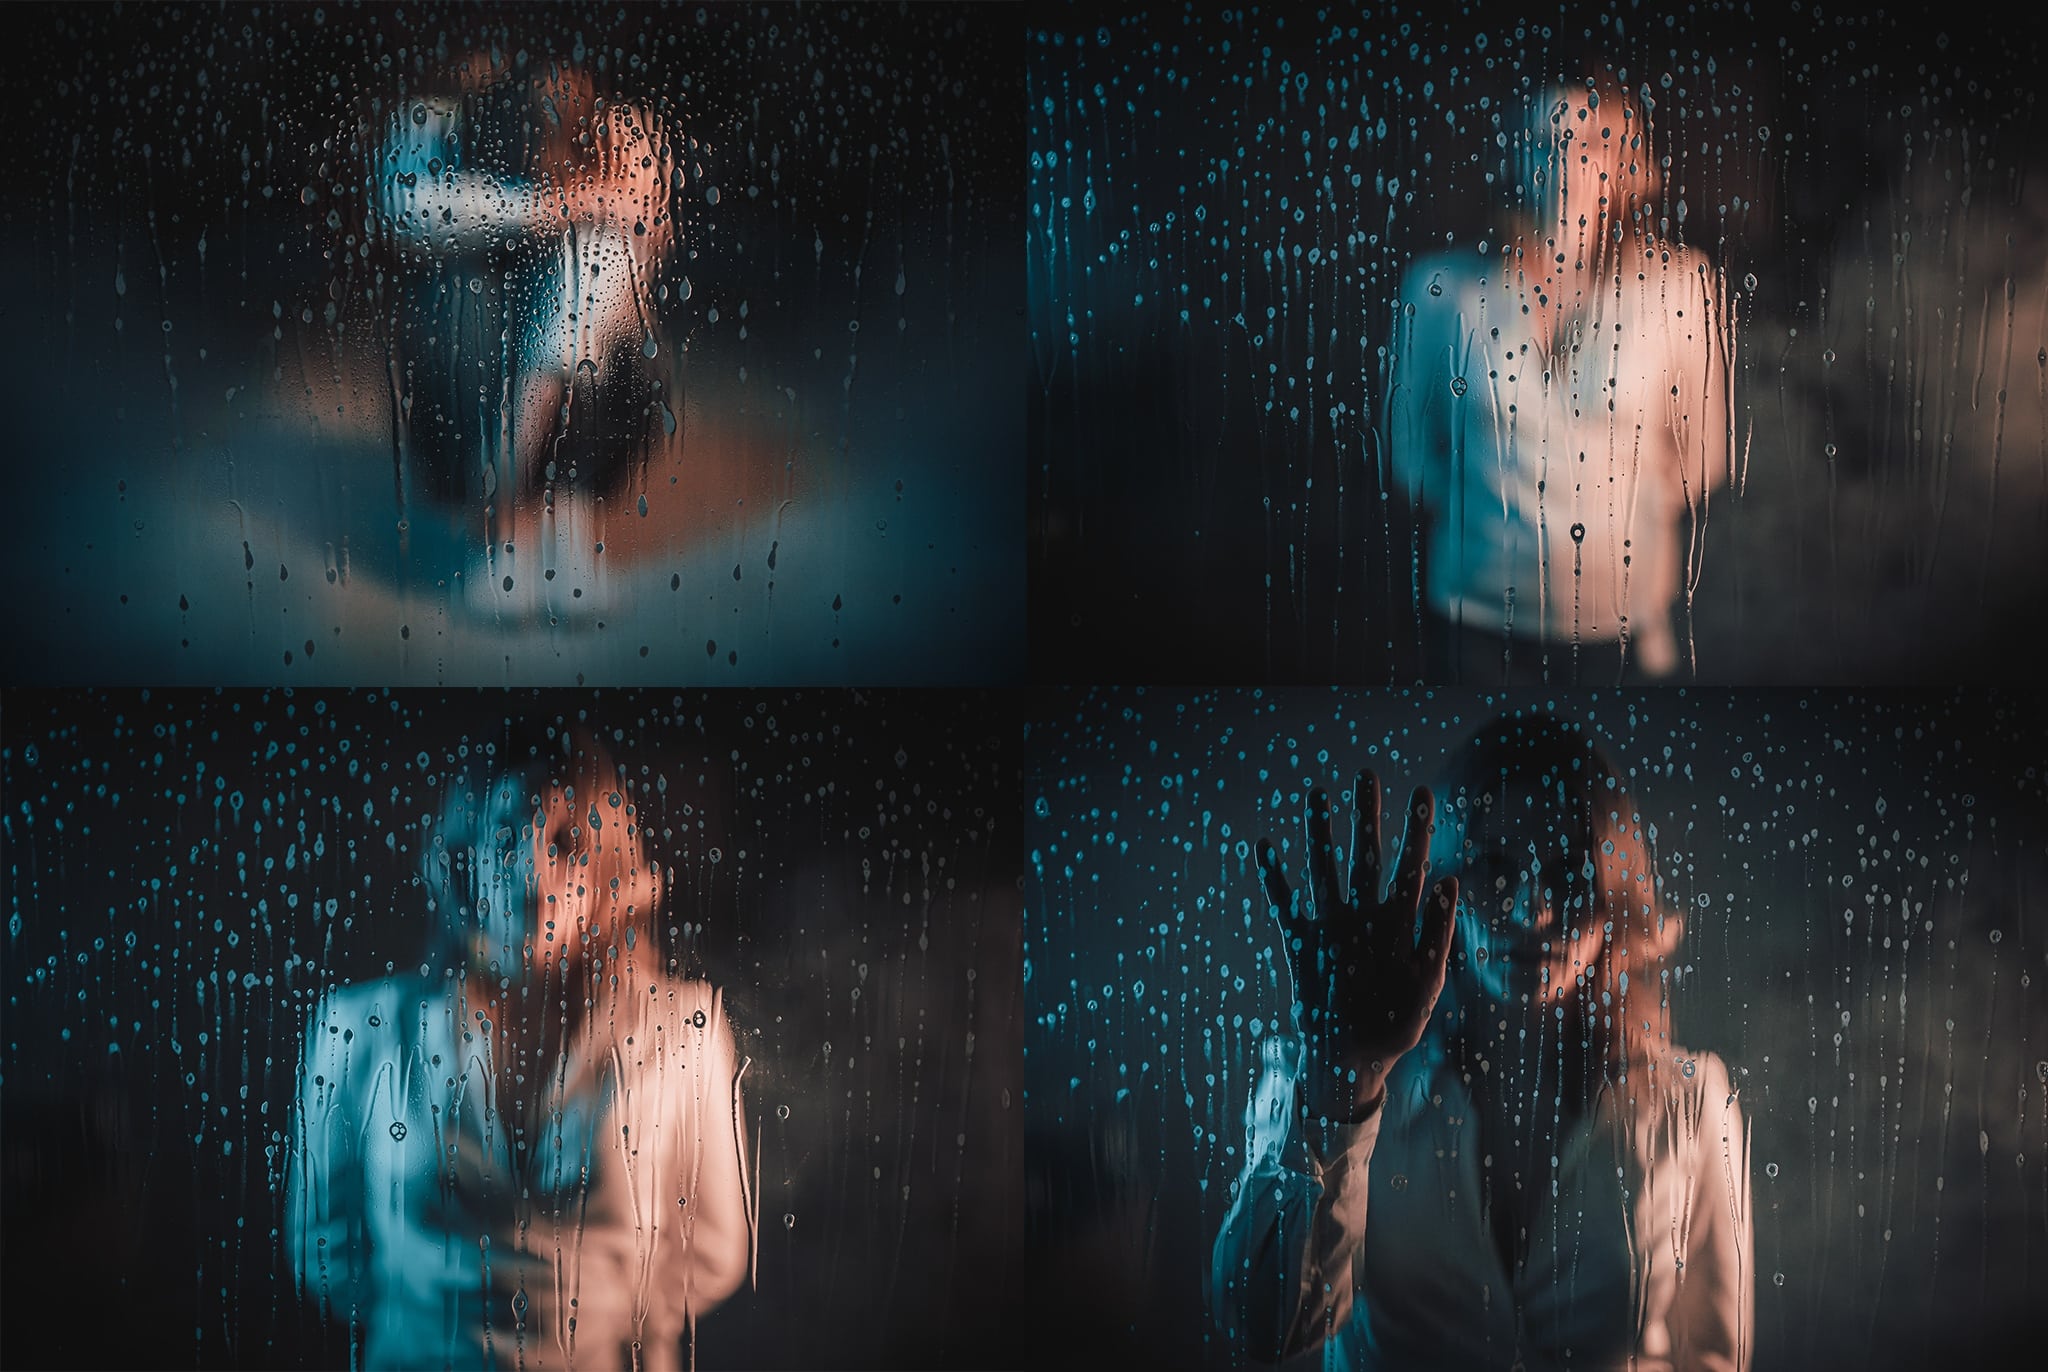
Bubbles on the Photographer’s Side of the Glass
I also checked out whether it’s better to spray the glass from inside or from outside. Considering it was windy outdoors and we were using a mist, I left the model indoors. And to keep control over the amount of bubbles on the glass, I applied the spray from my side. That way I could focus on the poses, and it also meant sharper bubbles than if the camera were viewing them through glass.
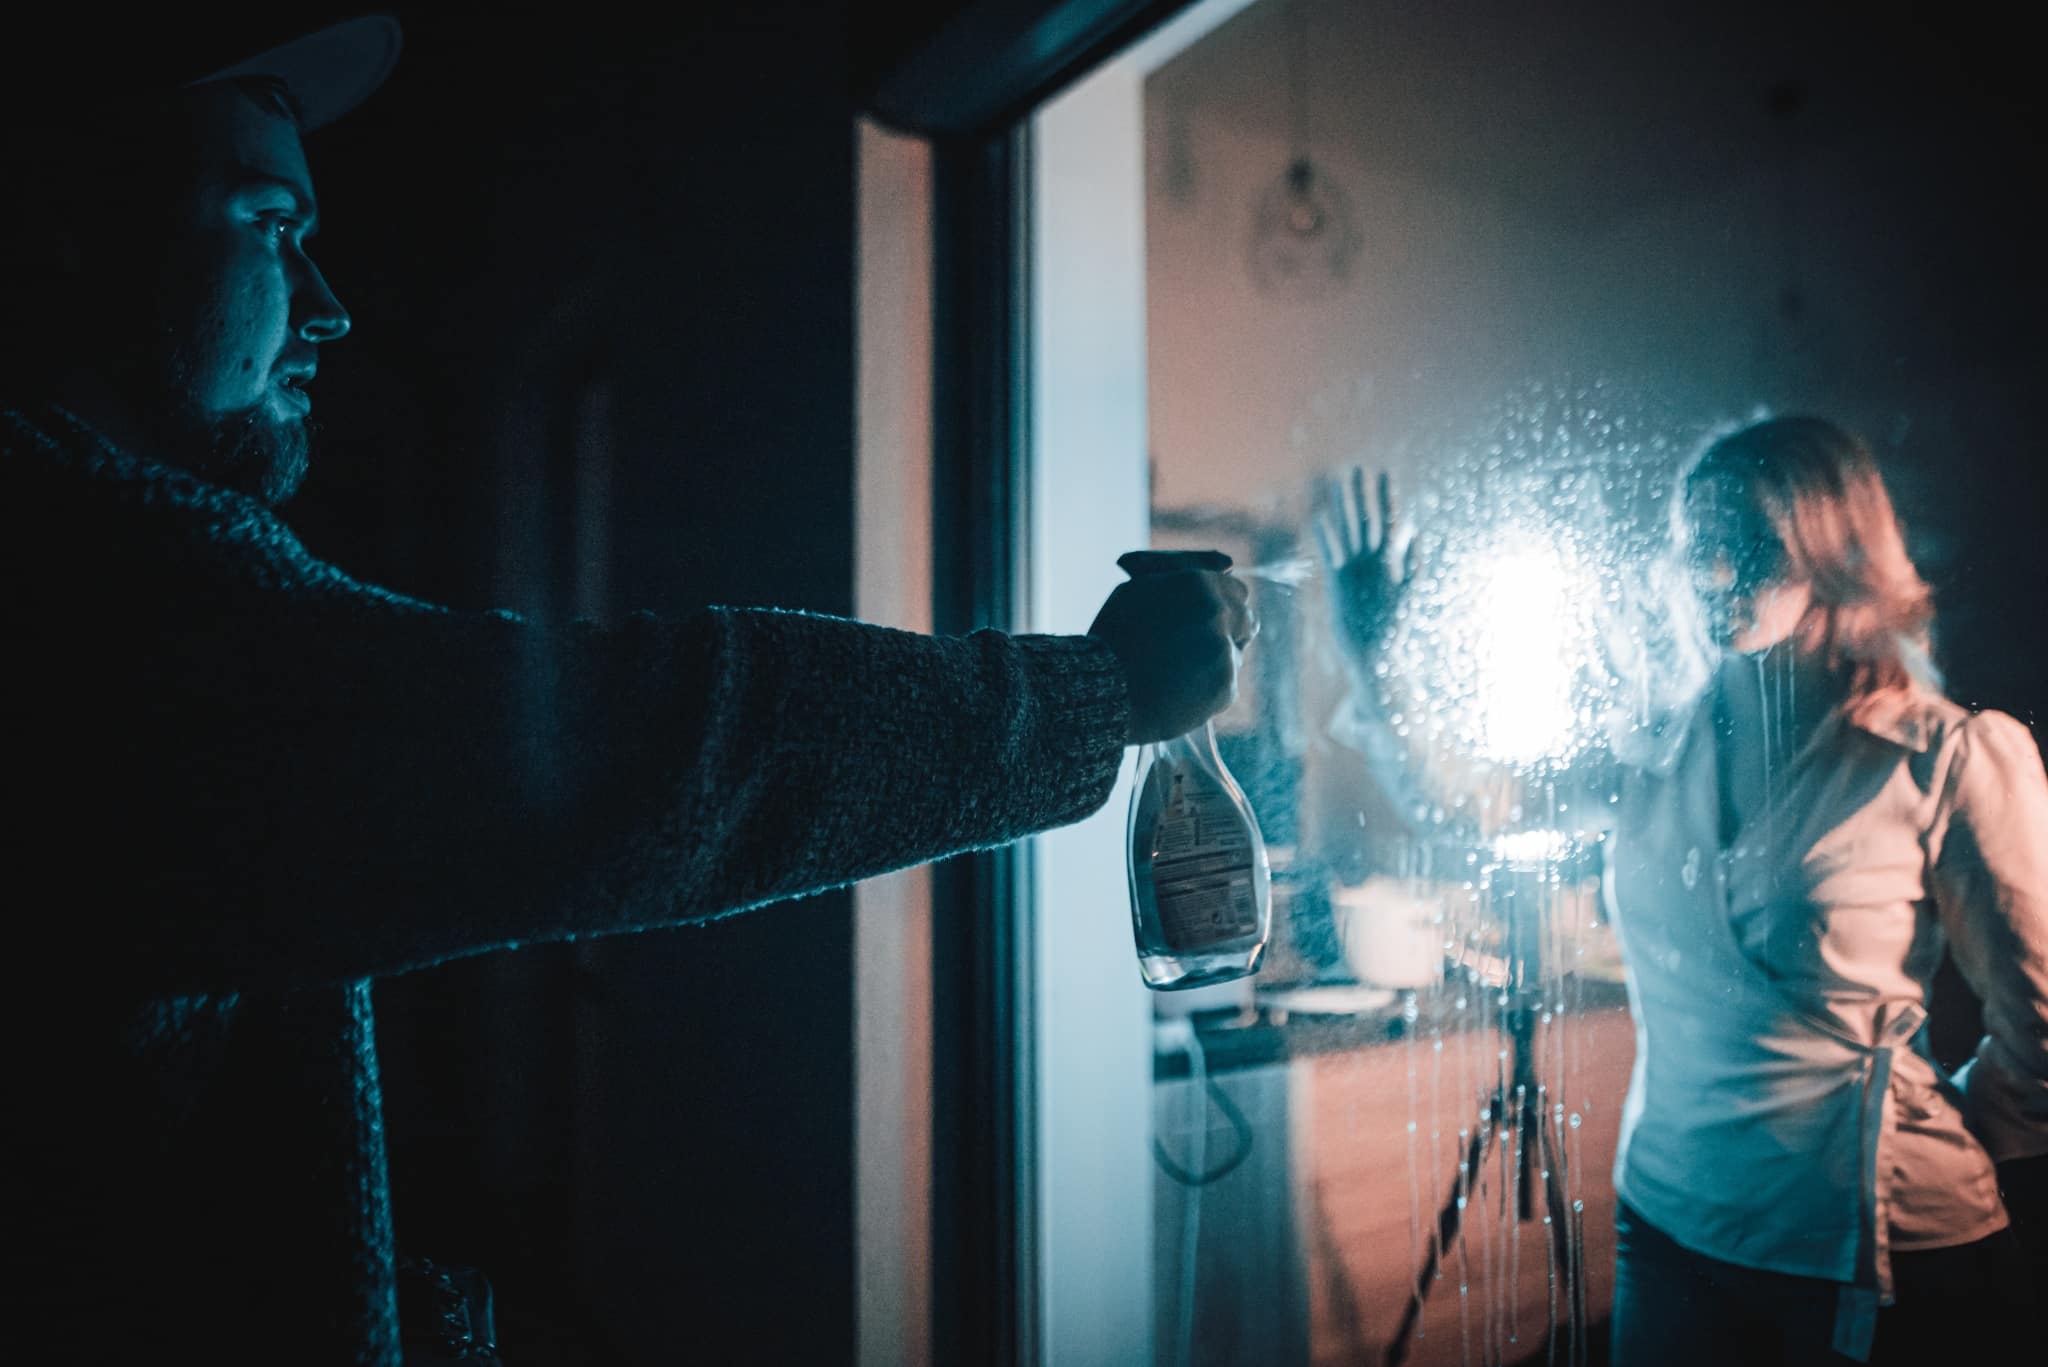
But that produced a problem when we wanted to make it look like the model was wiping the glass with a sponge, because the foam was on the other side of the glass. But it’s a solvable problem. All you have to do is take a second sponge and wipe the stripe from the outside. Then just have your model quickly put their hand on the same place from the inside before the drops drip down.
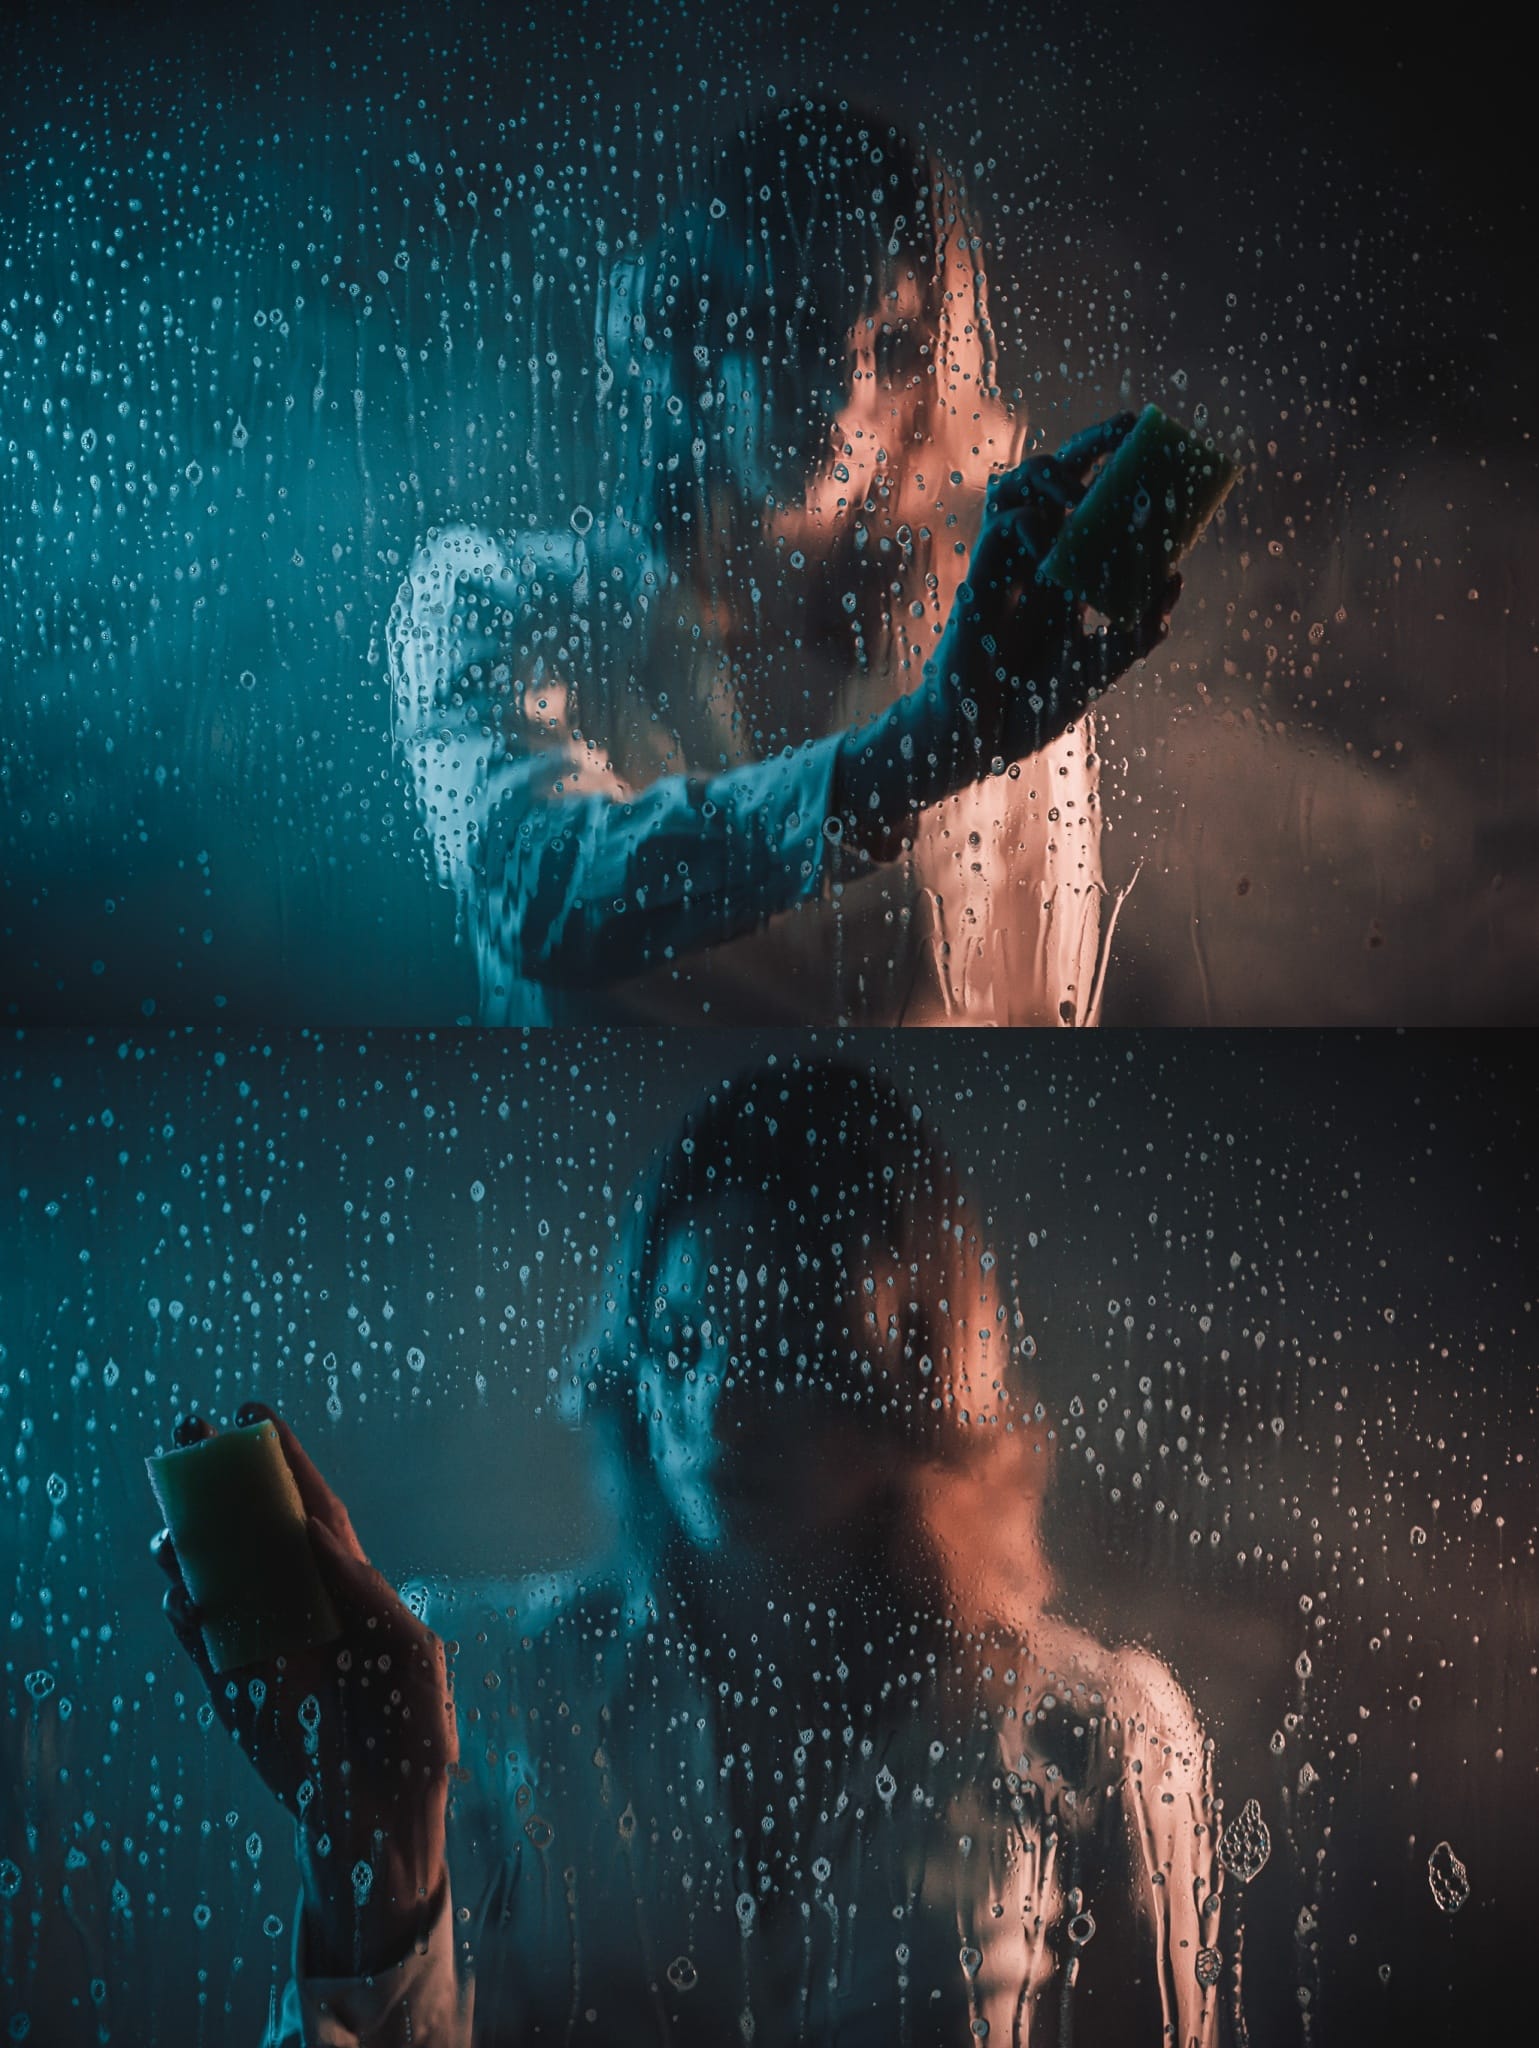
Not Every Photo Has to Be Straight Through the Glass
If you take pictures at a slight angle, that makes the bubbles a bit more dynamic, because the bubbles on the sides will be mildly blurry. This shifts the plane of focus, making it no longer run parallel to the glass.
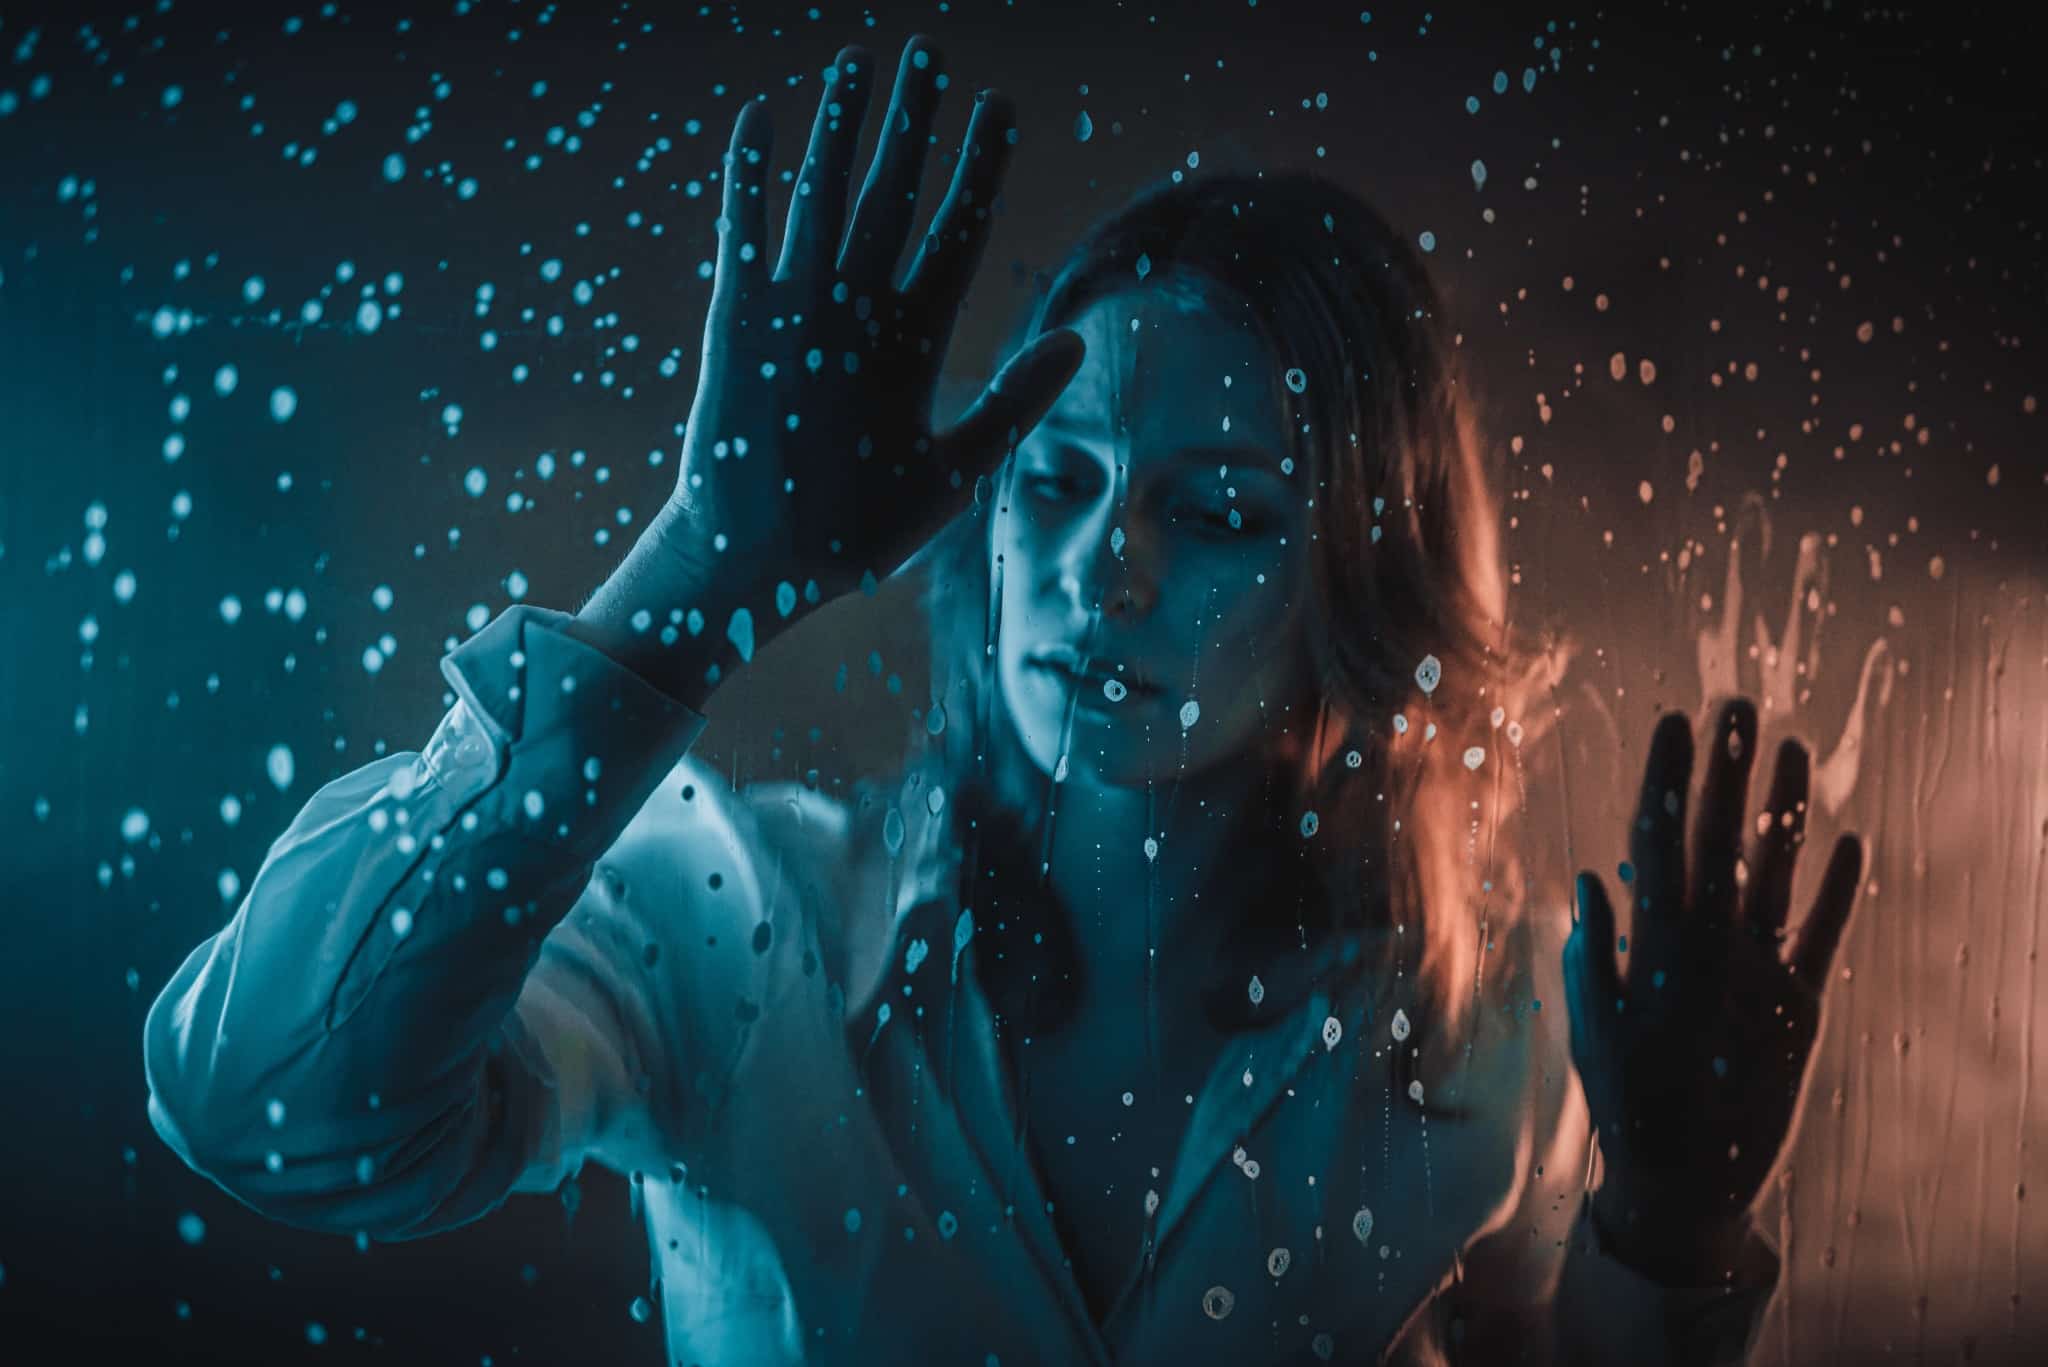
Colors and Dramatic Lighting Are Attractive for Collages
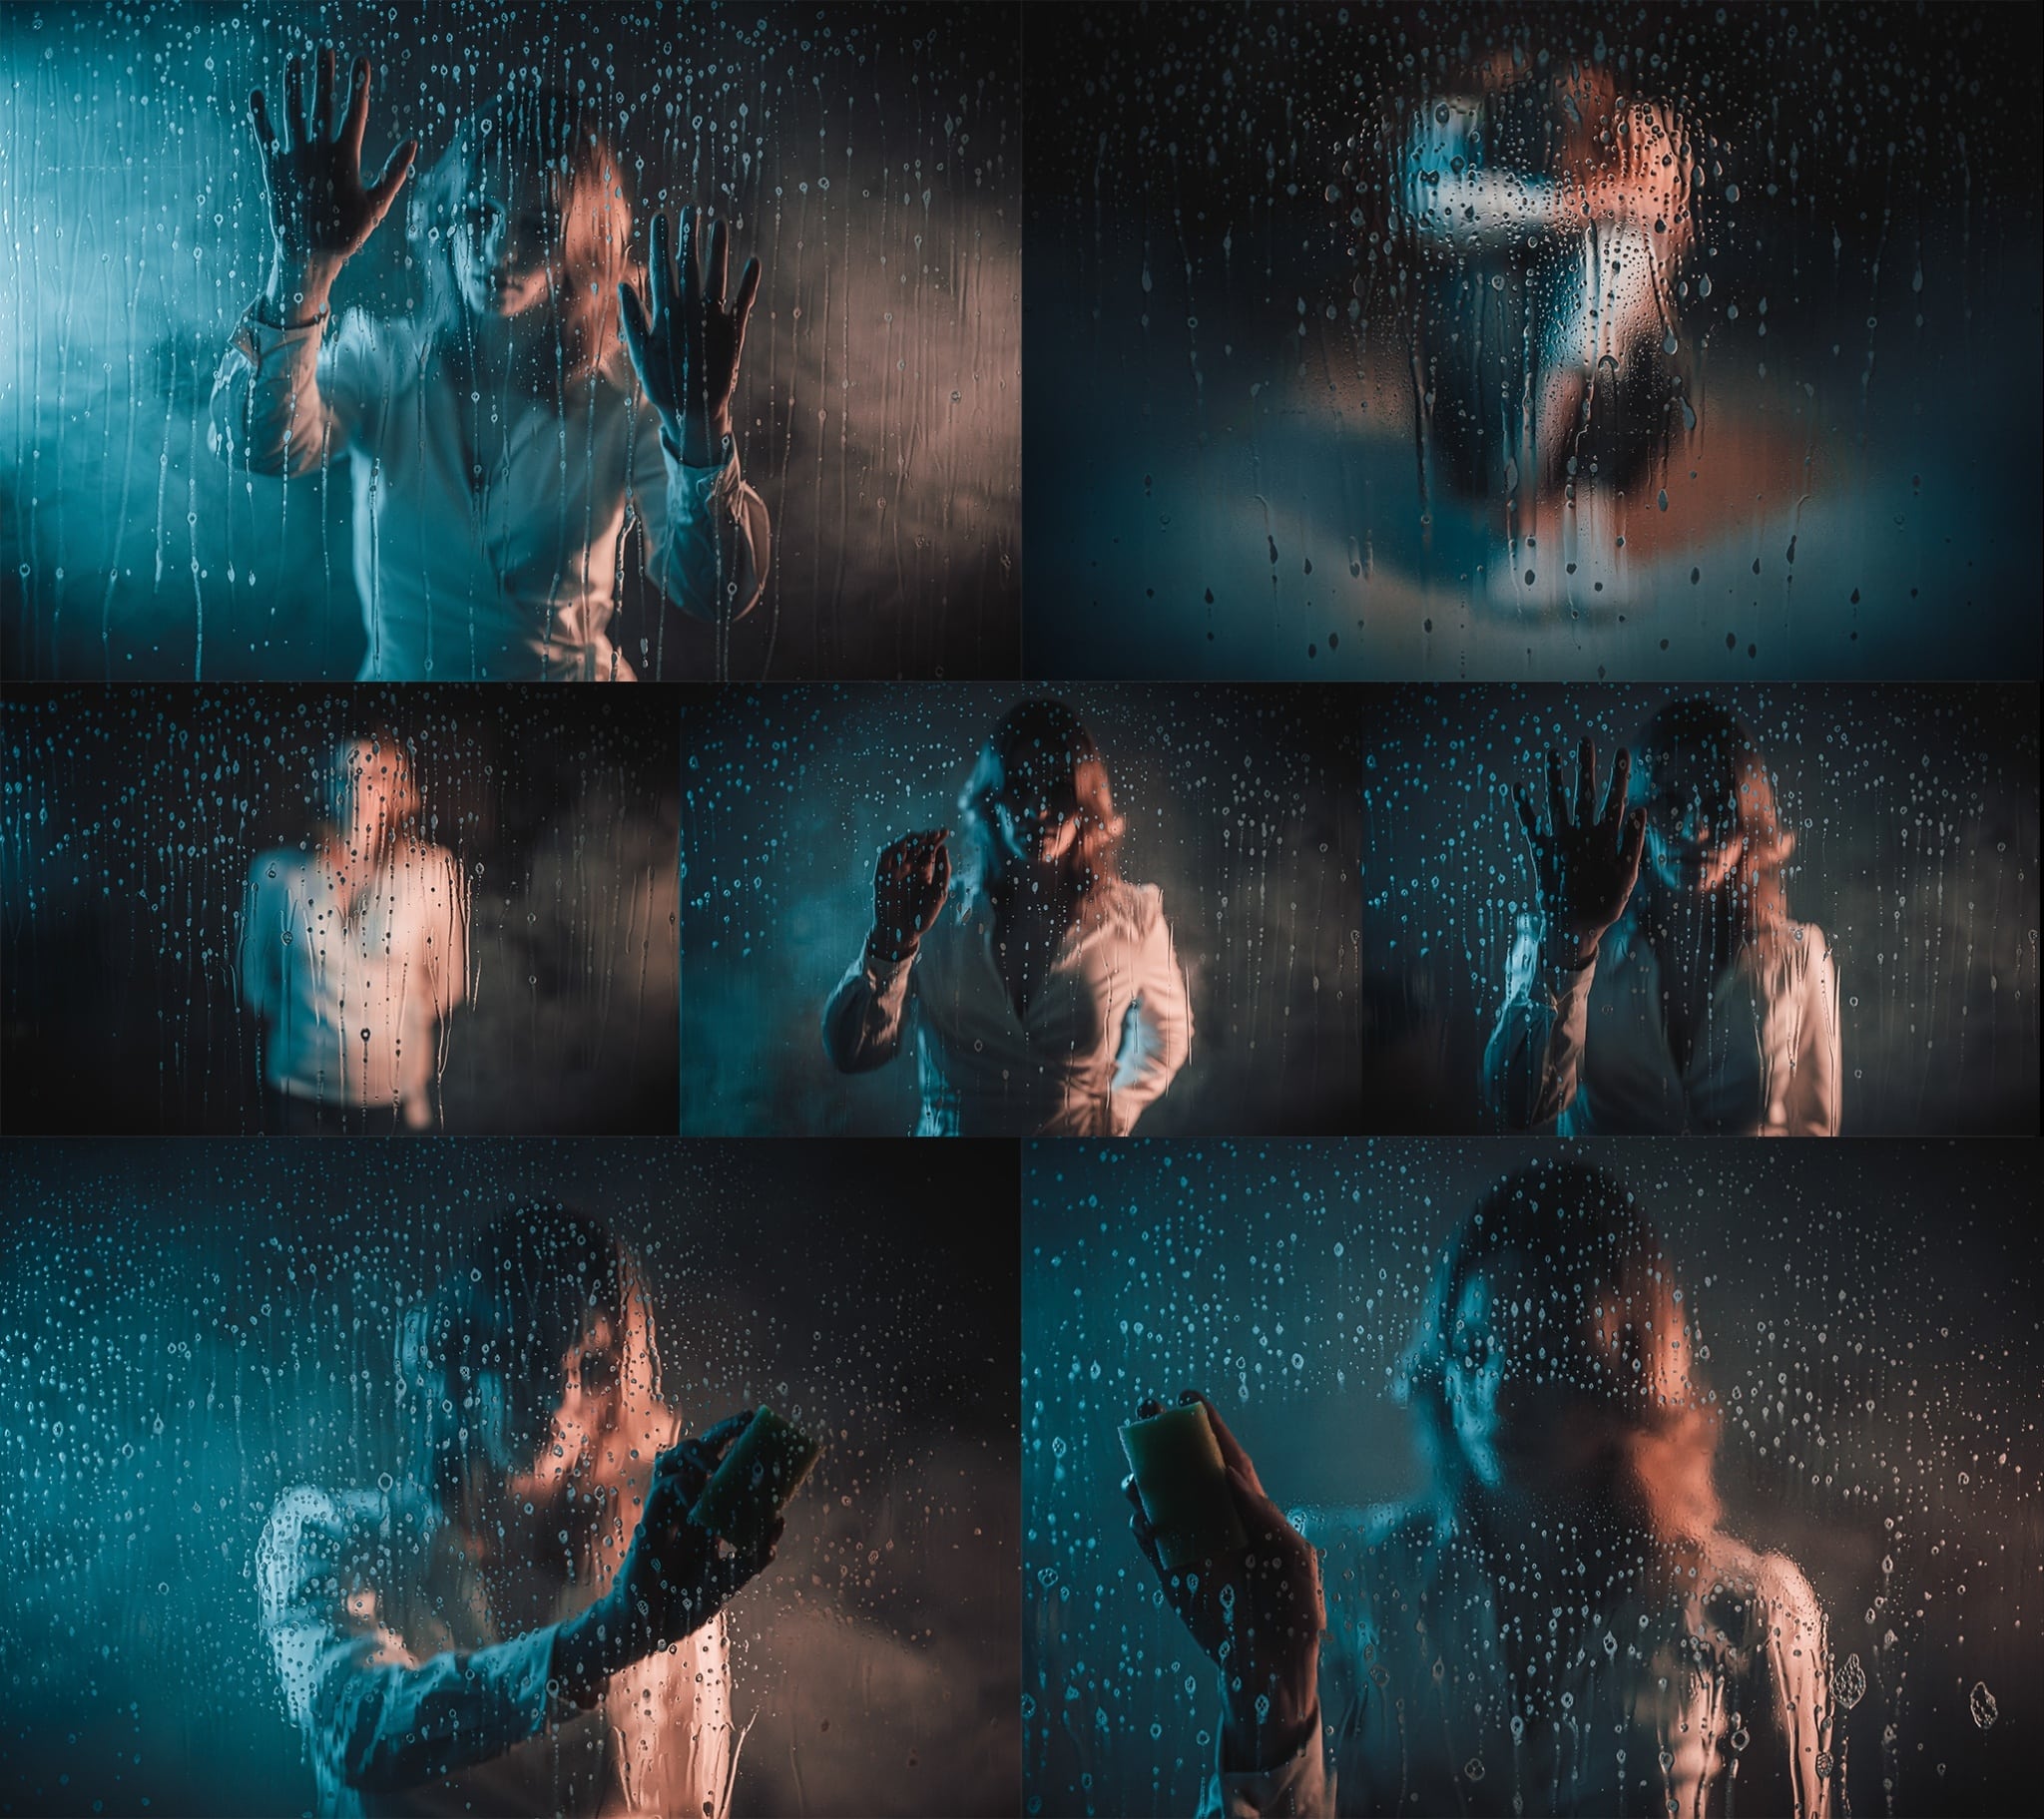
Simple, Eye-catching Photography
Besides being good-looking, this type of focus also simplifies your retouching, because you’re not focusing on the model’s face. It also looks a little mysterious, and last but not least, it makes your model more anonymous and universal. (It’s GDPR-friendly!)

There are no comments yet.