The Art of Directing a Photoshoot. Unlock the secrets of perfect posing
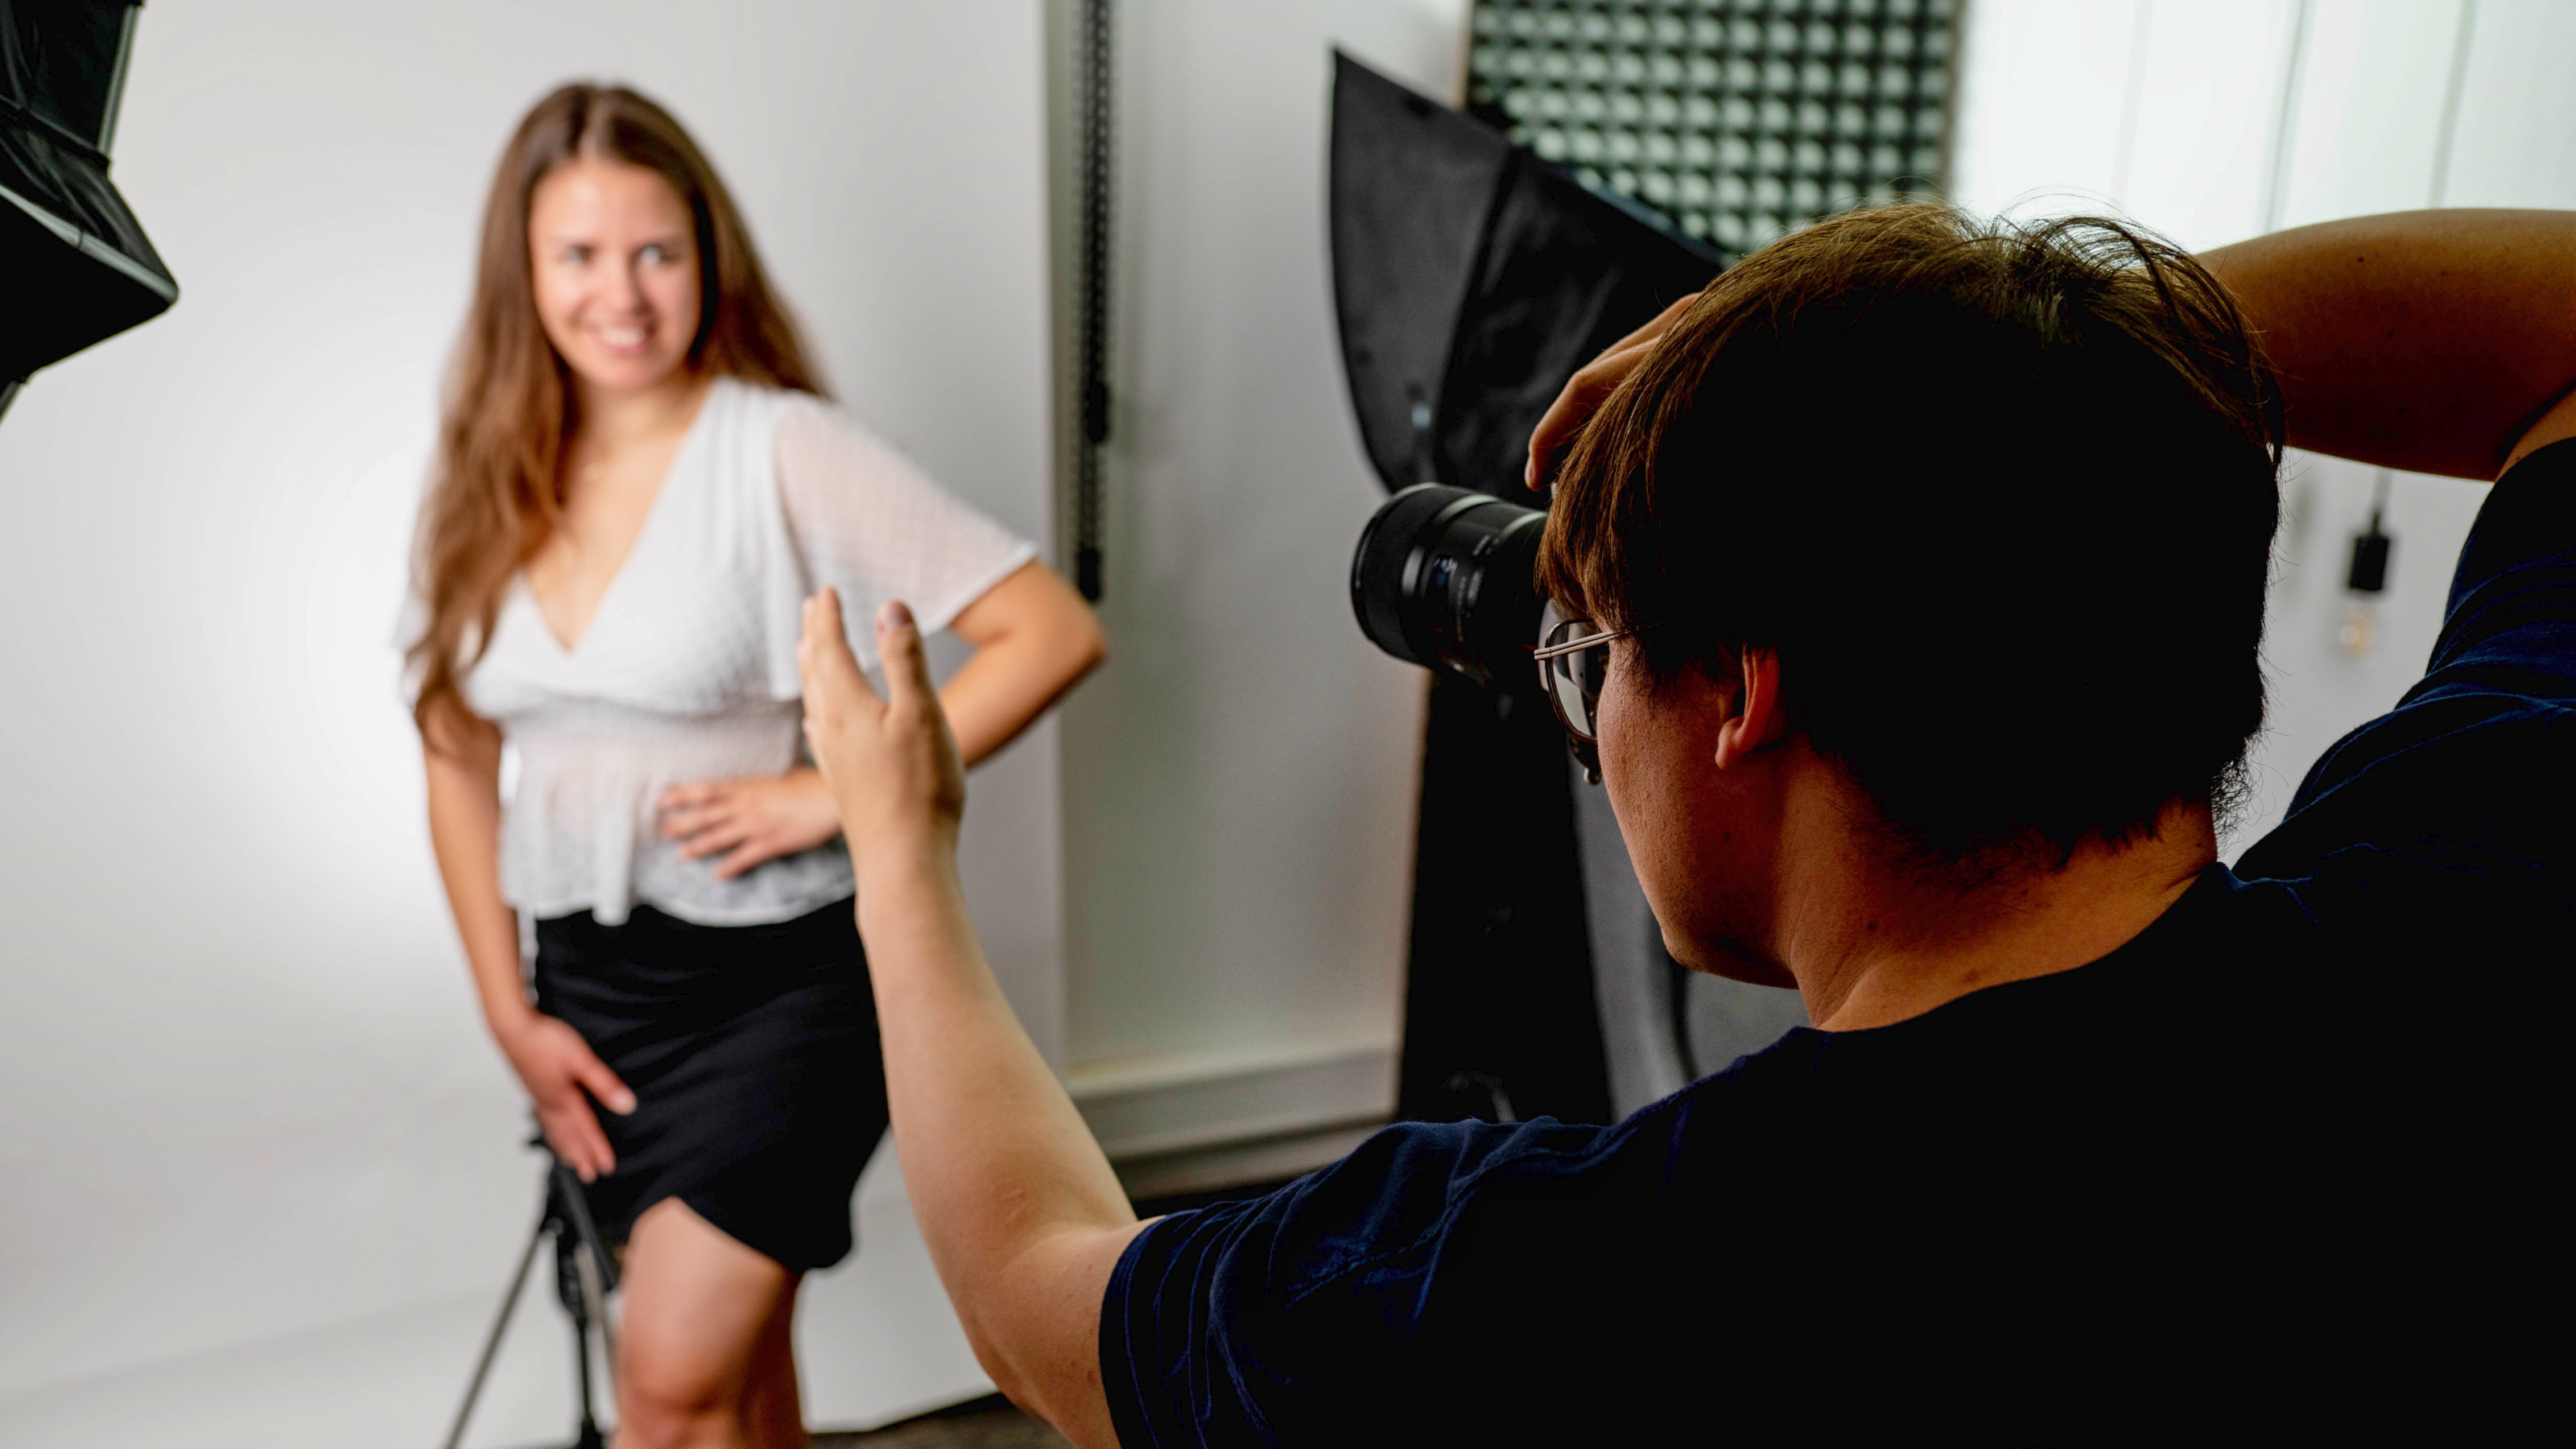
A photoshoot is like a movie. You need to direct the scene in order to get the best picture possible. Giving good instructions as a photographer takes skill. A photo that’s been properly set up looks good when the subject feels comfortable and beautiful. Generally speaking, people want to look good in photos. And a photographer should know what to say and do to achieve that.
Based on experience or practice, you probably already know how to communicate with your model, and that you should follow some type of form and sequence. It’s a good idea for both parties to agree on expectations, ideas, and clothing for the shoot beforehand. During the shoot, it’s a good idea to be aware of any nervousness or inexperience that you need to work with. The photographer should help lighten the mood with easy conversation or jokes. Help and support your subject, while giving them clear instructions. Be respectful of the model’s opinion. In short, be professional.
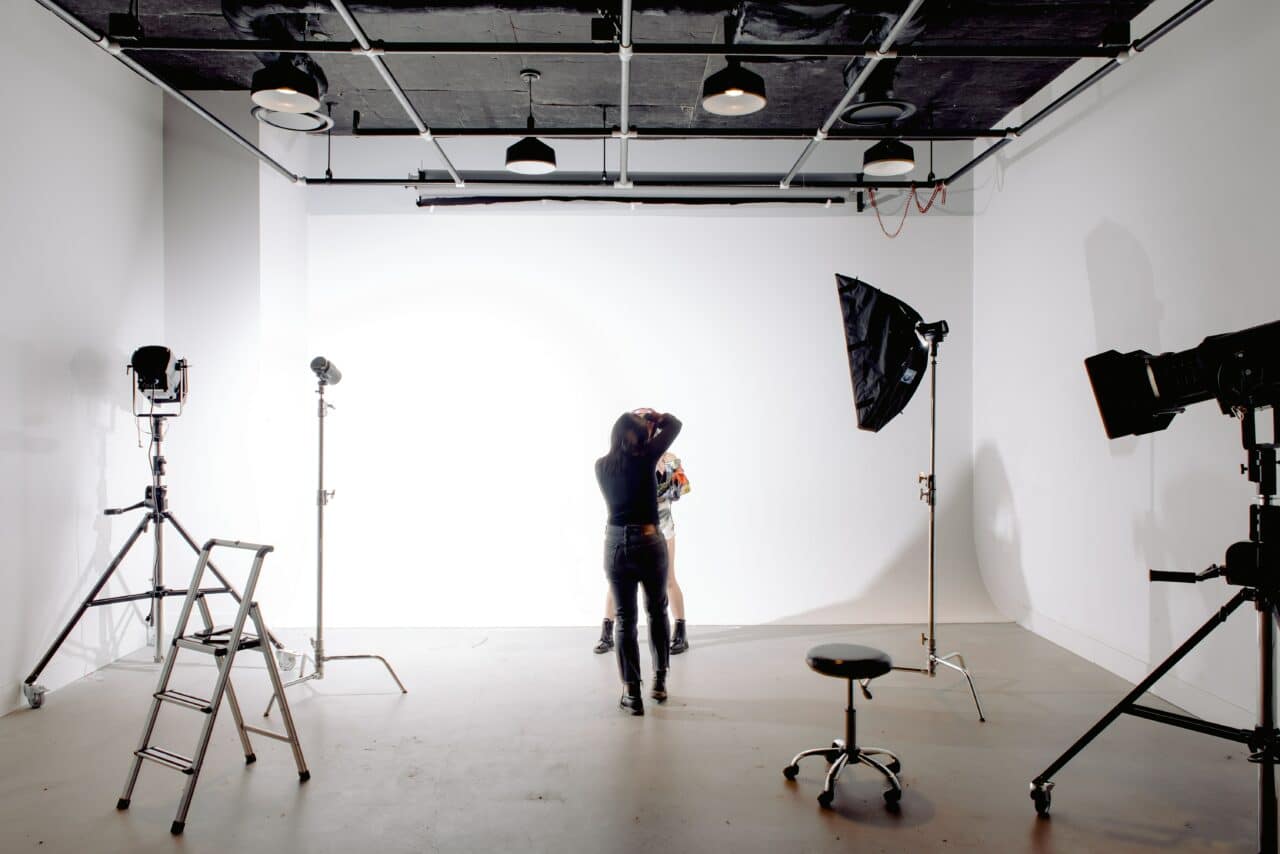
The photographer’s setting, equipment, and lighting also play an important role in the photoshoot.
Knowing how to give the right instructions is a skill that makes the whole process more enjoyable for all parties involved. The most important thing when giving instructions and telling your model how to pose is the eye of the photographer. When you give a direction, immediately check the viewfinder to see if it transferred to the picture. If not, change your instructions or give further instructions.
Simply said, there’s no perfect way to have your model pose. Some people can do it naturally, others have had practice, and some have no clue. Similar instructions can work for all these types of subjects. Let’s brush up on a few tips that will help you get noticeably better results.
Directions and body language
Mastering the craft of photography involves being able to give the right directions or use the right body language. It’s important to remember that it may not apply to everyone. A good technique for giving instructions is mirroring. Mirroring helps emphasize what you want. You can then use gestures to fine tune the details. You should avoid any physical contact that may be uncomfortable for the model.
Directions for men and women subjects are different, but a large number of them apply to both sexes. These are some basic guidelines that you can use in the field.
Double chin → Put your tongue on the roof of your mouth
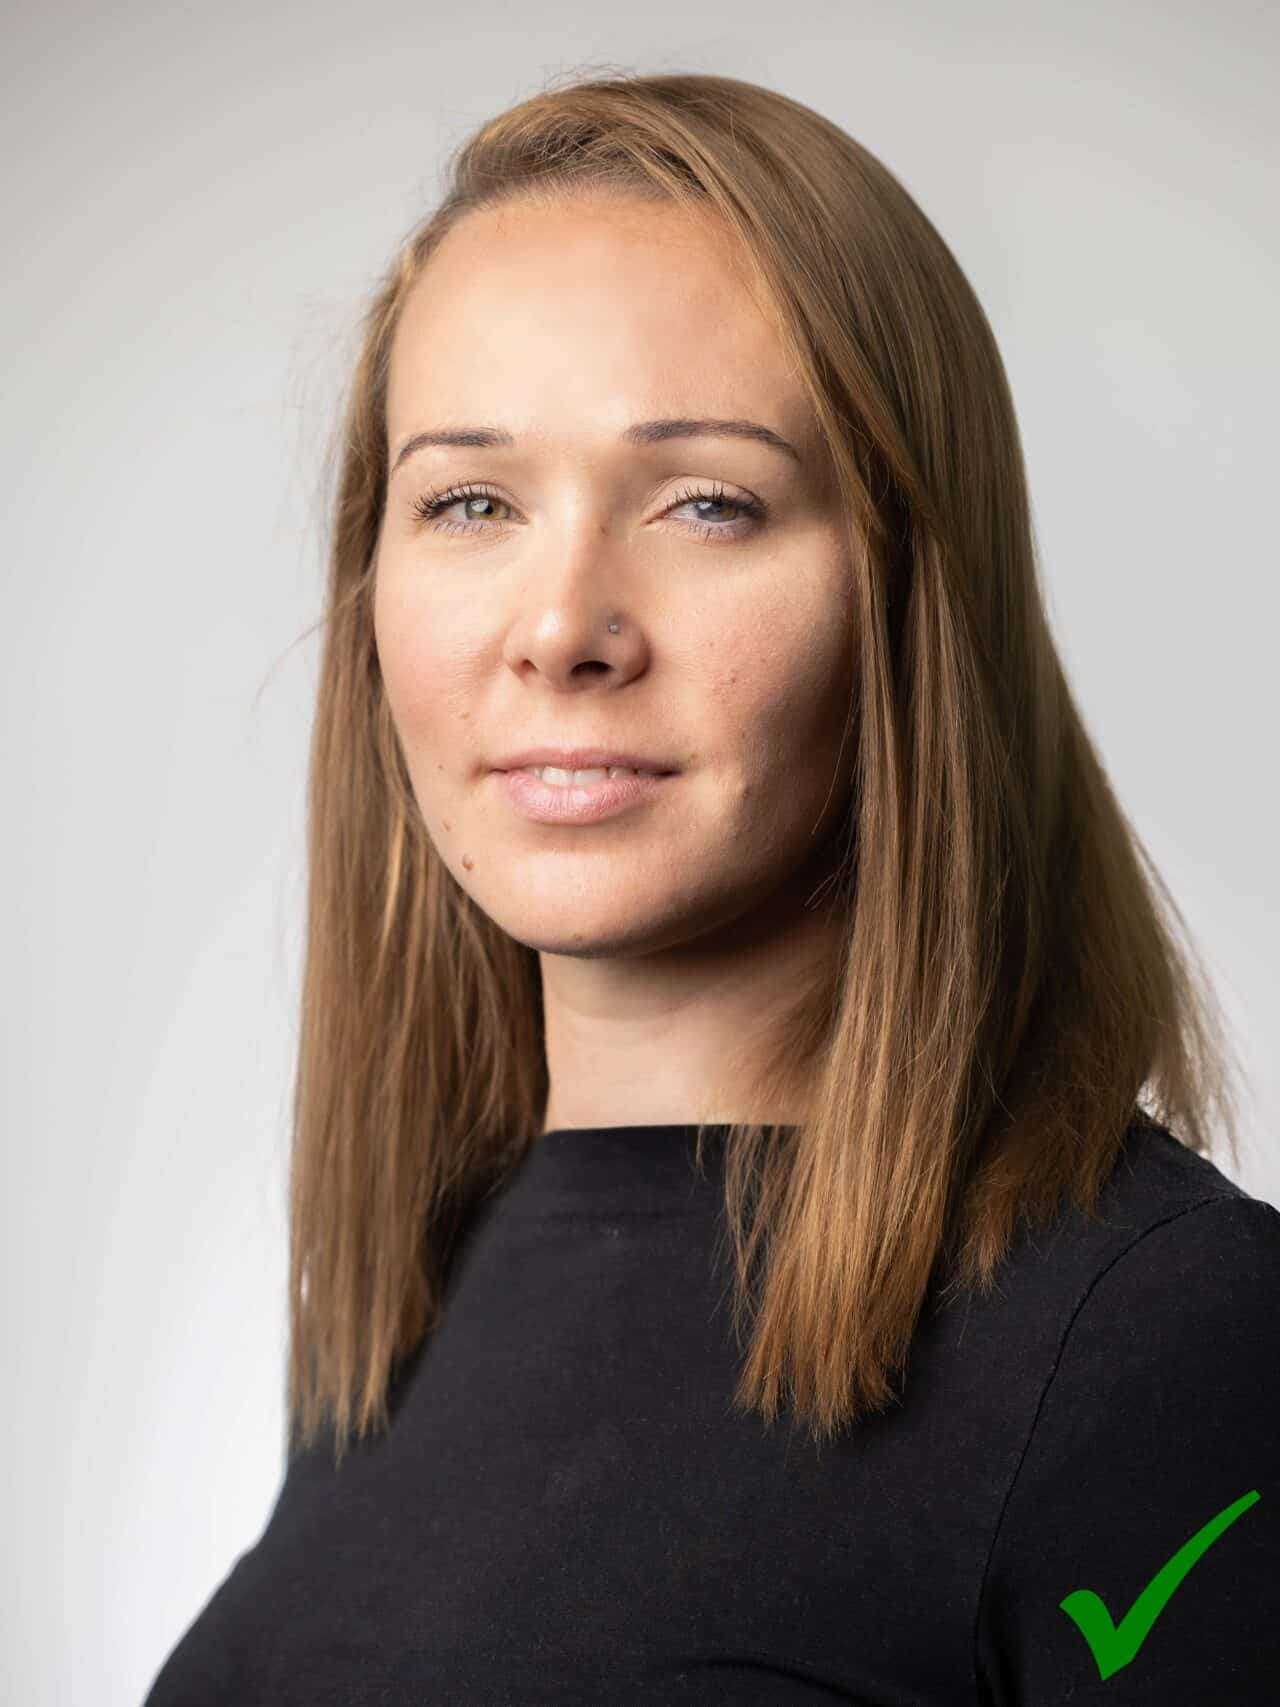
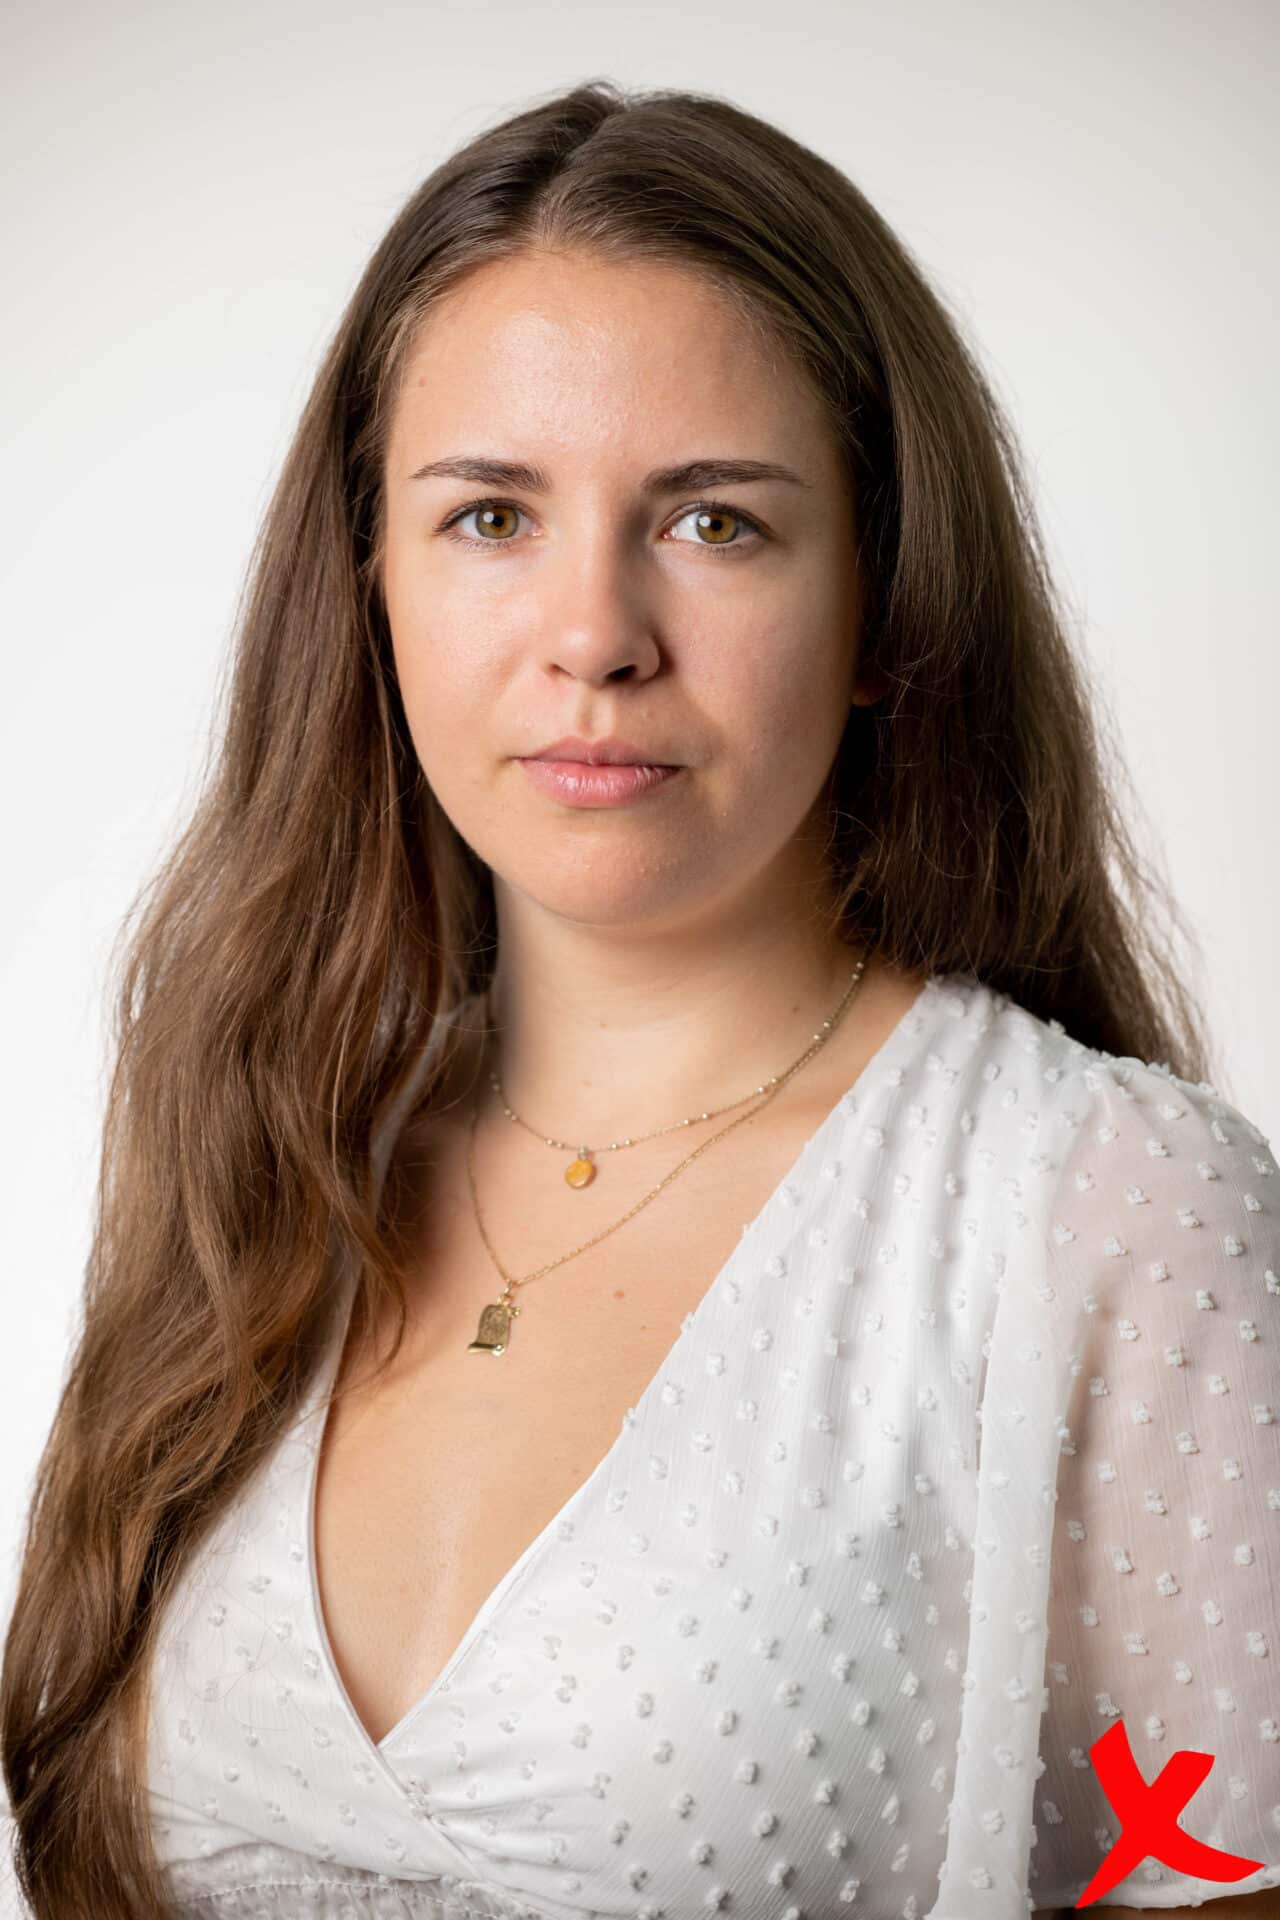
A double chin can be something you are born with, but it commonly comes with age or bad posture. How do you avoid it in photos? It helps to put your tongue on the back part of the roof of the mouth. It can also help to tilt the head slightly to one side or forward.

Put your tongue on the roof of your mouth.

When shooting portraits, it’s a good idea to hold the lens above the subject’s eye level.
No paws → Separate arms from the body
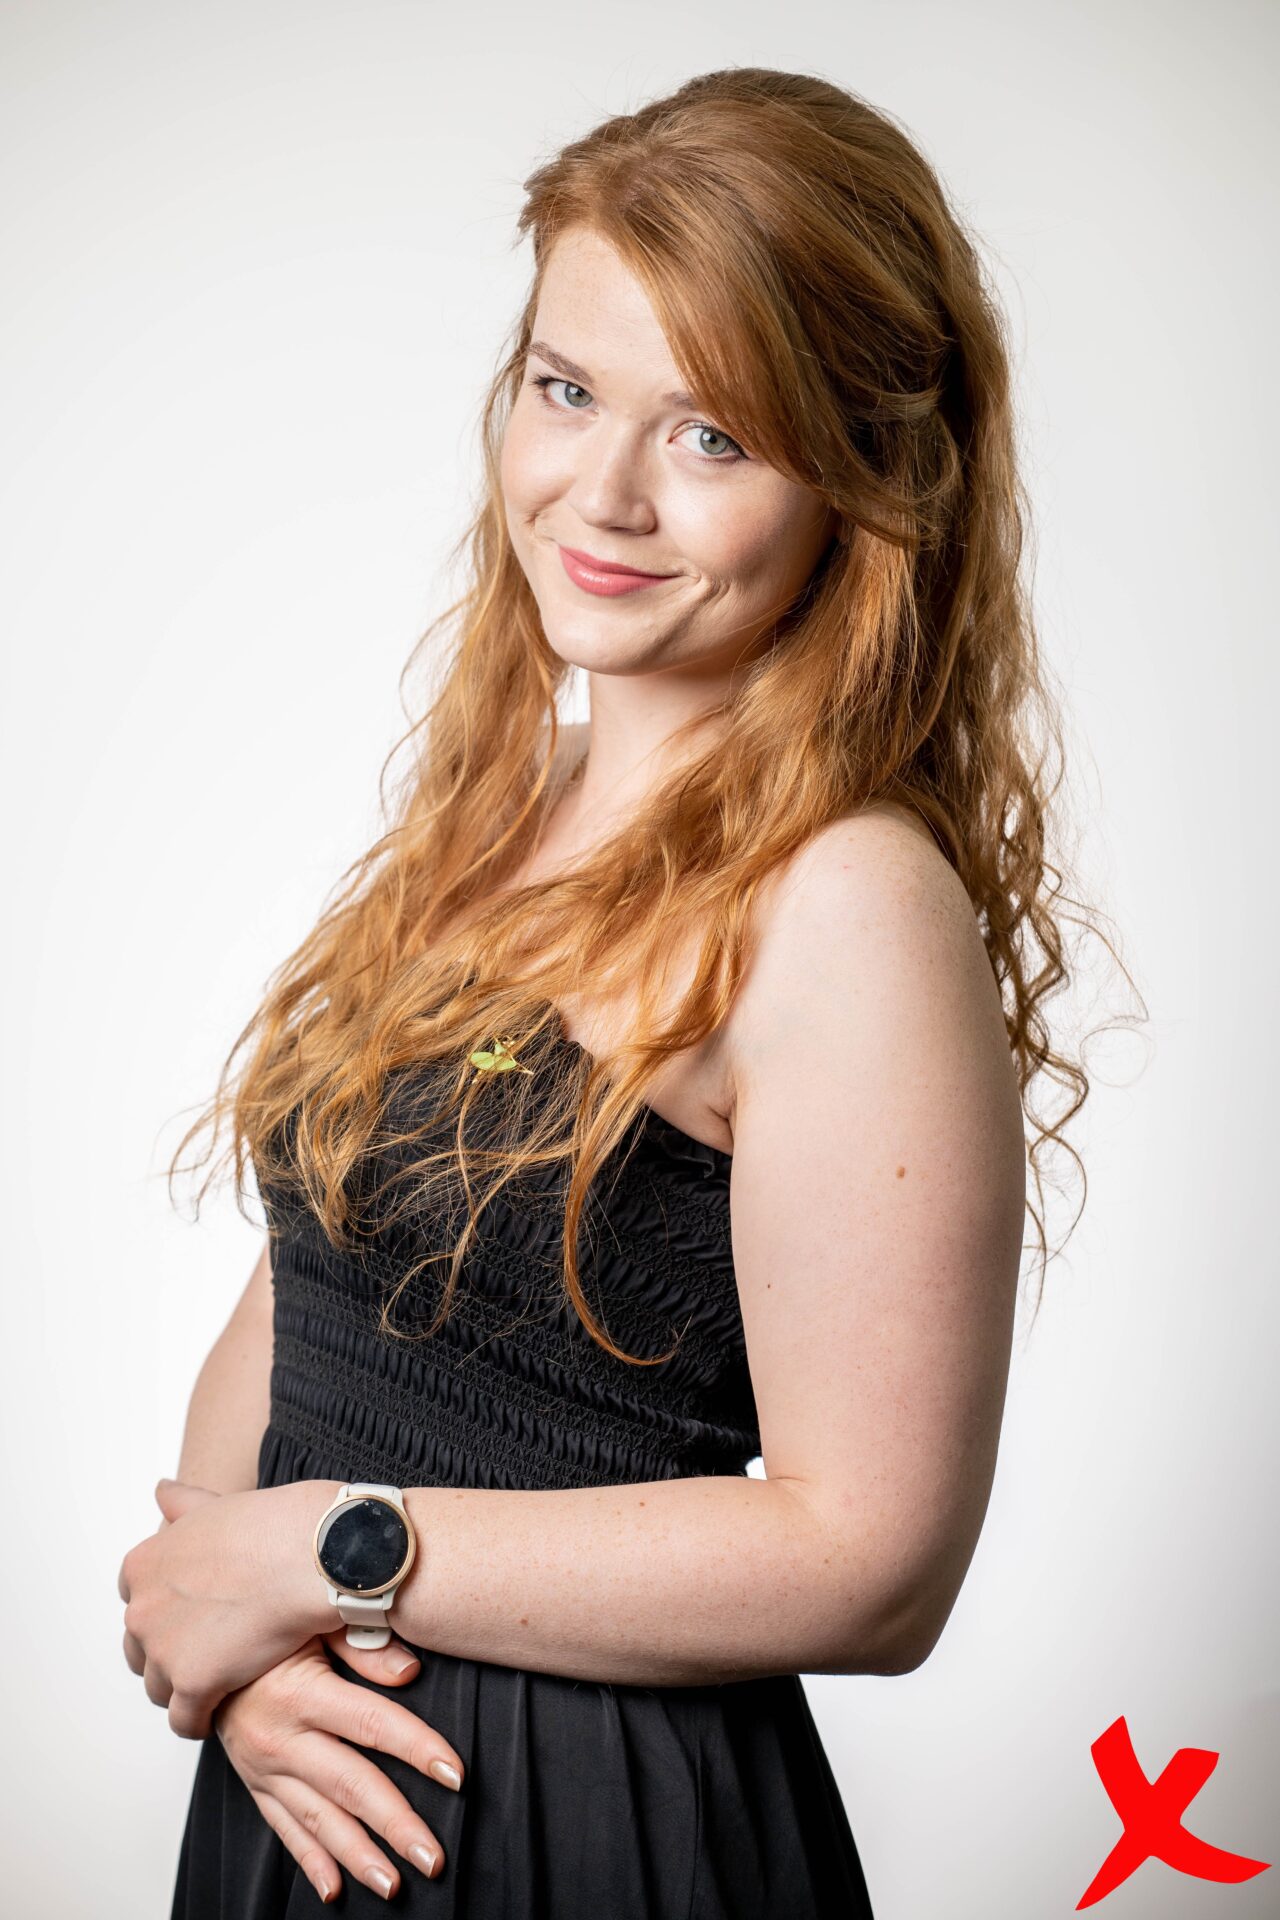
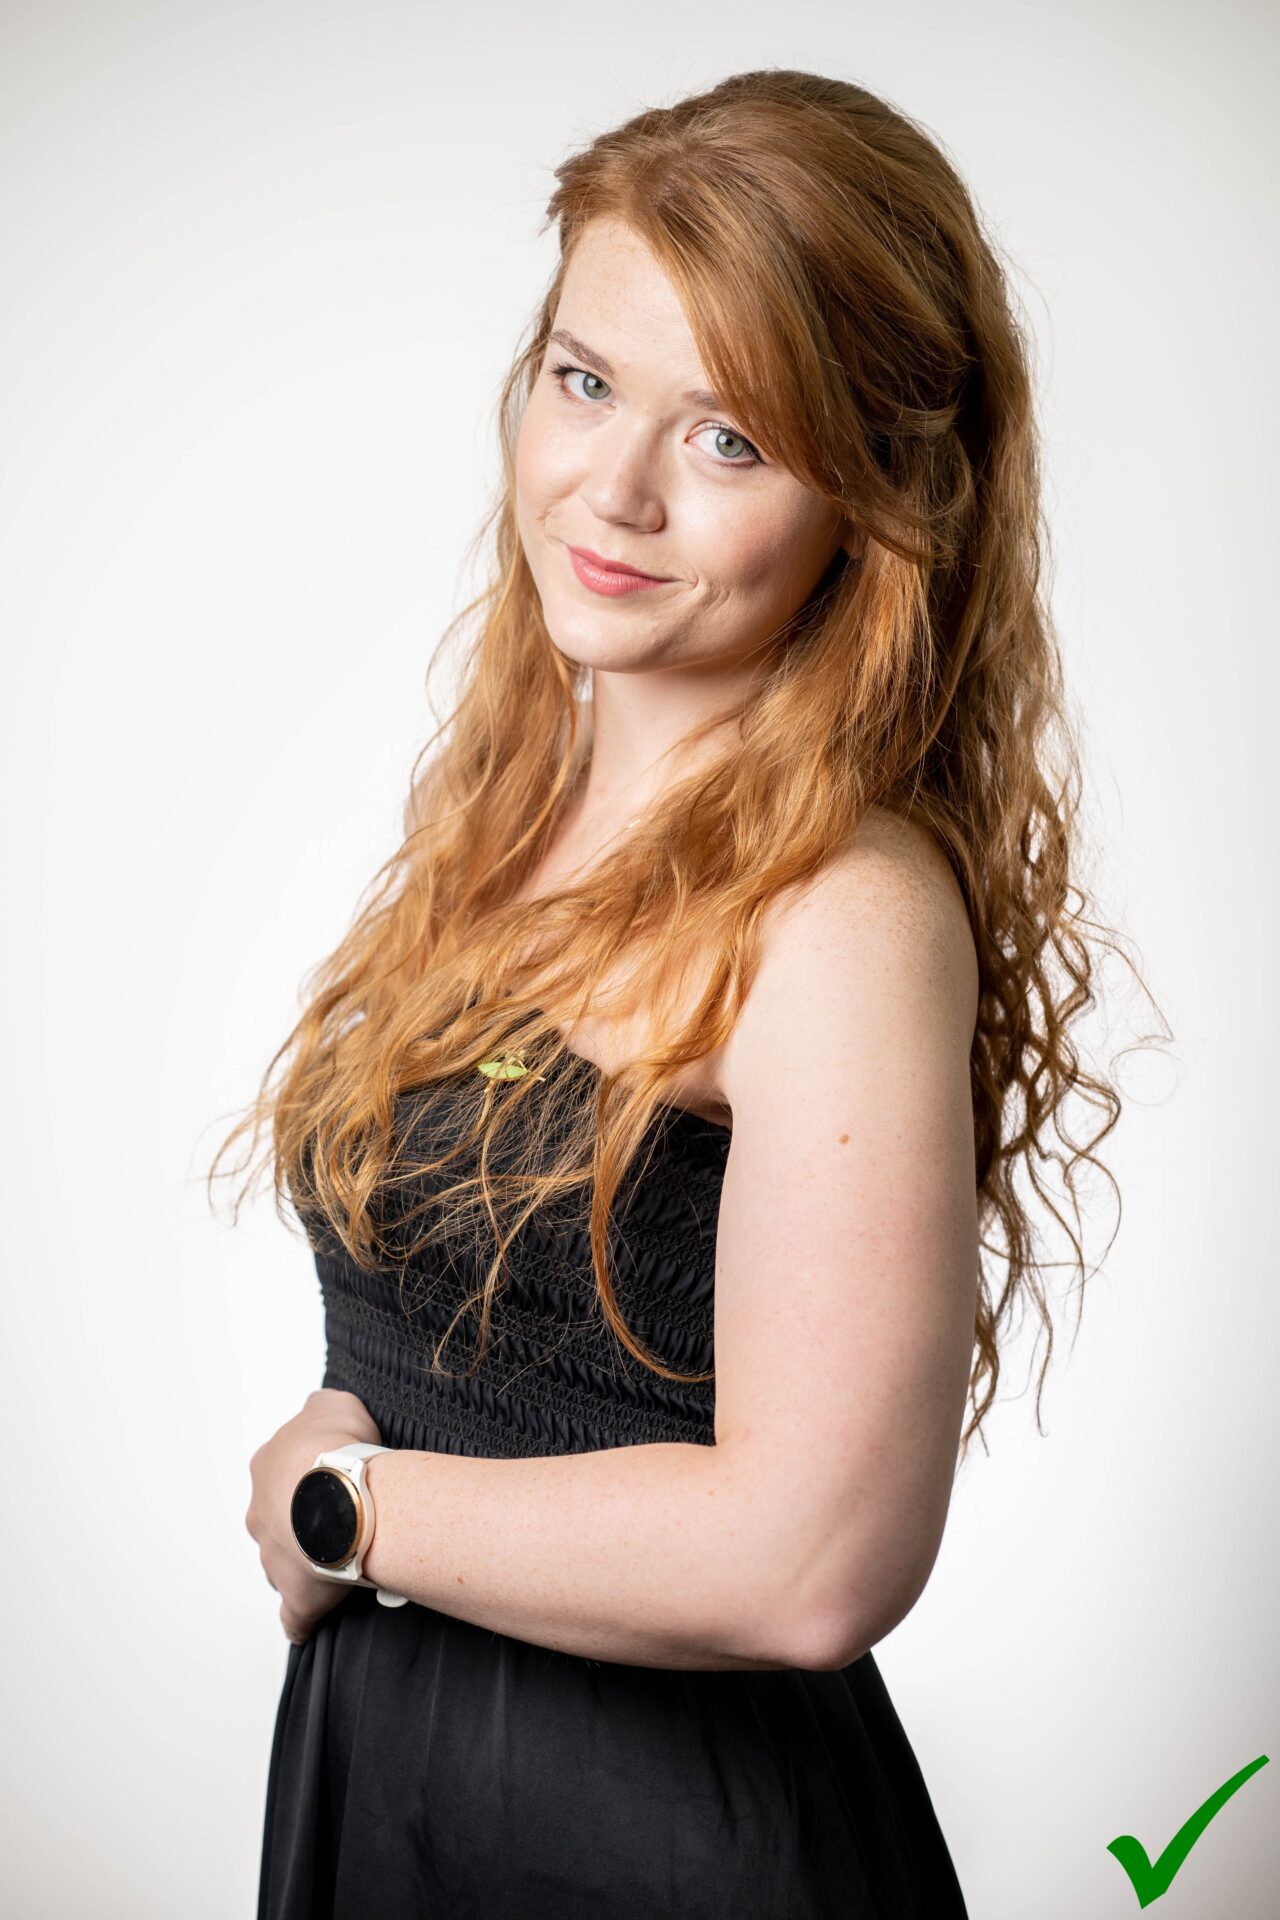
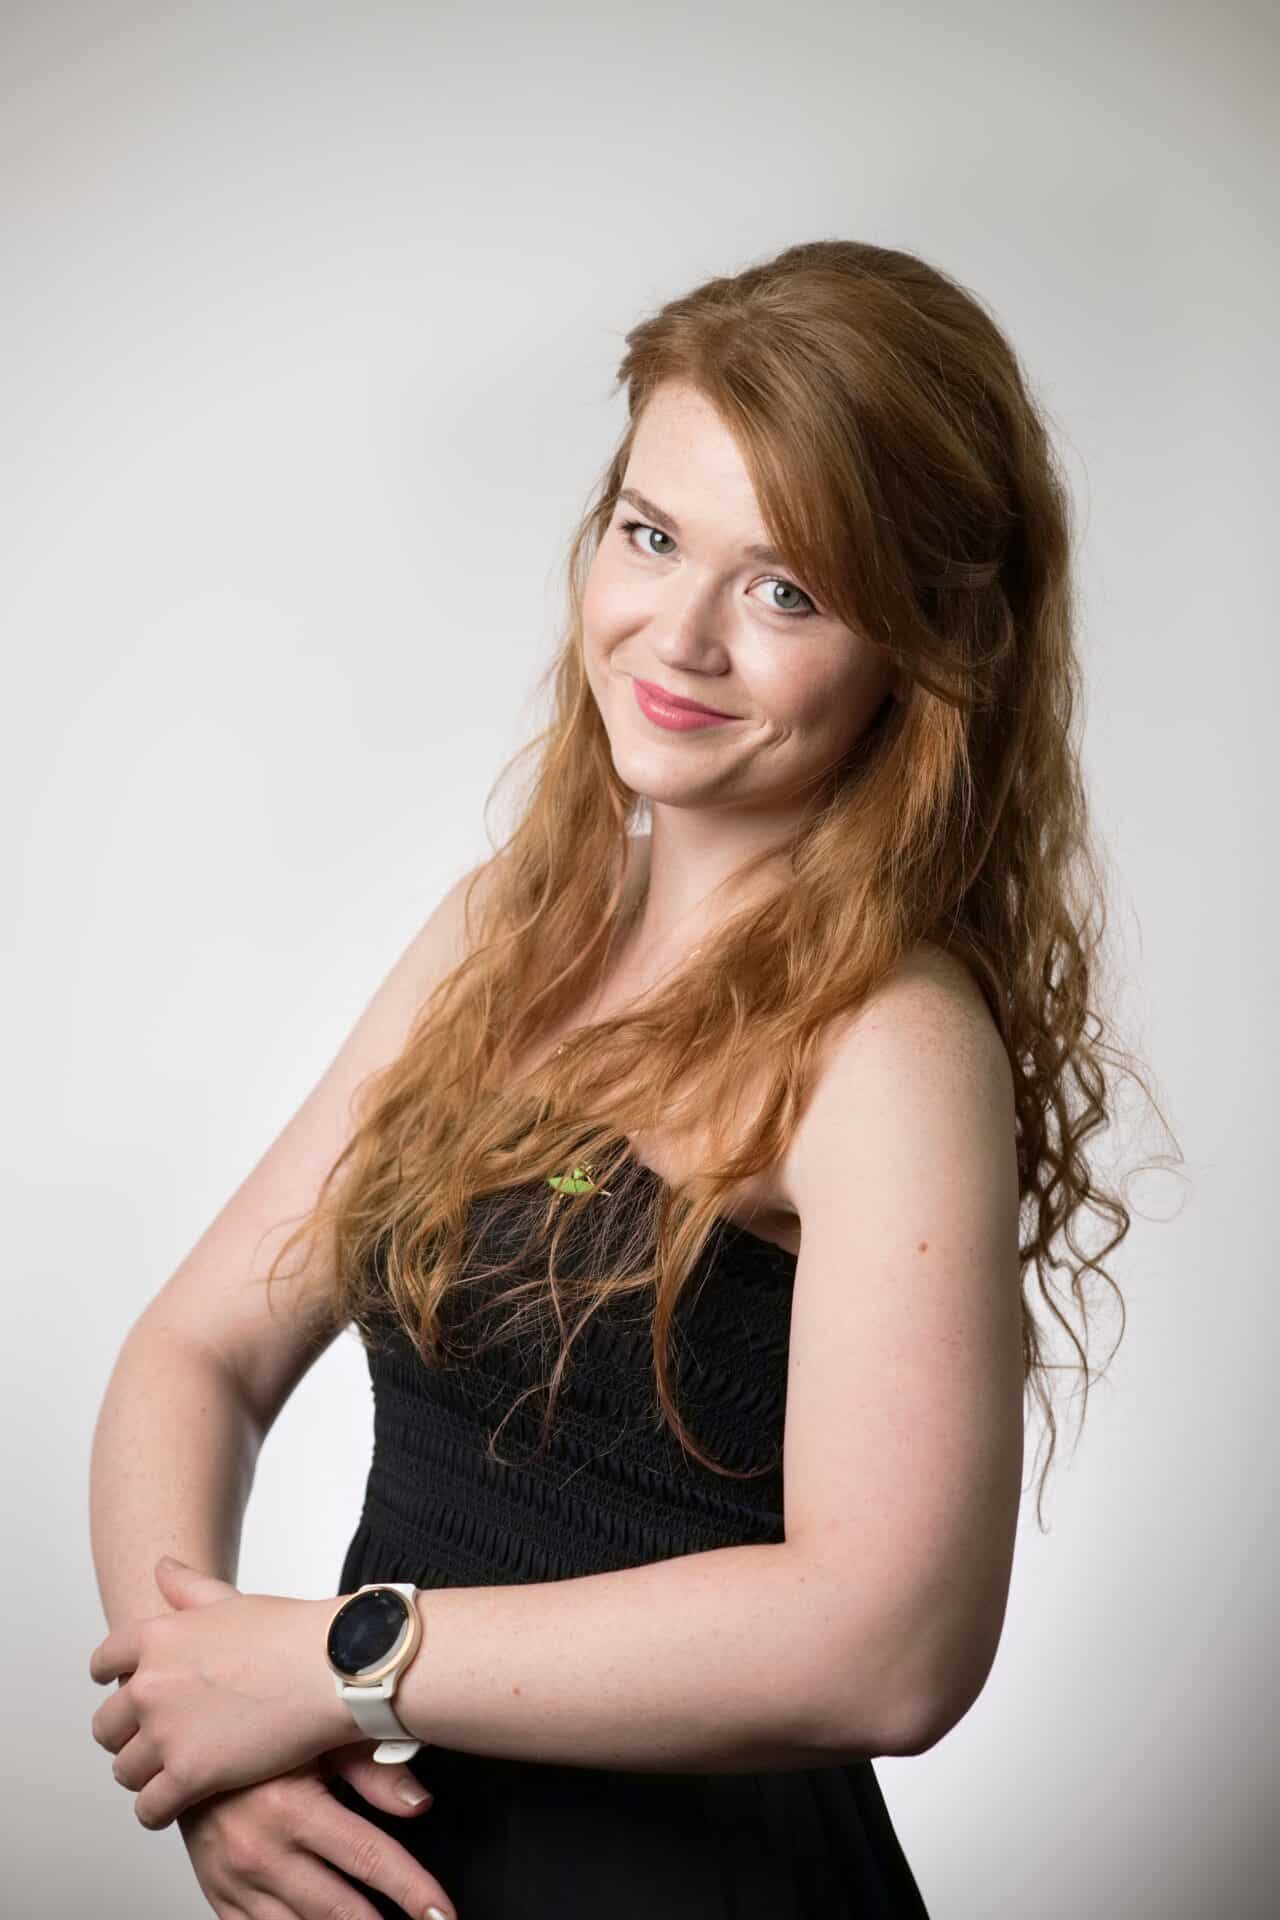
For men, bulky arms may be desirable, but for women, it’s usually the opposite. Seemingly giant shoulders and arms are most visible when you’re standing sideways and hold your arms flat against your body. Most women do not find this pose flattering in photos. Unless you’re photographing someone who has toothpicks for arms, this trick will come in handy.

Slightly separate the arms from the body. Or: Arms away from the body, please. Thank you.
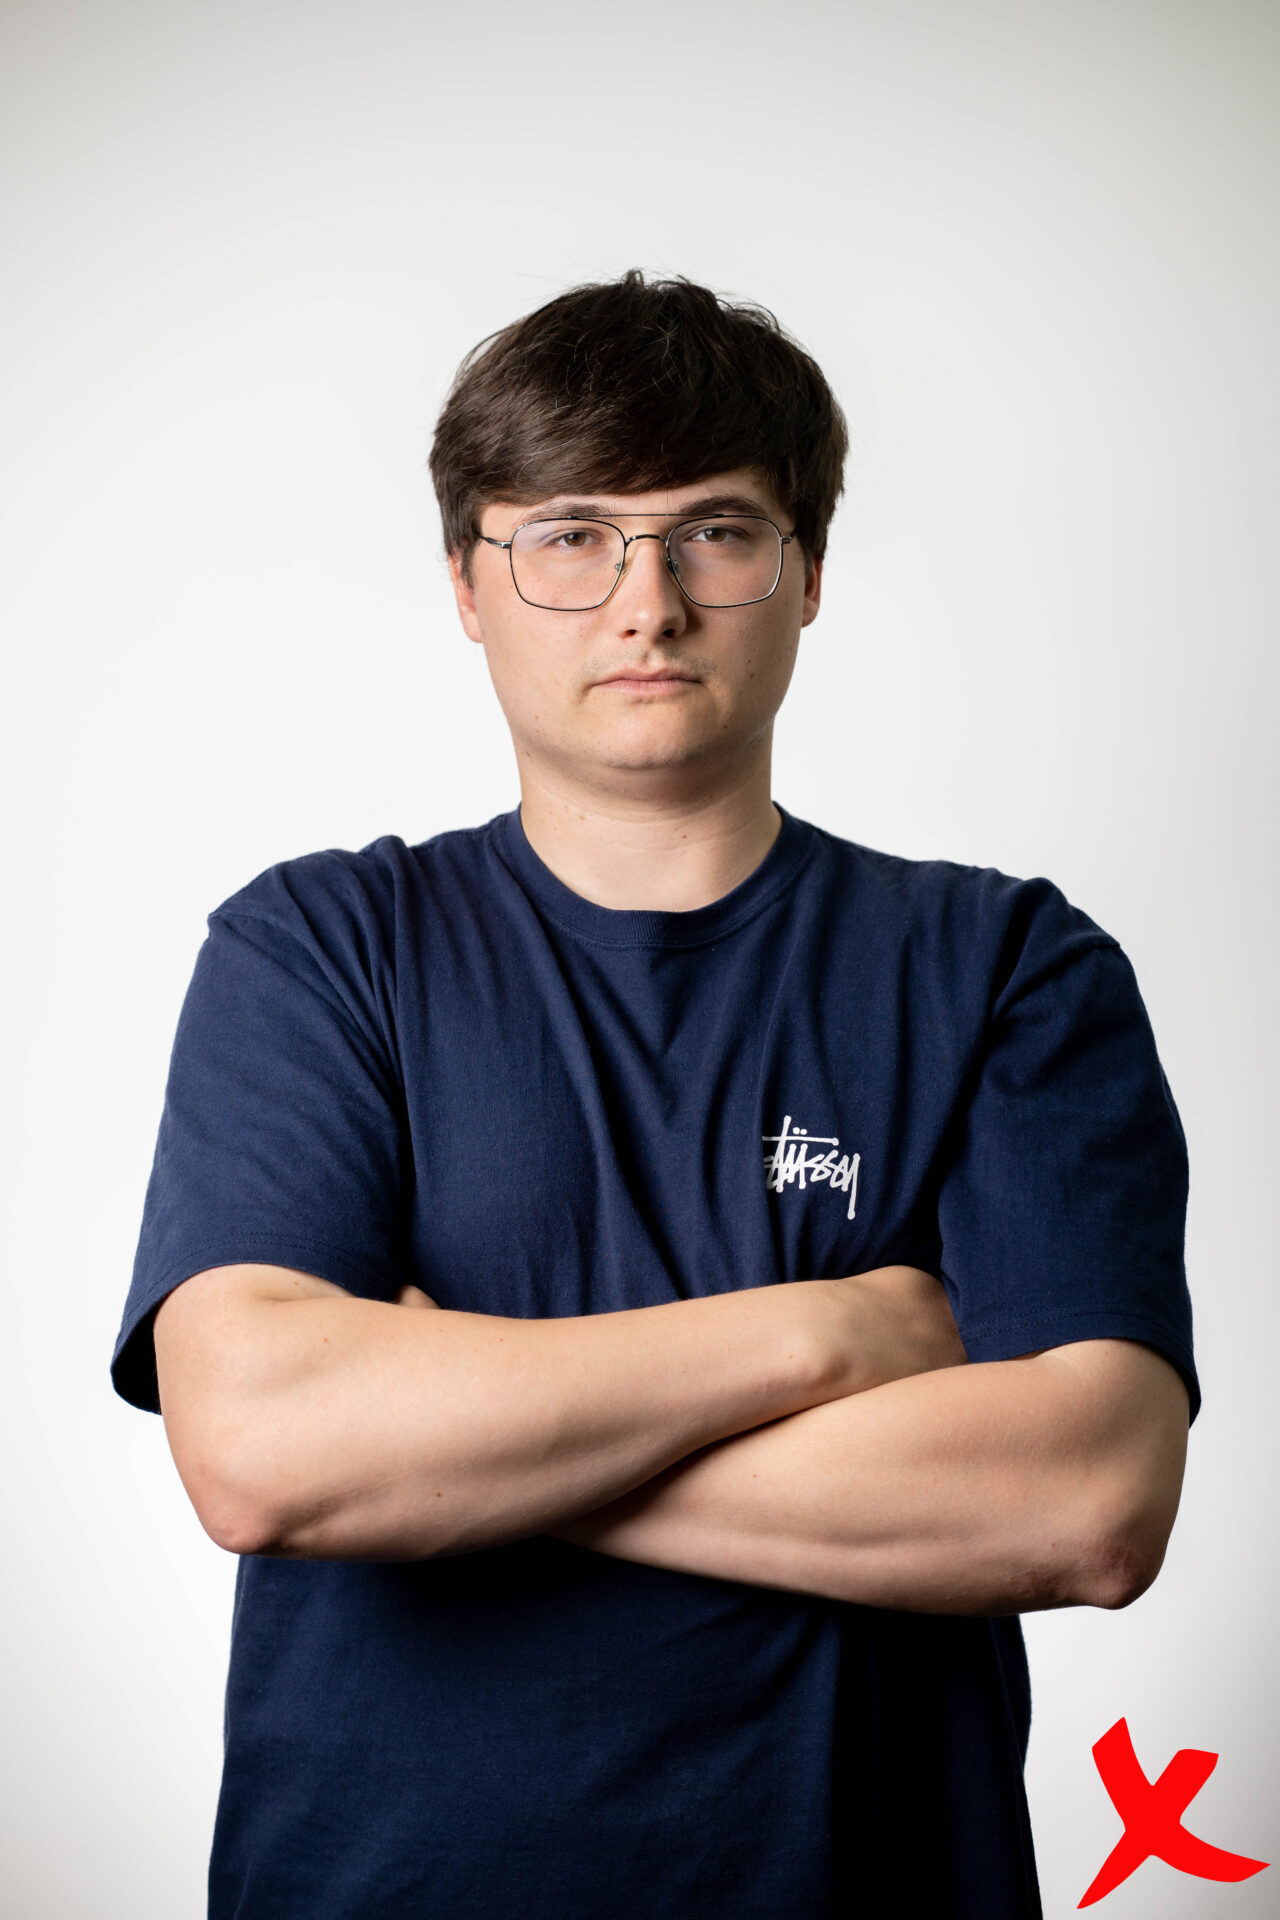
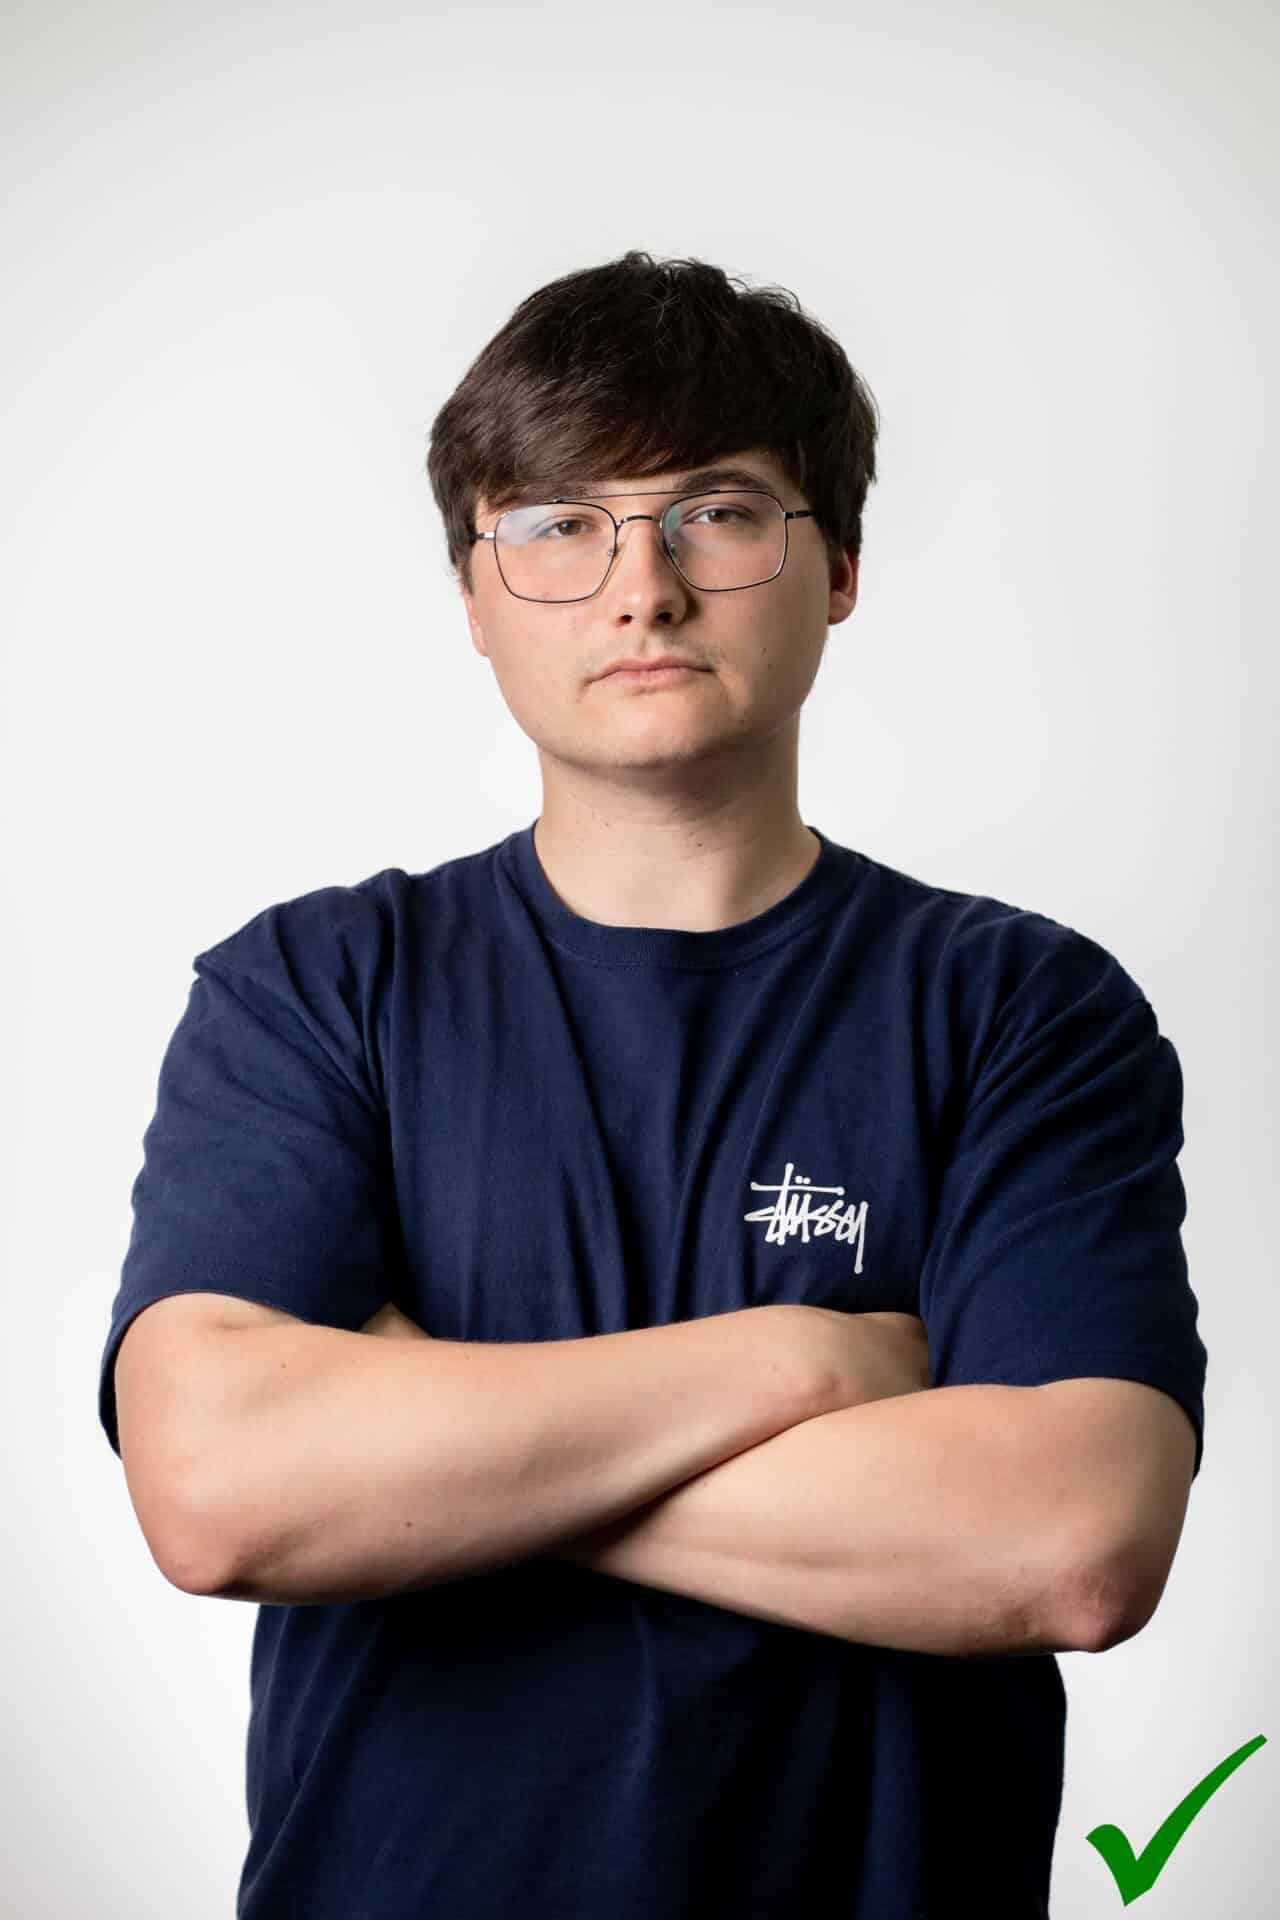
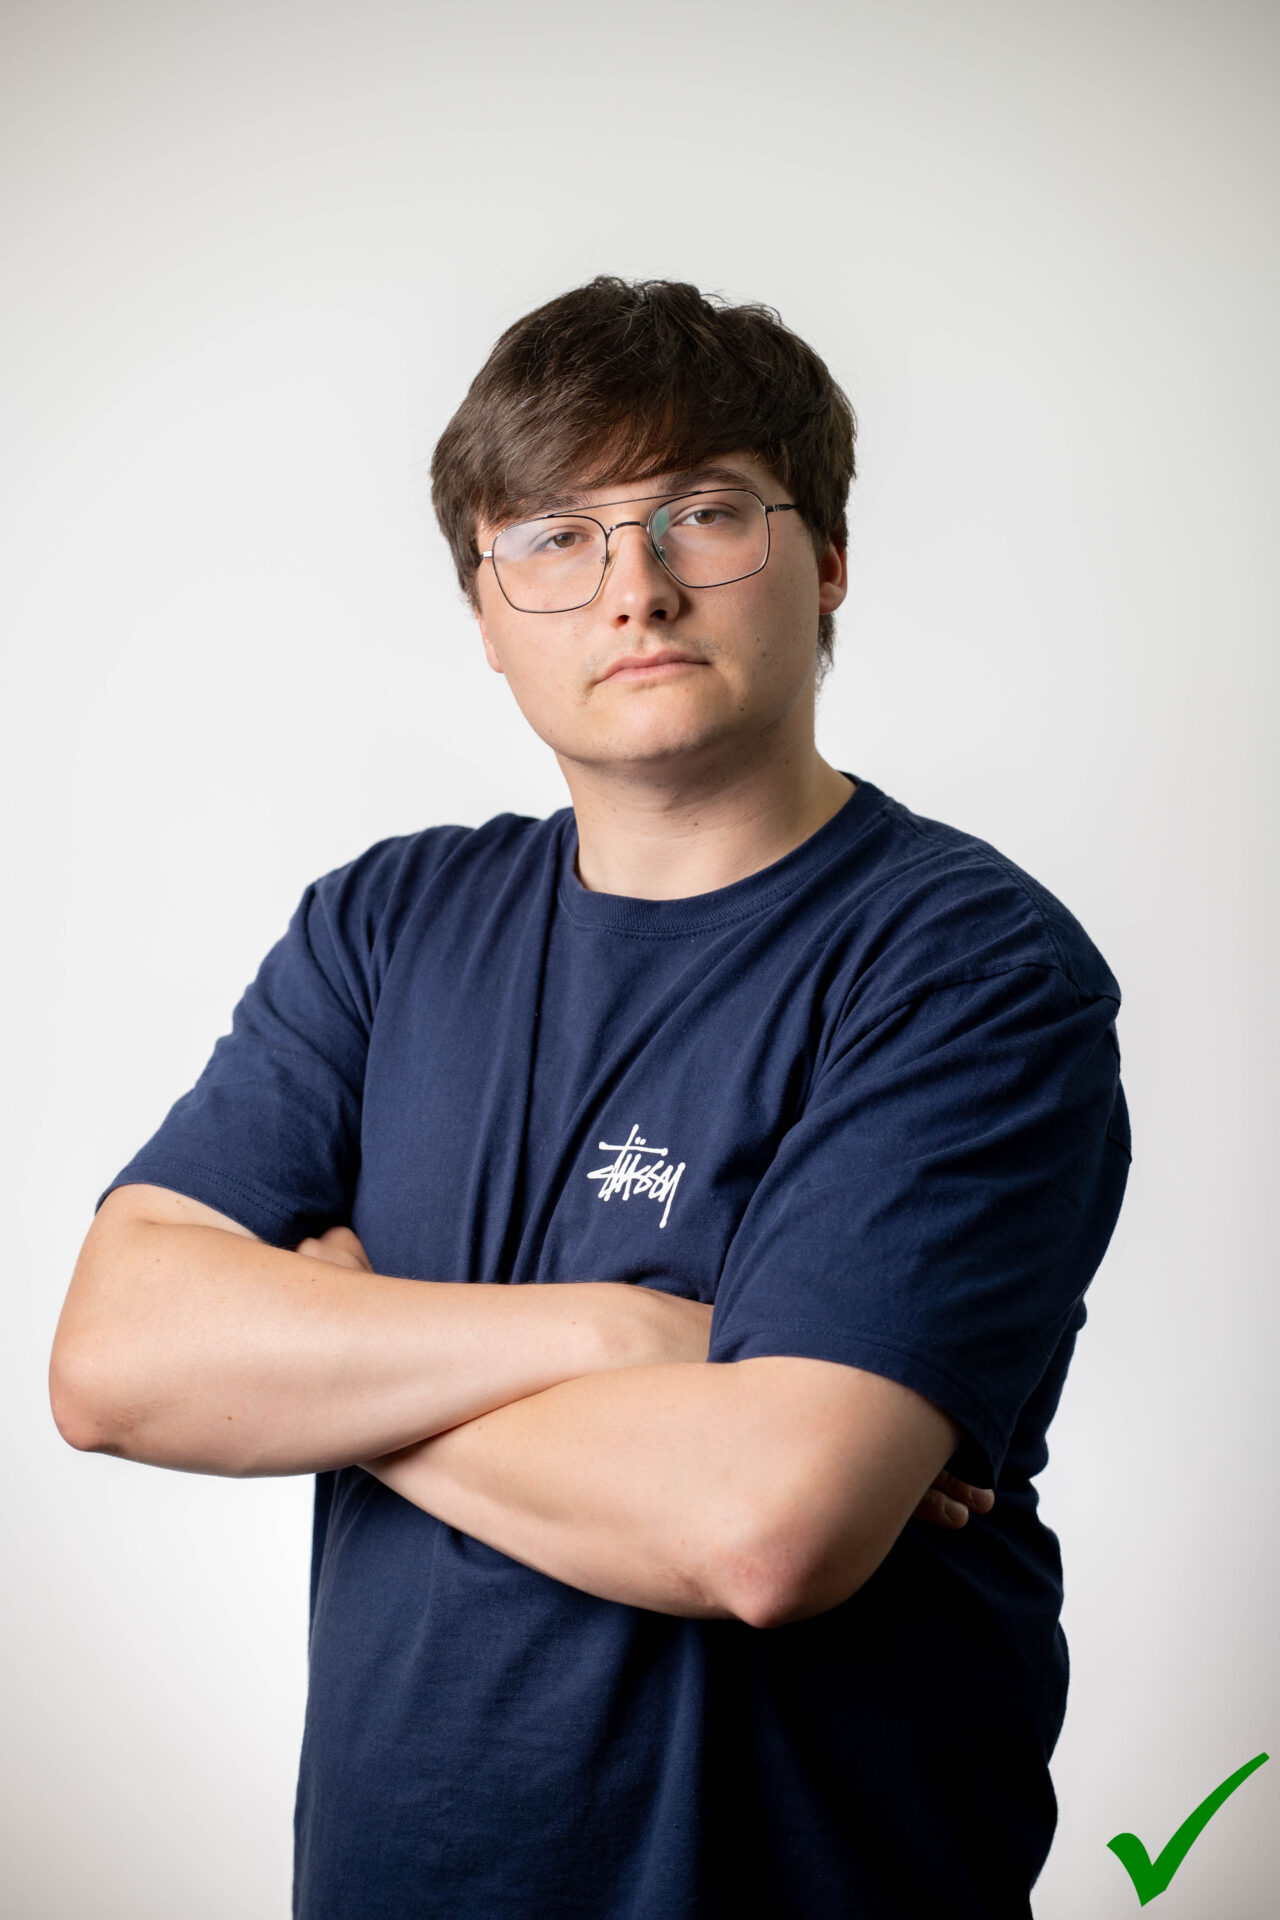
Folded arms is a pose we use when we don’t like something or to indicate opposition. In photography, this pose is often seen in athletes or people in positions of power. If you photograph a woman in this pose, focus on the arms. Elongate the arms by placing the fingers loosely from the inside of the arm upwards towards the armpit. Men often like to show power, so it makes sense to accentuate their muscles. These can be visually enlarged by squeezing the arm slightly or tucking one hand under the arm.
No fence post → Bending the arms = more natural
When posing, bent body parts look more natural. Engage the knees, hips, elbows, and ankles to visually enhance the pose. Crossing the ankles is a trick that makes the hips look slimmer and elongates the legs.
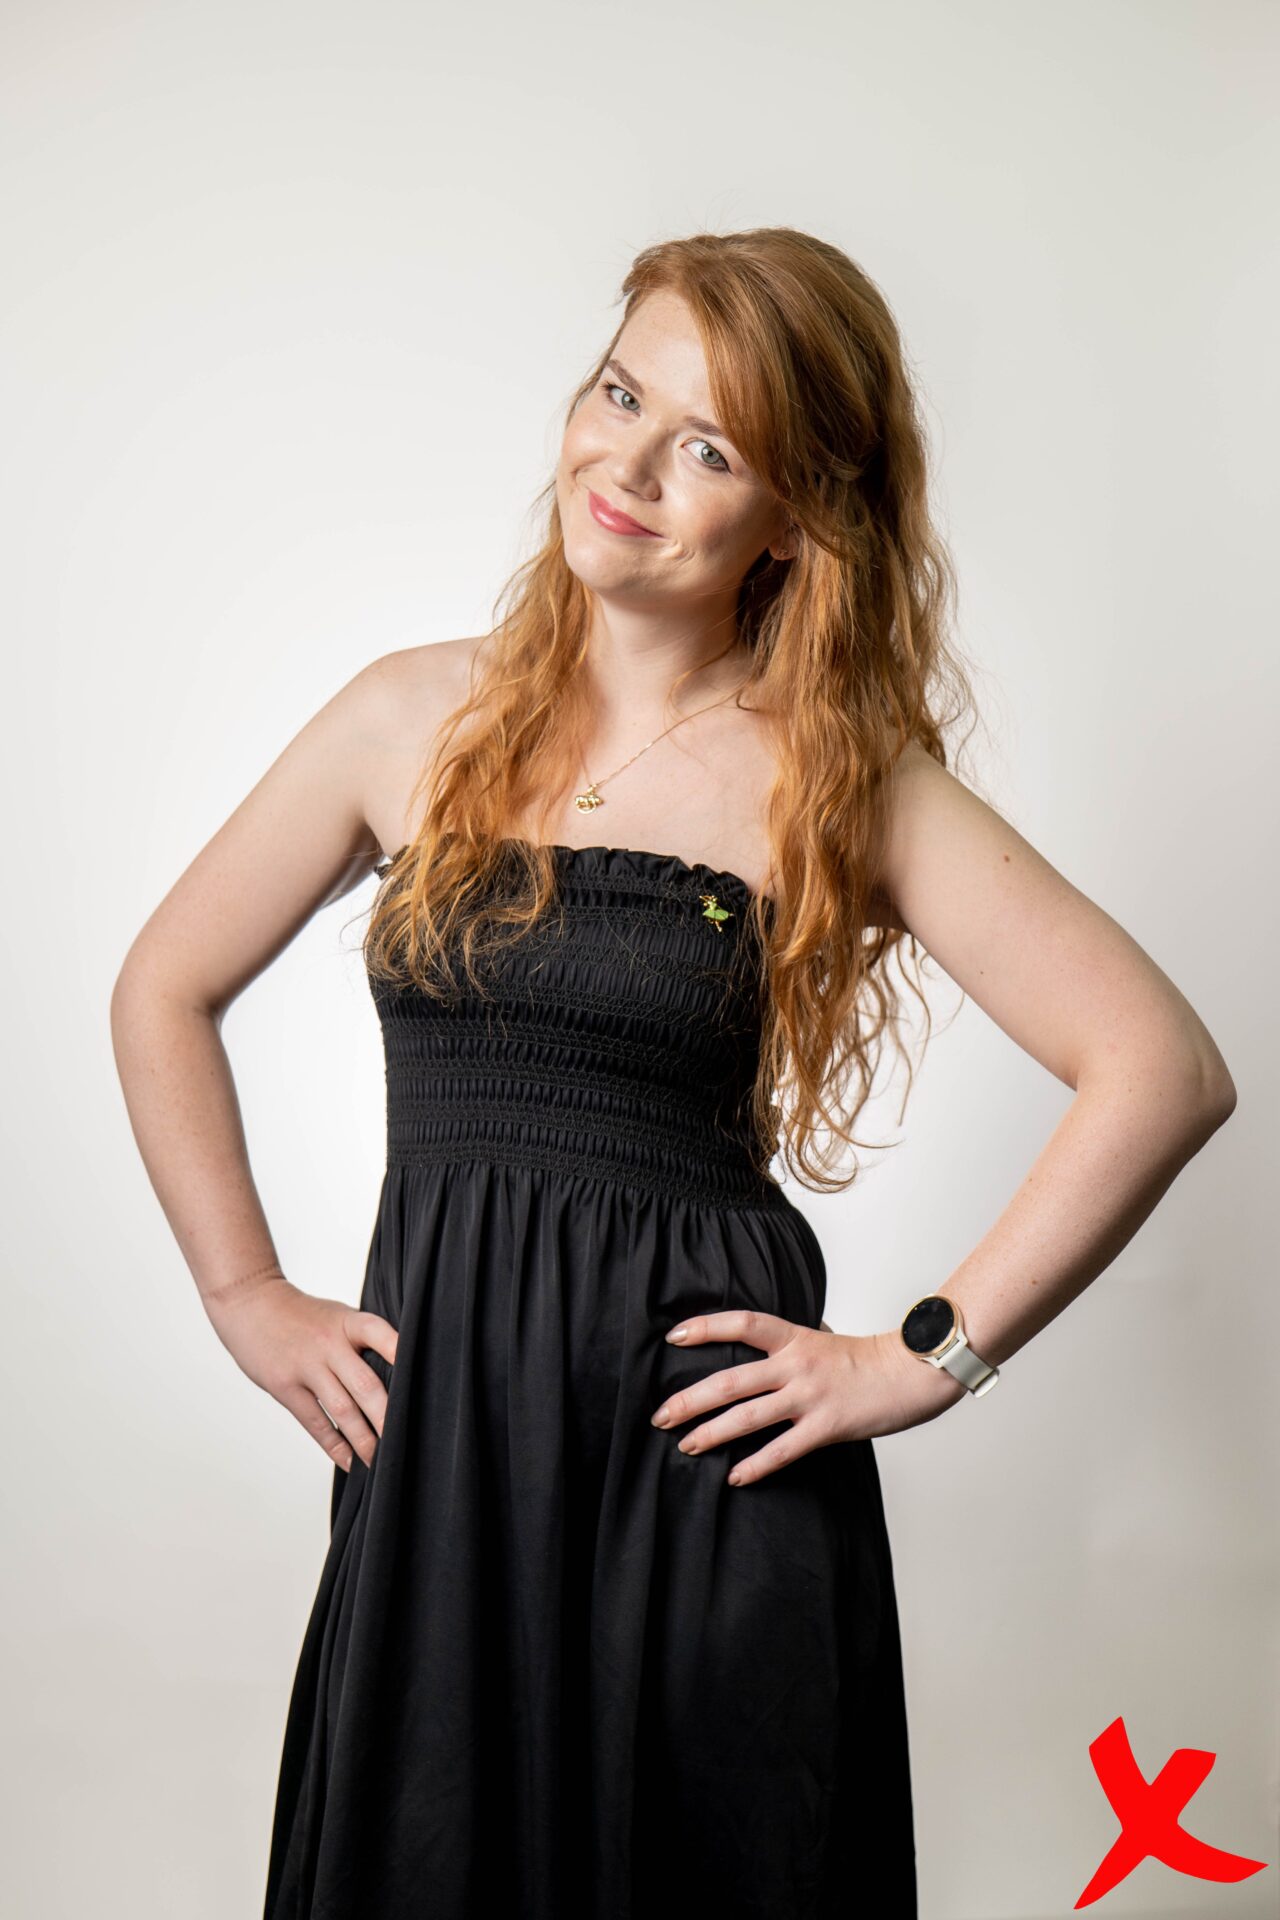
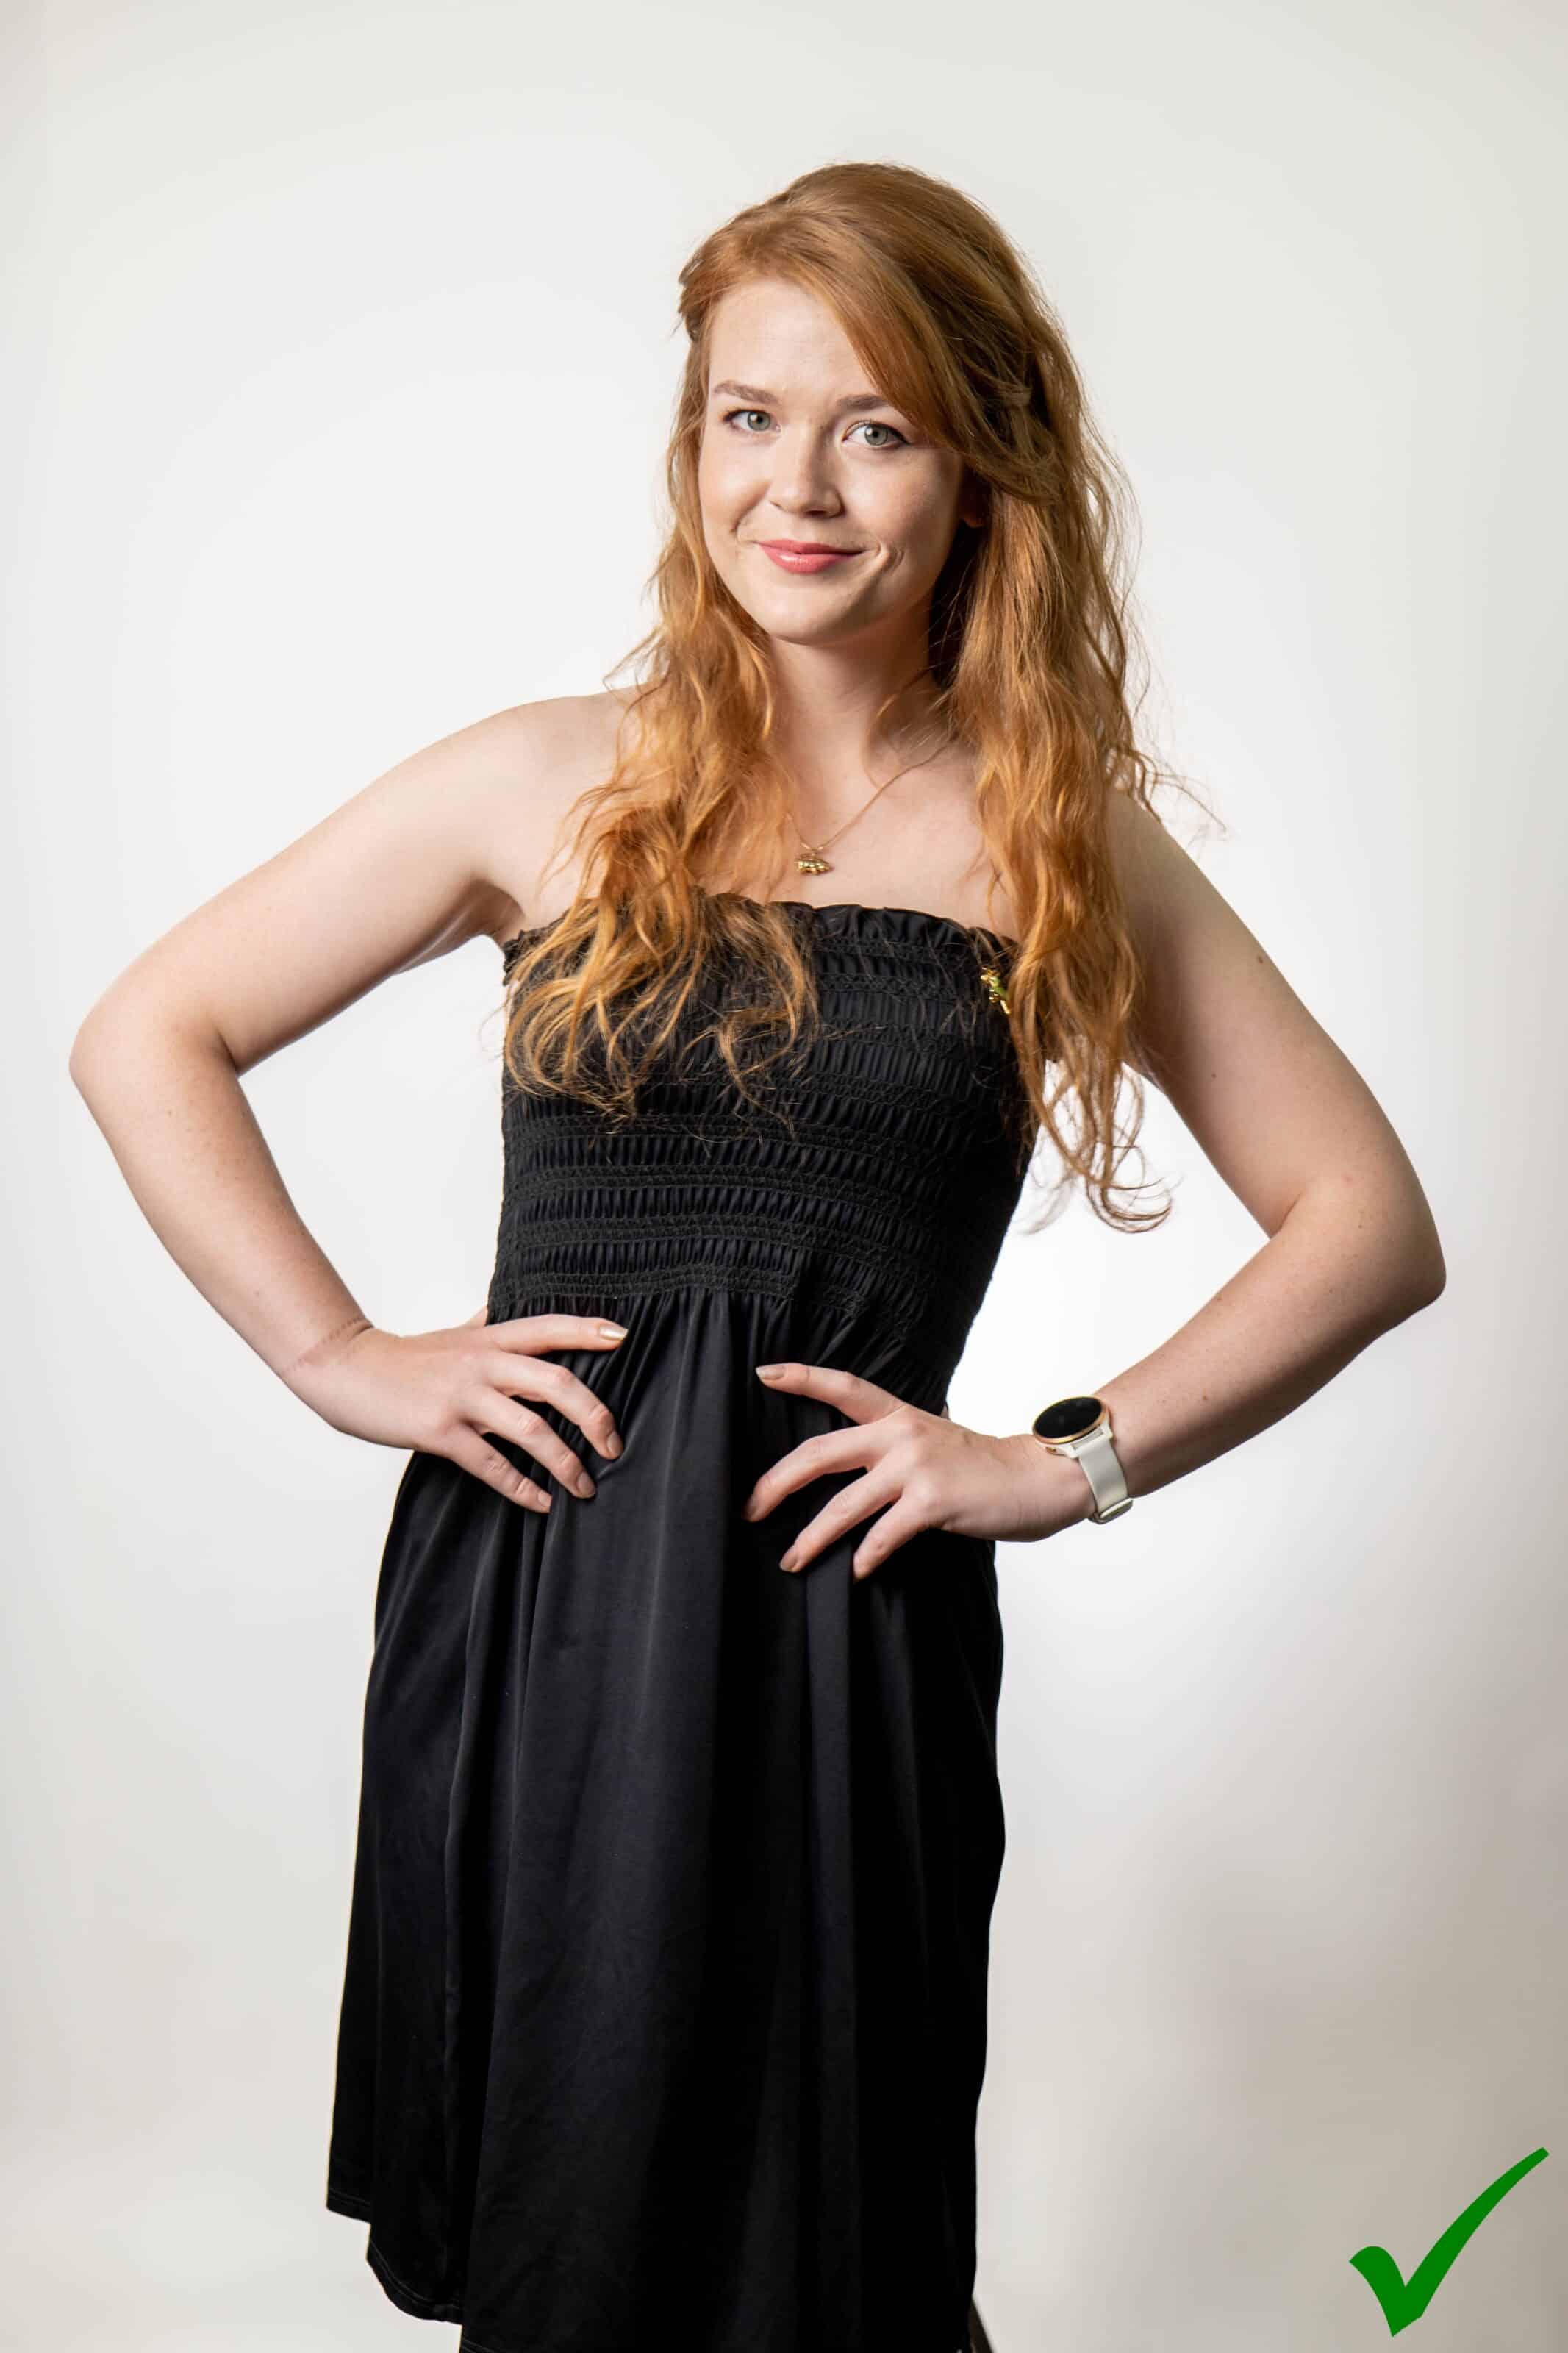
Hands on hips is a very popular pose. It has multiple meanings in body language. In old paintings, rulers stood like this to express their dominance and to intimidate their opponents. But it’s a different time now and that’s why we say no hands on hips. Hold the hips with your thumbs and relax the other fingers. Fingers close to the navel visually narrow the waist.

Hold your hips with your fingers close to your belly button.

Subtle movement with the hand immediately makes the waist look slimmer
Stay loose → Loose arms, shoulders, and teeth…
It may seem insignificant, but when a person is tight, and believe me, many people in front of a camera are, it shows. Communication is key. Try having casual conversations about what they do for a living, what they’re studying, and their hobbies. This works for most people. Then, you just tweak the details. Correct the shape of the chin by relaxing the jaw and doing some deep breathing exercises to relax the shoulders.

- Take a deep breath and relax your shoulders.
- Open your jaw and separate your teeth (with your mouth closed).
There could be a whole separate article about what to do with your hands during a photoshoot. It’s a good idea to pay attention to this part of the body, because if the hands are stiff to the point of looking unnatural, you may want to ask for permission to position the hands. Or you can use association and have your subject imagine they are holding something.

Imagine you’re holding something/handing something to someone.
Generally, it looks better when the fingers are loose and slightly separated or when there’s a fingertip on the cheek. Relax your hands and give your chest a natural shape by shaking your wrists and then poking your finger into your palm. The hand takes the shape of naturally bent fingers from the index finger to the pinky finger.
I just blinked → Close your eyes
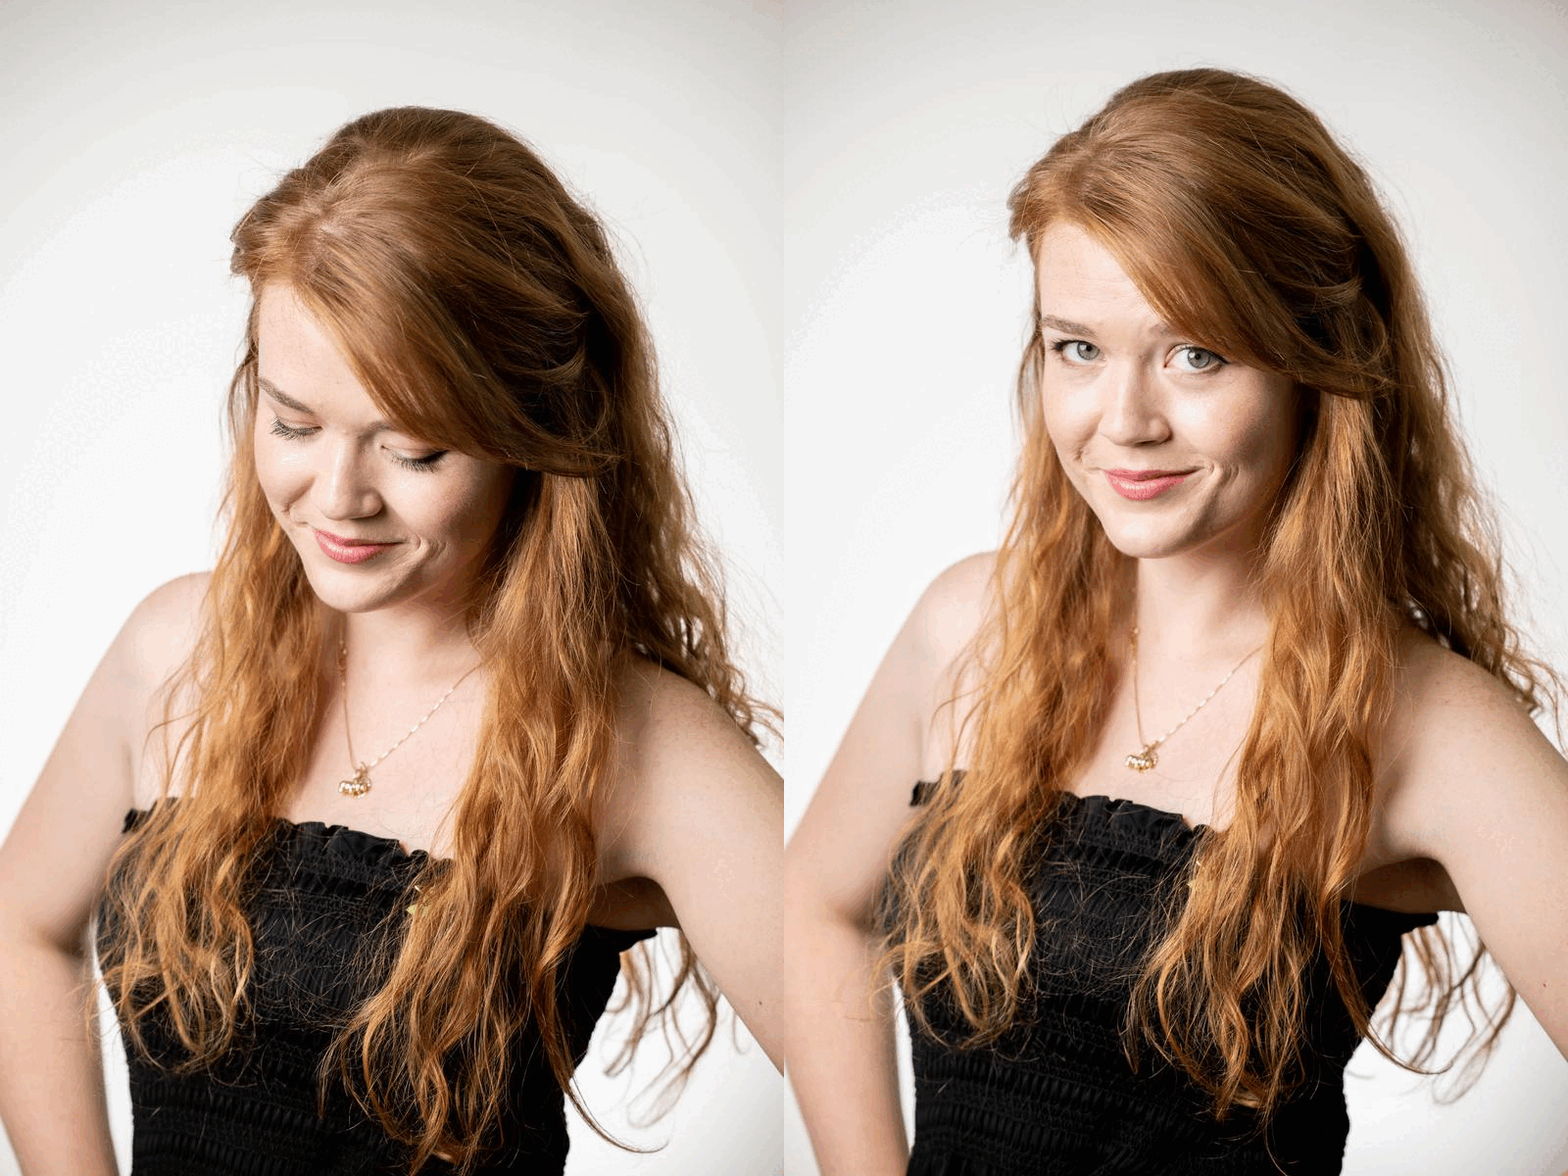
Strong light, nervousness. This all can make your subject blink more. Have them keep their eyes closed, or slightly closed, and not open them until you ask them to. It is flattering for some to open their eyes a bit more than usual.

Look down, and now look at me. Great.
Awkward mouth (frozen expression) → Moisten your lips and slightly open your mouth
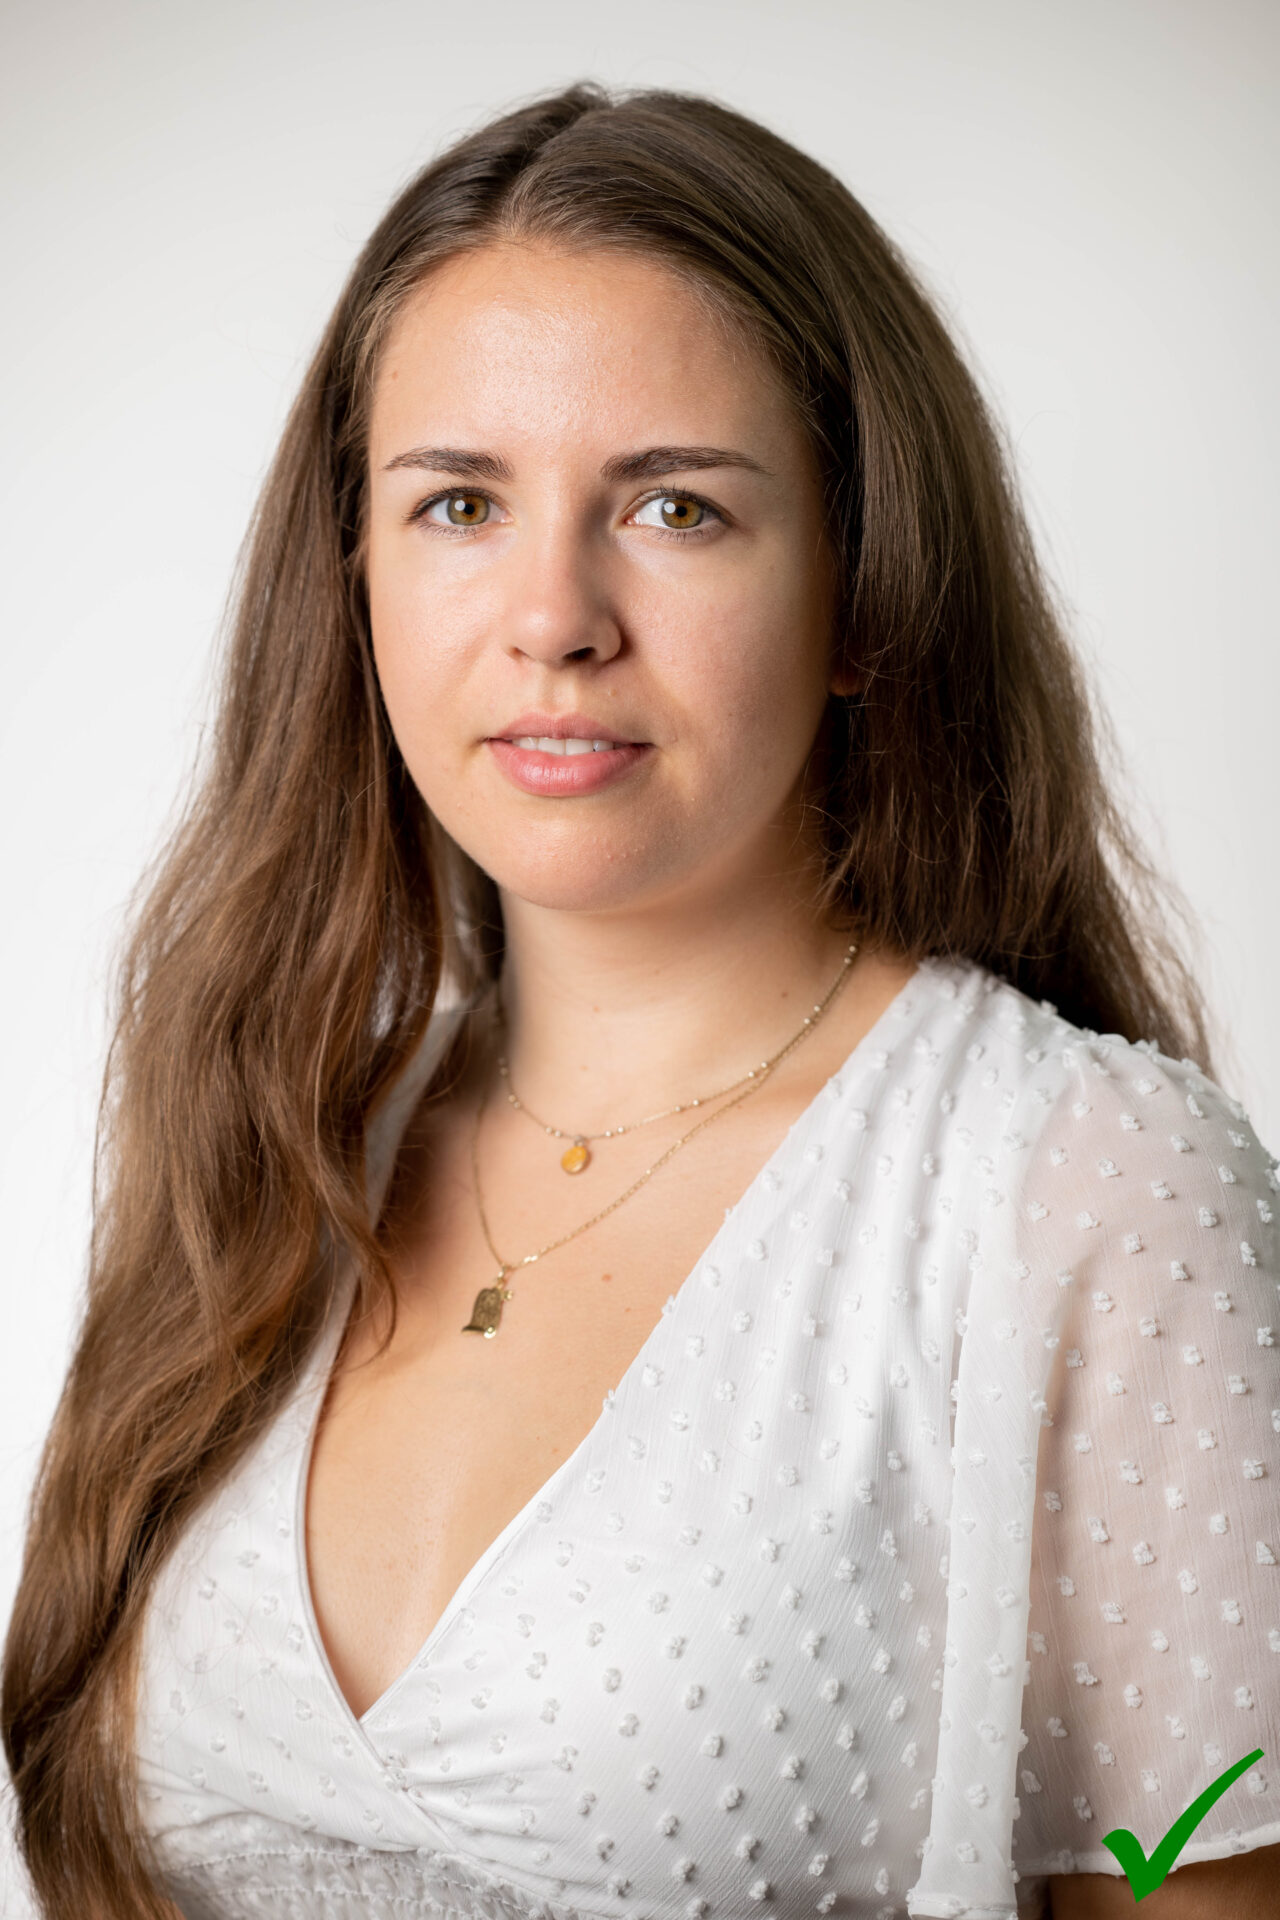
This may sound a bit strange, but moist lips look bigger and better in photos. More importantly, they are relaxed and have a more natural shape.

Lick your lips and slightly open your mouth.
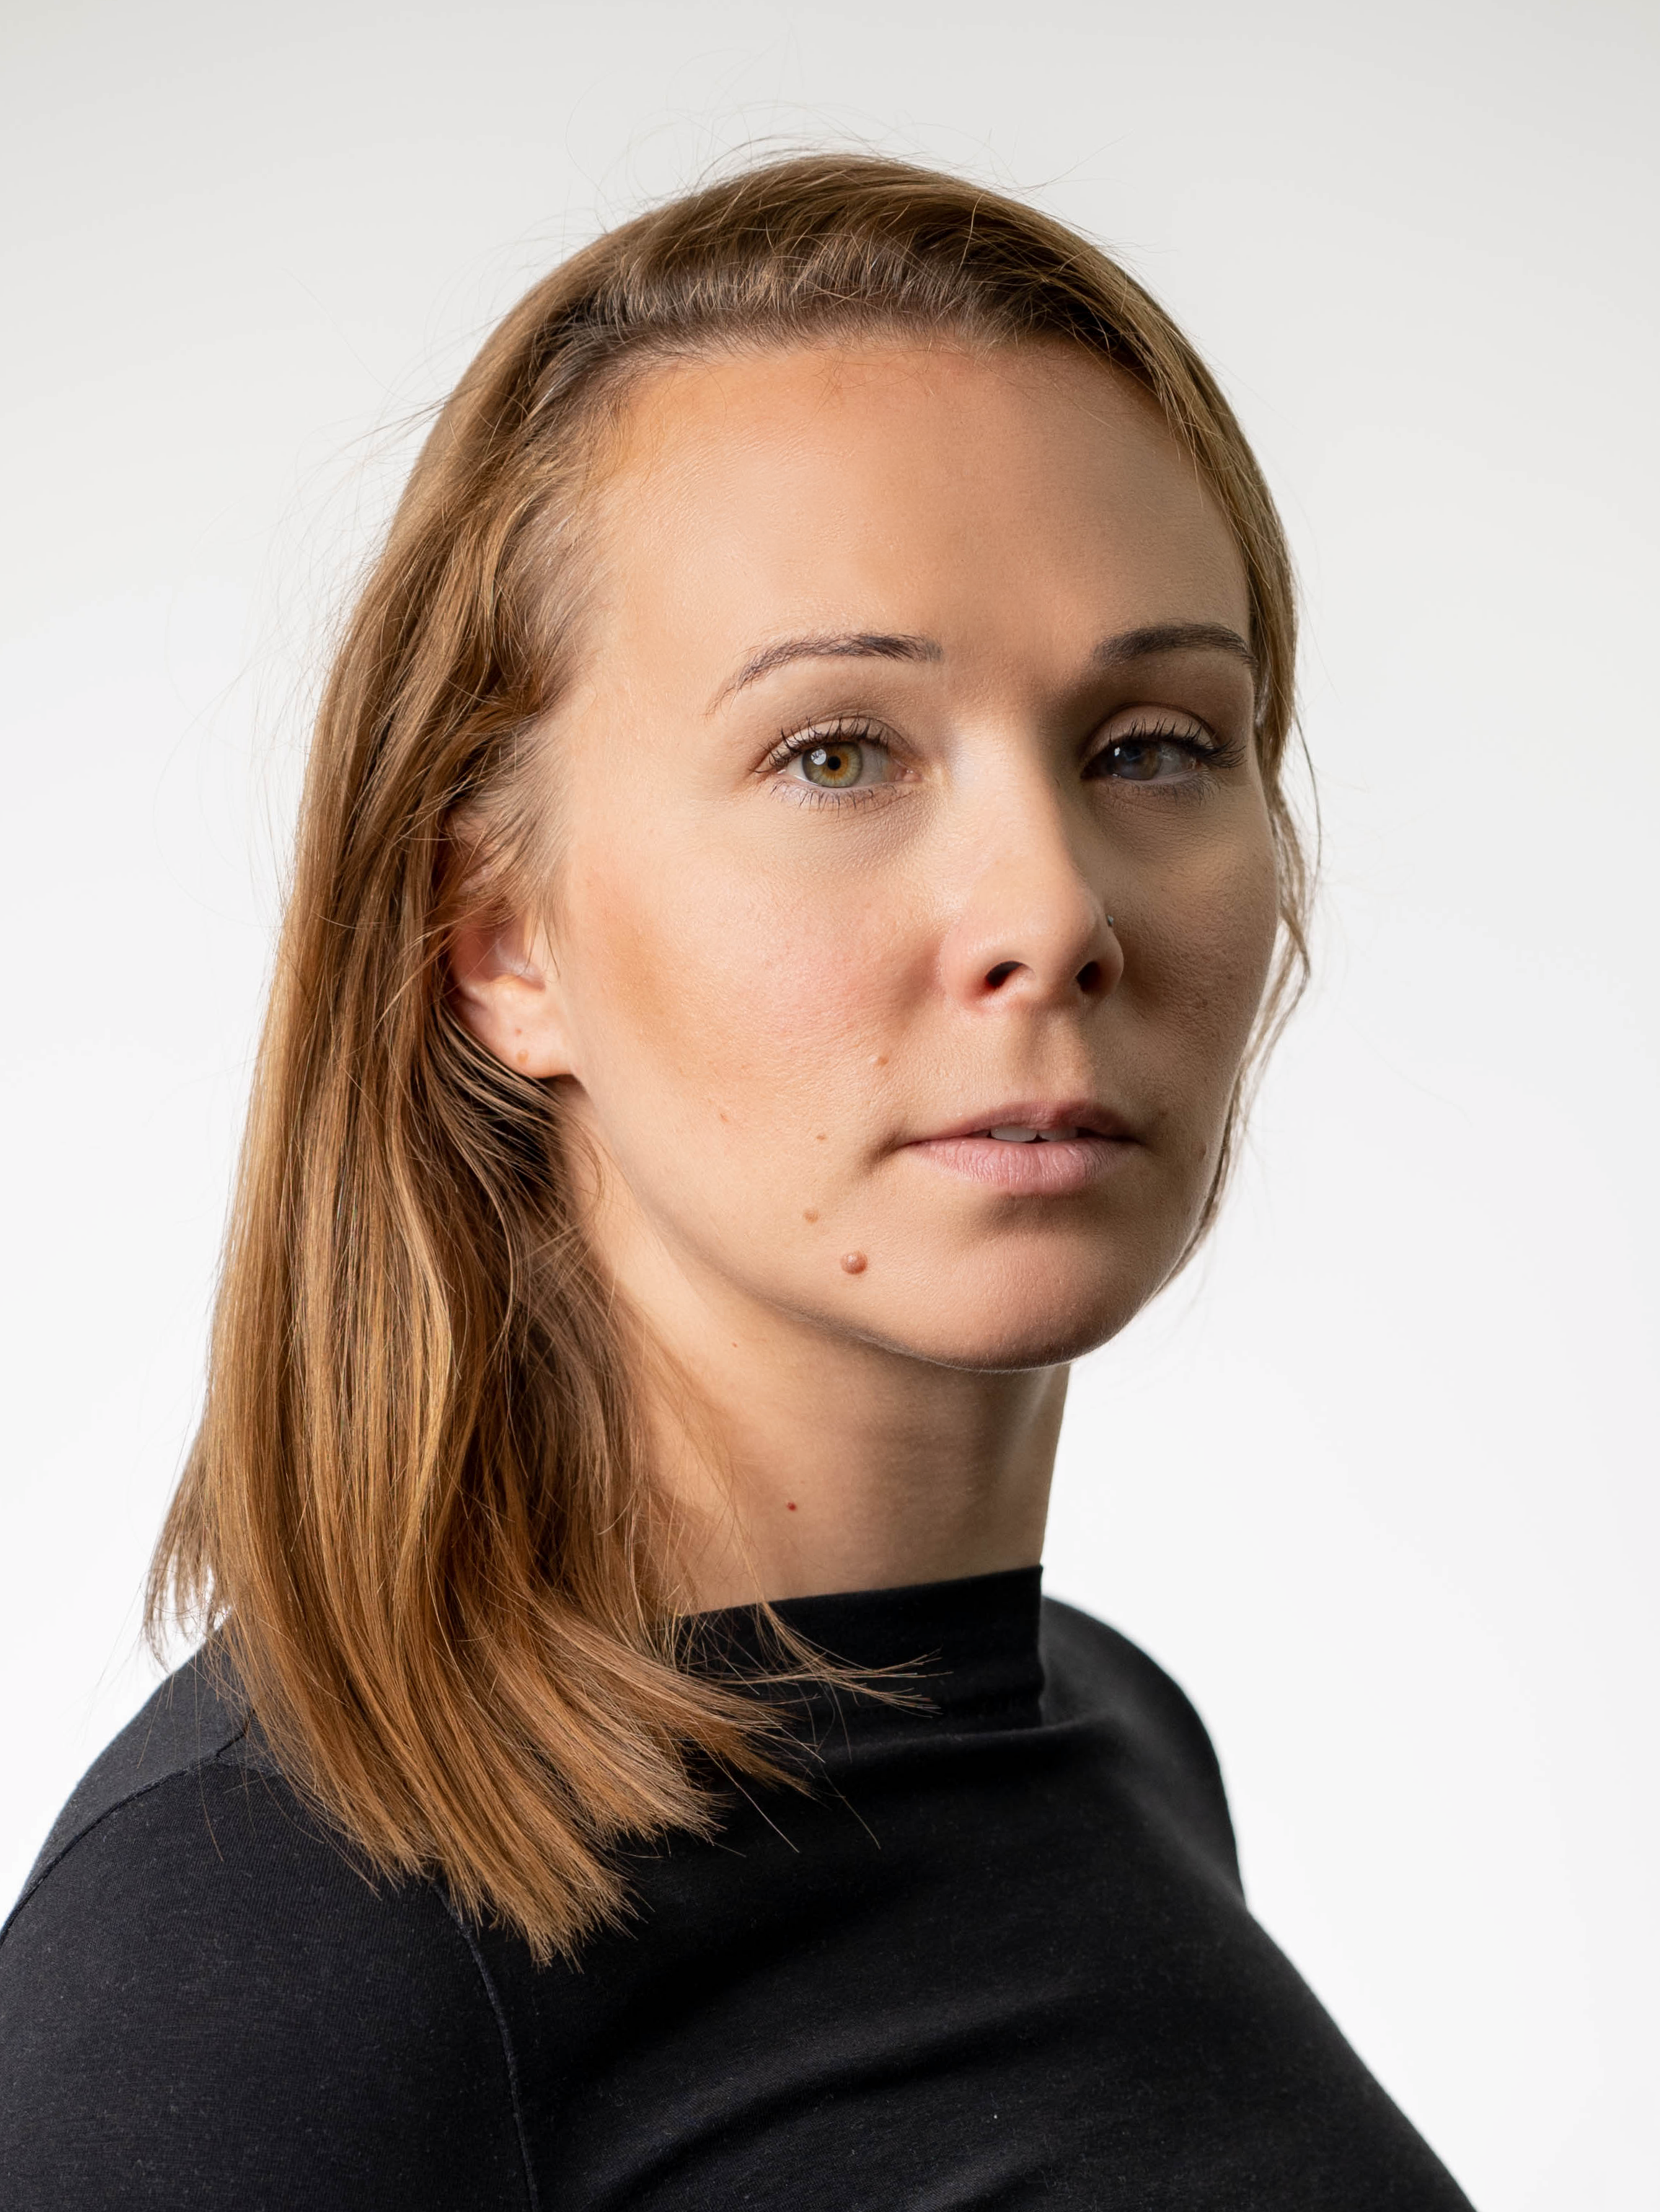
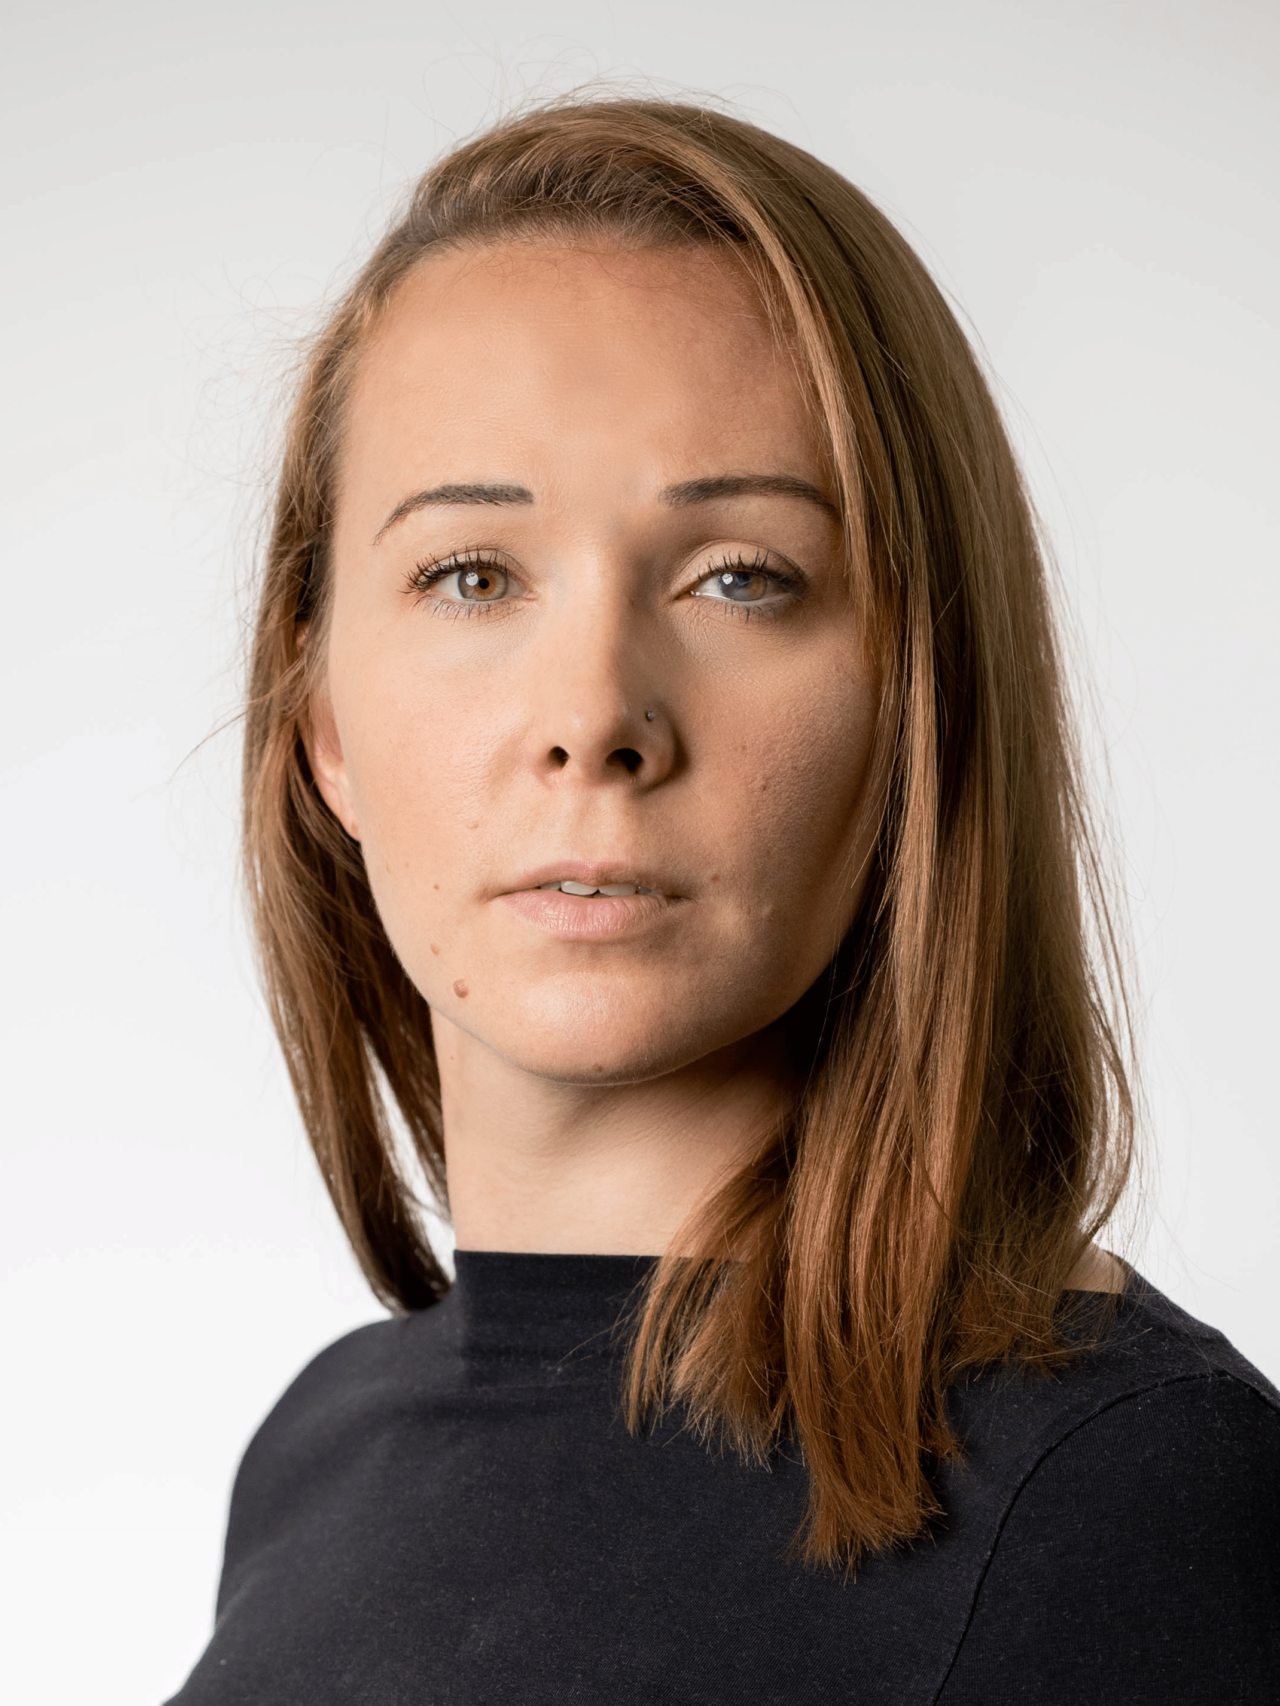
That’s my bad side → Try different angles
Did you know that research says that people look better from their left side? According to these studies, the left side of the face is considered more attractive than the right, regardless of whether you are smiling or not. This is because the left side of the face shows emotions more intensely and viewers find it more aesthetically pleasing. And just for interest’s sake, women are less able to choose their good side than men.
Test which side the model looks better from and let them choose if needed.

Turn this way and tuck your chin.
Tilting your head to/away from the camera can help avoid a double chin, and at the same time, conveys different emotions. For example, if a man stands with his shoulders back and tilts his head toward the shoulder closer to the camera, it can look feminine. If he tilts his head toward the shoulder further away from the camera, it can emphasize his masculinity or shows interest.
Great job → Compliments for everyone
During the shoot, some of those cliche phrases may creep in. Don’t force yourself, you don’t have to remember and use everything. Celebrate small successes and be sure to praise your subject.
In closing…
Communicating with your model is a delicate dance and not everyone has the gift. Inappropriate communication can be harmful and can cross the line of decency and professionalism. Pay attention to the details, practice giving instructions, using the right wording, and eye contact and you will surely get great results. Your clients will keep coming back.



There are no comments yet.