Batch Editing for Faster Workflow
Batch editing is one of the ways you can quickly edit a large number of images. The Batch Filter in Zoner Photo Studio X lets you automate several consecutive steps, resulting in a significantly faster workflow.
The Batch Filter is useful when you want the same results for multiple images. For example, if you want to resize, add a border, or increase contrast for a batch of photos. On the other hand, the batch filter is not suitable if you need to edit each image separately, like when editing with curves.
Image selection is key
Before you apply the Batch Filter, you need to select your images. Don’t forget the basic rule of photo editing: Always use copies of the original image. This is especially true when using the Batch Filter.

It’s hard to stop the Batch Filter once it’s running without affecting a large number of images and losing the originals.
The other option is to make copies using Batch Rename. Learn how it’s done later in this article.
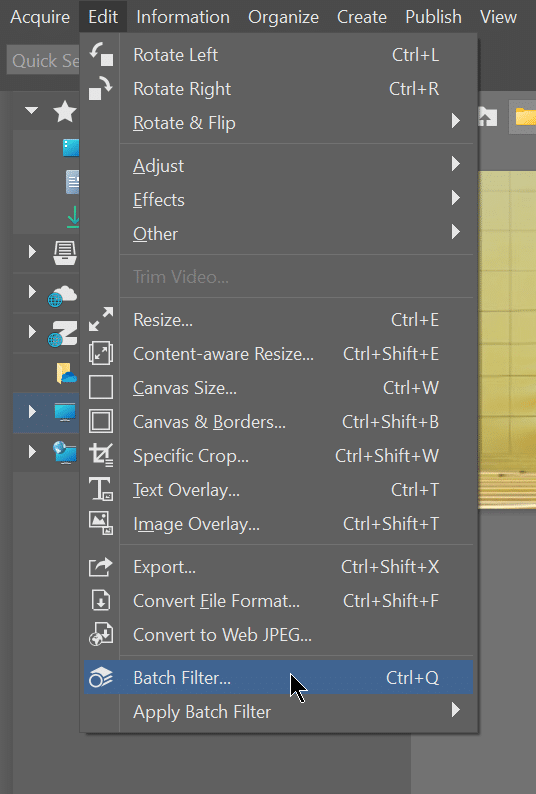
Once you have a batch of images selected in the Manager module, go to Edit > Batch Filter (Ctrl+Q). You can also select the Batch Filter by clicking the Batch Filter icon in the Navigation toolbar in all modules.

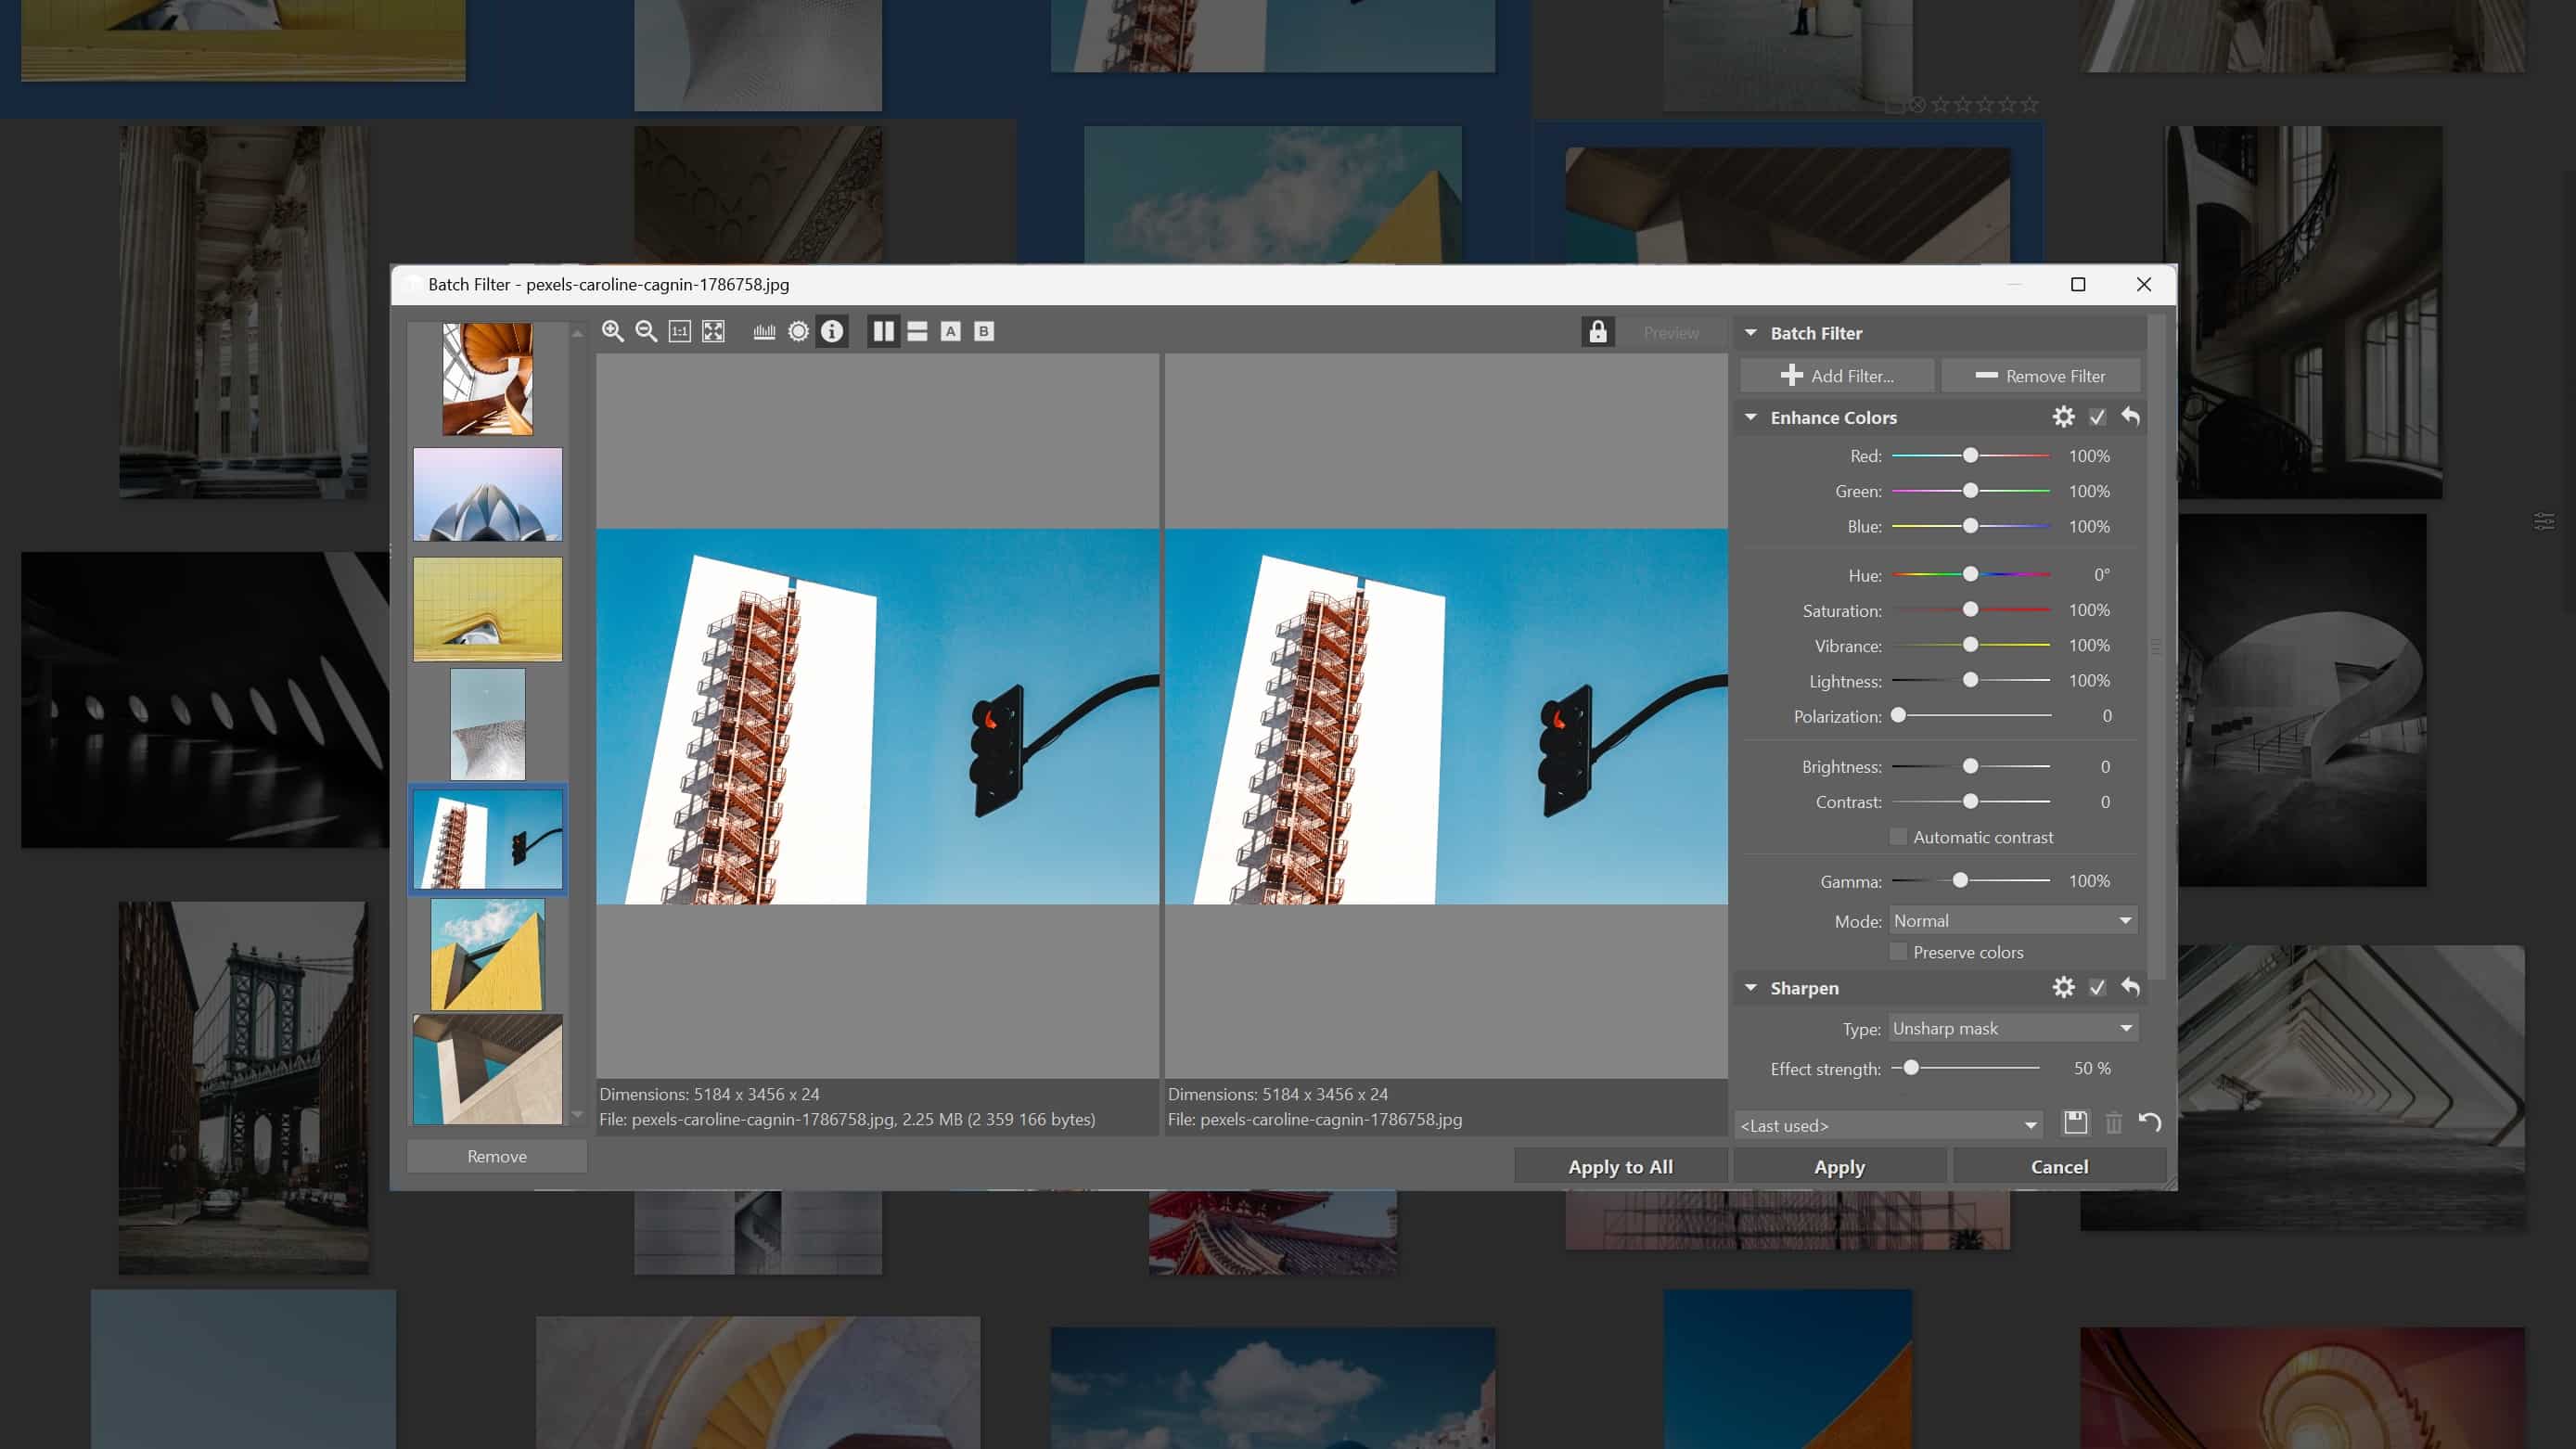
The Batch Filter opens in a new window.
- The left column displays the selected images.
- In the middle, you see a preview of the original image, and next to it a preview of the image after editing.
- The right column shows the selected filters.
You can change the layout of the previews using the icons above the photos. You can also display the Histogram, blowouts, or image information in this workspace.
Select the filters you need
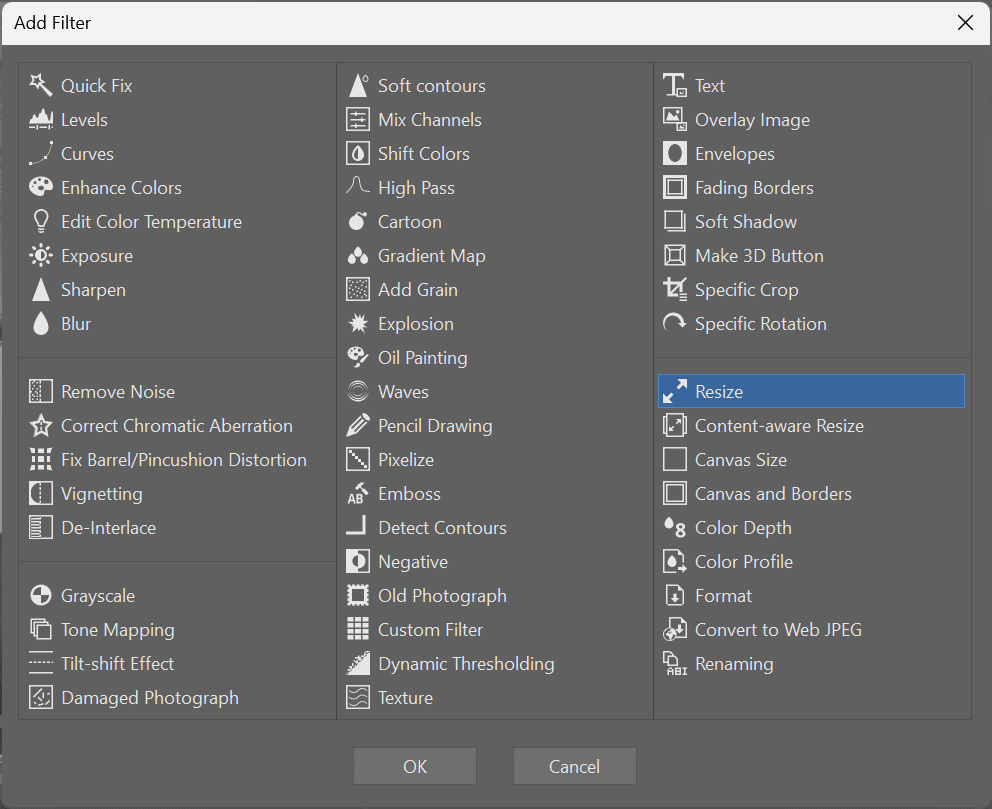
Use the + Add Filter button at the top right to select filters. Then, a new Add Filter window opens. Access over 50 filters for photo editing.
Then, select the filter you want and press OK to confirm. Gradually select all the filters you want to apply to your photos this way.
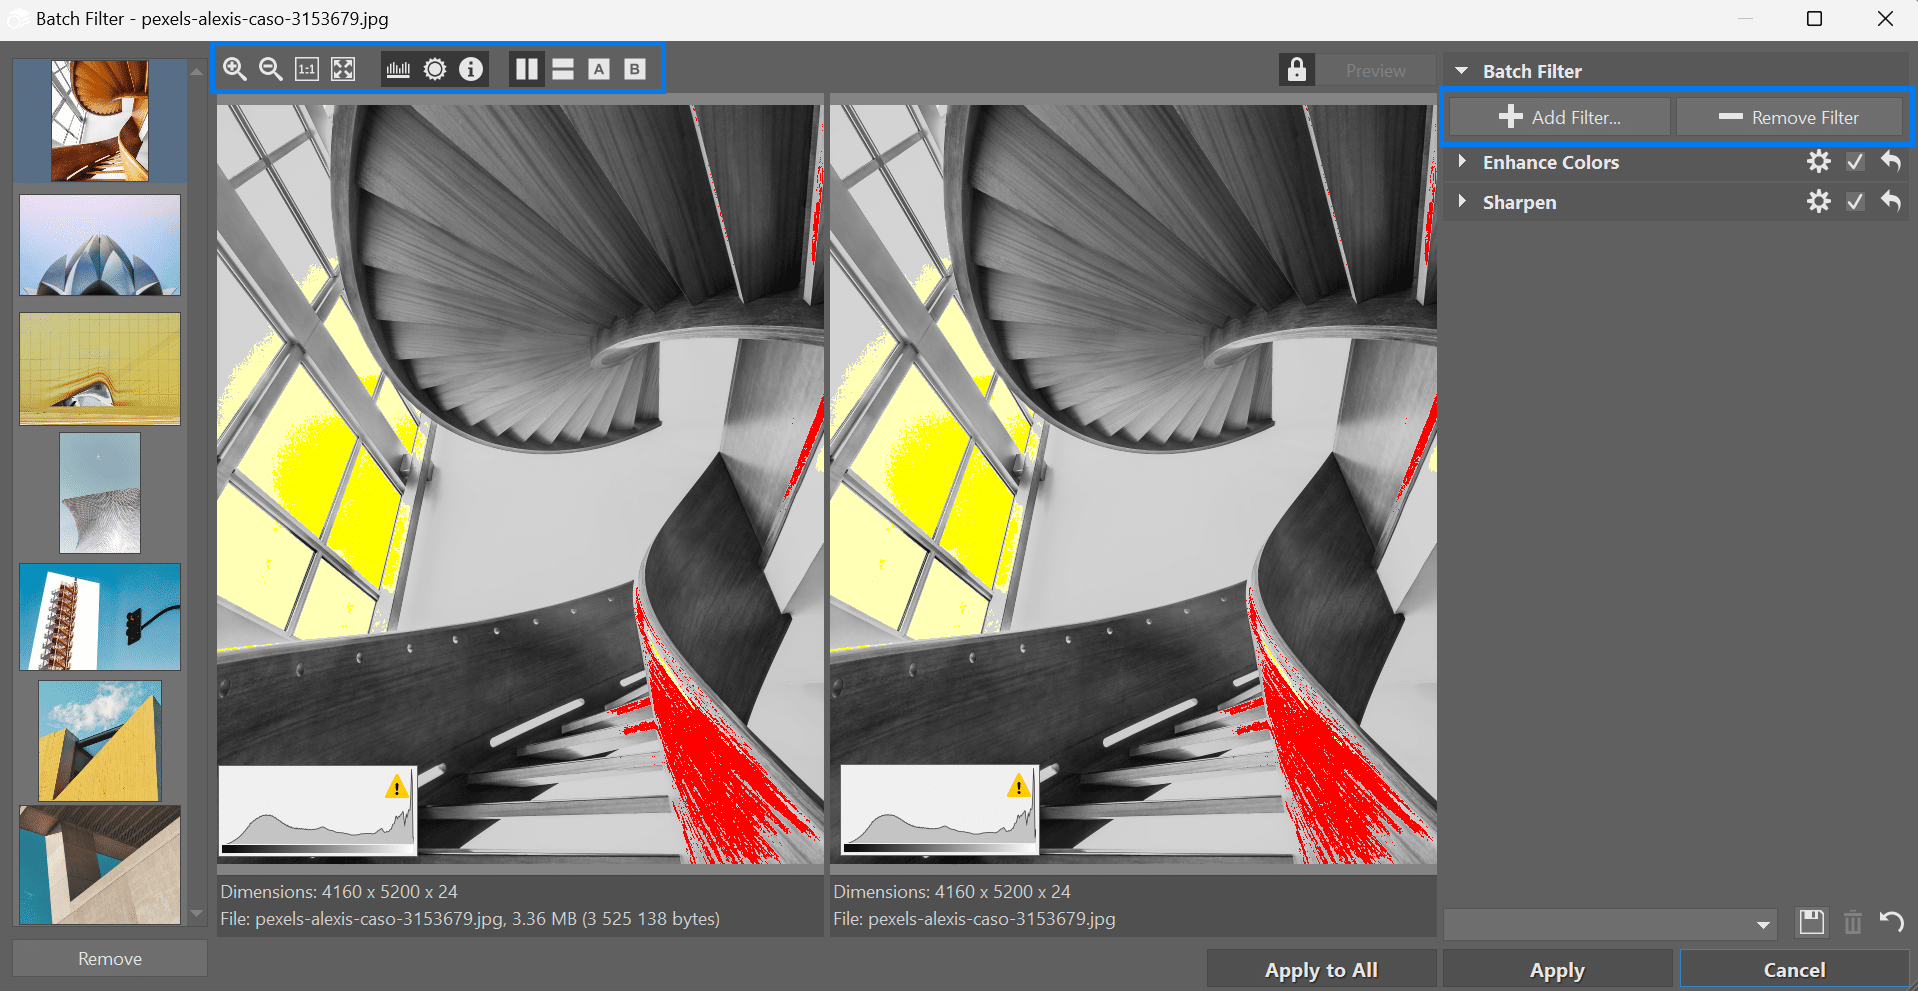
Choose a logical order for filters
It’s also important to choose the order of each filter in a logical order. If you’re not sure which sequence of filters to follow, use the general rules of photo editing. For example, resizing an image or converting a file should be among the last edits you do. Sharpening should follow after resizing, and so on.

You can change the order of the filters, or disable them at any time. Use the checkbox next to the name of the filter.
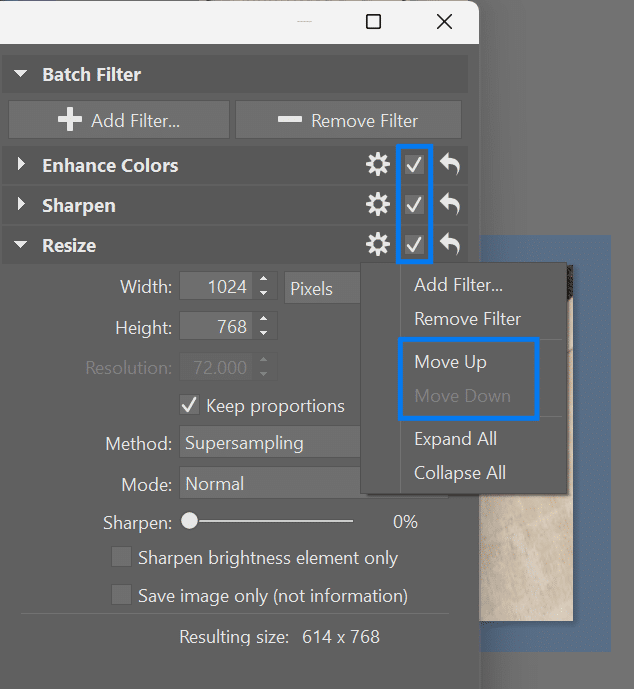
If you want to completely remove a filter from the list, click the Remove Filter button.

Save Batch Filter settings by clicking the disk icon and return to them whenever you need.
As soon as you have everything set up and fine-tuned to your liking, click the Apply or Apply to All button. For Apply, the adjustments are applied only to the image currently selected in the left preview panel. For Apply to All, Zoner Photo Studio X applies adjustments to all selected images.
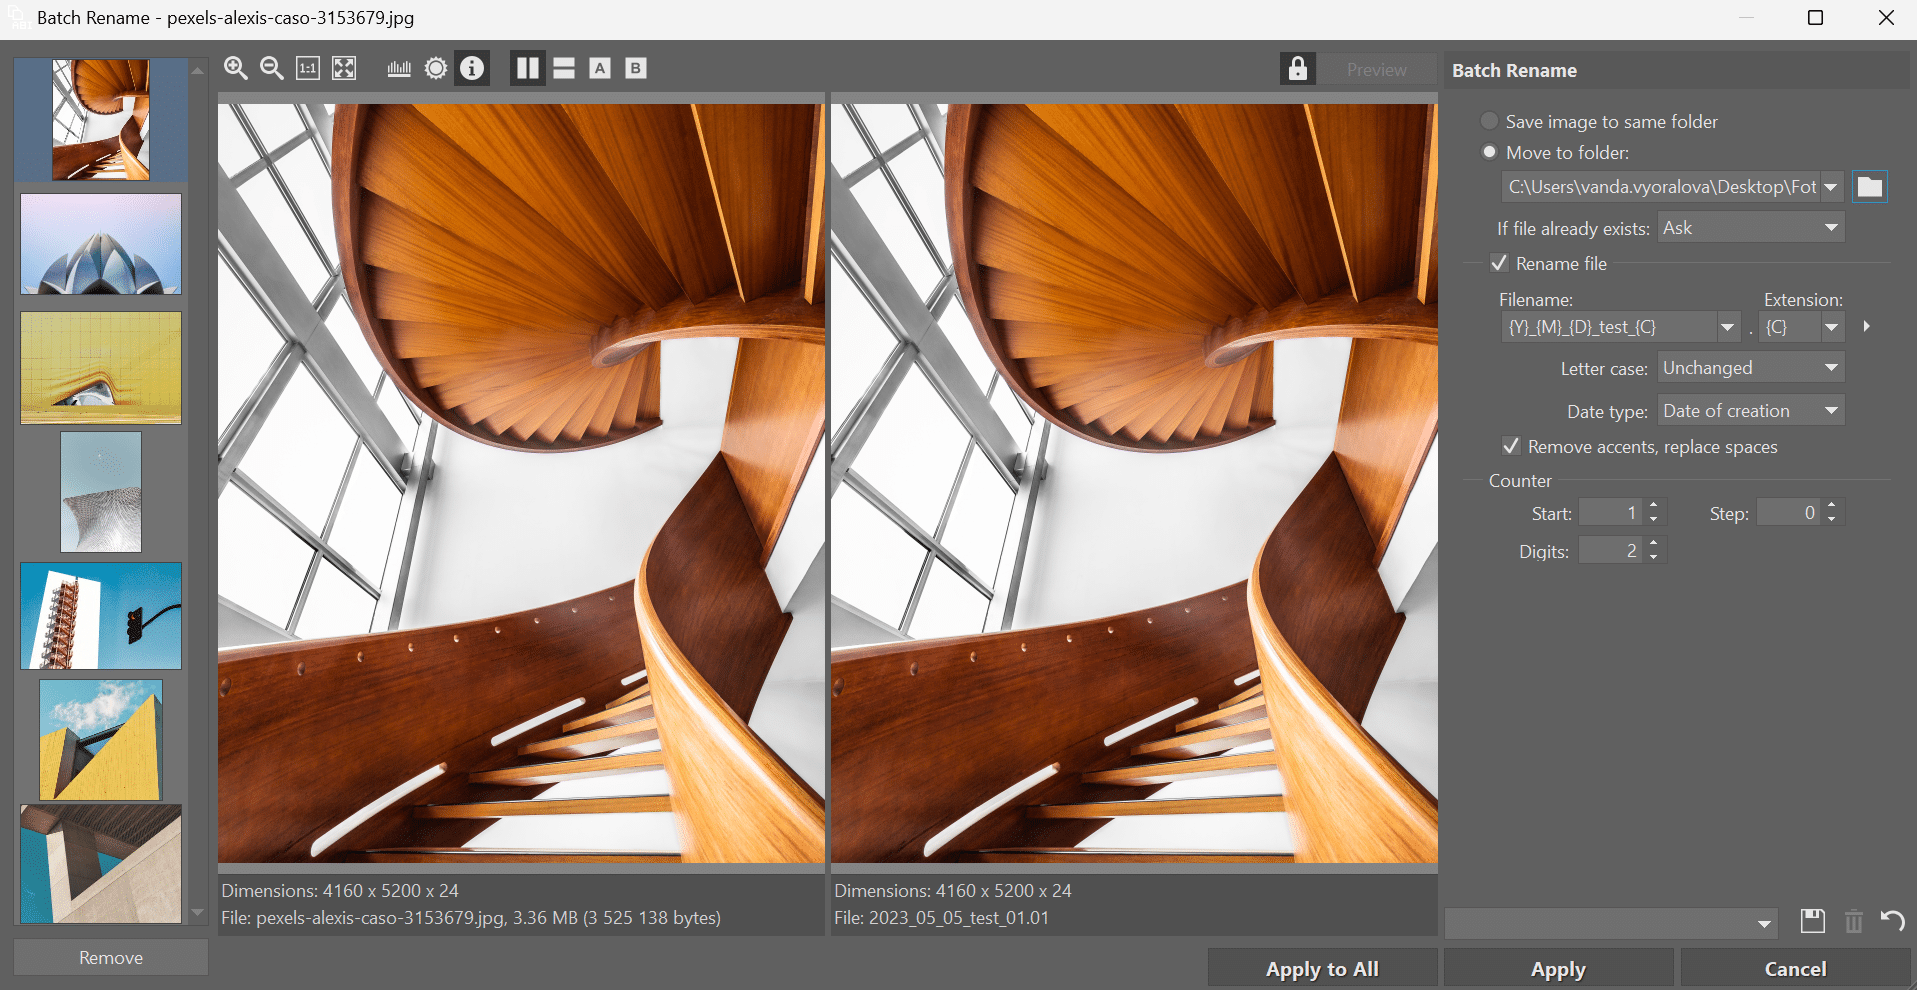
Make copies with Batch Rename
Rename is another adjustment found under the Batch Filter. You can use it to not only rename your images but also to make copies. Just enter a different filename. Zoner Photo Studio X then automatically creates new files with that name.
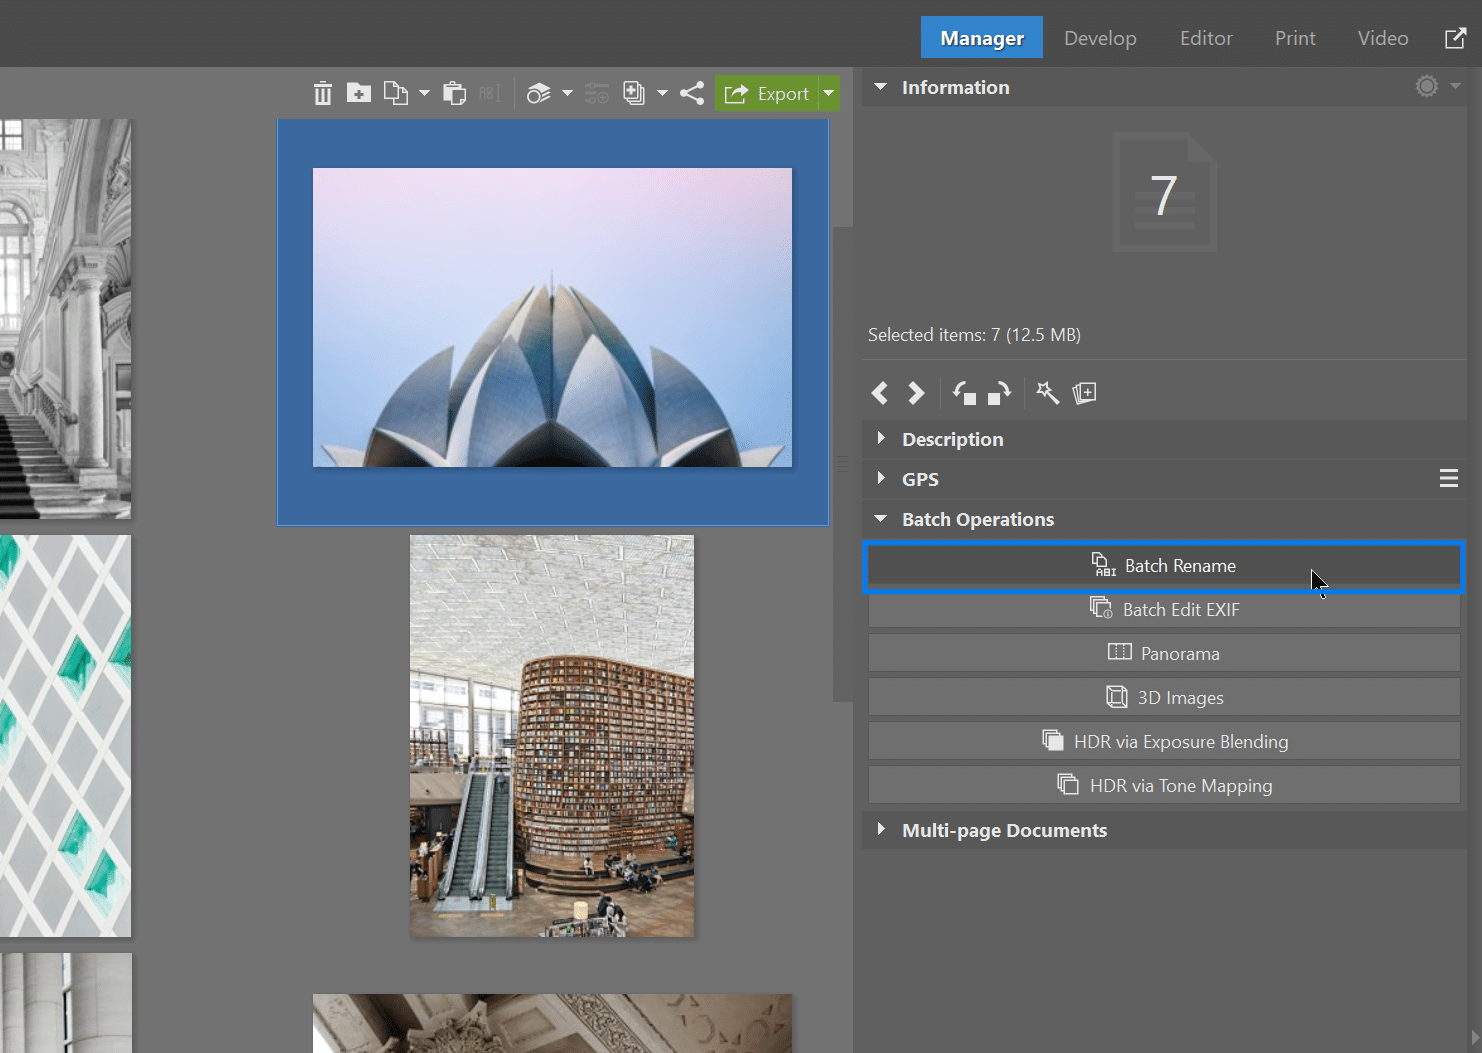
Open Batch Rename under Batch Operations in the right panel of the Manager module. You can also access it in the Manager module under Menu > Organize > Batch Rename or press Ctrl+Shift+Q.
Get your pictures folder organized by learning how to rename files.
Use the Batch Filters and Batch Rename to move your edited photos right away. Select the destination folder for your photos. This way you can not only edit them but also move them straight to your destination folder.
Use Batch Filter to add your name or logo or resize your photos. This comes in handy if you plan to share your photos.
Try using Batch Filters on your own photos! Download Zoner Photo Studio X free for 7 days with all the features mentioned in this article and speed up your workflow.
LINDA
I have been using this for some time, but I think you need to have some to close up shots for us oldies that can barely see the screen, or do some video editing instead, this reading makes for tiresome eyes after awhile.! JUST SAYIN…….
Zoner
Hello, Linda, we will probably update this article in the future, but you can click on the pictures and they open bigger, or you can even download them.