The Radial Filter: Brighten Up Your Portraits in Three Simple Steps
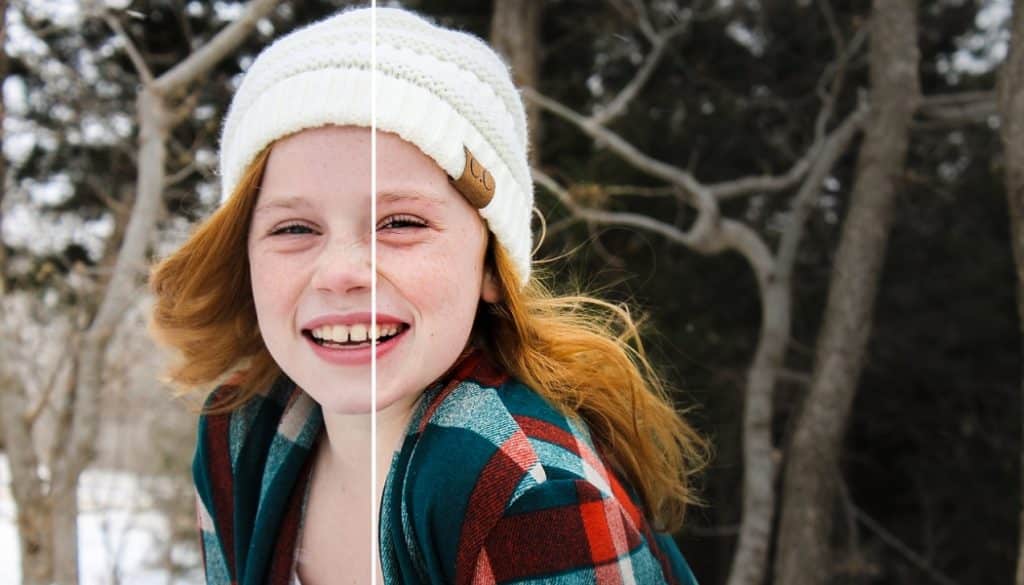
Do you find that you avoid taking portraits in the winter or bad weather? Now you have no reason to. If you have portraits that look a bit dull due to bad winter lighting, you can easily fix this with Zoner Photo Studio X. Discover the Radial Filter!

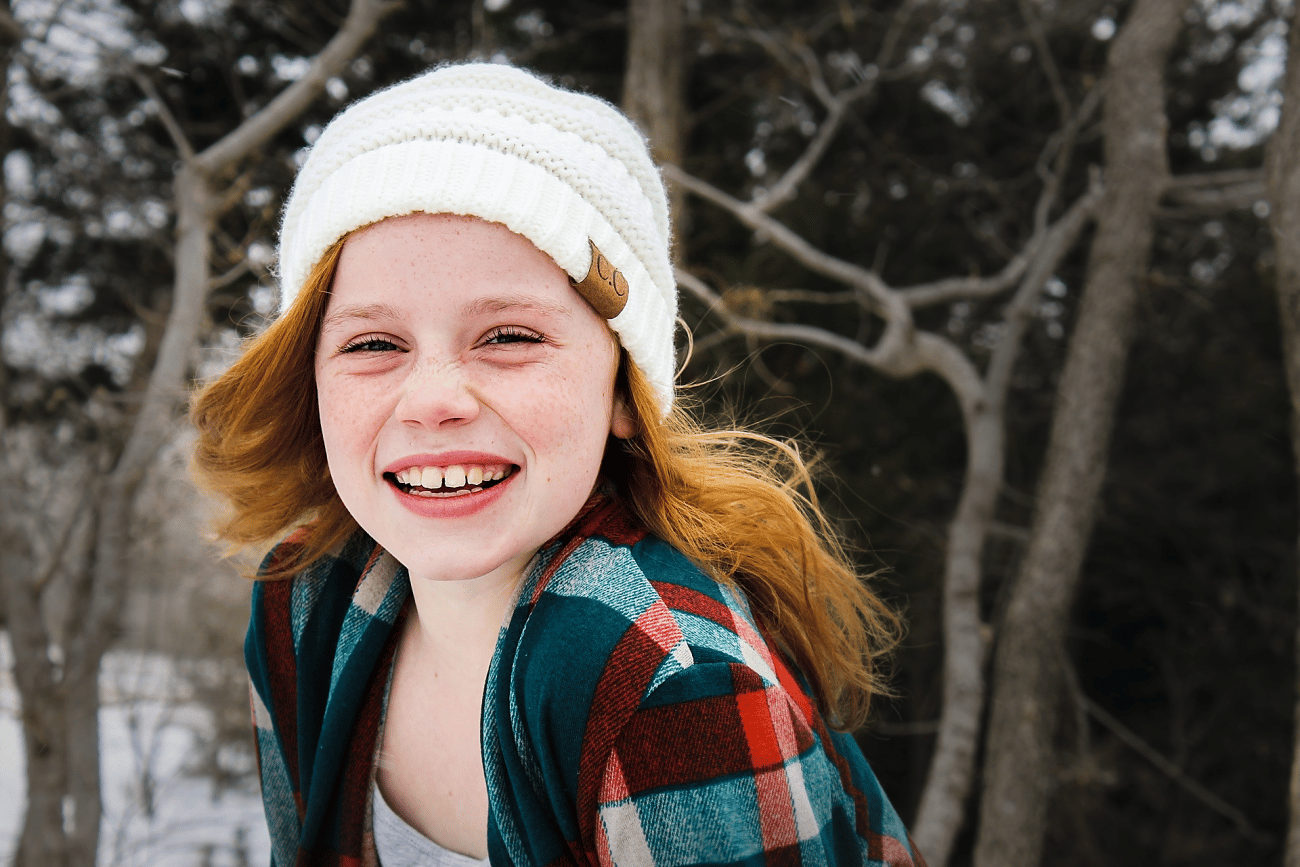
Learn how to work with the Radial Filter! Download the following image and follow each step with us. To download, click to enlarge the image and then right click the image and choose Save image as…

Step 1: Darken the background
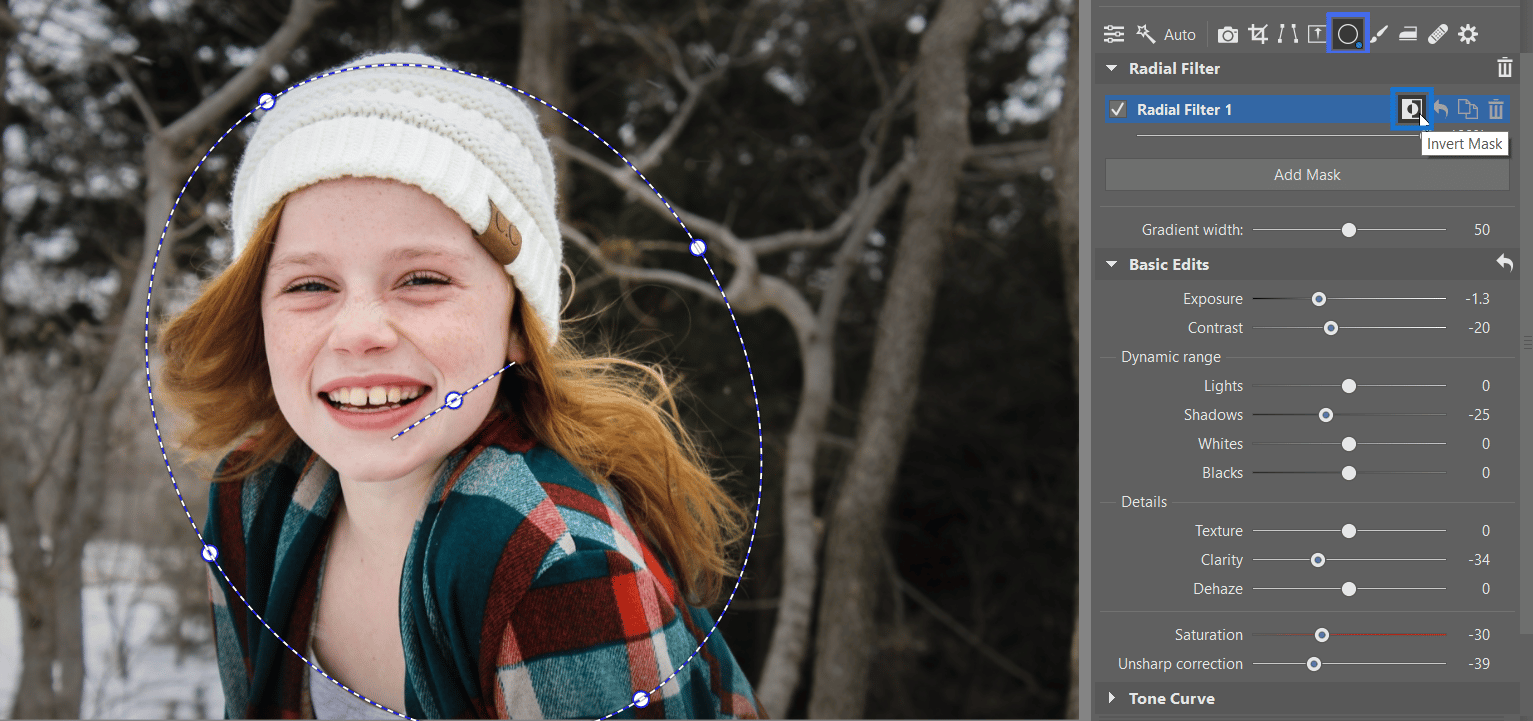
Start by darkening the background in order to make your subject stand out. Open the Develop module and click the Radial Filter (R) icon in the right side panel. An ellipse appears directly on the photograph, as seen in the image above. Place the ellipse so that it contains the subject’s face and hair. If you need to work with the background or area outside the ellipse, click Invert Mask. Lower contrast, clarity, sharpness, and saturation to make the background less prominent.
Step 2: Highlight the subject’s face
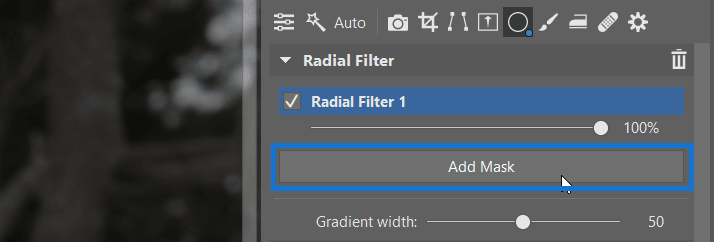
First, create a second filter by clicking Add Mask. Since you’ll now be working inside the ellipse, don’t forget to unclick Invert Mask. Before you continue, reset all filter settings by double clicking each value’s name. Our goal in this step is to edit the photo so that the girl shines. For this reason, reduce the shadows so that you don’t lose any detail in the face.
Step 3: Tweak the portrait to perfection
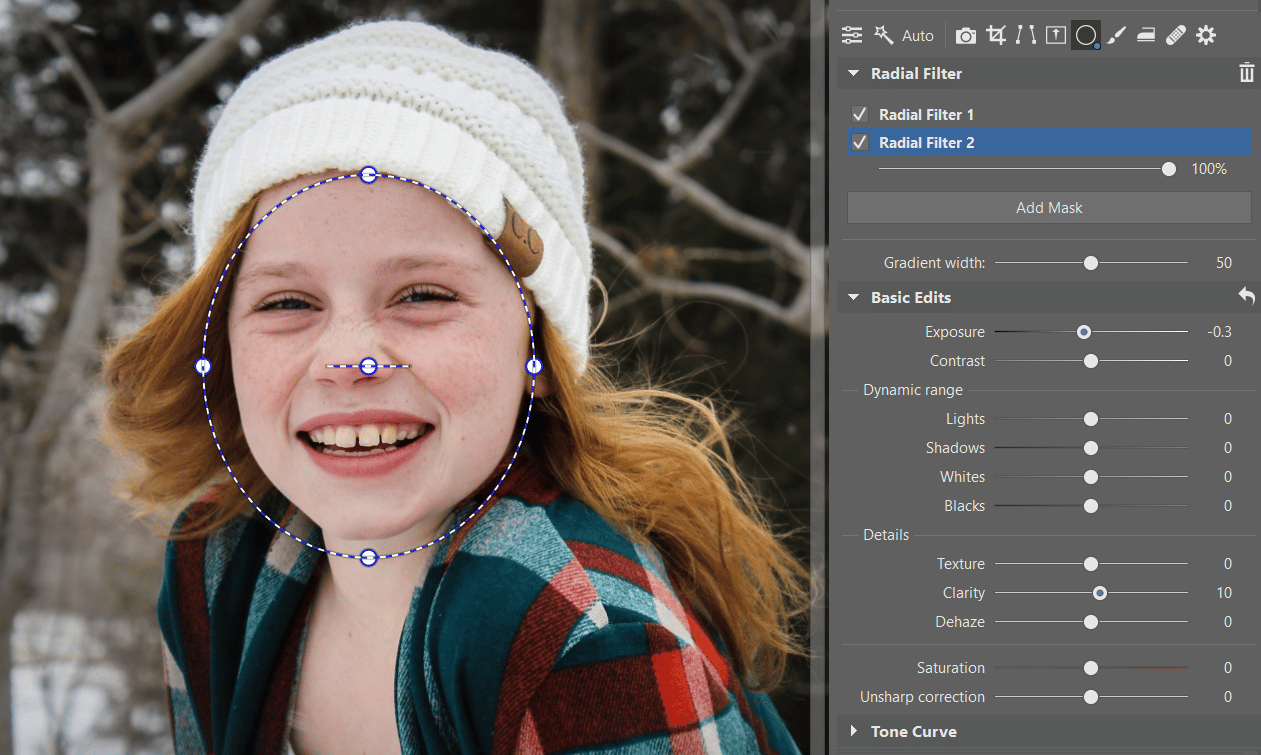
Higher exposure values from the previous step caused the subject’s skin to be too light. For this reason, we opted to apply another filter directly to the subject’s face in order to leave the other parts of the photograph untouched. Increase the clarity and sharpness values to enhance the shape of the face. Reducing exposure makes the skin look more natural.
And we’re done! The Radial Filter has beautifully emphasized the girl in the photograph. What’s more, the photo has much more depth than it did before.
Now you can make similar adjustments to your portraits. Test out these adjustments on your own photographs and feel free to show them off!

There are no comments yet.