The Secret to Compelling Photos: Combining Masks in Zoner Studio
With fast masking in the Develop module, it’s easy to apply several masks to a single photo. This is especially useful for landscapes, but it also works well for portraits, interiors, and many other genres. By combining multiple masks, you can achieve a much more striking effect in your photos and bring otherwise ordinary shots to life.
In this article, we discuss:
- why it’s a good idea to use multiple masks at once.
- which situations benefit most from masking—from highlighting the subject to minimizing distractions.
- how to combine different types of masks in the Develop module.
- how to darken the sky, draw attention to the main subject, or add sun effects.
- what the entire process looks like in practice, step by step.
We’ve already written several articles about masking in the Develop module. I won’t focus on the basics in this article. Instead, I’ll show when to use masks and what combining them looks like in real-life examples.
What masks are good for
First, think about what you want your photo to express and what the main subject is. That’s what you should strive to highlight while reducing anything that distracts from it.
Certain composition issues can be solved while shooting. For example, if there are colorful trash cans in the background, you may need to turn slightly. But other times, like when unwanted sunlight hits a hillside, you can’t simply wait several months for the sun to set elsewhere. That’s where corrections using masks come in.
Generally, masks fall into three main categories:
- Masks that help reduce or unify distracting elements. For example, darkening an overly bright sky or adjusting white balance locally when a scene contains multiple light sources.
- Bringing out the main subject. Besides brightness adjustments, it’s often useful to increase contrast, sharpness, clarity, or vibrance.
- Adding special effects, such as fog or glow.
Sample photo
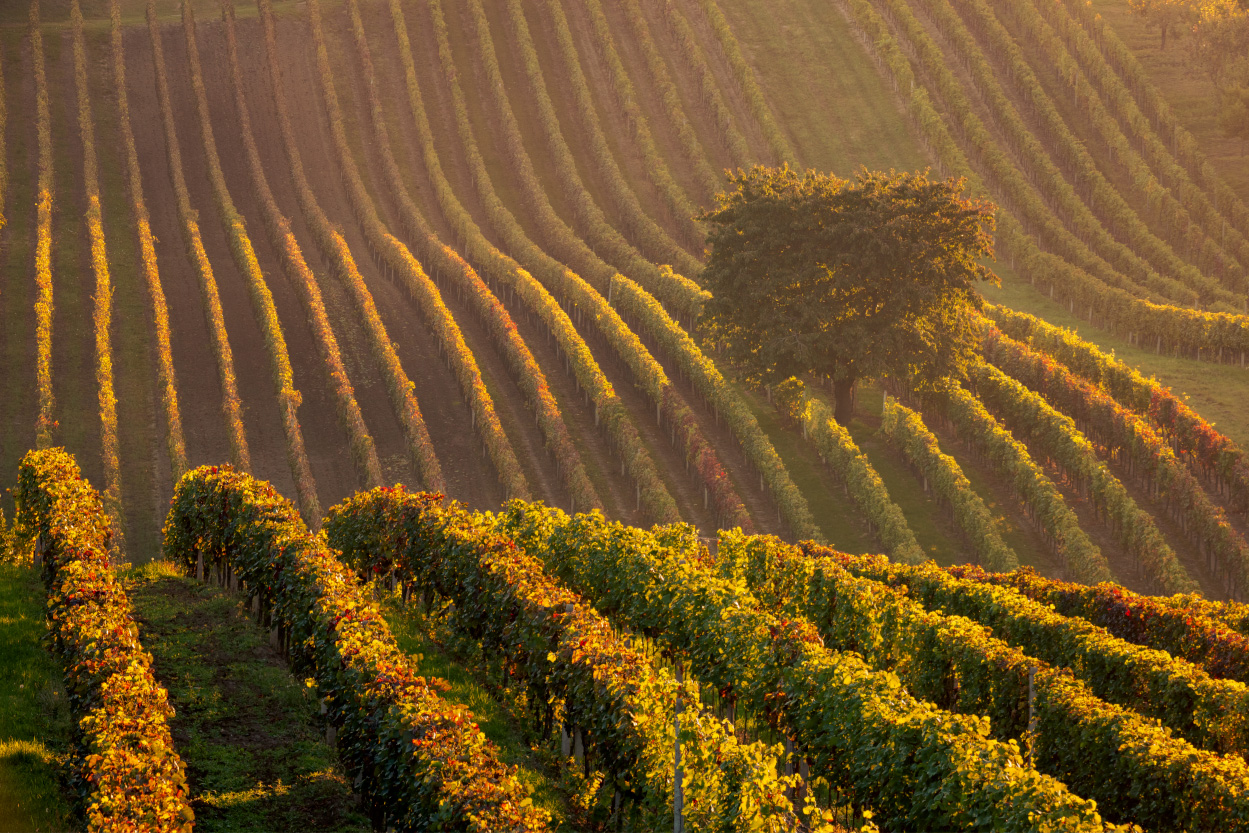
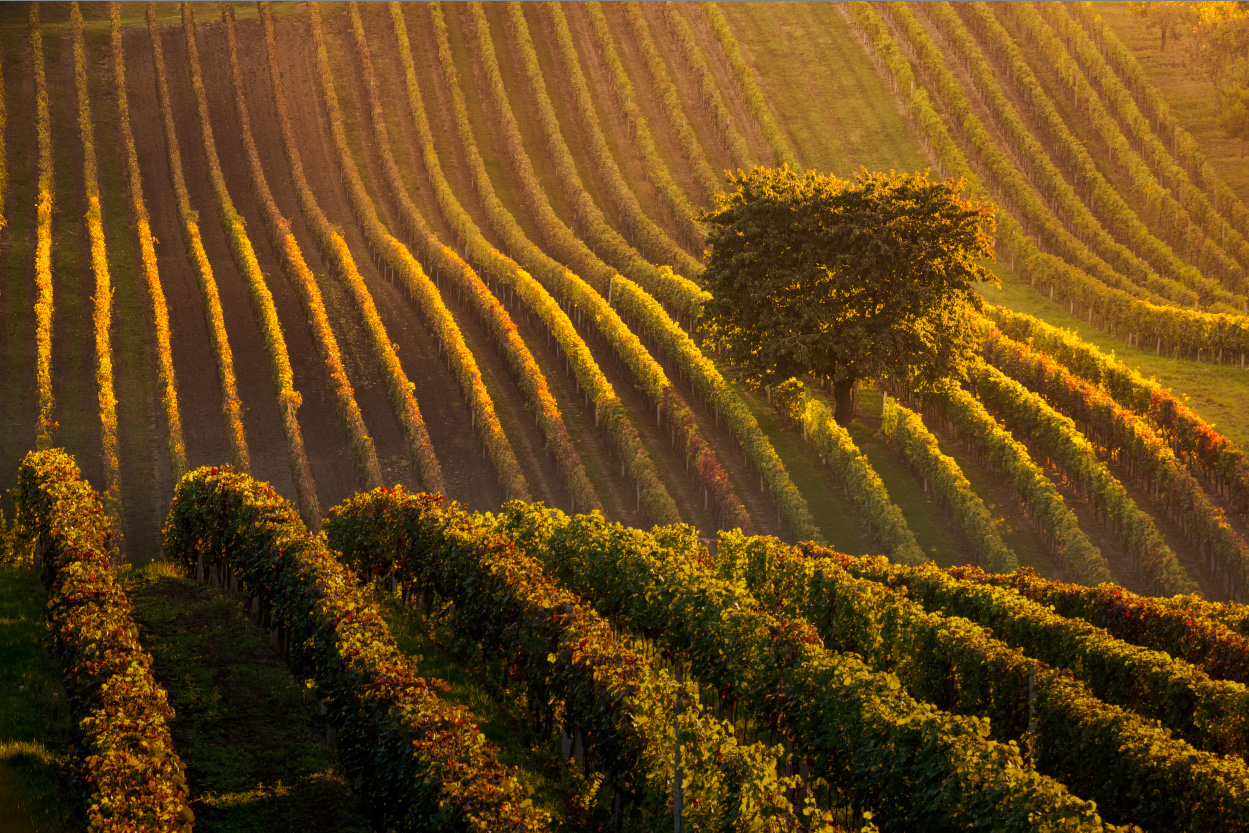
I’ll demonstrate everything using a single photo. Here, I’m only working with masks. The rest of the adjustments have already been applied. The base photo without masks looks like this:

A technical note is that when shooting with such a long focal length (244mm), it’s impossible to keep the entire scene in focus at once. The final image is a focus-stacked blend of multiple shots combined using Helicon Focus.
The photo looks fine, but the main subject is a lone tree in a light haze. Meanwhile, the nearby vineyards have too much contrast and draw too much attention. I fix both issues using Local Adjustments (L) in the Develop module. The exact settings vary depending on the photo and your editing style, so some changes may be stronger or more subtle.
Bringing out the subject
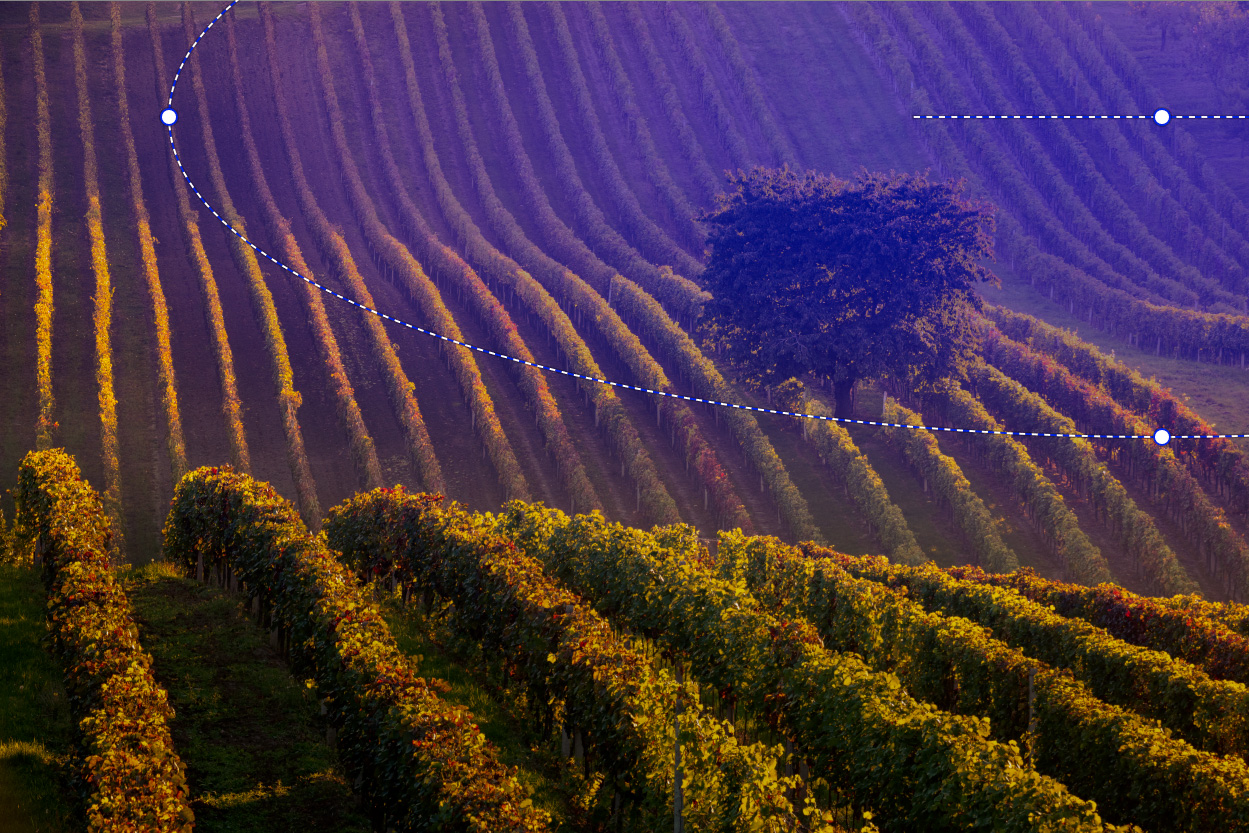
To reduce the haze around the tree, the easiest approach is to use a Linear Gradient (G) with higher brightness and a lower black point on the distant hill.


The change after adding the first mask.
If this type of broad adjustment isn’t enough, move on to the details and work on the tree itself. This time, I used a much smaller Radial Gradient (R) and increased Clarity.
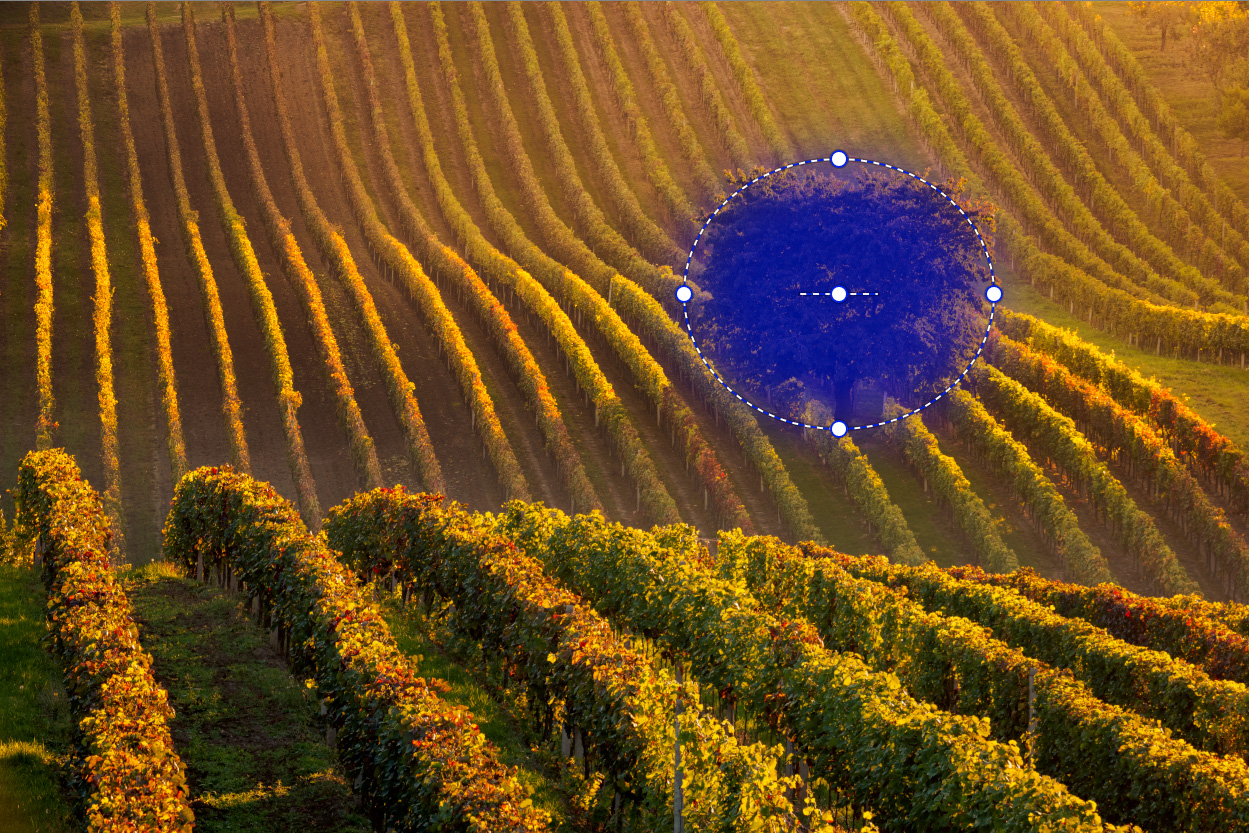
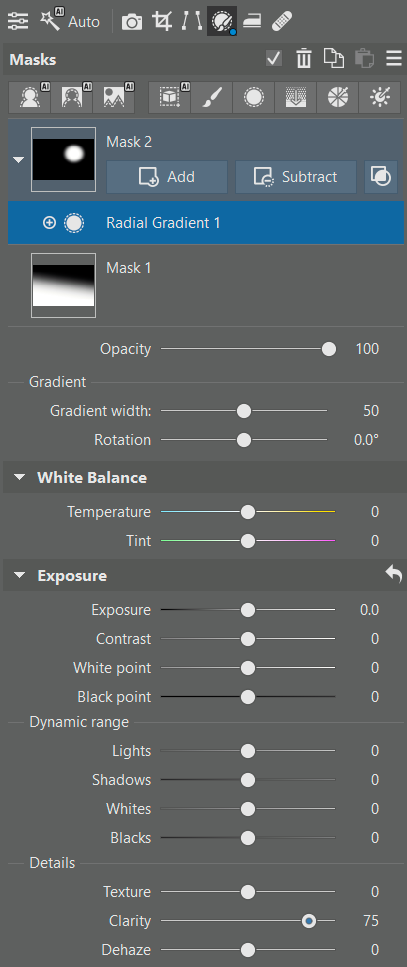


The second mask subtly brings out the tree.
Reducing the prominent hill
Again, I used a Linear Gradient (G)—this time in the opposite direction. Simply lowering Exposure is enough to keep the closest vineyards from dominating the photo.
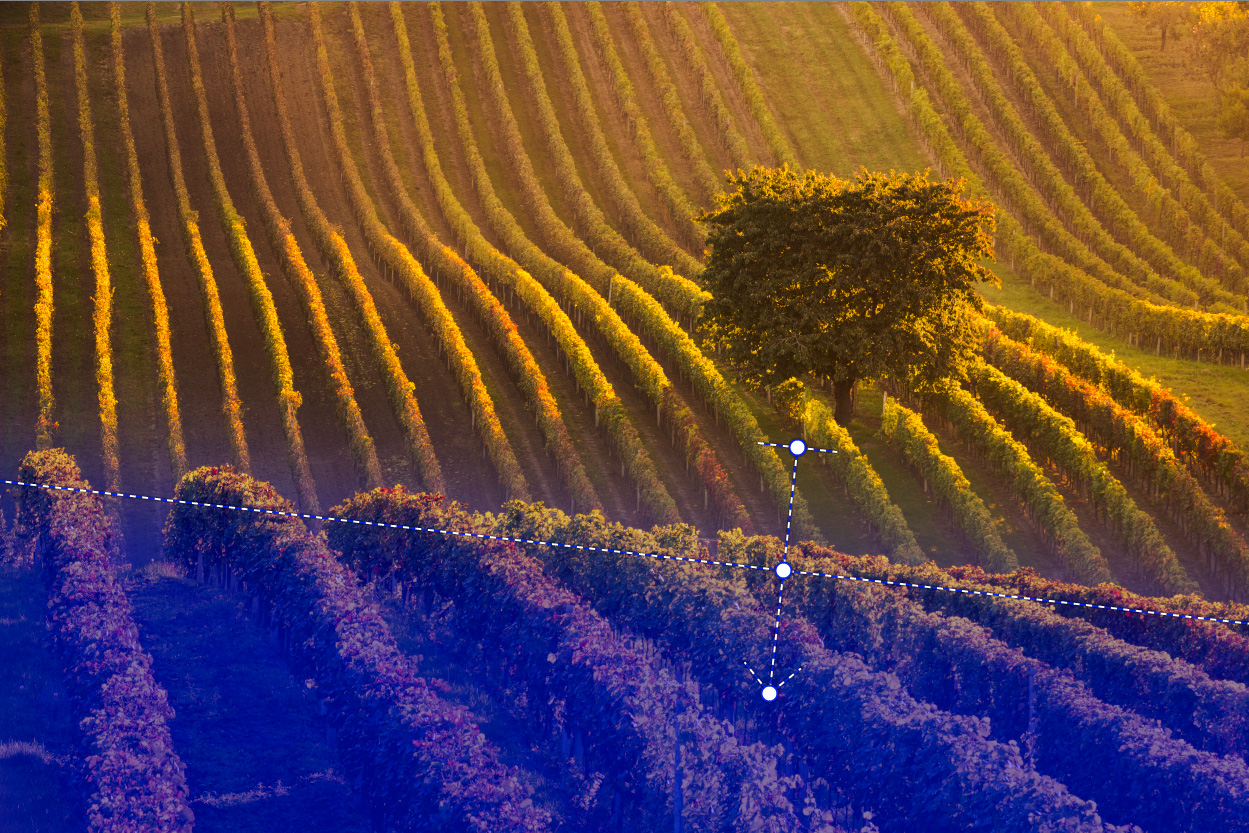


The third gradient darkens the foreground.
If darkening the distracting elements isn’t enough, experiment with other sliders. Contrast, Clarity, or Saturation sliders can help, and sometimes it’s worth shifting the White Balance toward cooler tones to change the mood.
Adding sun effects
The scene felt too neutral, so I decided to emphasize the warm morning sun above the tree. I used another Radial Gradient (R) with slightly more advanced settings. Increasing Exposure and lowering Contrast was easy, but the White Balance slider alone wasn’t enough to add a strong warm tone. So I used Split Toning and shifted the Master color wheel toward orange. If needed, I could also use Curves or Color Overlay.
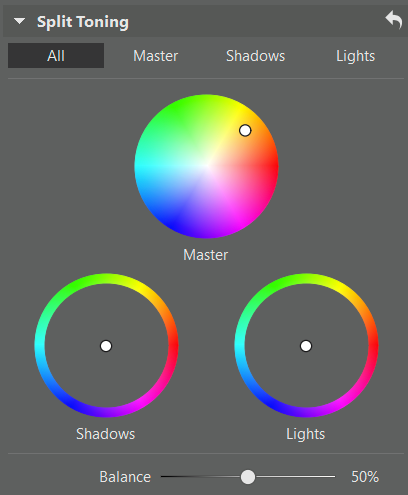

The final gradient adds a warm sun effect.
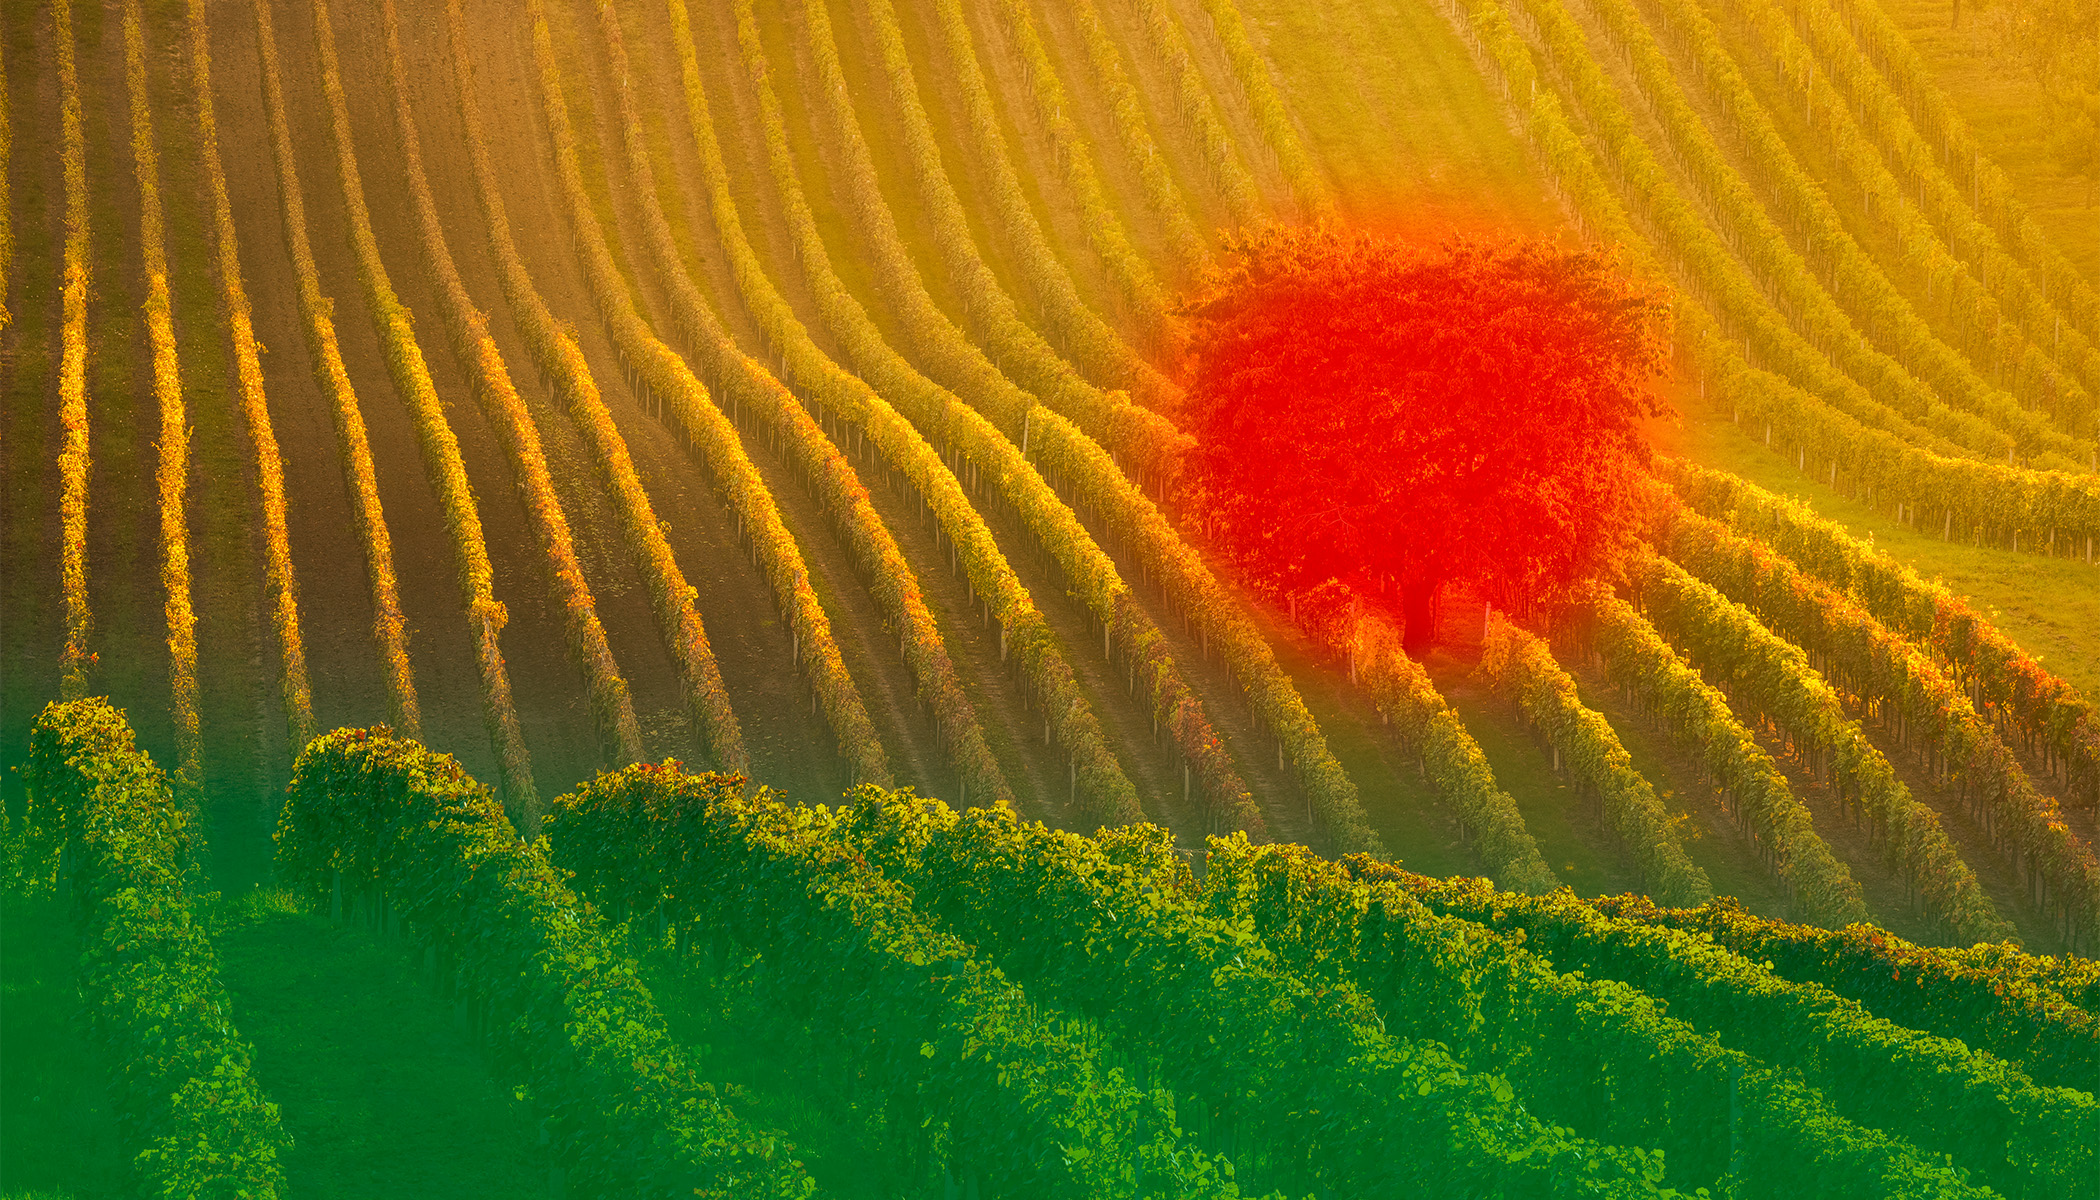
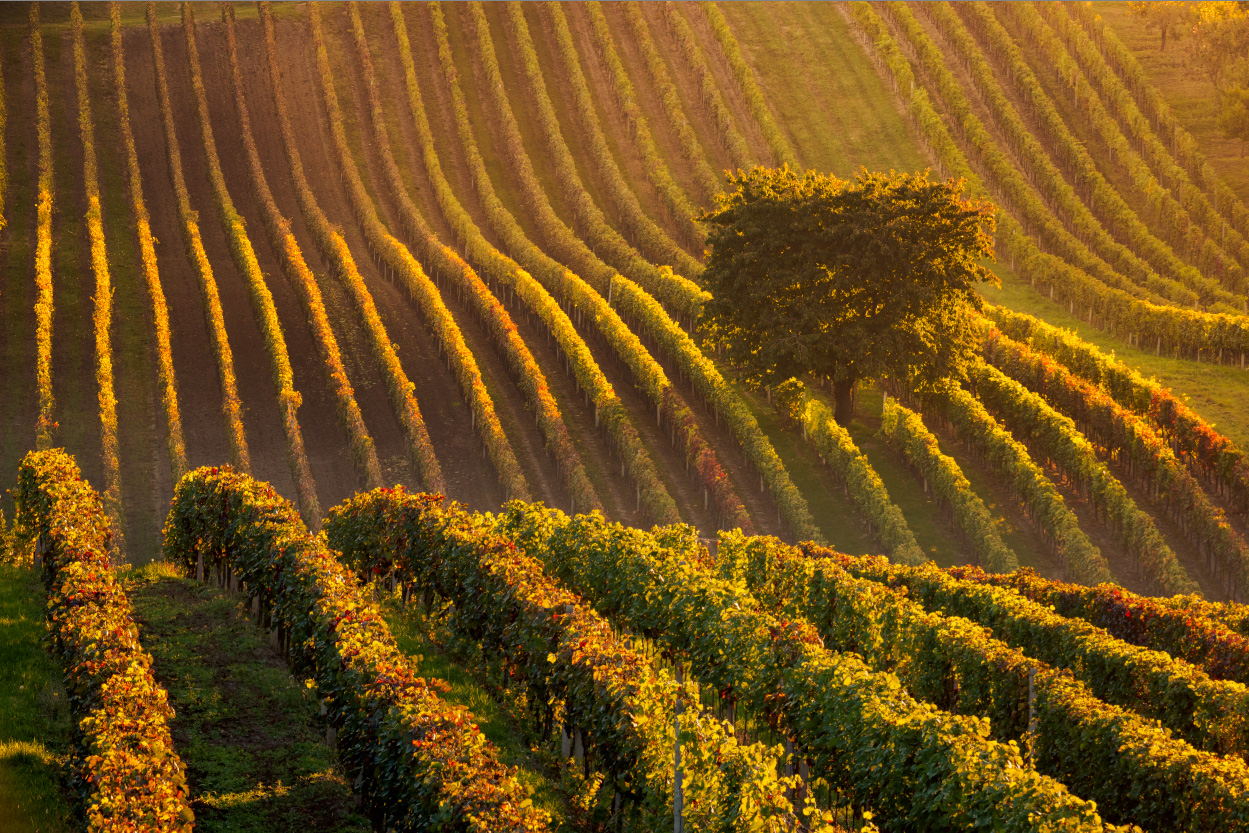
Overall change
Below is a comparison between the version without masks and the final version using masks. The difference is like shining a flashlight on different parts of the scene. Your eye naturally follows the guided flow of light.

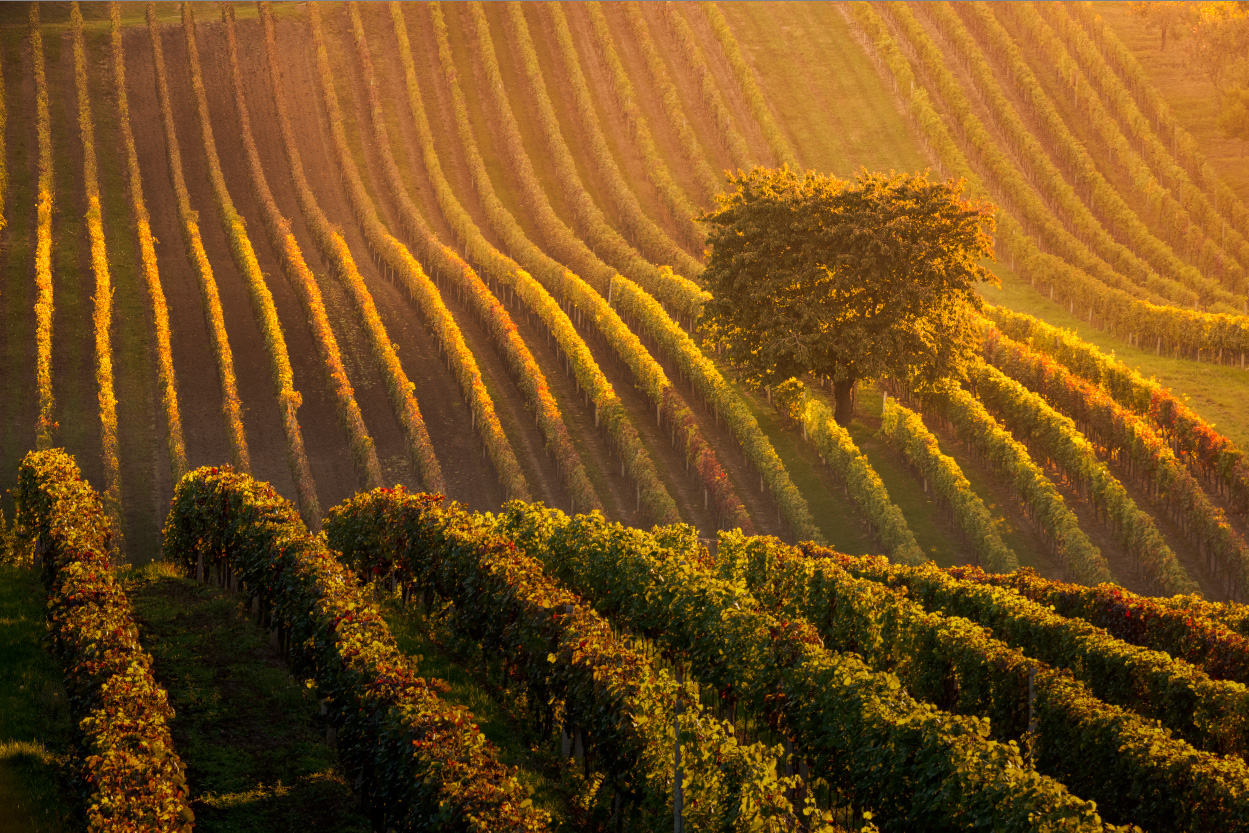
Combined effect of all four masks.
Another example
Here’s a more typical photo with the sky. Compare the photos before and after using masks.
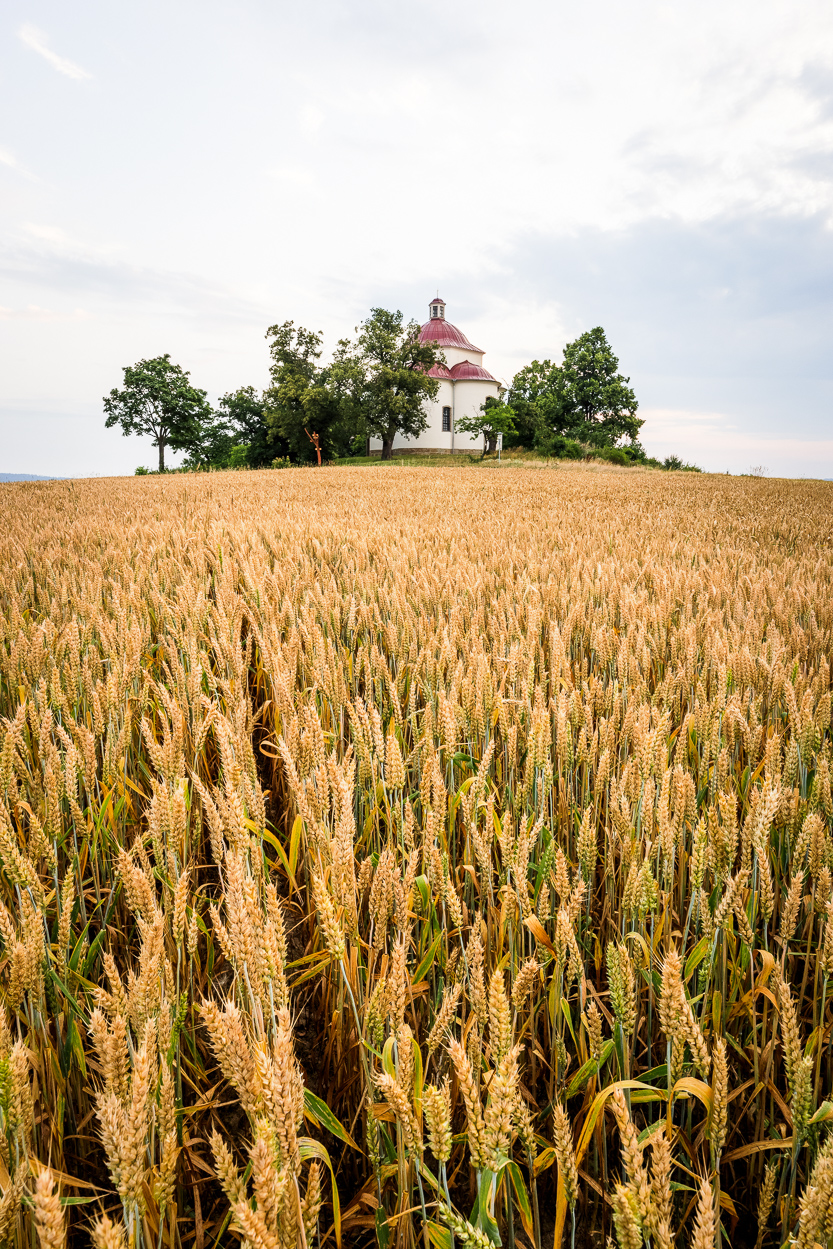
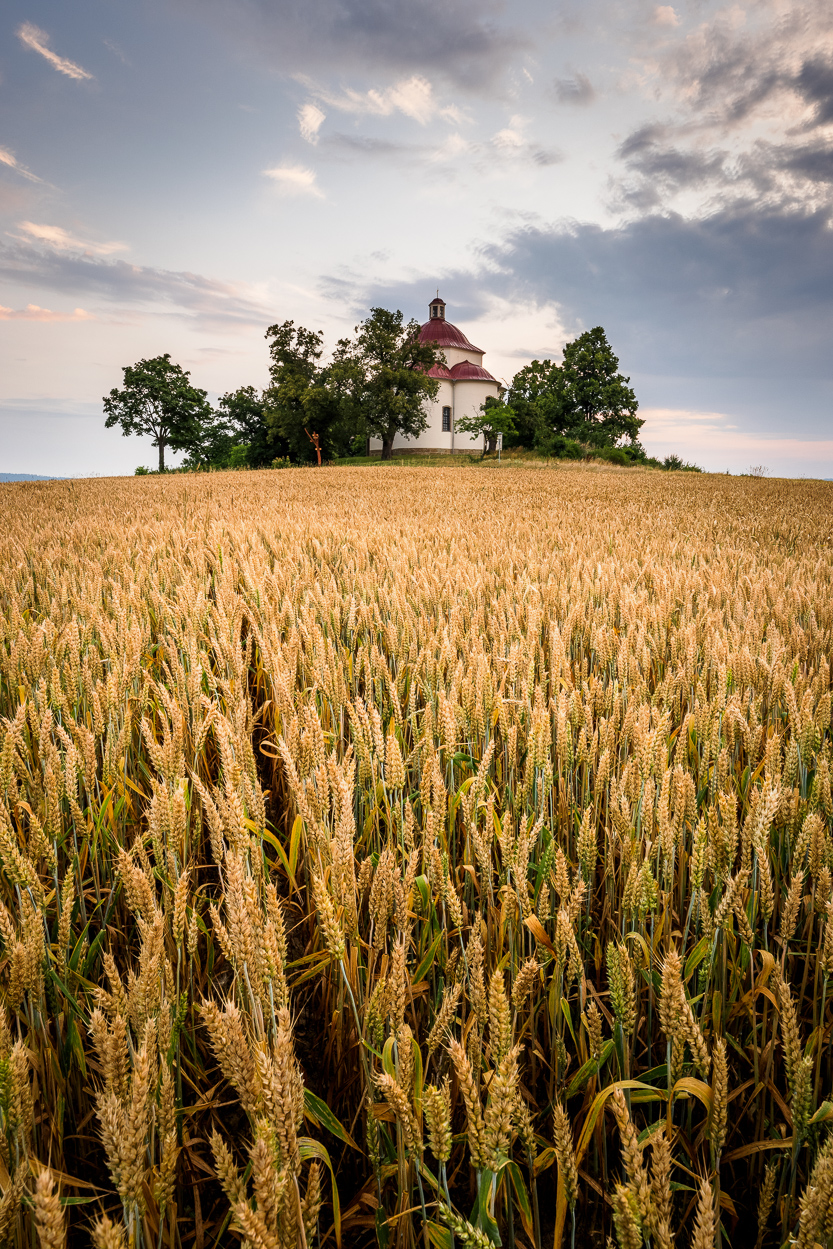
Another example, this time the classic adjustment of darkening the sky.
Darkening the sky is one of the most common uses for masks. Depending on the scene, you can select the sky using an AI Mask or, like in the previous example, a Linear Gradient (G).

The Linear Gradient (G) is more predictable and gradual, but the AI Mask makes it easier to avoid buildings. Each option has its advantages.
In addition to the sky mask, the subject was emphasized by subtly brightening the chapel walls. The lower part of the image was darkened, creating a very selective vignette.
Frequent use
Masks are practical, straightforward, and easy to use. I use them often, both for landscapes and weddings. Once you get the hang of them, you can fix issues in your photos or enhance the artistic effect you’re after.
Mask FAQs
Do I have to use masks for every photo? No. Masks are useful when you want to bring out the subject or reduce distractions. You may not need them for simple shots.
How many masks should I use? One might be enough, but often the effect is better when you combine two to four masks, each focused on a different part of the image.
Are AI Masks or manually added gradients better? It depends on the scene. AI Masks are great for separating the subject from the background. Other times, a manually added gradient gives you more control.
Do multiple masks slow down my workflow in Zoner Studio? Not in any noticeable way. The Develop module is optimized to handle even a large number of local adjustments.
Can masks be copied between photos? Yes, but the result depends on how similar the compositions are. You often need to fine-tune the mask manually afterward.
There are no comments yet.