Three Affordable Ways to Get Started with Macro Photography without a Macro Lens

You can do macro photography without having to needlessly overspend on an expensive macro lens. If you are just starting out with macro photography and aren’t sure if you’re going to stick with it, try some of these more budget-friendly options first. We’ll give you three suggestions for affordable, yet good solutions to shoot macro photography without breaking the bank.
Macro photography is defined as the capturing of a subject on the sensor at a scale of 1:1 and higher. This means that 1cm of the subject covers 1cm of the sensor on a full-frame camera. This level of magnification can be achieved using specialized macro lenses.
However, did you know that you can get the same or greater magnification using your kit lens? All you need to do is get relatively cheap and simple add-ons. We will show you the following three options:
- Reverse rings
- Macro converters
- Extension tubes
Reverse Ring
If you want to do macro photography on the cheap, then a reverse ring will only cost you a few bucks. It allows you to mount the lens backward to the lens mount, with the front of the lens facing the camera body. This way, you magnify the subject you are photographing.

One disadvantage you may encounter is when shooting in full manual mode. The reverse ring doesn’t transfer any data from the camera to the lens. Therefore you don’t have the option to set the f-number from the camera body itself. For instance, with Canon DSLR lenses, the aperture will be wide open while with Nikon lenses, fully closed.
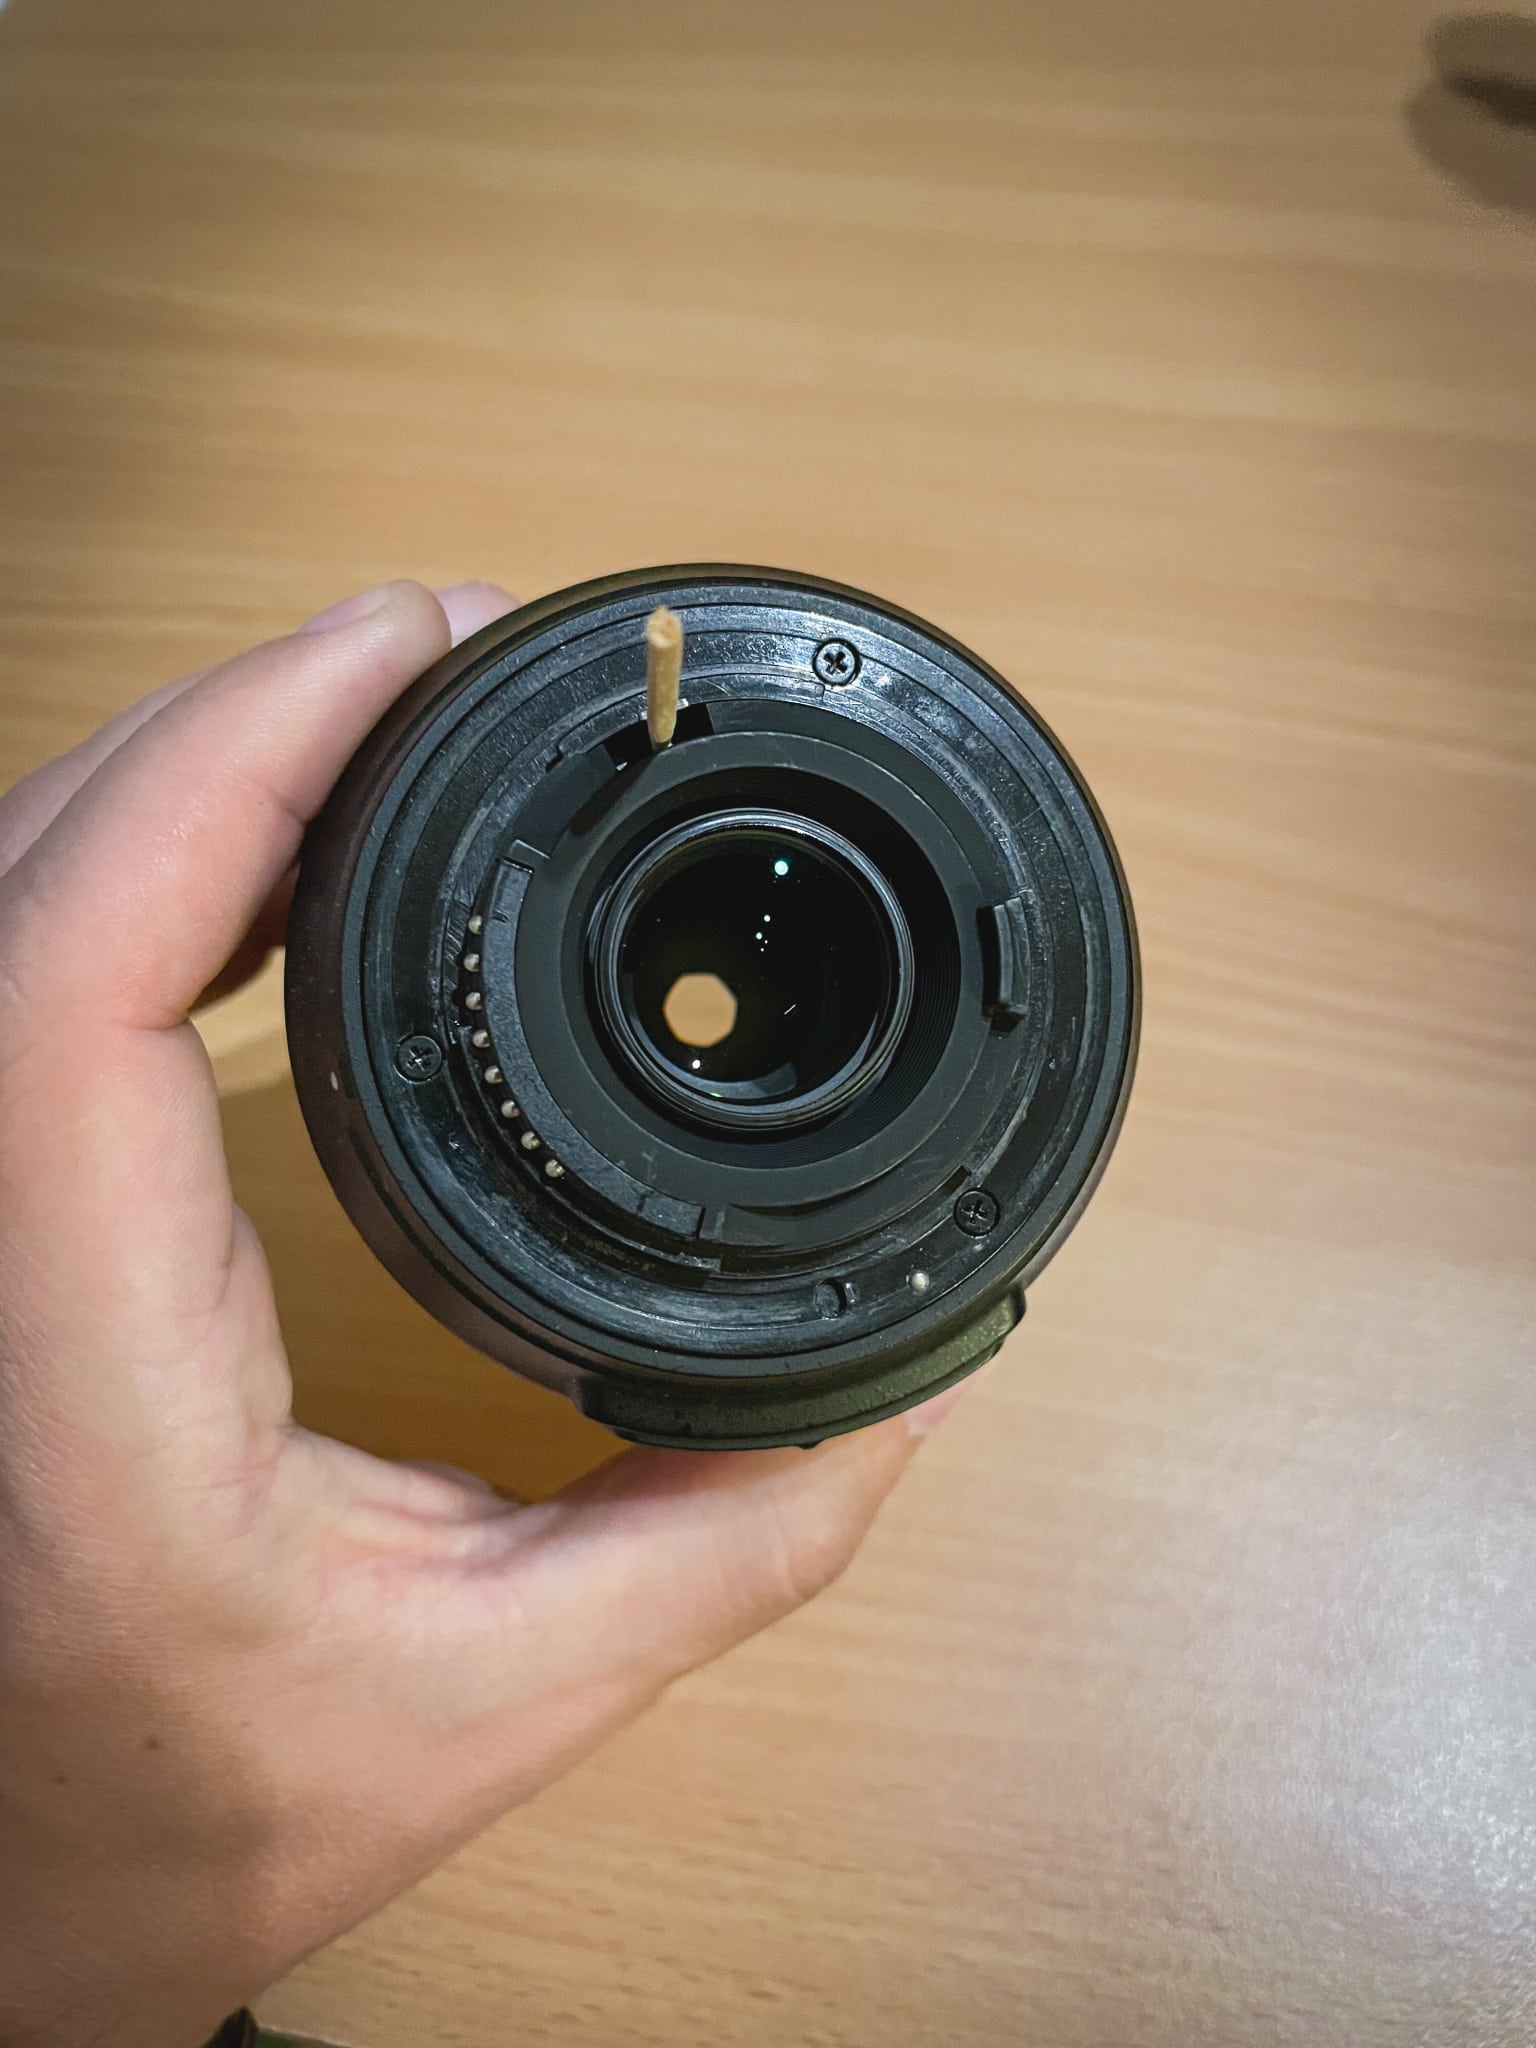
With Nikon DSLR lenses, you can adjust aperture by locking the aperture lever with a toothpick. Do this at your own risk because it can lead to lens damage. With Nikon Z lenses, this option doesn’t exist due to its fully electronic aperture control mechanism.

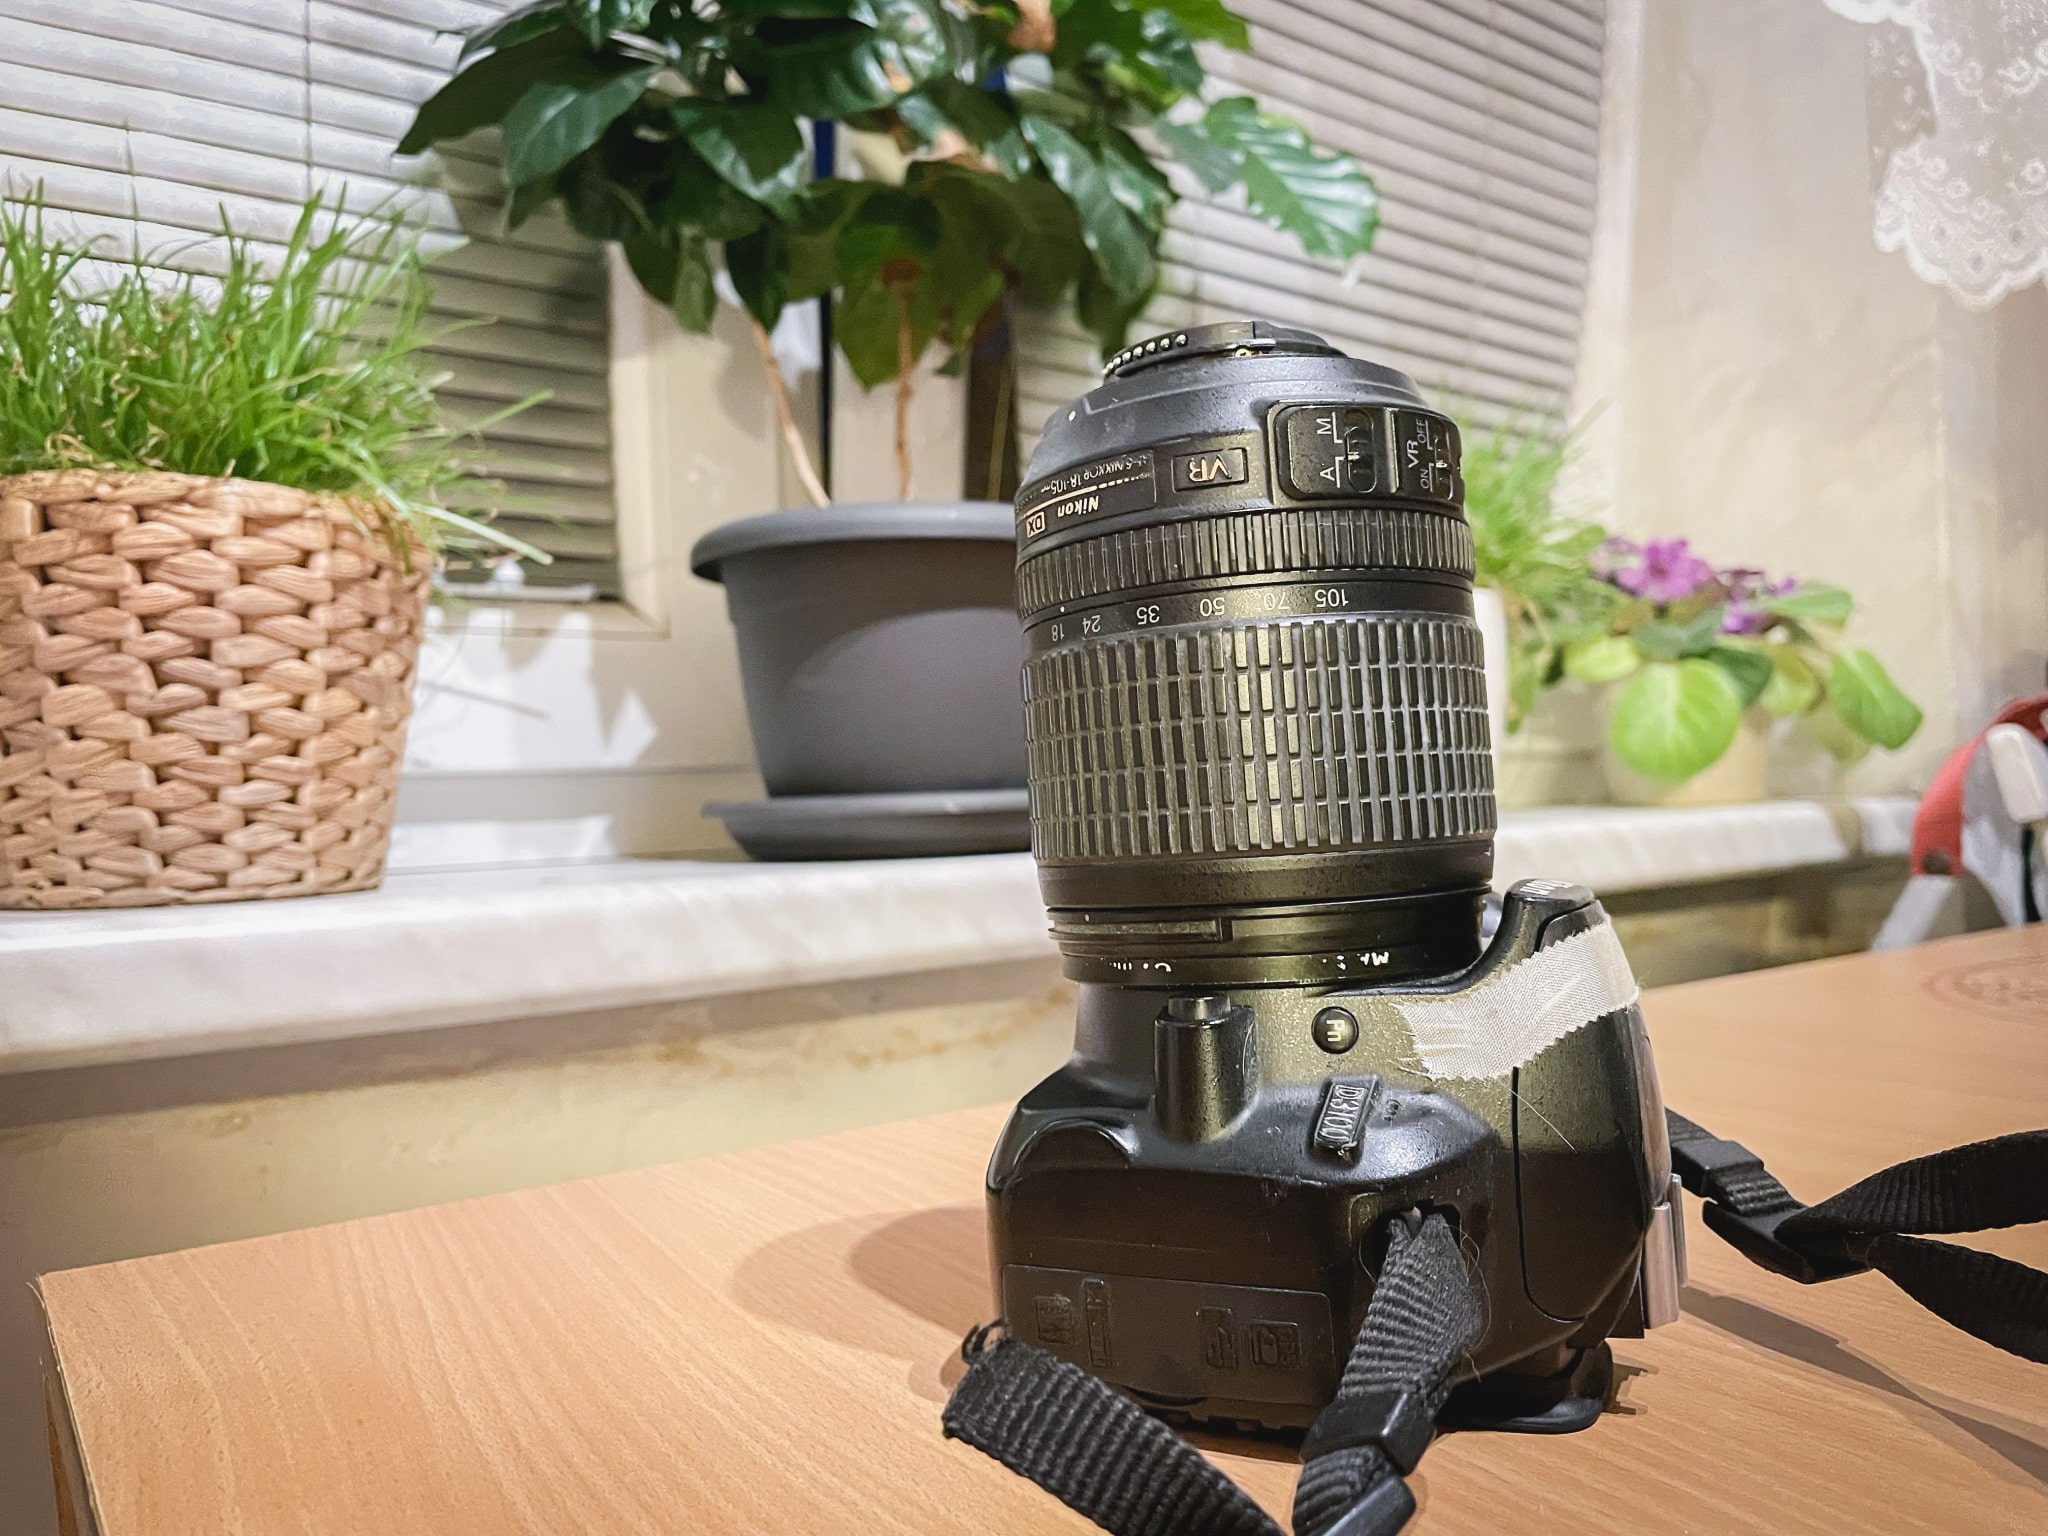
If you choose to use a reverse kit lens with a focal range of 18-105mm, you can achieve magnification of up to 5:1.
Macro converters
If using a reverse ring seems too risky, you may want to consider using a macro converter. Macro converters work like a magnifying glass that brings the object you are shooting closer to you. They can usually be found at a low price. Unfortunately, their optical quality is sometimes low as well. It is merely a magnifying glass screwed into the filter thread.
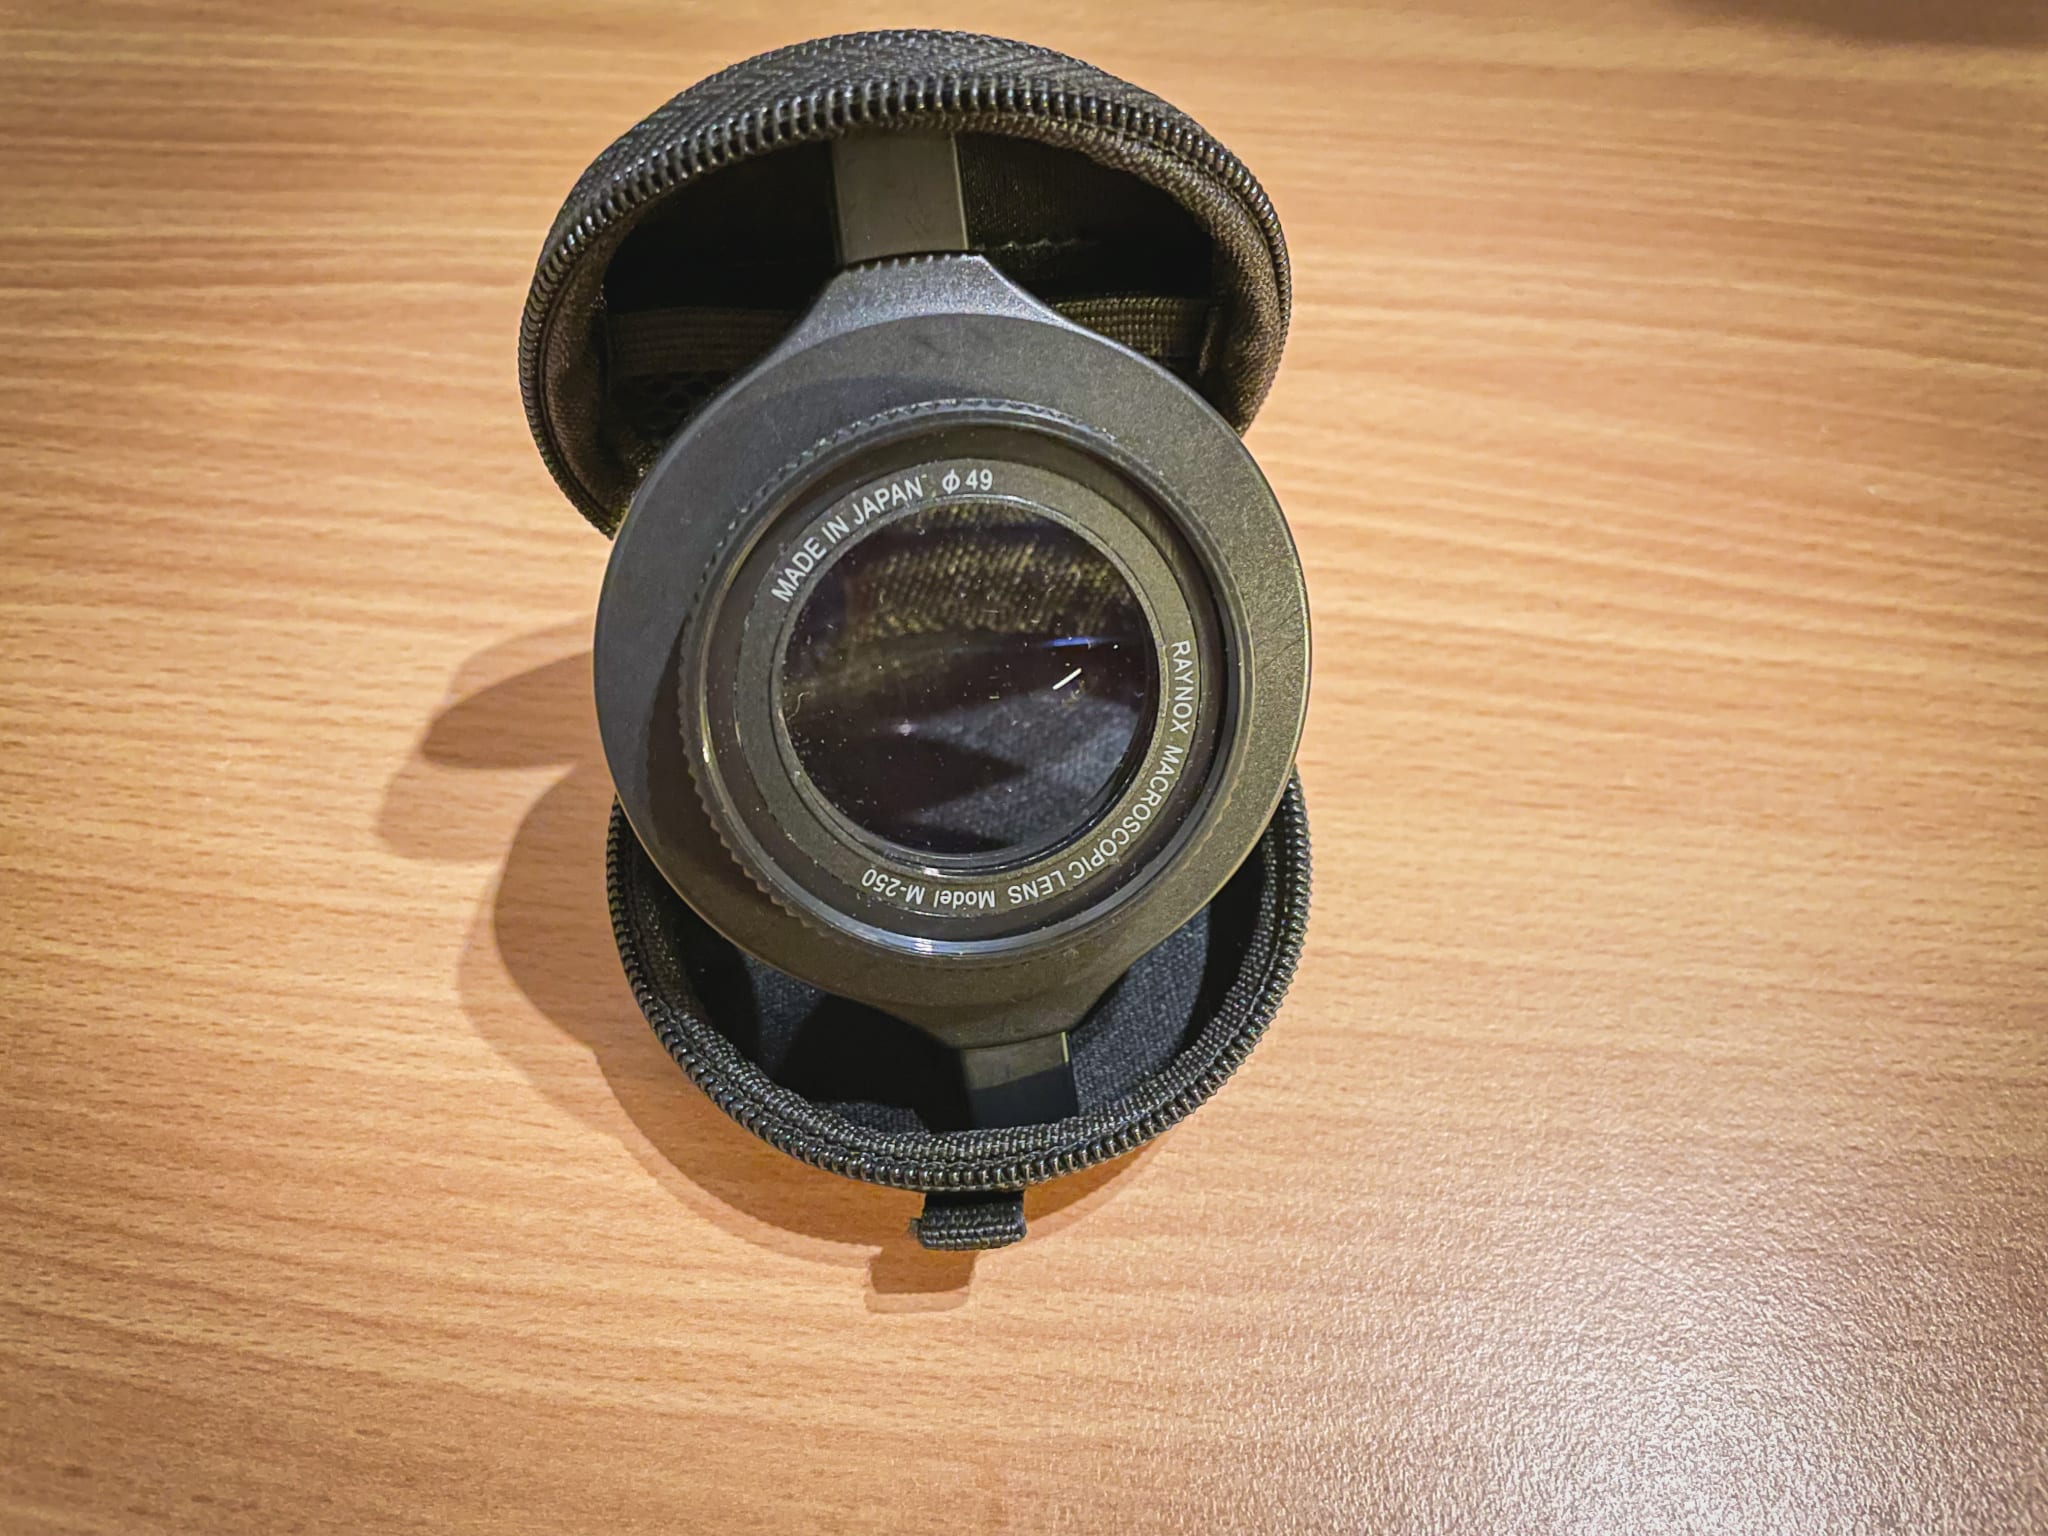
Cheaper macro converters can result in optical defects due to their convex shape. The center of the image is sharp, but the edges are blurry. This problem is caused mainly by the converters that function as a magnifying glass. For this reason, it is better to use macro converters that are made up of two optical groups with a flat front side. For example, the Raynox DCR-250.

Macro converters are also marked with diopter strength. Generally speaking, the larger the diopter strength, the more macro you’ll get. I personally have tried many diopter strengths from +4 to +16, but I still consider the Raynox DCR-250 to be the best. While it’s not the cheapest, it is still worth the money. I’ve been using mine for many years with a macro lens to achieve 2:1 magnification.
Extension tubes
For even more magnification you can also move the lens further from the sensor. Extension tubes exist precisely for that reason and usually come in 12mm, 20mm, 36mm sizes. Use them to get various magnification ratios or combine them to get the highest level of magnification. In doing so you will get extension tubes that are 68mm long.
Extension tubes were also briefly discussed in the article, Super Macro Photography: Discover the Magic of Close-up Macro Photography. Here you’ll find some ideas for those that are ready to explore the realm beyond ordinary macro photography.
The majority of the macro photography accessories mentioned above can be found in various online stores at budget-friendly prices. Macro photography involves a bit of DIY, so feel free to combine extension tubes and macro converters. Alternatively, you can experiment with making an extension tube from toilet paper rolls. Macro converters can also be made from a magnifying glass in order to give you an idea of how this type of converter works. In a similar way, before ordering a reverse ring for your lens, try holding your lens backward on the body and take a few test photographs. This will give you an idea of what to expect.
There are no comments yet.