Three Mistakes to Avoid in Pictures with People
People are among the most common subjects in photography. People in motion, people in poses, people on the street. And people are important in pictures even when they’re not the subject, by enlivening the picture or showing scale. But do you know what not to do when photographing people?
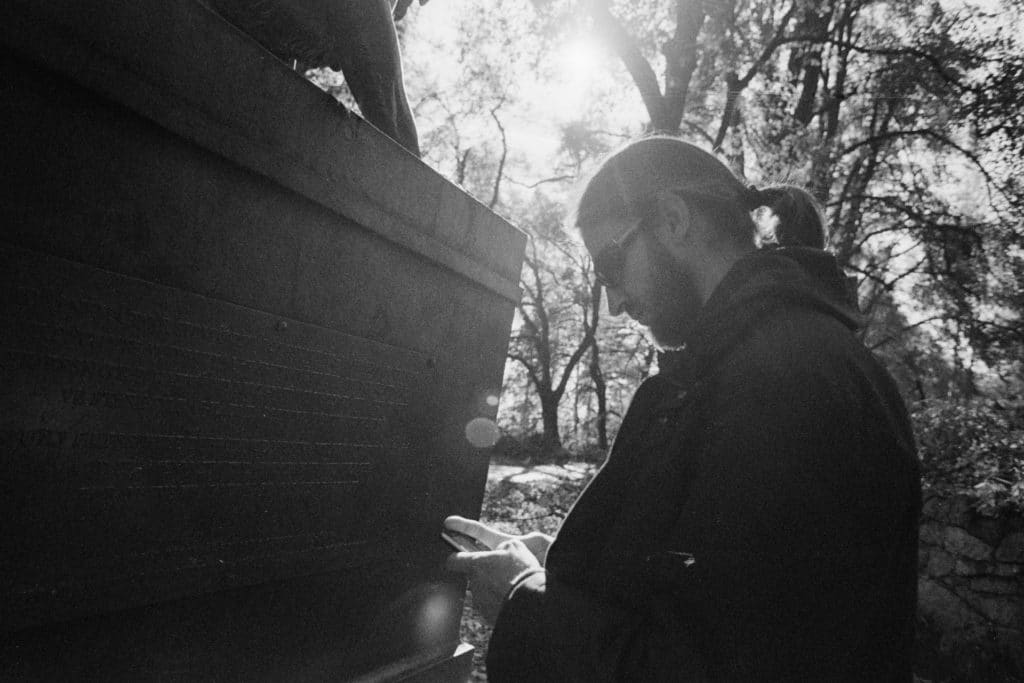
Many times I’ve found myself standing with my camera’s viewfinder pressed to my face, waiting for a human, any human, to appear in a specific spot in the scene. I want them there to supplement my picture’s composition or content. Without them, my originally planned picture would be “dead.” Lifeless.
Mistakes Were Made
I didn’t always think this way. For example in the past I was bothered that my pictures of tourist sites were always infected with… tourists. That would be sensible enough if I was planning to use them commercially. But I wasn’t, and when I examined the photos later, I saw that they were missing a certain something. And people were that something. Since then, I’ve been trying to use their presence to my benefit. While doing that, I’ve had to avoid three types of mistakes.
1) Composition Mistakes
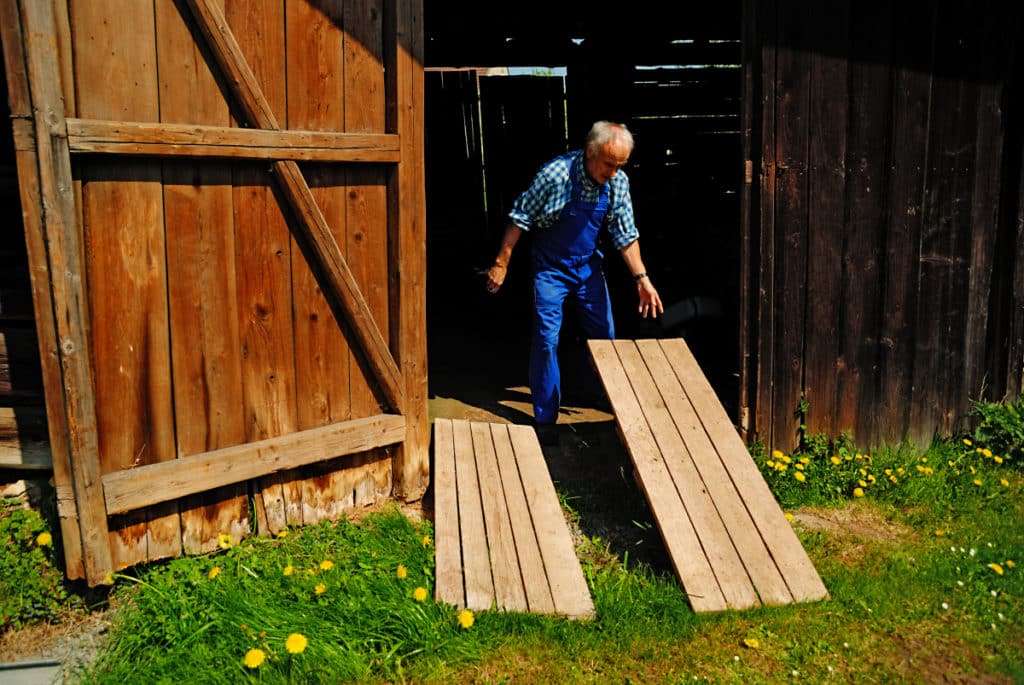
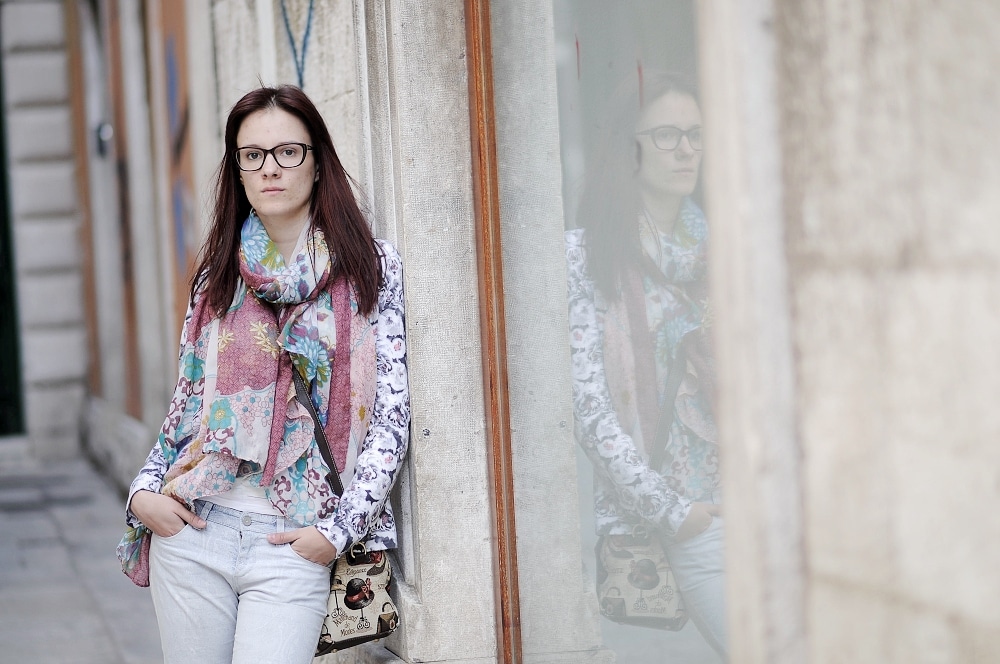
Majo Elias has already written on our blog about composition mistakes in an earlier article. Besides respecting overall composition guidelines, you should watch out for several specific traps when photographing people.The first one is background objects invading the foreground, such as a tree branch or lamp post “growing out of” a portraited person’s head.
Sometimes that can seem like the foundation for a funny snapshot, but don’t forget that the person in the picture might not like the result at all. If you make fun of them like that in a picture, that might be the last picture you take of them.
You should also avoid cropping people at their joints. Wrists, elbows, knees, and finger joints cut off by a picture’s frame look bad.
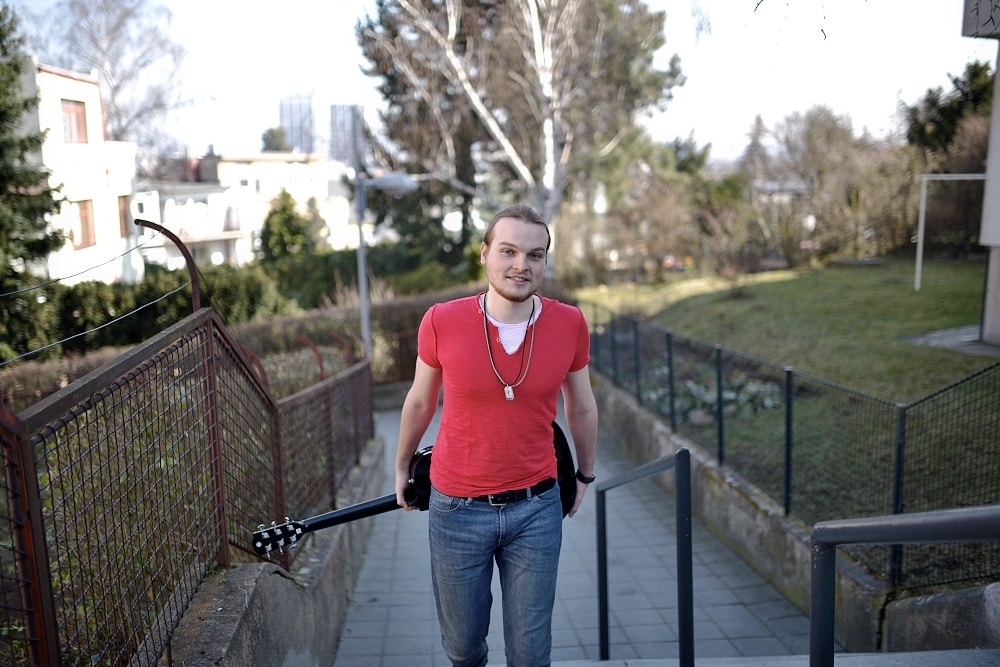

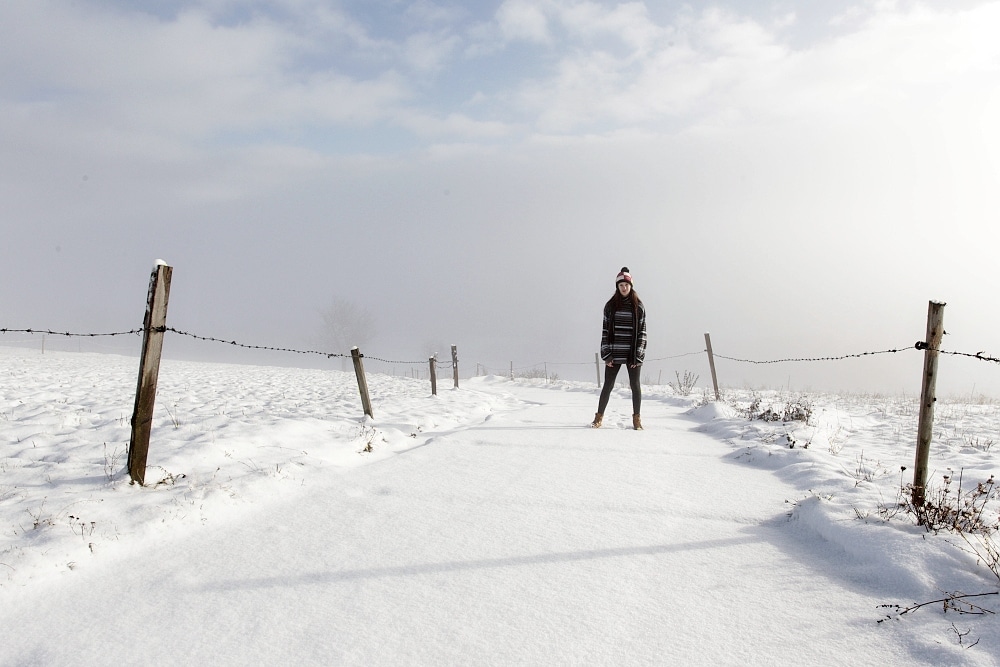
It also looks bad in a picture when it shows a person or people so small that you can’t tell who they are. So don’t be afraid to take a few steps forwards sometimes.

2) Mistreating Your Models
At the end of the last point, I dipped into the topic of making fun of your picture’s subjects (deliberately or accidentally). A picture like that may get a laugh, but everyone deserves to have the photographer respect them and avoid catching them in an improper situation.
The same applies when the person standing before your camera says “no.” Then you definitely should not press the trigger.

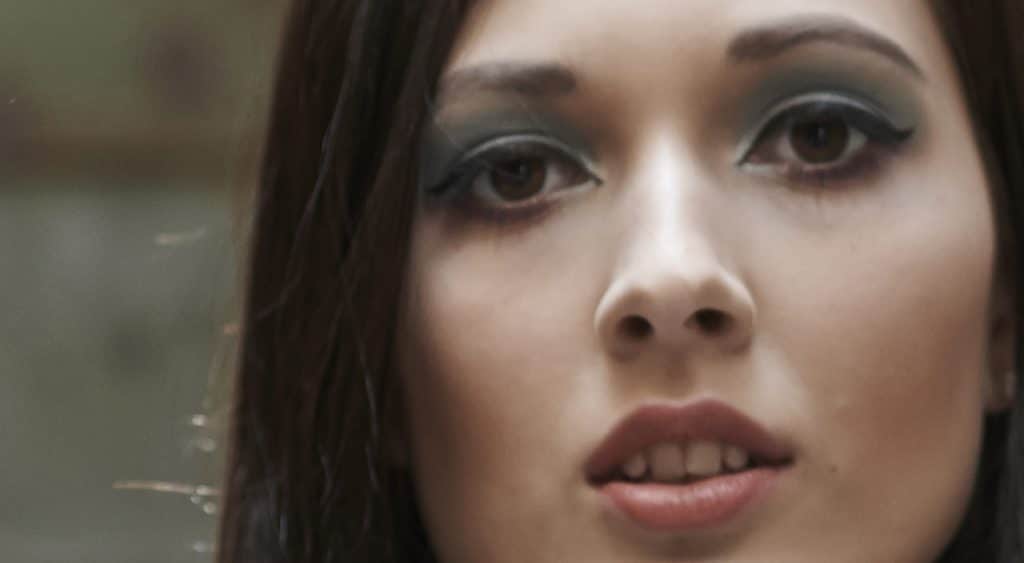
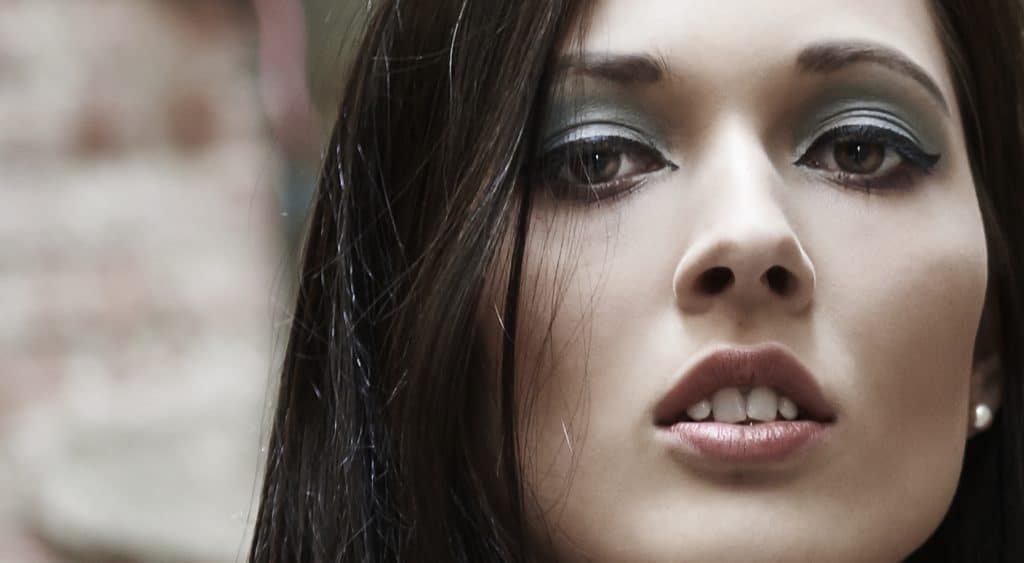
Note: think carefully before using wide lenses when photographing people. Ultra-wide lenses can deform faces, making them look unnatural. Portrait lenses are called portrait lenses for a reason.
3) Technical Mistakes
Besides the mistakes above, technical defects can also spoil pictures of people. The most common ones are someone blinking in the picture, and bad focus. (Eyes, above all, should almost always be in focus.)
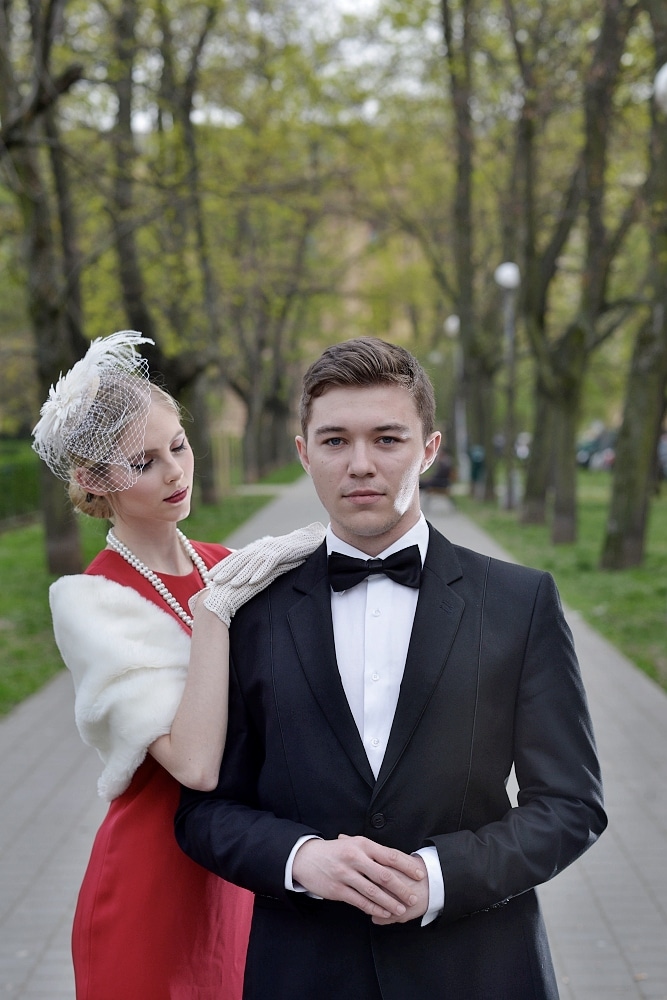
If it’s an arranged shot of a whole group, then all the people in the shot should fit sufficiently in the frame. It doesn’t look good when only part of a person’s face is visible.

Besides other checks, it’s good to occasionally check exposure between shots.You definitely want to avoid having faces overexposed, with patches of pure white. That’s a problem that’s not easy to fix in a computer. Very often a shot like that goes straight to the trash.
Take the Wide View
You’ll find several tips on photographing people on the street here. There is much more we could add here. For example about communication with your models. But we rather save it for another stand-alone article.
By the way. Our blog may seem pushy sometimes with all its advice on what you should or shouldn’t do during photography. Now, we do mean it all well. But in the end, even when photographing people, you don’t always have to take everything completely seriously. For example don’t force your friends or relatives to smile broadly in every picture.
And every now and then, break a rule. Who knows, perhaps that will be exactly the shot that you end up framing and hanging on your wall.
Phid
I do enjoy the photography tips on this site, and the error/corrected photographic examples make the text all the better..
Gordon Perry
Sorry but the corrected image (Majo Elias #3) still has some glaring mistakes. First when making portraits, shooting up a person’s nose is a no no. in this it’s case made even worse by having her tip her head further back. Also the catch lights are almost dead centre, making her look starey. Image three may be more technically correct but it is creatively worse. I think this is a case of a technically good photographer making a creative mistake, as many do.
Niranjan Parikh
For the first time I visited yr BLOG!!! LO!! Master I salute you,
I am a nature lover and trekk HIMALAYAS any tips for me? PLEASE!!!!!!!!!!!!
Larry
Wow Gordon, you know a lot. You must be a professional.
Petr
I would like to know, whether there is an automatic fixer of faces in Zoner Photostudio 16
admin
Petr, there is no such thing as automatic fixer of faces, because it would be very hard to define what it should be able to do. But you can always use some of the tools Zoner Photo Studio already has, such as Healing Brush, Effect Brush or other tools.