

Where, When, and How to Photograph the Milky Way
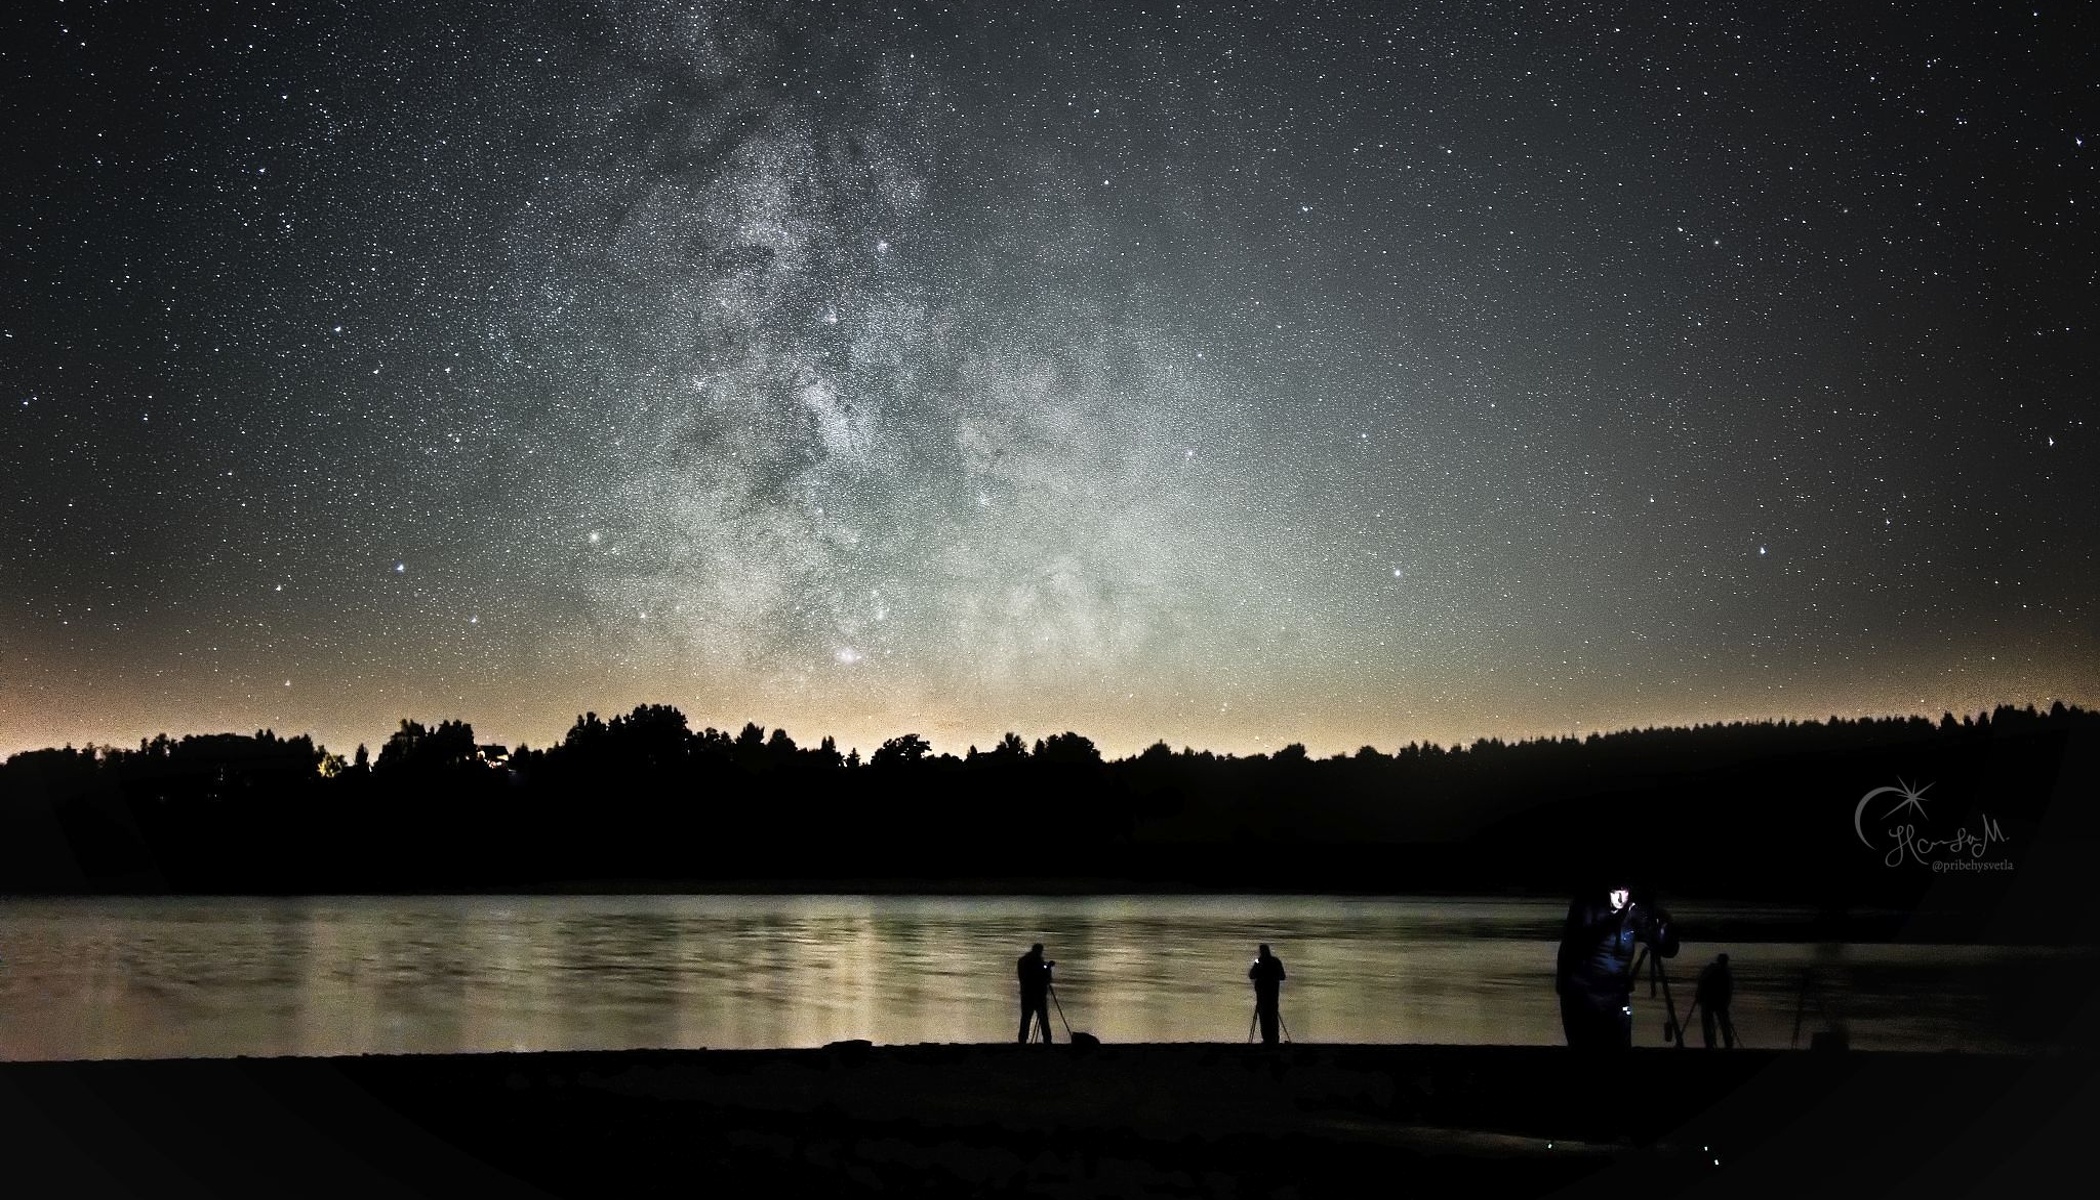
This practical guide shows you how to capture our galaxy in the night sky. Learn how to choose the right location, plan for ideal conditions, and set up your camera to get sharp, detailed photos of the Milky Way.
In this article, you’ll learn:
- Where to photograph the Milky Way – how to find dark skies.
- How to use light pollution maps.
- The best season and time for Milky Way photography.
- How to find the Milky Way in the night sky.
- The best camera settings for night sky photography.
- How to photograph the landscape and sky separately and then combine them.
- How to edit Milky Way photos in post-processing.
The Milky Way is one of the most impressive sights in the night sky. But these days, finding a place where you can actually see and photograph it is no easy task due to light pollution.
Light pollution maps: Finding dark skies
To find the best locations for photographing and observing the Milky Way, use a light pollution map.

https://www.lightpollutionmap.info/ is a well-known website that uses satellite data but doesn’t account for atmospheric light scattering.
For more accurate data, I recommend the map at https://cires.colorado.edu/Artificial-light. It factors in light scattering and provides a more accurate view of dark-sky locations. Personally, I find it harder to navigate, so I use both maps when planning my shoots.

The principle is the same for both maps: the darker the blue, the lower the light pollution. In green areas, the Milky Way is still relatively easy to see with the naked eye. The red indicates light pollution from cities, which gradually transitions into yellow on the map. In these areas, the Milky Way is often difficult to see with the naked eye and even harder to photograph.
Finding the Milky Way in the night sky
If the Milky Way isn’t yet visible in the sky because it hasn’t gotten fully dark, look for the Big Dipper. It’s often one of the first constellations to appear. Draw an imaginary line through the two outer stars of the Big Dipper’s bowl to find the North Star. The Milky Way stretches roughly across the opposite side of the sky. You’ll also find the distinctive W-shaped constellation Cassiopeia there. The Milky Way’s galactic center lies on the opposite side of the sky, low above the southern horizon.
Another option is to find the bright star Vega, which lies close to the Milky Way band and is often one of the first stars visible after dark.

TIP: Use a red light so you don’t lose your night vision. Some cameras even offer a night mode display. If you need to use a cell phone, lower the screen brightness to the minimum and turn on reading mode or a warm color filter.
The mobile applications PhotoPills or Stellarium are the most popular for planning the exact position of the Milky Way relative to the landscape.

How to plan your Milky Way shoot
First, think about your composition. Are you photographing just the Milky Way above the landscape, or do you want to frame it with a striking landscape element, such as a castle, lone tree, or rock formation?
When checking the weather forecast, don’t forget to check the Moon phase as well. A full Moon will wash out the Milky Way, so it’s best to plan your shoot around the new Moon and facing south.

Nikon Z50 II, Nikkor Z 180–600mm, f/5.6–6.3 VR, f/6.3, 0.5s, ISO 320, focal length 900mm
When photographing mountains or castles, it’s often best to capture the landscape just after sunset, while there’s still enough light. Mount your camera on a tripod and take a detailed foreground shot with minimal noise. Then, from the same position, photograph the night sky and combine the images later.
From the Czech Republic, the Milky Way’s galactic center never rises very high above the horizon and always remains relatively low in the southern sky. When choosing a location, make sure you have a clear southern view with as little light pollution as possible.
When to photograph the Milky Way
The Milky Way’s galactic center is best visible from April through October, with peak conditions occurring between June and August. However, this doesn’t mean the rest of the Milky Way isn’t worth photographing.

Panorama of four photos stacked on top of each other. Nikon ZR, Nikkor Z 28-135mm, f/4, 10s | ISO 8000, focal length 28mm
How to photograph the Milky Way: Camera settings
The Milky Way is often photographed as a panorama. For higher image quality, a series of images was taken using a star tracker—a motorized mount that compensates for the Earth’s rotation. These images are then stitched together during post-processing, revealing more detail and reducing noise. However, this is a more advanced technique that may not be for everyone. Here, we’ll focus on a simpler method for photographing the Milky Way that combines two images.
If you aren’t already shooting in RAW, now is the time to start. RAW files are essential for night photography. If your camera lets you choose bit depth, select the highest setting, at least 12-bit.

Photo: Petr Horálek
Landscapes photos
Ideally, take landscapes right after sunset, when it’s still the “blue hour.” Mount the camera on a tripod, turn off Auto ISO, and set ISO to 100. Use an aperture between f/8 and f/11, depending on the focal length and the placement of the elements in the composition, to keep the entire scene sharp. Then, choose the shutter speed needed for proper exposure.
A remote shutter release or three-second self-timer can help eliminate camera shake. After taking the landscape photo, focus on the horizon and switch the lens to manual focus. This saves you from trying to refocus on stars in complete darkness.
Further Reading: Photographing Landscapes at Night: Choose the Right Settings and Composition to Get Perfect Photos
Milky Way photos
Set the white balance (WB) to a fixed value because auto white balance can easily throw off the image’s color rendering. I typically use around 4500 K, which has worked well for me over the long term.
Set the aperture to the widest setting your lens allows—usually between f/1.8 and f/3.5—to gather as much light as possible.
Choose the shutter speed based on your focal length, usually between 10 and 20 seconds. Longer exposures will cause the stars to turn into short streaks, known as star trails.

Set ISO last. The ideal value depends on your camera and lens aperture. Don’t be afraid to slightly overexpose your images. At night, the camera display often makes photos look brighter than they really are. Under very dark skies, ISO 3200 may be enough. In other conditions, you may need ISO 8000 or higher. Experiment with several settings and choose the best result later on your computer.
Editing Milky Way photos
First, use Zoner Studio to edit the landscape photo so that it looks like a night scene. Deepen the shadows and add more blue tones to the color palette using White Balance or Split Toning.
Next, select the sky—AI tools can help here—and fill it with a solid color so you can easily replace it with your Milky Way image.
Then edit the Milky Way photo itself. The goal is to increase the contrast between the dark sky and the stars. Increase White Point to brighten the stars, lower Blacks, add Clarity, and use Dehaze to boost the contrast between the dark parts of the sky and the stars.
For even more precise contrast adjustments, you can use local tools—such as Luminance Range—to target specific areas of the image.
Finally, reduce noise and sharpen the image. Use Retouching Tools to remove distractions such as airplanes.
Open both photos in the Editor module, place them as separate layers, and merge them into a single final image.


Nikon ZR, Nikkor Z 28-135 mm PZ, f/4, 10s, ISO 16000, focal length 28mm
In closing
This article is by no means a complete guide to Milky Way photography, but I hope it helps you get started with night sky photography. Don’t be afraid to experiment. And most importantly, remember to look up every now and then and simply enjoy the beauty around you.

Nikon Z50 II, Nikkor Z DX 24mm, f/1.7, 6s, ISO 5000, composite of 50 images, total shutter speed 5min, focal length 36mm.
Want to learn more? Check out this video about night sky photography.
FAQs
When is the best time to photograph the Milky Way?
The best time is from April to October, with the peak season typically being in the summer. The best conditions for photographing the Milky Way occur around the new moon, when the sky is darkest.
What camera settings are best for Milky Way photography?
A fast lens and manual mode are the basics. An f-number of f/1.8 to f/3.5, ISO 1600 to 8000, and shutter speed of 10-20 seconds are typically used, depending on the focal length.
How can you find the Milky Way in the Sky?
The Big Dipper, North Star, or Cassiopeia can help. The galactic center is located low above the southern horizon. Apps like Stellarium or PhotoPills are also very useful.
Does the Moon affect Milky Way photography?
Yes, very much so. The Moon, especially during a full moon, will outshine the Milky Way. It’s best to shoot during a new moon or a few days before or after.
Do you have to shoot the Milky Way in RAW?
Yes, RAW is essential for night photography. It allows for better control over exposure, colors, and noise during post-processing.
Why does the Milky Way look different in photos than to the naked eye?
The camera must capture more light due to long exposures, while the human eye cannot see colors or fine details at night. That’s why the resulting photo is significantly brighter and more colorful.


There are no comments yet.