How To Save Backlit Photos and Reveal Beauty in the Details
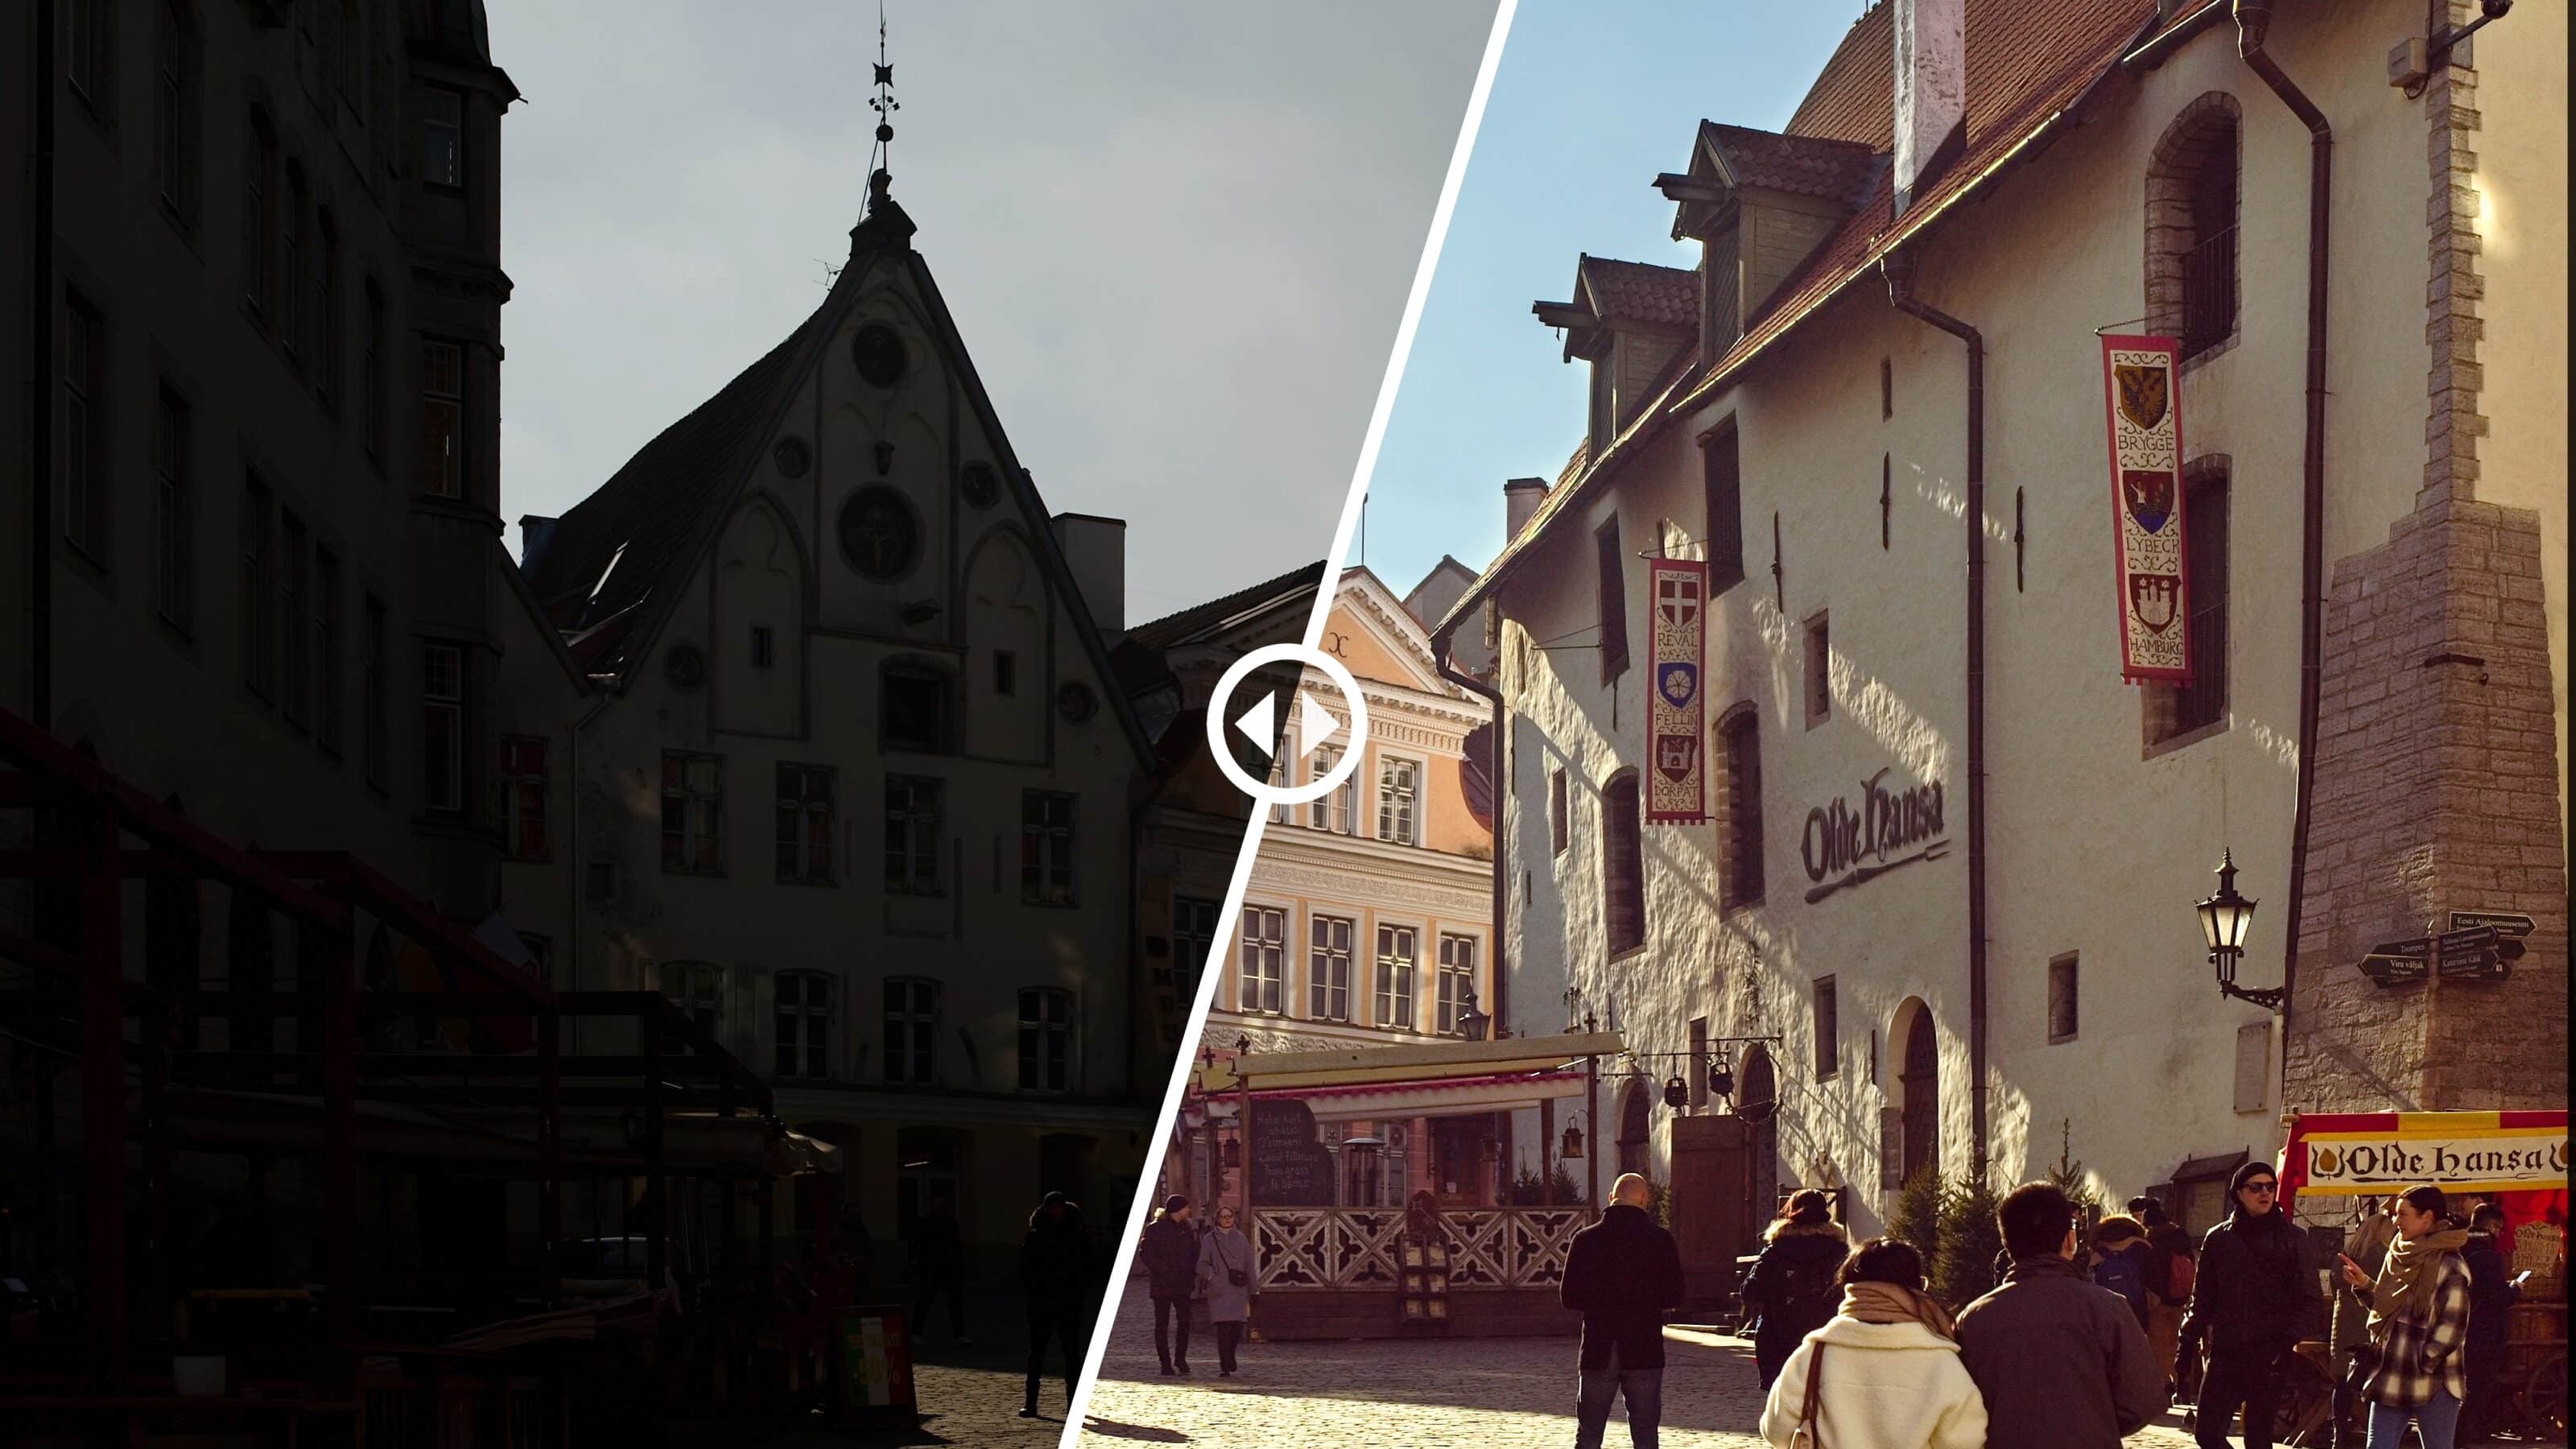
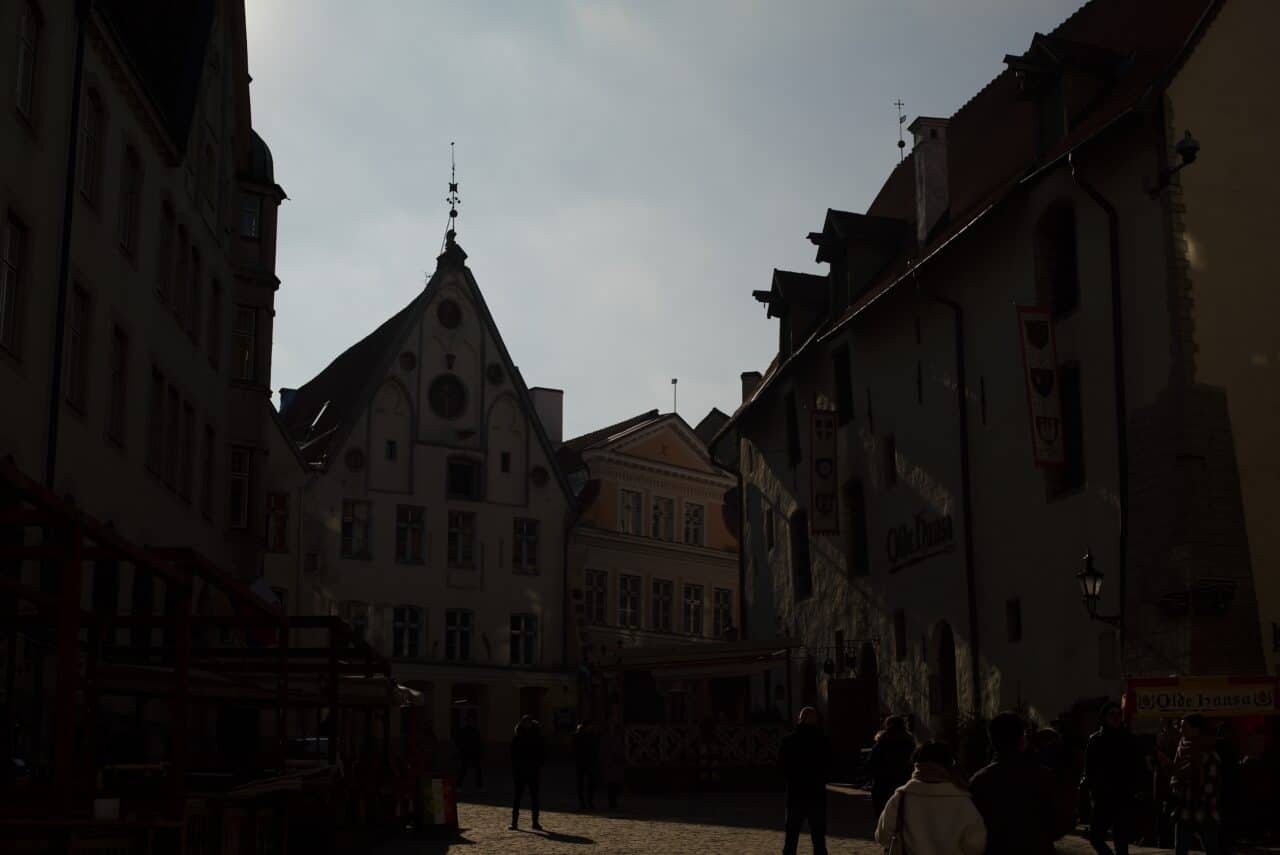
If the sun is directly facing you, you’re going to have backlit photos. This is true whether you’re taking group photos, photographing landmarks, or nature. These photos usually end up in the trash. But don’t worry. I’ll show you how you can save backlit photos and restore the original atmosphere and dynamic range.
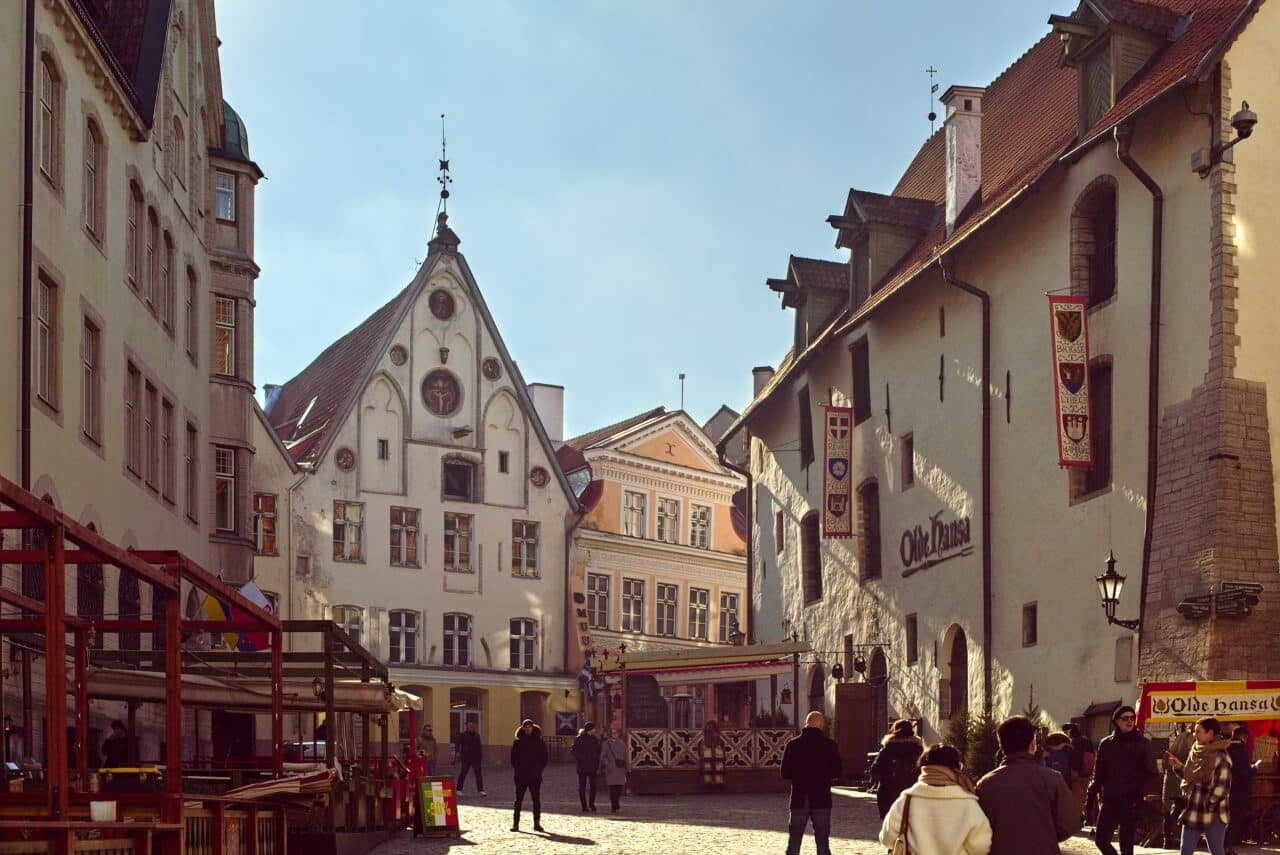
You’re standing in a square with a beautiful church and your child is posing, ice cream in hand. The composition is perfect, but just your luck, the sun is shining directly behind the church and everything is covered in shadows. Still, you want to keep this photo as a memento, even though the shot didn‘t turn out well. I’ll show you how you can save photos like these.
Editing backlit photos, step by step
I make all the necessary adjustments in the Develop module of Zoner Studio. I’ll be using the following 5 tools:
- Exposure (Dynamic Range)
- Straighten Lines
- Filter Brush
- Radial Filter
- Split Toning
If you have an HDR monitor, switch your photo to HDR display. This gives you dynamic range that lets you do more with your photo than standard SDR display. This is helpful if your photo has blown-out highlights. But since HDR monitors aren’t a common part of every household, I’ll demonstrate the procedure using standard display.
Adjust exposure
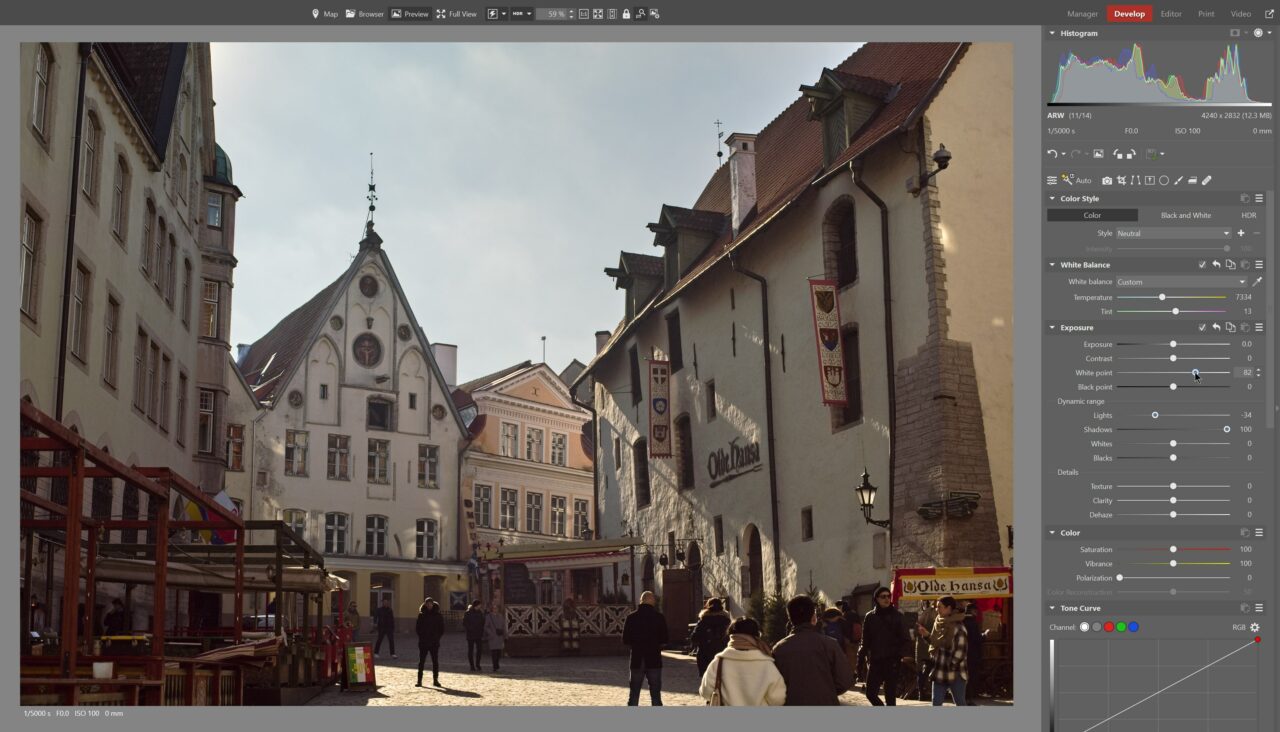
In order to check the photo’s composition, I need to adjust its exposure. The backlight caused the entire photo to be covered in shadows. I go to Dynamic Range and increase the Shadows slider. Then, I decrease the Lights slider to dim the light from the sky.
The Histogram can help you determine if there are enough highlights and shadows in your photo. My photo didn’t have enough highlights. This resulted in a dull photo with low contrast. I correct this by moving the White point slider to positive values.
Straighten Lines and Crop
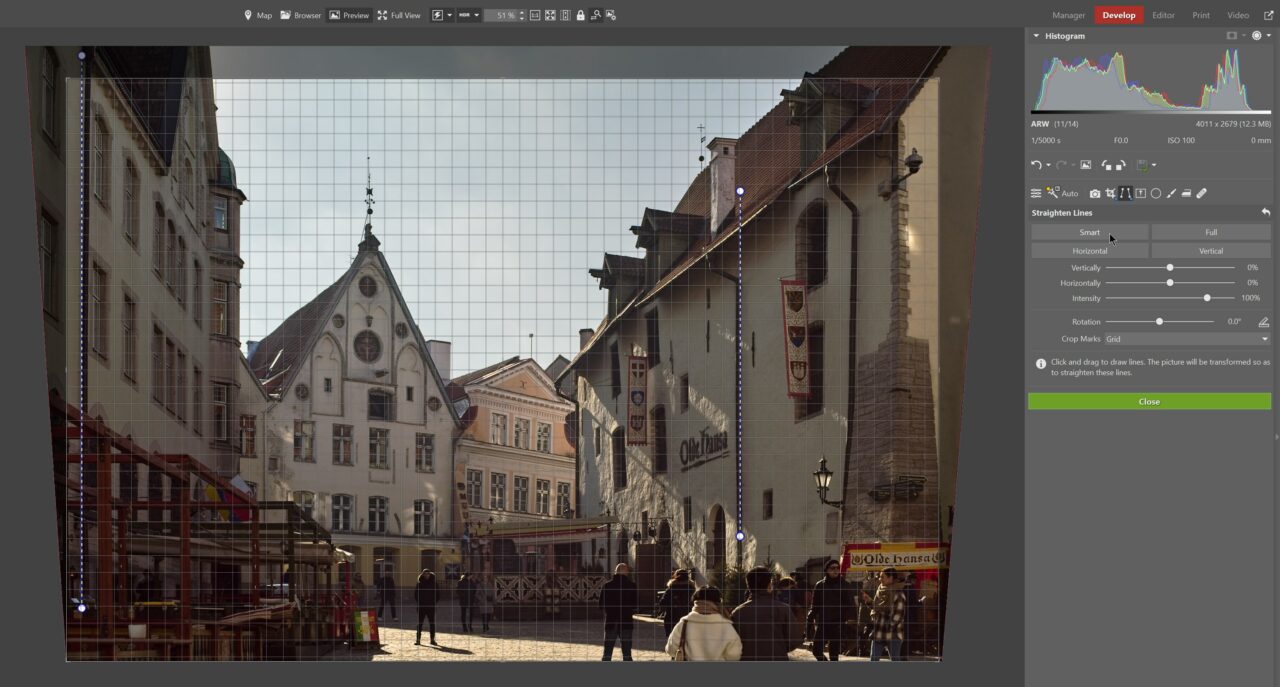
I can finally see what was hidden in the shadows after adjusting the photo’s exposure. There are converging lines which I can easily fix using Straighten Lines (K). I choose Smart, and because I don’t want to cut out the people in the foreground, I adjust the crop chosen by Zoner Studio.
Local adjustments
Once I’ve adjusted the photo’s exposure, I fine-tune separate areas of the photo using tools for local adjustments. The sky could be bluer, but with the buildings around it, it isn‘t possible with the Gradient Filter. The Gradient Filter would affect the buildings.
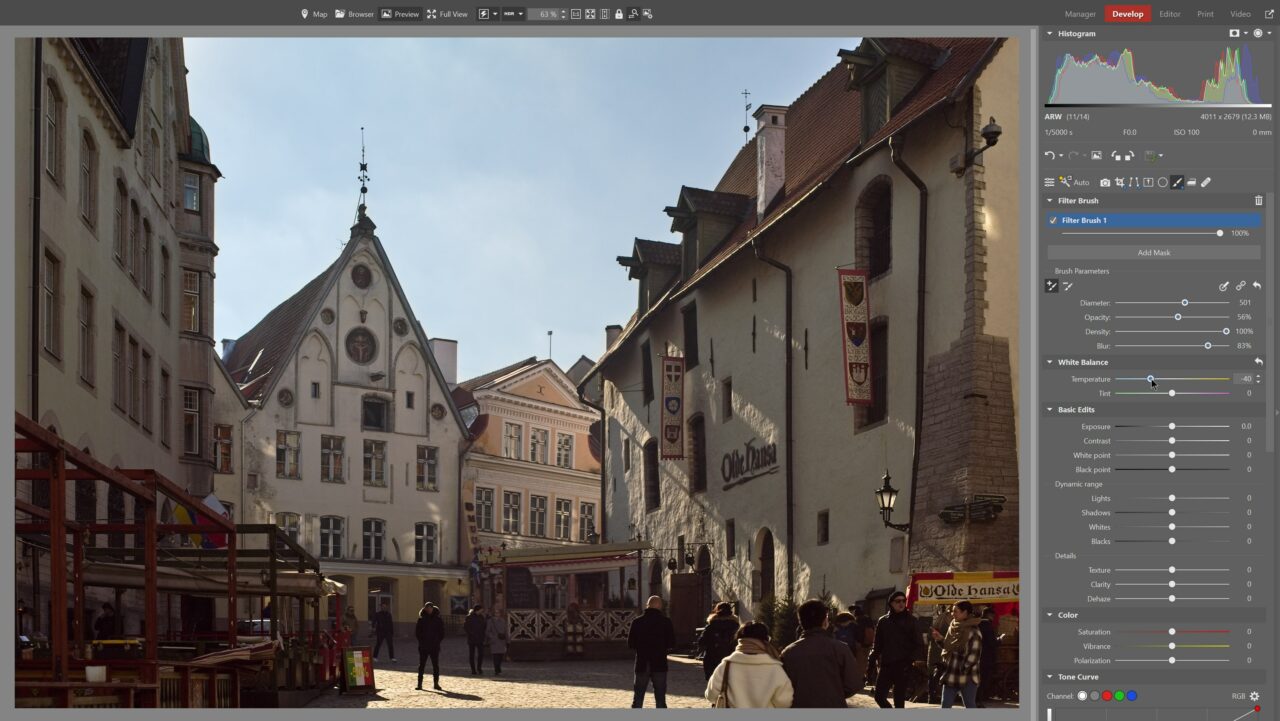
I use the Filter Brush (B) to select the sky. I apply blue to the sky by moving the Temperature slider under White Balance towards blue.
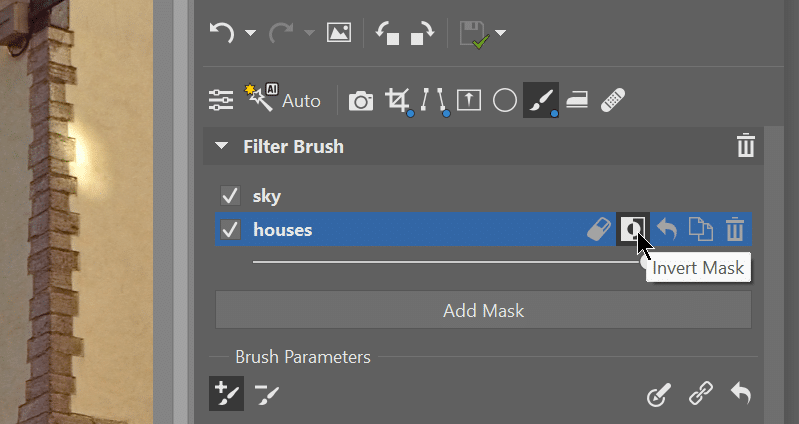
The buildings are still very much in the shadows. To adjust only the buildings without affecting the sky, I need to use local adjustments again. Fortunately, I already have the sky selected, so all I need to do is duplicate the Filter Brush, then invert the mask, and remove the adjustments.

If you’re working with multiple masks for one filter, I recommend renaming them. This will help you keep better track of the adjustments.
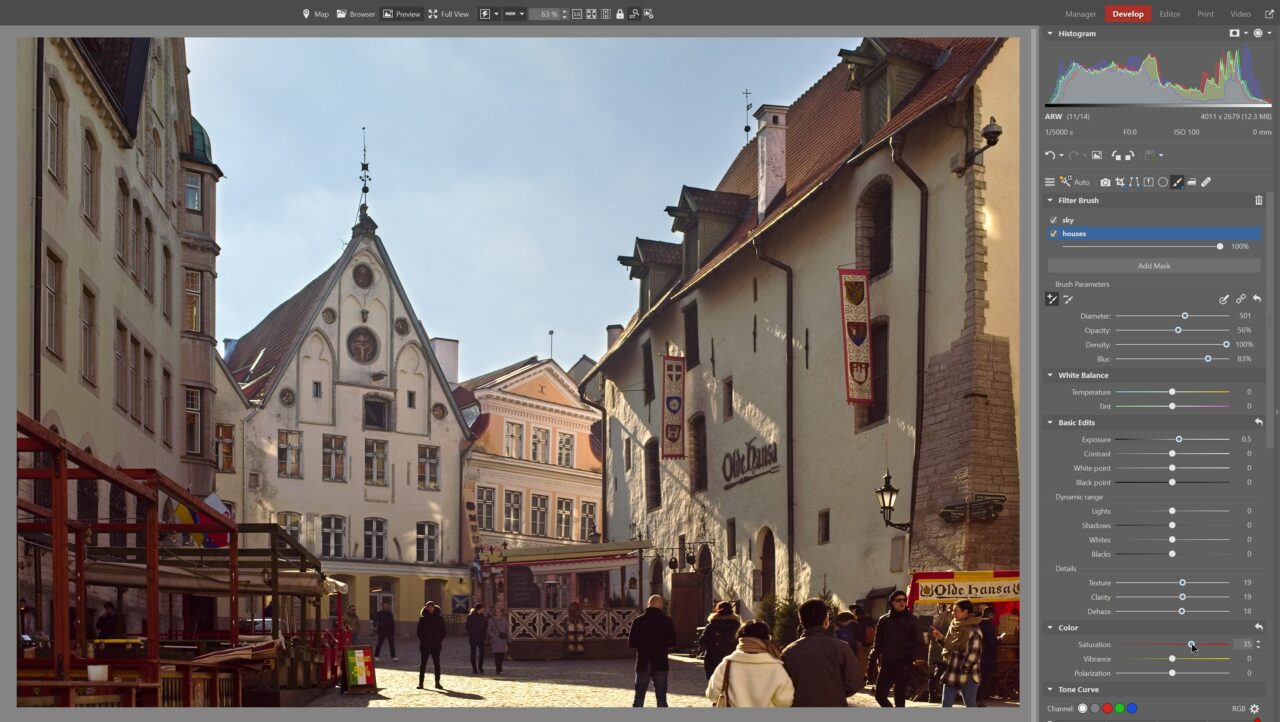
I slightly increase Exposure. This simultaneously brightens the buildings. To make the buildings less dull, I increase their Saturation. The backlight has resulted in some light sun glare. I can easily remove this using Dehaze. I increase Texture and Clarity to bring out the details.
Finishing touches
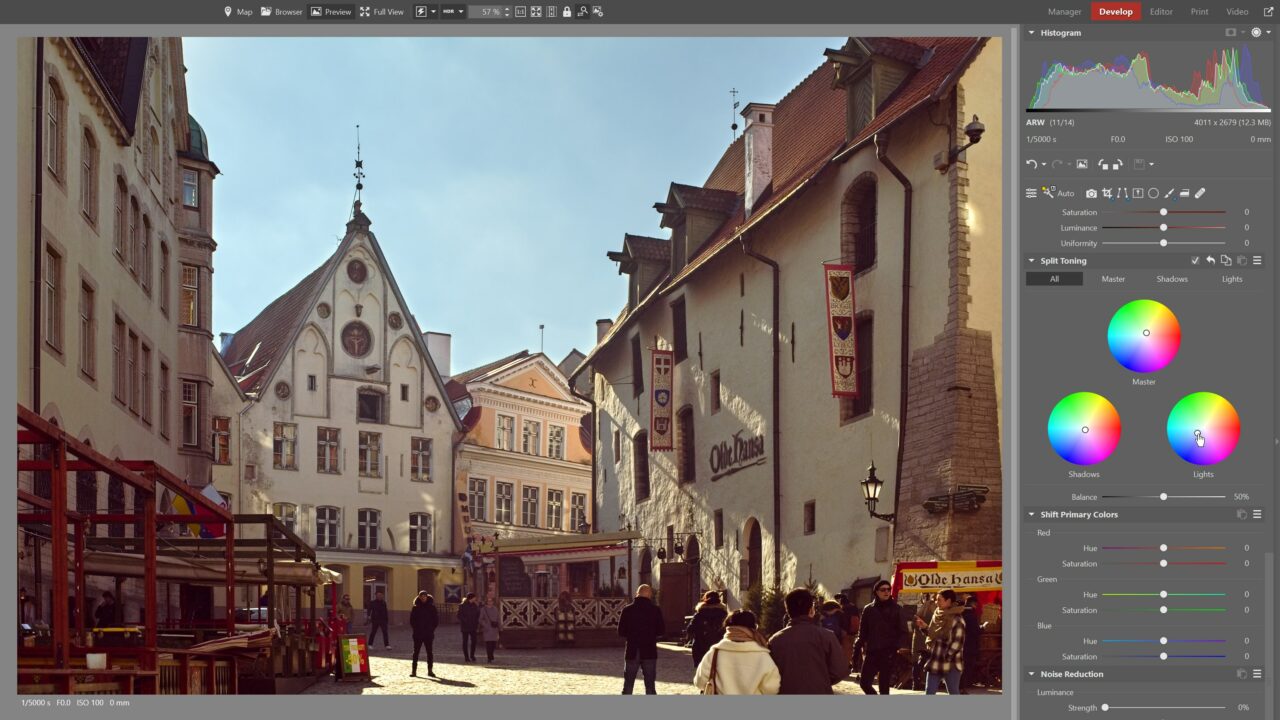
Finally, it’s a good idea to fine-tune the color of the photo overall. I used Split Toning to fine-tune the photo because it didn’t need any more adjustments.
The editing procedure I’ve described is not universally applicable to all photographs. Each photo requires its own procedure. However, this is one possible route you may follow. You can also use AI Automatic Enhancement as a jumping-off point. AI Automatic Enhancement analyzes the image and applies the necessary adjustments.
Struggling with backlit photos? Download Zoner Studio free for 7 days with full support for all these features and more. Try rescuing your backlit photos today!

brian cecil
Thank you for your help again, Merry Christmas to everyone…..