3 Quick Tips for Whitening Teeth
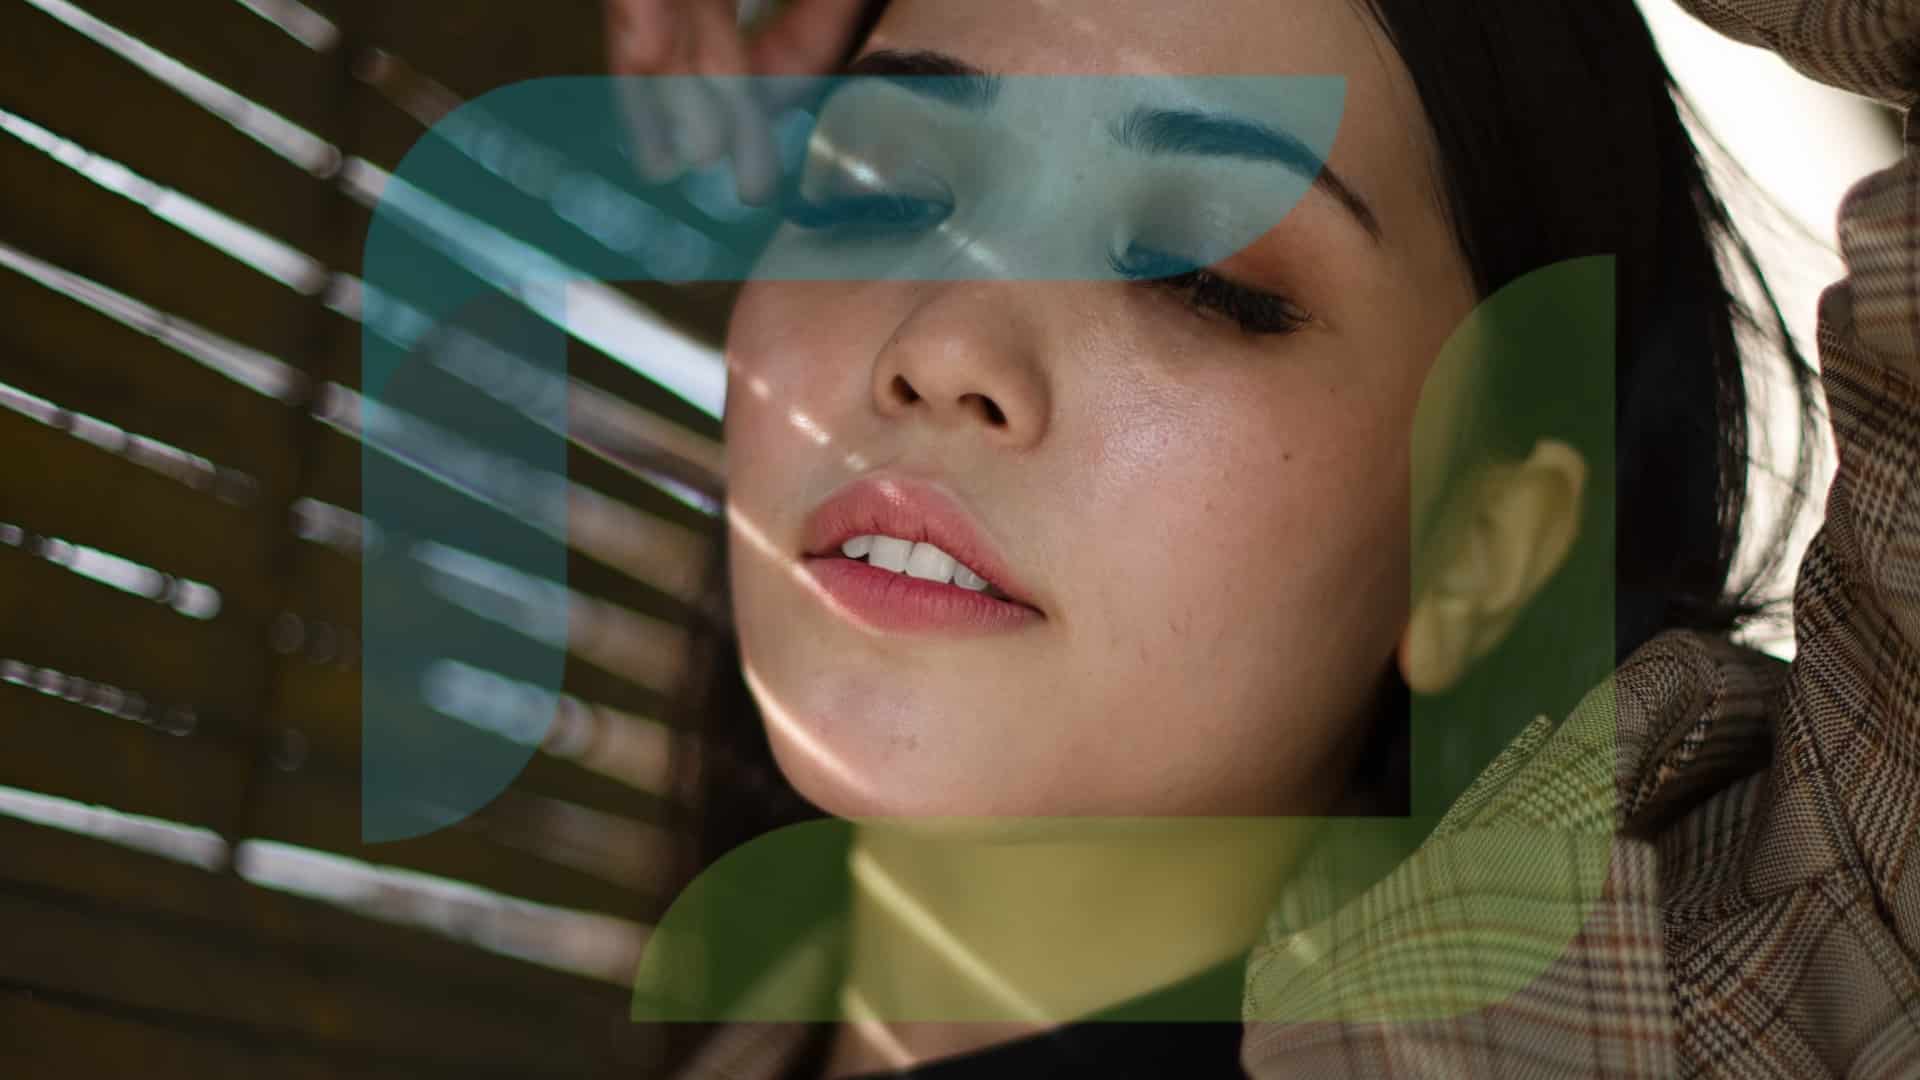
We can’t teach your models to smile like a Hollywood star, but we might be able to get that radiant move star smile. We’ll show you three quick ways to whiten teeth in Zoner Studio.
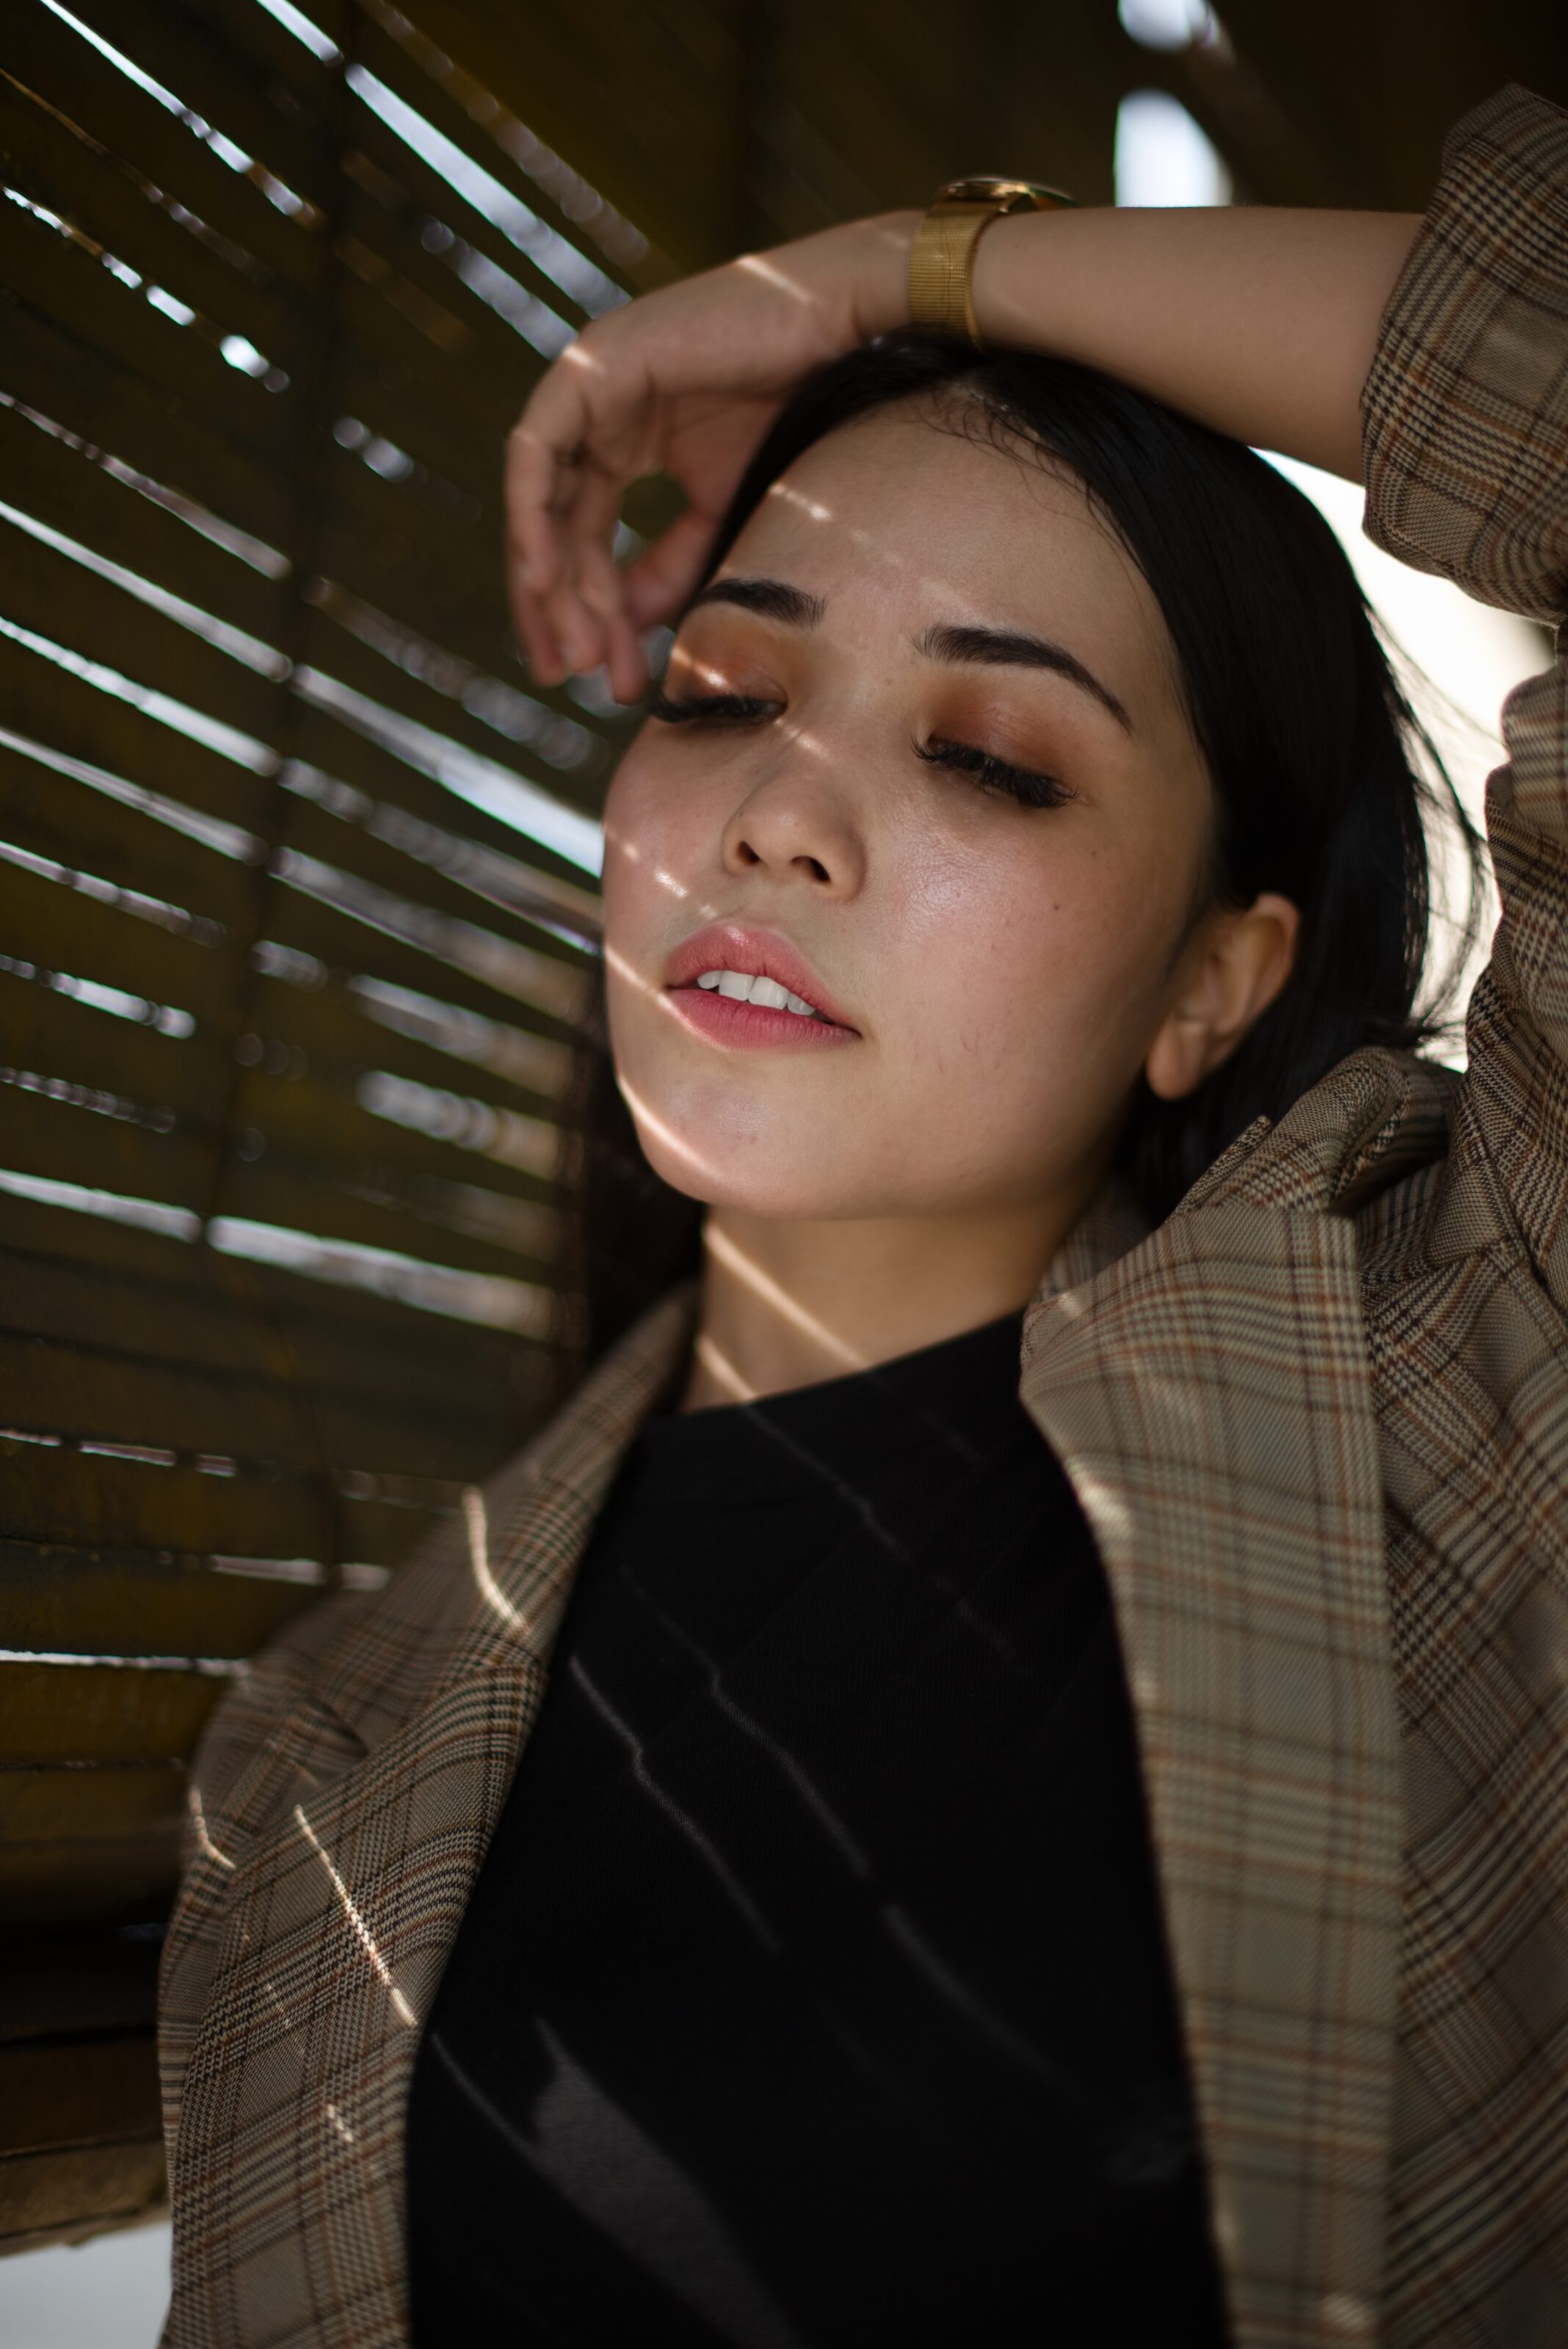
Teeth whitening can be an expensive, time-consuming, and possibly unpleasant process. But when you discover smiles with yellow teeth in your photos after a shoot, you need to pull out all the stops in post-production. There are several methods for whitening teeth in Zoner Studio. We’ll show you 3 quick ways to get that radiant smile you’re after.
Filter Brush in the Develop module
The first and most effective way to whiten teeth is using the Filter Brush (B) in the Develop module. Use the brush to select the exact part of the photo you want to work with. This method is slightly more time-consuming, but has guaranteed good results.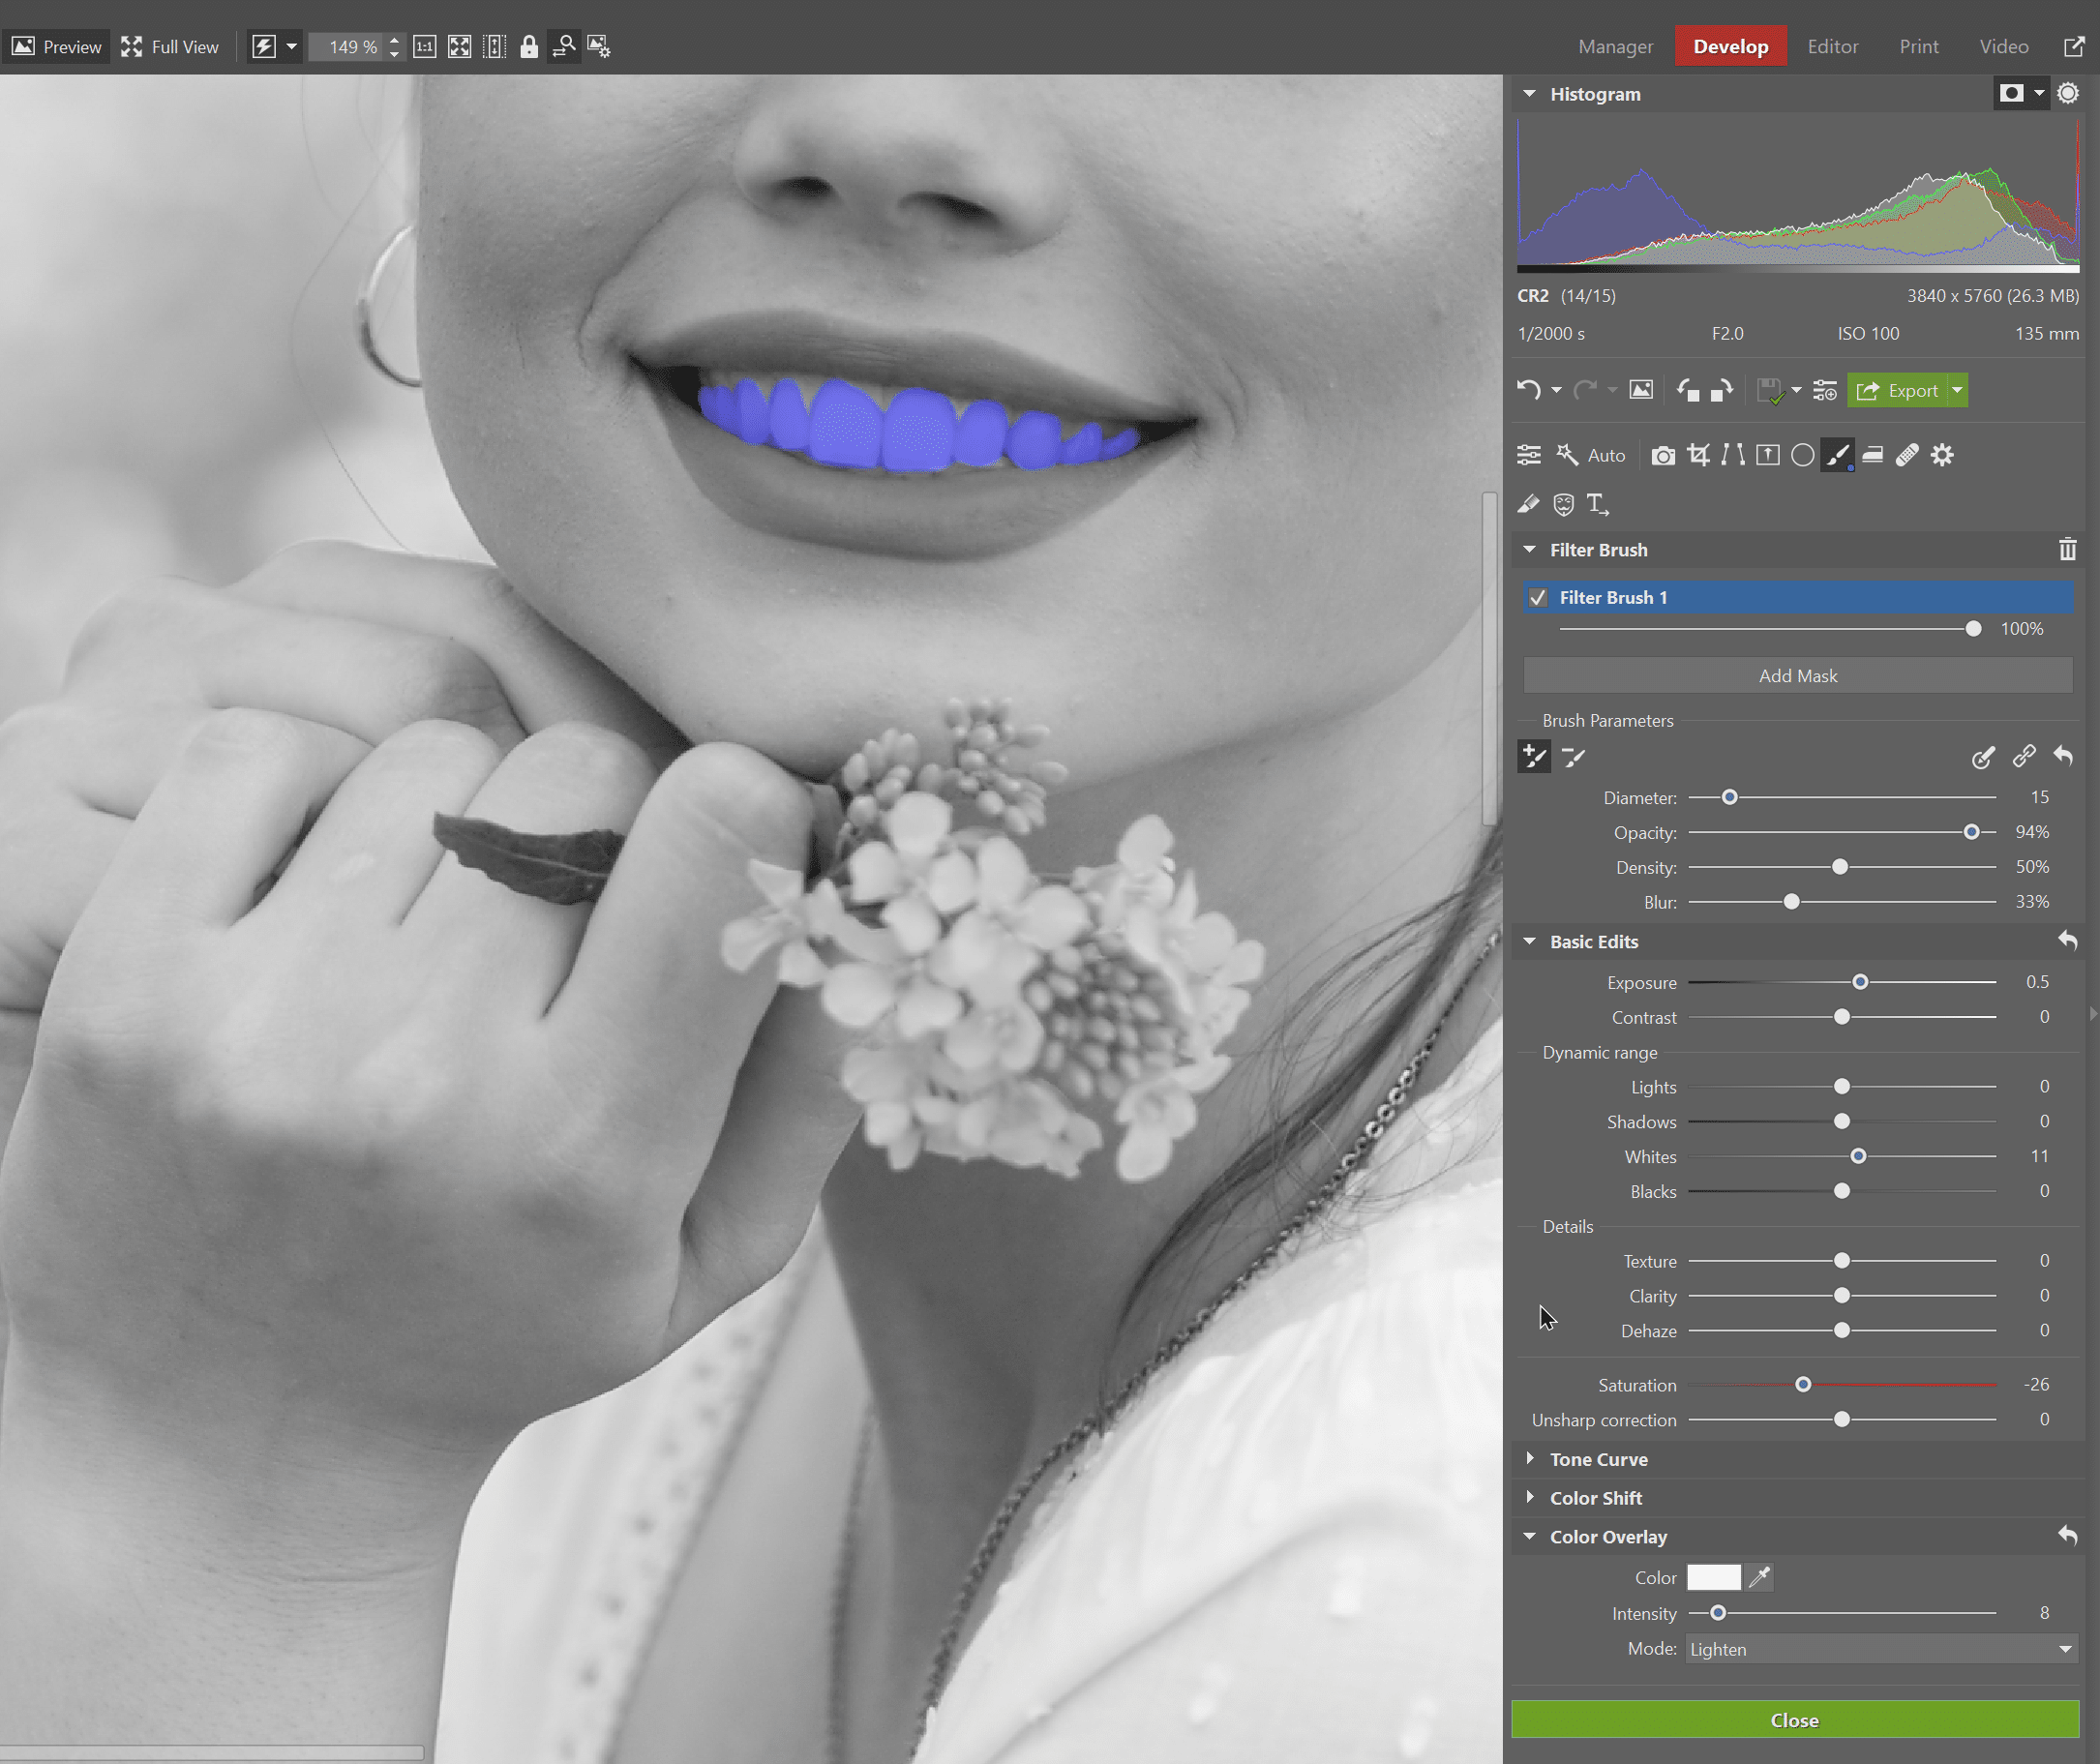
Once the teeth have been selected, increase Exposure, Whites in Dynamic Range, and lower Saturation. I also selected Color Overlay and at the bottom, chose white, and set the mode to Lighten.


The Radial Filter in the Develop module
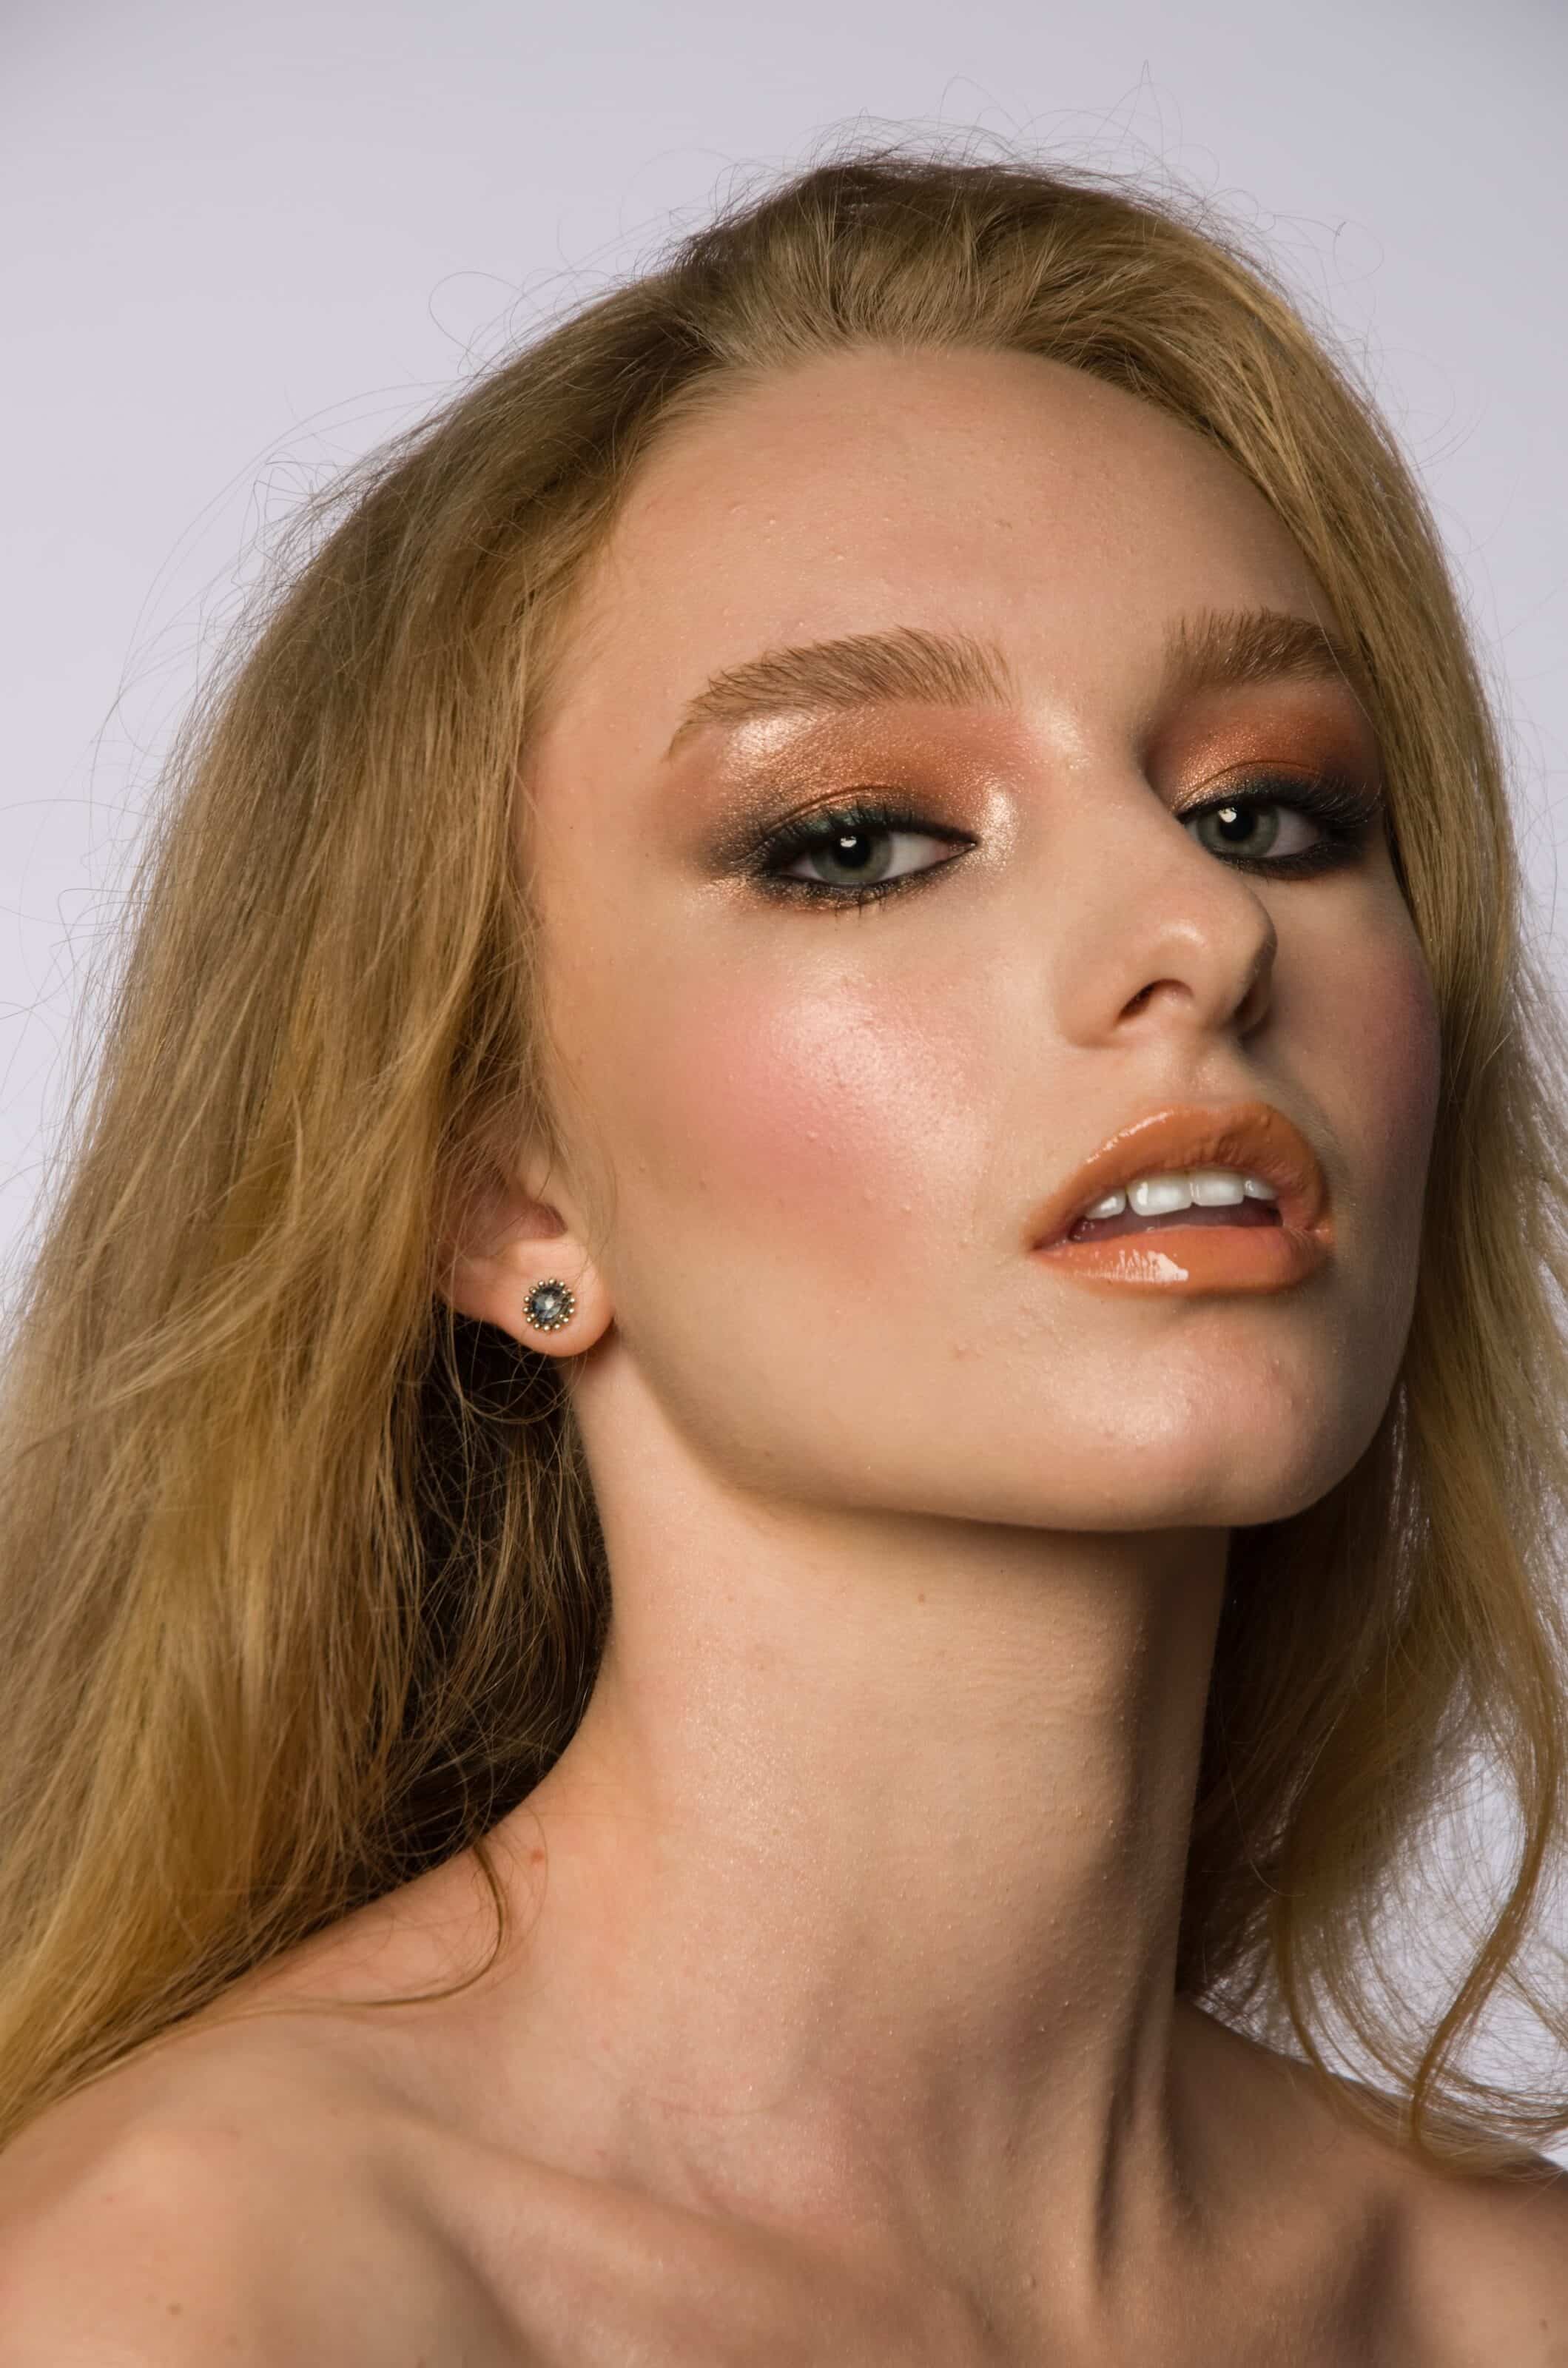
A second method for whiter teeth in the Develop module is using the Radial Filter (R). This method is not as detailed as the Filter Brush, but is a bit faster to apply. Place the Radial Filter over the teeth. Its shape doesn’t work for all photos, but it was perfect for the photo below.
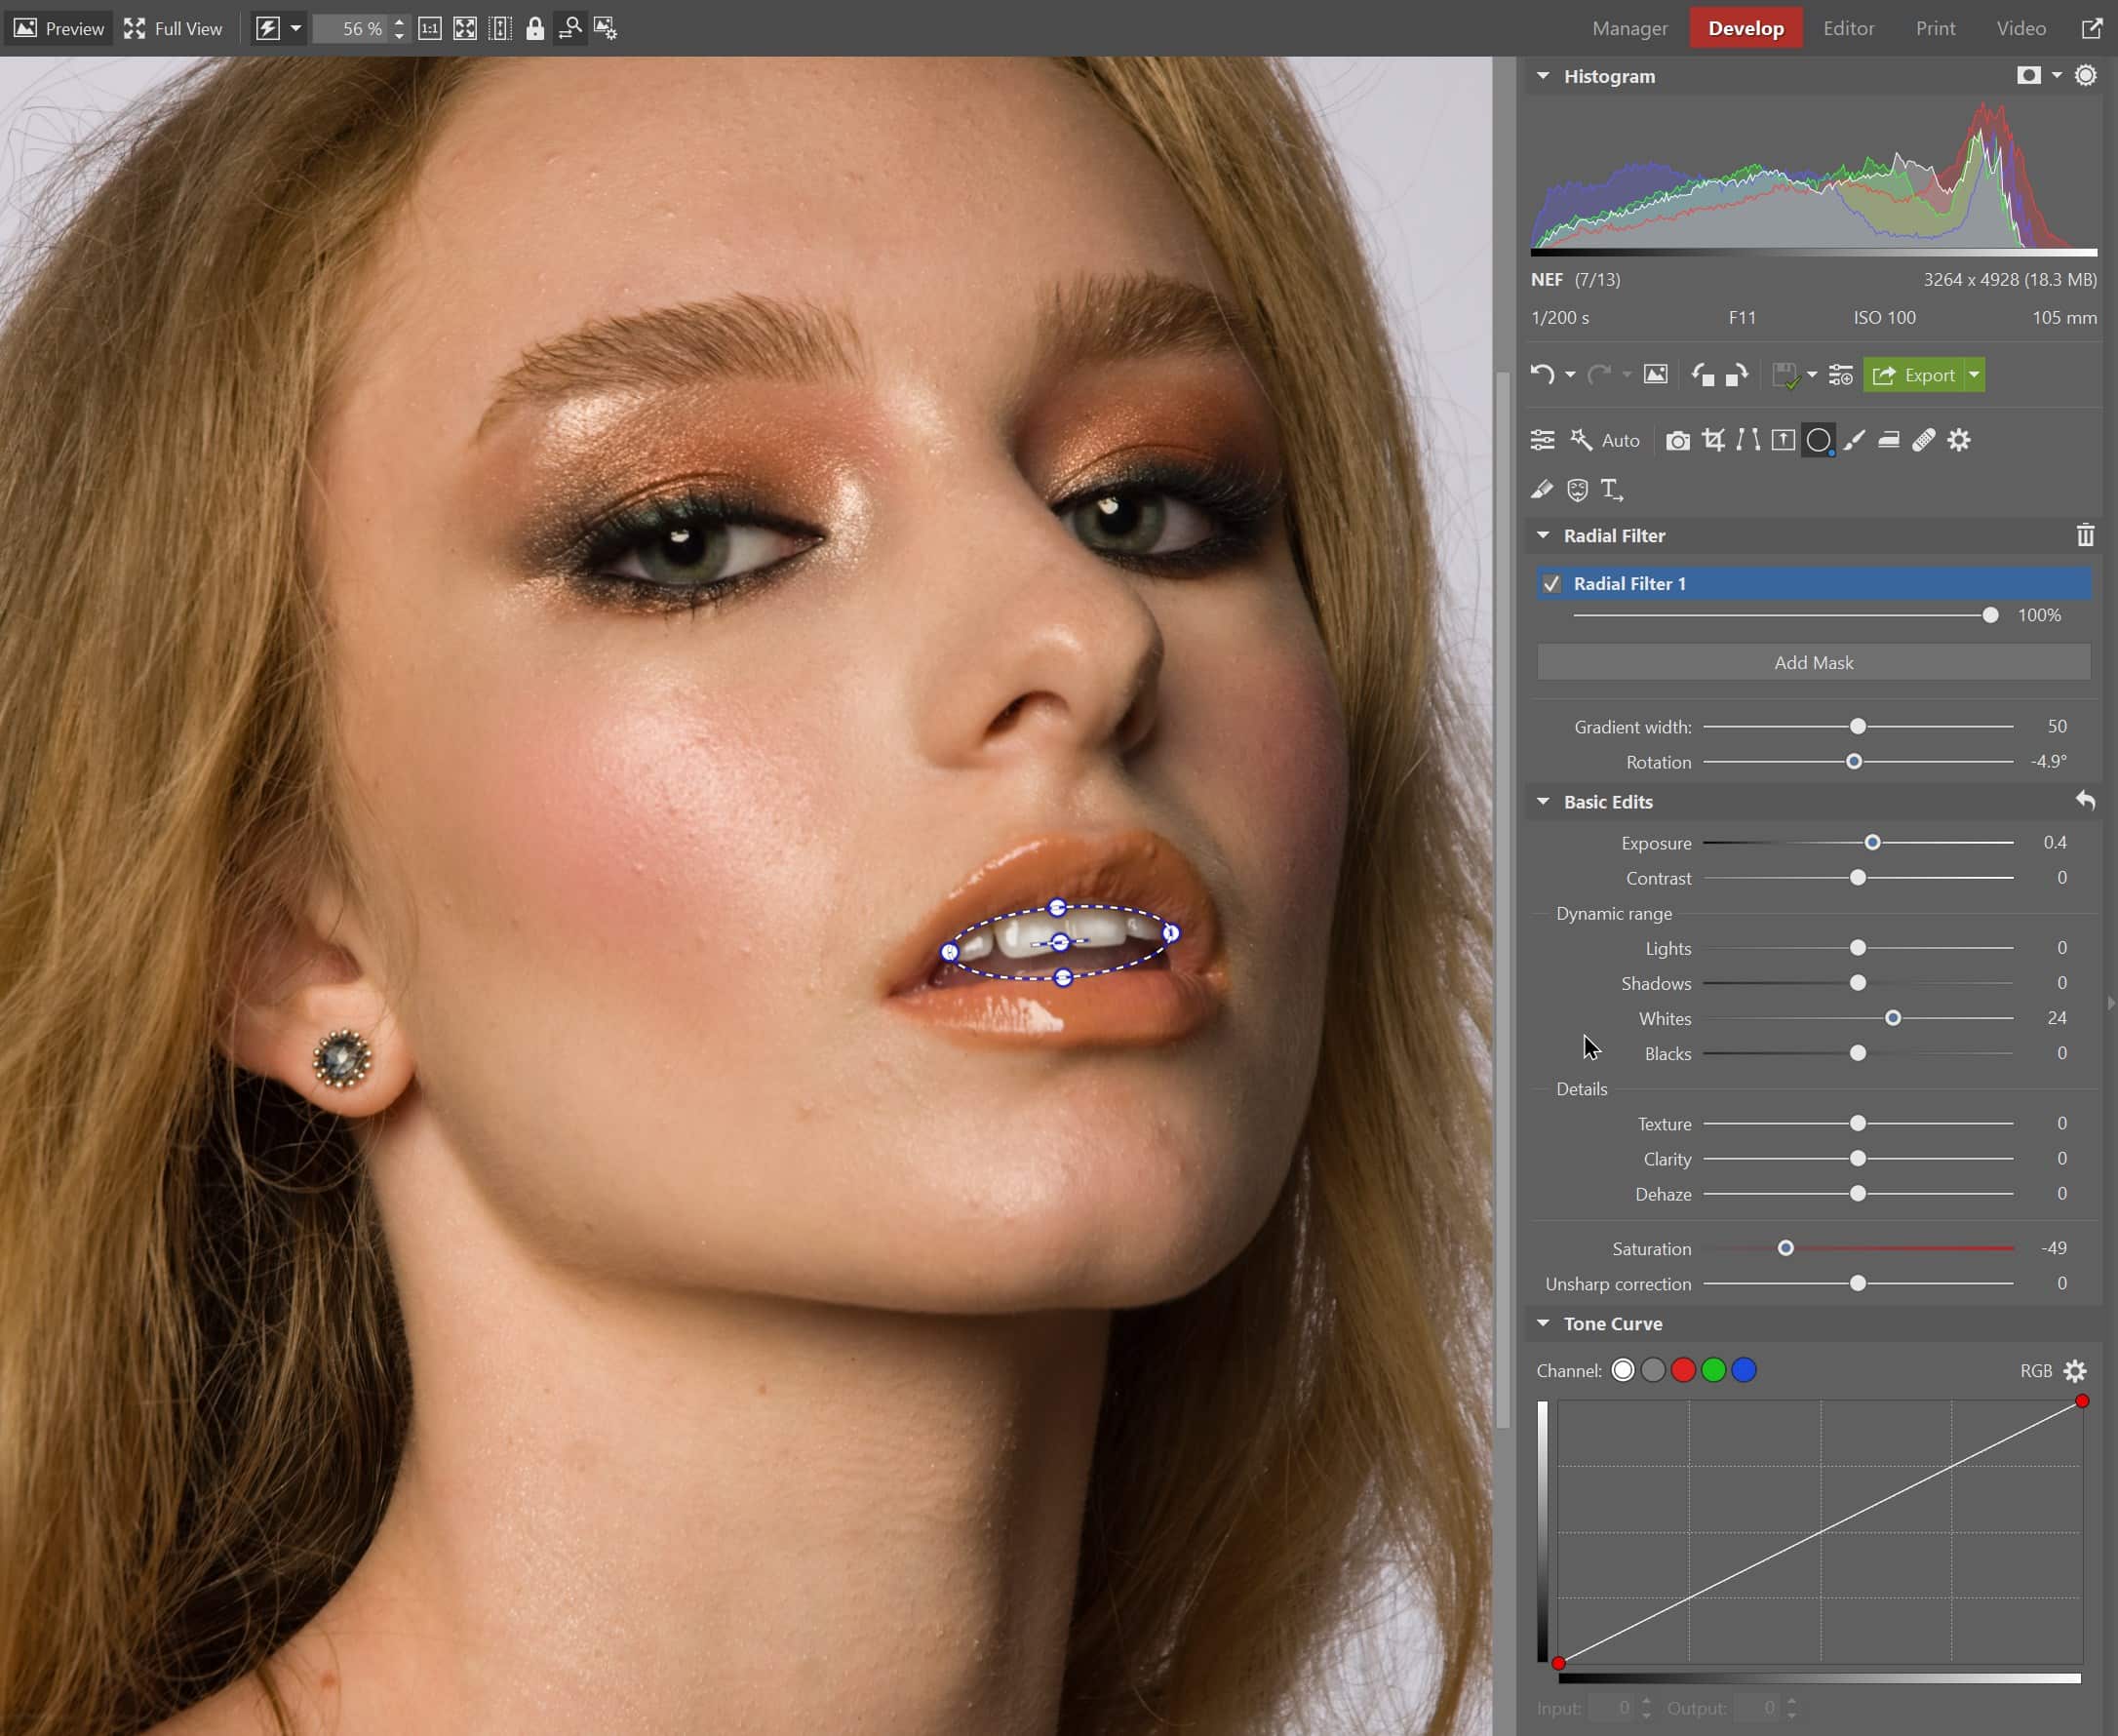
Just like with the previous method, after adding the Radial Filter, I slightly increased Exposure, Whites under Dynamic Range, and lowered Saturation.

Selection Brush in the Editor module
The last method uses the Selection Brush in the Editor module. It is useful for when you’ve completed adjustments in the Develop module but forgot to whiten the teeth. Go to Selection Tools and choose the Selection Brush (Shift + Q), to select the teeth.
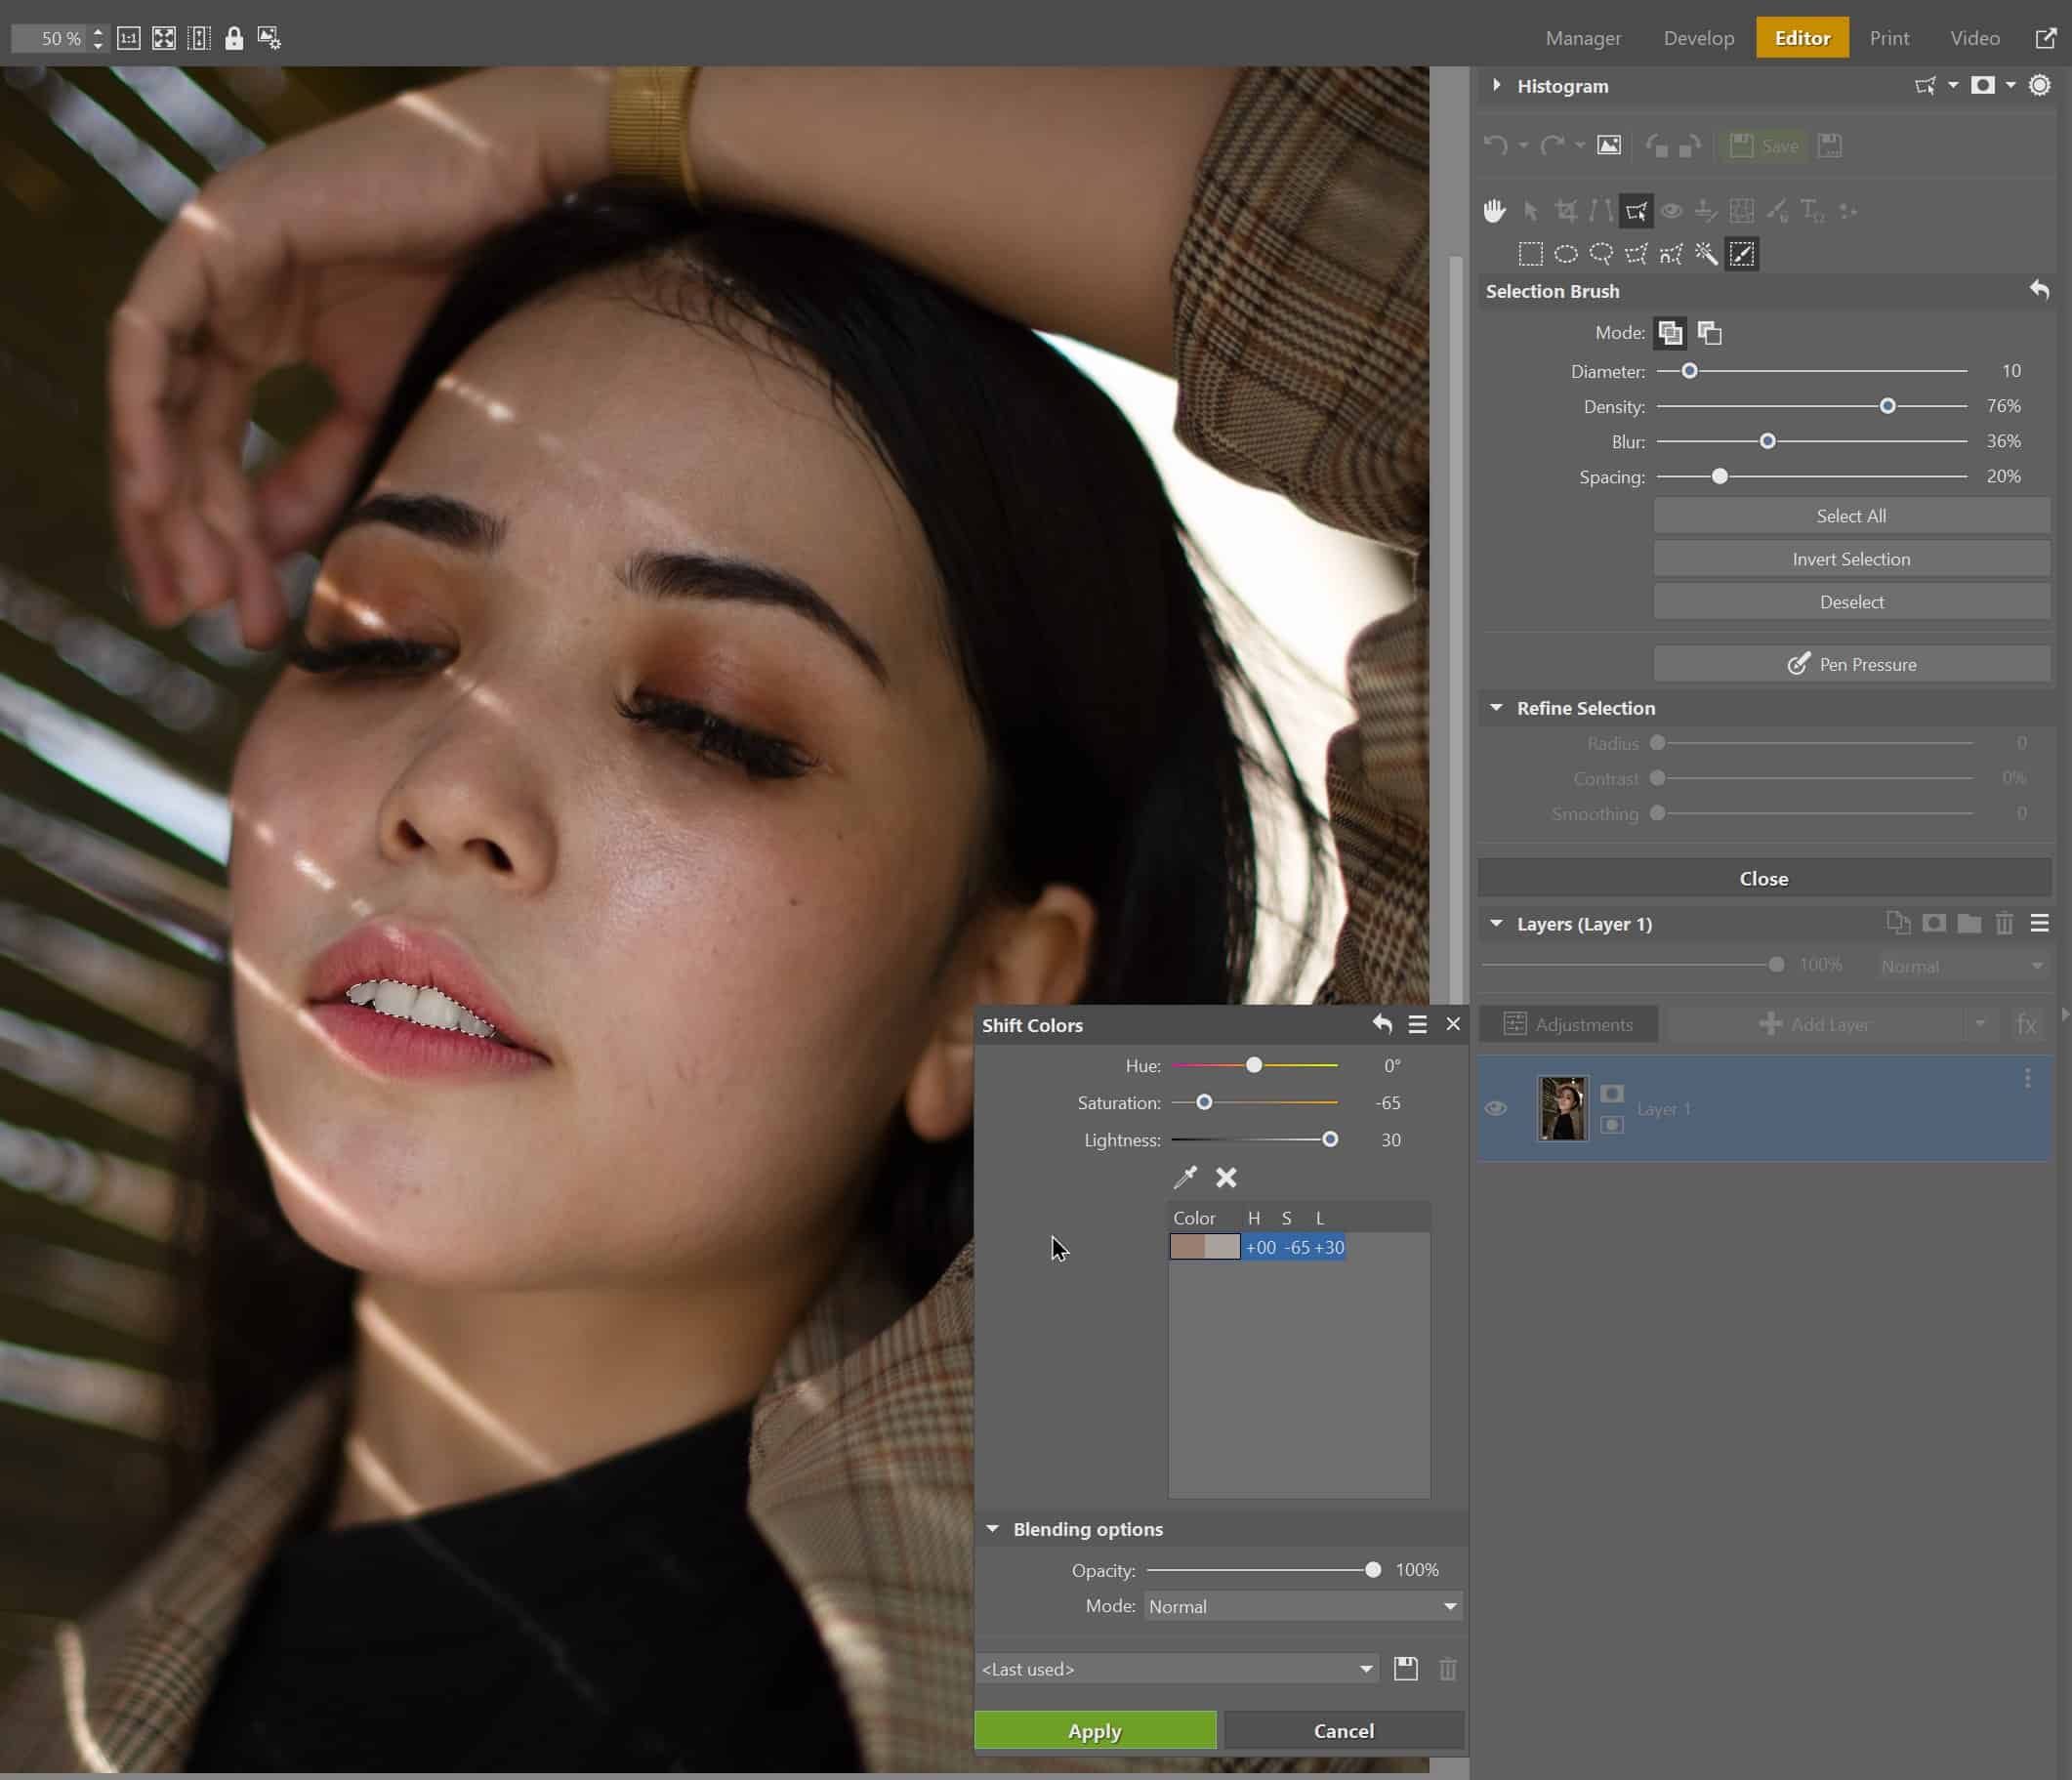
Then click Adjustments and choose the adjustment type. You can use Exposure again, but I chose Shift Colors. I used the Eyedropper to select a color for the teeth, lowered Saturation, and increased Lightness.

Download Zoner Studio free for 7 days and access all these Zoner Studio tools limit-free and give your model a movie star smile.
There are no comments yet.