3 Tips for Highlighting Hair in Portrait Photos

The article is over 5 years old. The information in it may be outdated.
![]()
We are working on its update. In the meantime, you can read some more recent articles.
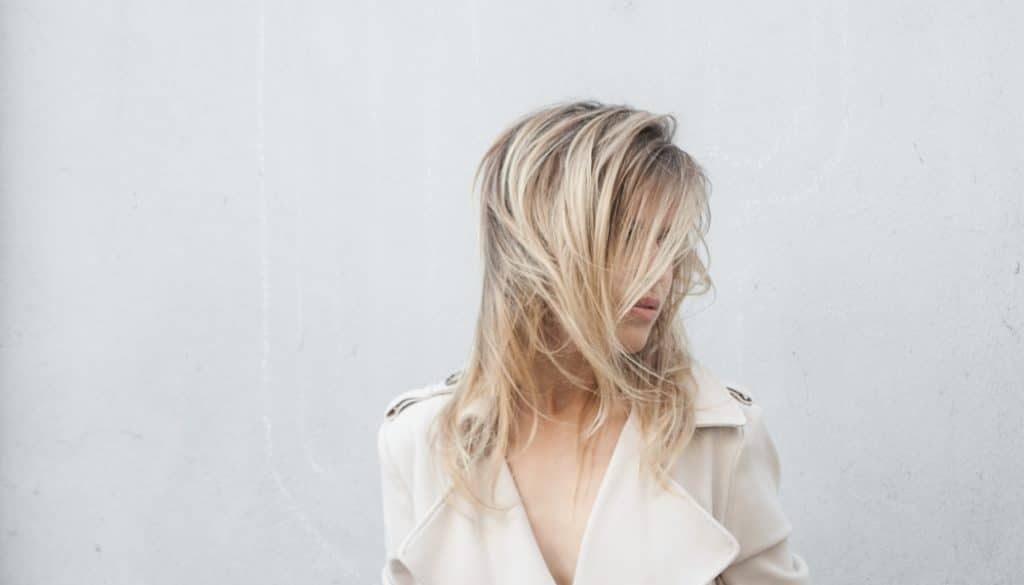
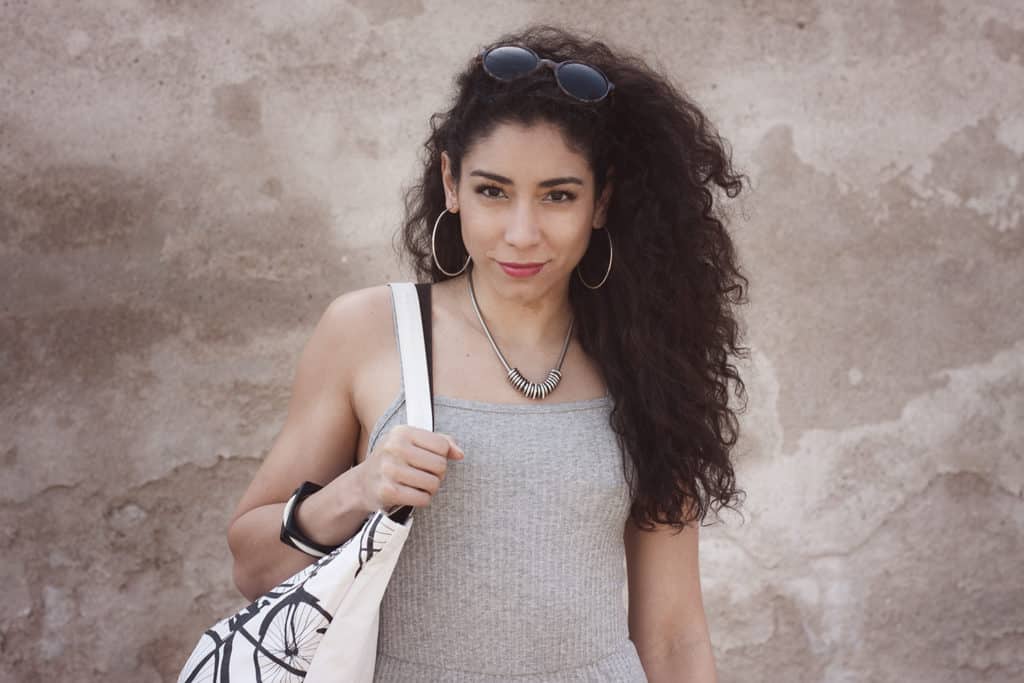
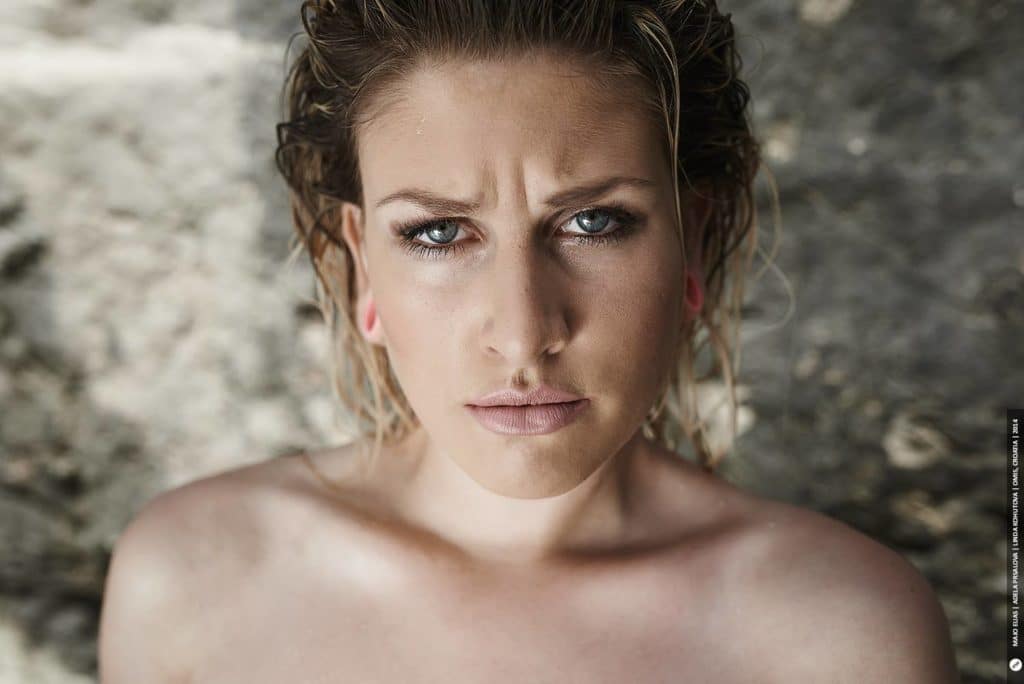
Hair just doesn’t get the attention it deserves in photography. And meanwhile, great-looking hair takes a photo to the next level. So sit down, read on, and learn to give hair a healthy shine with (and without) a photo editor.
If you can’t get hair looking great while taking your pictures, then you’ll want to at least give it some attention during photo editing. We’ll take a look at the most useful advice on doing just that.
1. Interesting Hair Attracts Attention
With some models, you’re lucky and their hair is simply interesting in itself. Because of that, you don’t have to worry about pretty and shiny hair during the shoot, and you can concentrate on other things.

Meanwhile, if your model’s hair isn’t naturally pretty, then you can use the services of a hair stylist. It’s not the cheapest solution, but hair is a prepared photographer’s best calling-card.

2. Harness Direct Sunlight
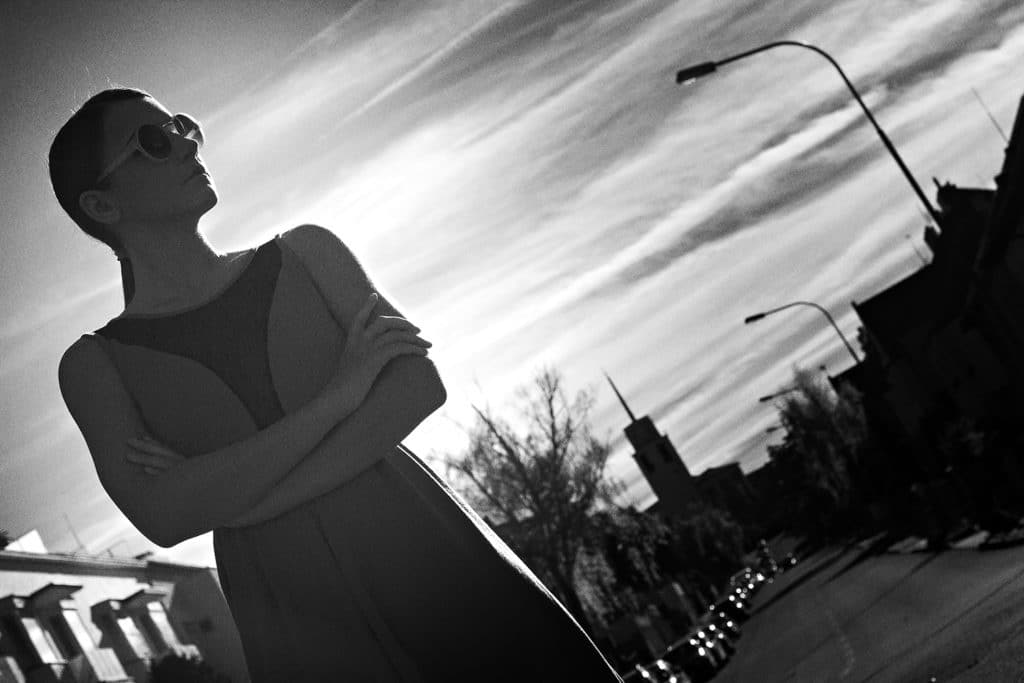
One way to make hair in photos more beautiful is to fill it with light. Hair responds well to light. Hair doesn’t suffer under sharp sunlight. In fact, it looks a lot better and healthier under direct sunlight than in constant light, which is very diffuse. In diffuse light, hair has no striking contrasts, and it loses its shine.

On the other hand, however, photographing a model under direct sunlight is not all that easy. You’ll have trouble with the harsh shadows in their eyes, and they will not enjoy gazing right towards the sun. In fact, their eyes may start to water. Because of this, it’s a fine idea to use sunglasses—which are also a great thematic fit for a sunny scene.

Another option is to use a diffuser, which diffuses the light while still leaving it with enough intensity that the picture has some natural contrast. That way, your model’s hair will be shiny and their eyes will get some light too, but not an unpleasant amount. A diffuser also has a disadvantage, however: to use it, you’ll need an assistant and windless weather. Because of this, you can’t always rely on it.

3. Adding a Sheen Through Software
If you want to add some shine through software, use Zoner Studio. You’ll find the tools you need in the Editor. These tools are the Curves filter and the Selection Brush.
First bring up Curves, by using the Adjust menu’s “Curves” item or pressing Ctrl+C.
>> Read our article How to Use Curves to Adjust Image Exposure.
Then use the Selection Brush to select the bright roots of the hair. Give the Selection Brush a high Blur value so that the fade-in into the selection will be gradual. Also, make your selection with multiple brush strokes instead of just one. Keep in mind the importance of making your edit unnoticeable. Be sure to take advantage of the various Mask Display Modes, so that you can see exactly what you are and aren’t selecting.
>> Read our article Become a Smarter Editor—Master Masks.

Now repeat this approach, but this time around, darken the dark spots. This increases the local contrast in the model’s hair. Their hair will then look shinier and healthier overall.

And here’s how the photo looks after my edits:


The photo before and after edits.
Balance in Everything
You can tell healthy hair by its shine. Because of this, a little extra attention during editing to give it a healthy undertone can’t hurt—but don’t overdo it! It should be hard to tell that the photo’s been edited.
Like what you see? Download Zoner Studio, try it free for 7 days, and you too can give hair some extra shine.

There are no comments yet.