5 Tips for Low-light Photography

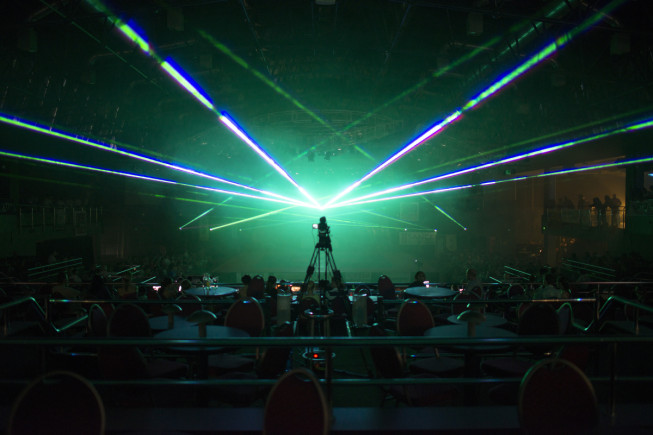
Photography is literally painting with light, and so no photo can come from a scene where there’s no light at all. And even low-light sites have a problem: poor exposure. What can we do to get good pictures out of bad light?
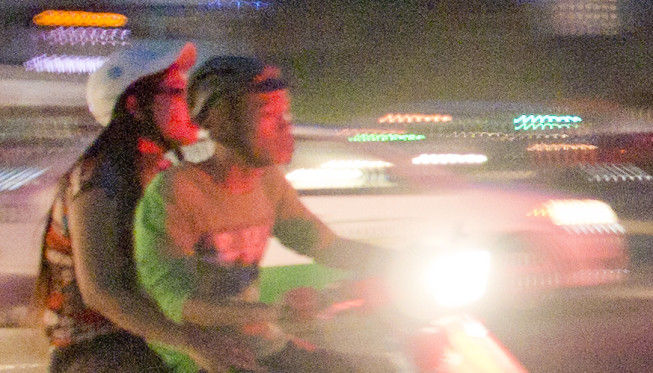
It’s no problem taking pictures on sunny days. But twilight, nighttime, and indoor light often put the limits of our photographic equipment to the test. This happens because low light means long exposures. Long exposures, in turn, put you one misstep away from motion blur and in fact blurring throughout the picture.
Luckily we have several tips here to keep you away from missteps when you’re shooting in low light.
1) Increase the ISO
The first option is to increase the camera’s ISO value—its sensitivity. This lowers exposure time, but it’s not a cure-all. Use it carefully, because high ISO increases colored noise and brightness noise, lowering the picture’s technical quality. Be doubly careful when shooting a picture that you plan to crop, as the noise will stick out more after the crop.

2) Widen the Aperture
If the scene does not demand large depth of focus, then widen the lens aperture. In twilight conditions less is sometimes more, and for example an aperture of f3.5 will give you shorter times more maintainable by hand than a “landscape-friendly” f11. An extension of this, naturally, is the use of lenses with a low f number, such as 2.8, 1.8, or 1.4.

3) Tripods—Standing on Your Own Three Feet
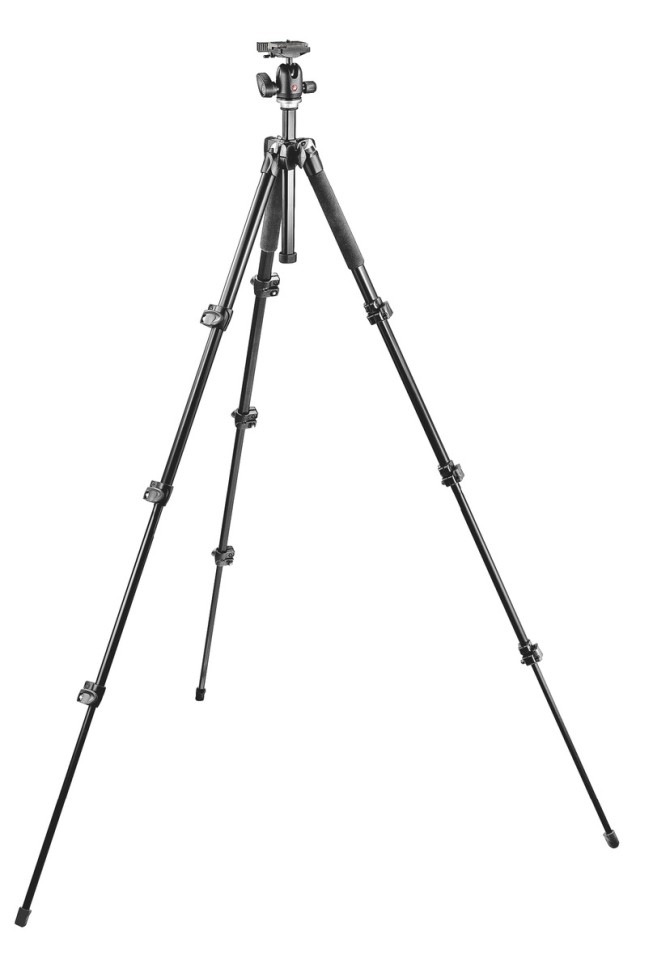
Tripods aren’t just for photo studios. Some static scenes, like cityscapes and open landscapes, demand long exposures no matter what. That’s where tripods come in. So take one with you for your night photography.

4) Flash: Faster Than Superman
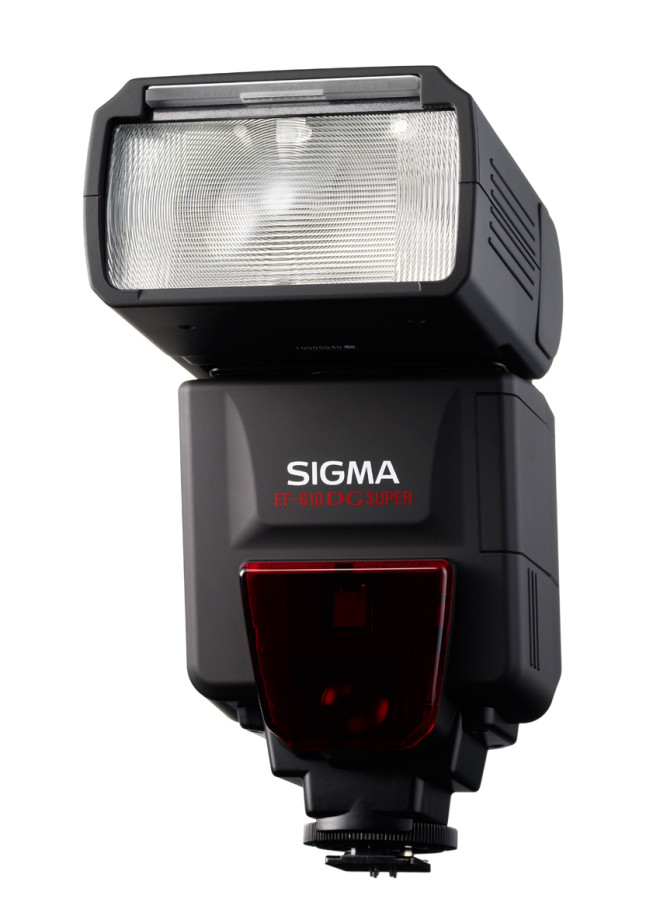
When you need light at all costs, definitely use a flash. But otherwise don’t, because flashes have downsides. In portraits, built-in flashes throw fairly ugly shadows on subjects’ faces and on the wall behind them. Flash systems and studio flashes will diminish these problems. They’re also very expensive.

5) Use Image Stabilization
Another way to prevent motion blur caused by shaky hands is to turn on image stabilization. Whether provided by the lens or directly within the sensor, stabilization can somewhat take the place of a tripod, enabling exposures several times longer than you could normally use.
No matter which of the above options you use—or which combinations—we wish you luck for your low-light photography, lots of great pictures, and hardly any blurred ones!

There are no comments yet.