Say Goodbye to Noise—How to Get Rid of Noise in a Few Clicks
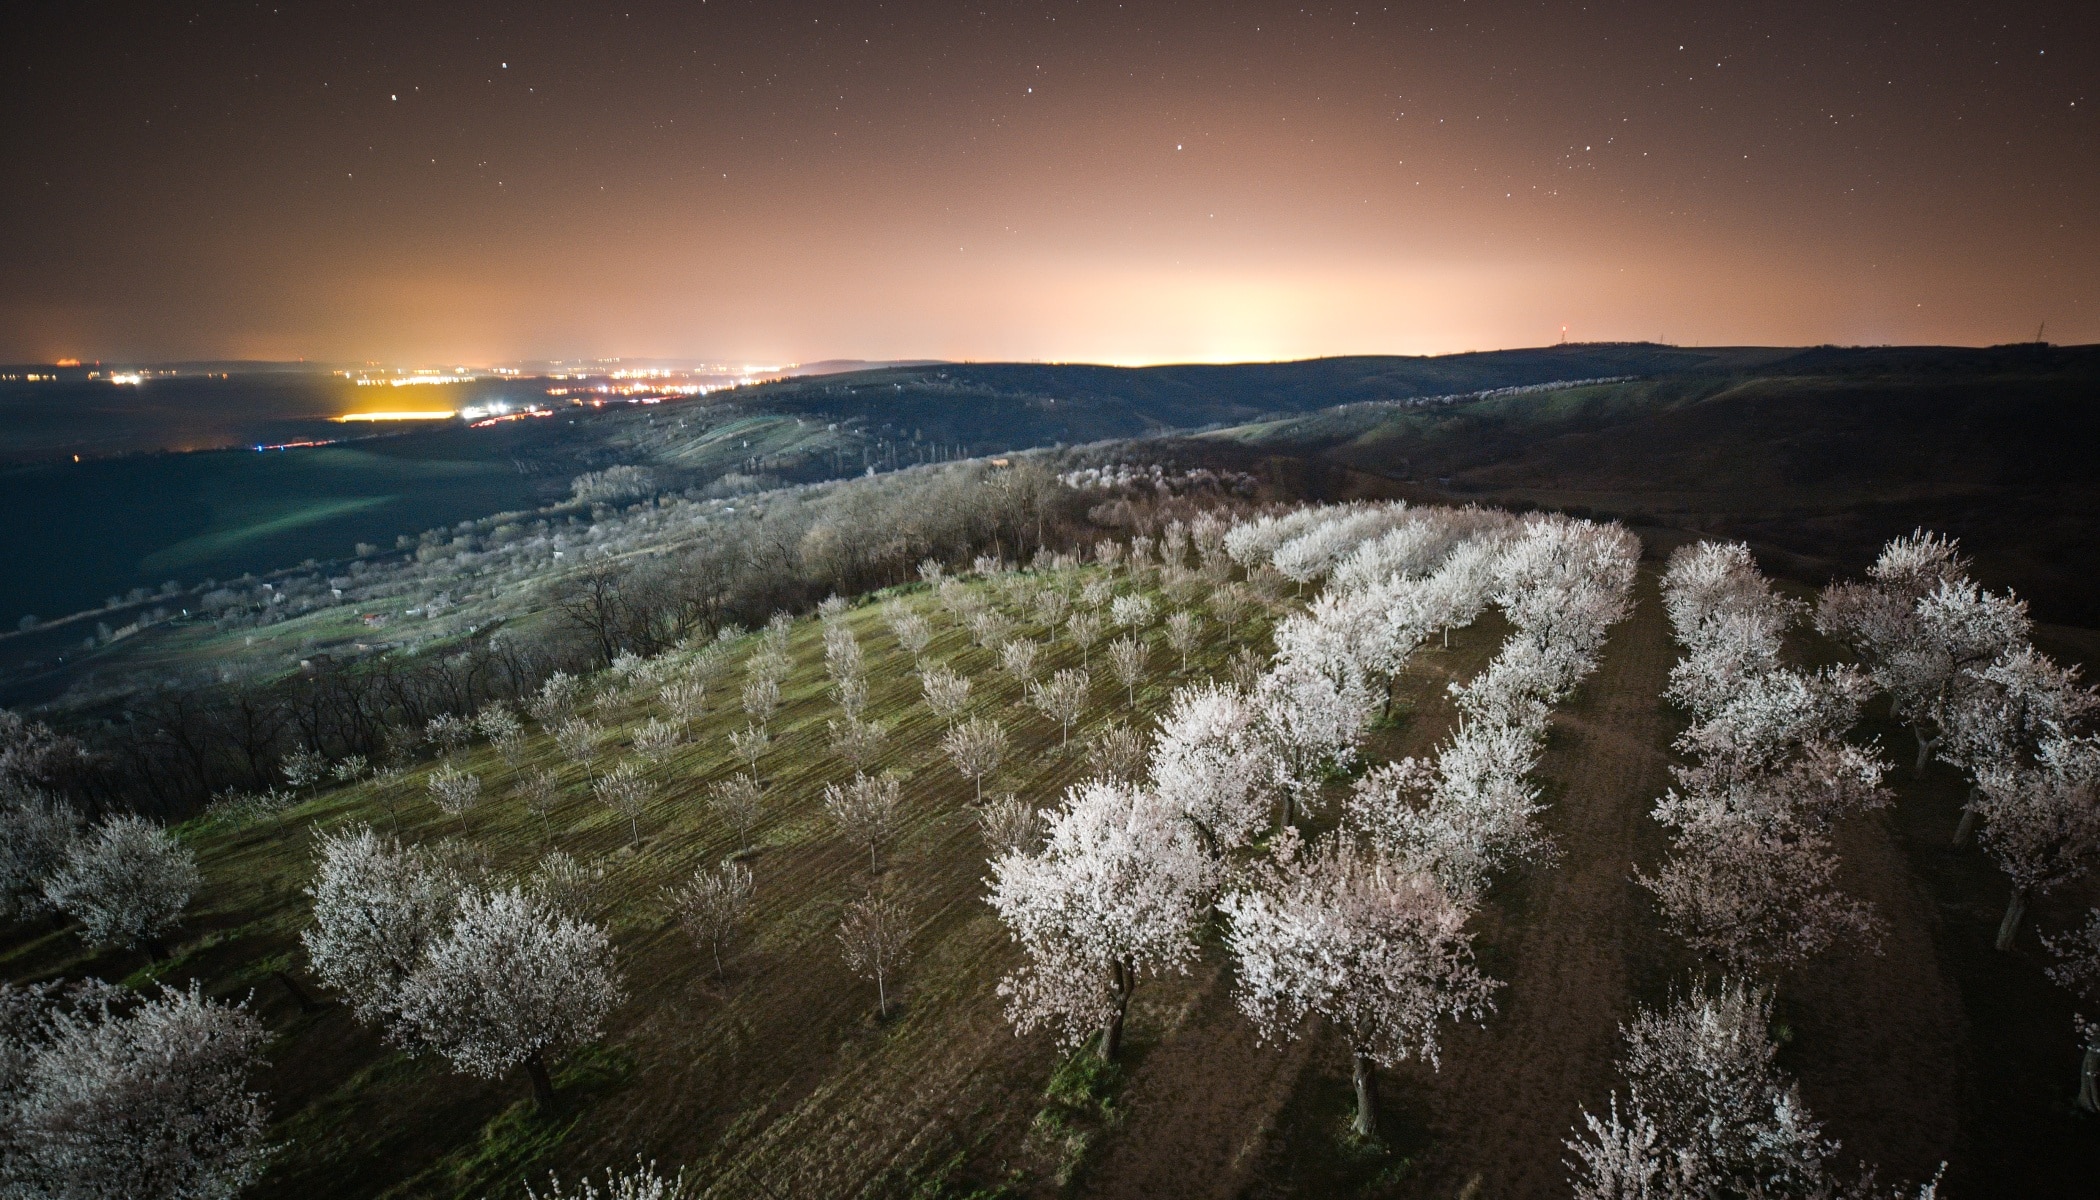
Digital noise is a common issue in photography. It can be seen as a creative effect to some extent. But most times, it is a photography defect that should be corrected. Noise appears especially in poor lighting conditions and when higher ISO values are set. Even in these cases, noise can be removed in post-production. Let’s dive in and see how it’s done.
You might sometimes have unfavorable conditions for photography, including insufficient lighting. With these conditions, you will have to adjust your camera settings. The primary solution is lowering aperture and shutter speed. Sometimes this isn’t enough and you‘ll need to adjust ISO or reduce noise in Zoner Studio.
Higher ISO: More light means more noise
If you’re shooting in a location with poor lighting and are unable to lower your aperture or shutter speed, then increase the ISO values – the sensor’s sensitivity to light. This allows you to take a good photo in terms of exposure, but you’ll pay for it with increased noise in the image.
The increased ISO values accentuate the noise. This doesn’t mean that the issue can be solved by leaving ISO at 100, and later brightening an underexposed photo while editing. On the contrary, the darker areas lack image data, resulting in more image artifacts than just noise. Therefore, it is better to raise ISO to a certain extent and have a properly exposed photo.
The range of usable ISO values varies depending on camera quality. With basic point-and-shoots or phones, it is usually around 800, while DSLRs and mirrorless cameras can get good results at around ISO 1600-3200. With high-end, professional cameras you’ll get to ISO values around 10,000 and still have an acceptable level of noise.
Remove noise in the Develop module
Zoner Studio will help reduce noise. Your best bet is the Develop module which is used for non-destructive editing.
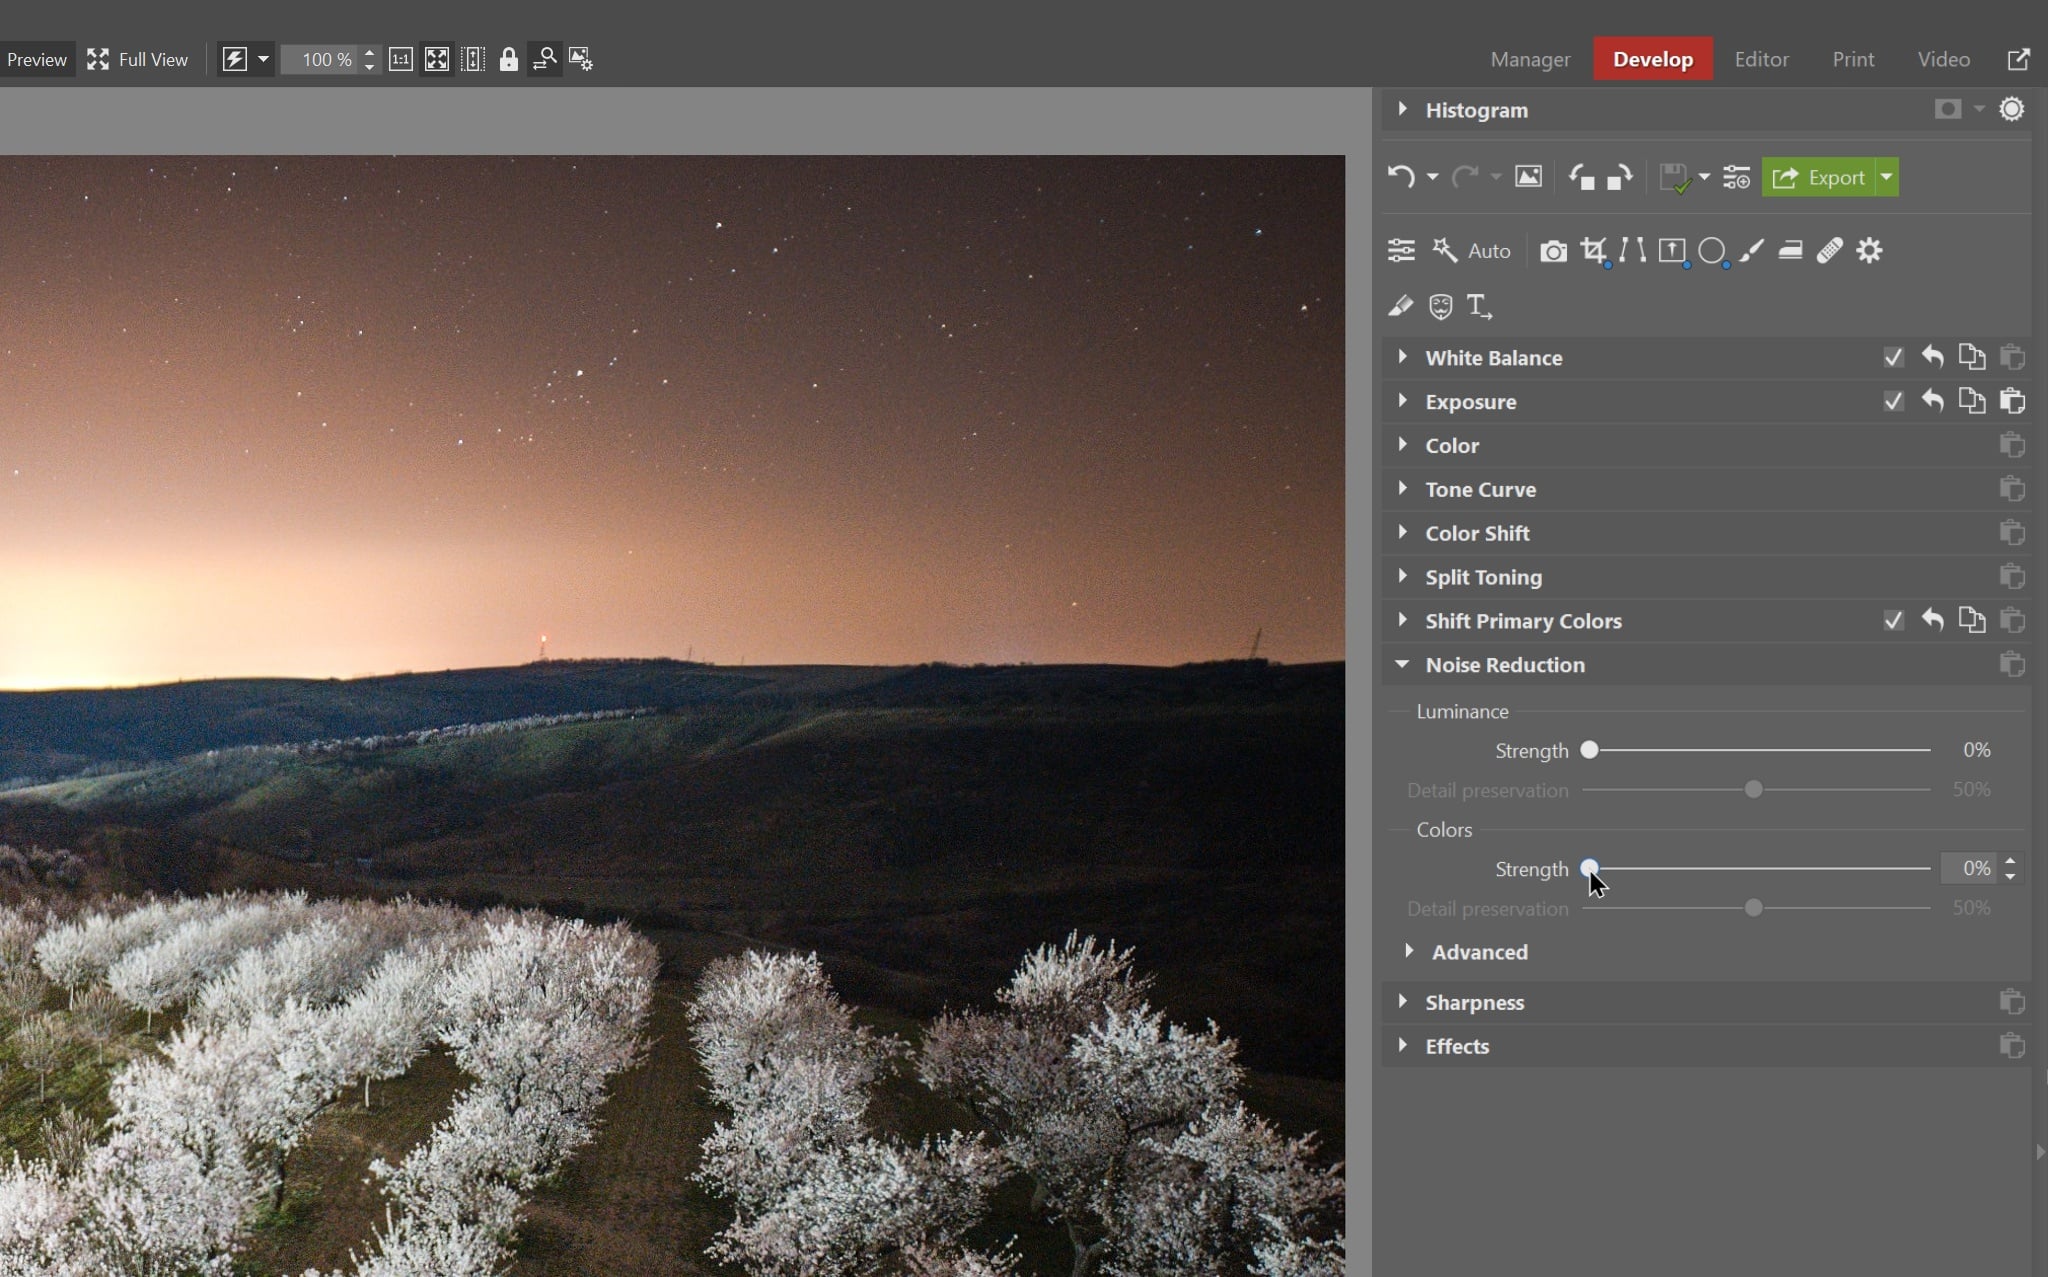
When editing your photos in the Develop module, you’ll find the function for removing noise in the right panel with the adjustment tools. Scroll down to the Noise Reduction menu.
Before starting, zoom in your photograph to 100% view. Click the photo or use the 1:1 icon in the toolbar above the picture.
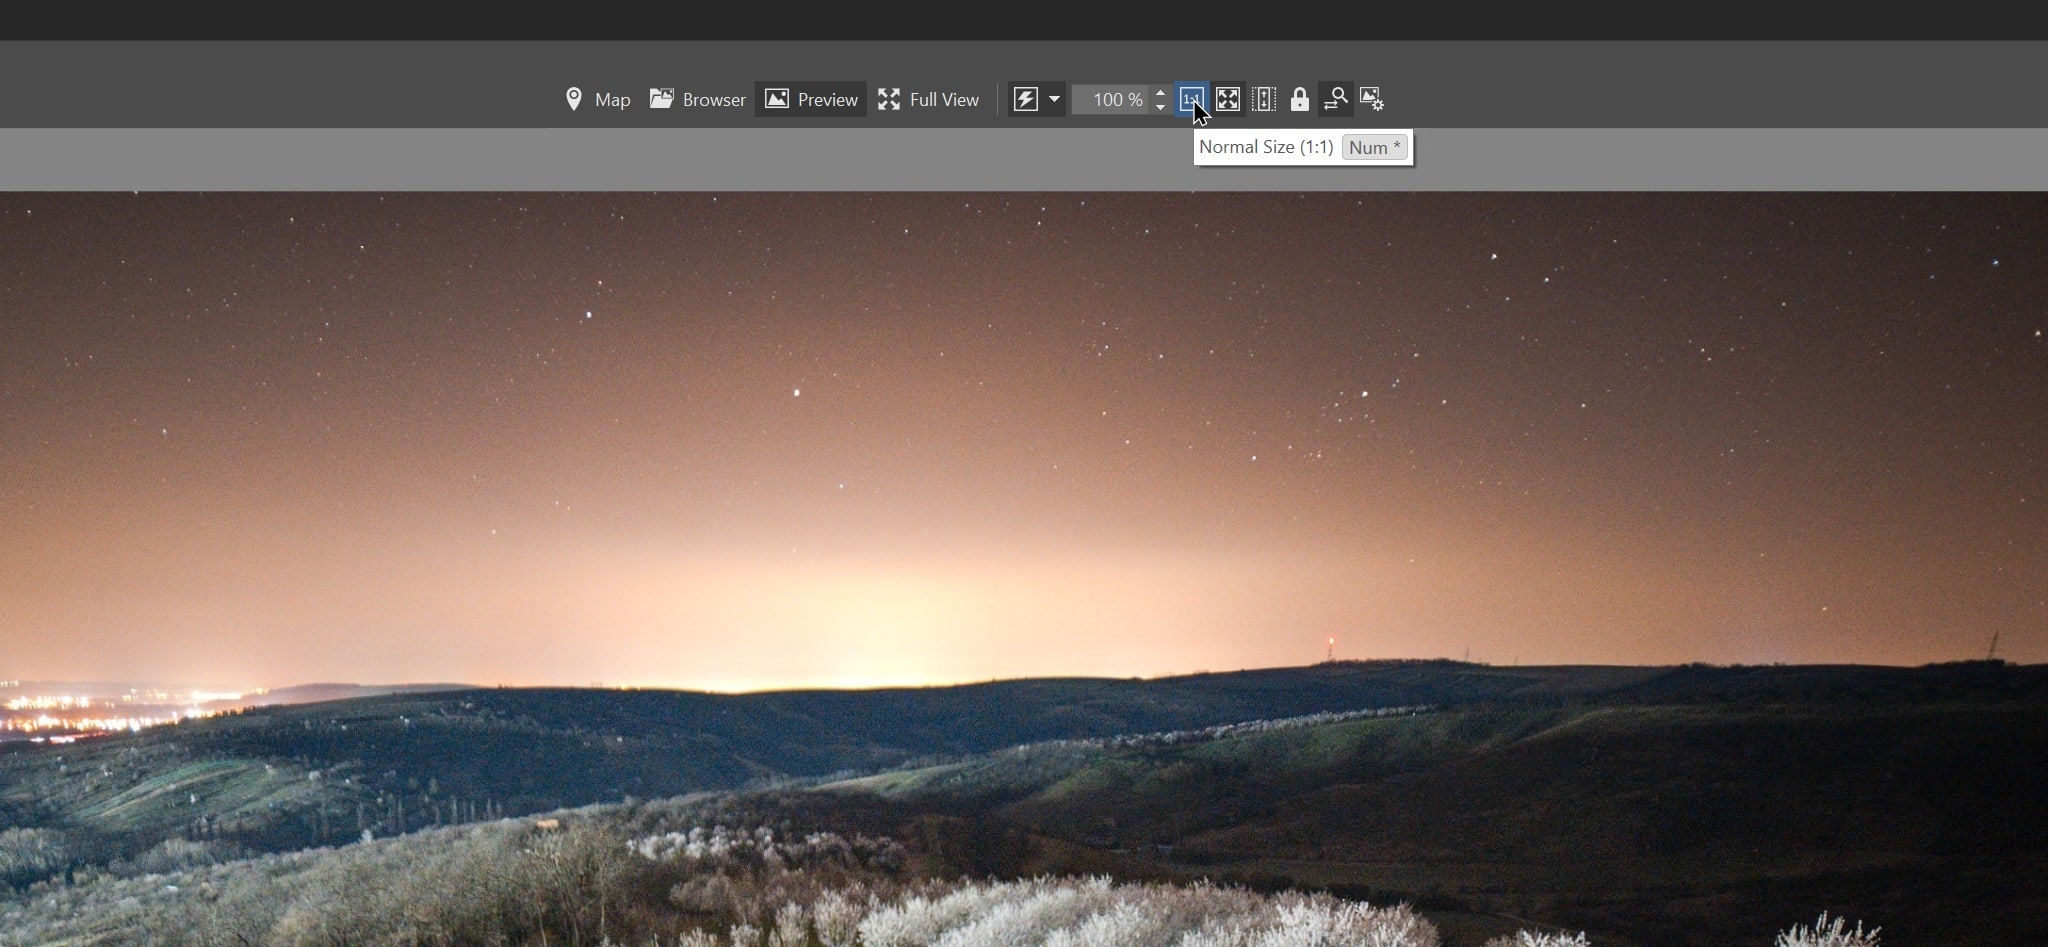
If you are only looking at the photo’s preview, it may appear that there is virtually no noise. If not viewing at 100%, you can also misjudge the proper effect strength and needlessly lower the sharpness of the image when reducing noise.
To remove noise in the Develop module you have four sliders in two settings groups available to you:
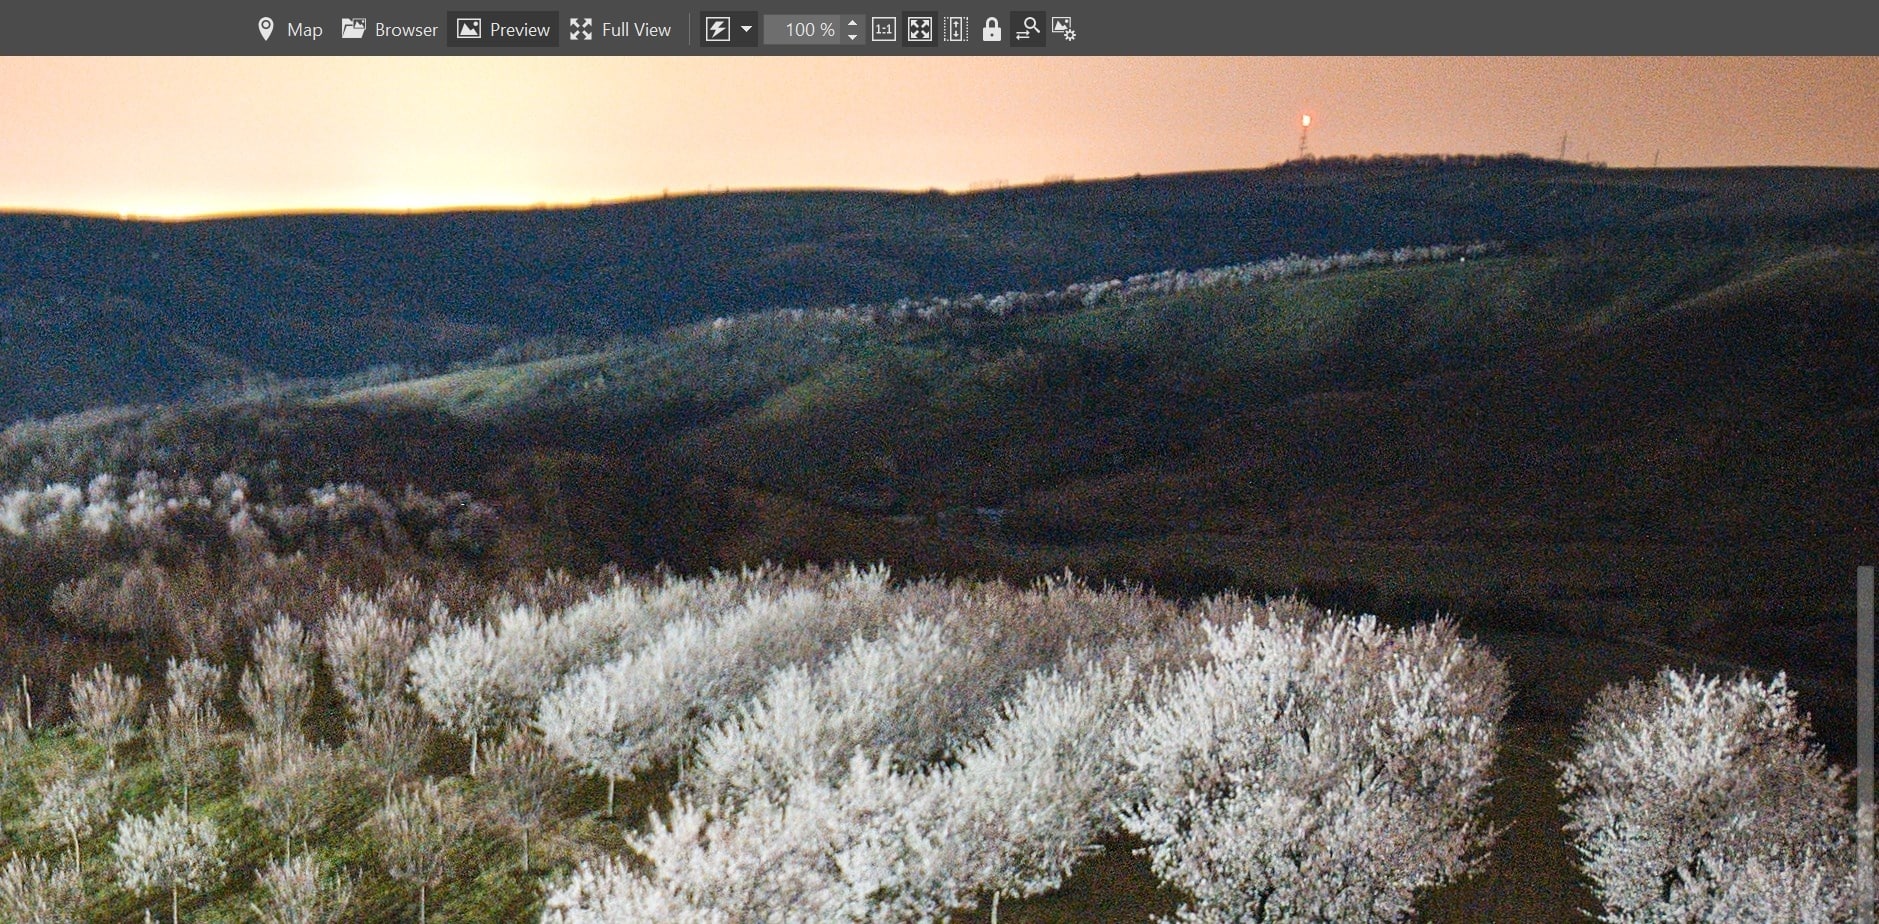
- Luminance eliminates black-and-white noise that appears as white grain in the above photo
- Colors reduces color noise
In each section, use one slider to set the strength and the other (Detail preservation) to give the photo back its sharpness if the edges are too soft. In our example photo, the ideal value for removing noise is around 50. This removes the most noticeable noise while the sharpness remains intact.
If you open a photograph in RAW format in the Develop module, the basic Noise Reduction in the Colors section is automatically set to 50%.
If you are working with photos taken under the same lighting conditions, it is usually best to set the same level of noise reduction for each one. Just select the images and set the desired level of noise reduction.

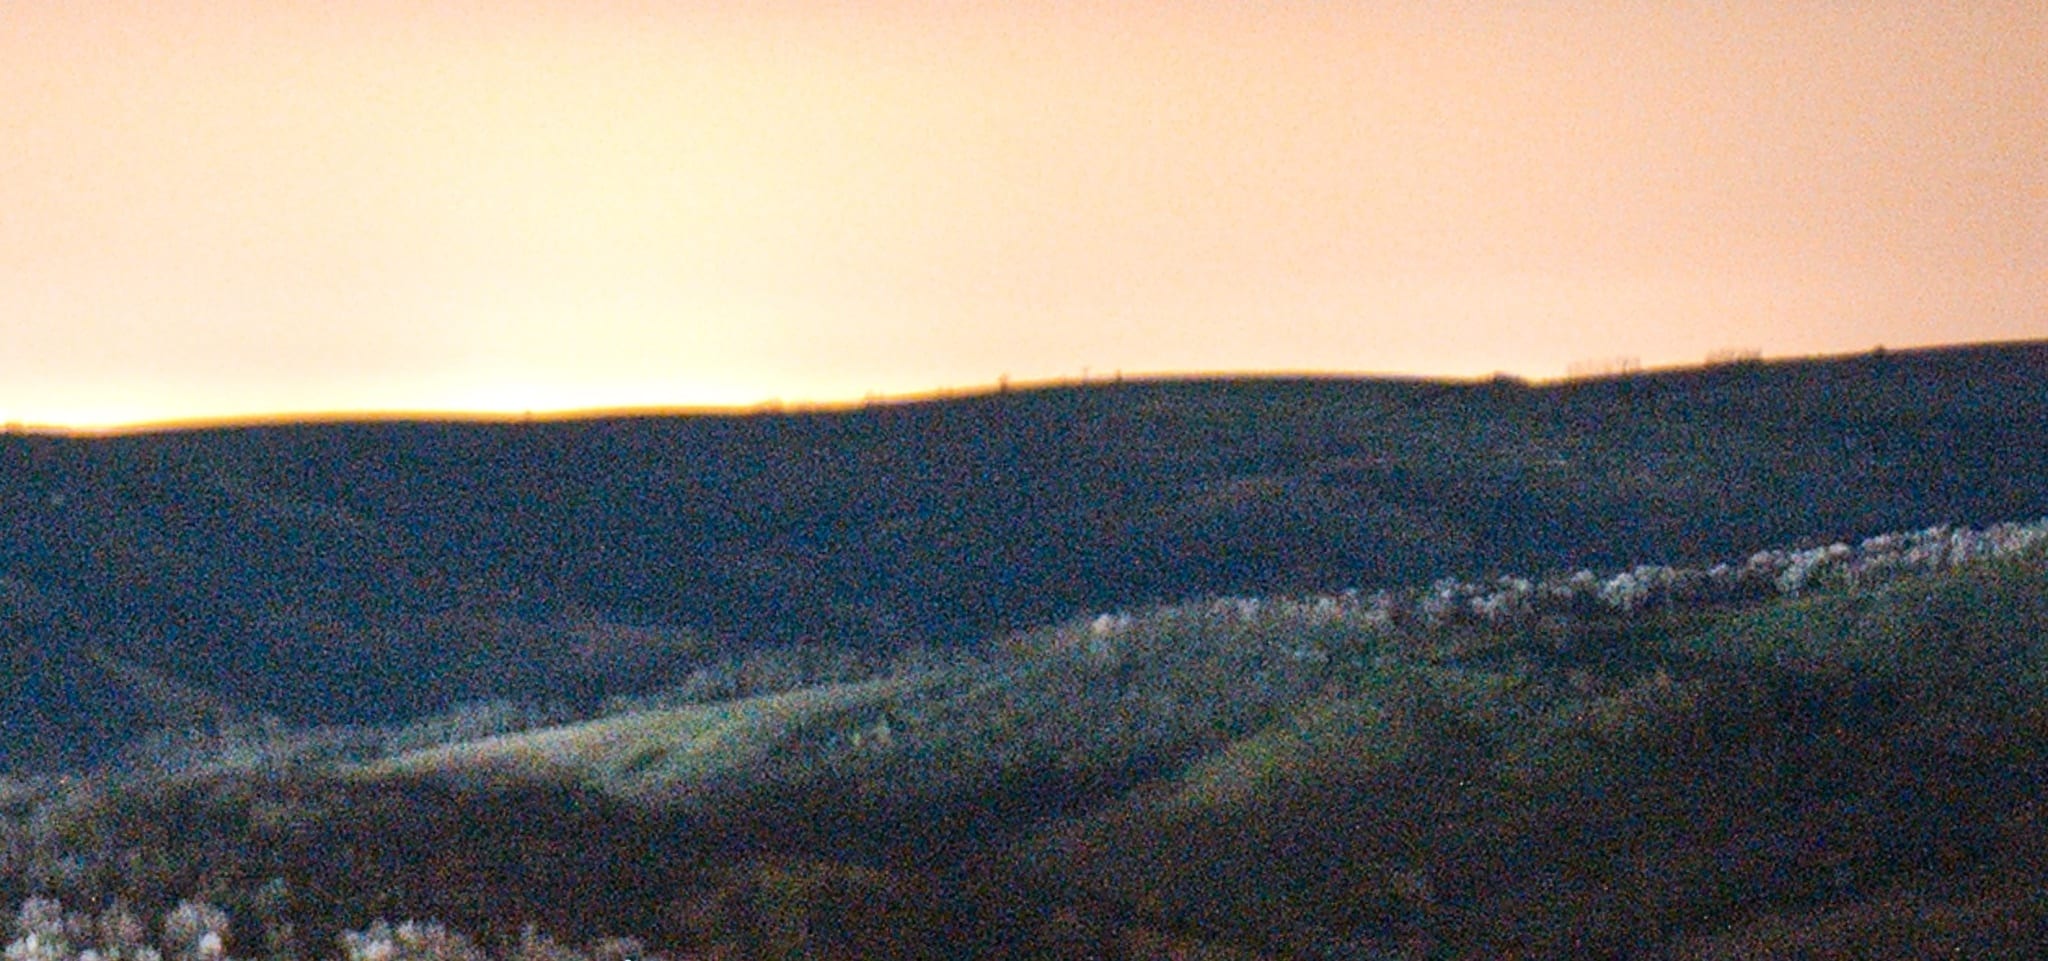
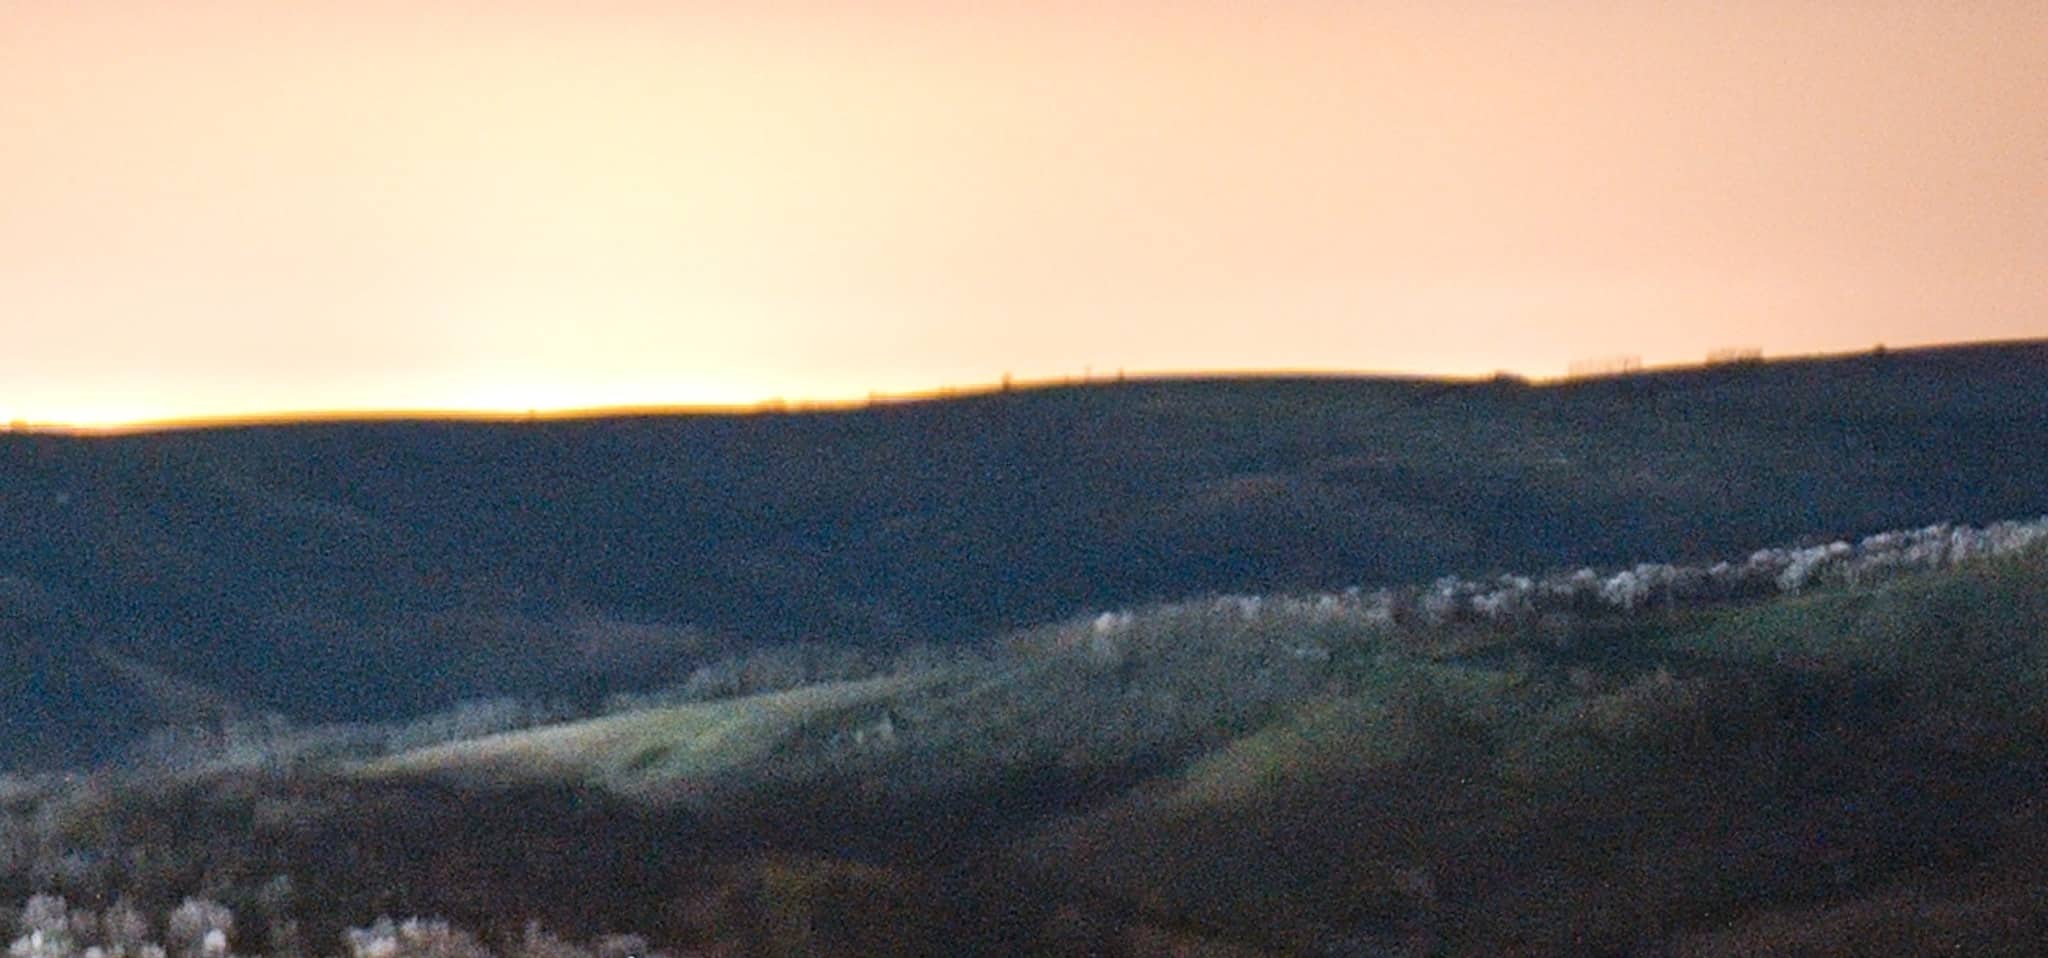
Difference before and after noise removal.
TIP: If the photo contains a significant amount of color noise, it is sometimes a good idea to convert it to black-and-white. After removing noise, the colors would probably be unrealistic anyway.
How to properly remove noise? With care
Since every photo is different, it is impossible to suggest exact values for reducing noise. Keep in mind that the end goal is a photograph with minimal noise and maximum detail. Finding the right balance or compromise of noise and detail is up to you.
Further reading: Sharpen and Reduce Noise: Balancing the Amount of Sharpness and Noise in Your Photos
There are no comments yet.