How to Use the Gradient Filter to Improve Your Photos
The Gradient Filter tool is generally used for darkening or lightening up the top portion of a photograph – the sky. It basically replaces the physical graduated filter which you put on your camera’s lens. In Zoner Photo Studio X you can customize settings, giving you plenty of creative options.
In addition to graduated filters, which you can read about in the article Graduated filters, you can also use a “virtual” filter. It’s a tool in Zoner Photo Studio in the Develop Module. You can also use the Gradient Filter for non-destructive edits and when editing RAW images.
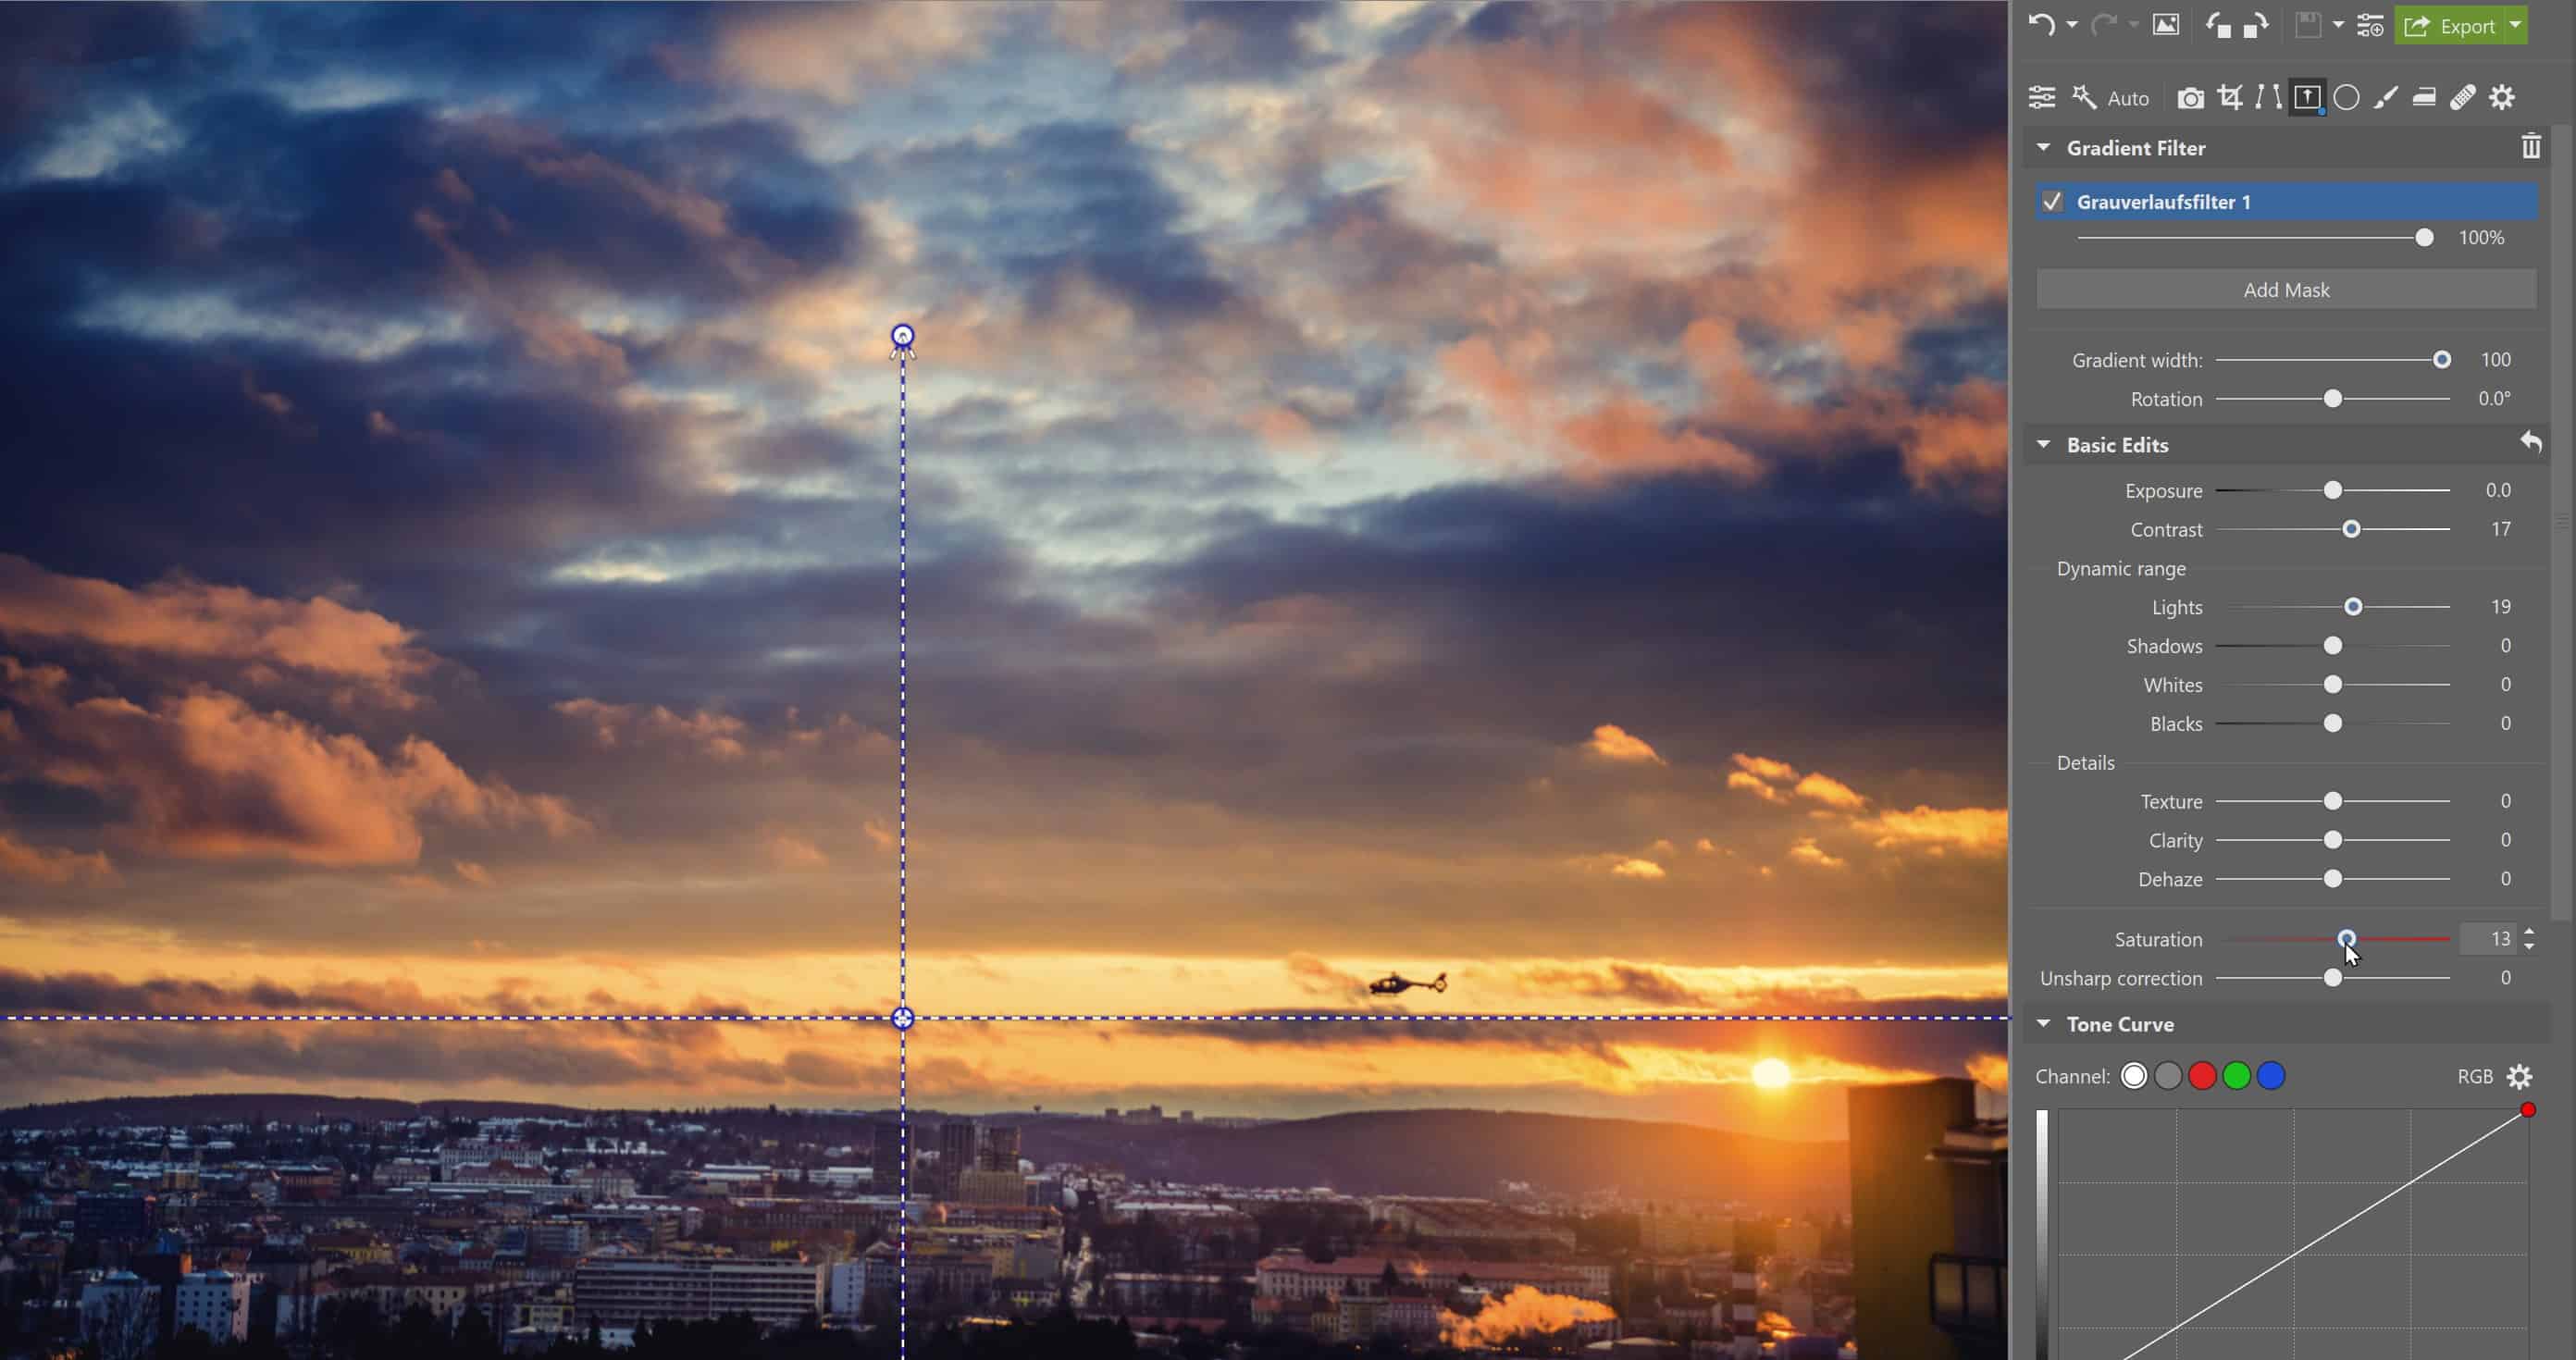
Changing settings
First, choose the Gradient Filter (G) tool. If you want to edit the sky in the upper portion of your photo, you do so by clicking and dragging upward. According to how large you make the filter, the gradient will either be more or less gradual. You can fine-tune this transition using the Wide gradient setting.

TIP: Occasionally you may want to use the Invert mask function, which will flip the whole filter. You’ll find this option in the righthand panel with the options for individual masks.
The Gradient Filter has many settings which you can adjust. This means that you can not only lighten or darken a part of the photo, but you can also add contrast, sharpen, adjust light or dark tones, or work with local color correction and curves. You also have the option to set tints for a specific color.
Local color correction
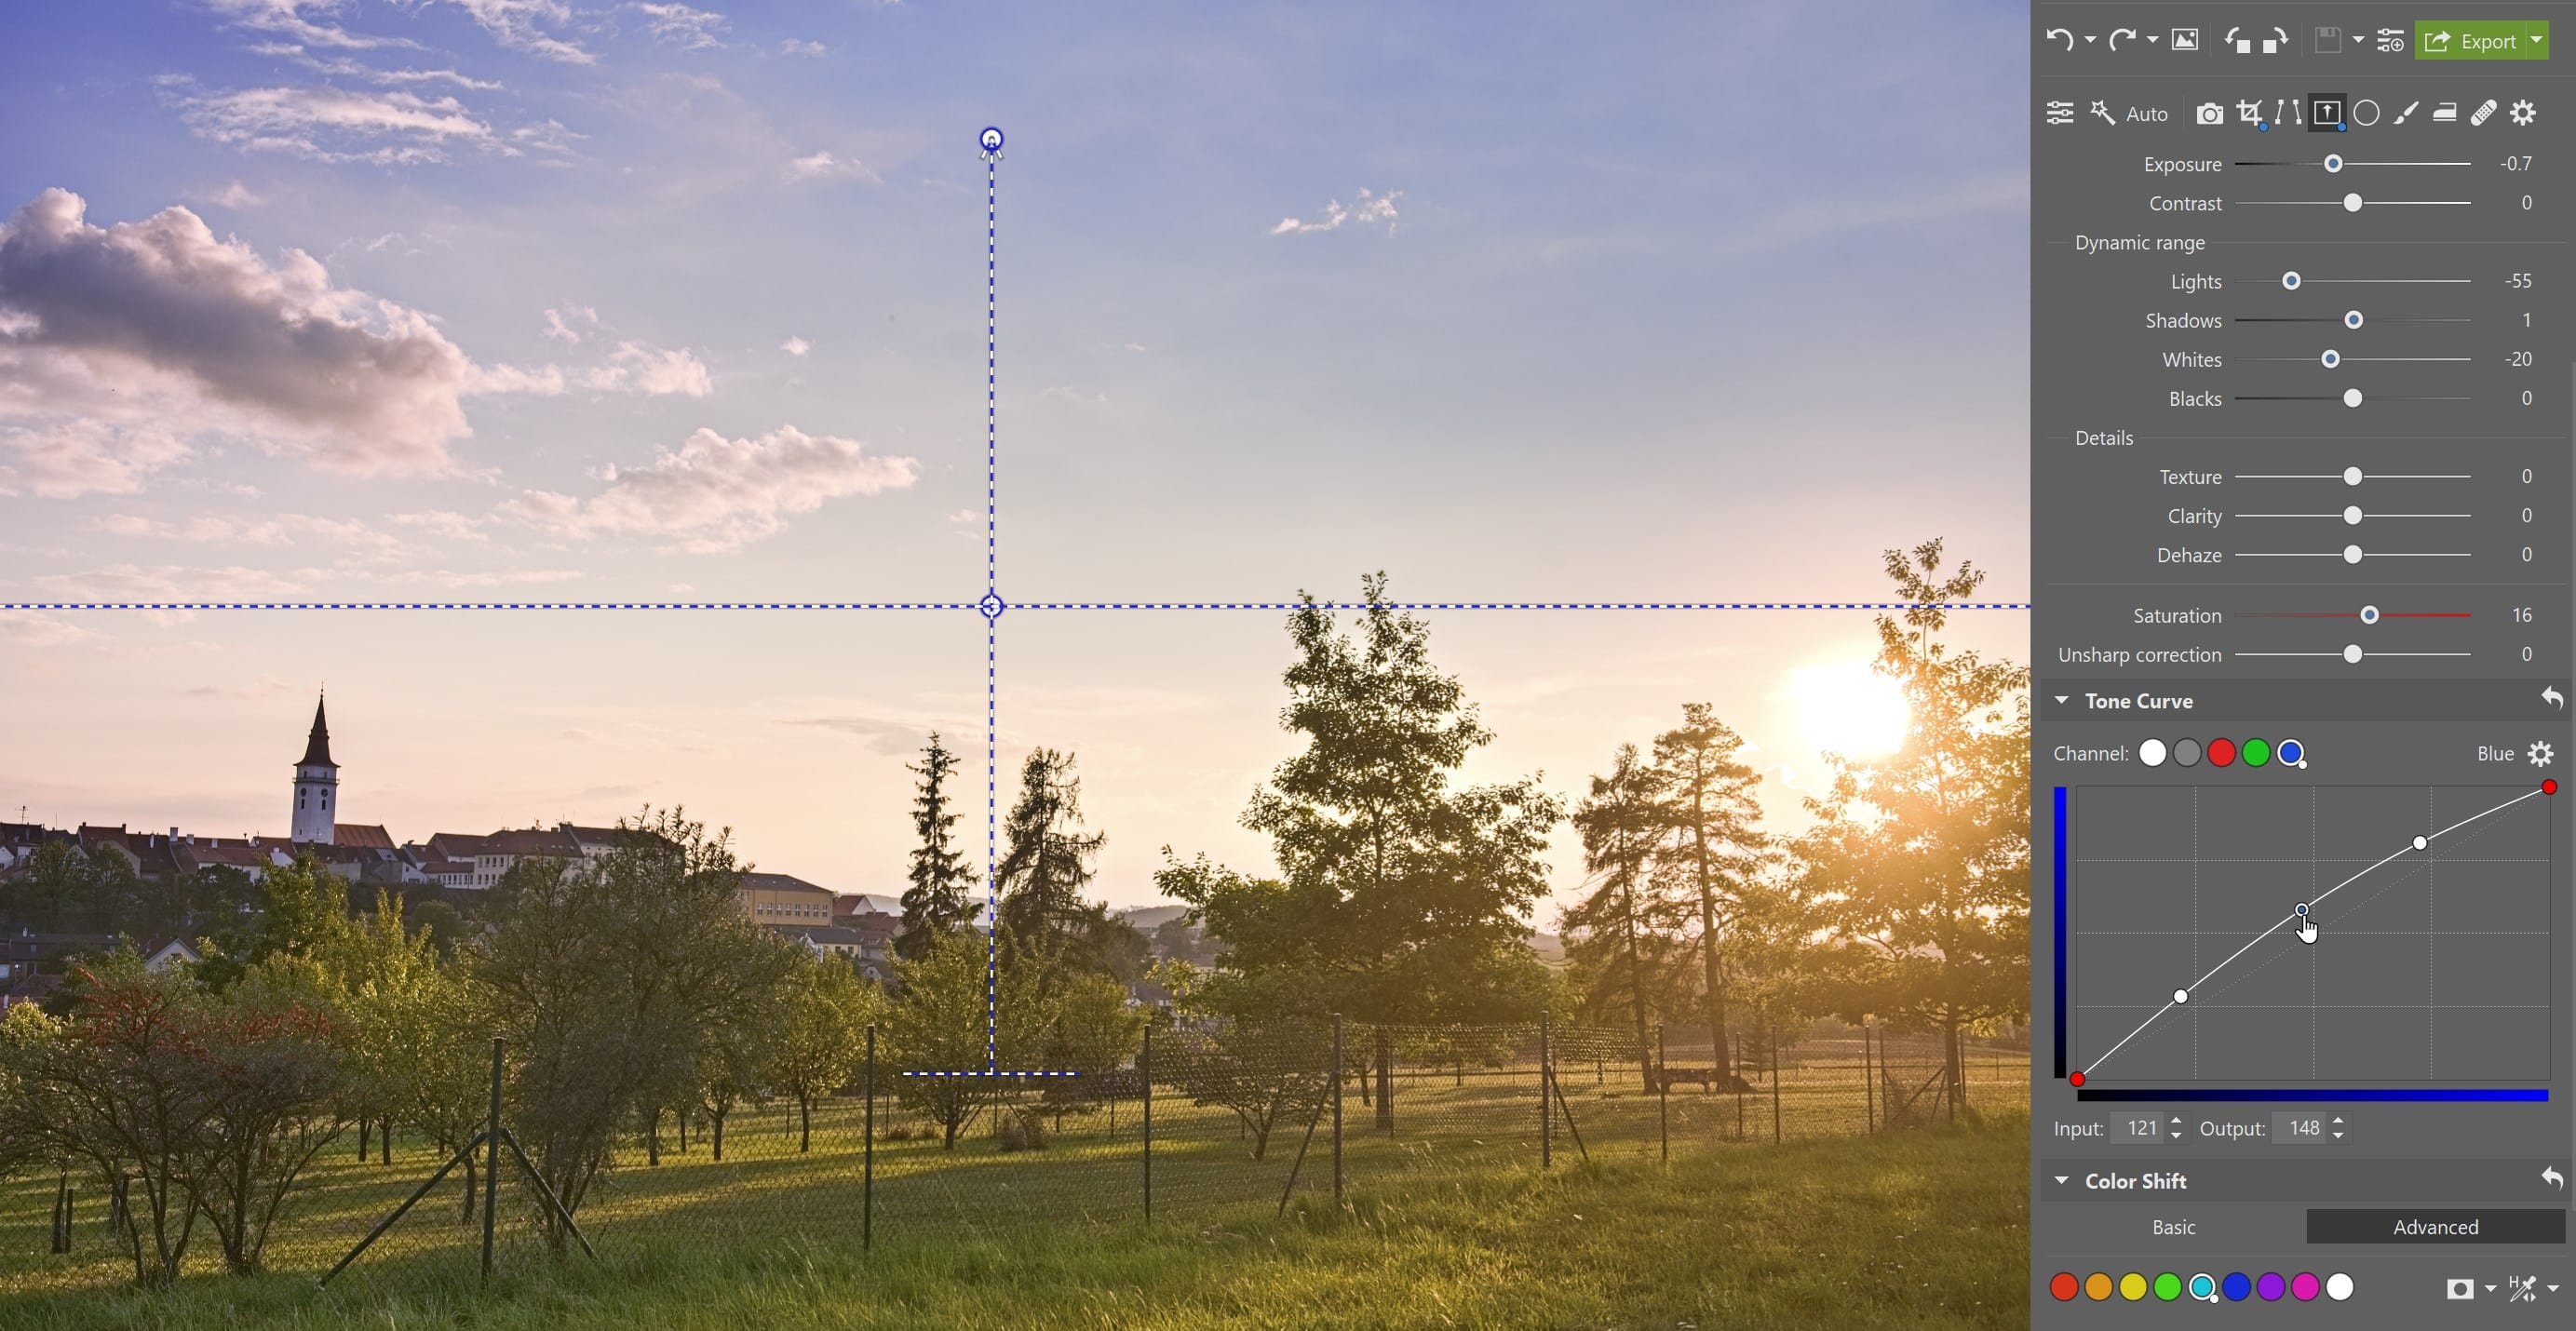
With the Gradient Filter, you can locally work with colors too. Use local Color correction and Tonal curves to adjust contrast in addition to color. This correction will serve you well when editing landscape photos and changing the colors of the sky.
With the RGB or Luma curves, you fine-tune local contrast and curves for individual color channels, making basic changes to color. If you’re interested in tinting using Curves, we’ve written an article all about how to tint your colors using curves.
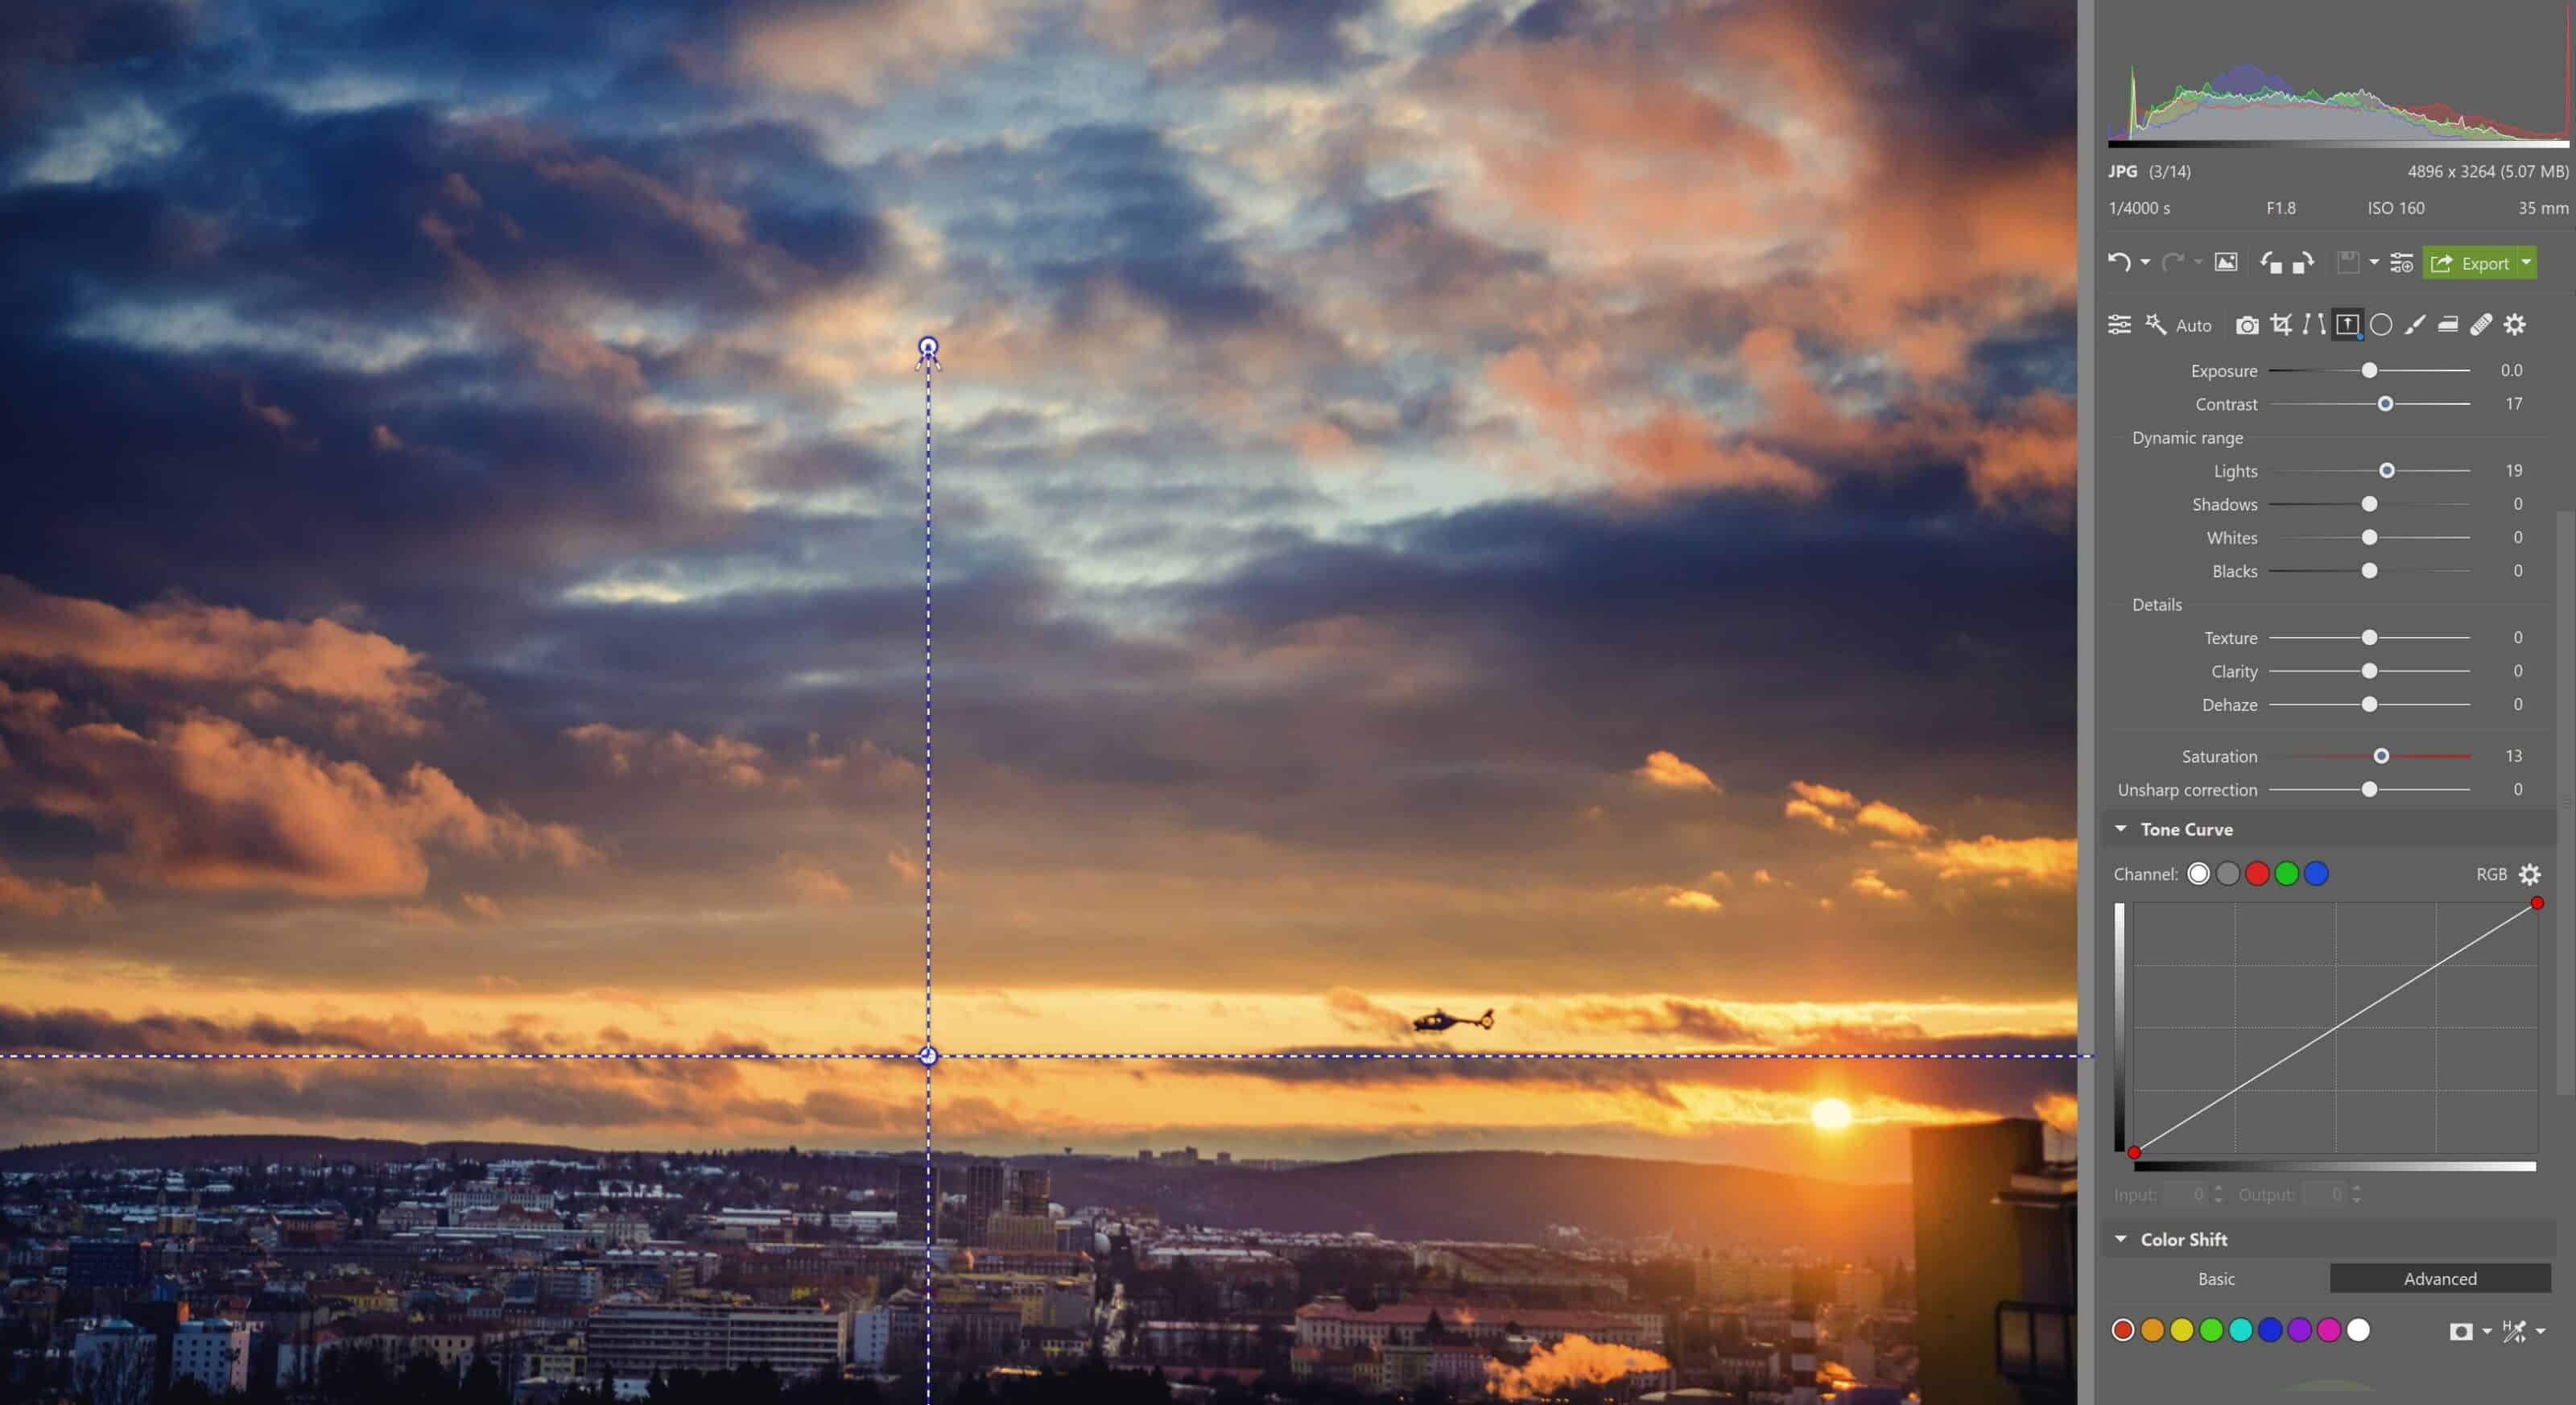
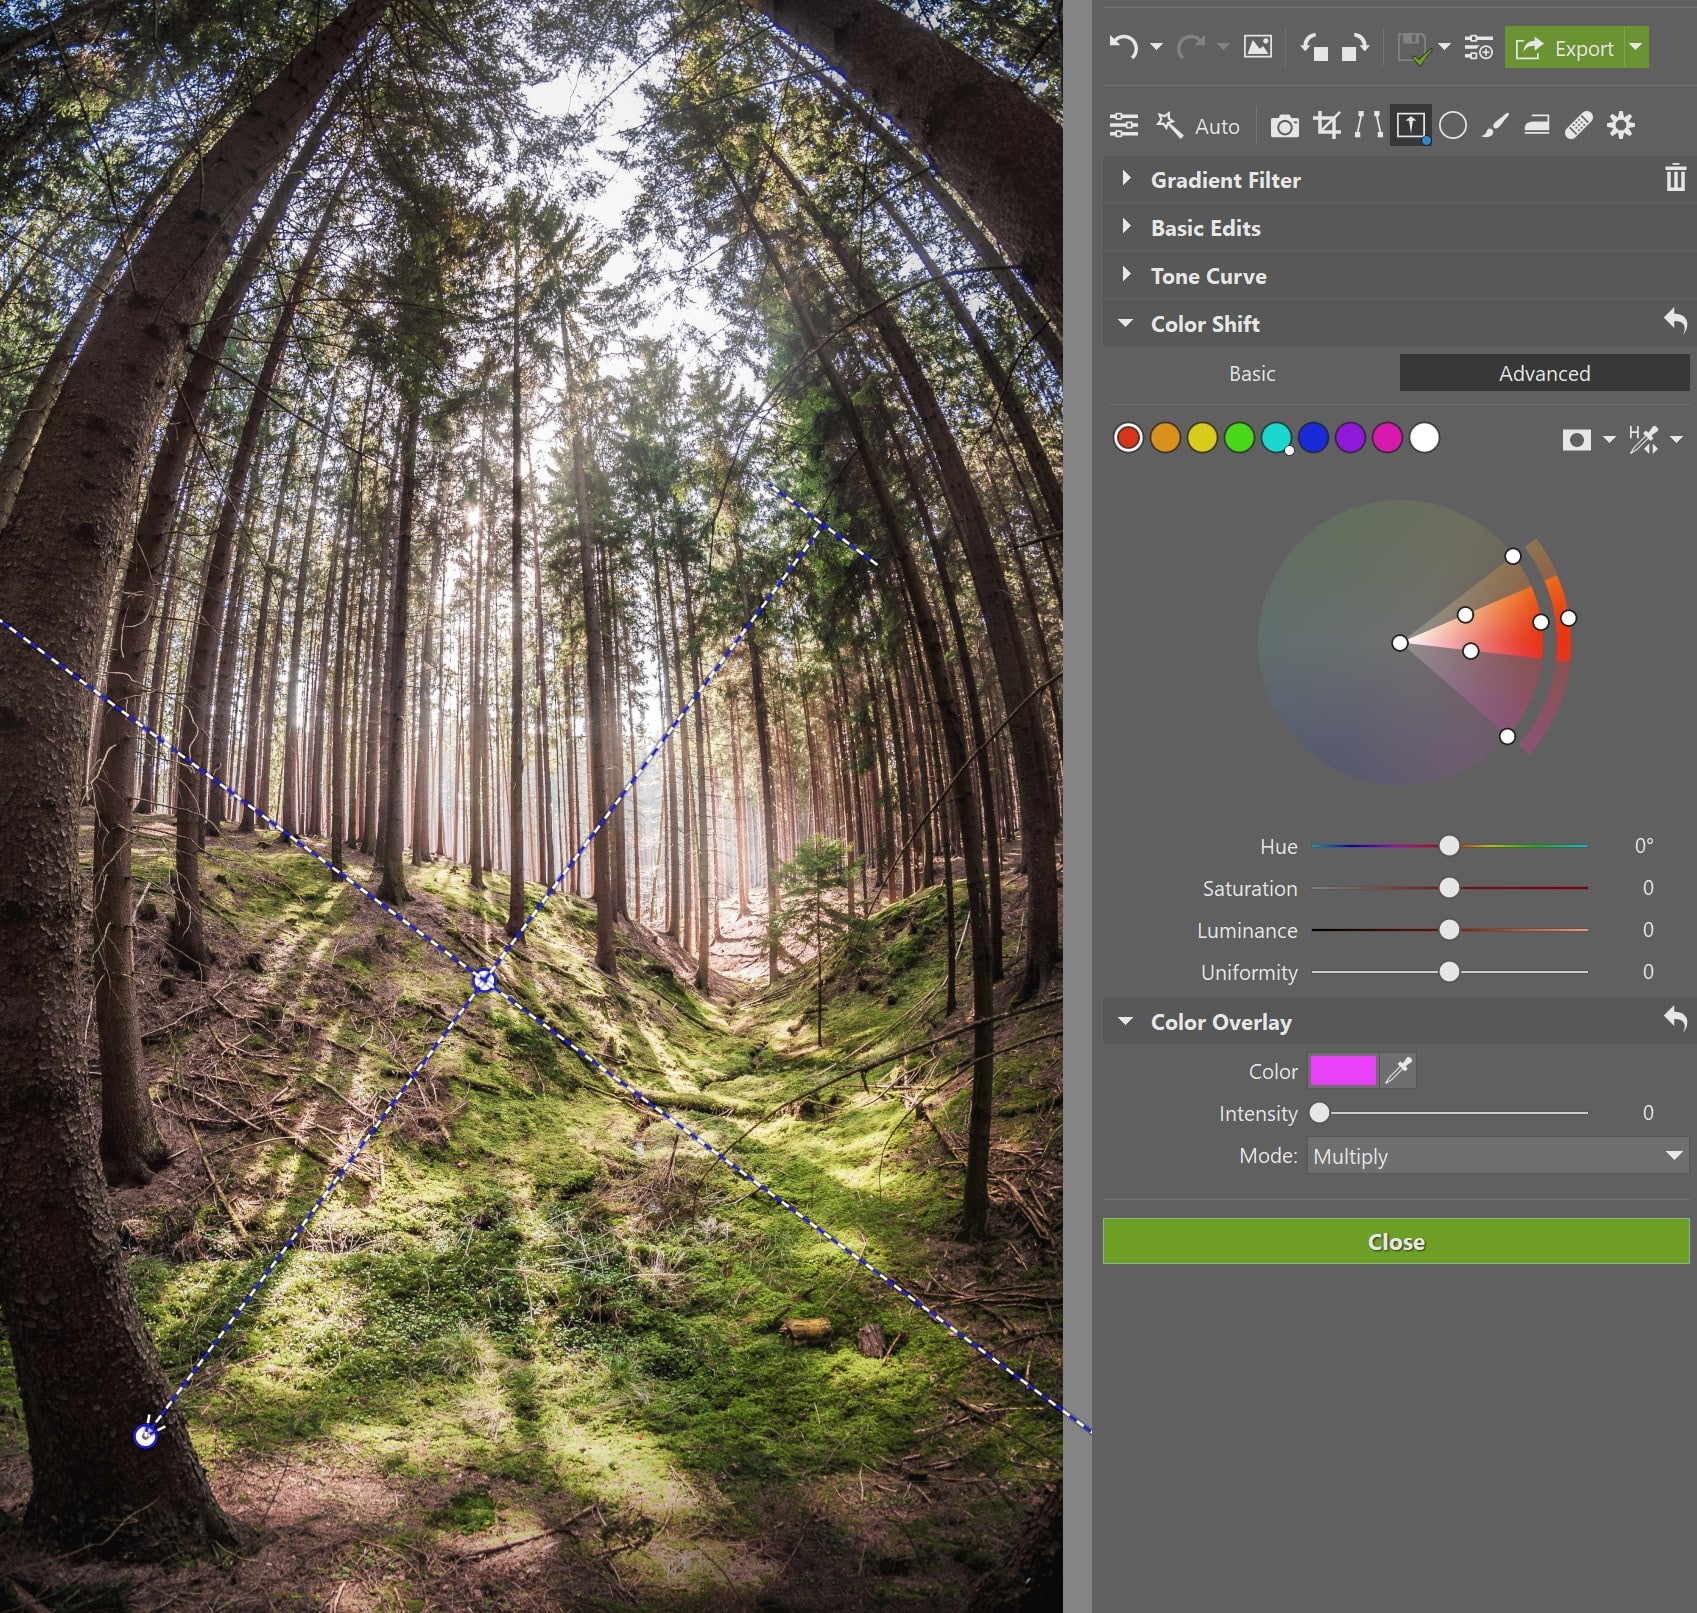
If you want to edit your colors even more, use Color Shift. With Color Shift, you can change the shade, saturation, and lightness of any color selected in the photo. In this specific photo, the color of the sky didn’t seem right to me, so with the help of the eyedropper, I selected it and adjusted it to darker, blue-violet hues.

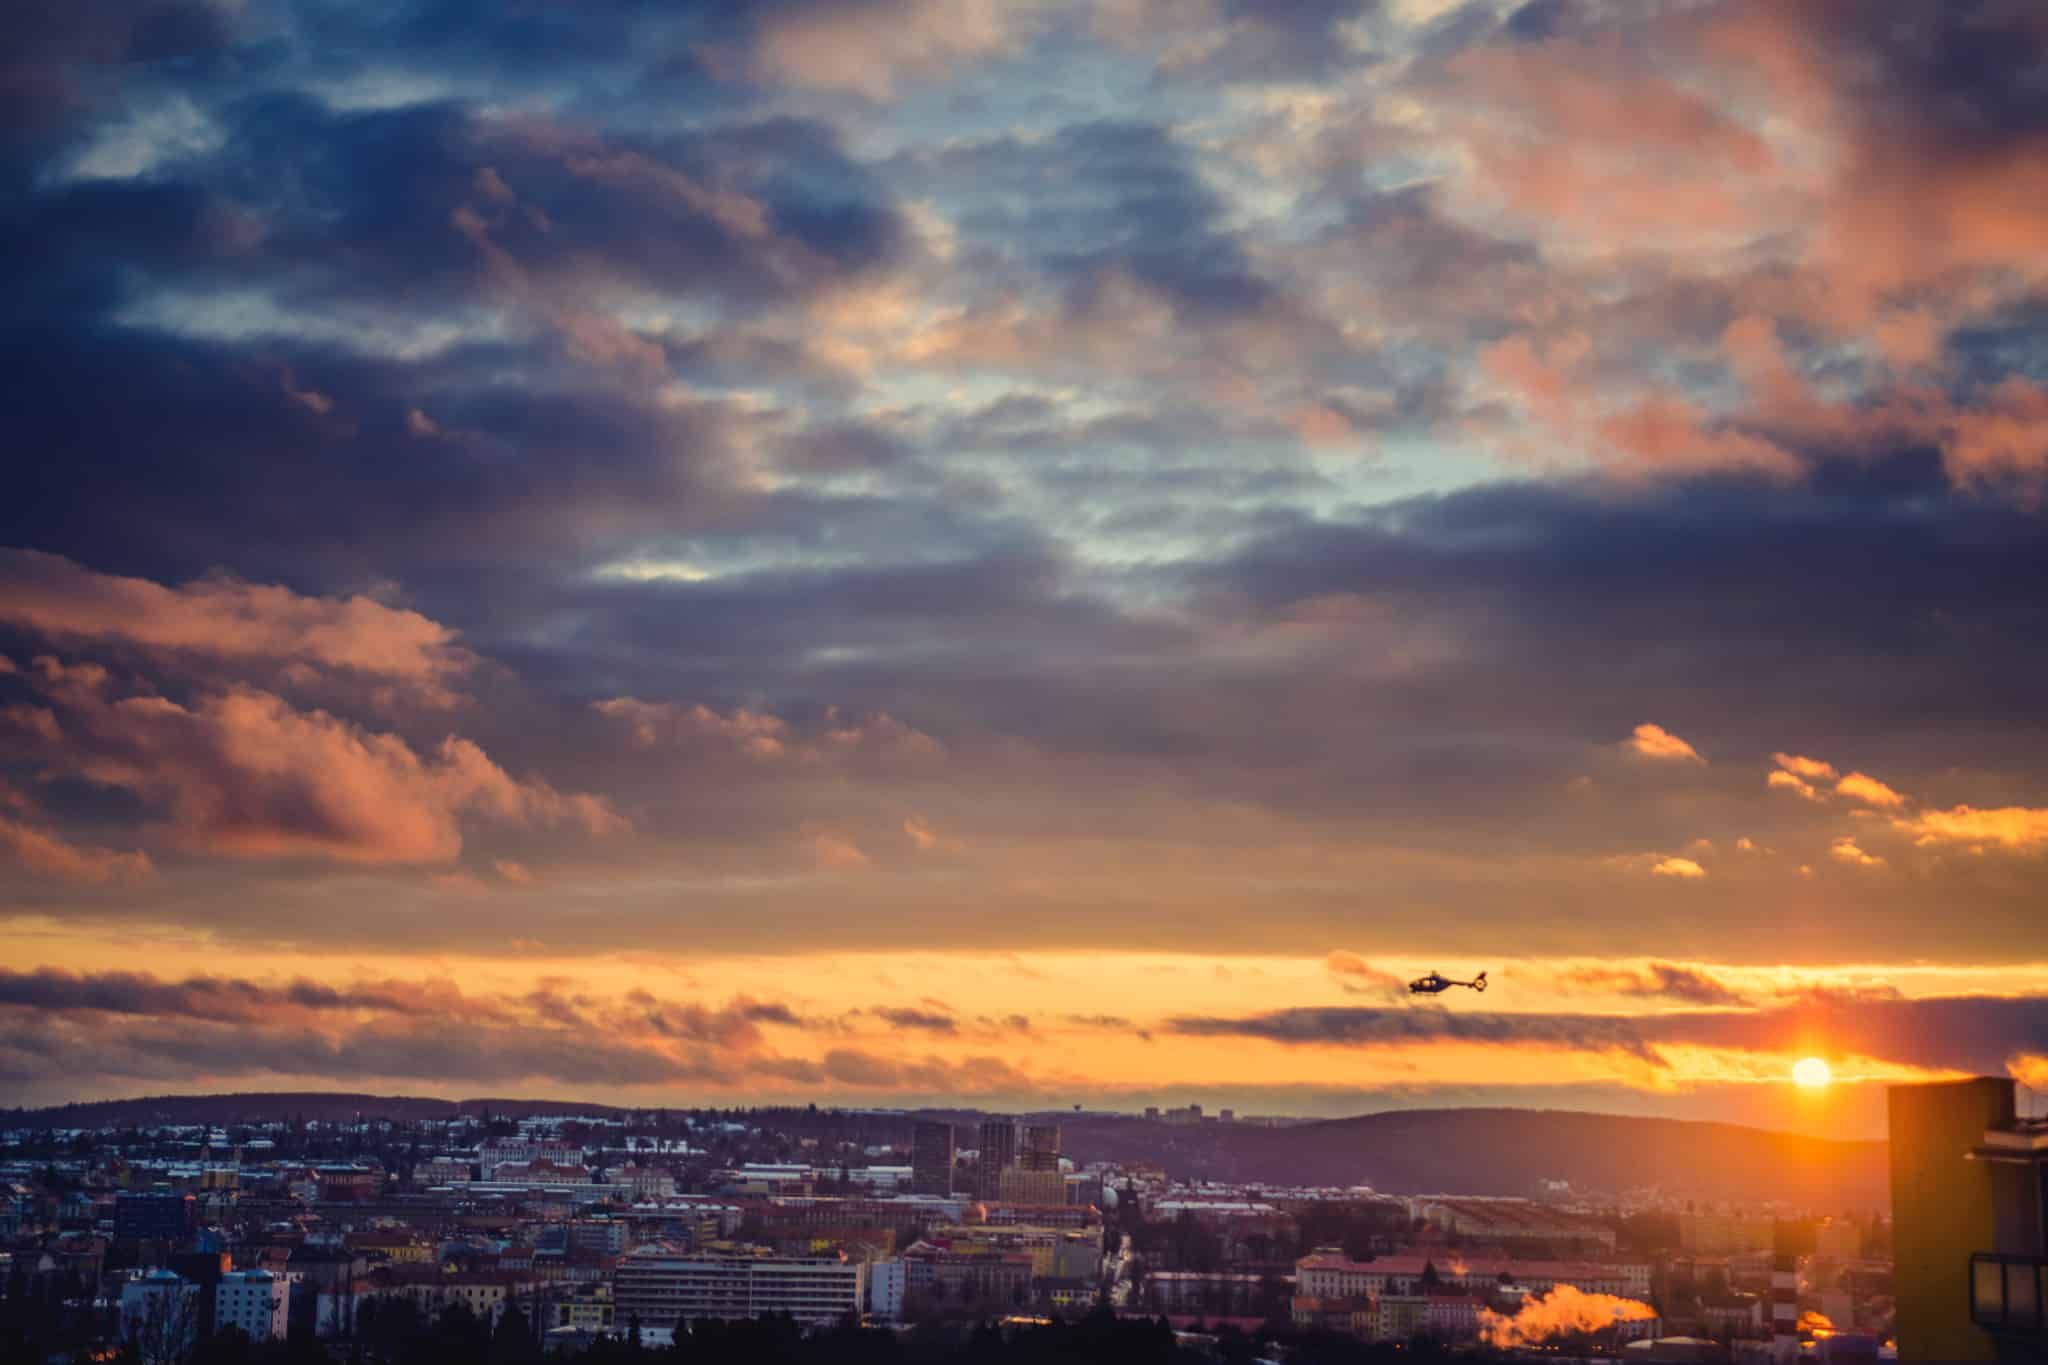
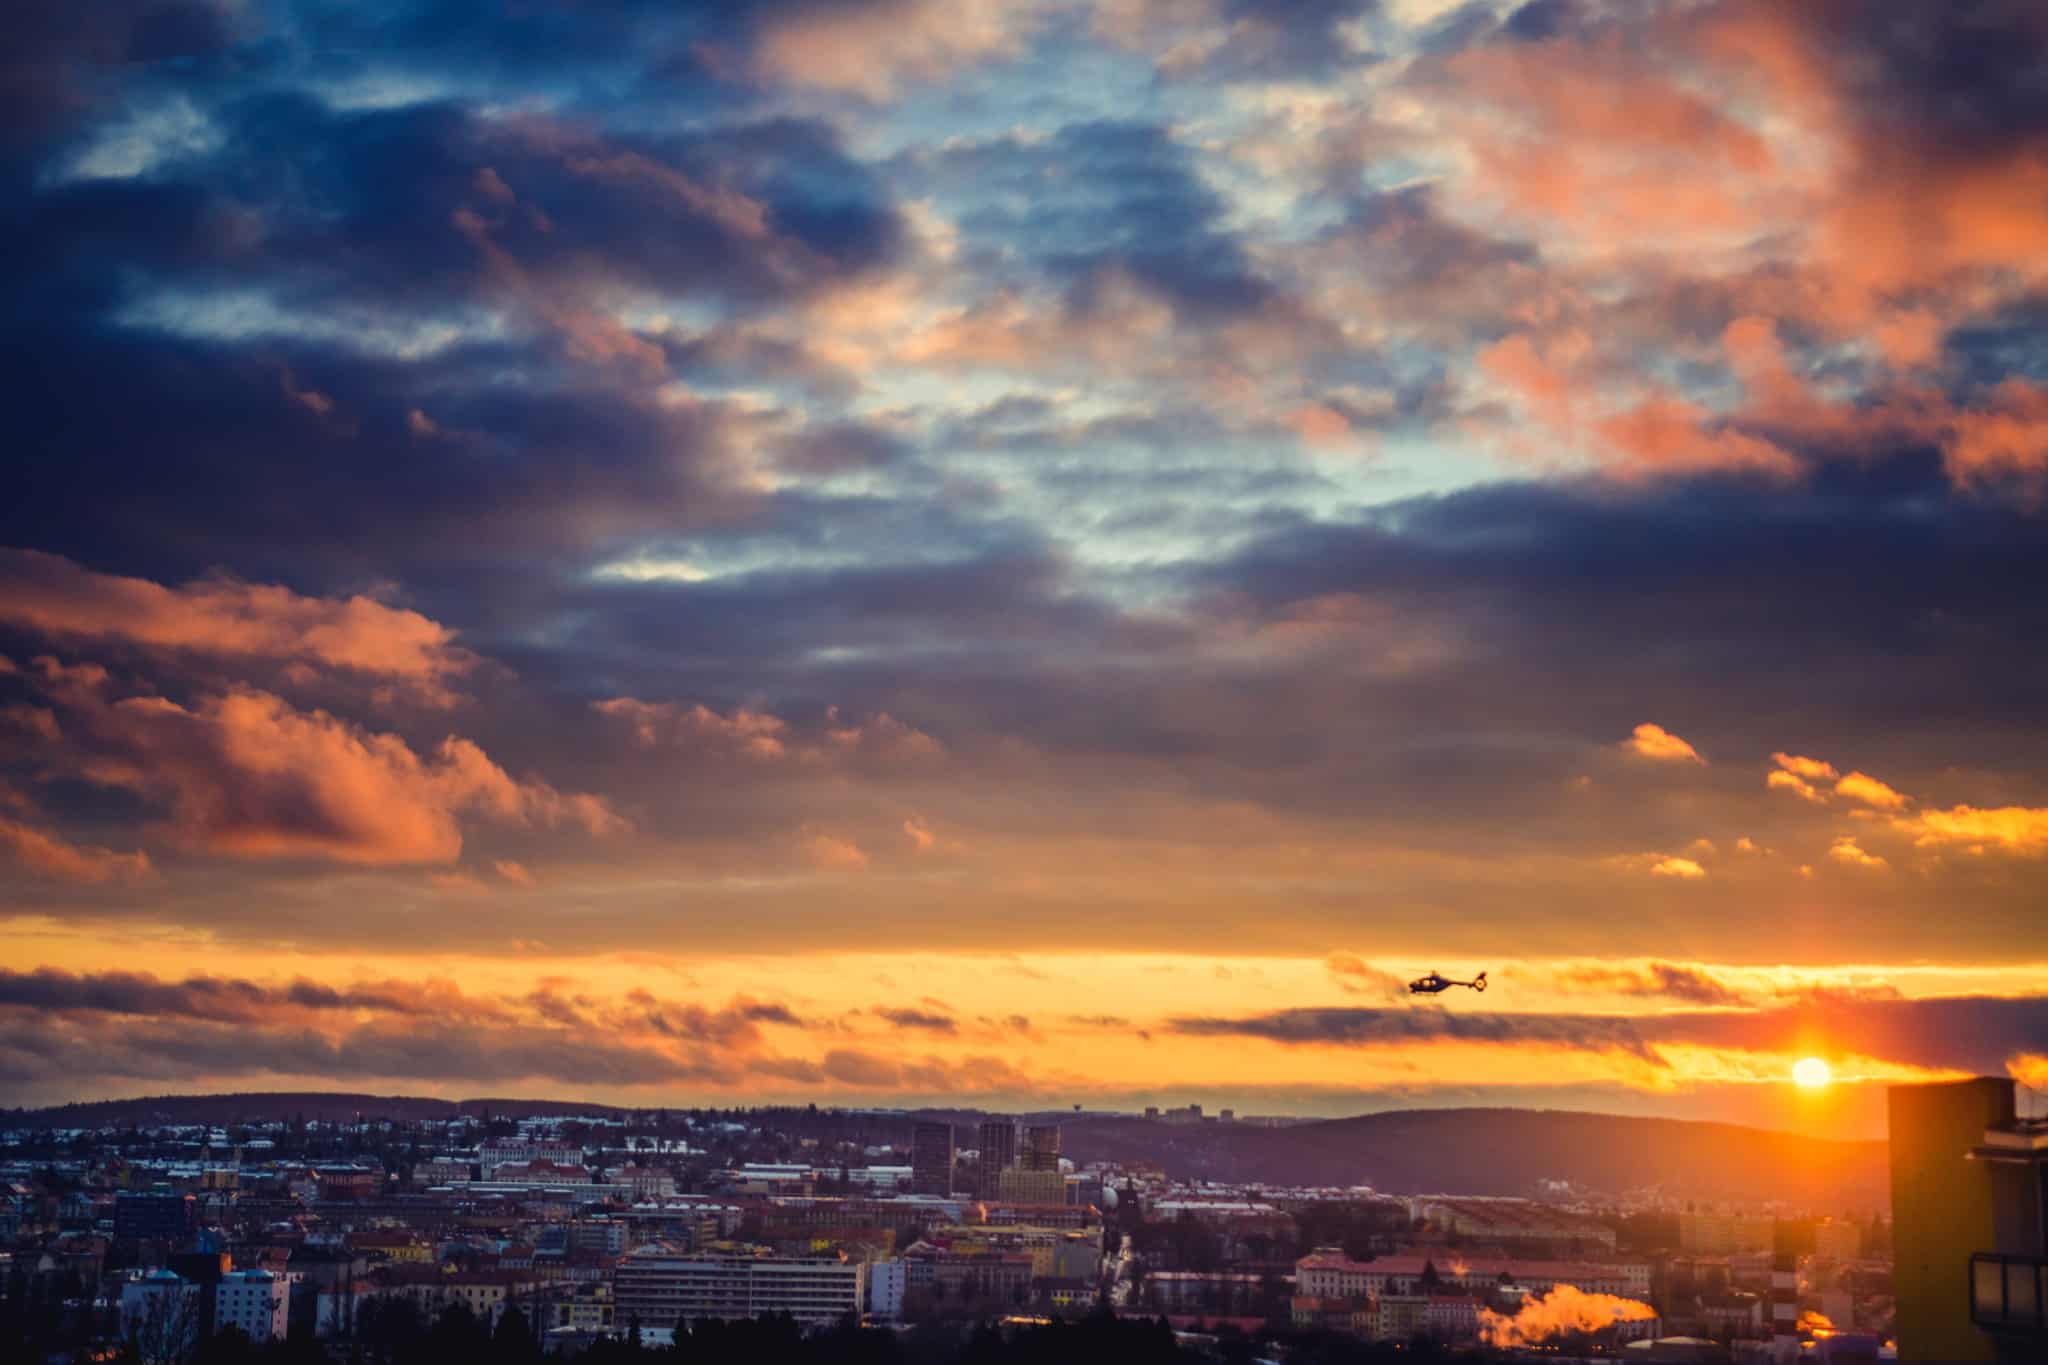
Getting the right atmosphere for evening clouds
The evening sky often turns into interesting shades of color. You can help capture this feeling using the Gradient Filter and make the colors more vibrant using saturation and contrast.
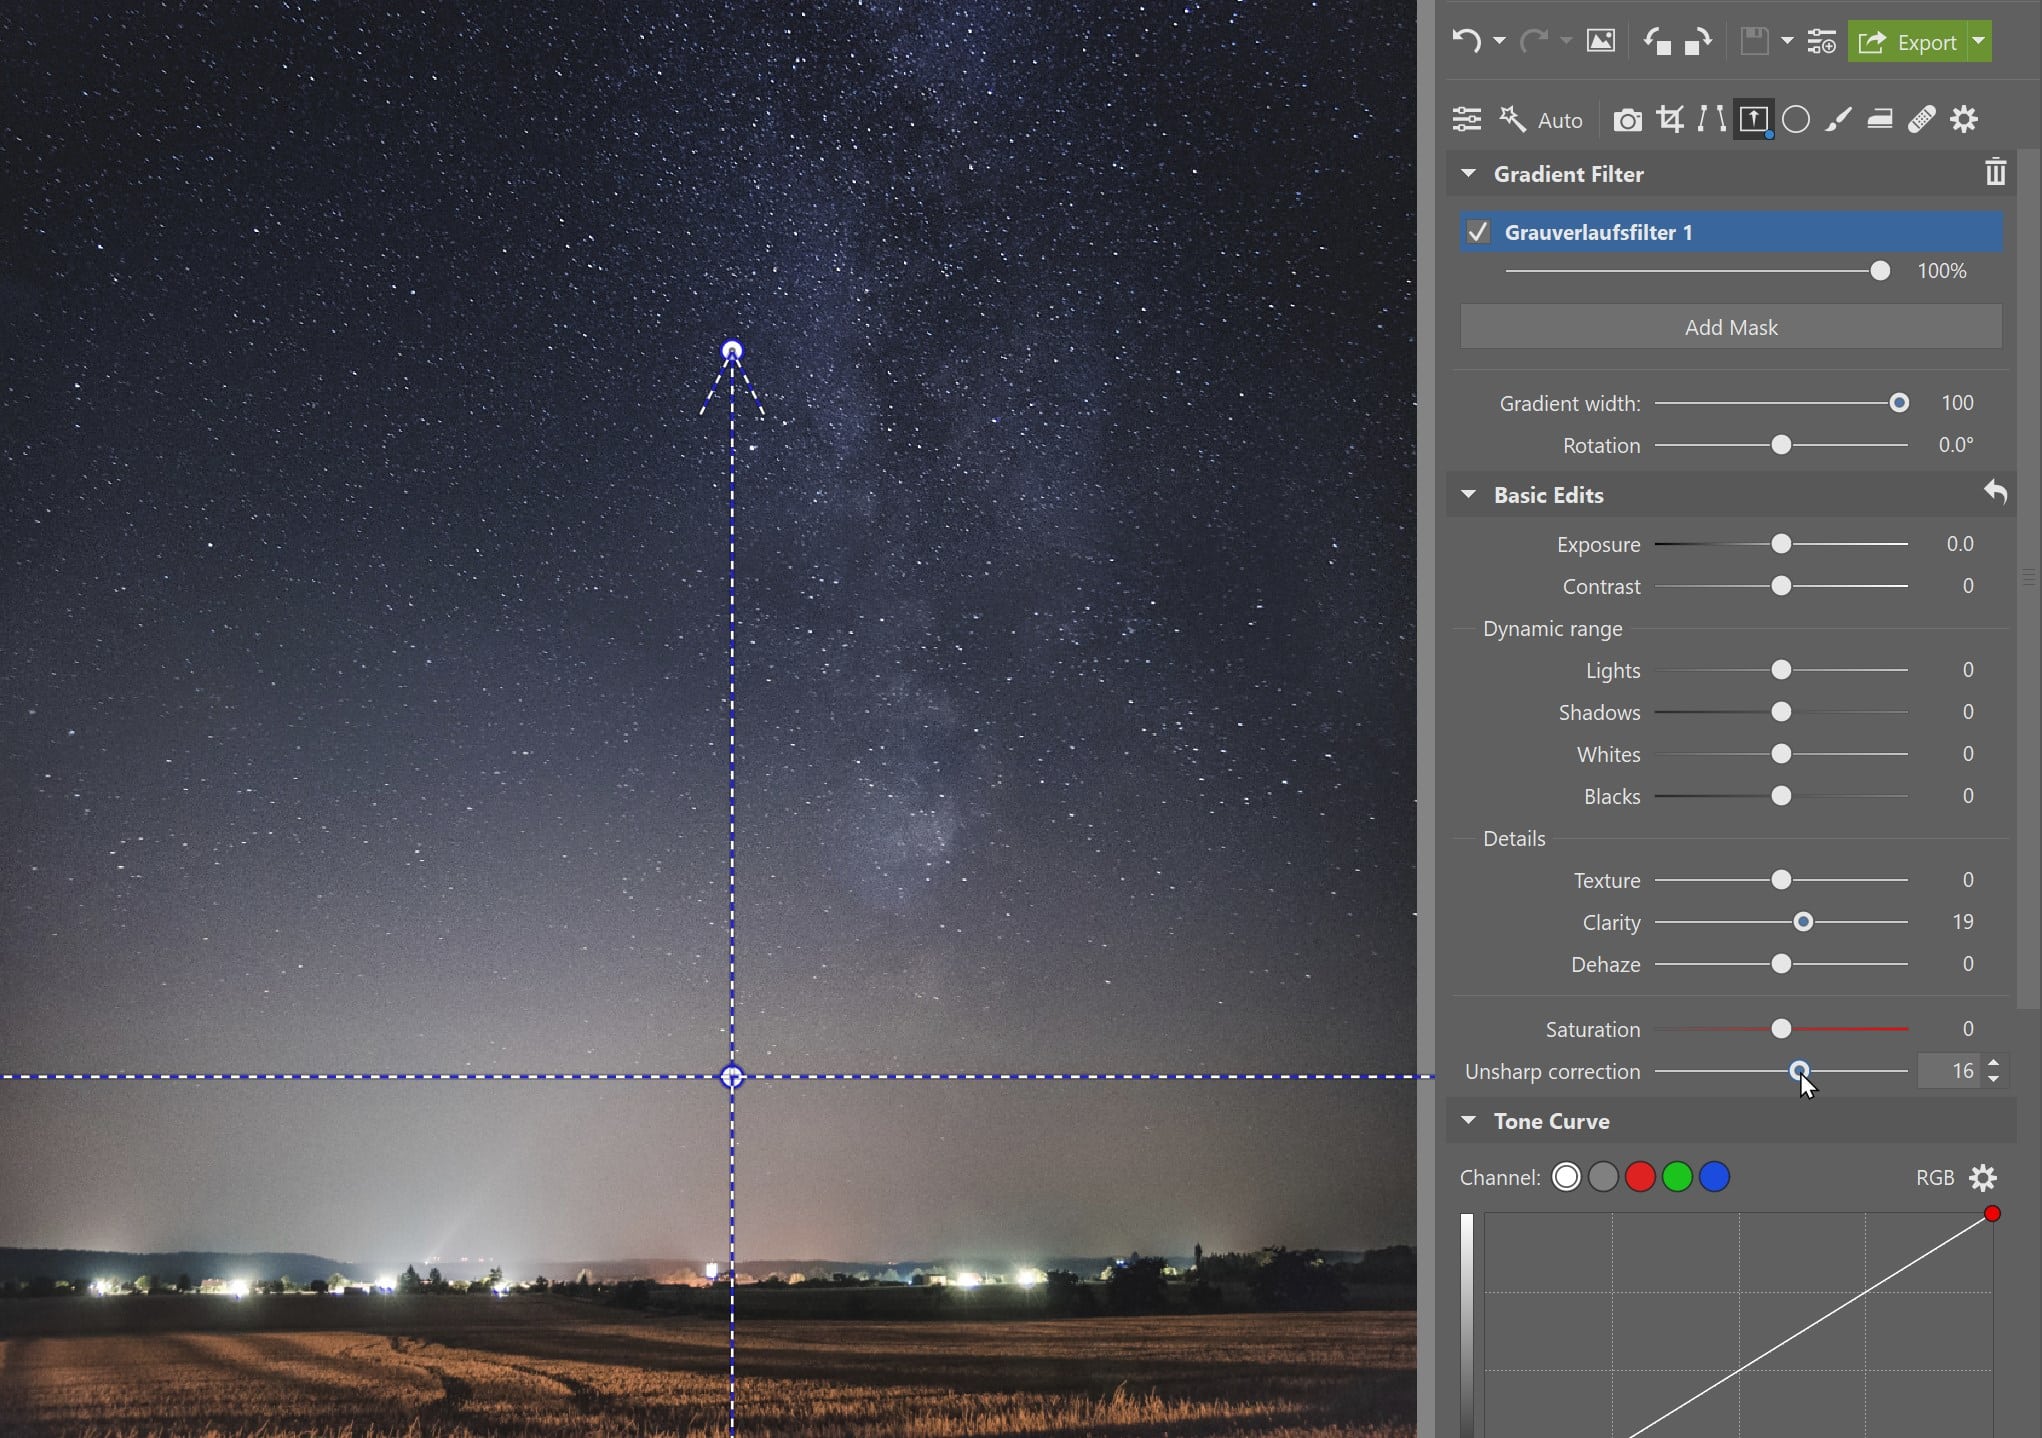
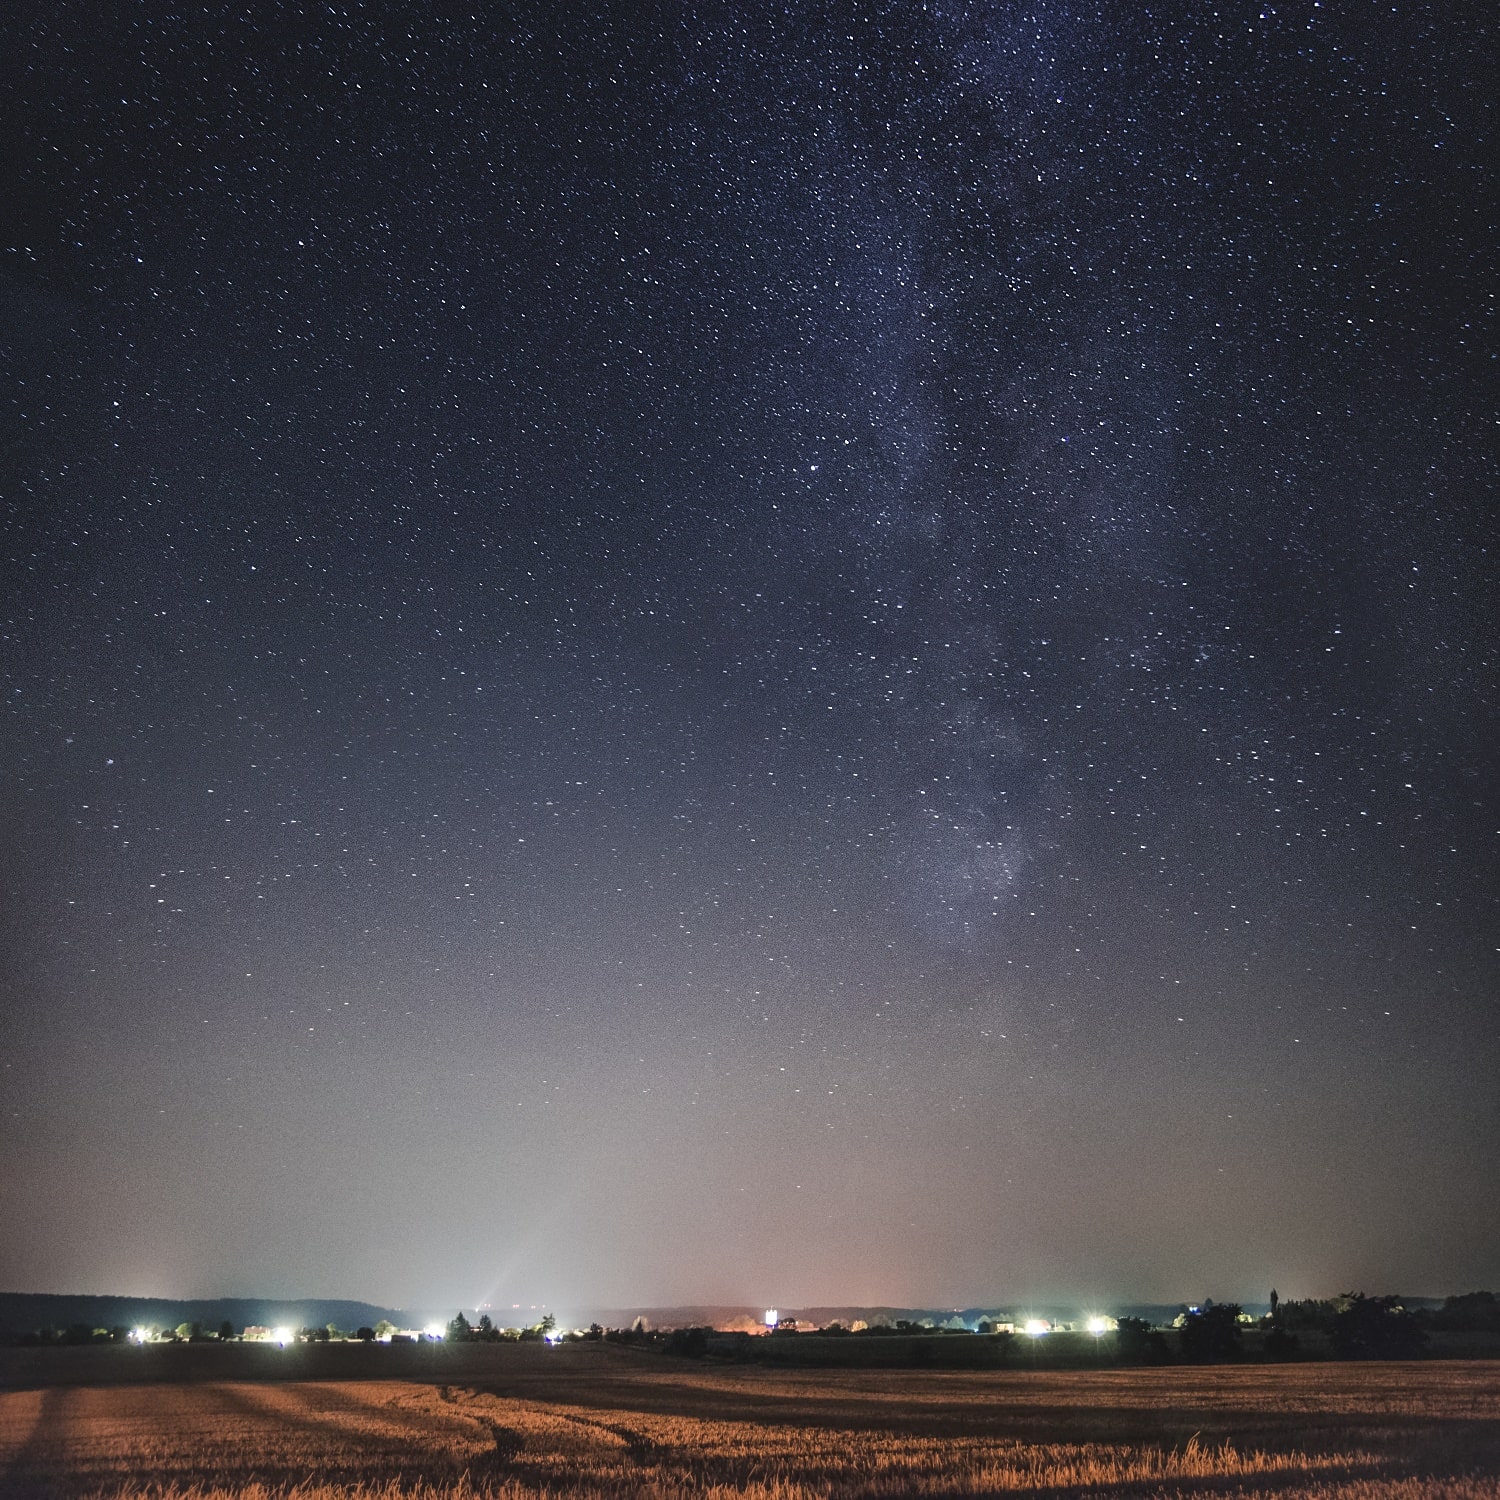
Highlighting stars
Clarity and Sharpness settings can help you bring out a starry sky. These settings are available in Zoner Photo Studio X separately from the Gradient Filter. However, if you need to emphasize only a part of the photo, for example, just the stars, the Gradient Filter is your best choice.

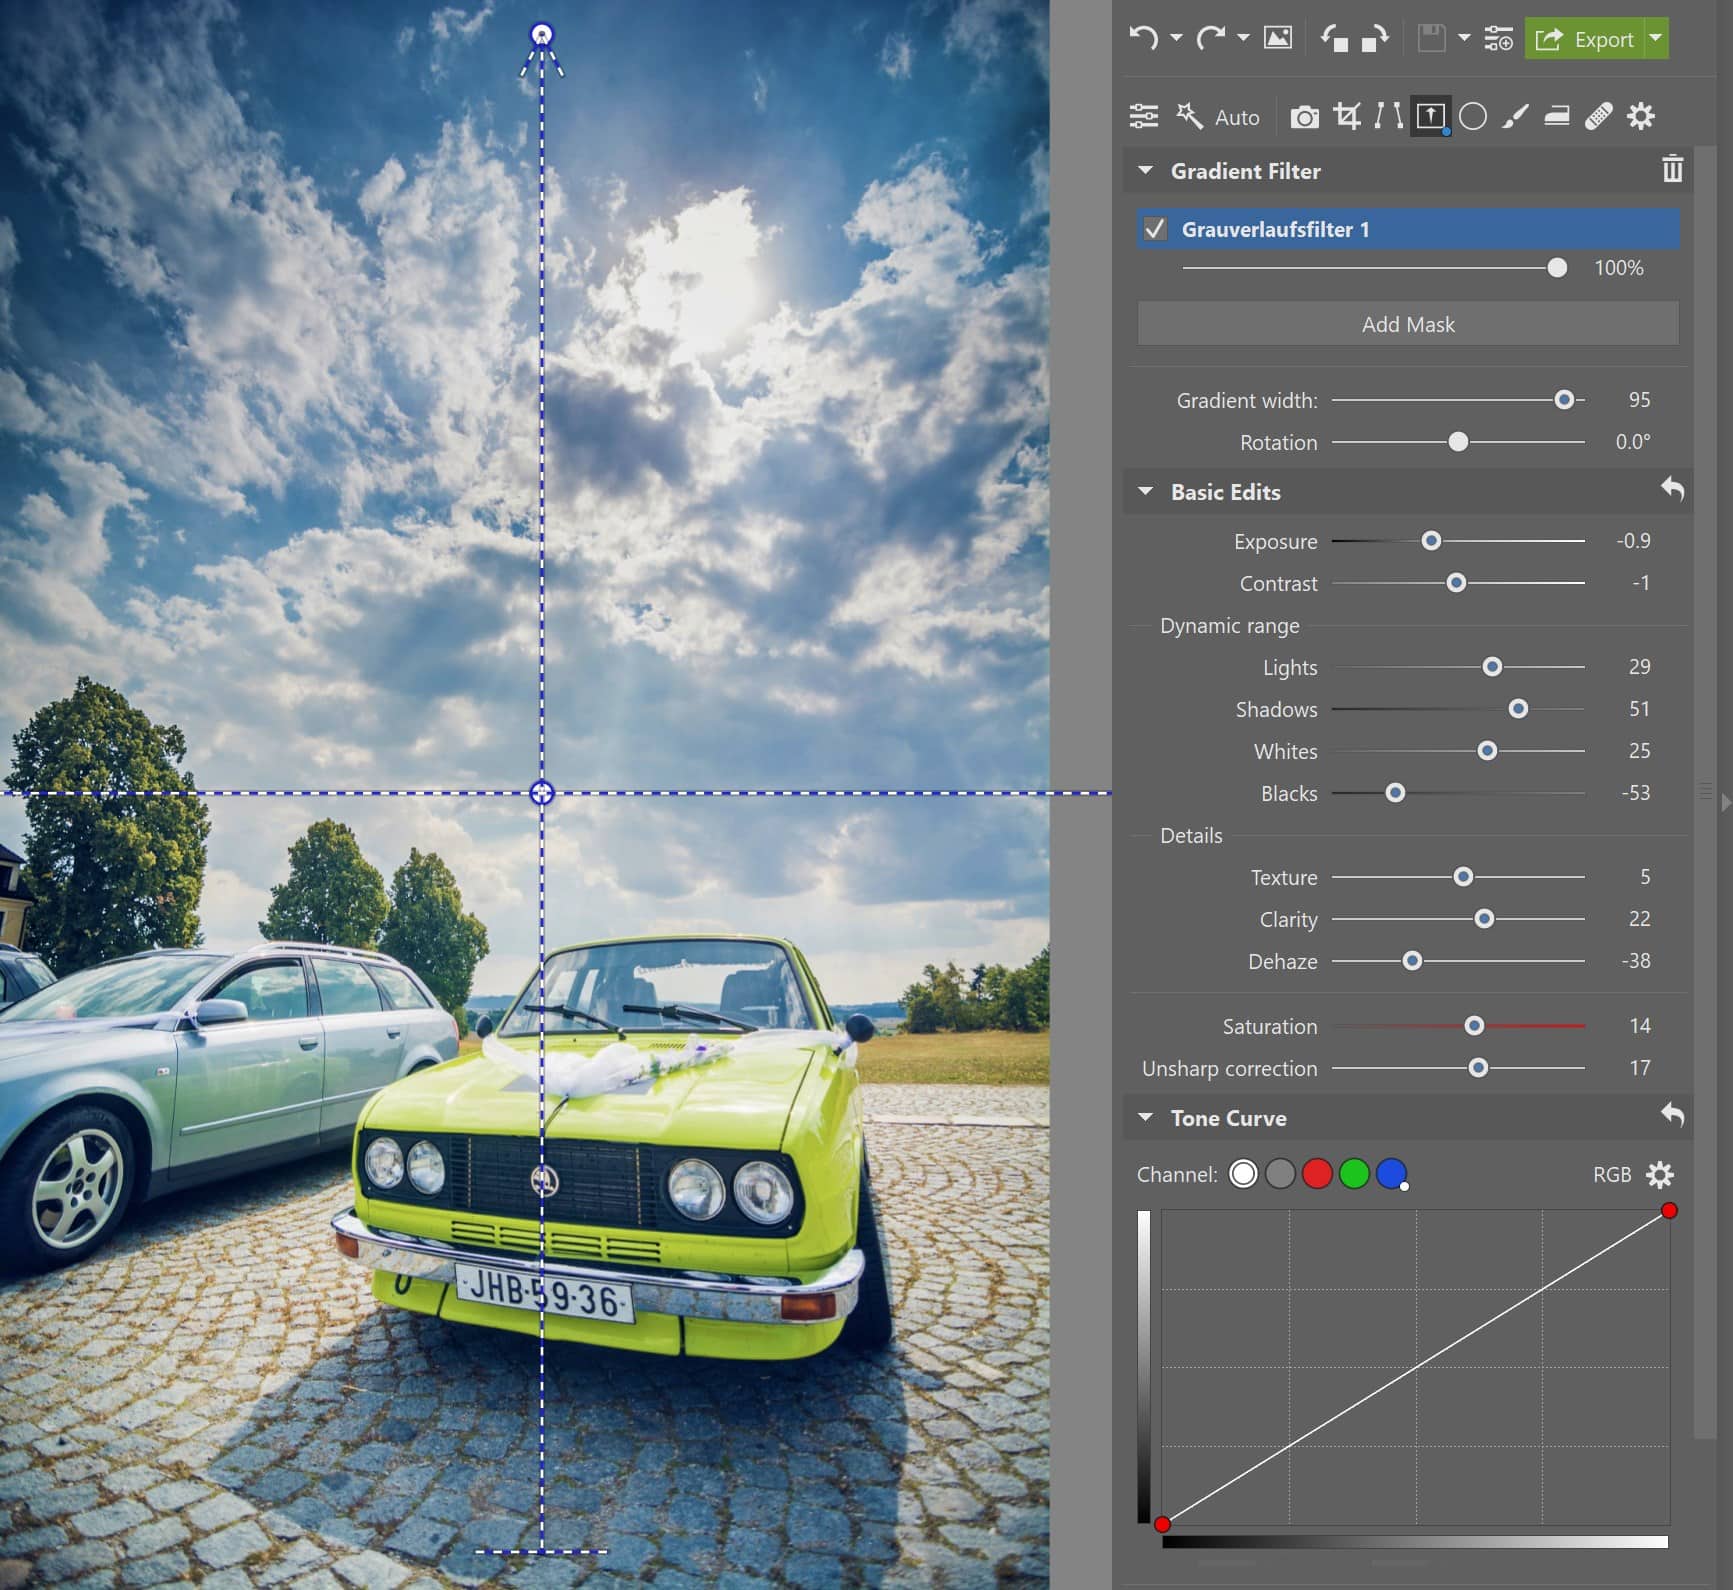
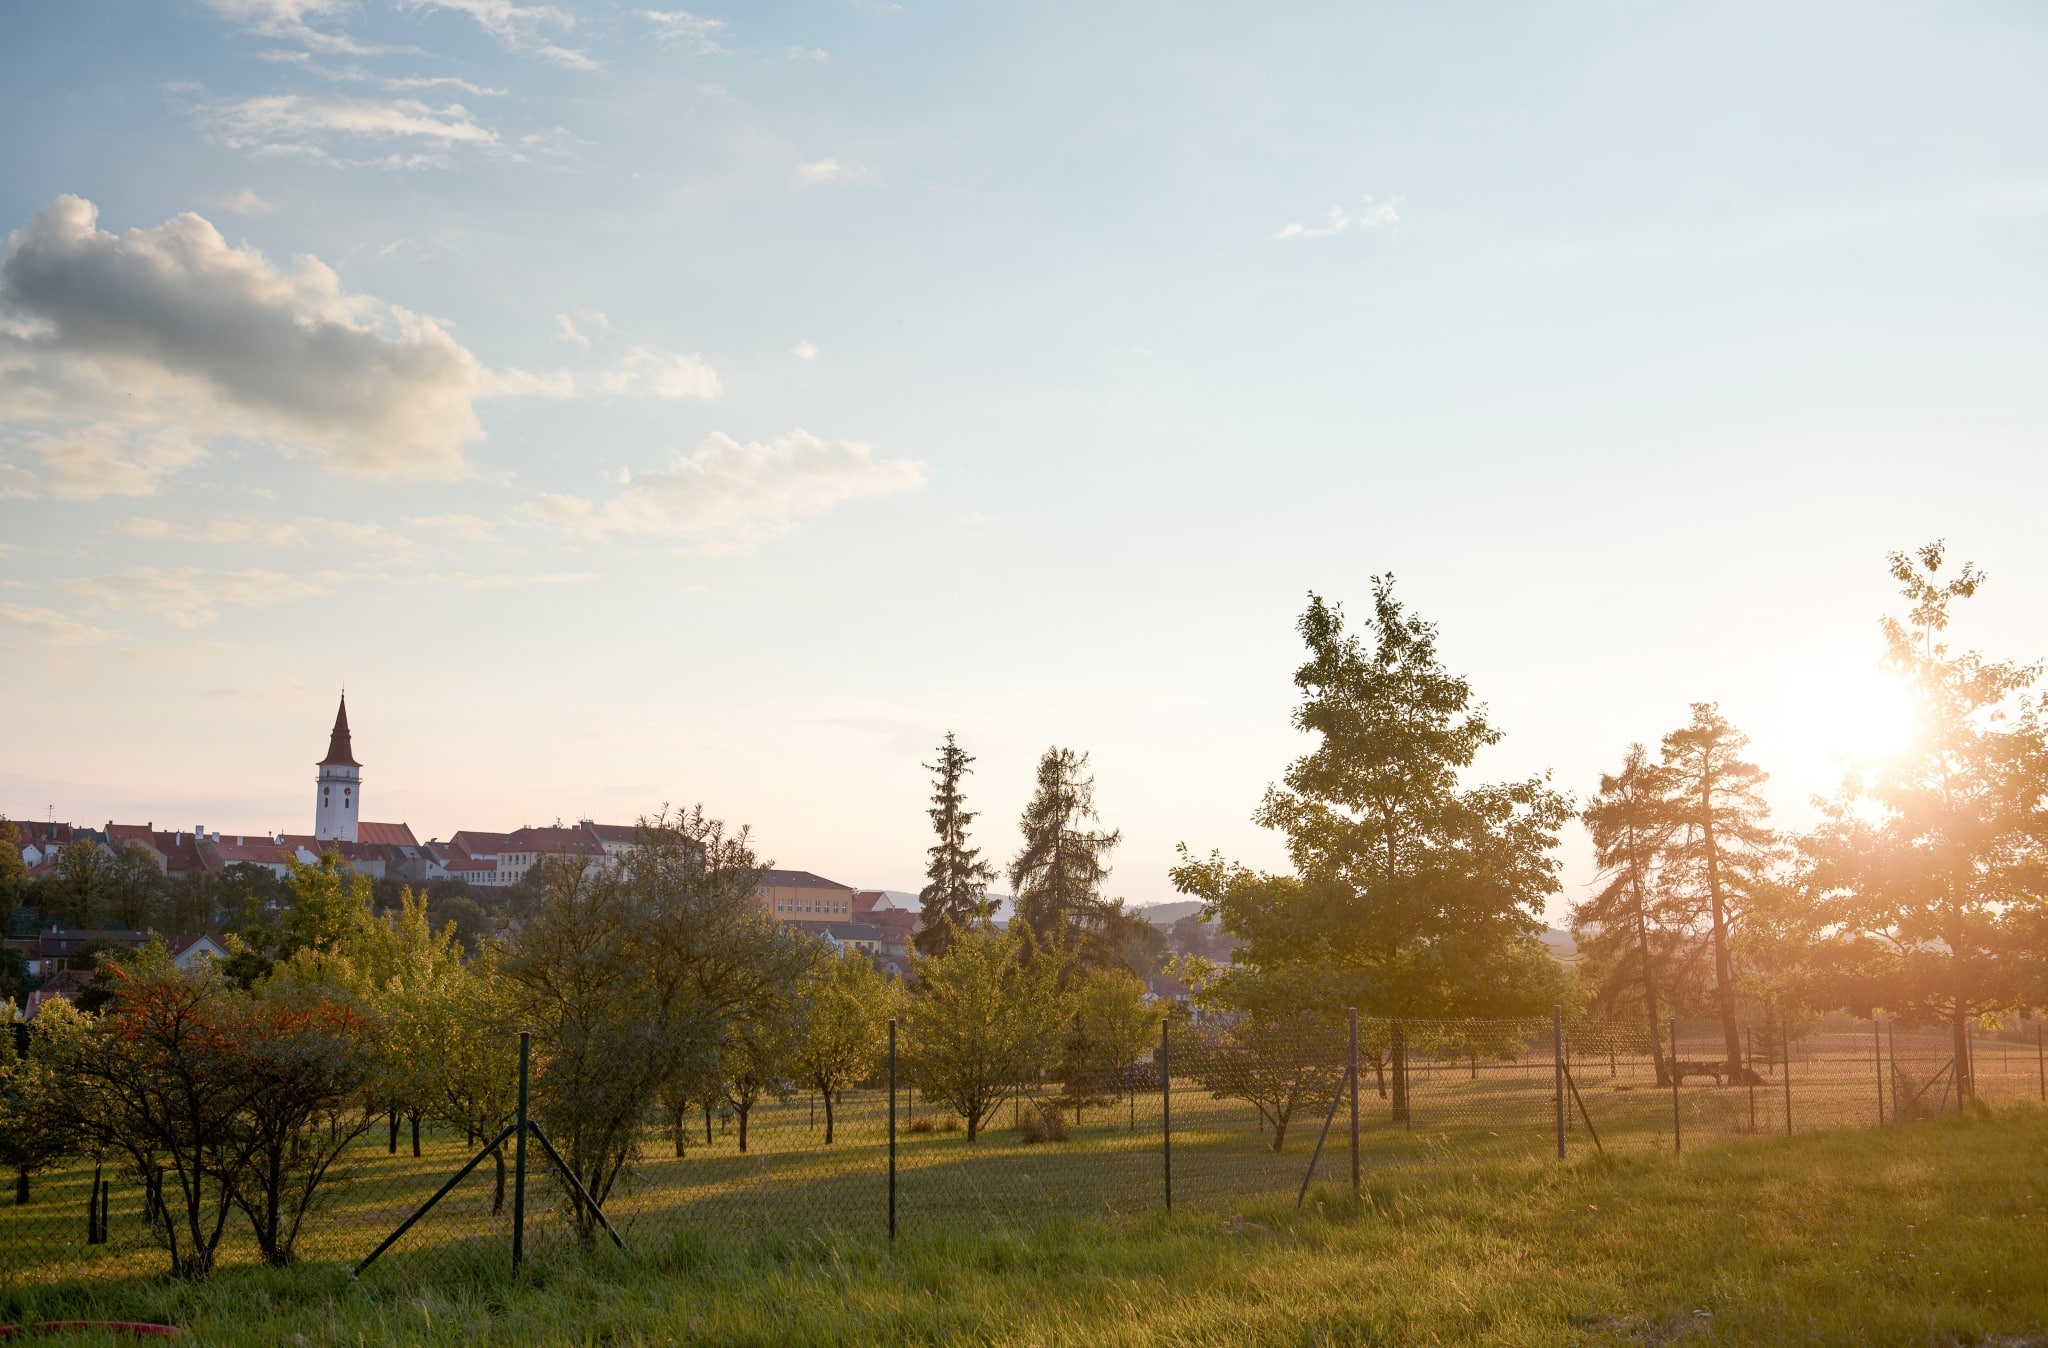
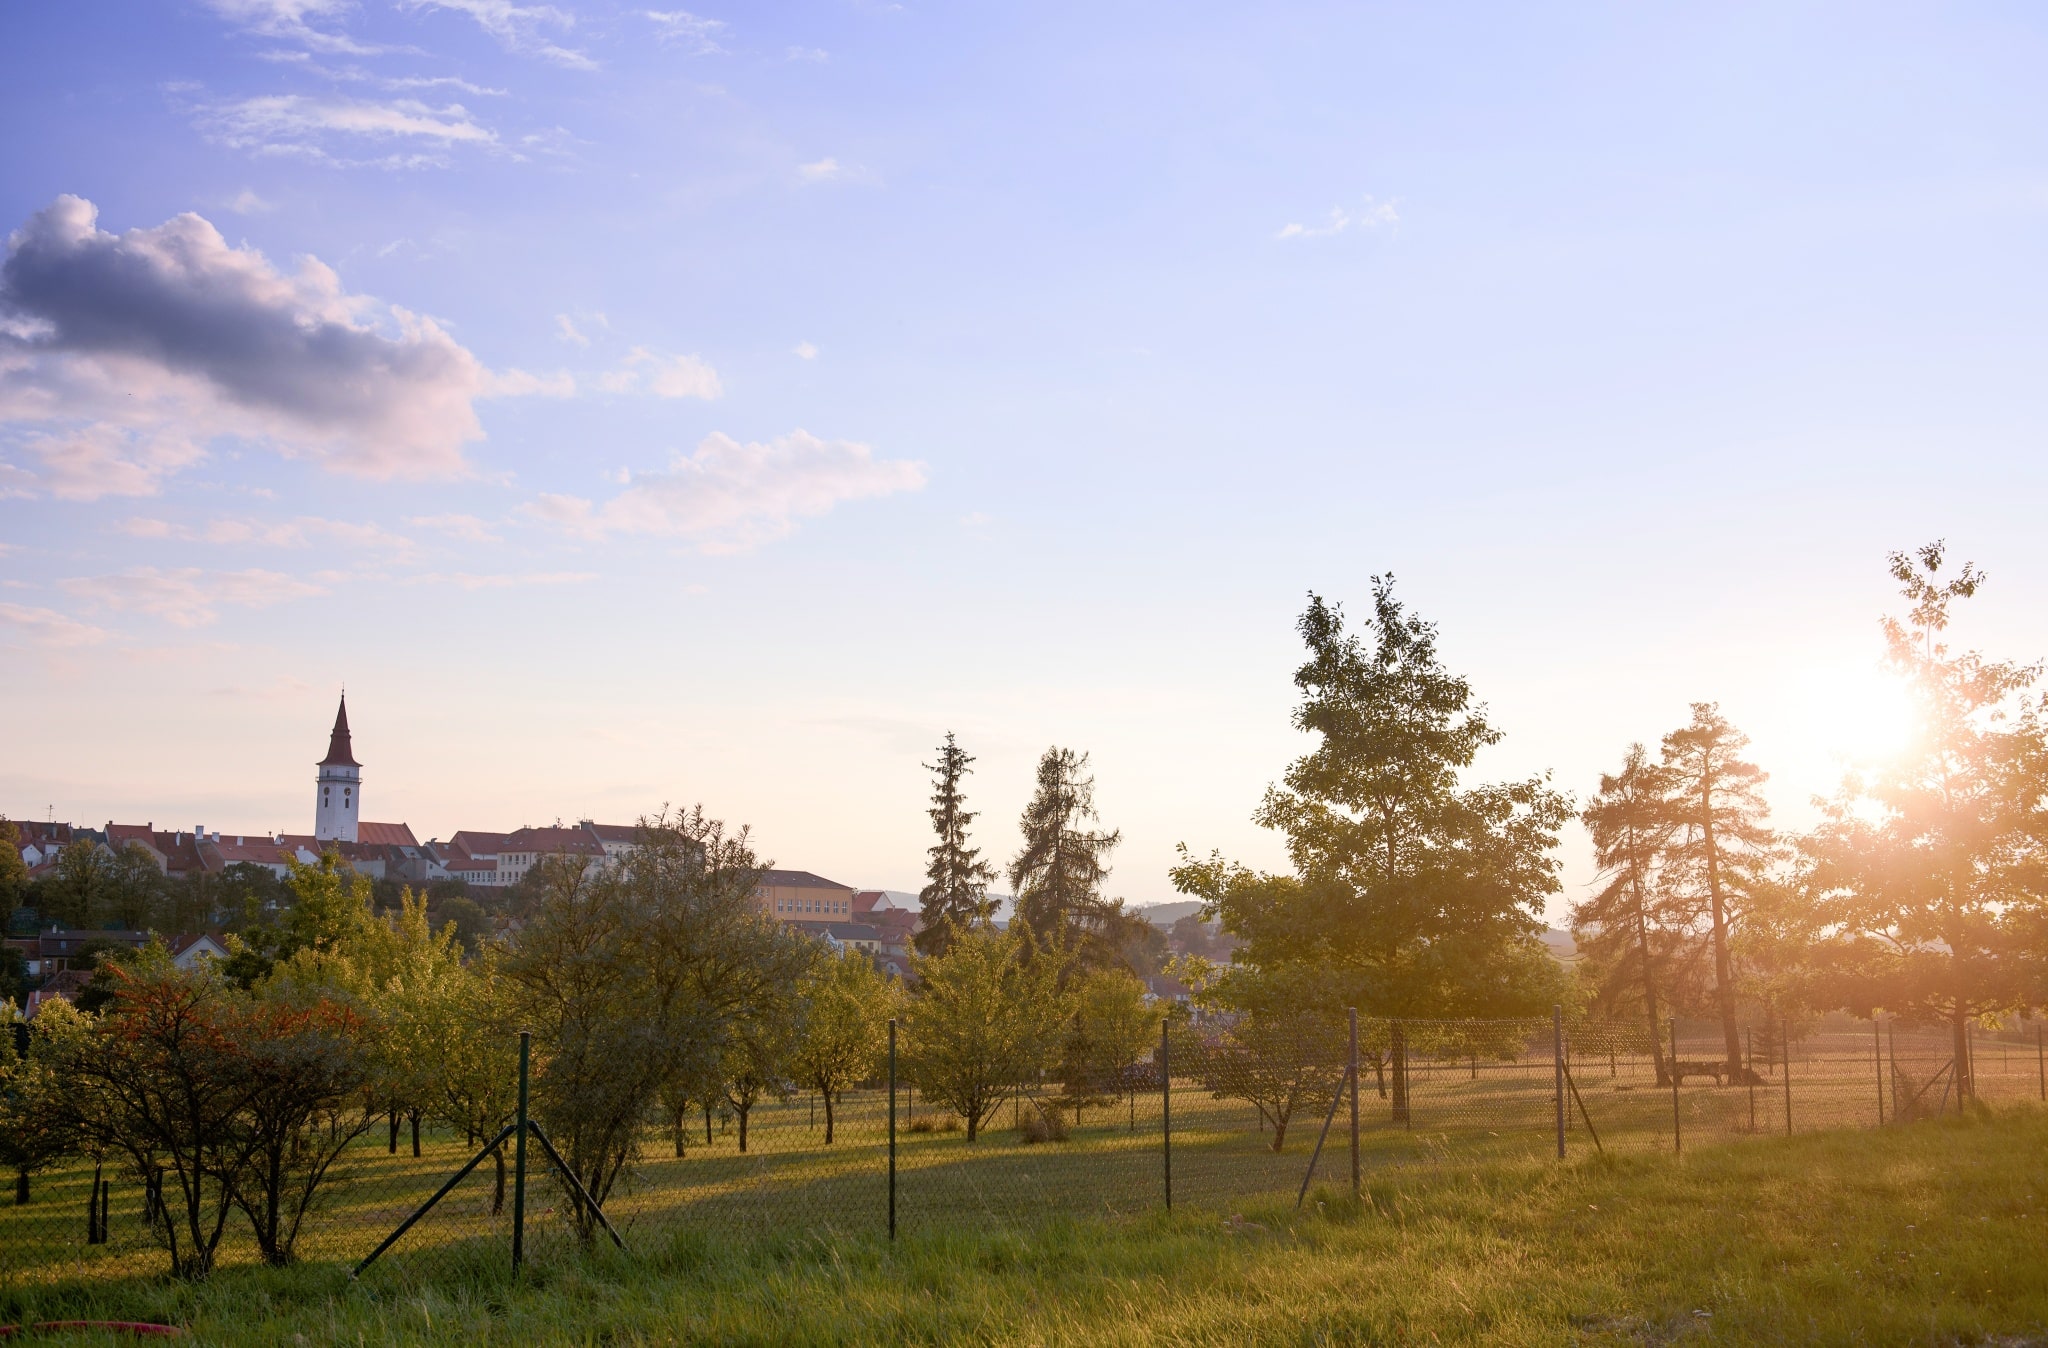
Improving photos with a sun/shade border
In the summertime, there is often direct sunlight on a part of the picture with the rest in the shade. This gives the impression that one part of the picture is overexposed and the other underexposed. If there is a solid line dividing the two parts, you can use the Gradient Filter.
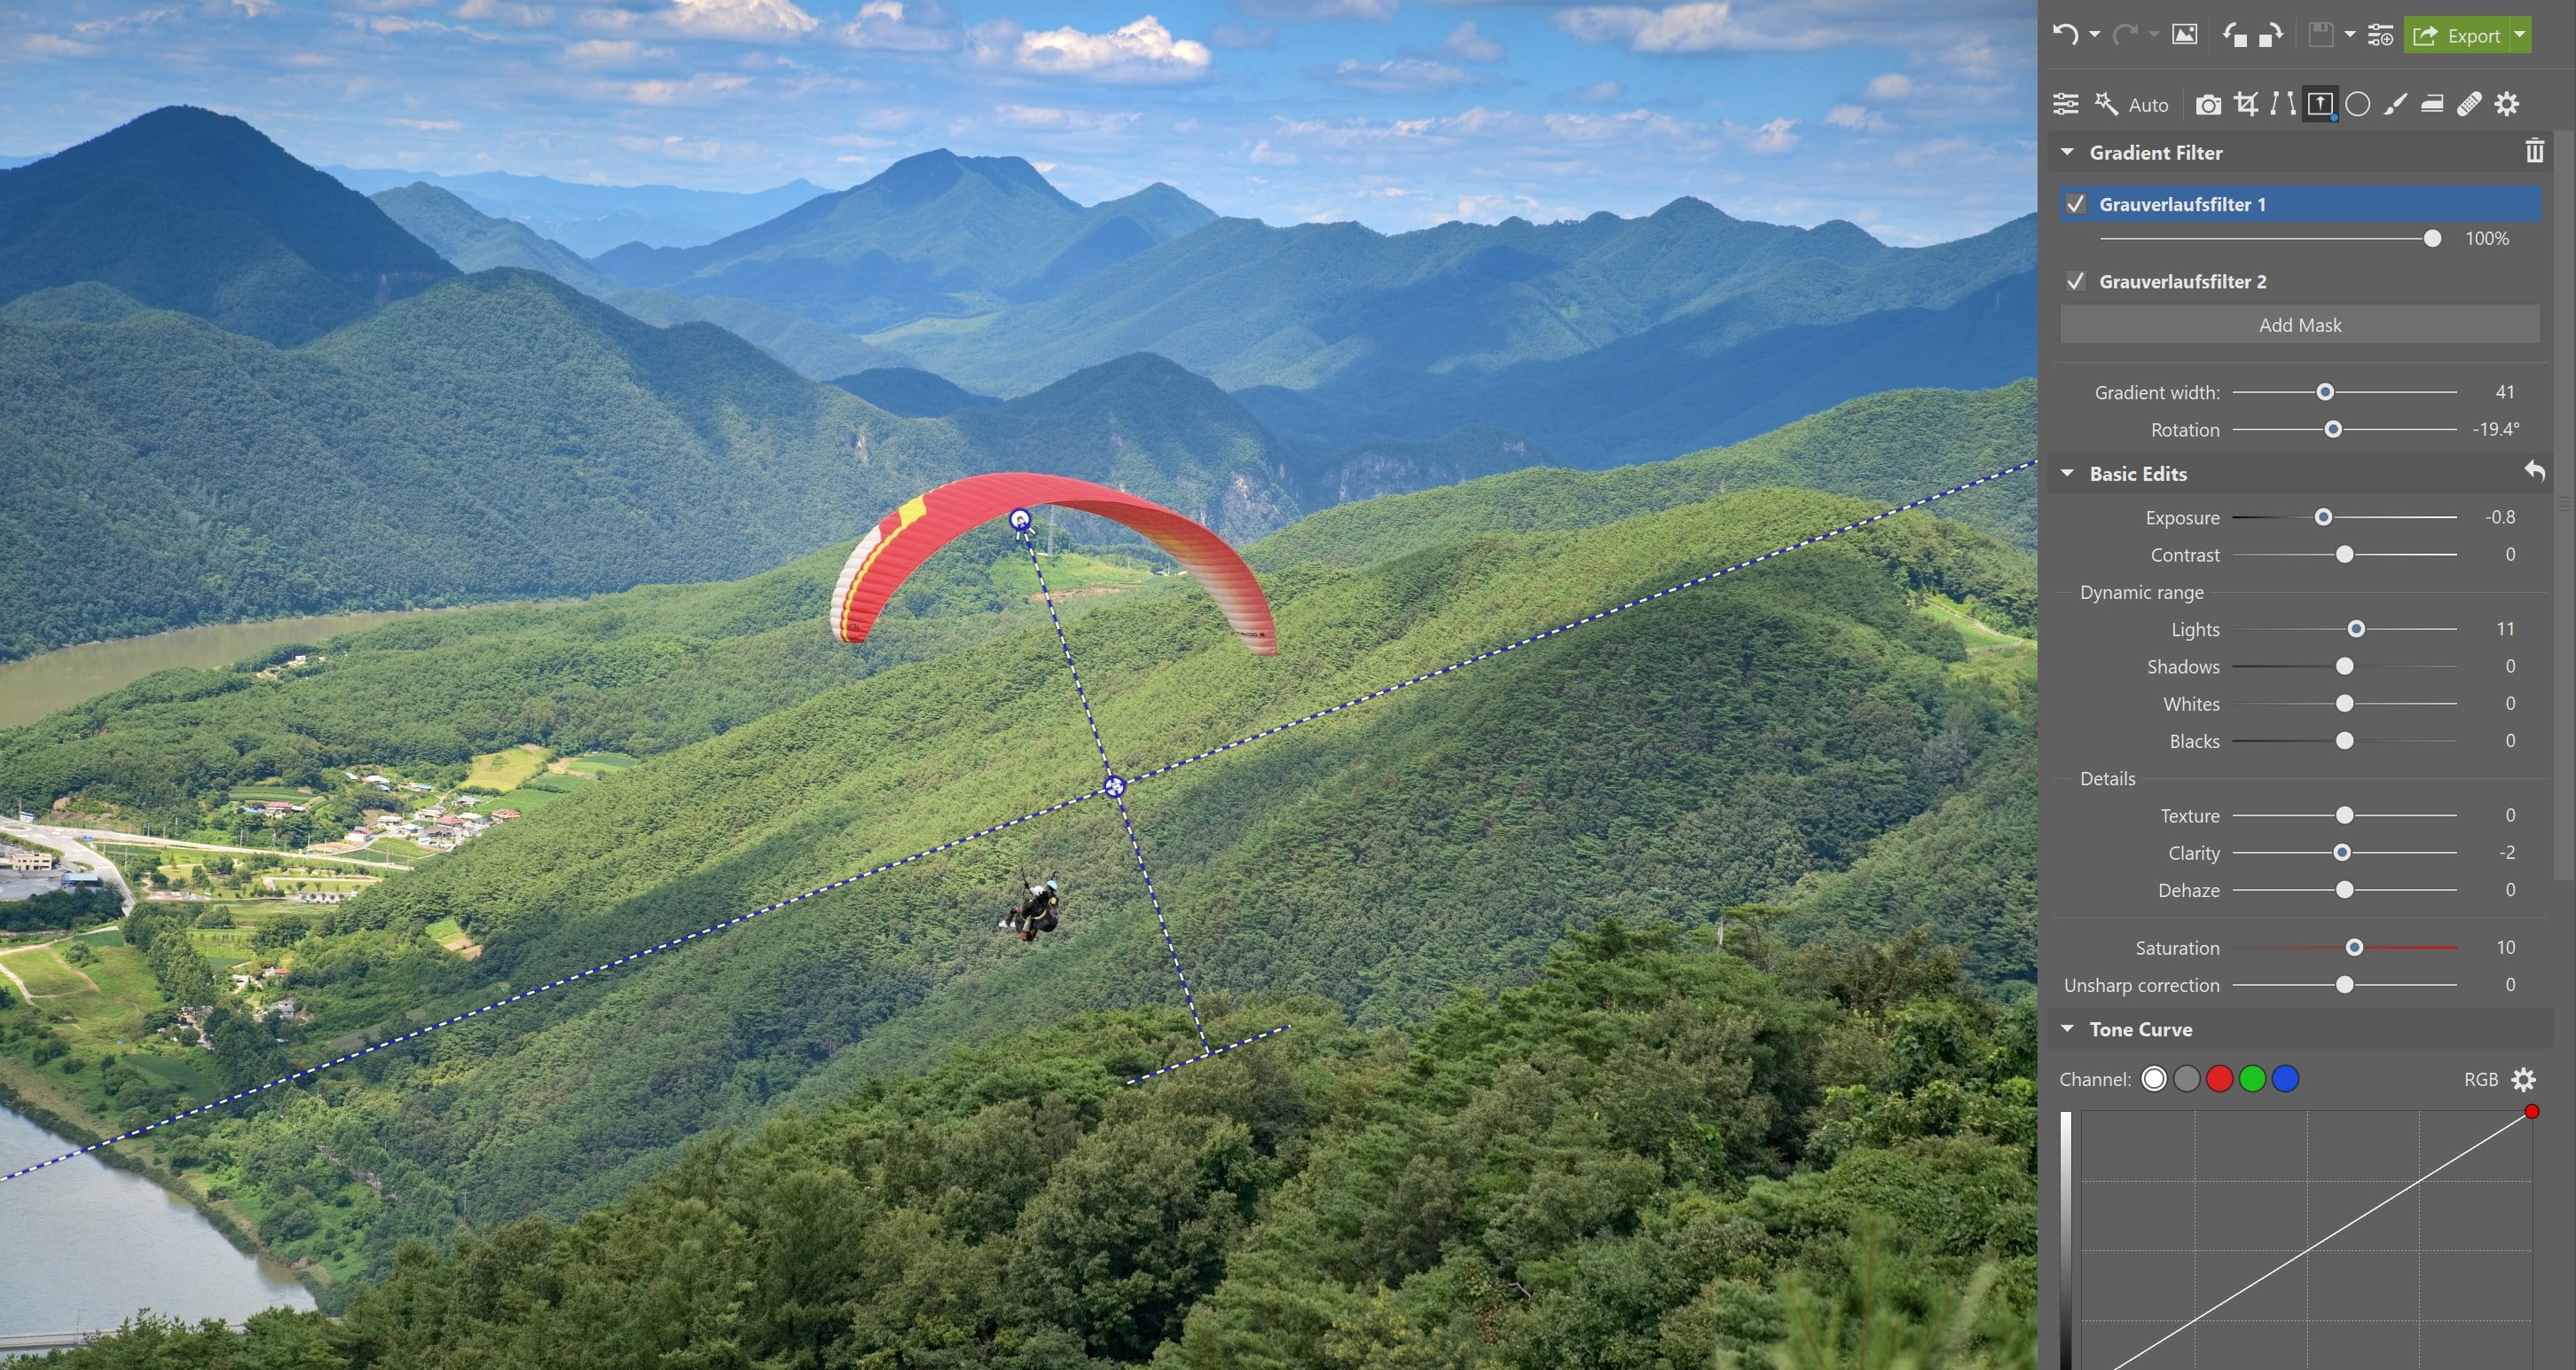
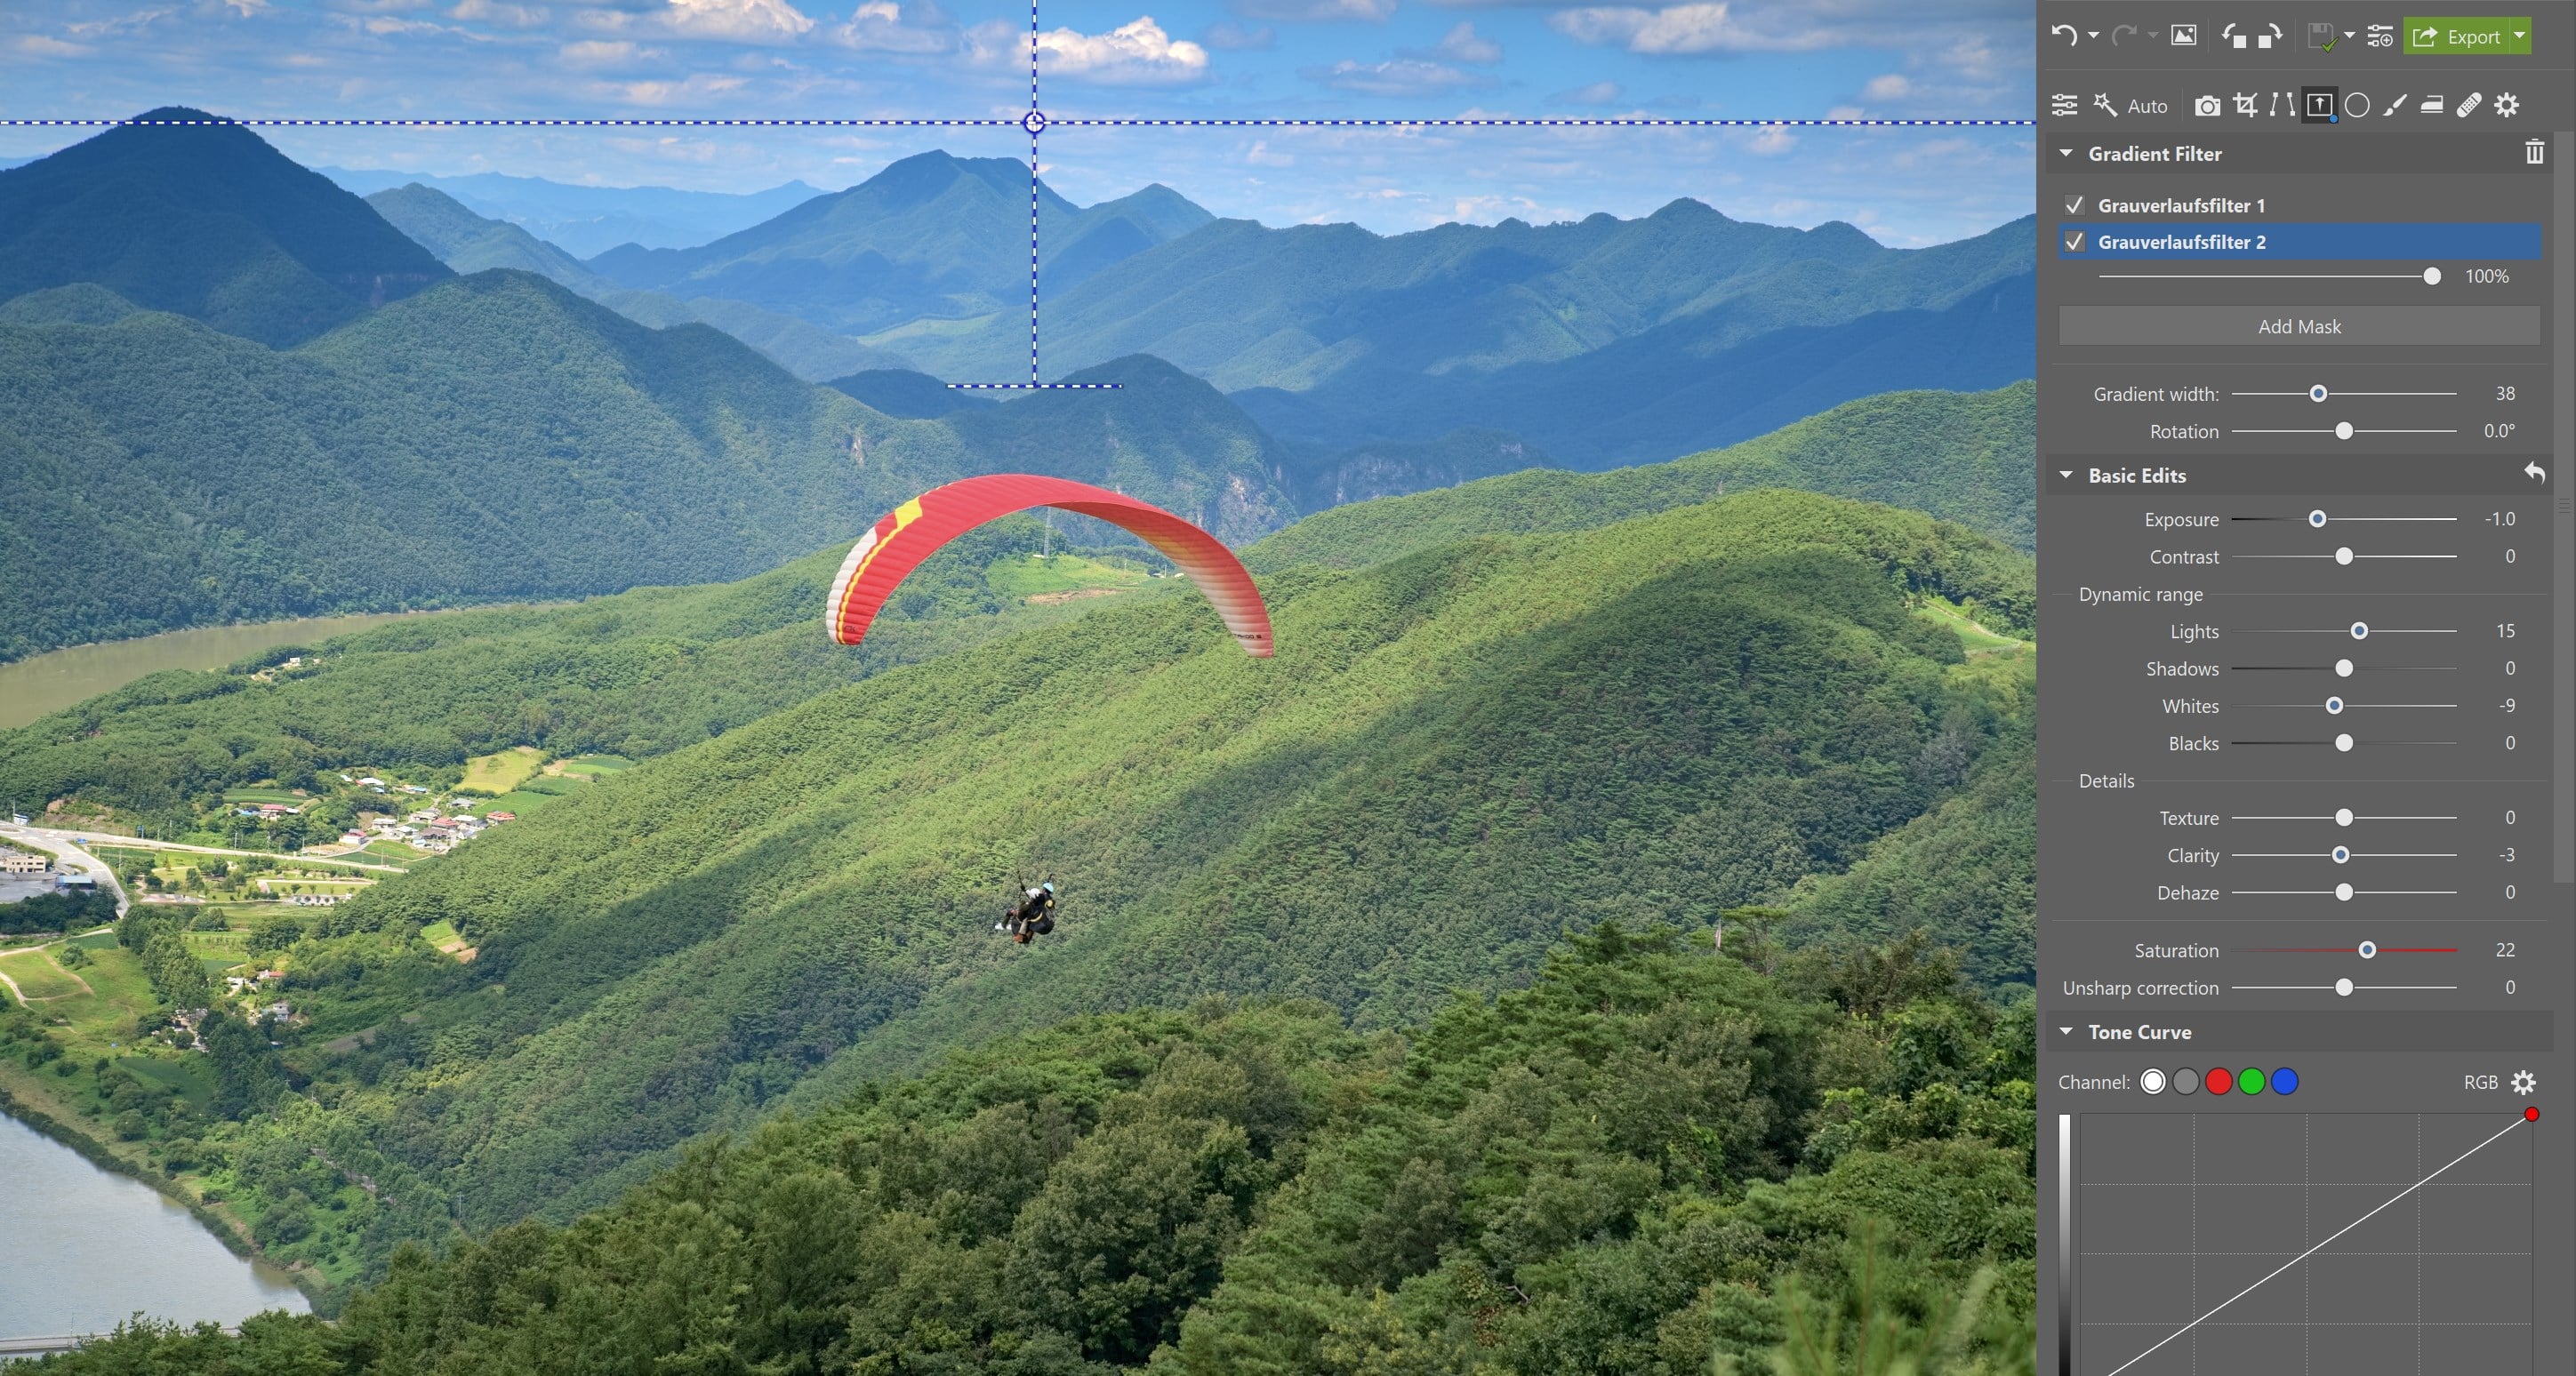
Using multiple filters at once
In this photo, we need to darken the sky a bit. By clicking Add mask, you can apply multiple filters at once. The second filter will only darken the small, upper portion of the sky. You can check the list of all filters used in the table above.
Tinting only a part of your photo
Another option for using the Gradient Filter is to use the Gradient Map to color a part of the photo. It all depends on your creative preferences. Use the Color setting, which you’ll find in the lower part of the Gradient Filter setting. For example, you’ll get captivating vintage colors using shades of violet in the Exclusion mode. For this effect, you’ll find reading our article about Blending modes helpful.
A practical tool that will save you time
I personally prefer to use the Gradient Filter on my computer because there often isn’t time to mount something onto my camera while taking pictures. If you are shooting in RAW, you’ll capture the maximum amount of data you need to work with the picture.

Download Zoner Photo Studio X and try out local edits with the Gradient Filter today.
There are no comments yet.