Assembling Macro Photography Using Layers
The article is over 5 years old. The information in it may be outdated.
![]()
We are working on its update. In the meantime, you can read some more recent articles.
The main disadvantage of macro shots is their low depth of field. Everyone recommends a tight aperture, but in practice even that won’t get you really sharp macro. But there’s another option—taking multiple shots at varying depths and joining them on a computer.
When you’re joining pictures, work with layers is practically a necessity. In this article you’ll read about how to join shots using Zoner Studio and create a sharper picture.
The first step, of course, is to shoot the individual macro photos. I chose a “complicated approach” in the form of a rotated lens and propping up the aperture with a toothpick.
Preparing the photos
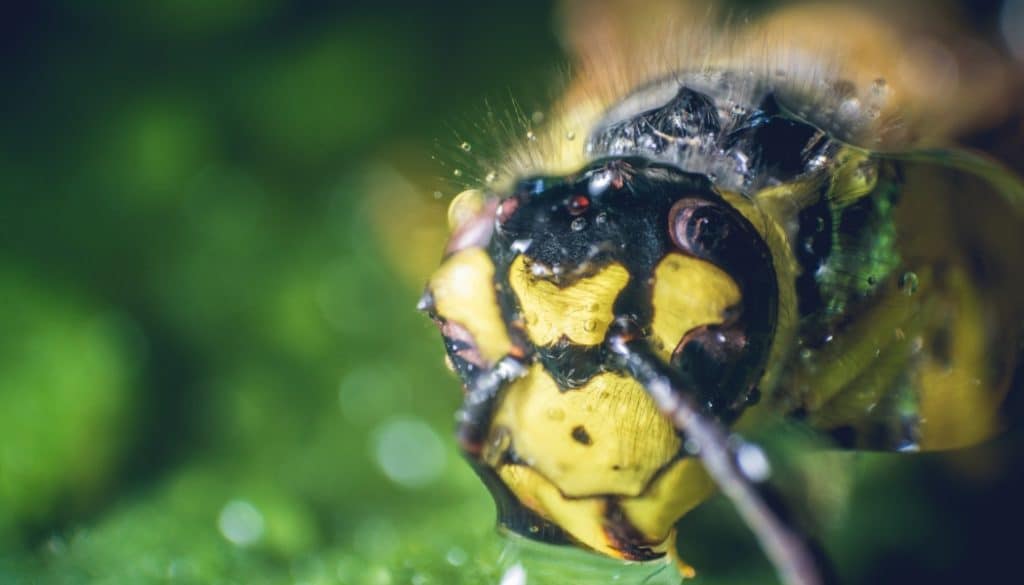
Once your shots are ready, choose the best shots to represent the depths of field you want. In this case we’ll use these three. In the first one, the head is sharp, so it will serve as my foundation. The second one sharply shows the middle of its thorax, and in the third one, it’s the back part of its thorax hairs.

Coverage and Alignment
Open the first photo in the Editor. Add the other photos one by one, using the Add Layer button (at the bottom of the right panel). Each picture is added as a new layer, and so you can work with it individually.
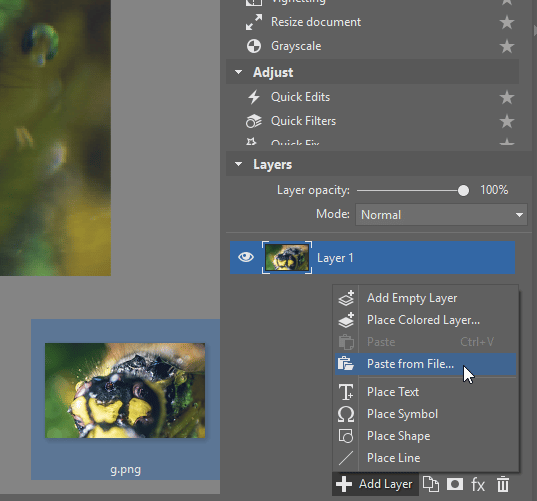
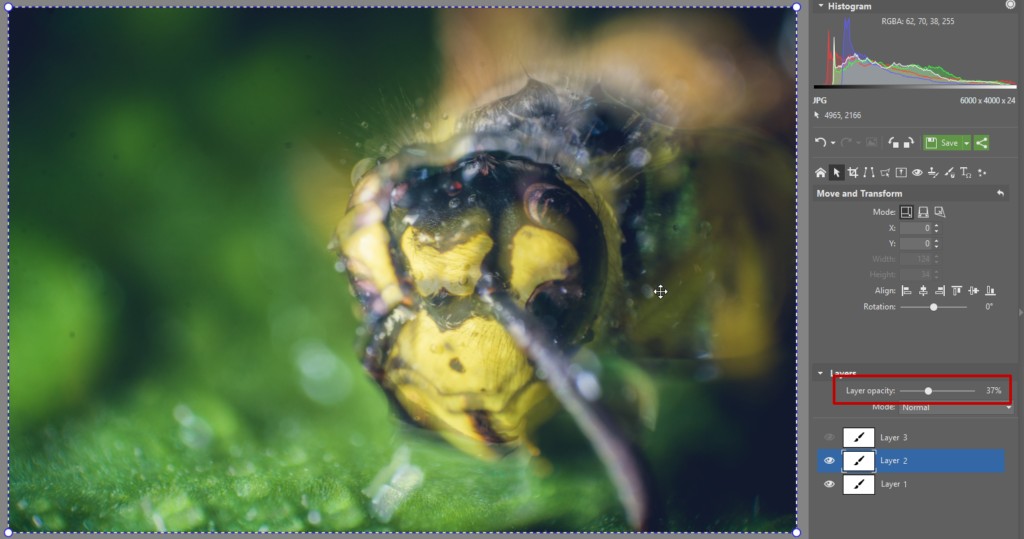
Since I shot the photos by hand, they each are aligned a little differently. The best way to start lining them up is to drag the Layer Opacity slider down to 50% for each of their layers. Then you can clearly see how to move each one. To move the photos, use the Move and Transform tool (V).
Masking to Keep Only the Sharp Places
Once the pictures are lined up, return their layer opacity to 100%, and you can start masking. This means hiding everything you don’t want in each layer. (The Eraser is faster, but less flexible. The Paintbrush is more precise, but also less flexible.) To give a layer a mask without hiding anything right away, click the Mask icon, and then Reveal All.
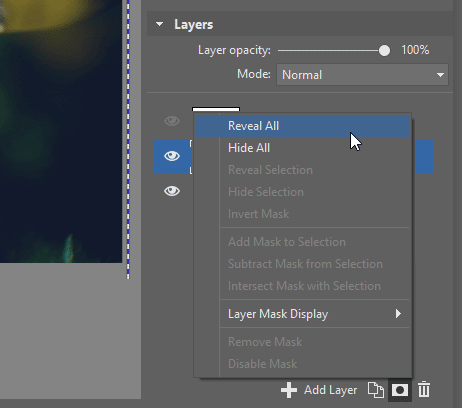
Click the icon for the mask that was added to the layer. Then activate the Paintbrush (e.g. by pressing B). I recommend setting a high Blur and Opacity. But the best choice will depend on your pictures’ resolution.
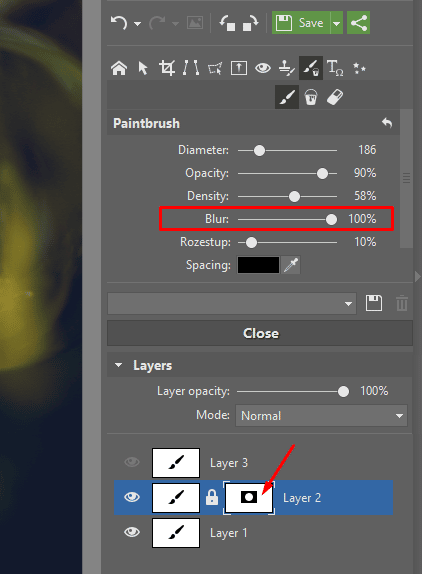
Paint on the mask in black to hide parts of the layer. Paint in white, and your paintbrush unhides hidden parts. Repeat this process for every layer you’ve added. Mask each layer so that only the sharp parts show through, and you’re basically done. (To easily change the brush size as you paint, hold down Shift while turning the mouse wheel.)
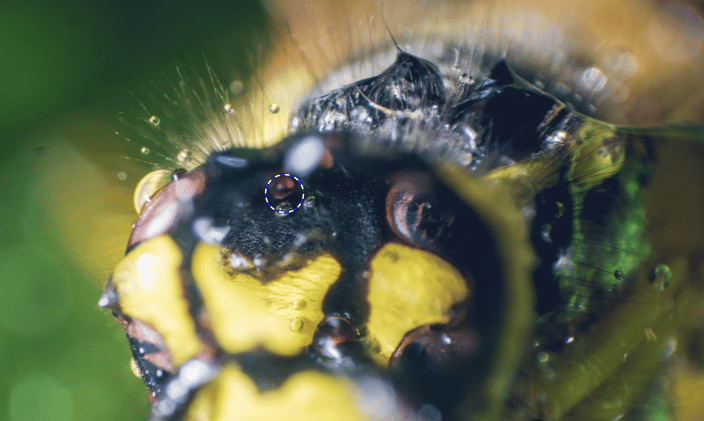
Fine-tuning Details
After masking, check if the outlines of the photos you added aren’t still showing somewhere, and retouch away small details if needed. In my case, I retouch away spots left by dirt on the camera sensor.
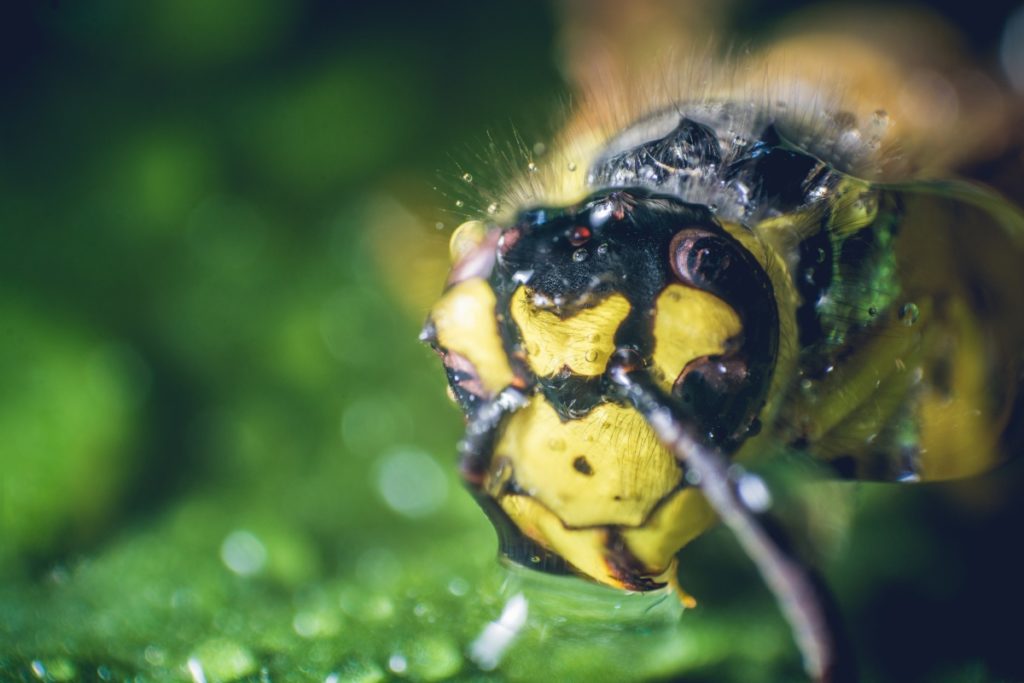
Some parts are still blurry. I could definitely shoot this scene at more than just three depths of field and join them better—but the process would still be the same.
Macro Is Just the Beginning
The layer support in Zoner Studio opens up new editing possibilities. The above technique is useful in other situations besides just macro. You can mask away just about any defect if you have several photos of the same thing or situation.
This feature is useful for example when you’re photographing a group of people, and each shot has a different person with their eyes shut. When a picture is important, take the time, do the work, and use the power of layers.


JOHN HIRST
wouldn’t focus stacking be a much easier route to take??
Zoner
Hello John, we offer solutions that are possible to do in Zoner Photo Studio. There are tools directly for macro photography, but this is for people who want to just try this method or who don’t want to learn a new software.