Basic Portrait Retouching in Zoner
The article is over 5 years old. The information in it may be outdated.
![]()
We are working on its update. In the meantime, you can read some more recent articles.
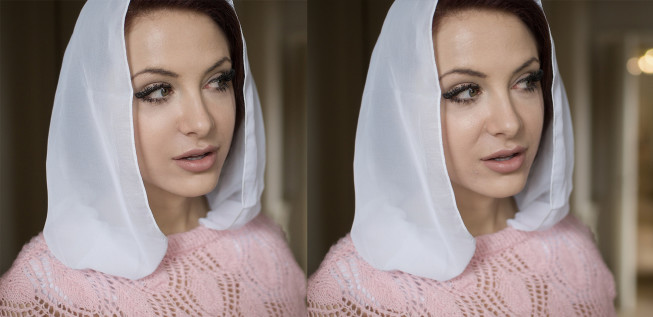
Nobody’s perfect—even in pictures. Until you retouch them! That’s why Zoner Studio offers a number of tools and ways to make an “imperfect” model look almost perfect. In this article, we’ll tell you what to retouch, how to do it, and what to use.
Retouching isn’t a cure for pictures that are bad to start with: good retouching work has always required a good starting picture. Because of this, our first recommendation is: if you expect you’ll be retouching a picture, shoot it to RAW. Or if you can’t shoot to RAW, then at least shoot to JPEG in the highest available quality. Developing from RAW files lets you create photo files with 48-bit color depth. These are especially suitable for major edits because it’s less likely that the act of editing will cause quality losses (“artifacts”).
Converting from RAW
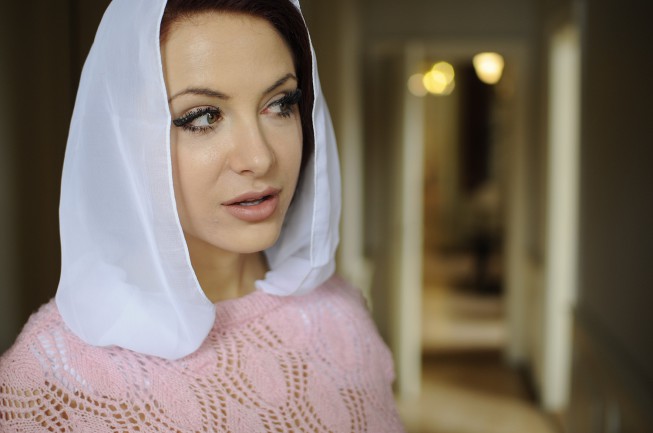
Before making edits to the photo, I switch to Zoner’s RAW module. (If you’re following along and you don’t see the RAW module, you’re not crazy—you’re just using the Home or Free editions, which don’t have RAW.) To make sure I see in perfect detail what I’m doing, I turn on “HQ” at the top left, for High Quality previewing. Only now do I start with retouching. Also, I never start a retouching job without knowing how I want the photo to look at the end. I already have that look in mind while preparing to develop the RAW. But there is a part of that vision—the “painting” part—that I won’t be working on until after the conversion.
Since White Balance adjustment affects so many other things, I start my RAW fixes with White Balance—either via the Eyedropper or manually. Next, I fix the exposure. I don’t worry about contrast yet, because I’ll be adjusting it in a later step. Converting to black-and-white is a great “cheat” for retouching, but I won’t do it here. But I will use a smaller cheat: I’m reducing Clarity by about 15. This makes the skin finer and easier to retouch. If I were going black-and-white, I would leave the Clarity the same or raise it a little (by 10 or less). For color photographs, I recommend lowering saturation by 30. In other words, down to 70.
The last thing I adjust before exporting is the picture’s sharpness. I zoom the preview into the 1:1 zoom level. (There’s a button for this.) In the Sharpness controls, I set the Sharpening radius to 0.8, so that the contours in the picture don’t stand out too much. Then I sharpen the picture to taste using the Sharpening Strength slider. When I see “artifacts,” artificial distortion in the picture, I know I’ve set sharpening too high. (The classic sharpening artifacts are “halos” and excessive contrast at the picture’s contours.)
I’m now ready to develop the RAW. Again, I want high color depth, so I now switch over to the Global Settings tab and choose 48-bit TIFF as my output format. This way I can make more significant changes to the photo while still keeping a nice, constant histogram. That is, to put it simply, the photo will keep on looking good even after my planned edits, with no distortion. Also, since a TIFF file uses lossless compression, unlike JPEG, I can open it, edit it, resave it, and open it again as many times as I want without automatically reducing its quality.
Shortcut Keys Save You Time
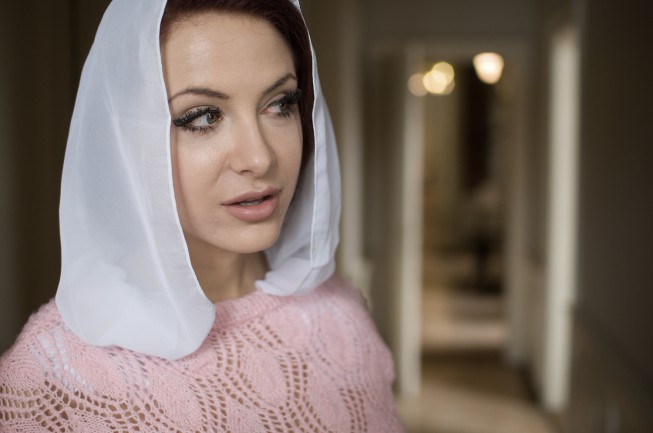
Retouching is exacting, repetitive work, where you’ll really appreciate the convenience of shortcut keys. This goes double for zooming in and out (CTRL + the mouse wheel) and temporarily switching to the Panning tool (hold down the space bar). Just try retouching a photo with and without the help of these shortcuts. You’ll agree that life is harder without them. You may even decide to seek out and use shortcut keys for all your work on computers… which I can heartily recommend!
What Needs Retouching?
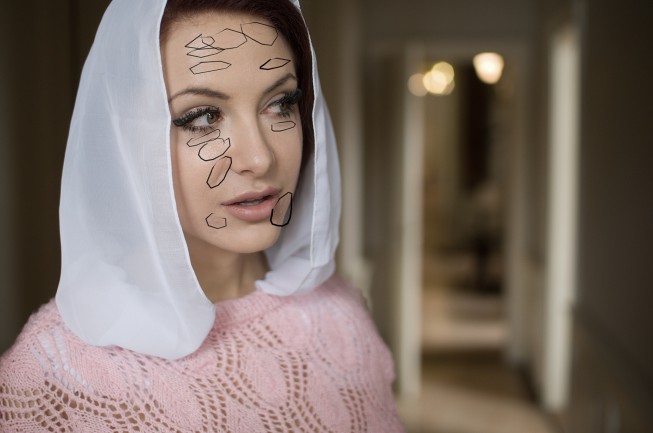
The basic steps in retouching are actually always the same. You start from the largest flaws and work towards the smallest ones. You retouch to remove hair hanging over the face, as well as acne, pimples, and wrinkles. Clothing and the surroundings sometimes also need retouching. Retouch clothing to remove ugly folds or spots. Retouch the surroundings, meanwhile, to remove anything that might distract from the point of the picture. Just retouching the skin is not enough. Retouching the whole photo is the best way to ensure that your final picture will look like a professional photo from an ad or a magazine. But remember, you have to know what goal you have in mind for the photo.
Doing the Retouching
Use the Healing Brush (J) for your actual retouching work. Use this tool instead of the Clone Stamp, because it leaves the skin structure intact. By using the Clone Stamp, you’d only “sand” the skin, making the model look like a wax dummy. To use the Healing Brush, first select a “source” area, a clean part of the skin, by CTRL-clicking it. Select the brush diameter based on whether you are currently doing rough or fine retouching. Work systematically from the roughest parts to the smoothest parts, throughout the photo, or more precisely, throughout the parts you’re retouching.



There are no comments yet.