Colorize Black and White Images: Get Realistic Looking Results in ZPS X
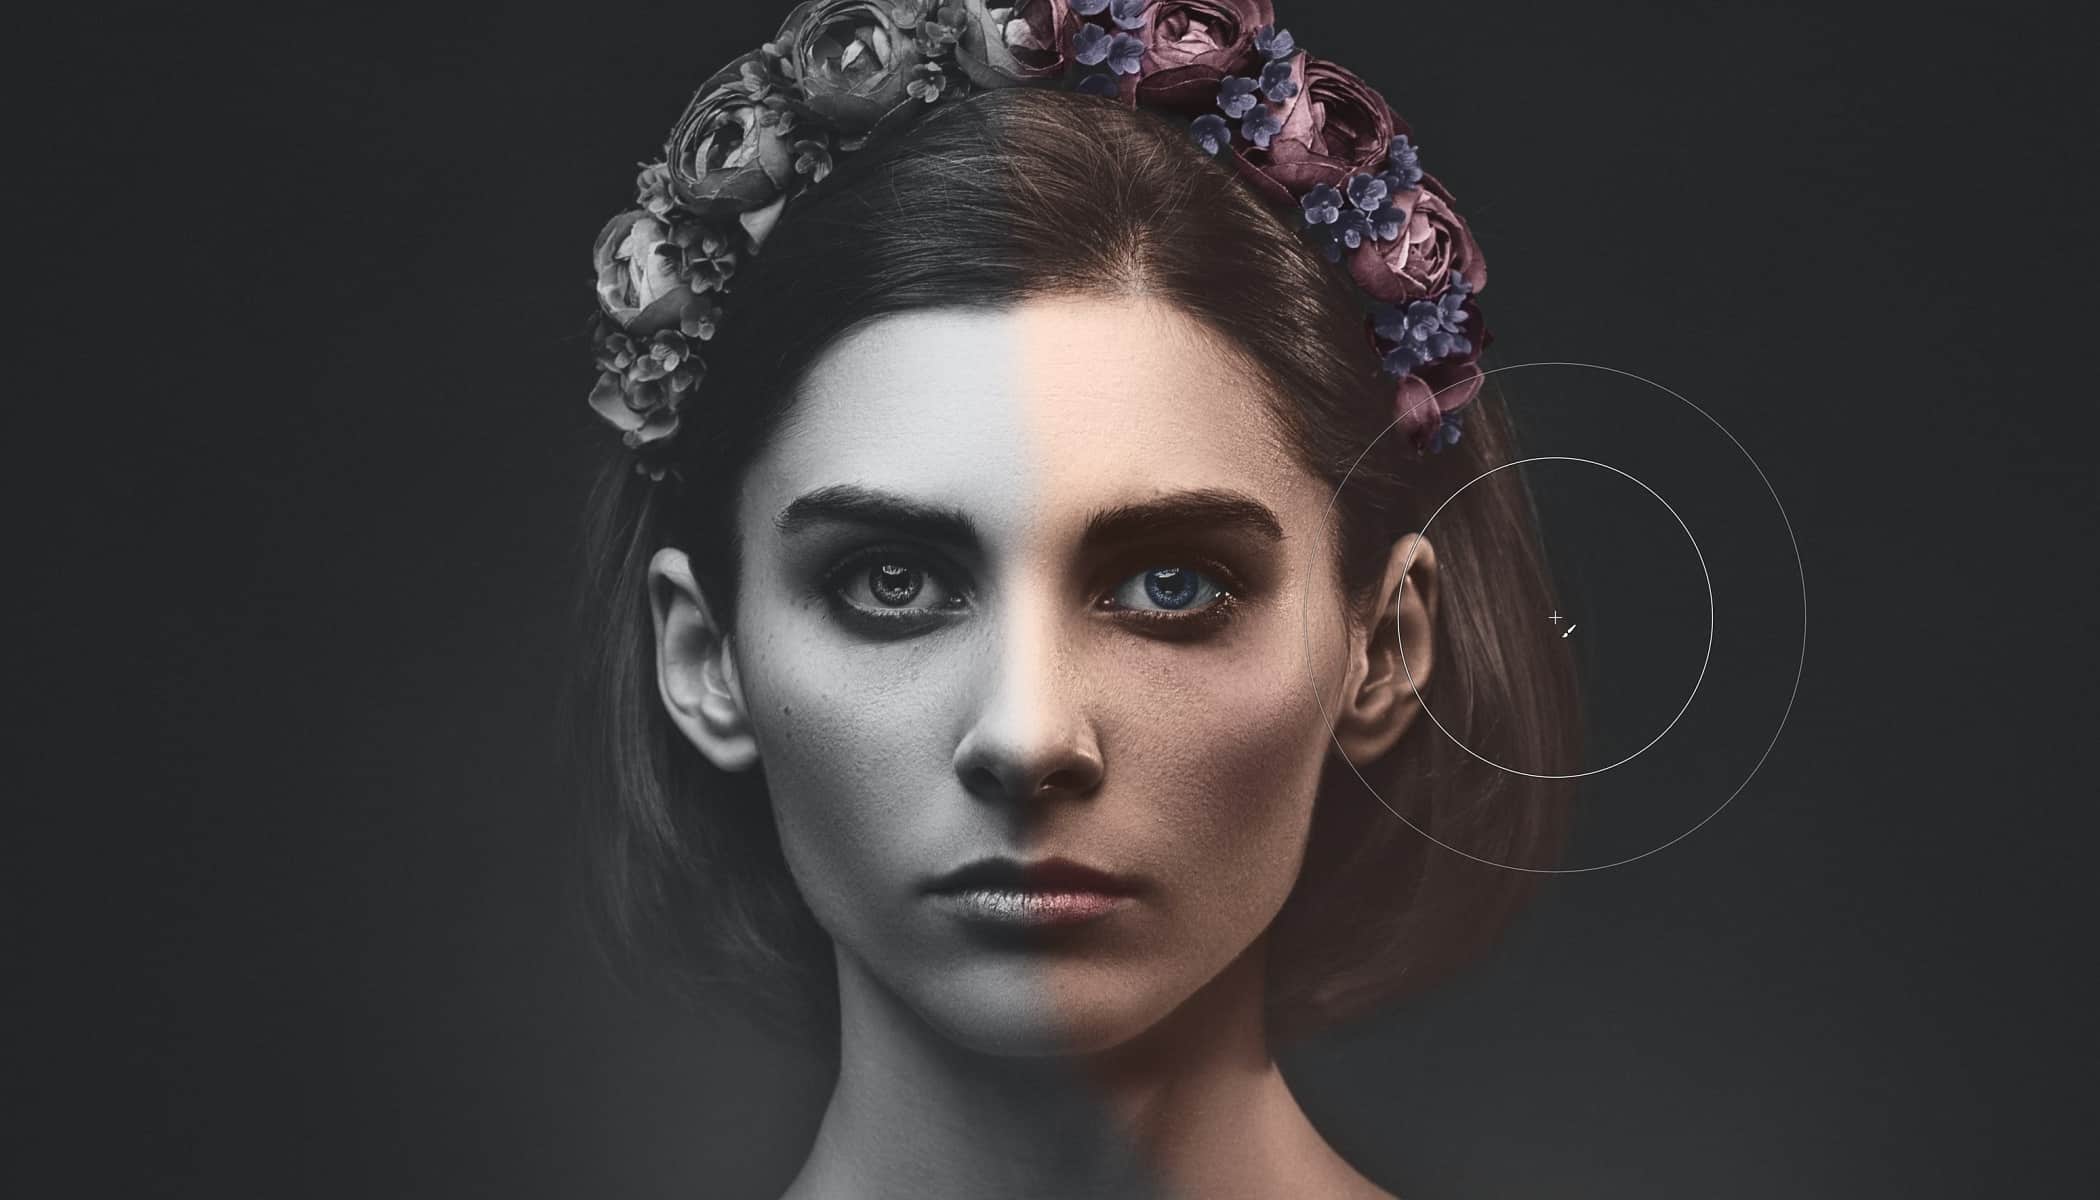
Photo colorization breathes new life into old black-and-white images. You can use the process not only to restore old family photos but also to add some magic to digital ones. Learn how to do realistic colorization of black and white images in Zoner Photo Studio X.
There are a number of ways to colorize black-and-white images. The easiest way is to choose colors from the color palette and then use the Paintbrush in the Editor module to paint directly in the photo. However, we will show you a much more sophisticated method in Zoner Photo Studio X that will give you more realistic results and greater control over your colors.
This tutorial is intermediate level and is intended for photographers who already have some experience working with layers and masks. If you haven’t worked with layers or masks yet, don’t fret. Thorough explanations of both of these can be found in the following articles:
Choose your photo and open it in the Editor module
Almost anyone can find an old black-and-white photo in their family photo albums that is perfect for colorization. After you have chosen one, scan it at a high resolution. If you don’t happen to have an old black-and-white photo but still want to try the colorization process, you can use black-and-white stock photography images.
I purposely didn‘t use a black and white film photo but rather a digital one to more clearly demonstrate the adjustments. As soon as your photograph is selected and ready, open it in the Editor module of Zoner Photo Studio X and we can get started.
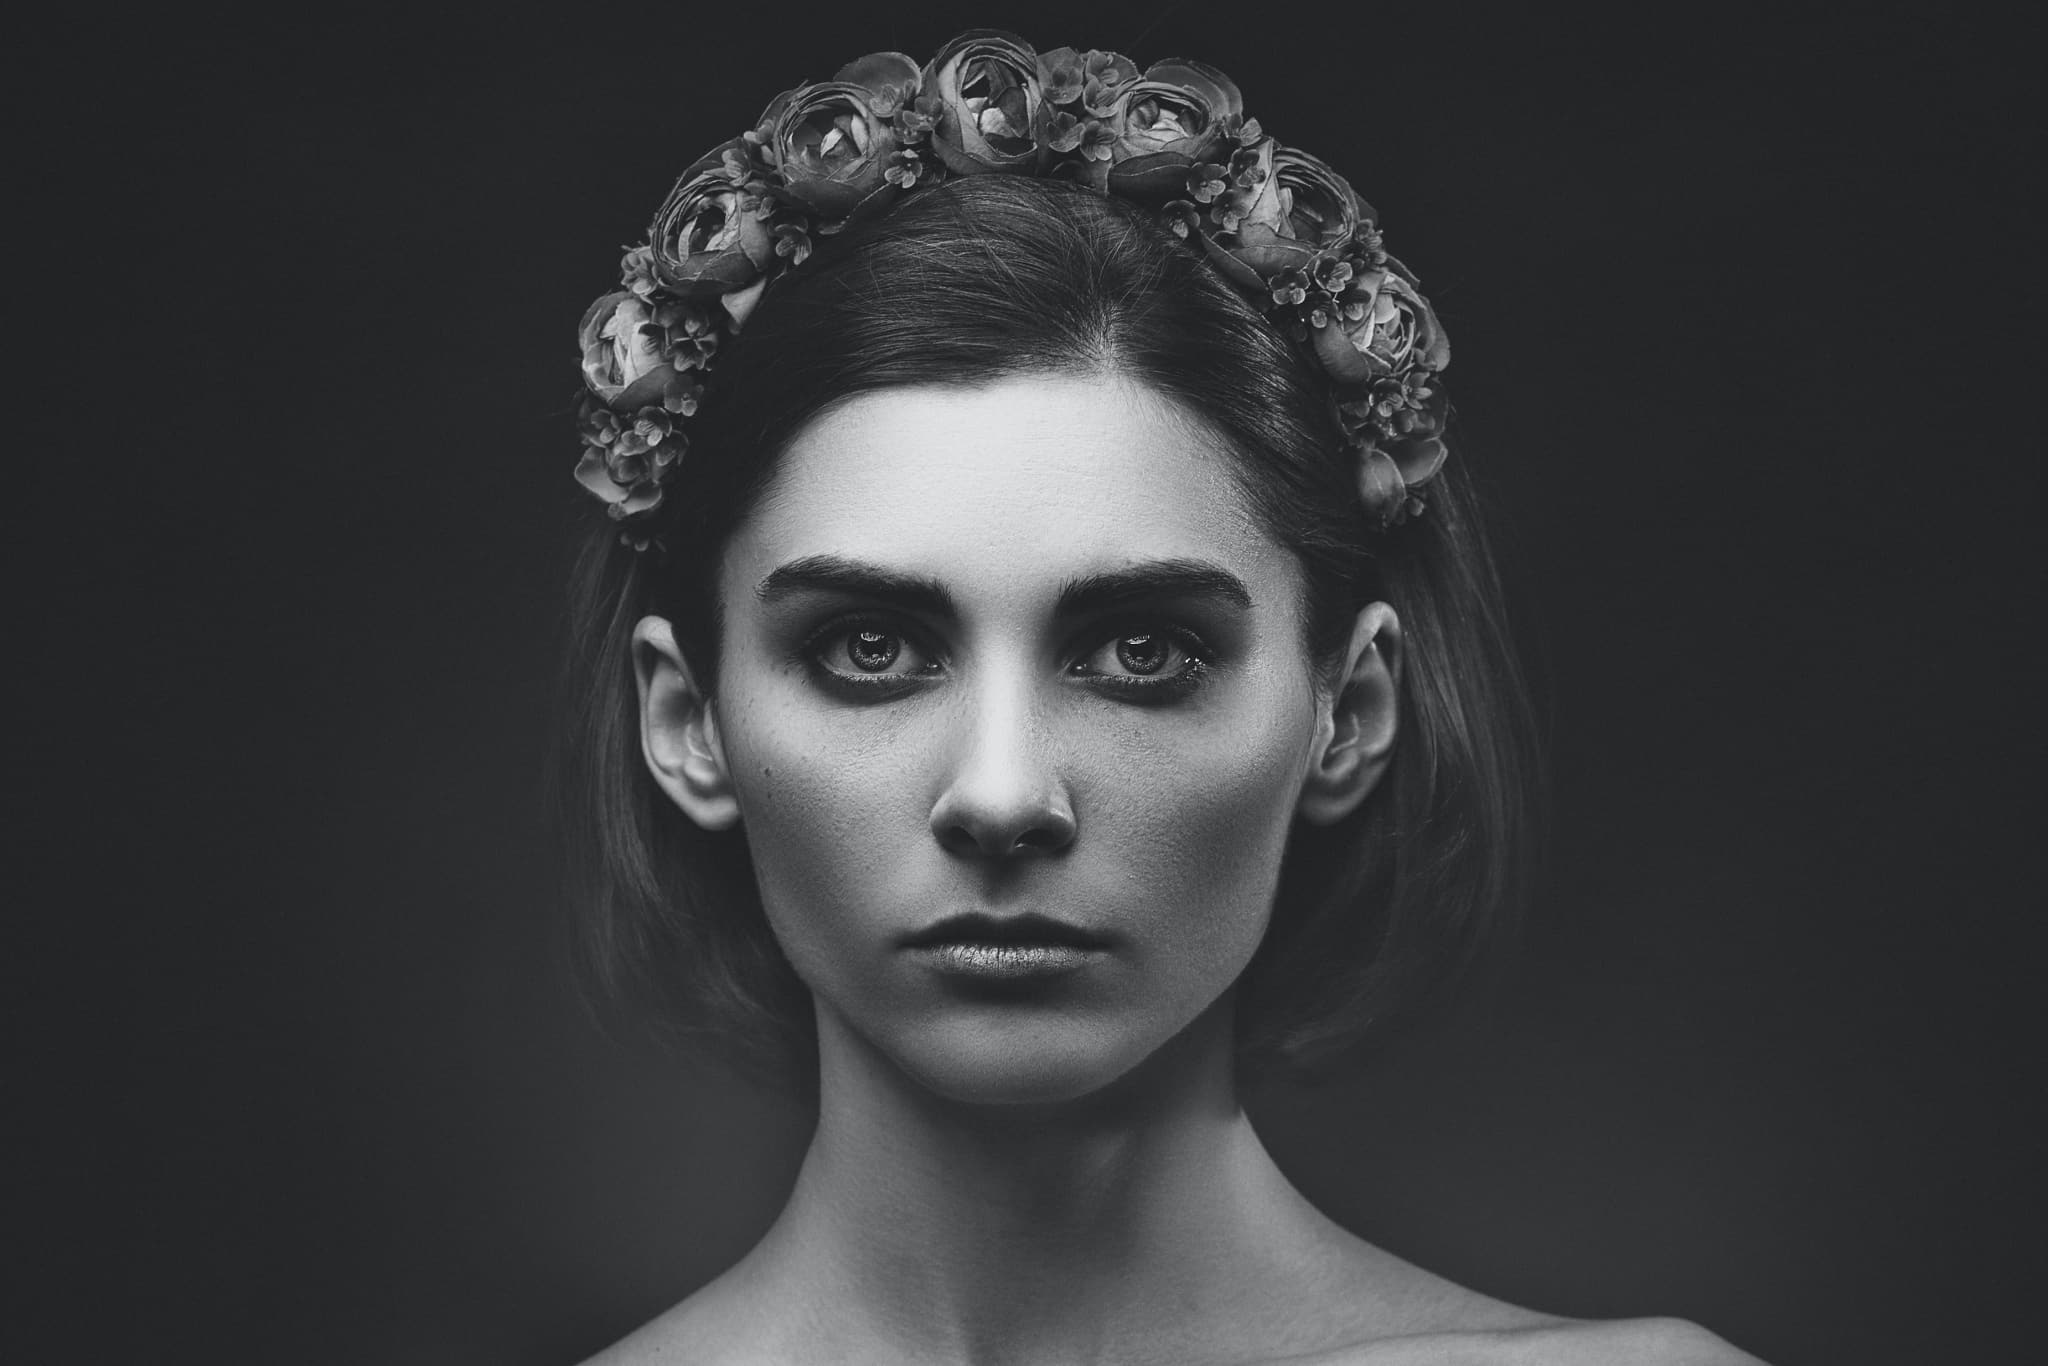
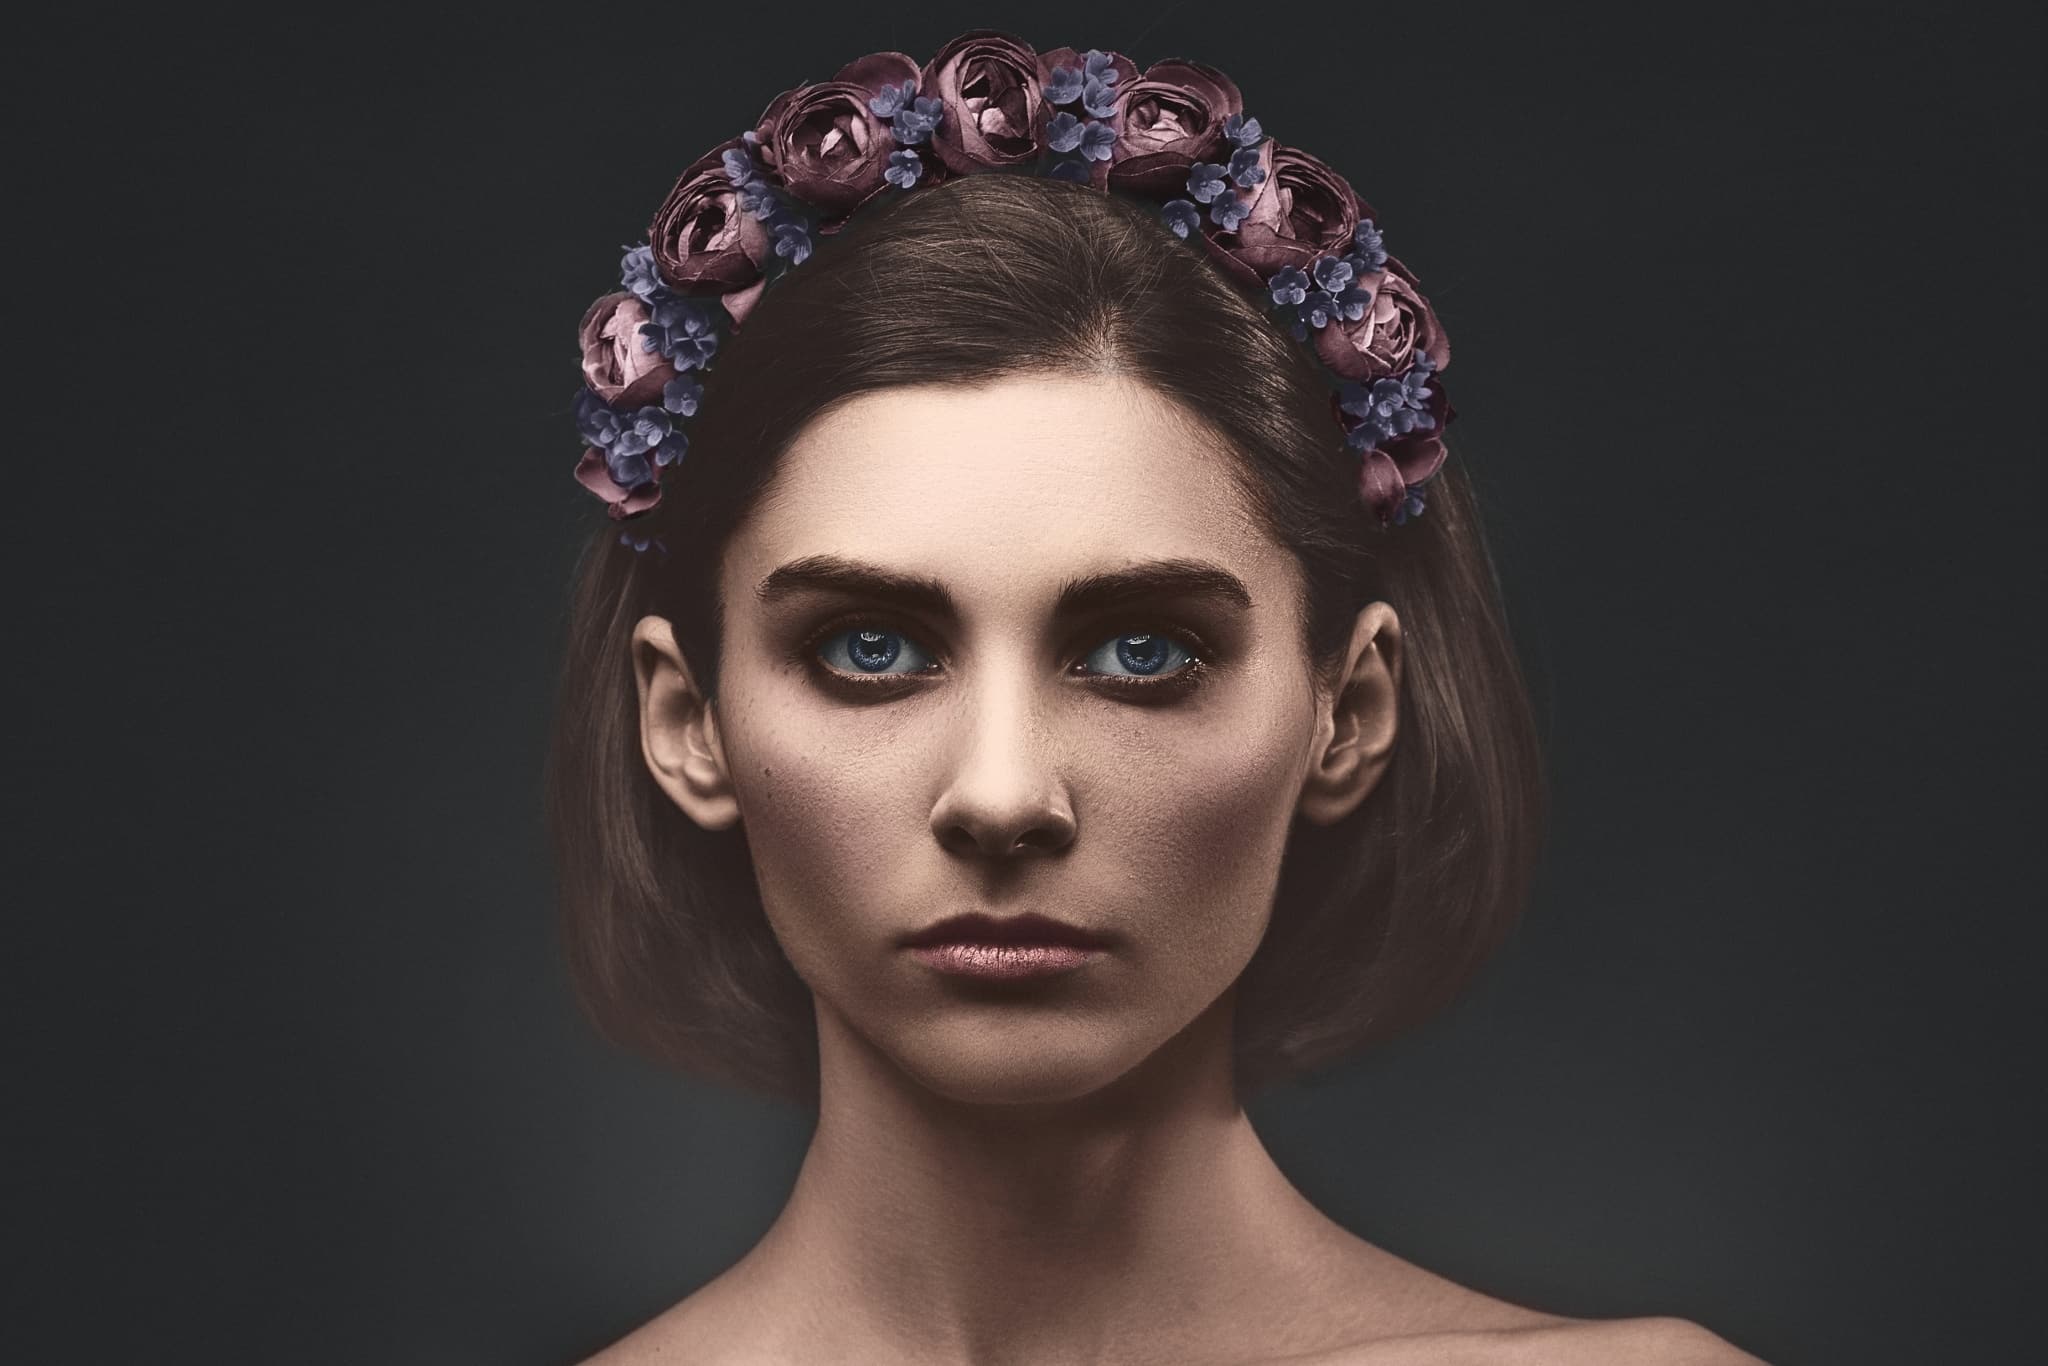
Here’s a sneak peek of what our finished product will look like. Left, before photo colorization. Right, after colorization. Photo credit: Dmytro Tolokonov.
Get started with the Gradient Map
Our main tool will be the Gradient Map. The Gradient Map allows us to colorize areas with varying levels of darkness in the photo using different colors. It can be used to add specific colors to the light areas of the photo or add a completely different color to the dark areas.
The human eye perceives colors in the highlights and shadows differently. This is why you’ll never get a realistic effect if you colorize the entire face using only one color. You need to decide what specific color you want the light and dark areas of the photo to be.
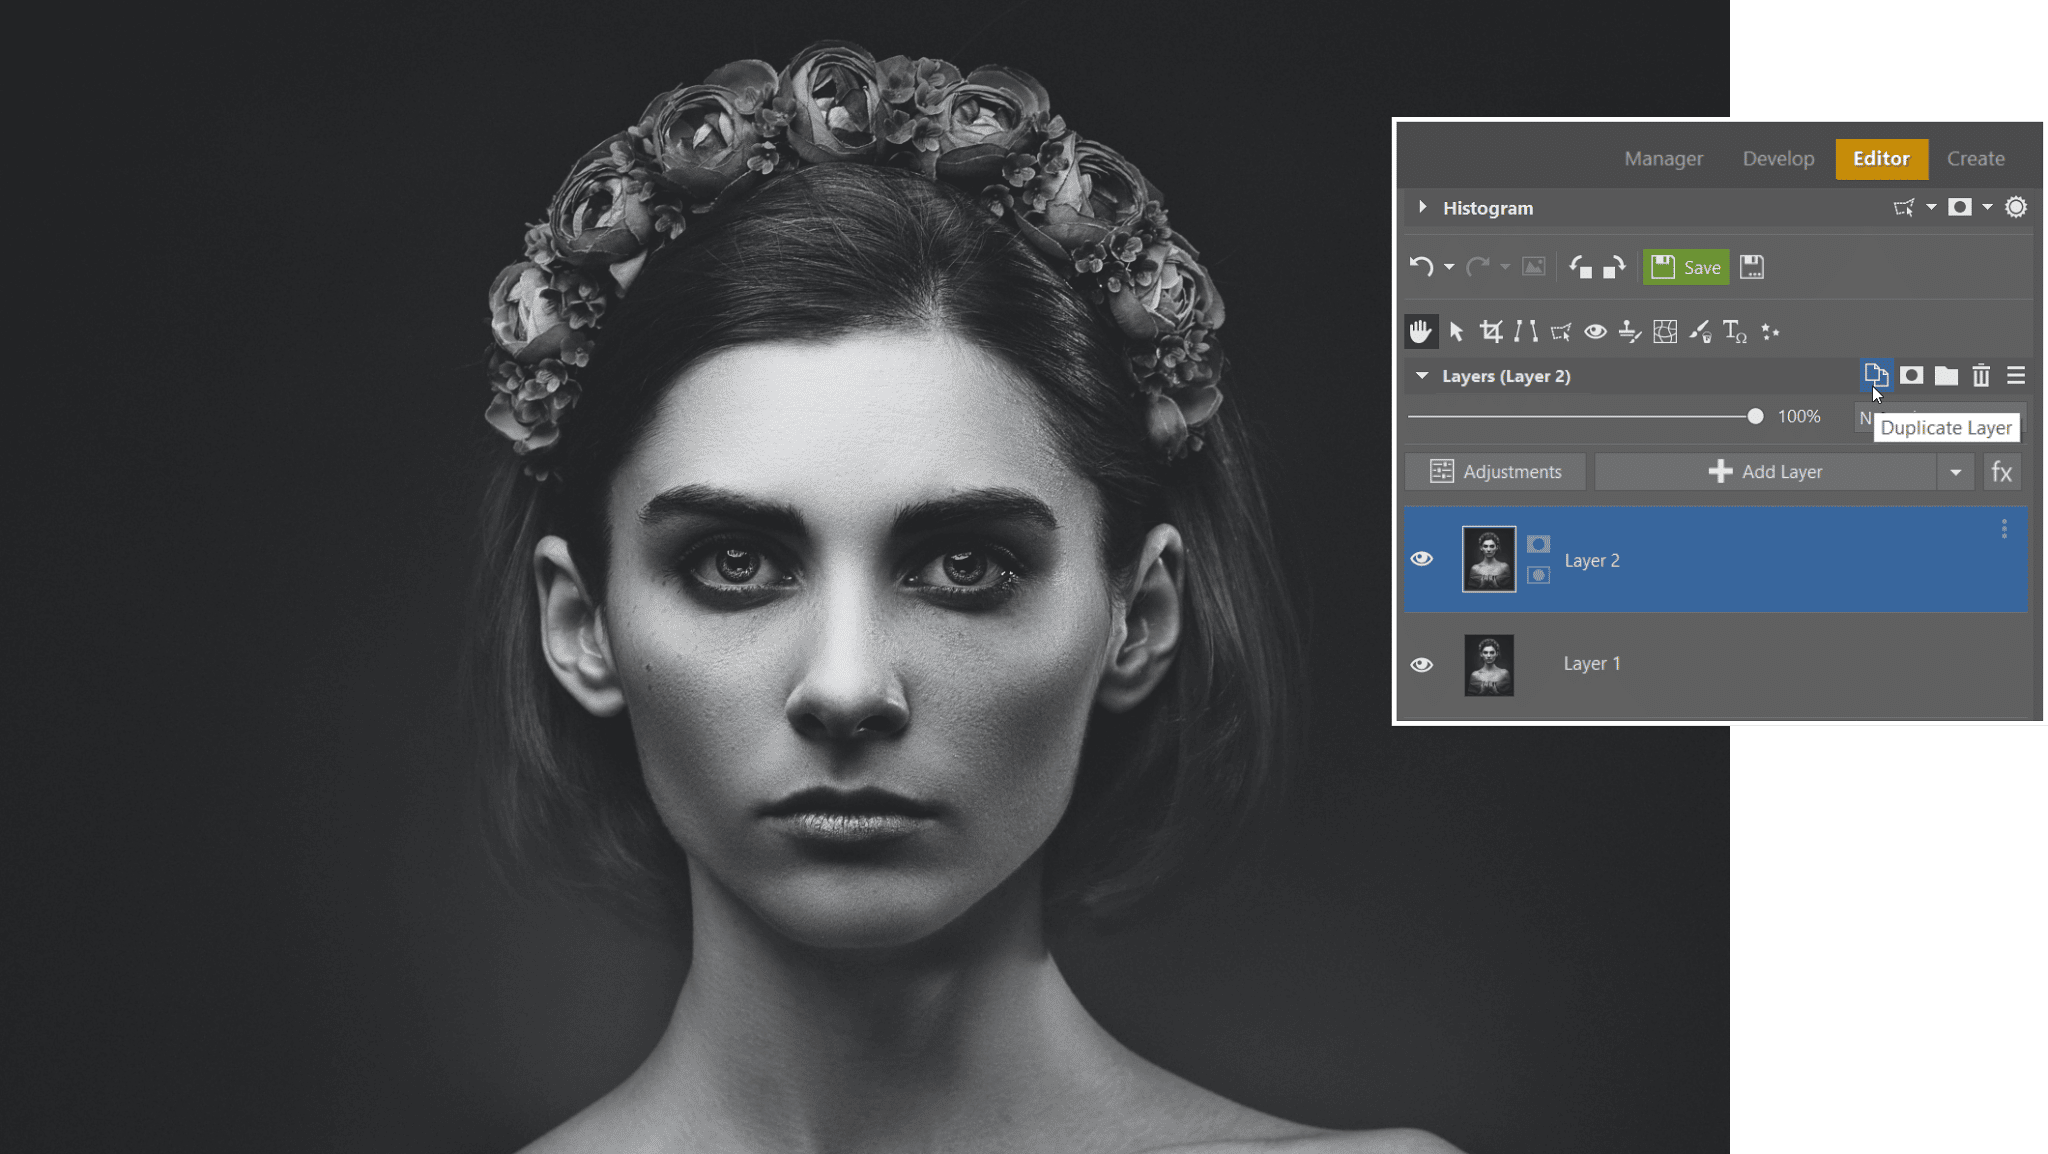
Start by duplicating the layer. The bottom layer will serve not only as a backup but also as a reference point for comparing the photo before and after adjustment.
Next, select Effects -> Gradient Map in the top left menu.
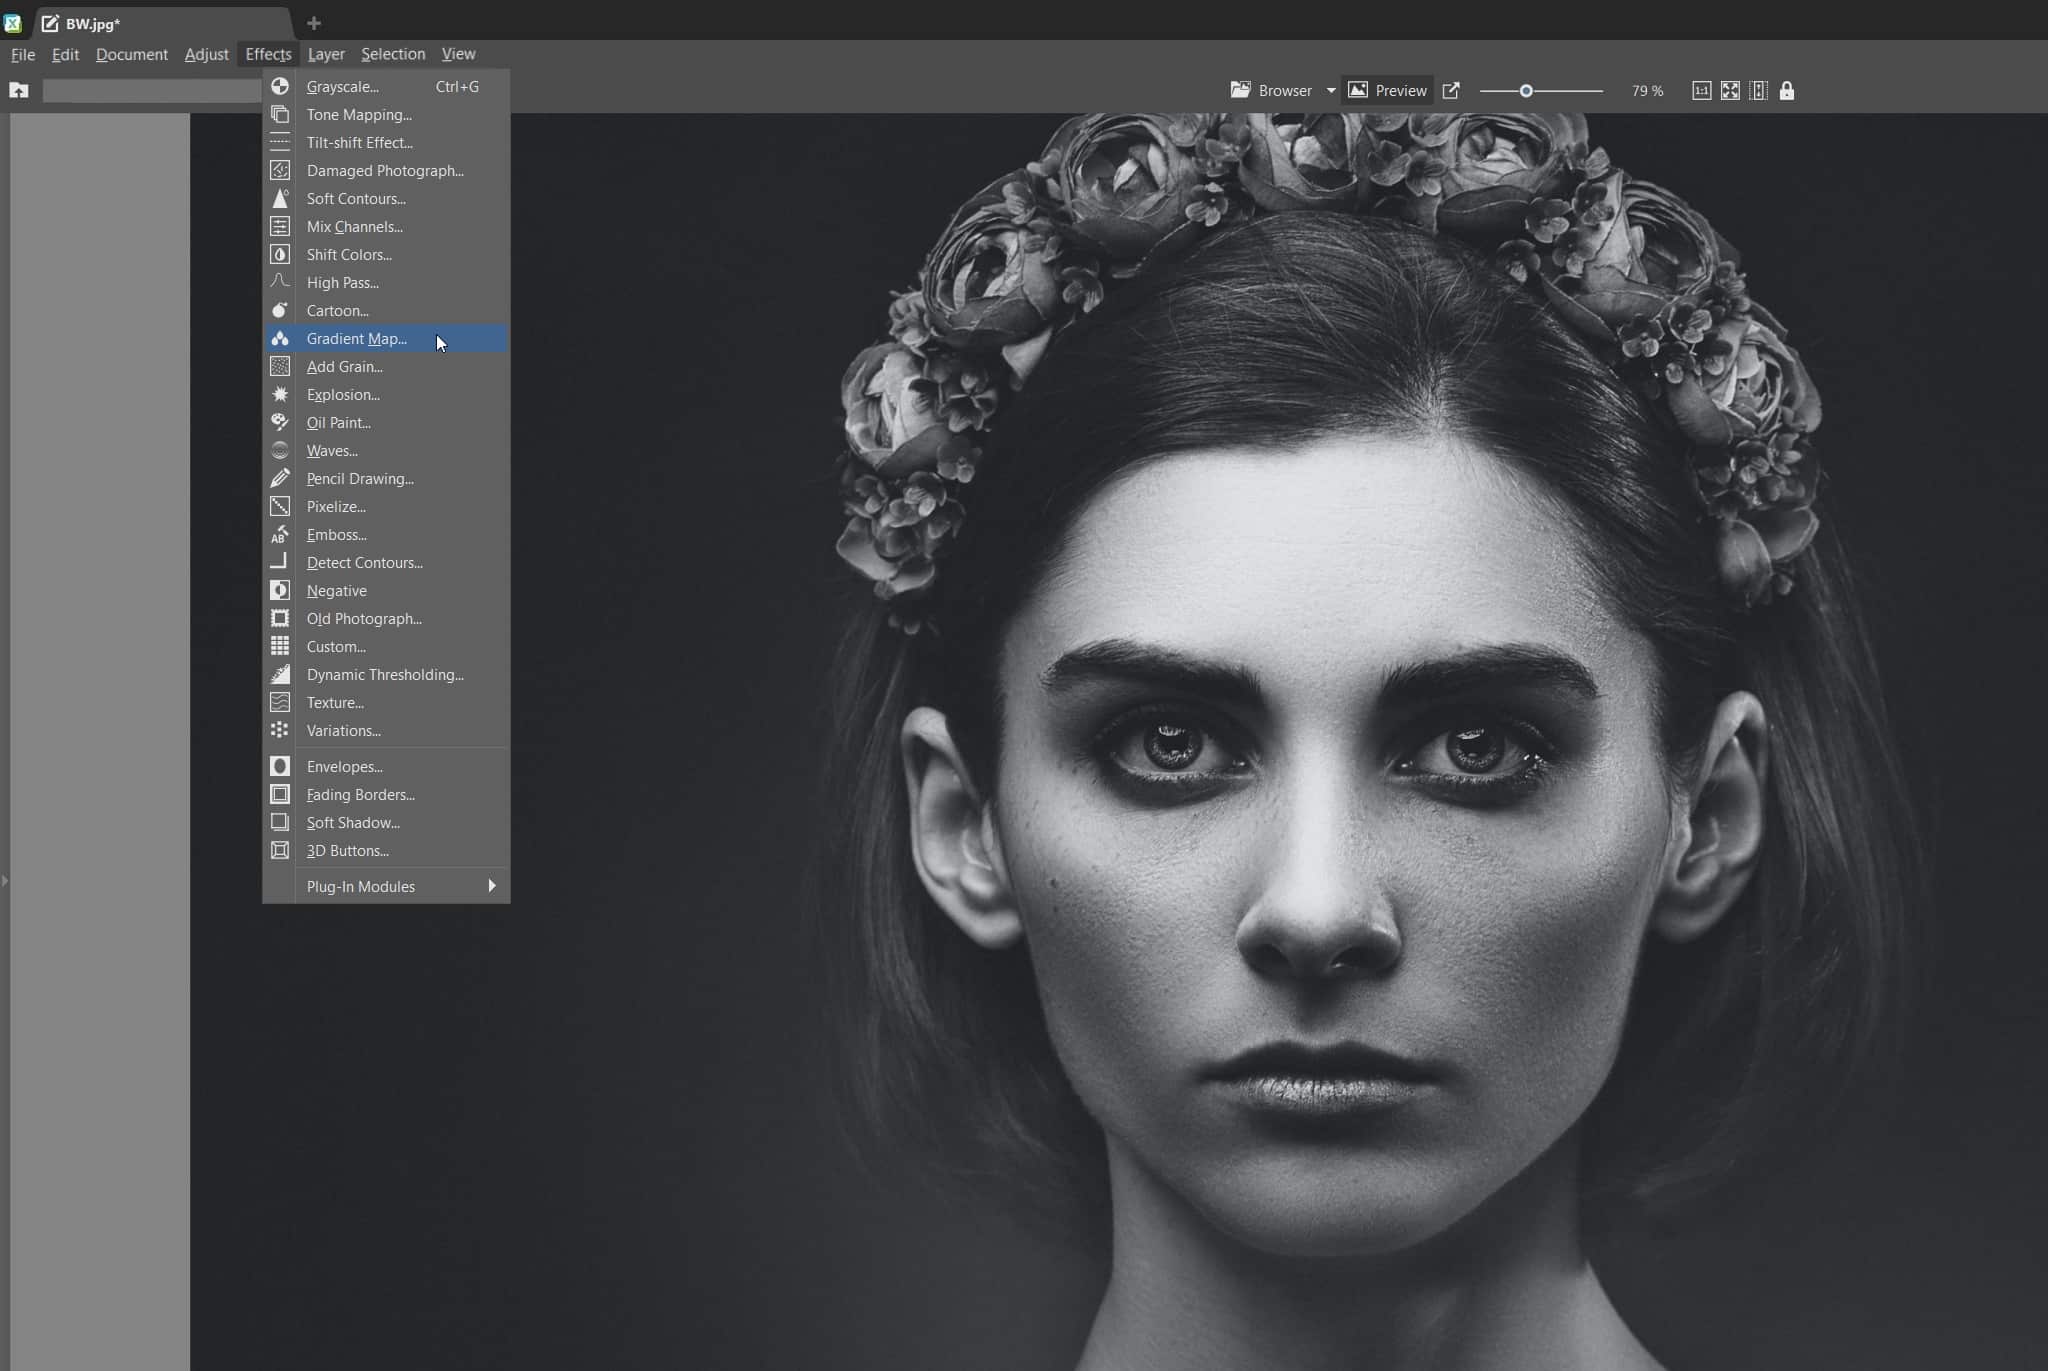
The photo is covered by a gradient map with default or recently-used colors. You probably won’t use these colors now because you first need to choose your own colors for colorization.
Choose the colors you will use to colorize
For the effect to be realistic, you need to choose accurate colors. We don’t recommend simply “eyeballing” the colors but rather using actual colors from other photos. With skin tones in particular, choosing the right color is crucial for a natural-looking result.
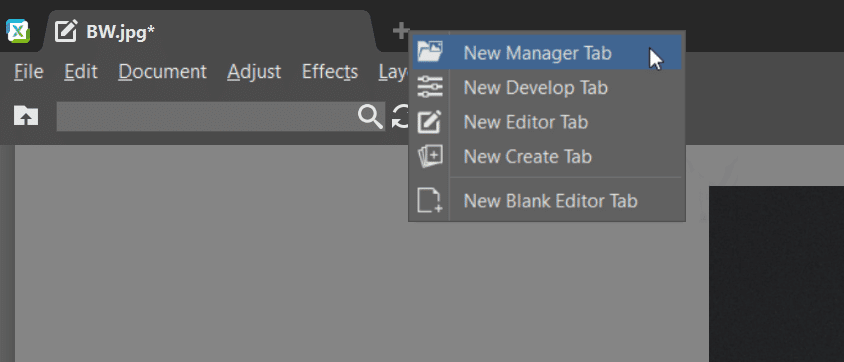
Let’s start with the skin. In a separate tab, open a color photo that is similar in type to the one you want to colorize. Use this photo to choose and save the colors.
Next, in the Editor module, choose and save at least three colors from the photo:
- One of the lightest skin areas
- Another from the darkest skin areas
- The third from the medium-dark skin areas (or alternatively, medium-light)
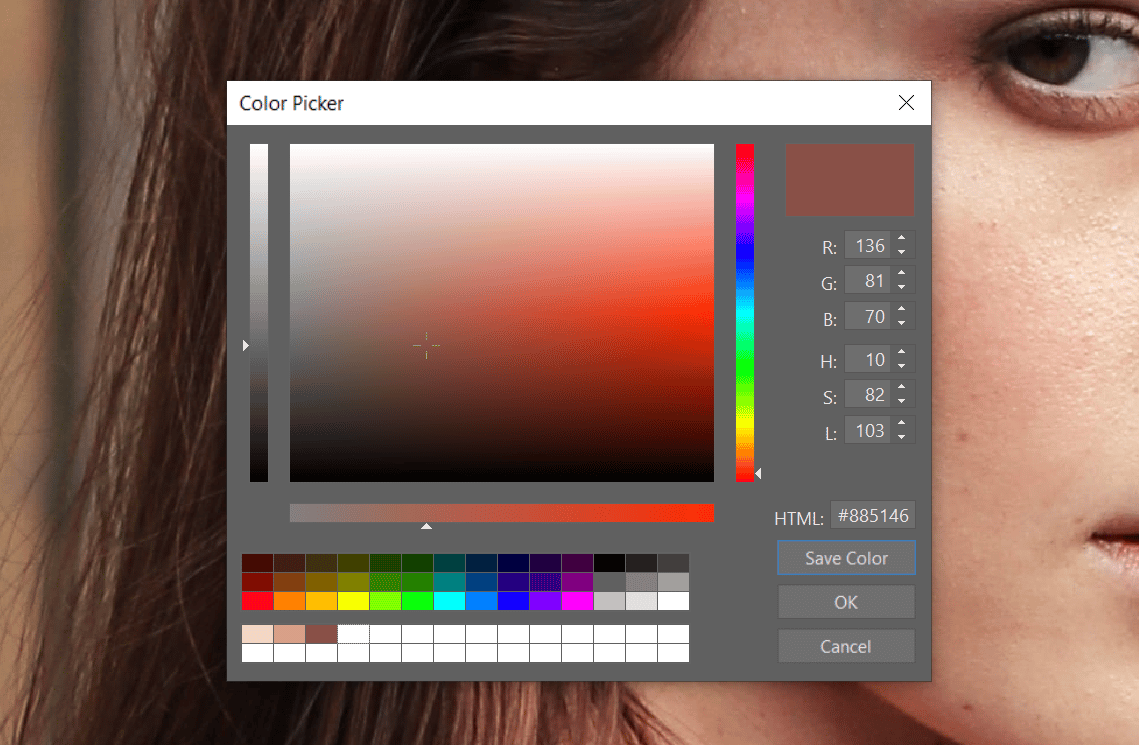
Choose the colors using the Eyedropper in Drawing Tools. I found a portrait on www.unsplash.com that has natural colors and minimal retouching. This is important because skin tones should be as natural as possible.

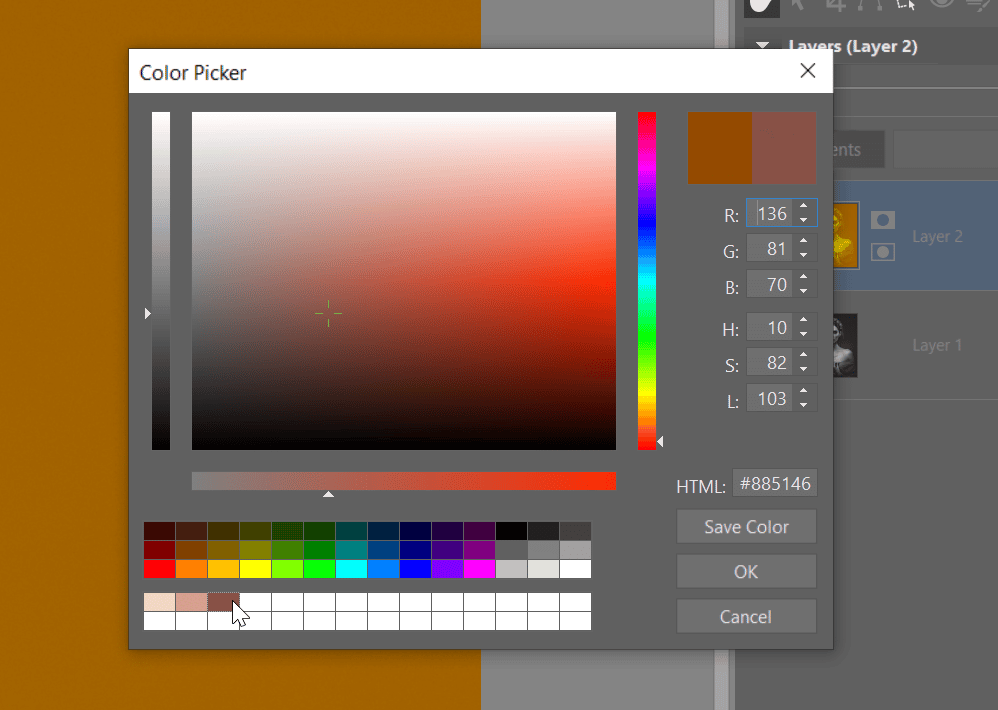
Choose the desired color in the photo using the eyedropper. Click in the color field with the selected color in the right panel and a window opens. Click Save Color. The color is now saved in the color palette. Follow the same procedure to save three colors for:
- The highlights
- The mid tones
- The shadows
Now you have your basic colors for colorizing the skin. For even better results, select more colors for different brightness levels. The three we selected are enough for our demonstration. Now, click back to the black-and-white photo tab, and let’s colorize!
Cover the photo with a gradient map
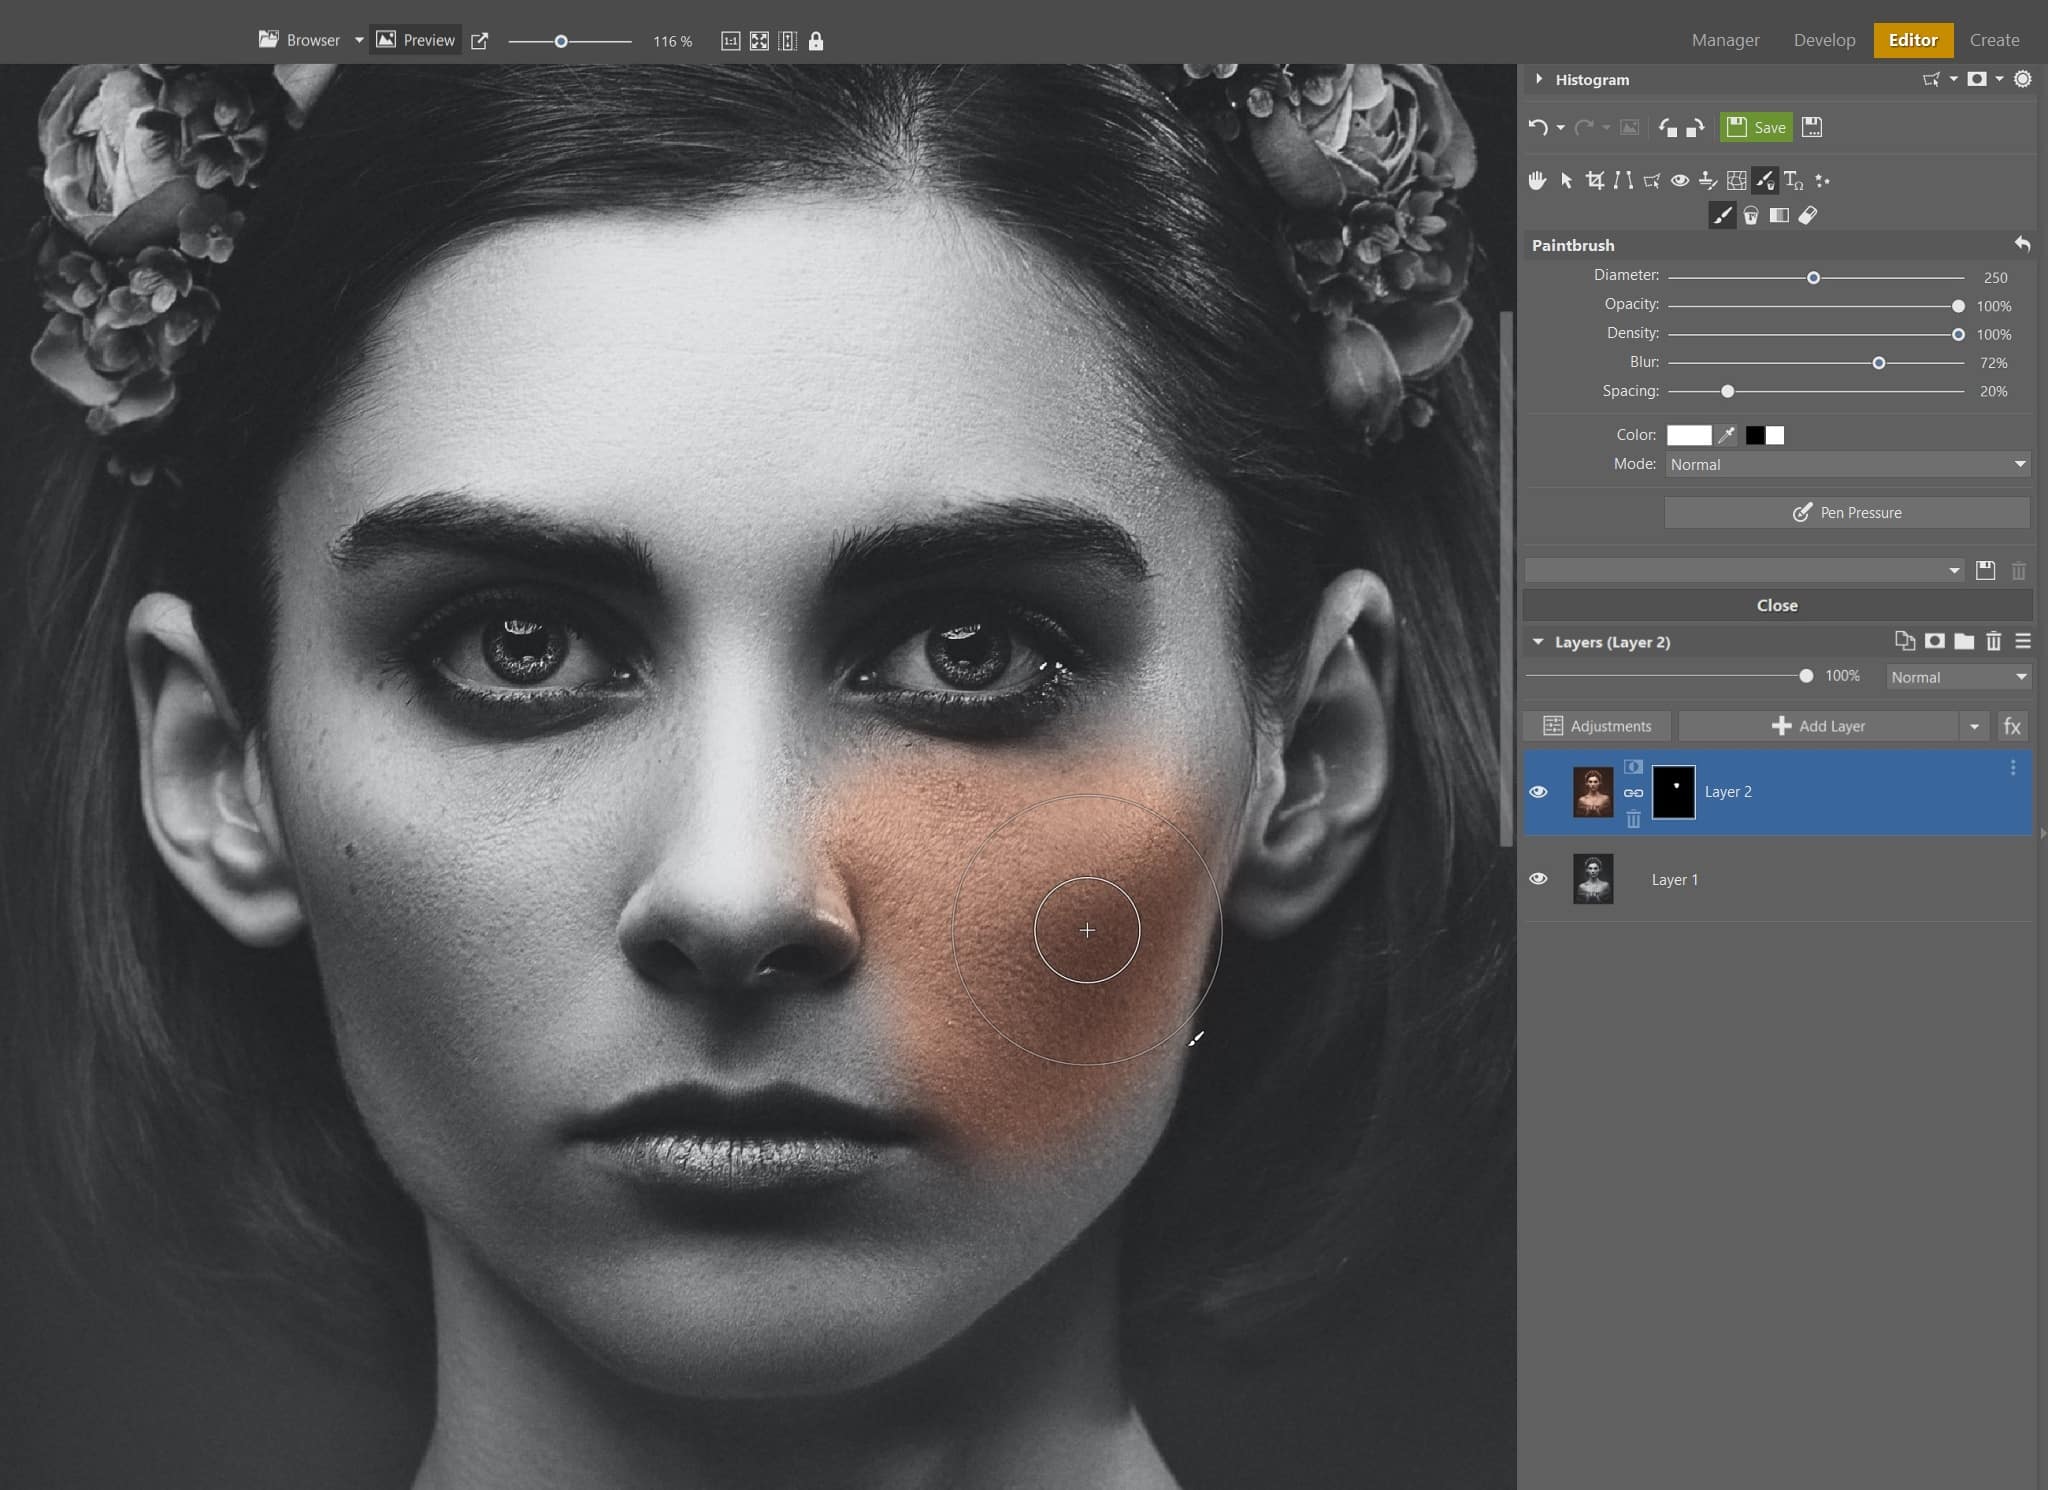
We’re back to our black-and-white photo and the Gradient Map tool. We have all the necessary colors for color grading the skin saved and we now need to use them to create a gradient map. In order to do so, we’ll use the three areas indicated in the following picture.
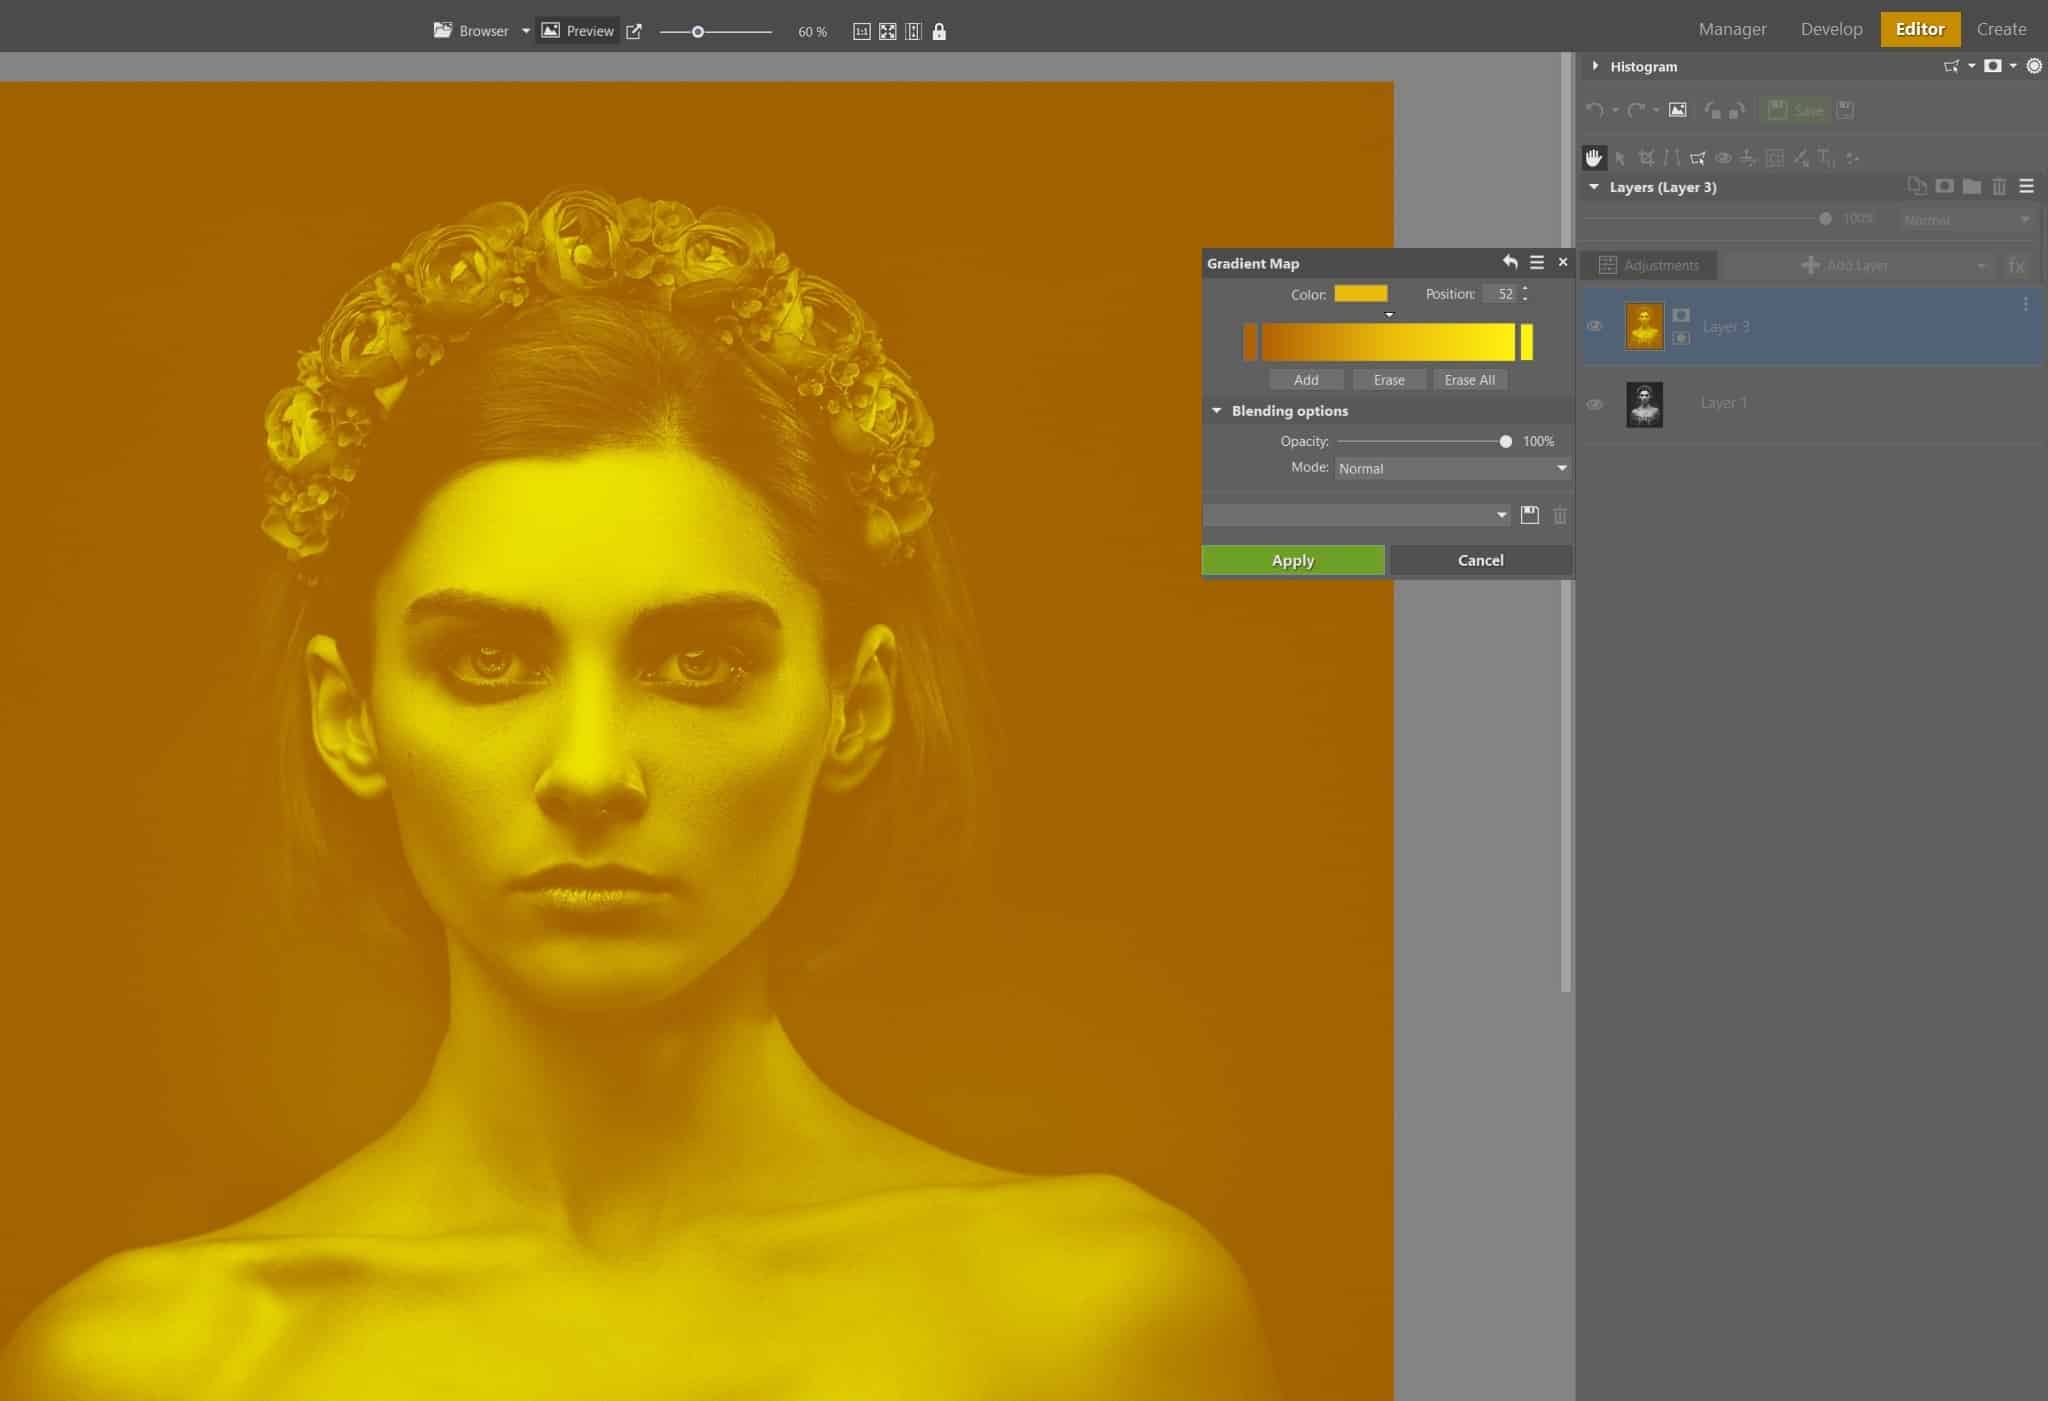
Click the color field on the left and add color to the darkest areas of the photo. Click the field on the right to add color to the lightest areas. Double-click the transition areas to add color to the midtones.
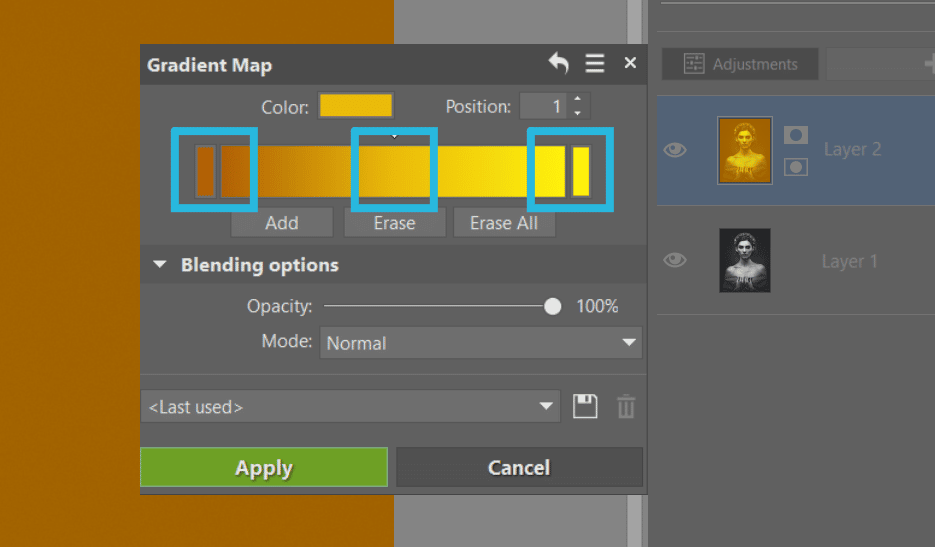
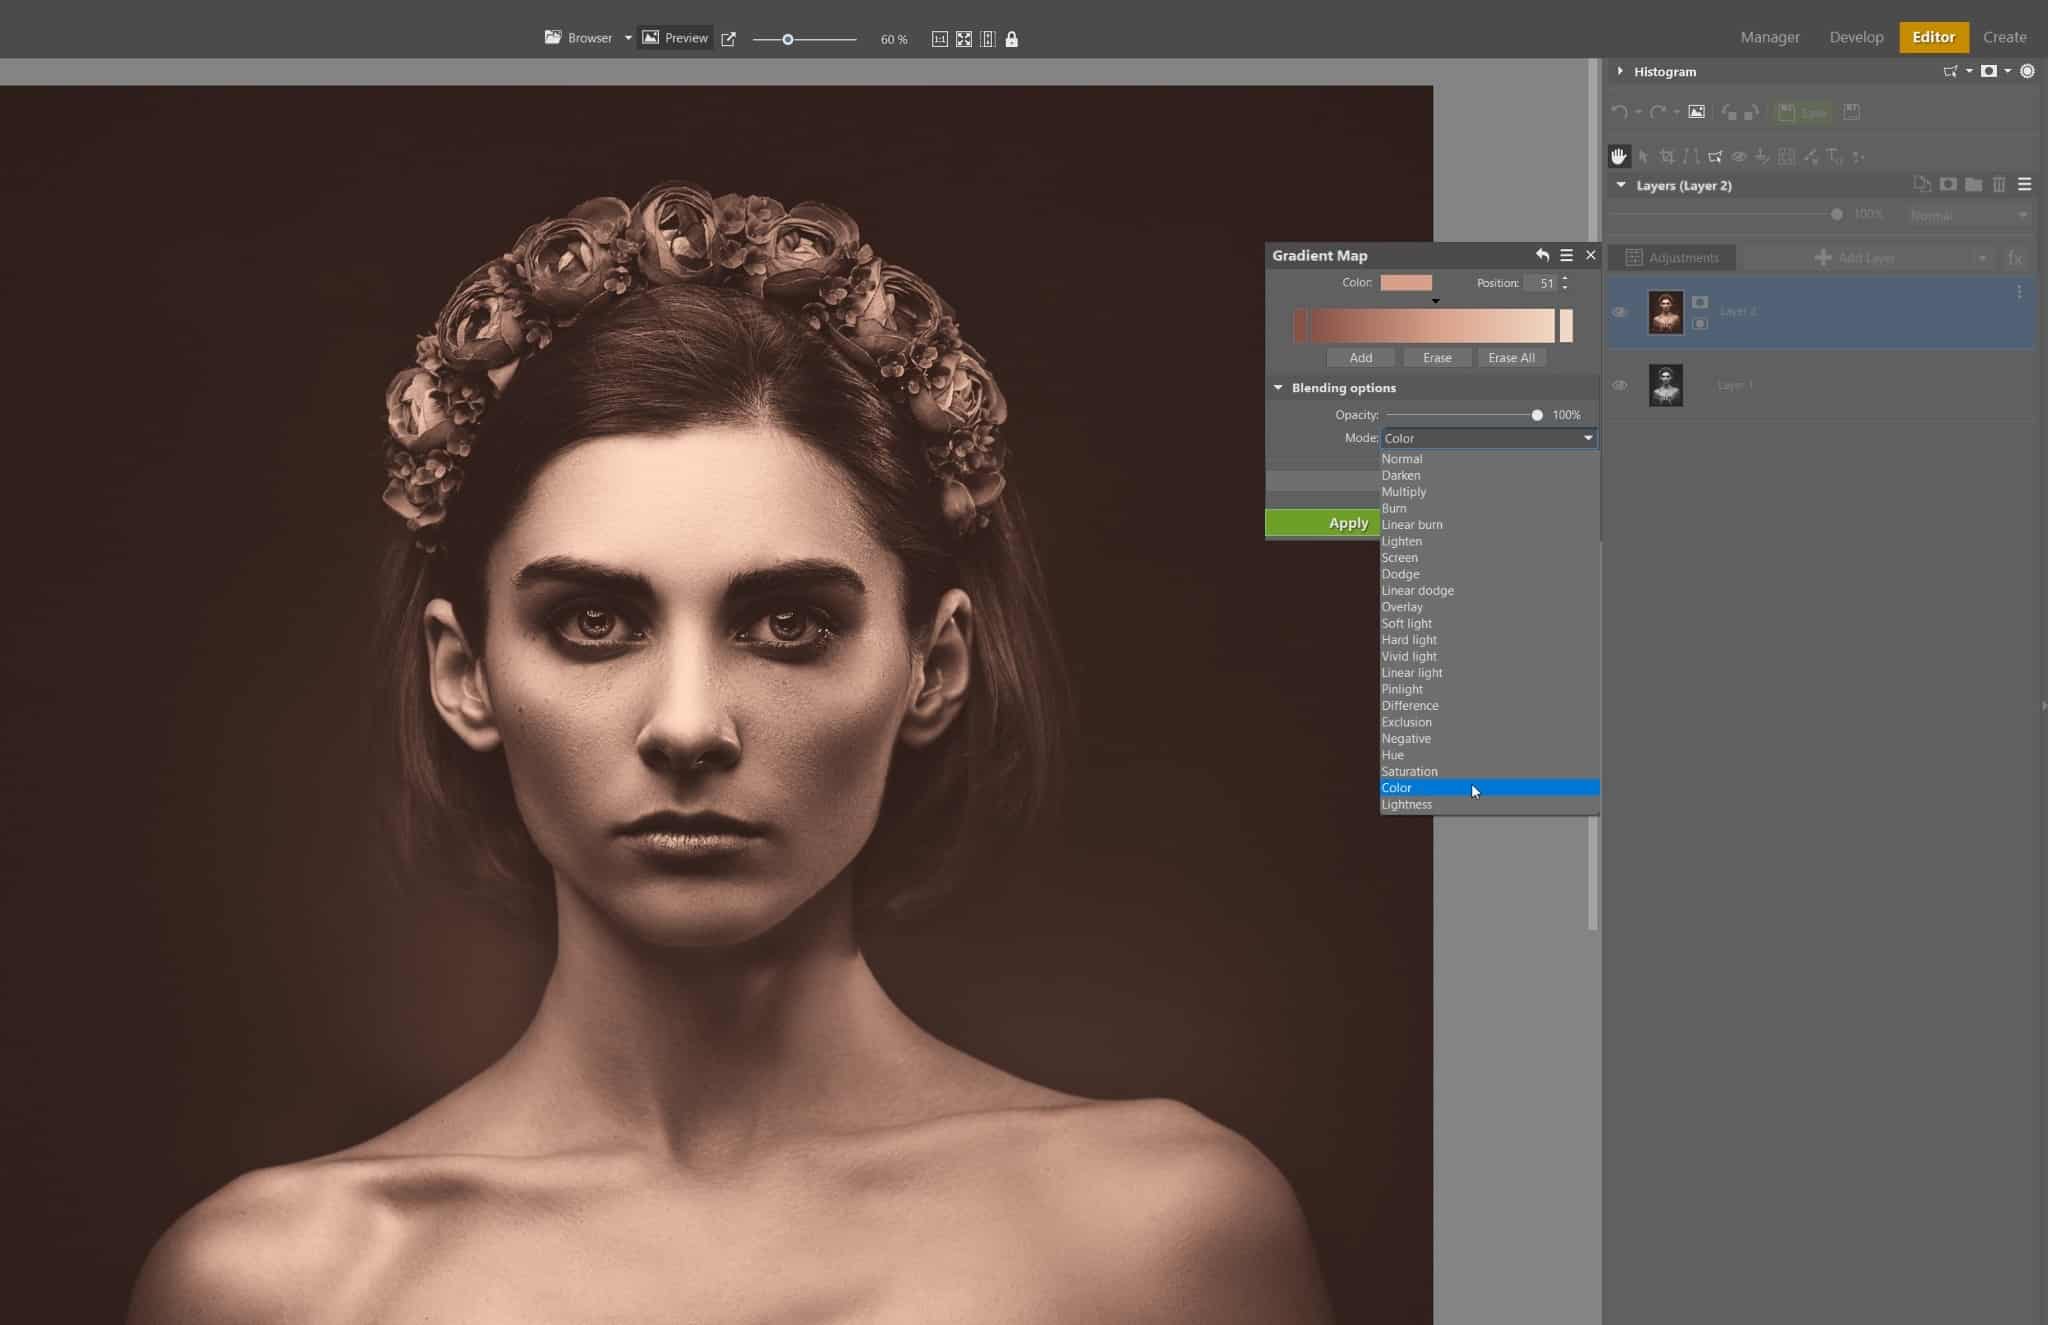
Finally, select the Color mode under Blending options and click Apply. Now we are ready for the next step – adding the mask.
Add a mask
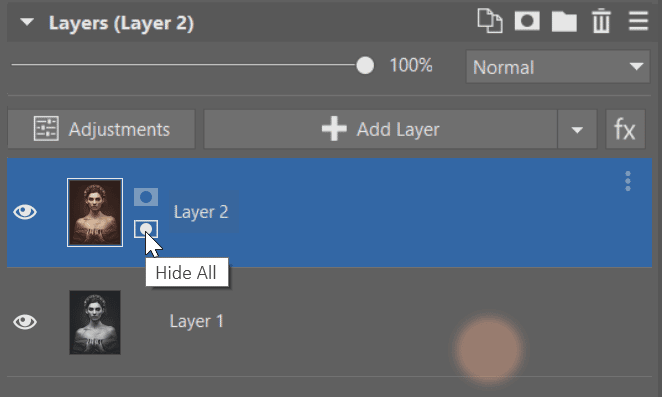
The entire photo is now covered with the desired gradient map. Various levels of brightness have their own color assigned to them. We don’t want to colorize the whole photo using one color. We are only concerned with the skin now. We use a mask that will help us add color to only the desired areas. Add a mask and select Hide All.
From this point on, how good your results are depends on how meticulous you are. Every area of skin (or any other surface) should be colorized with its own separate color. Don’t be afraid to paint outside the lines. If you happen to go outside the lines, just change to a black paintbrush to easily fix the area.
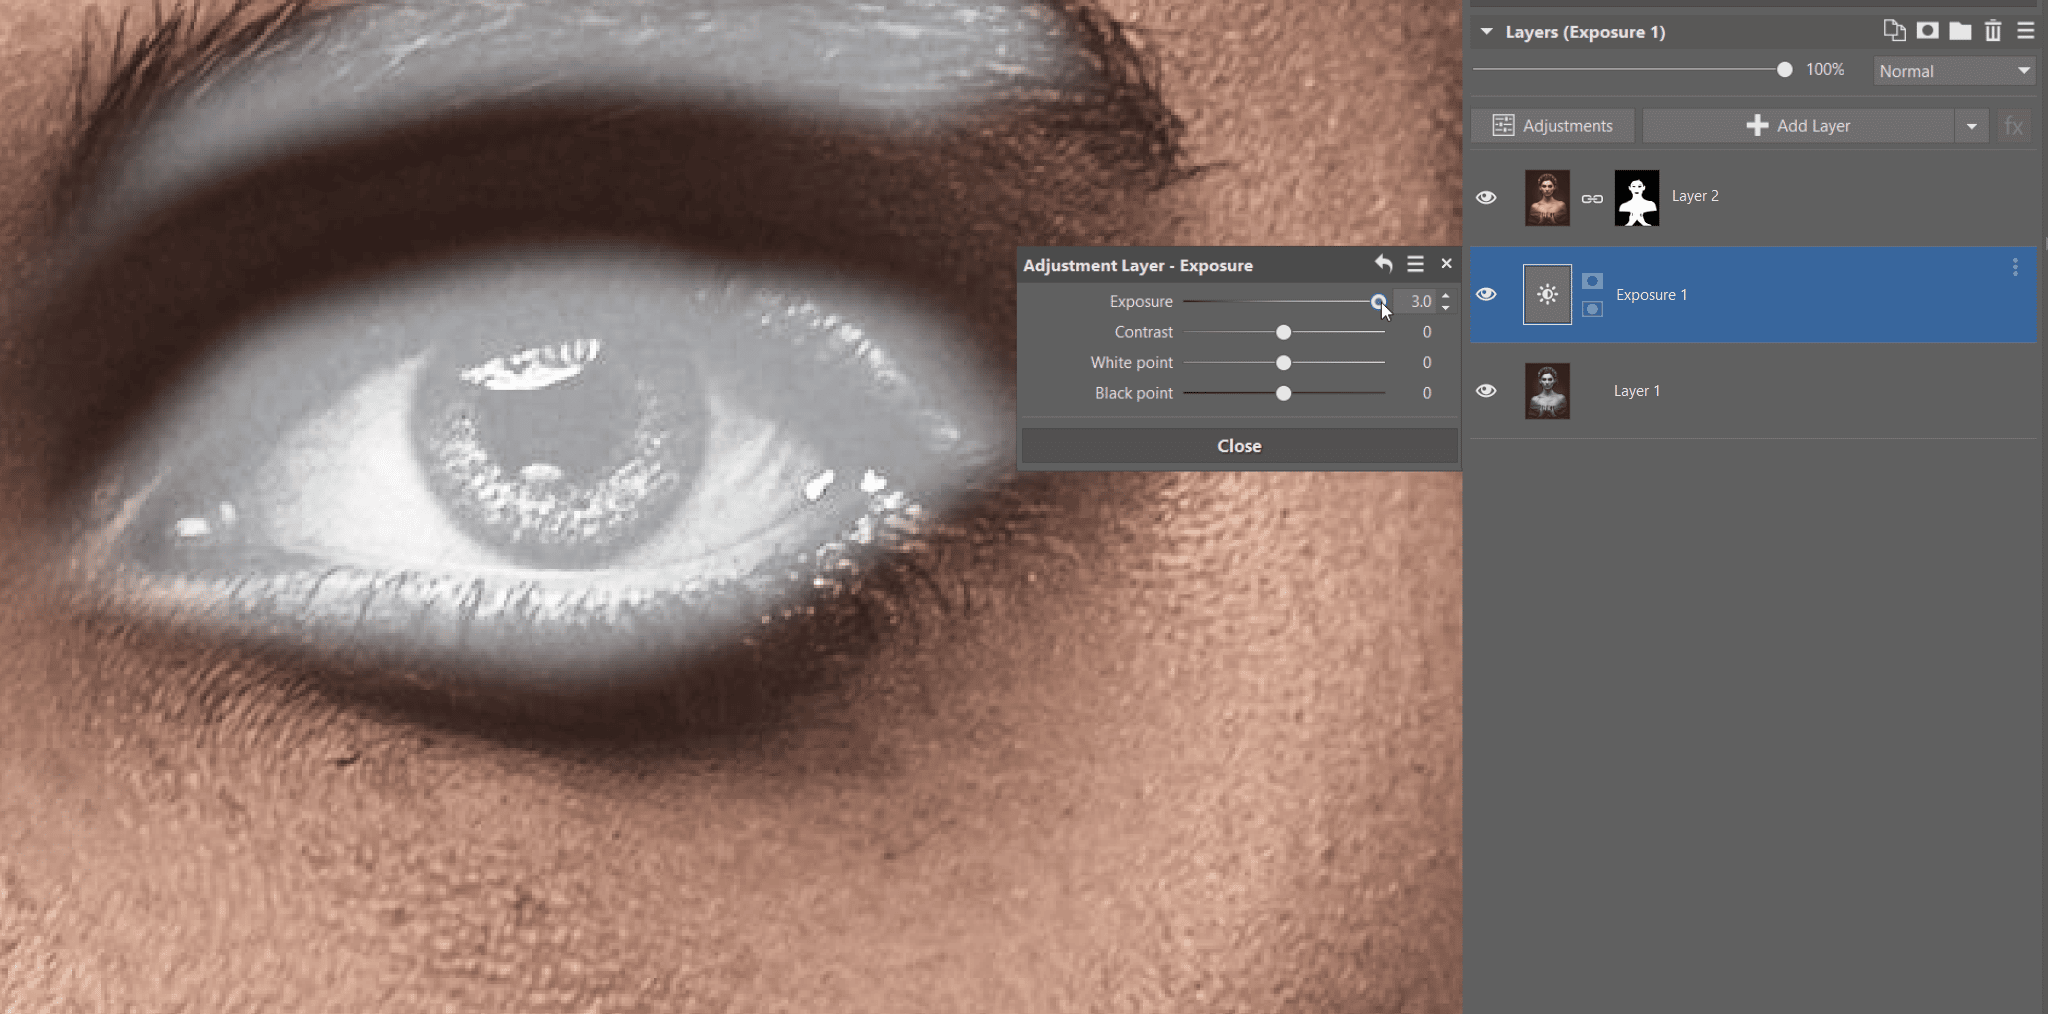
TIP: You may not be able to perfectly see where the skin ends and other things, such as clothing or hair begin, especially in dark areas. Add an Exposure adjustment layer beneath the mask layer (+Add layer -> Exposure) and increase the exposure to a positive value. You’ll be able to see where you are painting in the dark areas more clearly. As soon as you are finished, delete the Exposure layer or hide it by clicking the eye icon in the layer list.
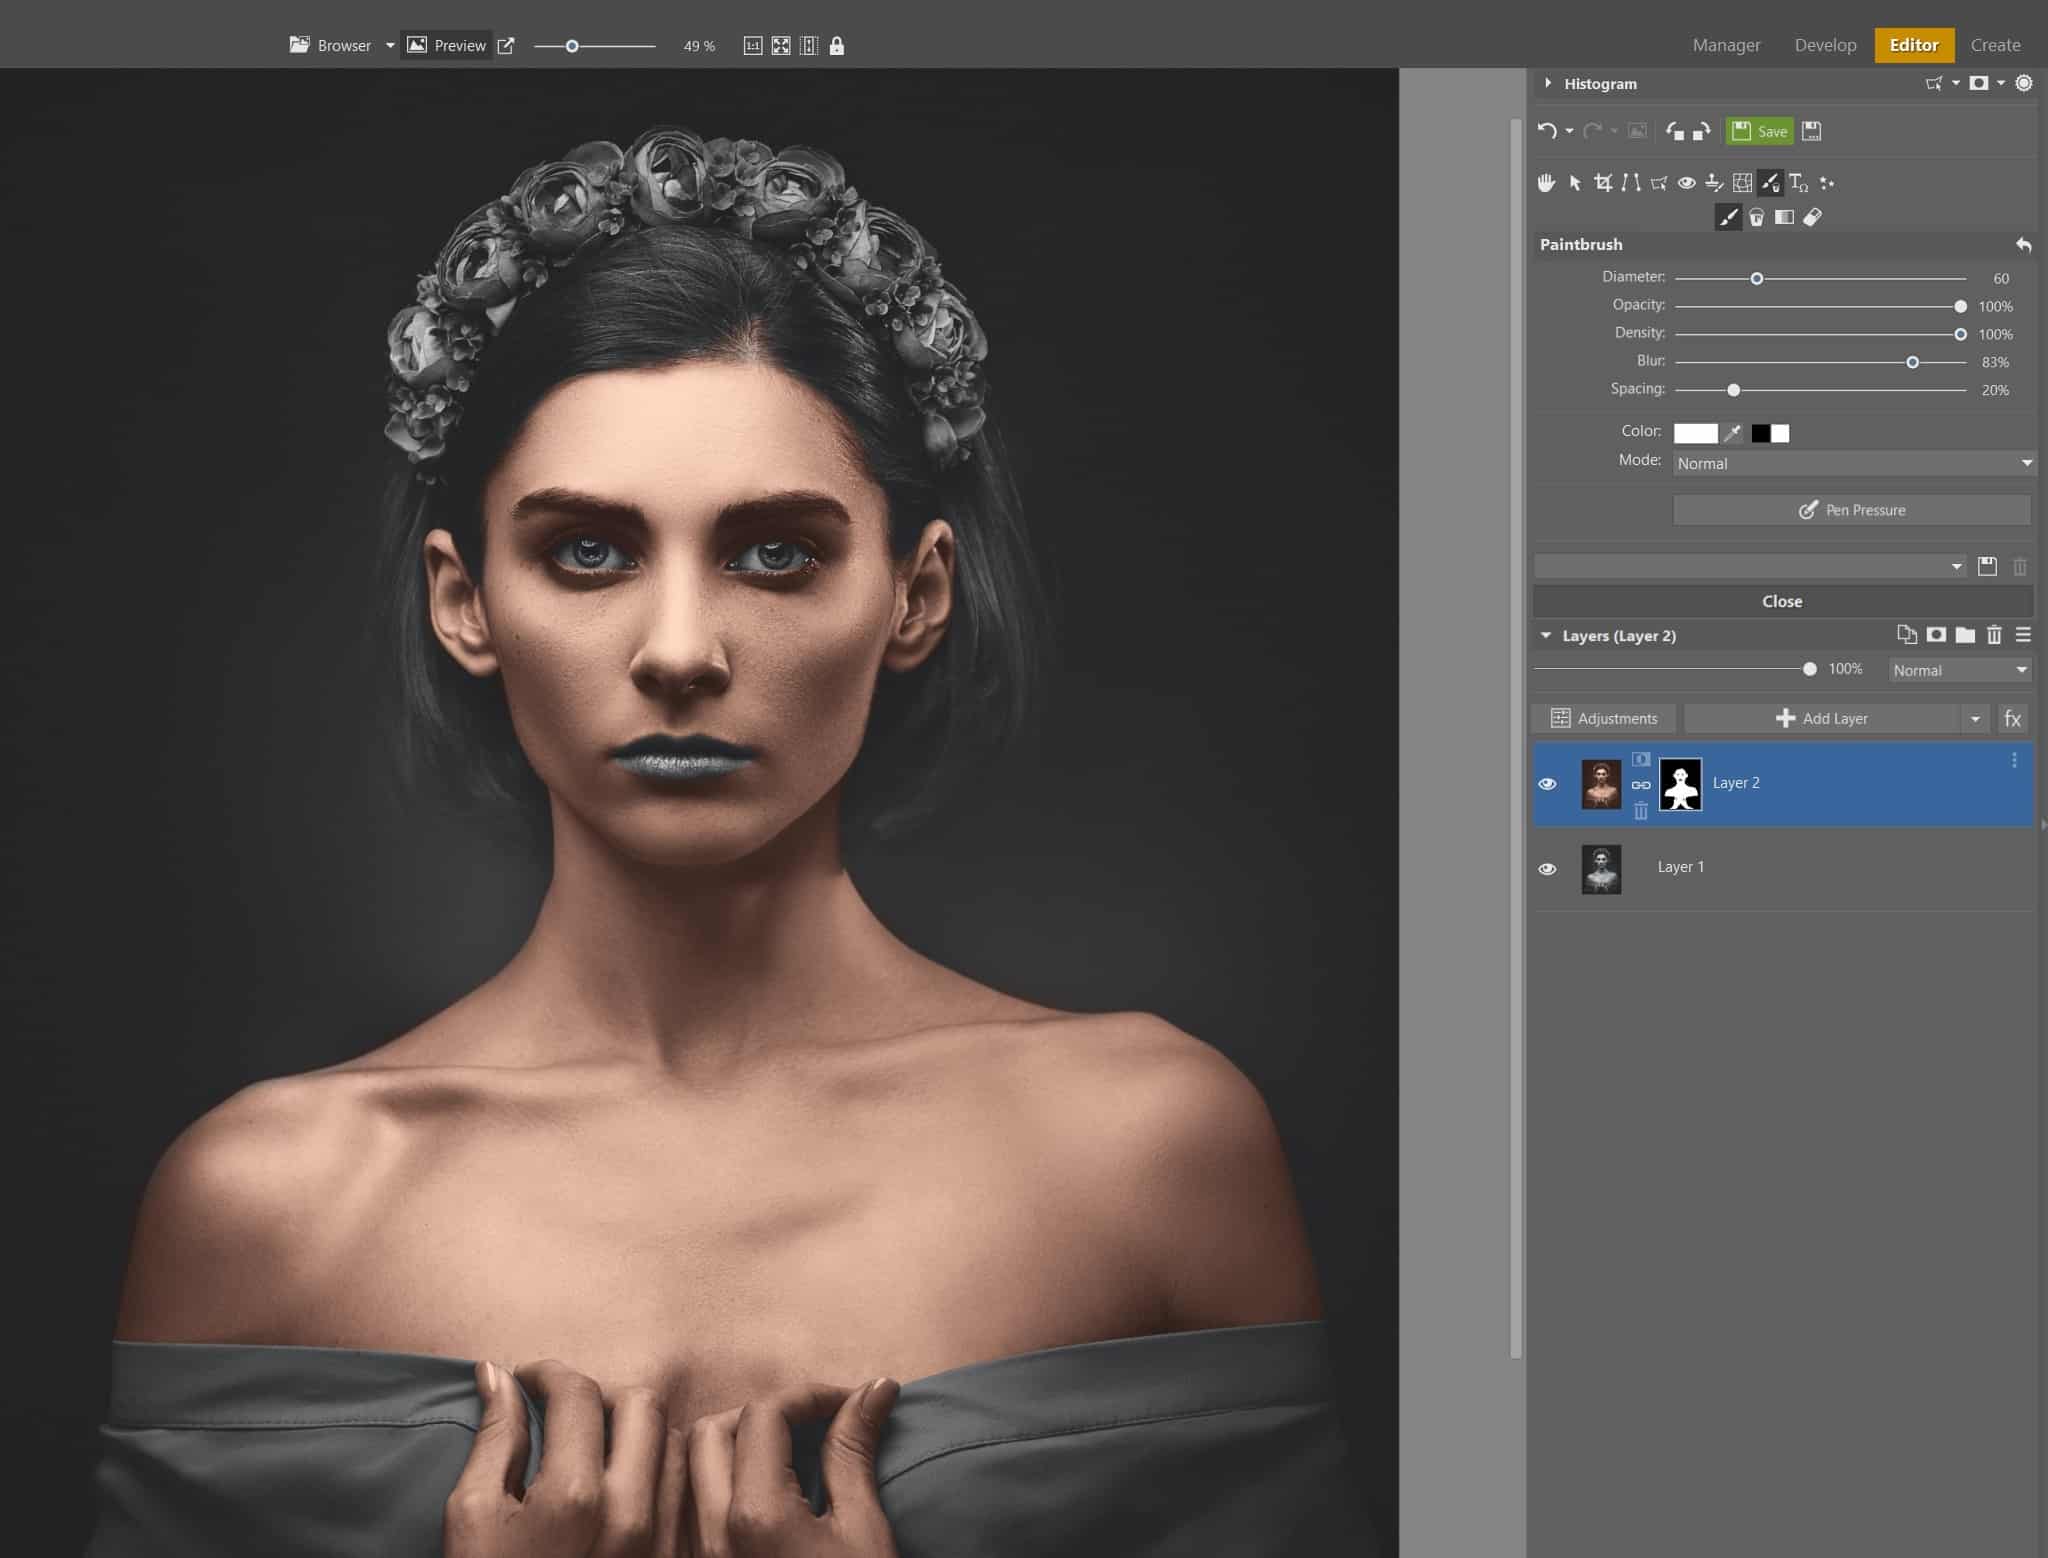
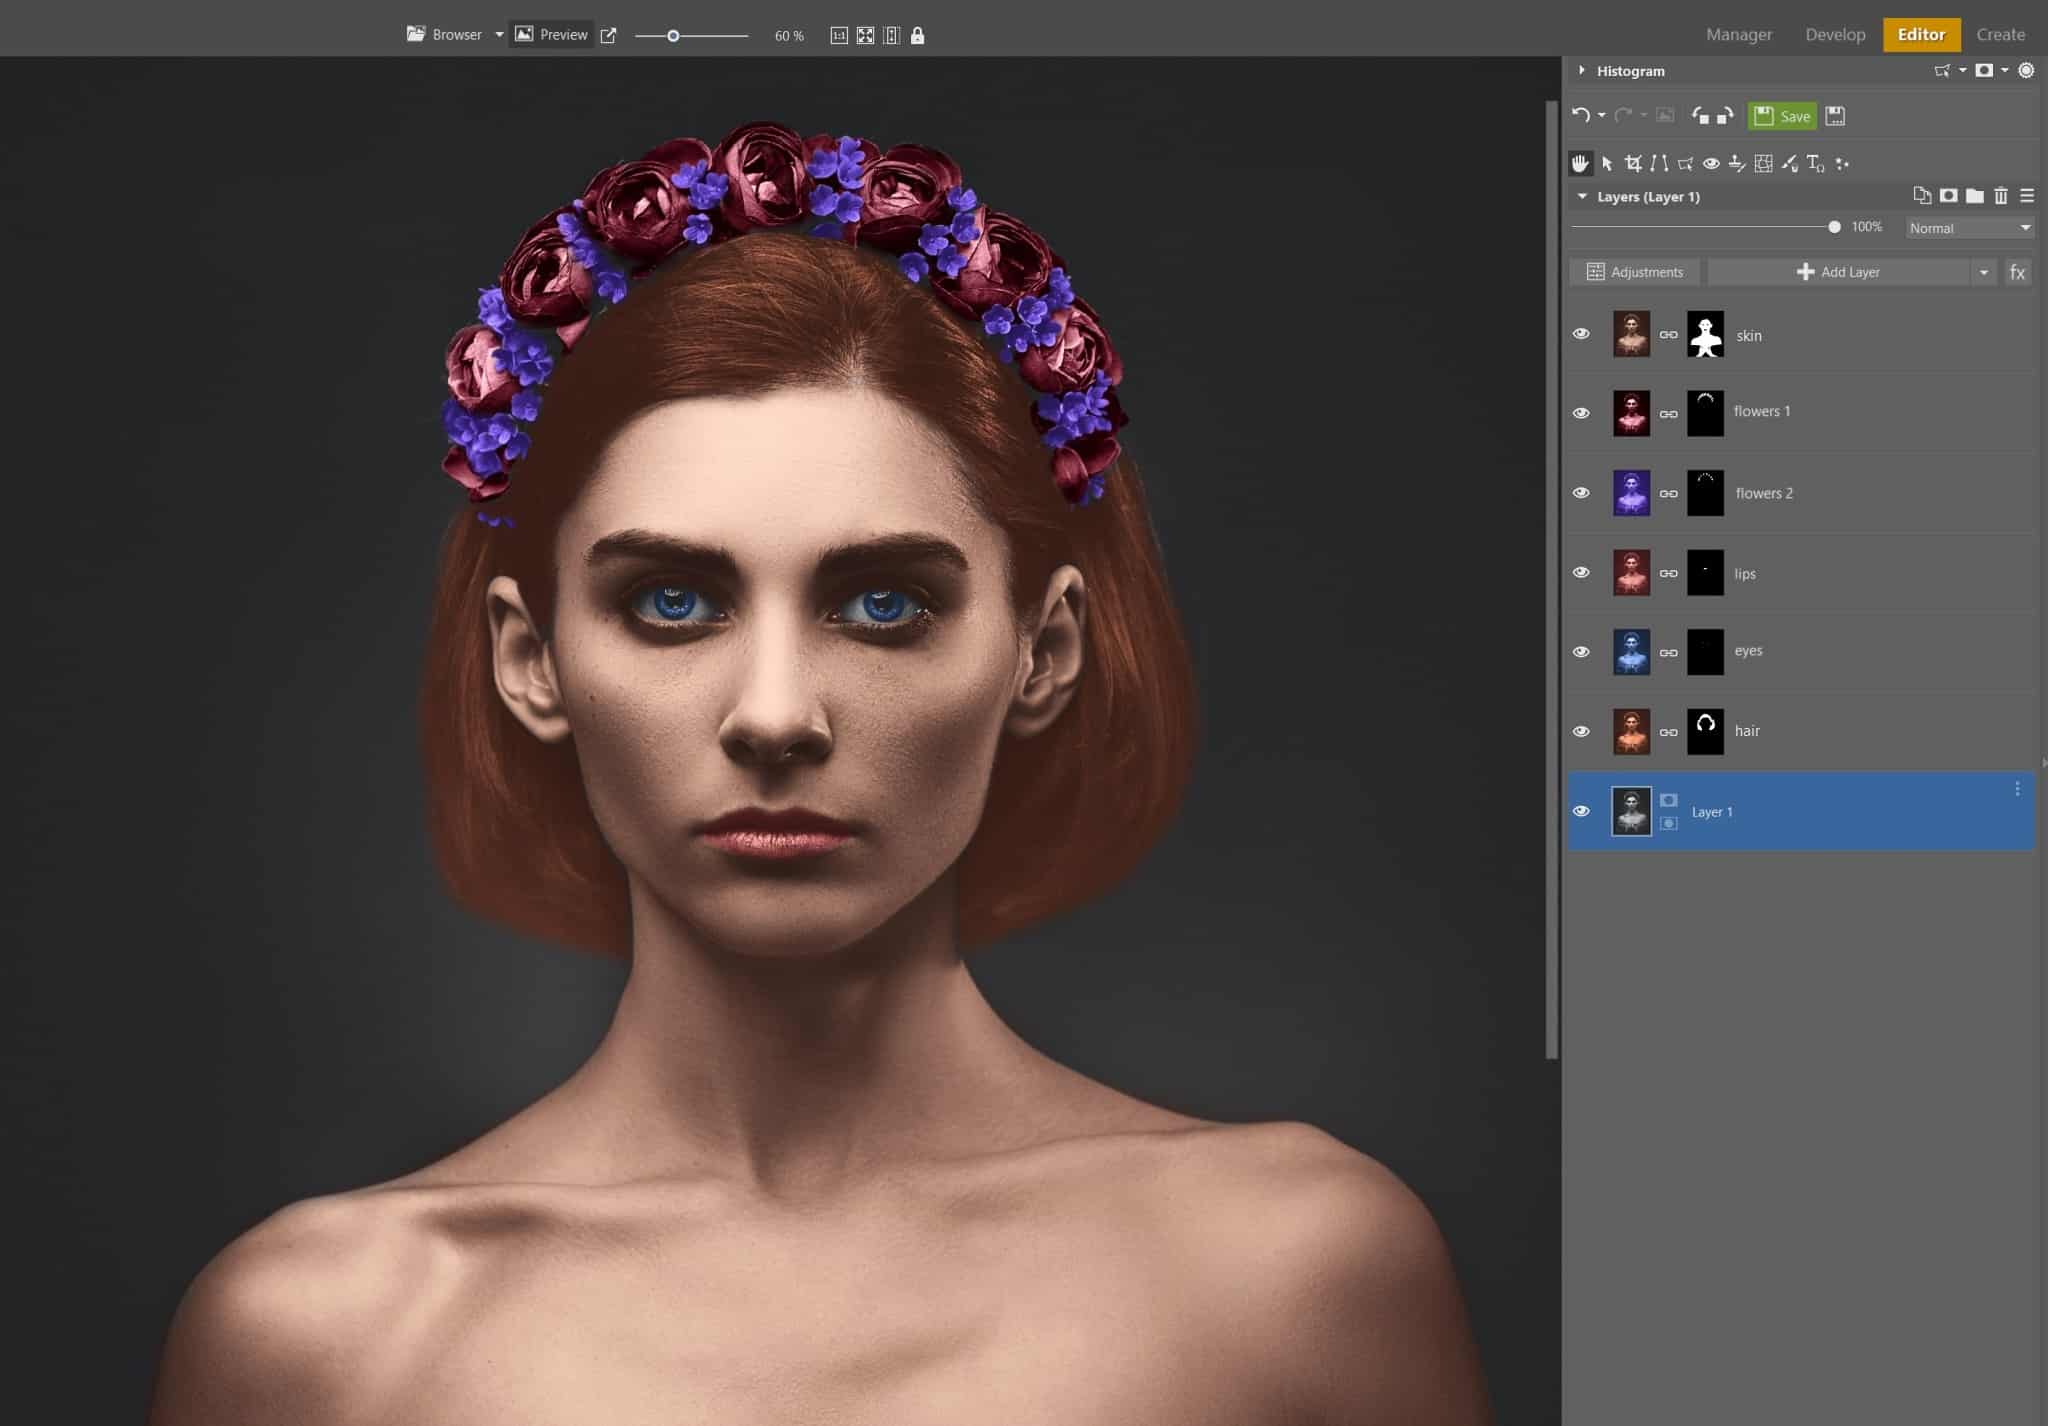
In the picture below, you can see the result of masking the skin. Neither the photo nor the skin looks very realistic yet, but this will soon change. As soon as we finish colorizing the other parts of the photo, we’ll dive into the final adjustments and fine-tune everything.
Colorize the rest as needed
This article would be extremely long if we had to separately explain how to colorize every single part of the photo (hair, lips, eyes, flowers…). The basic concept is the same as for the colorization of skin. Just follow these steps:
- Duplicate the original black-and-white layer
- Get colors from another photo for the color palette
- Use Gradient Map
- Mask
When colorizing very simple objects that are small and don’t contain multiple light and dark areas, you don’t even need to take colors from other photos. Simply choose from the default color palette. Remember to always choose the Color Blending Mode for the Gradient Map.

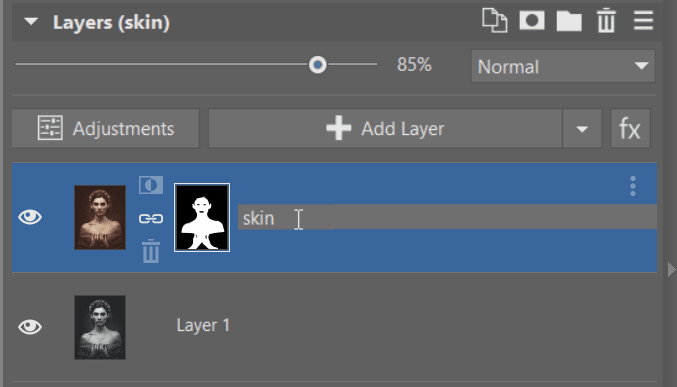
TIP: Give each layer a name so you know which is which. This will come in handy when you’ve accumulated ten or more layers.
Since we’ve already explained the concept of photo colorization using the Gradient Map and masking, we colorize the rest of the objects in the photo using the same process. Finally, we begin fine-tuning the finished product.
Fine-tuning the colors
We have colorized all the necessary objects in our photo. You can see how the unfinished version looks so far in the picture below. At first glance, it’s clear that there is still some editing to be done. The colors stand out too much and we still have a bit to do to get a realistic-looking photo.
We start by tweaking the colors. The goal is for all the colors to look natural and authentic. We use the following steps and tools:
- lower Layer Opacity
- Paintbrush (B)
- Adjustment layers
Layer Opacity
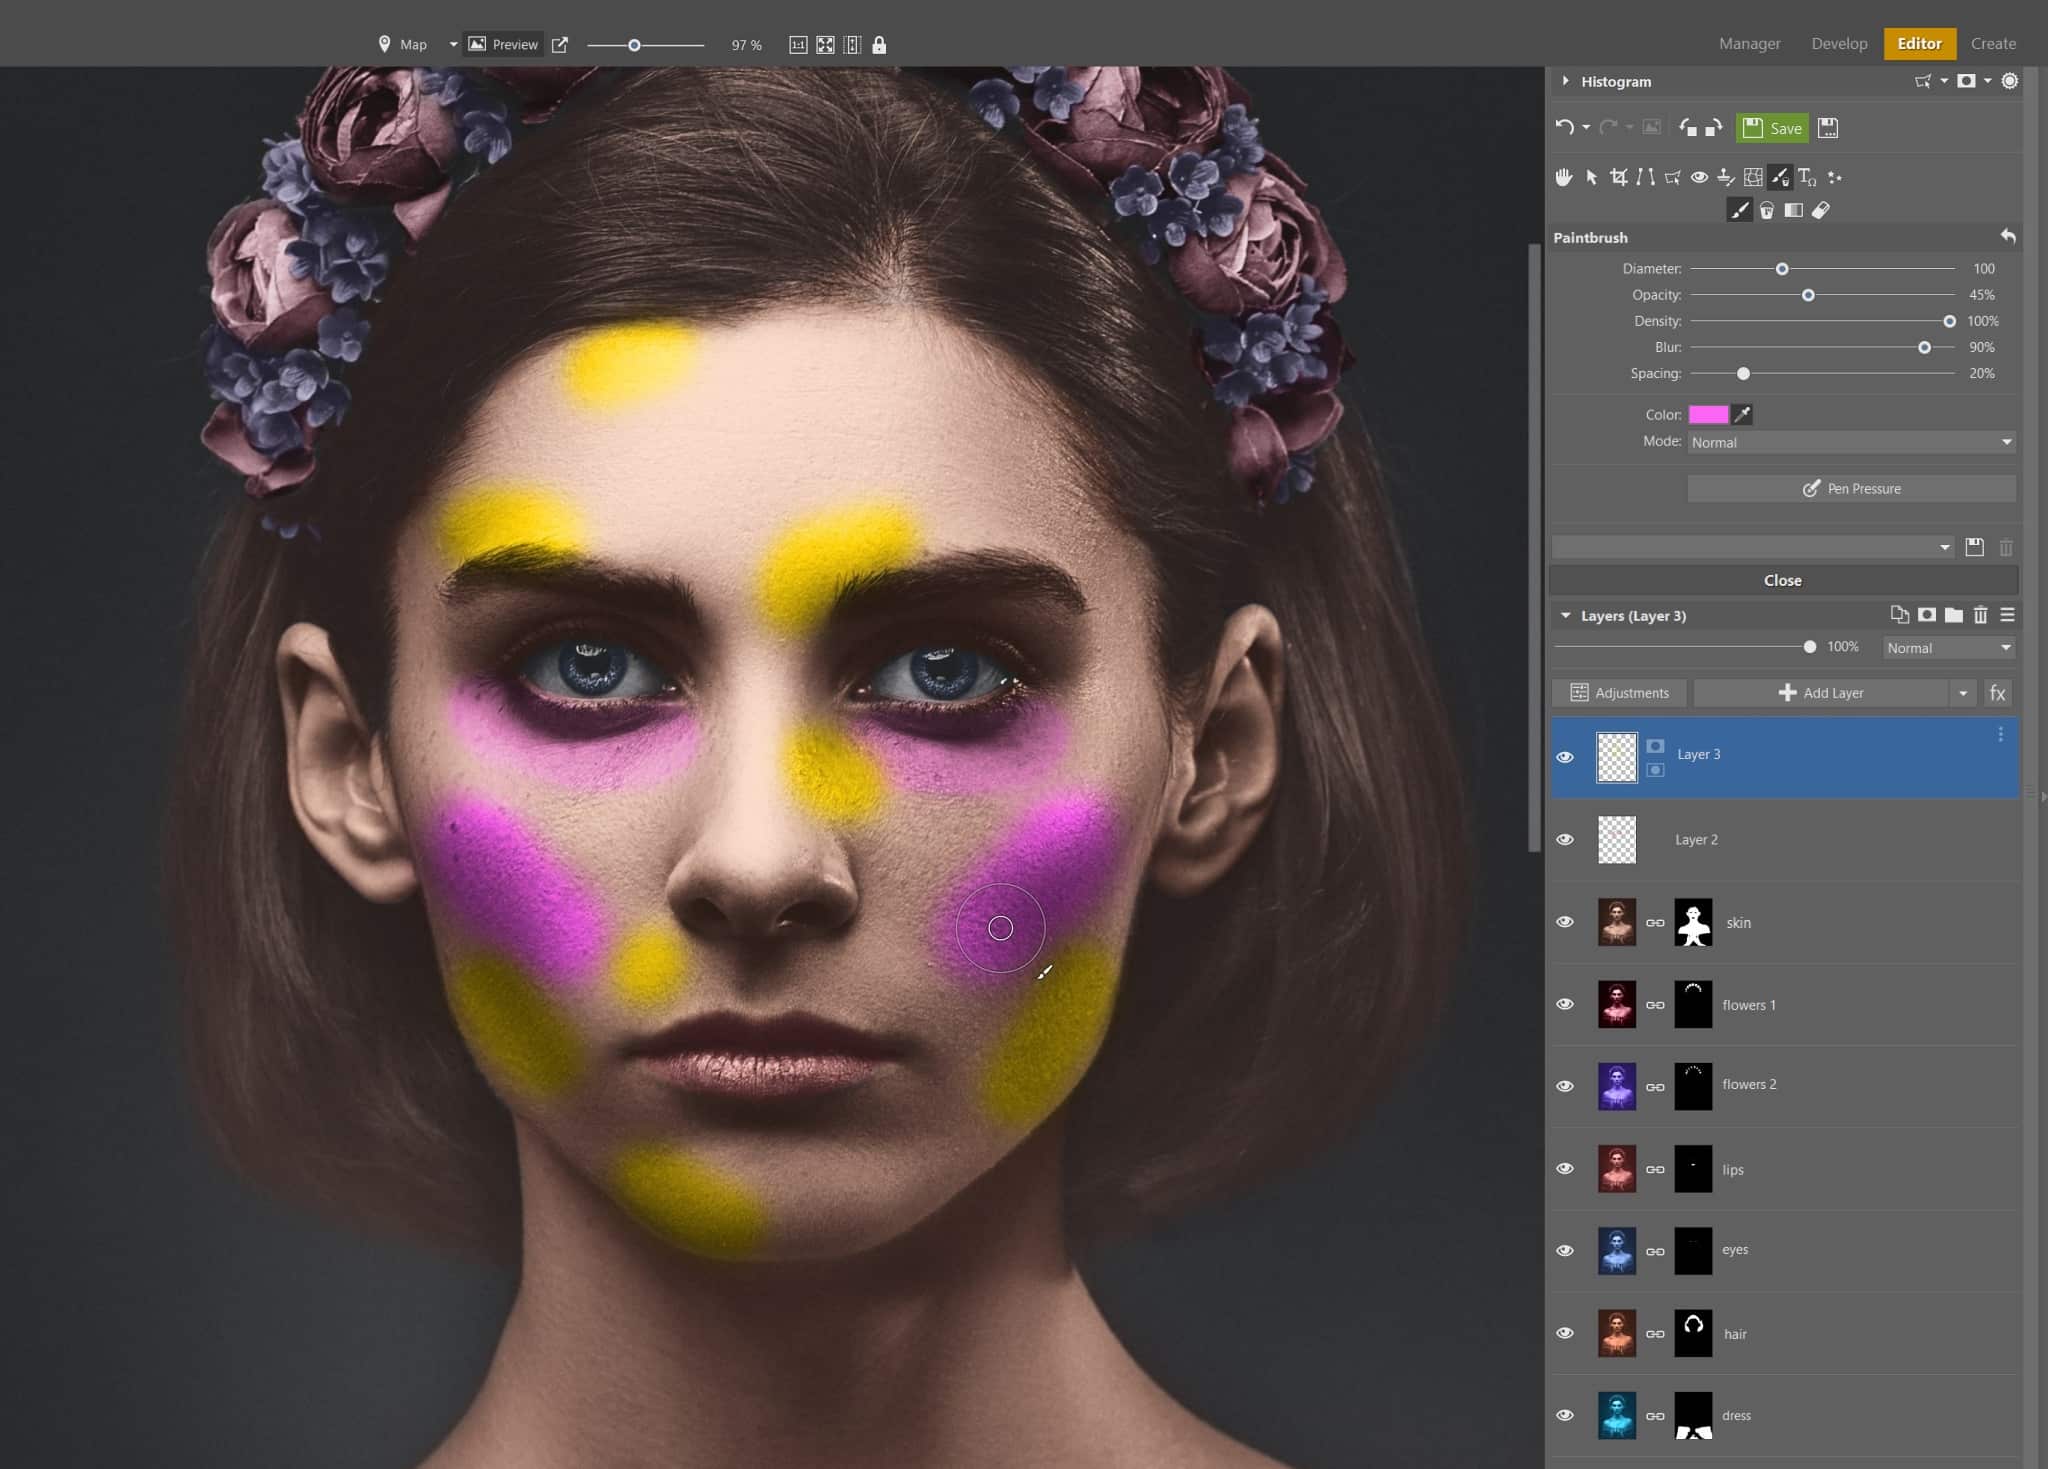
We start with the Layer Opacity slider which is found above each layer after clicking its preview. Lower Layer Opacity in a way that makes the colors as accurate as possible.
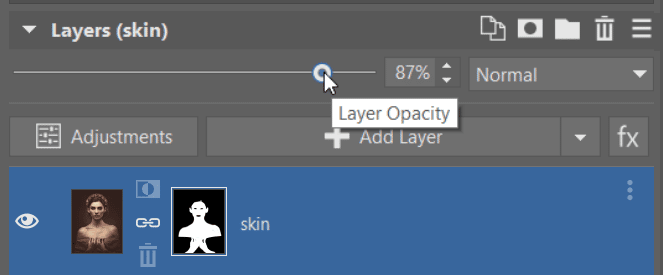
This simple adjustment has made a big difference in our photo. It is a good idea to set Layer Opacity right after applying the Gradient Map and masks. For the purposes of our article, I applied this adjustment now so that you can better see its impact on the photo.
Final colorizing with the paintbrush
Sometimes it’s a good idea to add some extra color during the last step. In our portrait, the skin could use a touch of color so that it doesn’t look so dull.
When you look at human skin, you see many different shades that aren’t in our photo yet. Portraits are generally more realistic looking when reddish and yellow-orange hues are added in certain places.
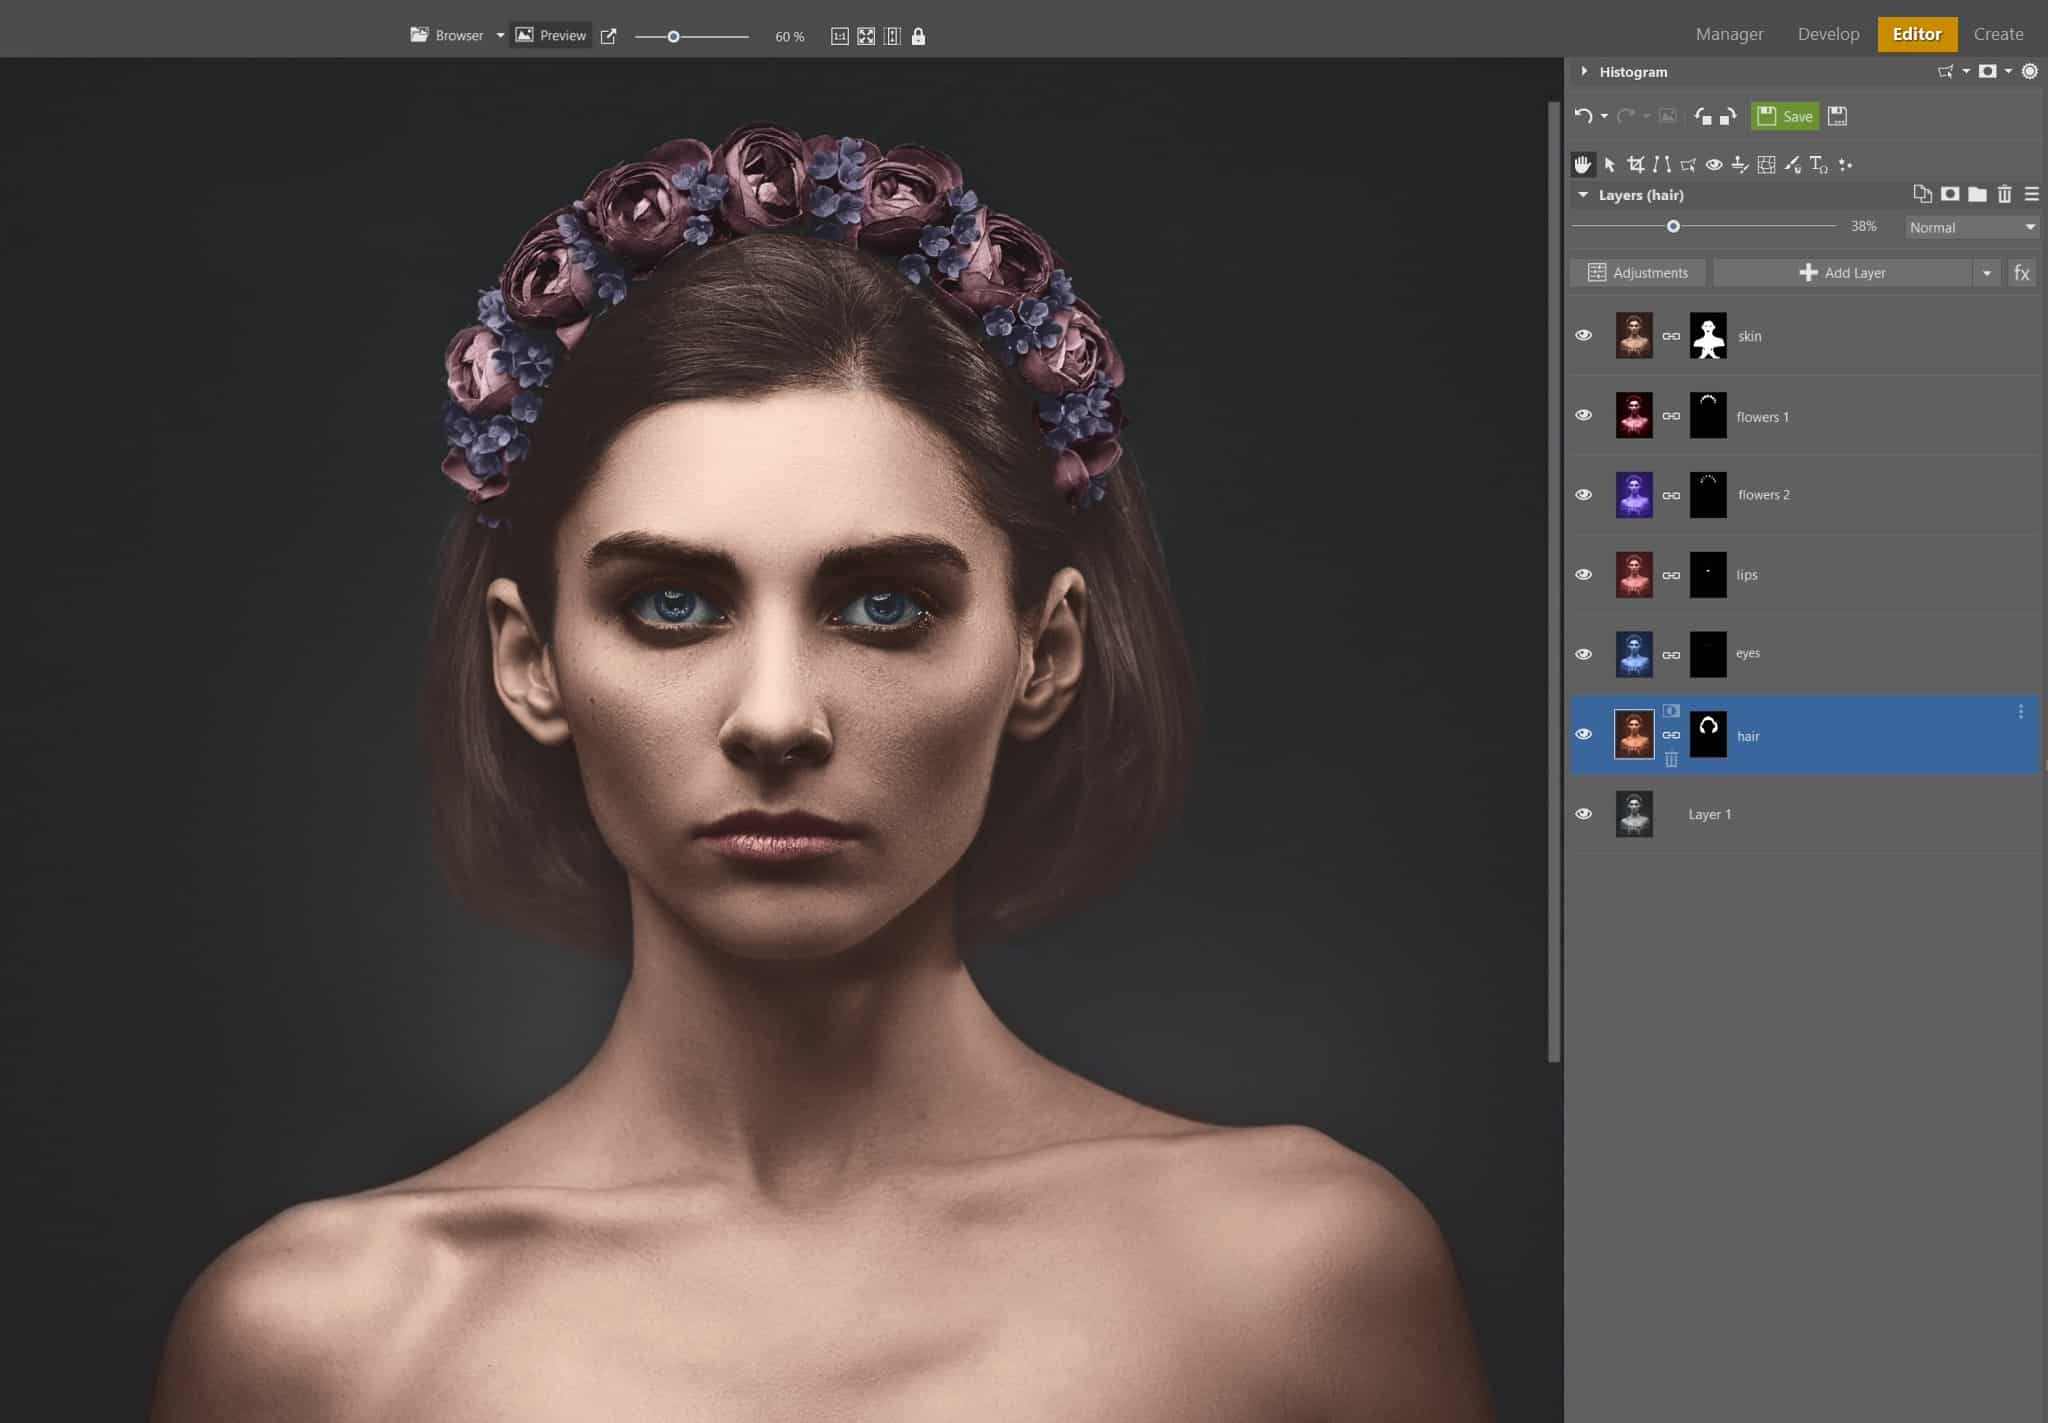
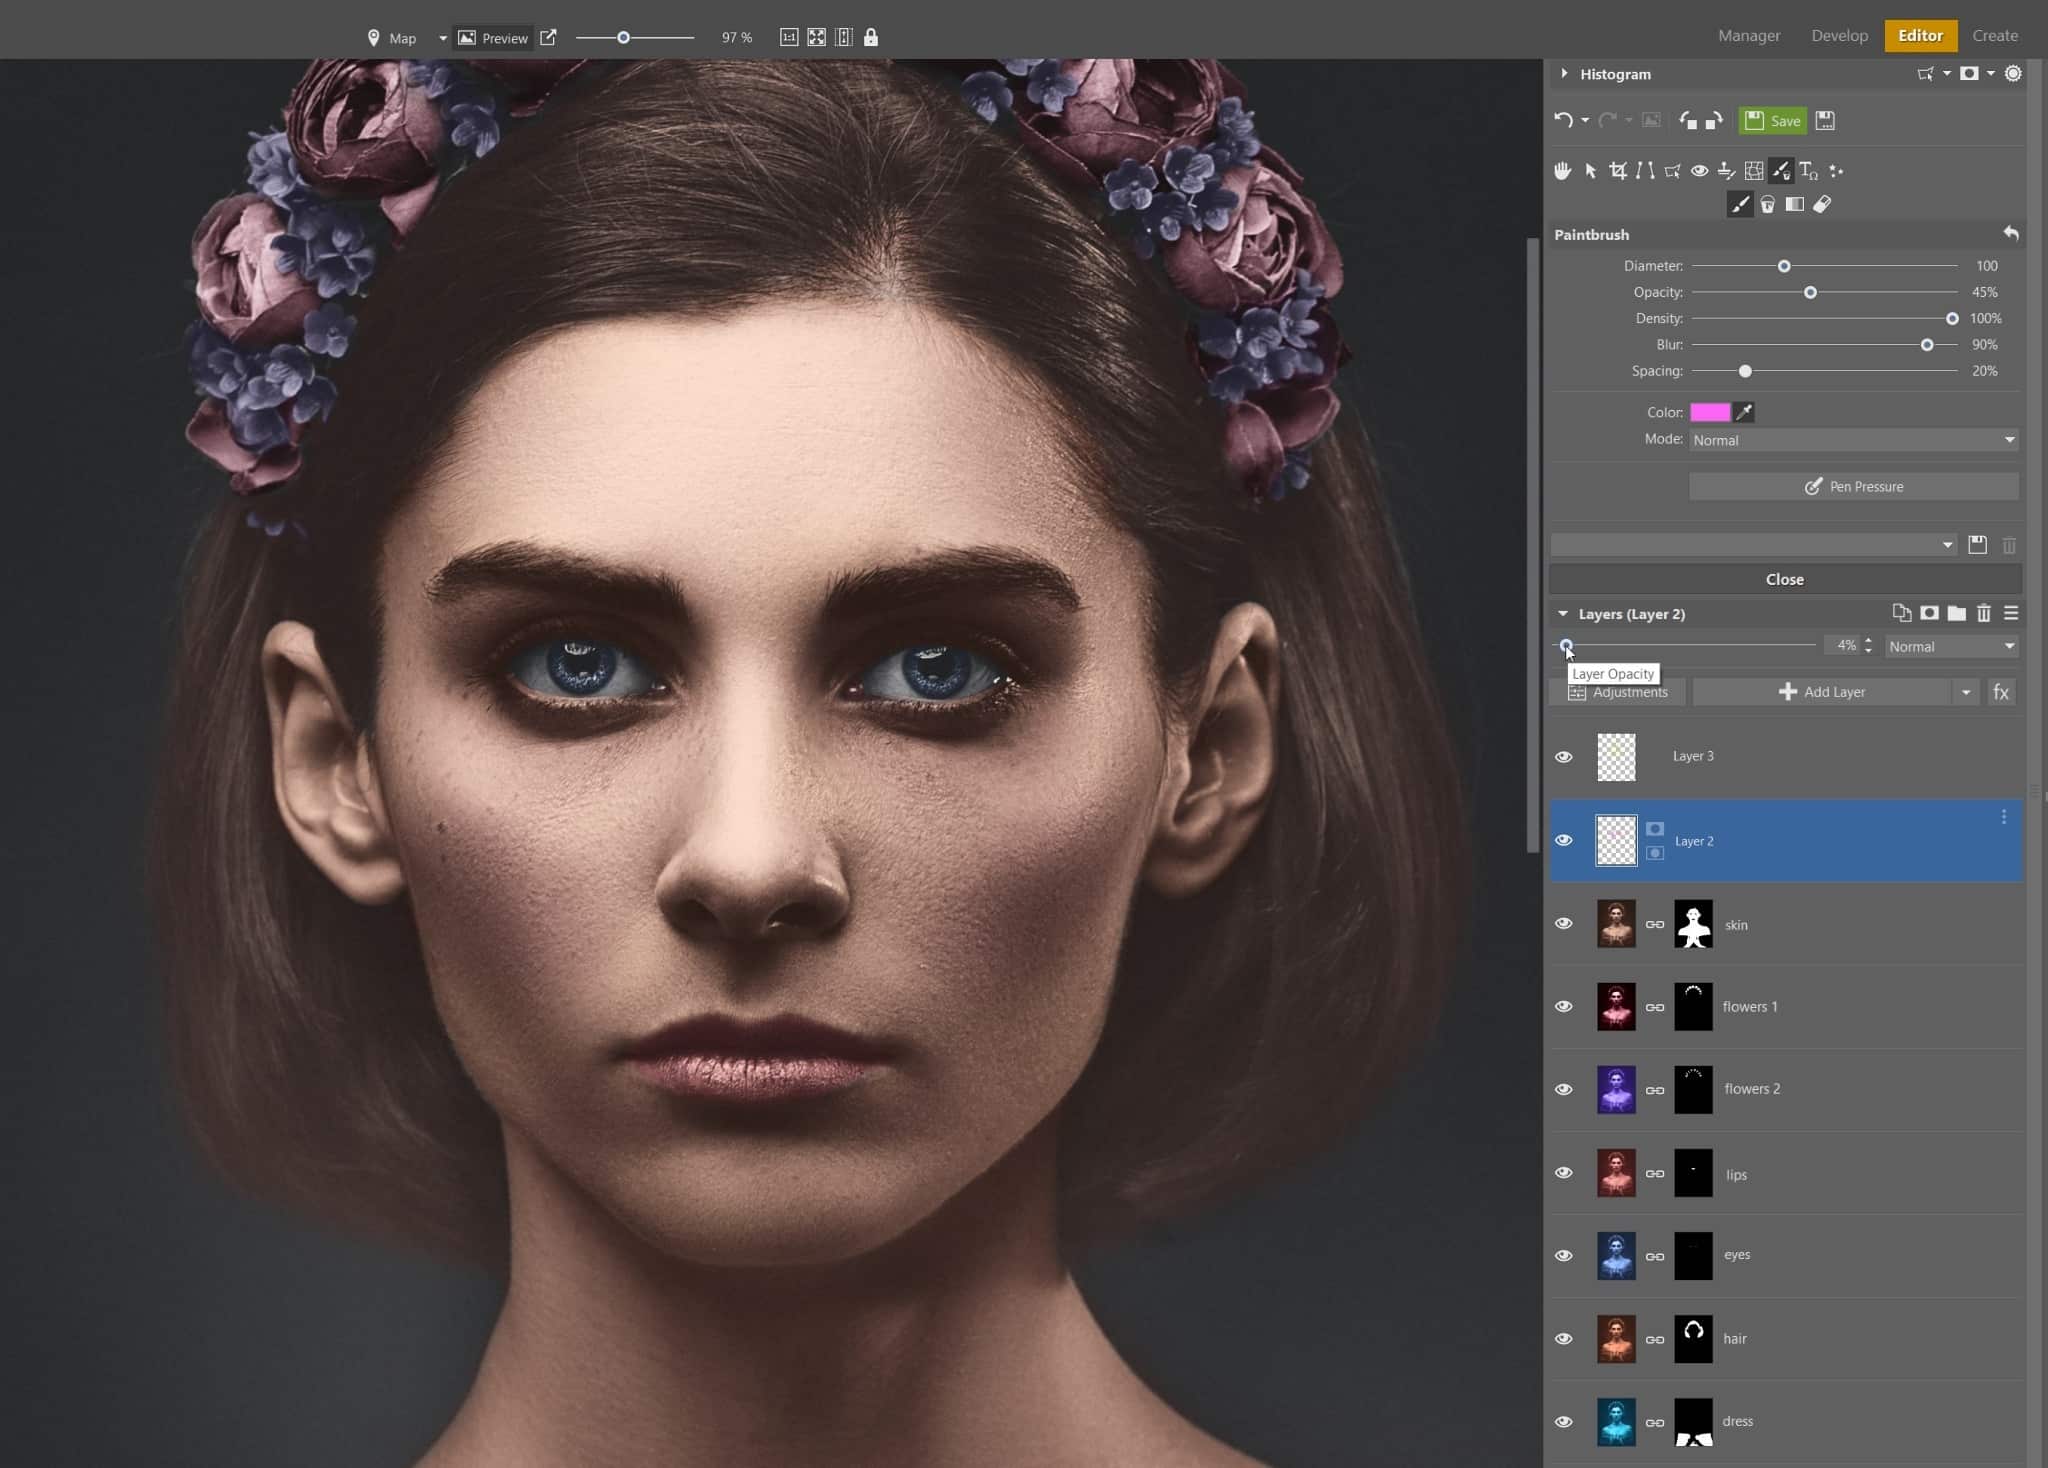
Adding these extra hues can be easily done. For every color you create, set a new layer at the very top and set the Color blending mode, and paint with the Paintbrush (B). I added some pink to the cheeks and a few yellow-orange strokes to other areas of the face.
Remember, these brushstrokes should be barely visible and someone looking at the photo should not be able to tell that the Paintbrush was used at all. Layer Opacity should be lowered so that adjustments, though visible, are almost indistinguishable.
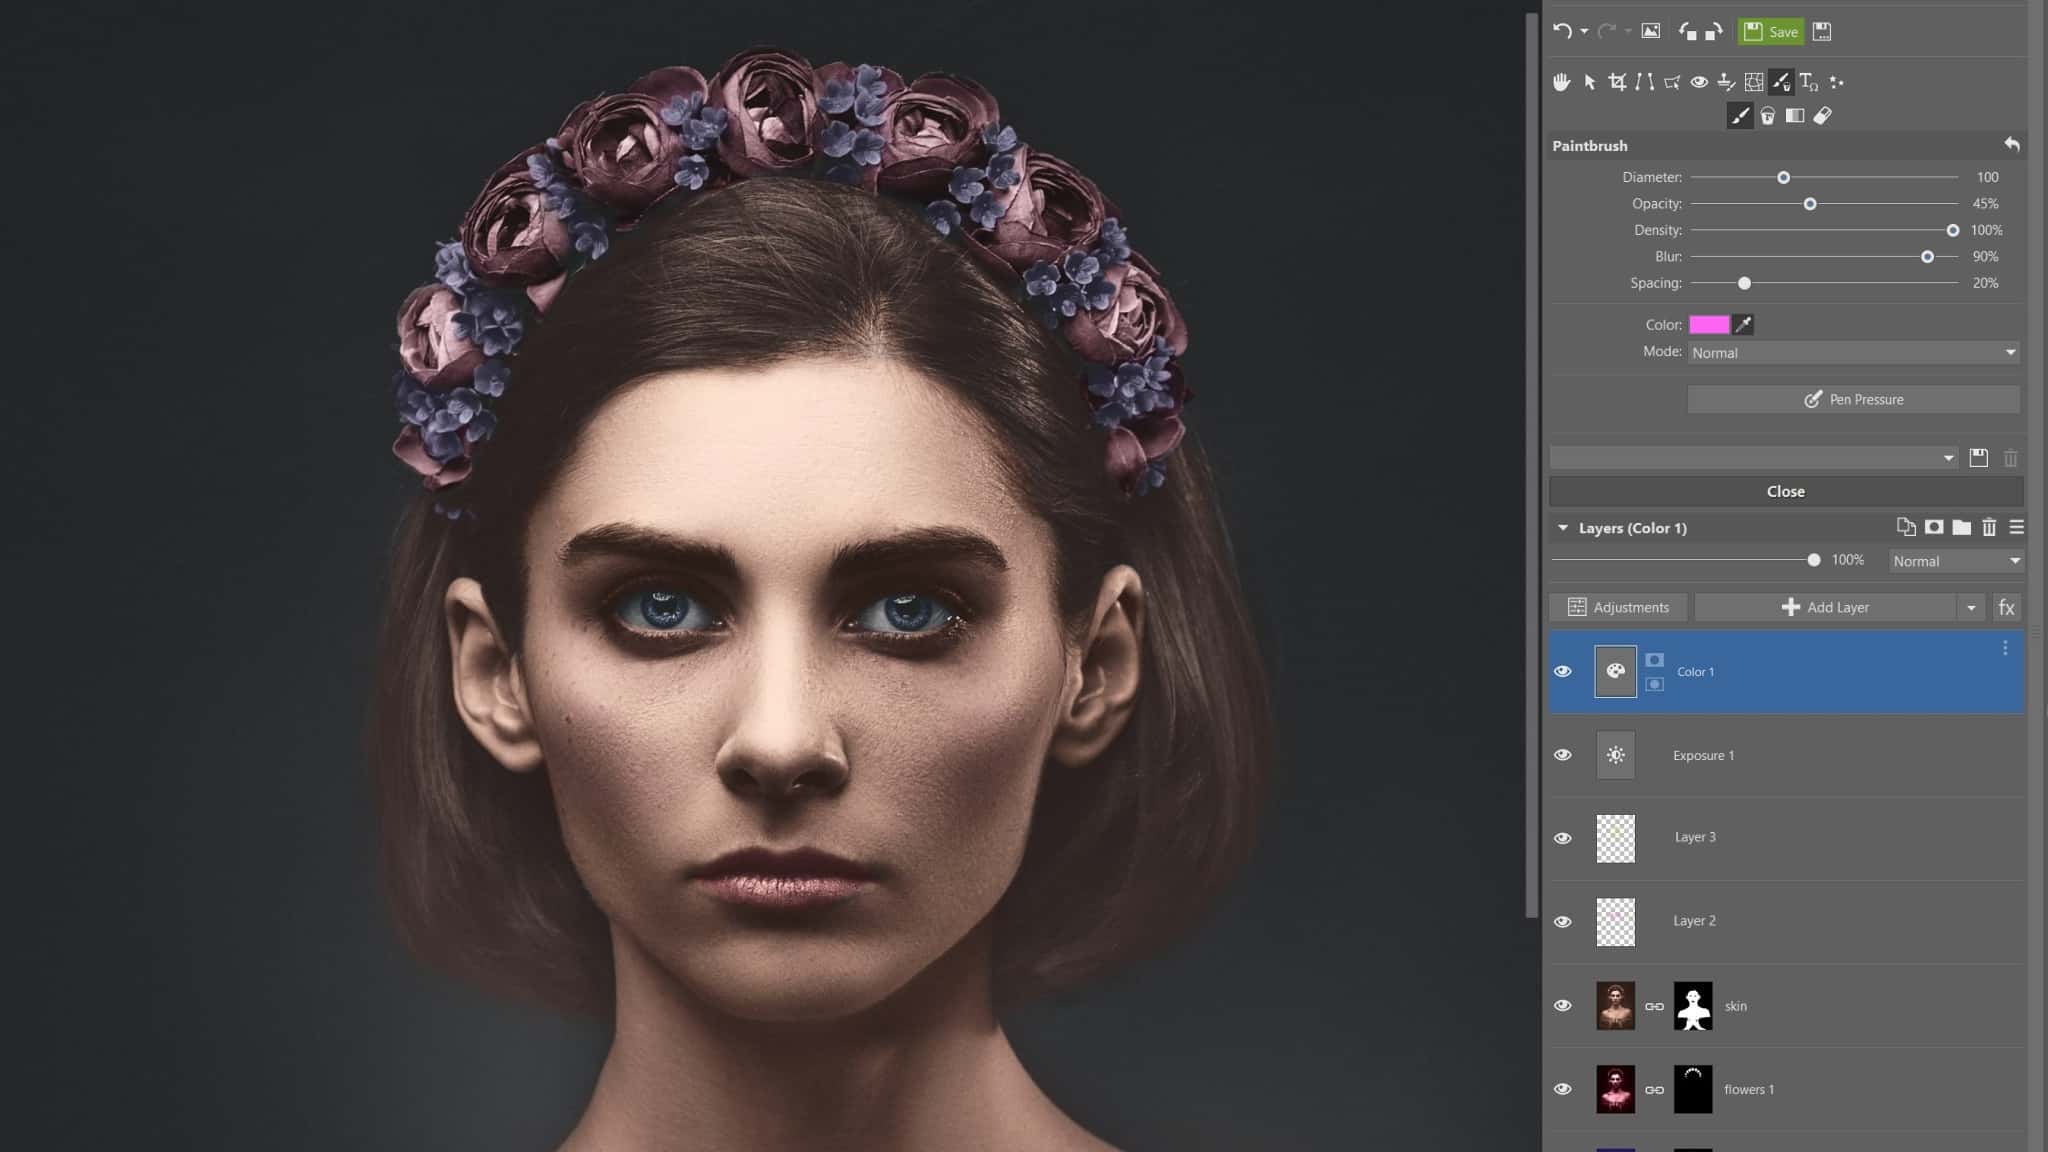
Adjustment layers
Use adjustment layers to finish the photo. You can fine-tune the photo using:
- Color saturation (Color adjustment layer)
- Exposure and contrast (Exposure or Curves adjustment layer)
- White balance (White Balance adjustment layer)
Every photo needs something different which may be completely different from what is listed above. Generally speaking, keep in mind that the adjustment layers are used at the end of colorization and can help add the finishing touches to the process. For example, I slightly adjusted the contrast and tweaked the saturation of the colors.
Save and get ready to show off your finished product
Once I’m happy with my adjustments, I save the photo and get ready to share it. There are many more ways to colorize photos. You now know one of them and can get started colorizing your black-and-white photos right away. Did you enjoy this tutorial? Click the heart below or let us know in the comments. Also, feel free to share topics in the comments that you’d like to read about in the future.
Download Zoner Photo Studio X free for 7 days and breathe life and color back into your old black and white photos!
There are no comments yet.