Video Editing in Zoner Studio—Part 1
Unsure how to get started with video editing in Zoner Studio? In this two-part series, we demonstrate various ways to use the Video module in Zoner Studio. Learn how to put together a vacation video montage with engaging effects.
Before adding content to your project, configure the basic video settings—Resolution and framerate (Frames Per Second or FPS). Once you’d added content, the FPS can’t be changed. For this demonstration, we used 4K UltraHD at 25 FPS. You can learn more about video settings in our article about creating videos from photos.
Add music
Next, select music for your video that matches the mood. Choose music that reflect the atmosphere of your video. For example, you might choose a song that represents the destination you filmed or the playlist you listened to on a road trip with friends.
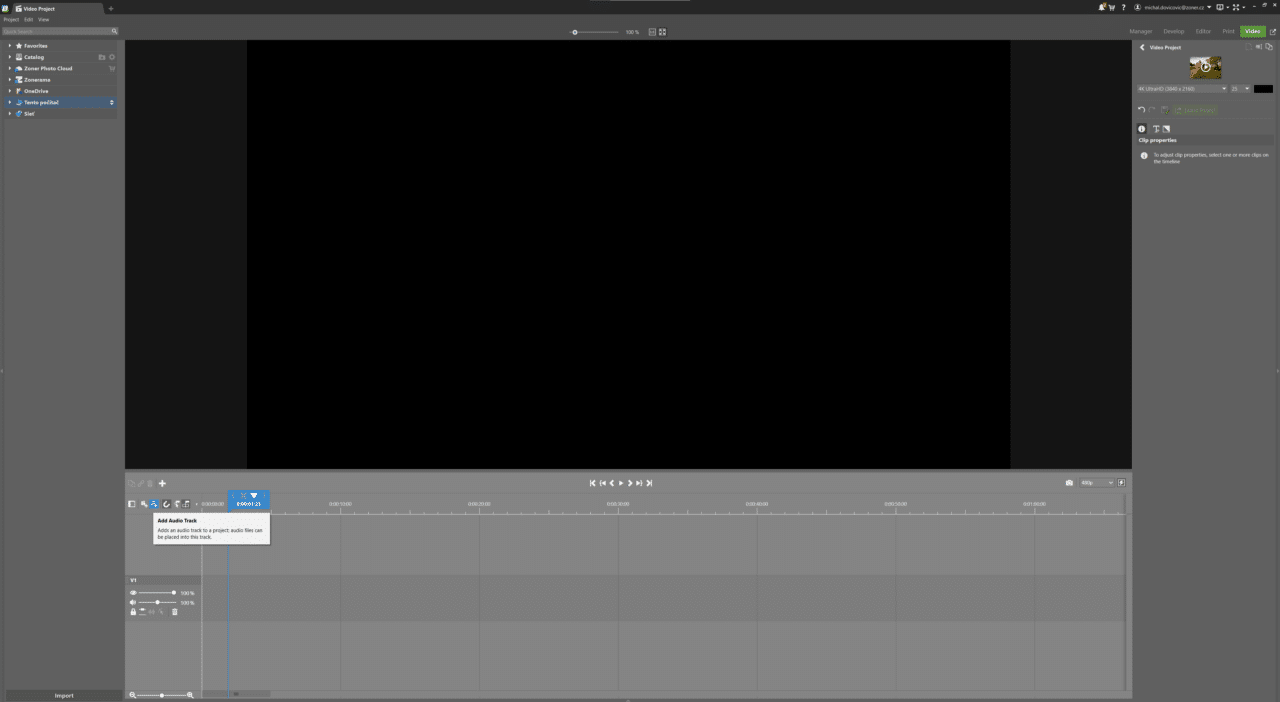
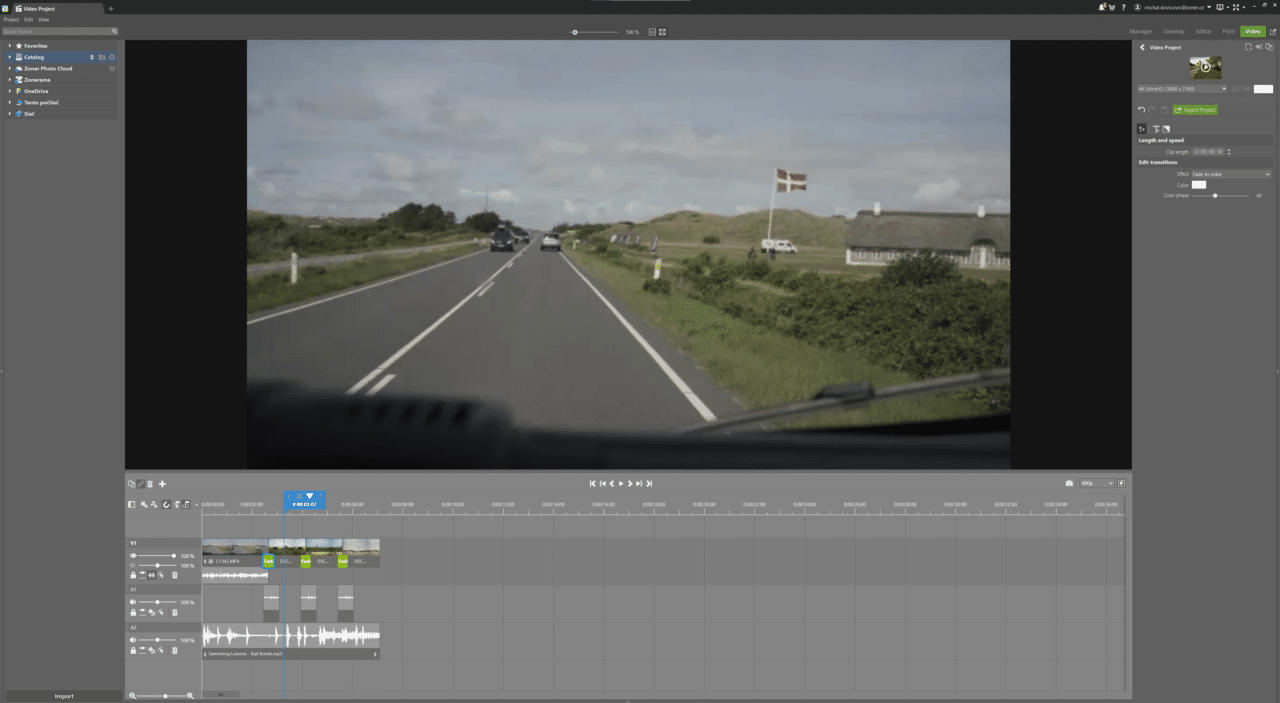
Drag and drop music files from the filmstrip to the Audio track, just like when adding other content. You can also use the Add audio track button. To add a specific song, use the + button under Audio track options (Add audio file…).
Aspect ratio
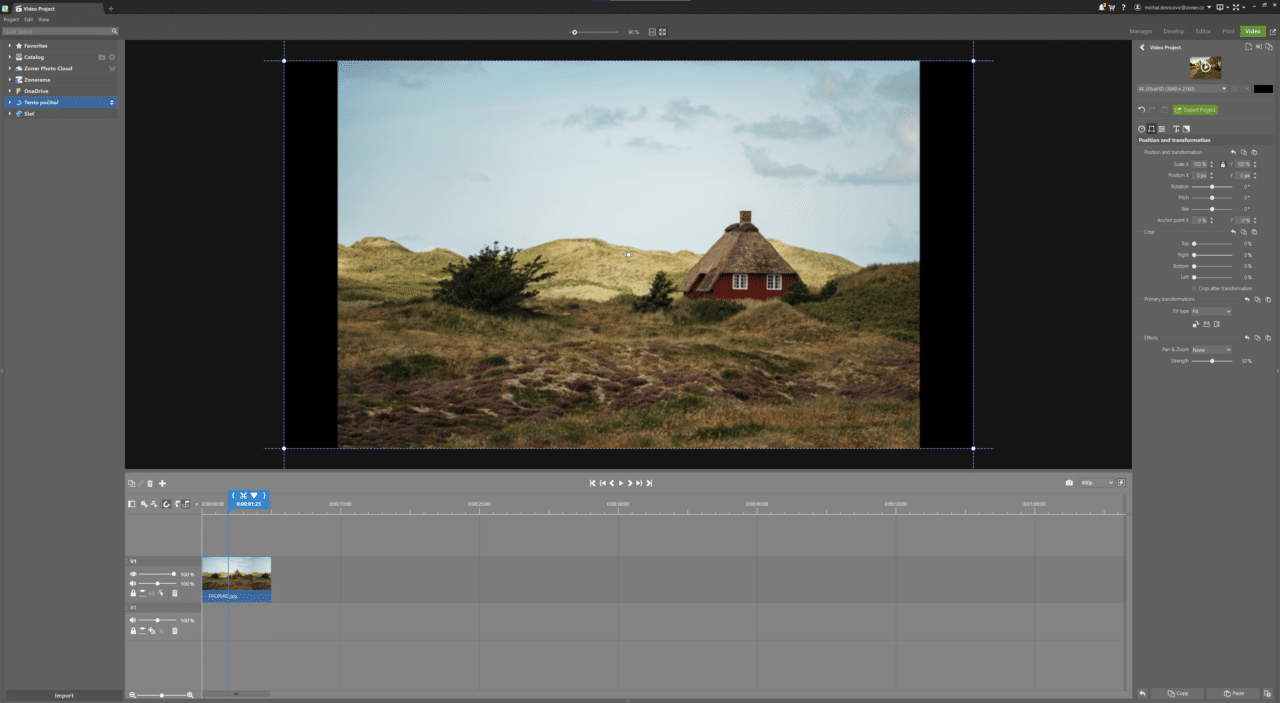
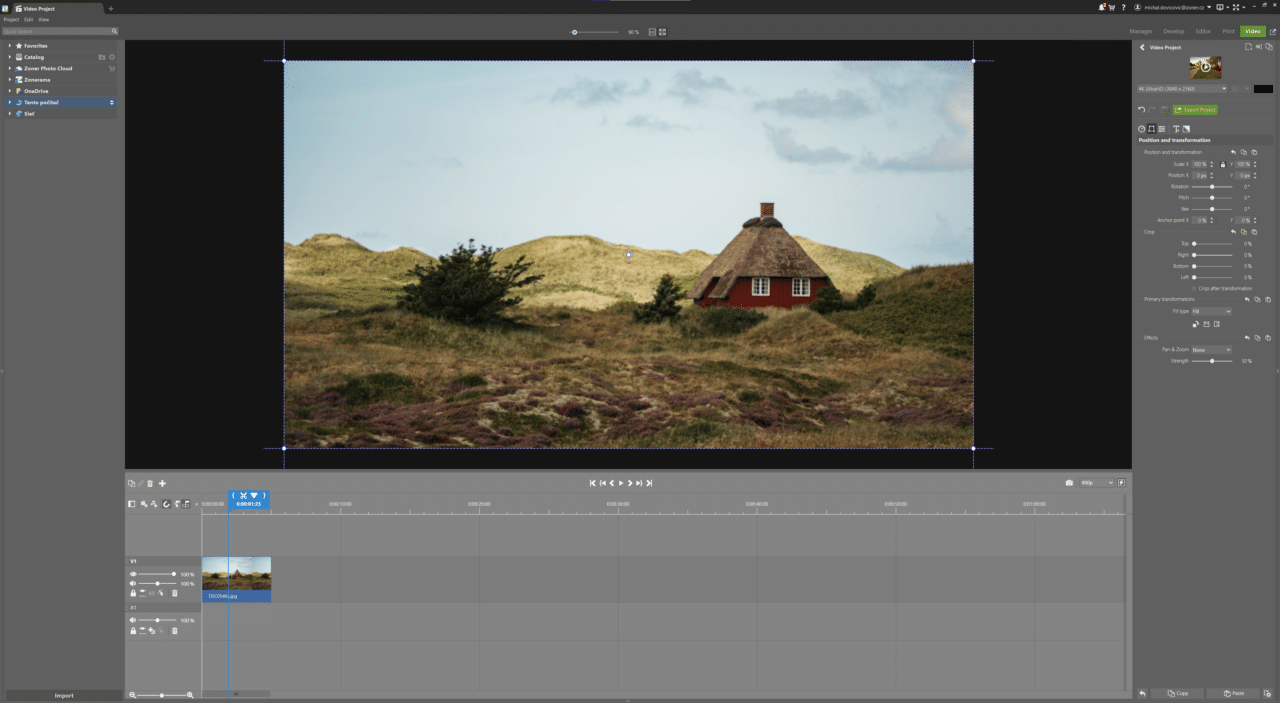
When combining videos and photos with different aspect ratios, some adjustments may be needed. In this example, the videos are in 4K resolution (3840x2160px) with a 16:9 aspect ratio, while the photos are shot in 3:2. This means that if your project uses 4K resolution, videos will fit perfectly in the frame, but photos will either show the background color or content from the video track below.
The difference between Fit and Fill.
You can handle this in two ways:
- Fill: Photos are cropped to fill the entire frame.
- Fit: Photos are added to the frame by their shorter side, leaving the background color or video content visible around them.
The choice is yours. Personally, I prefer Fill because it creates a more cohesive video. This is also the default setting.
If your photos are unintentionally cropped, you can easily switch to Fit.
Let’s explore three simple ways to add creativity to your video montage with photos of your experiences.
Pan & Zoom effect
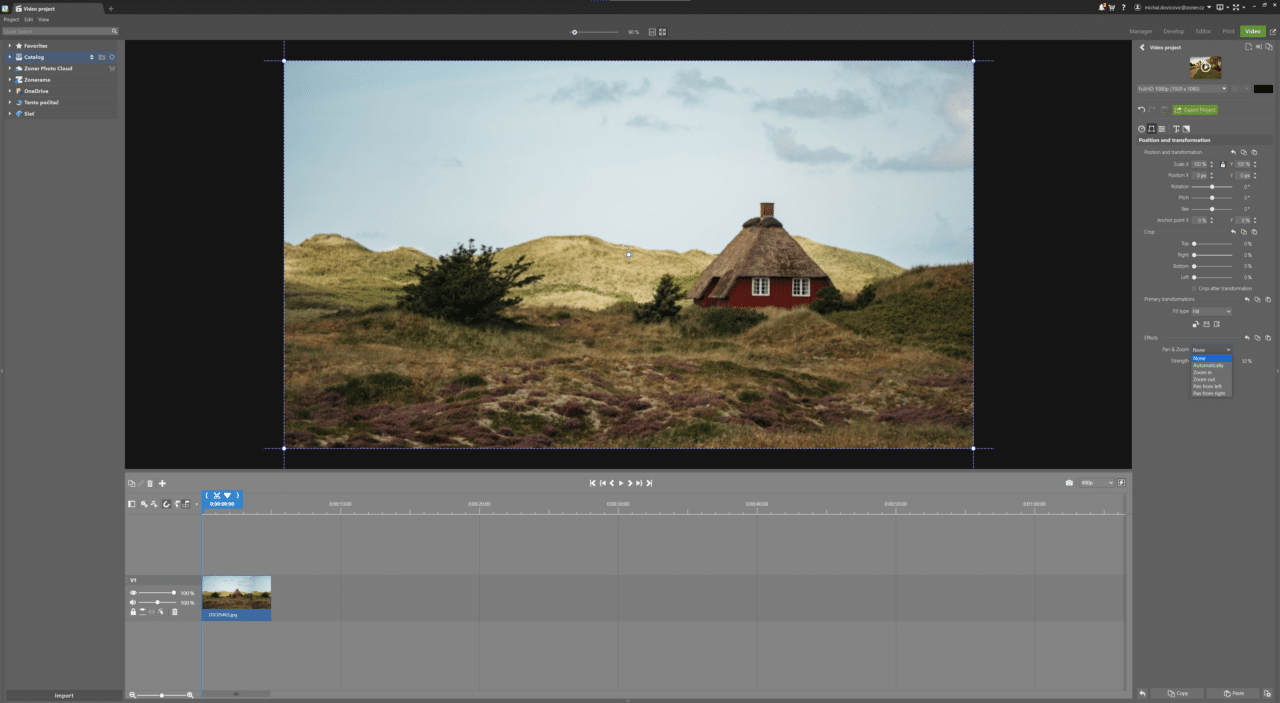
Use Pan & Zoom to keep photos dynamic and engaging. Select a photo or timelapse. Then, choose one of the Pan & Zoom options from the Position and Transformation tab under Effects in the right panel.
Adjust the intensity of the effect using the Strength slider. A moderate value works best—avoid extremes like 0% or 100%.
Photos with captions
Another way to incorporate photos into your videos is by combining them with captions. For instance, if you’re showcasing a vacation spot, you can highlight it with captions.
Steps:
- Create two video tracks.
- Add descriptive text for your caption to the top track.
- Add a photo to the bottom track and apply the Pan & Zoom effect.
Camera shutter sound
You can mimic a camera shutter sound to make your video livelier.
Steps:
- Add photos in sequence to the video and set the desired playback length—ideally 1 second per photo, to avoid boring viewers.
- Add a transition effect between photos. Choose the effect in the right panel under Add Transition Effect. Then, drag it between the images on the timeline. The two images must follow one another in a single track, otherwise you will not be able to add the transition effect. For this example, we used Fade to color with 10 images and a Clip length of 0:00:00:10.
- Add a camera shutter sound to the audio track, which you can download for free here.
Use a white background to make your photos stand out. Adjust the background color at the top of the right panel, next to resolution and FPS settings. I set the transition effect Fade to color to white and changed the Scale to 70% in the Position and Transformation tab.
For the final touch, I add basic EXIF data under each photo by adding text and positioning it using Inner padding under Text Adjustments in the Text alignment section. Alternatively, you can position the text in the Position and Transformation tab using Position X and Y. We’ll cover this in more detail in part 2 of the article.
The finished result looks something like this:
There are endless possibilities for combining photos and videos. If you have creative ideas, we’d love to hear them in the comments below!
Download Zoner Studio free for 7 days—no limits. Try video editing in Zoner Studio today!

zwika birger
hi,how can i share video clip mp4 on my gmail
Vanda Vyoralová
Hello, thanks for asking. If you want to share your video from Zoner Photo Studio, there’s only two way – upload your video on Zonerama or Photo Cloud and as the next step you can share it to your email.
https://learn.zoner.com/sync-zps-x-with-the-cloud-have-mobile-photos-at-your-fingertips-at-all-times/ There’s a tip for sync cloud with your ZPS X.
Have a nice day.
Vanda from Zoner