Delve into Detail— Learn the Basics of Macro
Discovering the tiniest and most curious wonders of nature and insects. That’s what macro photographers and entomologists worldwide try to do. And the results of their work can be breathtaking. Meanwhile, every beginning photographer can learn the basics of macro photography. Come and take a look too.
Macro photography is a genre where you’re photographing a miniature world that’s often not visible to the naked eye. A macro photographer works with levels of magnification in the range from 1:1 to 30:1. Beyond 30:1, that’s not macro, but rather micro photography, which requires much more complicated imaging technology than normal macro photography.
You Don’t Always Need a Macro Lens
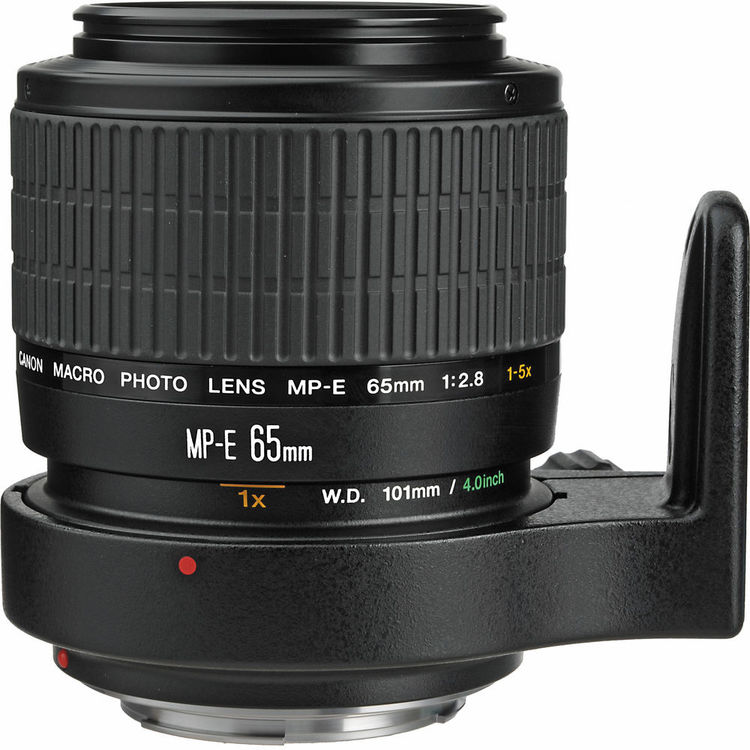
If you’re photographing an object at 1:1 zoom, then it will cover your whole sensor, but if you’re shooting at 5:1 zoom, then you’re only photographing a part of your subject, and the object in the viewfinder will be five times larger than in reality. For photographing objects at a magnification above 1:1, you need a specialized lens. At the moment only Canon has it in its product line. This is the legendary Canon MP-E 65 mm f/2.8, and it offers magnification of up to 5:1. If you have a different brand of DSLR at home, then you can get the needed zoom level using extension tubes. These are placed between the camera’s lens and its body.
Another method for getting past 1:1 magnification is reverse-mounting your lens using a reversing ring. This is a very popular technique among macro photographers, who often add macro bellows or extender tubes between the reverse-mounted lens and the camera body.
Snap-on macro lenses are another solution. But watch out for low quality. It definitely doesn’t make sense to penny-pinch here. Instead, invest in something like the Raynox DCR-250, which is made up of two high-quality lenses, ensuring that your image is sharp from edge to edge, and free of chromatic aberration.

If you have a compact camera, don’t despair. Today even these small cameras can take good macro photos.
What is Macro Photography Good For?
When you’re doing product photography, use macro photography to get a maximum of detail in things like jewelry. Although you’ll encounter a low depth of focus, that can be resolved using what’s called “focus stacking.”
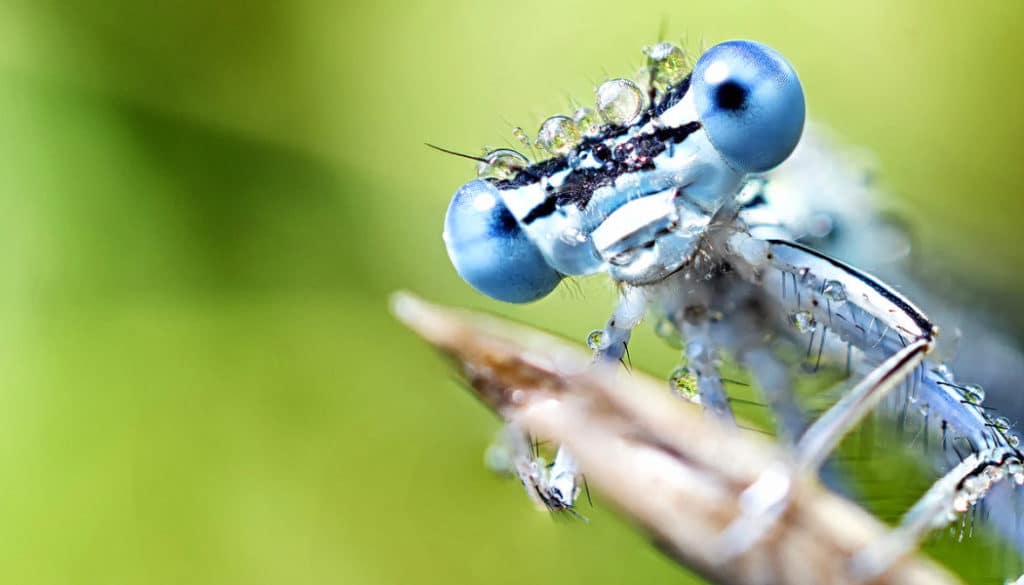
I most often use macro photography for photographing the world of insects. This is a much more complicated genre, because you’re working out in the field, and you’re limited by the influences around you. Also, you have to have enormous patience, or be an early bird. Insects are very lively unless you’re photographing them just after dawn.
Entomologists, as well as certain macro photographers, kill insects painlessly with ether and then photograph them indoors. For a typical macro fan, this approach lacks the magic of the moment and the joy of the hunt for a beautiful photo out in the field. Also, if you don’t photograph a bug quickly enough after its death, decomposition degrades it, and your photo loses its beauty.

Nikon D7100, Tamron SP 90mm f/2.8 Di Macro VC USD, 27x 1/60 s, f/16, ISO 125, focal length 135 mm (EQ 35mm: 90 mm)
Keep a Watchful Eye
When you’re doing macro photography, there’s a few basic rules to respect, without which your photo probably won’t look the way you were hoping. So then, what should you watch out for during macro photography?
- Sharpness
- Light × lighting
- Composition
- Background
It’s hard to say which of the mentioned issues is the most important. In general there’s only one place for a blurry photo—in the trash. There are lots of ways to avoid blurriness, like holding the camera better, using a tripod, or using a flash and faster shutter speeds.
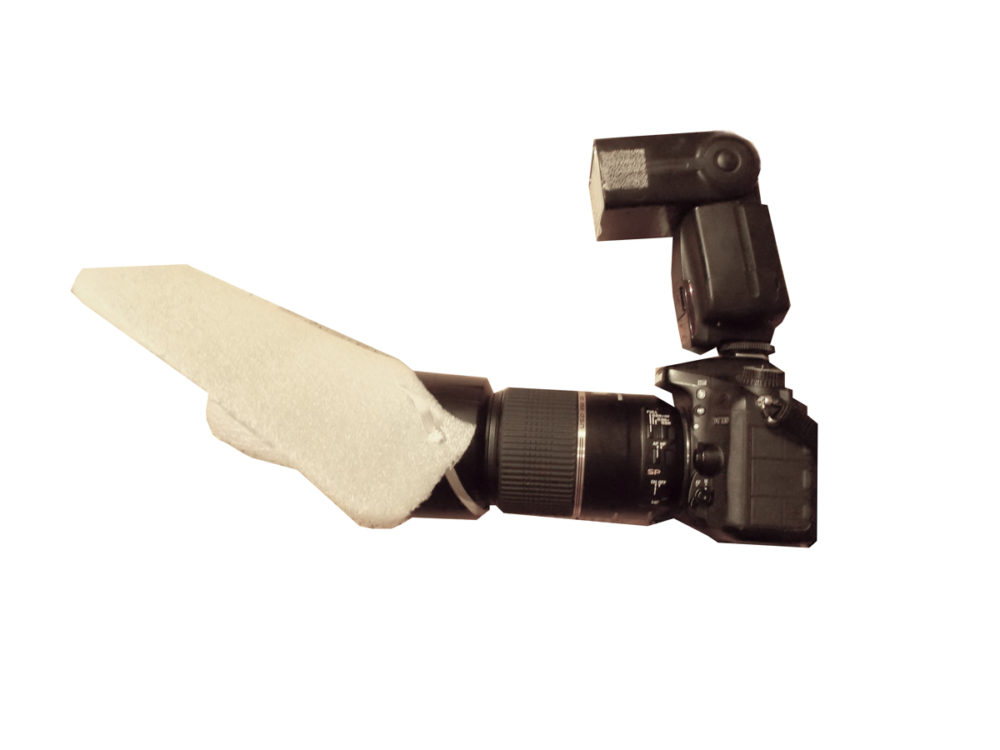
Light and lighting in macro photography are a whole long chapter unto themselves. Some people prefer round macro flashes, while other people spurn them and use ordinary external flashes. The only thing that everybody agrees on here is diffusion of the light from the flash, to soften shadows as much as possible and get details as detailed as possible, with a minimum of reflections.
In my opinion, the composition and the background are even more important in macro photography than they are for other photographic genres. After all, you’re photographing an object that occupies most of the frame, and so your audience will definitely care whether you chose a composition with a face-to-face view, where your photo delivers personal contact with the insect, or instead went for a golden crop of it e.g. sitting on a flower.
Pay attention to the background as well, or else you can ruin an otherwise good composition. If you put green jewelry against a green background, it won’t stand out and won’t catch the interest of your audience or customer. Jewelry goes best against neutral backgrounds: gray, white, and black.
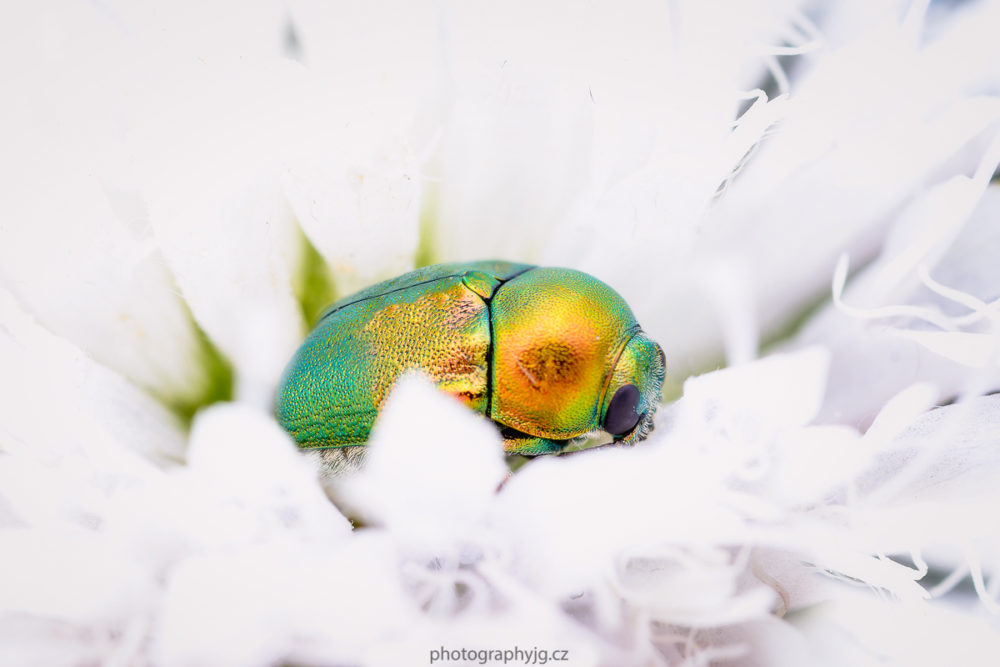
When you’re photographing an insect, you can also use a black background, where it stands out beautifully. Also, your picture will look like it’s from a nature atlas. A white background is another good choice. And all you need for this is just a black or white sheet of paper, which you can take out with you on your shoot.
Natural colors such as blue, green, orange, yellow, brown, or red also make for interesting backgrounds when photographing insects.
So How Do I Start?
At first you can get by with just the equipment that you already own. There’s no point in running right out to the store and buying a macro lens when you don’t know yet if you’re going to enjoy this genre. So try getting your 1:1 magnification using the alternative methods we mentioned in the introduction. After all, they need far less of an investment.
And if you own a compact camera, then you have far fewer worries, and actually in the beginning you even have a small advantage.
For your first photos you’ll want to photograph jewelry or dead insects at 1:1. If macro photography captures your heart, then start fine-tuning your lighting for macro indoors, and also head outdoors to photograph live insects, or perhaps the beauty of plants. There’s definitely a lot to explore.
Terry Byford
Josef, I have nothing but respect for photographers who produce high quality macro images, especially when these are captured in field surroundings and not the studio, although this is not to denigrate the latter.
One small point, though. 1:1 does not mean the image will fill the viewfinder, as you suggest. It simply means life-size. So an object that has dimensions of, say, 18mmx12mm, will be rendered the same size. This is more apparent with film where the image can be physically measured. I’m sure you know this.
Paul van Beusekom
My magic tool for macro photography, apart from image stacking software, is a polystyrene coffee cup with the bottom removed. Put it over the object, and the diffuse light inside it produces wonderfully detailed images.
Zoner
It sounds really good, we must try it ;)
Terry Byford
Paul, I do something similar, but not for macro. However, the reasoning is the same: to produce a diffuse light, cheaply (most important!) and which can easily, repeatably, quickly, and with little fuss, be set up. And there is no having to balance reflectors or studio lights
I buy my meats from a specialist butcher and these come frozen in a white polystyrene box. It occurred to me that this would make for a basic light tent large enough to photograph such things as my camera collection and small potted plants/flowers, for example. If I want a soft effect I place the box near to, and with its back to a widow so the sun illuminates it and not the subject directly. If I want more contrast then I simply rotate the box until I get the desired illumination. But at all times the box is acting as a light diffuser for the subject helping to provide even illumination. If I need a black, or indeed any other colour background, I hang a piece of material from velcro strips.
Klavs Nielsen
Magnification has nothing to do with zoom: (“1:1 zoom”)