Discover the Three Keys to Good Exposure: ISO
The “exposure triangle” is a term for the 3 key exposure settings: aperture, exposure time, and ISO (the sensitivity). Two of these (aperture and time) are covered in our article on exposure settings. This time we’ll focus on the third exposure setting: ISO.
ISO—The Third Exposure Setting
The ISO value is your “film sensitivity.” It’s important, but it’s less fundamental than the two more basic exposure settings, aperture and time. ISO defines a digital sensor’s sensitivity to light. Each digital sensor has its own natural ISO level (usually ISO 100 or 200), which sets how the sensor translates the amount of light coming through the lens onto its light-sensitive cells into a light-level value. This value—the amount of light actually recorded—is what the camera uses for the process of putting together a JPEG image. A processor inside the camera handles this process. If you are photographing to RAW, then this process does not happen on the camera at all; you do it later on your computer in specialized software (e.g. Zoner Photo Studio).
If there is not enough light coming onto the sensor and you can’t acquire more by opening up the aperture wider or increasing the exposure time, you need to make the sensor more sensitive to incoming light. To do that, you raise the ISO. Doing this doesn’t increase the amount of light coming in, but instead multiplies the numbers for it. The higher the ISO, the larger the multiplication. Going from ISO 100 to ISO 200 means doubling the light values recorded (+1 EV), going to ISO 400 quadruples them (+2 EV), going to ISO 800 multiplies them by 8 (+4 EV), etc.

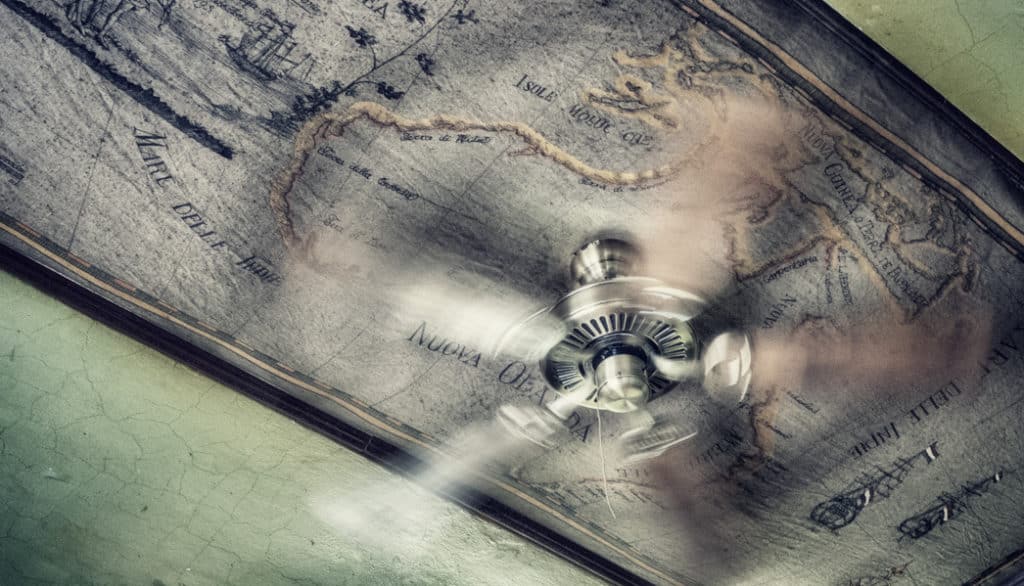
To freeze this racer in place, we had to use an ultra-short exposure time.
Digital Noise
However, using high ISOs does have its price, in the form of reduced picture quality. This is (indirectly) because absolutely every camera’s digital sensor produces digital noise. And when you raise the ISO to multiply the light values measured, that also multiplies the noise, which is registered right alongside the light. The smaller the sensor is and the more cells (the more MPx) it contains, the worse this situation becomes.
The larger light-sensitive cells in the sensors of DSLRs and medium-format cameras can hold more photons, and so the amount of light that they record is much larger than the amount of digital noise.
For small digital sensors (compacts, phones) that are packed with a large amount of tiny light-sensitive cells, the difference between recorded light and digital noise is smaller, and so noise is much more noticeable.
Because of this problem, cameras’ processors contain powerful denoising algorithms that are used for suppressing digital noise. This is the main reason why today’s cameras can work with much higher ISO values than yesterday’s, without needing larger sensors. Today’s more powerful processors do a better job of suppressing digital noise.
For most of the last few years, the pointless chase after constant increases in sensor resolution at the cost of shrinking sensor cells was on hold; camera makers were increasing sensor size instead to offer a higher-quality image.
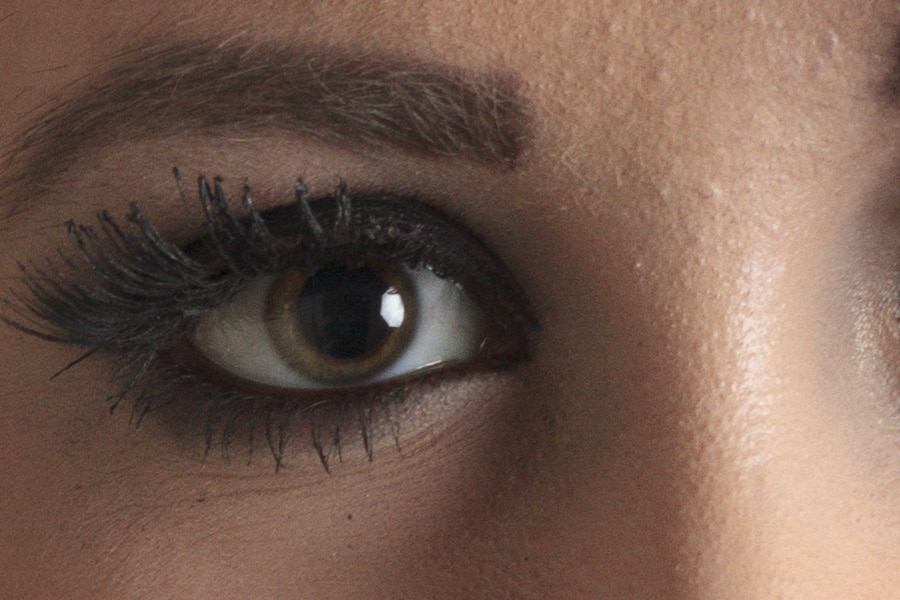
A 1:1 crop of a photo taken with a DSLR with the use of a flash. The low ISO used gives a clean photo that’s full of detail.

A 1:1 crop from a photograph taken using a DSLR, lighted with a pilot lamp. Here the camera’s maximum ISO is being used. (Outside of “expanded” ISO—read on for more on that.) The colored digital noise is the most visible here; luckily, we can easily remove it in a photo editor.
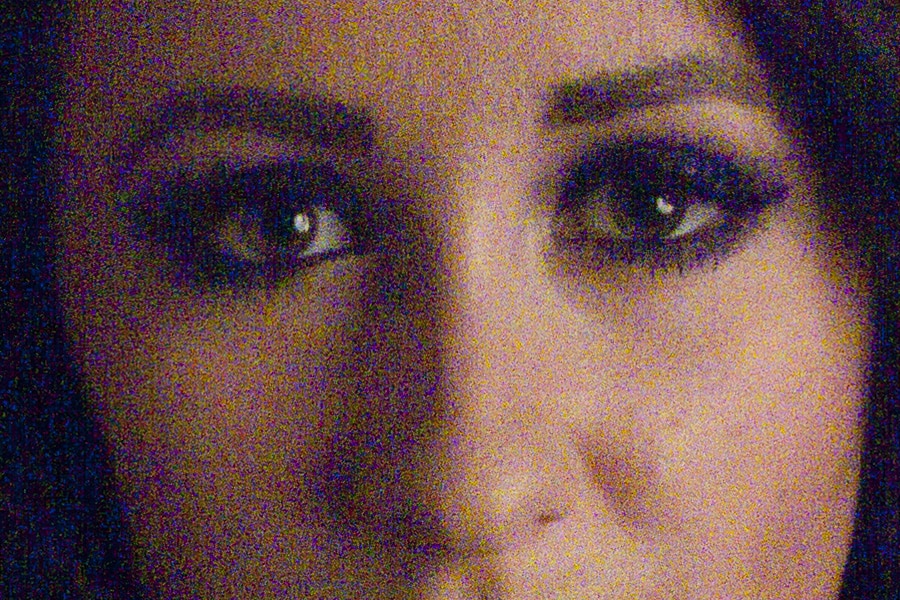
A 1:1 crop from a photo taken with a once-advanced, now-outdated compact. Even though a lower ISO was used here than for the DSLR photo above, this time the picture has so much digital noise that it’s become unusable. It doesn’t have any detail.
Recently the battle for the most MPx on sensors has returned, at least in the professional DSLR sector. It’s Canon’s and Nikon’s way of trying to compete with medium-format cameras, which have larger sensors. In its recently-introduced EOS 5DS and EOS 5DS R DSLRs for example, Canon is offering an enormous 51 MPx resolution. This new line has a max ISO of 6,400, compared to the 25,600 max on the older 22-MPx Canon 5D MkIII. (More precisely, the “expanded ISO” has gone down from 102,400 to 12,800.) Offering the same ISO range as in the older model would have meant the possibility of customers producing unusably-noisy pictures, because of the smaller light-sensitive cells.
Expanded ISO values and how ISO settings affect a sensor’s dynamic range
Besides the basic ISO sensitivity range, cameras also offer “expanded ISO.” Usually the manufacturer does not guarantee consistent results for values in the “expanded” range, and what’s more, pictures taken with these values have reduced dynamic range. For example the above-mentioned Canon EOS 5D MkIII can work with a basic ISO range from 100 to 25,600, but also with values like ISO 50, ISO 51,200, and ISO 102,400. However, you should only use these ISO in exceptional cases—generally for documentation-type pictures. When taking pictures for your portfolio, avoid ISOs like these.
When to raise the ISO
Try to always use the lowest basic ISO value that you can, to avoid introducing digital noise. On the other hand, don’t be afraid to work with high ISO values when the situation demands it. A slightly noisy photograph is better than one that’s blurred because you had to use an exposure that’s too long for a hand-held shot.
You’ll usually be forced to raise the ISO when shooting at low light levels. That is, in situations where you’ll need much more time for a good exposure than you can achieve by hand, even with the aperture wide open. If you don’t have a tripod or similar tool to stabilize your camera, you can set a high ISO value to shorten the exposure time to fit your needs.
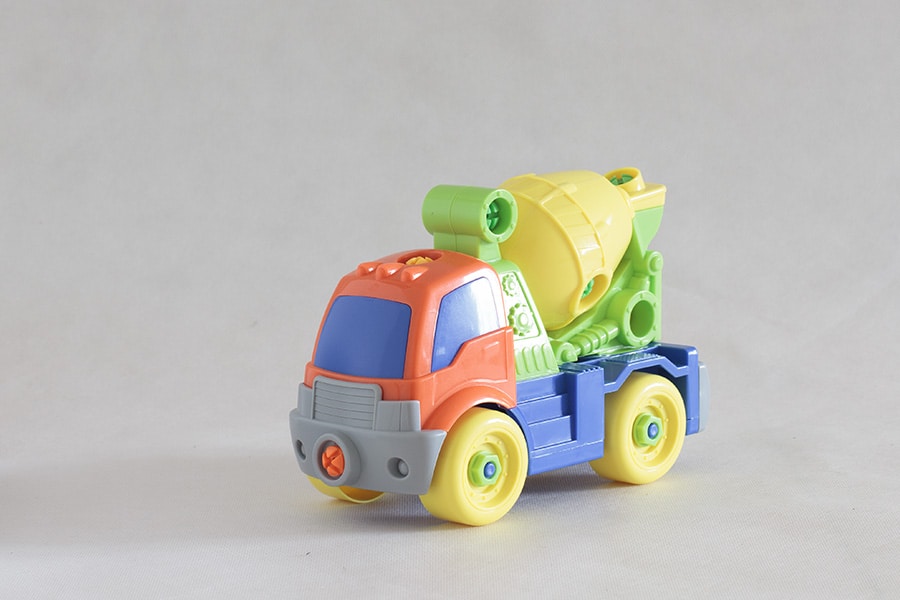
Another common situation where you’ll need to reduce the exposure time is when photographing fast-moving objects. If you want them sharp, you’ll need to work with exposure times on the order of hundredths or thousandths of a second.

1:1 crop from a photograph taken with a DSLR. Putting the camera on a tripod made it possible to use a tight enough aperture for detail throughout the subject while still using ISO 100.

A 1:1 crop from a photograph taken with a DSLR by hand. Even with the best possible aperture on a very fast lens, it wasn’t possible to set a short enough exposure time, and so the camera moved during the shot, blurring the picture.

A 1:1 crop from a photograph taken with a DSLR by hand. Setting a high ISO made it possible to shorten the exposure time enough to get a sharp picture. Noise reduction in a photo editor was used on this picture. The noise is visible at 1:1 zoom, but the picture still has detail.
Don’t be terrified of high ISO
Many photographers are afraid to use high ISOs because of how ugly noise looks at 1:1 zoom on a monitor. But you need to keep in mind how a given photo will actually be used. When you print out a “terrifyingly” noisy photo like this on classic 15×10 paper or view it on a phone, there won’t even be a trace of the noise.
There is, however, a possible problem when you turn on your camera’s noise suppression function. Some cameras, in their attempts to remove noise from high-ISO pictures, iron out a picture so much that it loses all its detail. It’s always better, if the camera enables it, to turn off noise reduction, and reduce the noise later on a computer. The best approach here is to shoot to the RAW format, so that you have full control over the final picture.
Pictures taken using a DSLR, shrunk for Web viewing and for printing on small formats. Since the camera was on a tripod, the right aperture settings could be used to provide detail throughout the subject without raising the ISO.

Pictures taken using a DSLR without a tripod, shrunk for Web viewing and for printing on small formats. The blurring caused by the long exposure is visible even after this shrinking; the photo is unusable.
Hand-shot photo taken at a high ISO using a DSLR, shrunk for web viewing and printing on small formats. At this size the noise that was visible at 1:1 is now completely invisible. The photograph is sharp and full of detail.
It has a lower dynamic range than the photo taken at ISO 100, and you can see this in the form of sharper color gradients, but it’s not a dramatic problem.
Noise should be invisible to the viewer
You can make your life easier by raising ISO in situations where you can no longer get the exposure you want by adjusting the aperture size or the shutter speed. Always try to shoot with the lowest ISO you can, so that you don’t add digital noise to a picture. But don’t be afraid to use high ISOs when the situation demands it.
Renowned photographer Rick Sammon often cites his father, also a photographer, on this subject: “If a picture is so boring that you notice the noise, it’s a boring picture.” So if your picture contains a strong theme that’s handled well, people will forgive you for a little noise. In fact, they probably won’t even notice it’s there.
What is your oppinion? Do you like noisy pictures?
Want to Learn More About Exposure? Read our other articles on this topic:
Learn What Exposure Is and How It Shapes Your Photos
Discover the 3 Keys to Good Exposure: The Exposure Triangle
Mastering Colors in Photography: White Balance
There are no comments yet.