Fast Two-Tone Backgrounds in Zoner Studio
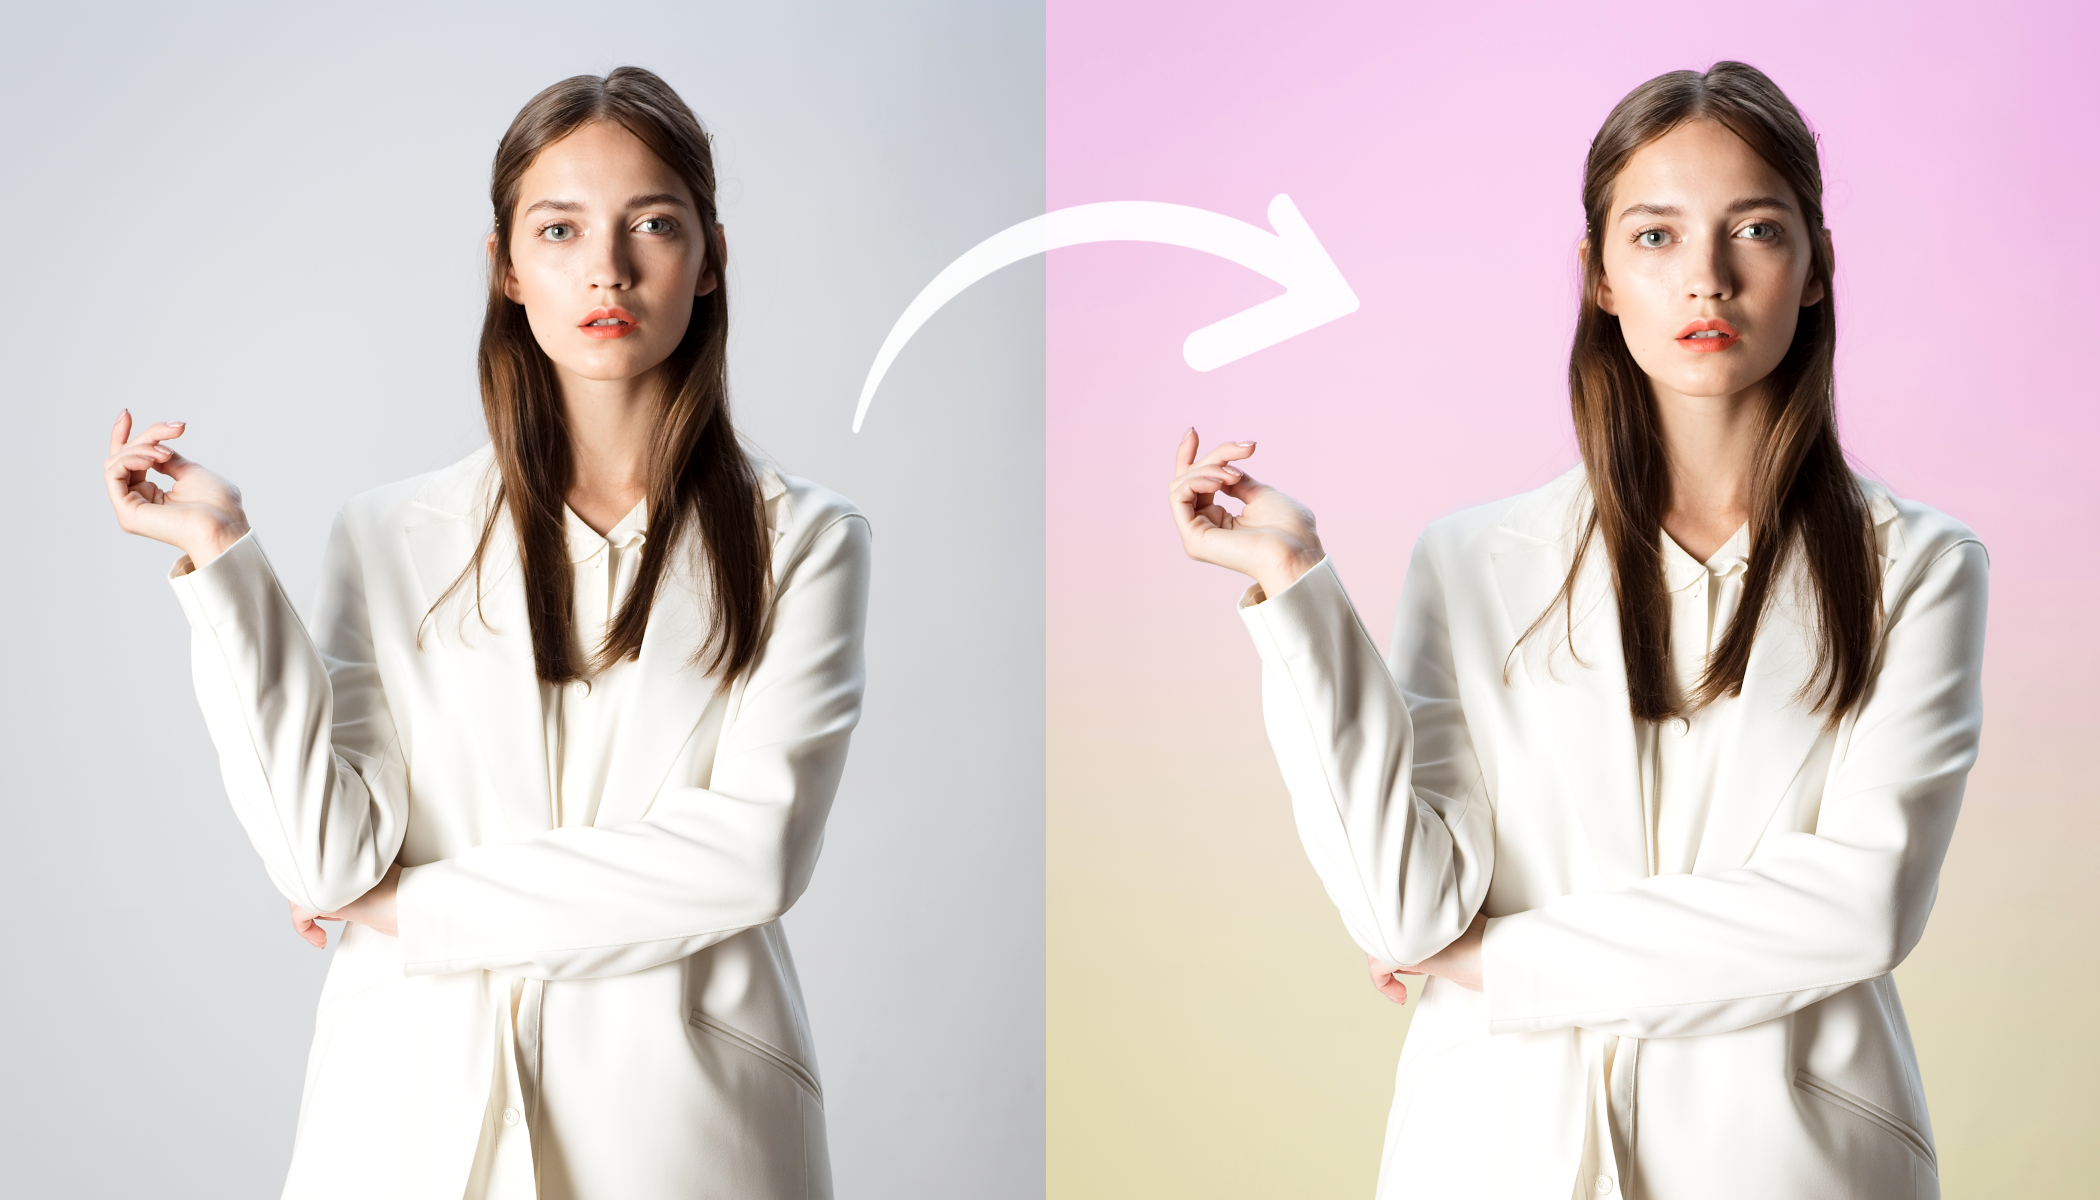
You can easily create this striking two-tone background in Zoner Studio using simple masking. This technique works well for portrait and product photography and when preparing visual materials or profile photos for your website and social media.
In this article, we discuss:
- how to create a striking two-tone background in Zoner Studio using AI Masks.
- how to use Color Overlay.
- how to subtract masks to create a smooth color transition.
- how to fine-tune the result using Opacity and Vignetting.
Color gradient effects work best on photos with a simple white or light gray background. Keep this in mind when choosing a photo to edit. You can do everything in the Develop module of Zoner Studio. The adjustments are non-destructive and take just a few minutes.

This tutorial walks you through the process step by step. If you get stuck, you can review the basics of working with AI Masks in the article AI Masks in Zoner Studio: Faster, More Precise Local Photo Editing.
Select the background and apply the first color
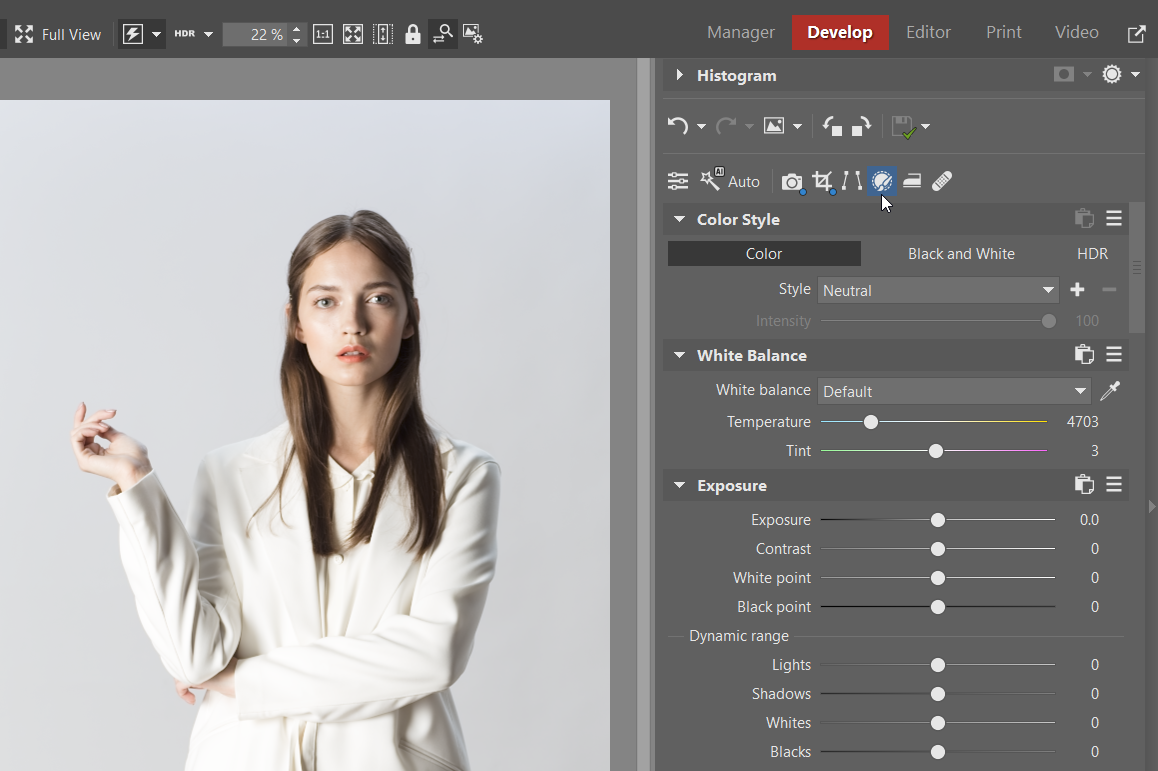
Open your photo in the Develop module and click Local Adjustments (L) in the right panel.
Select Background. This creates an AI Mask that selects only the background and leaves the main subject untouched.
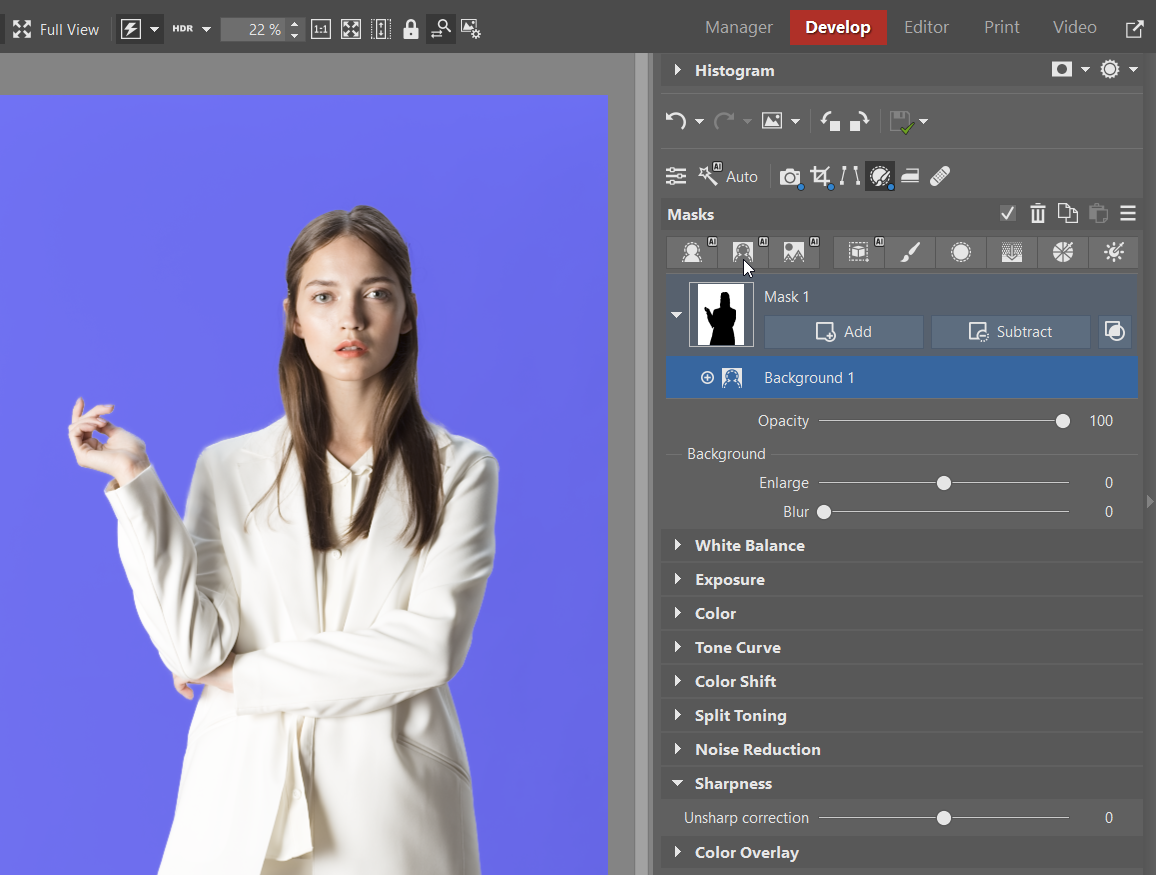
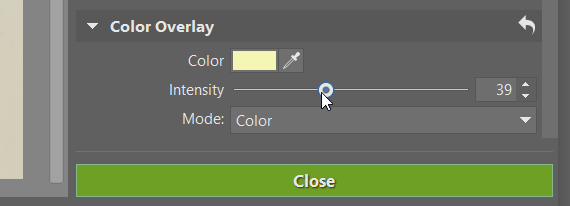
Scroll to the Color Overlay section in the right panel. Click the color box, set Mode toColor, and use the Intensity slider to control how strong the color effect will be.

Subtract a Linear Gradient
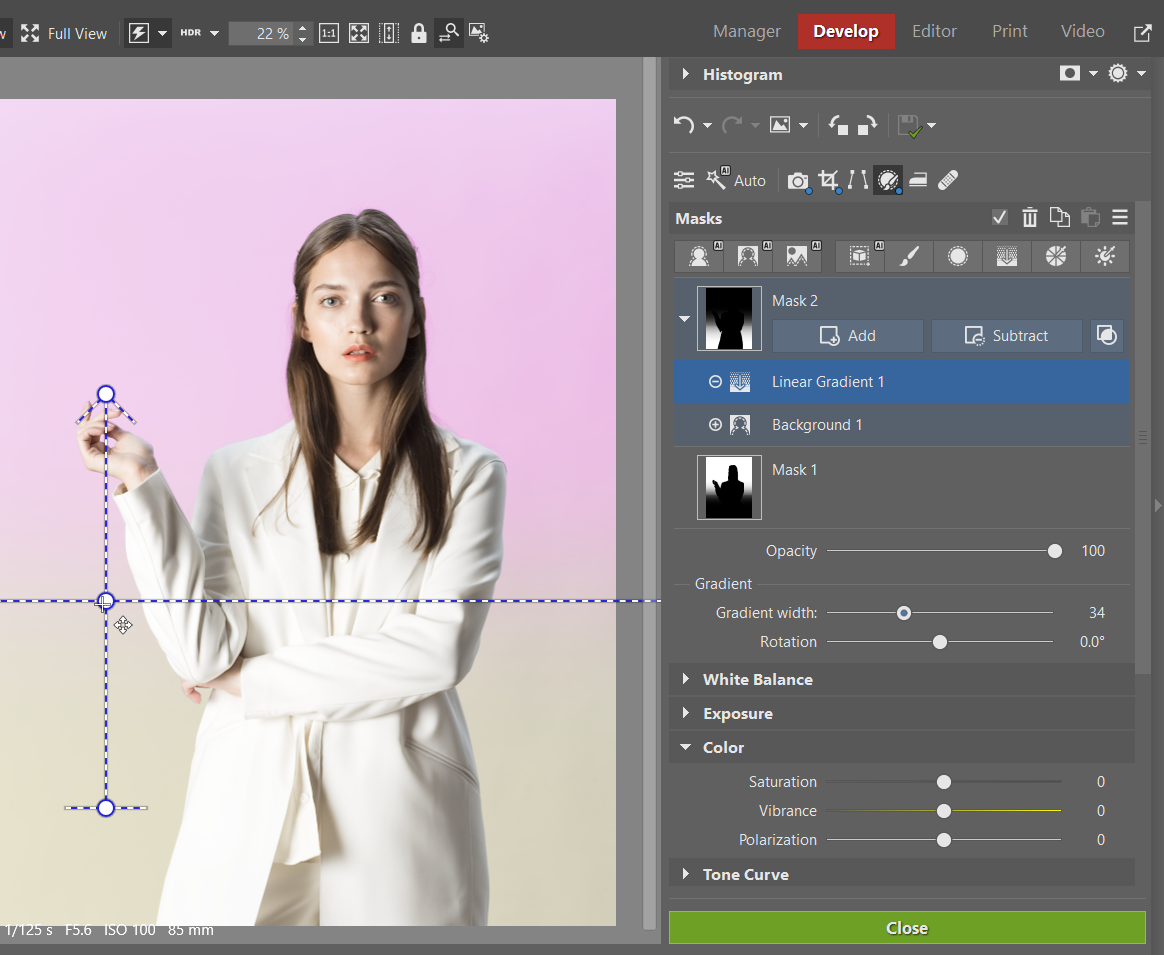
Click the mask you’ve just created in the right panel (in this example, it’s Mask 1). Click Subtract, and choose Linear Gradient. This subtracts the gradient from the background mask.
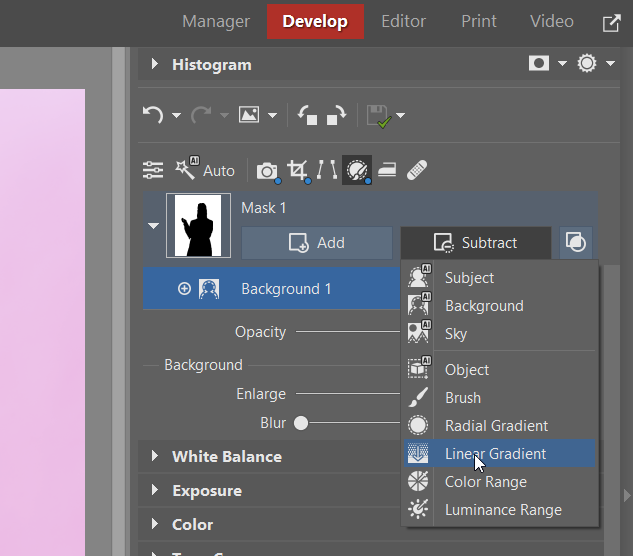
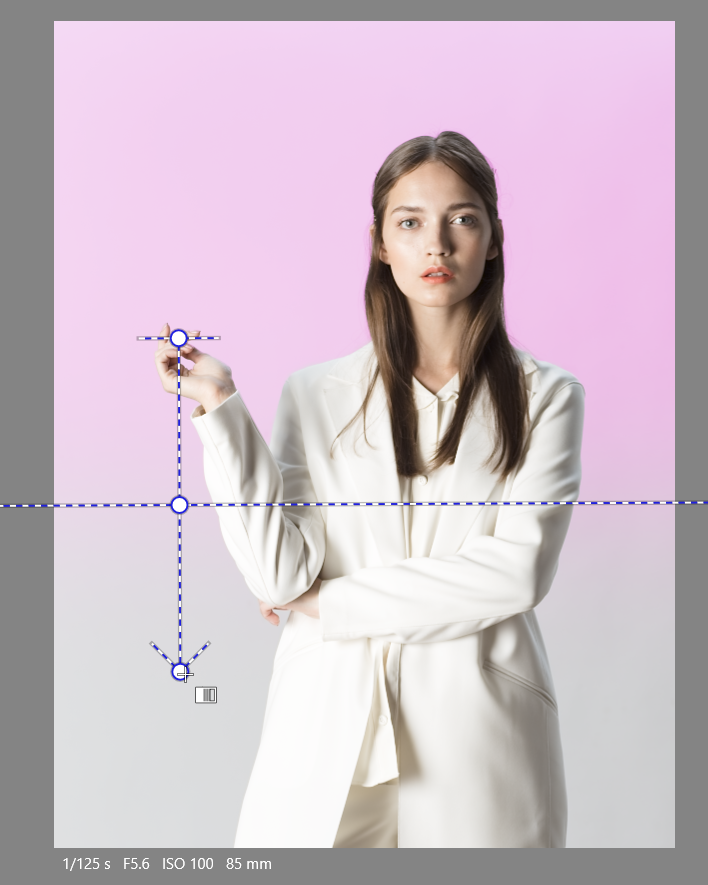
Drag the Linear Gradient to the place where you want the first color to fade out. The transition doesn’t have to be horizontal or vertical; it can also be diagonal. In this example, a horizontal gradient is used. The first color disappears where the gradient is applied, making space for the second color.
Add the second color
For the second color, repeat the entire process. Create a new Background AI Mask and set a different color.
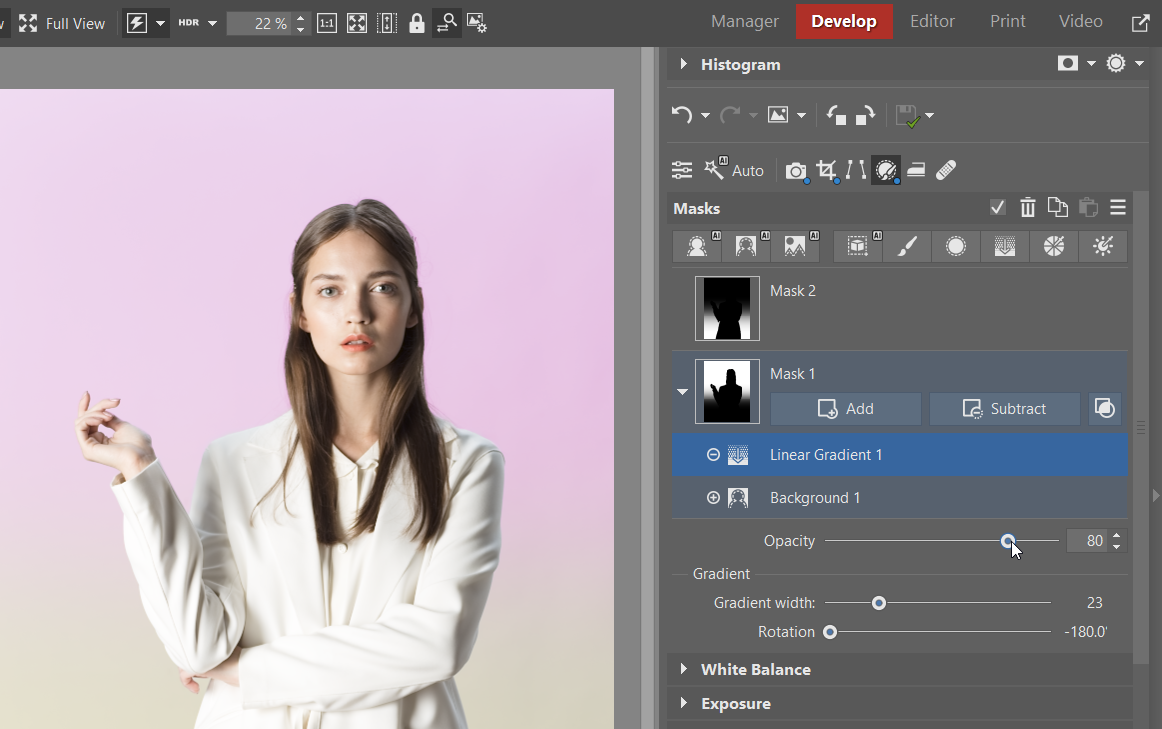
Then, subtract a Linear Gradient from the background mask, this time on the opposite side of the image.
Fine-tune the result
Now, it’s time for the finishing touches. You can adjust the Opacity of each mask to fine-tune the intensity. Click a mask and use the Opacity slider beneath it.
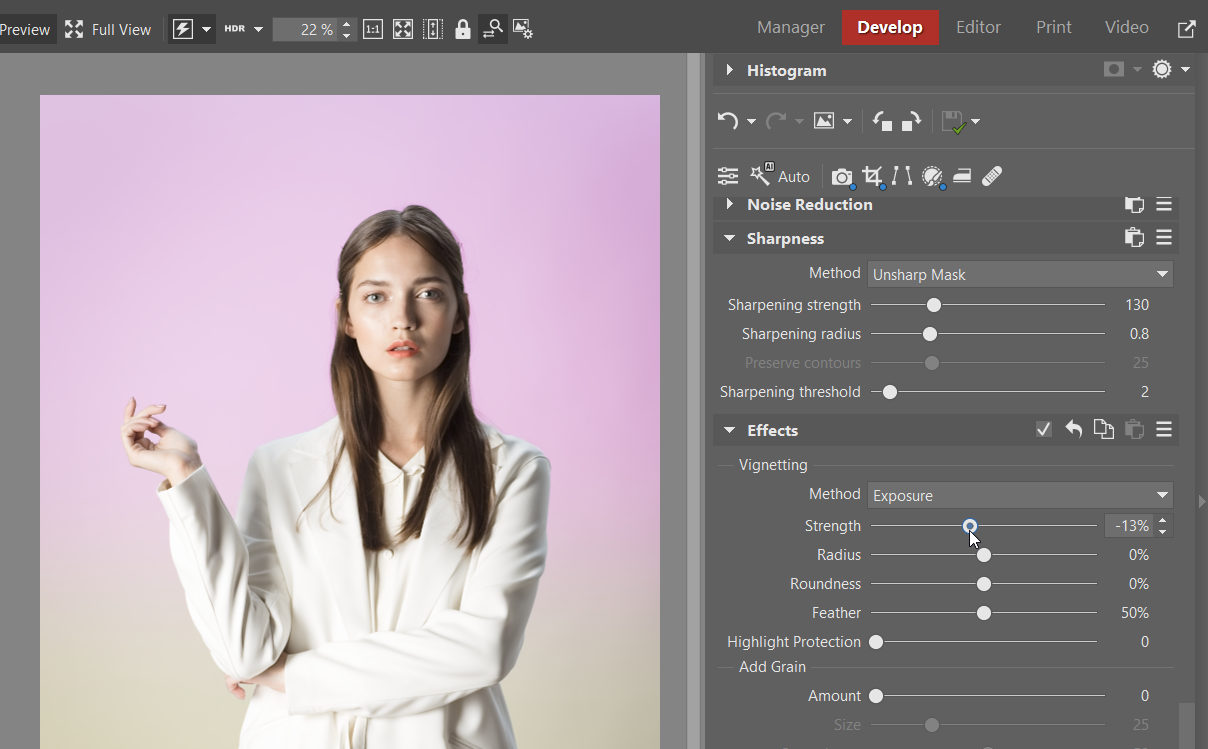
Adding some subtle vignetting can also help the result look more natural. In the right panel of the Develop module, scroll down to Effects and choose Vignetting. Move the Strength slider to the left. A value of around -10% is usually enough.
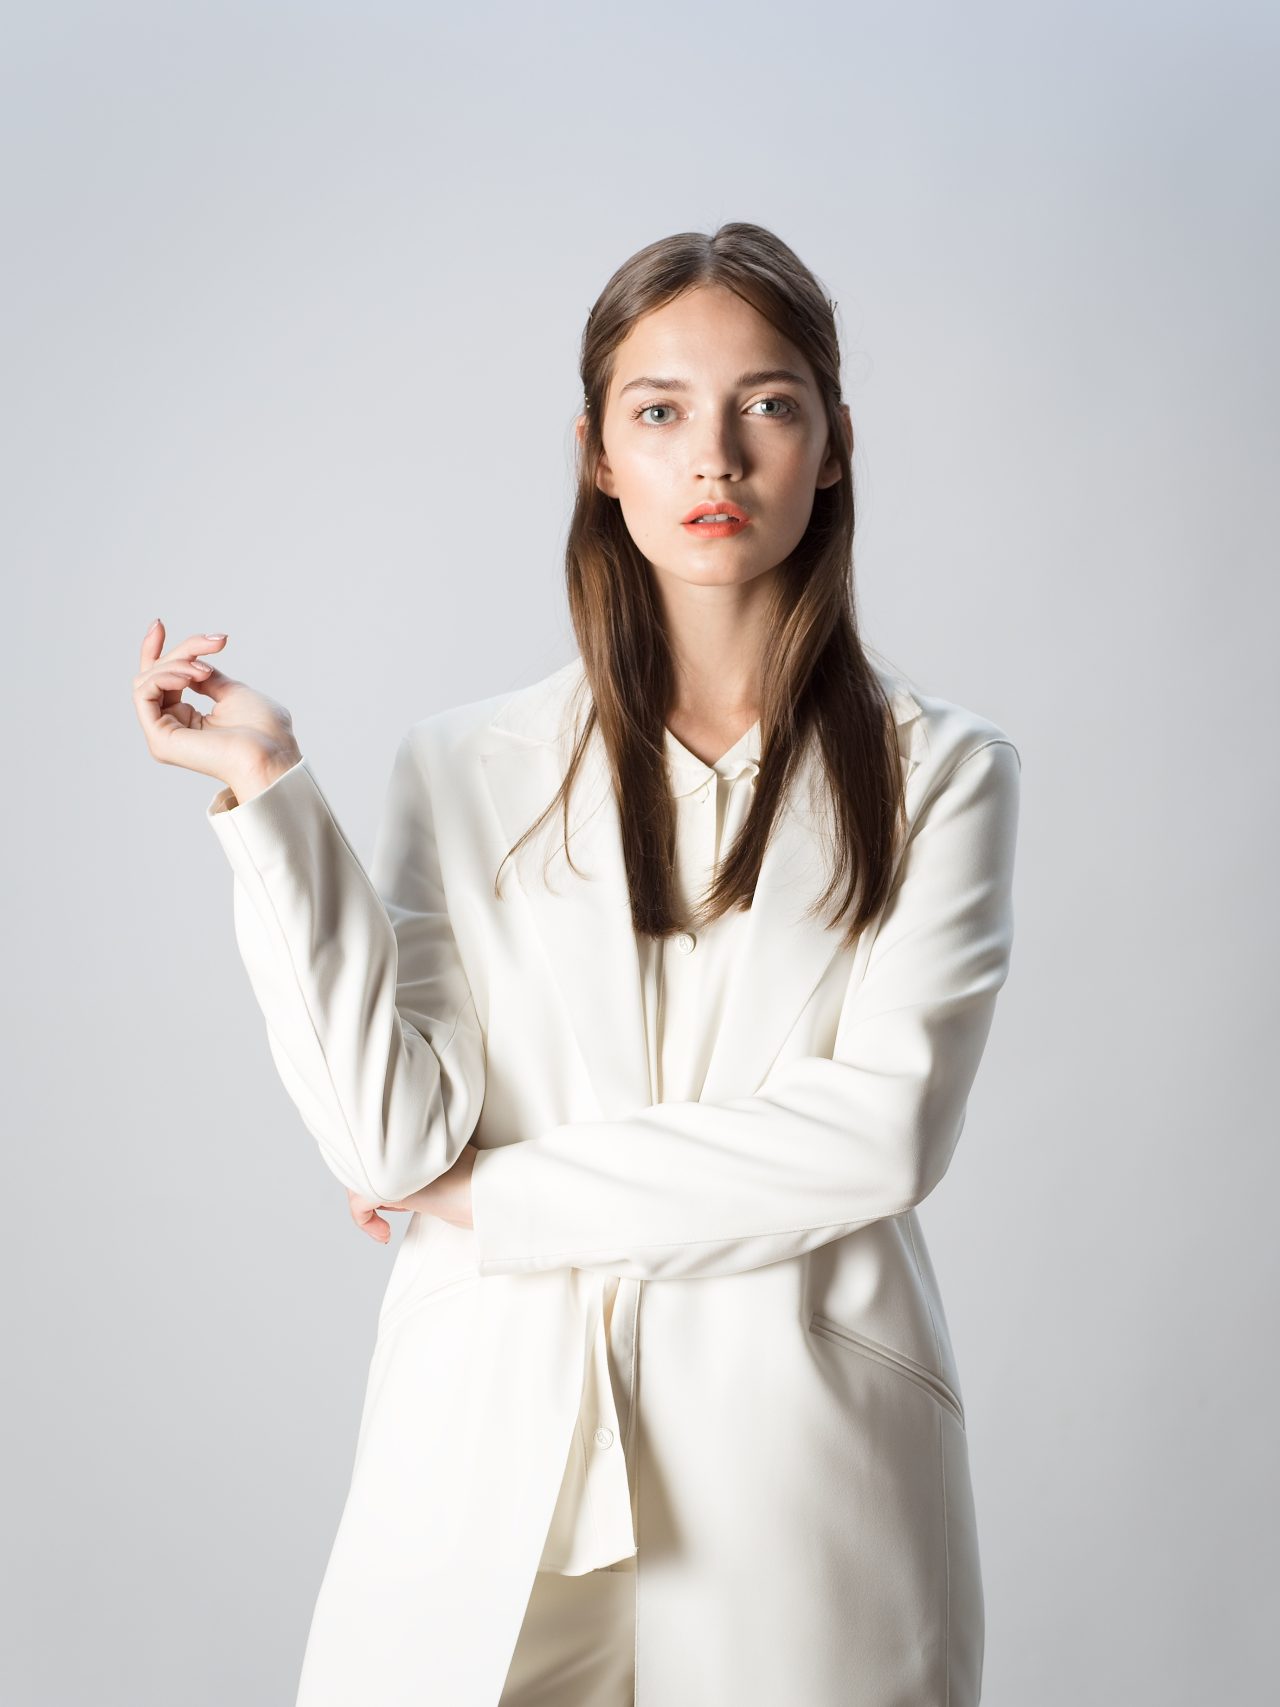
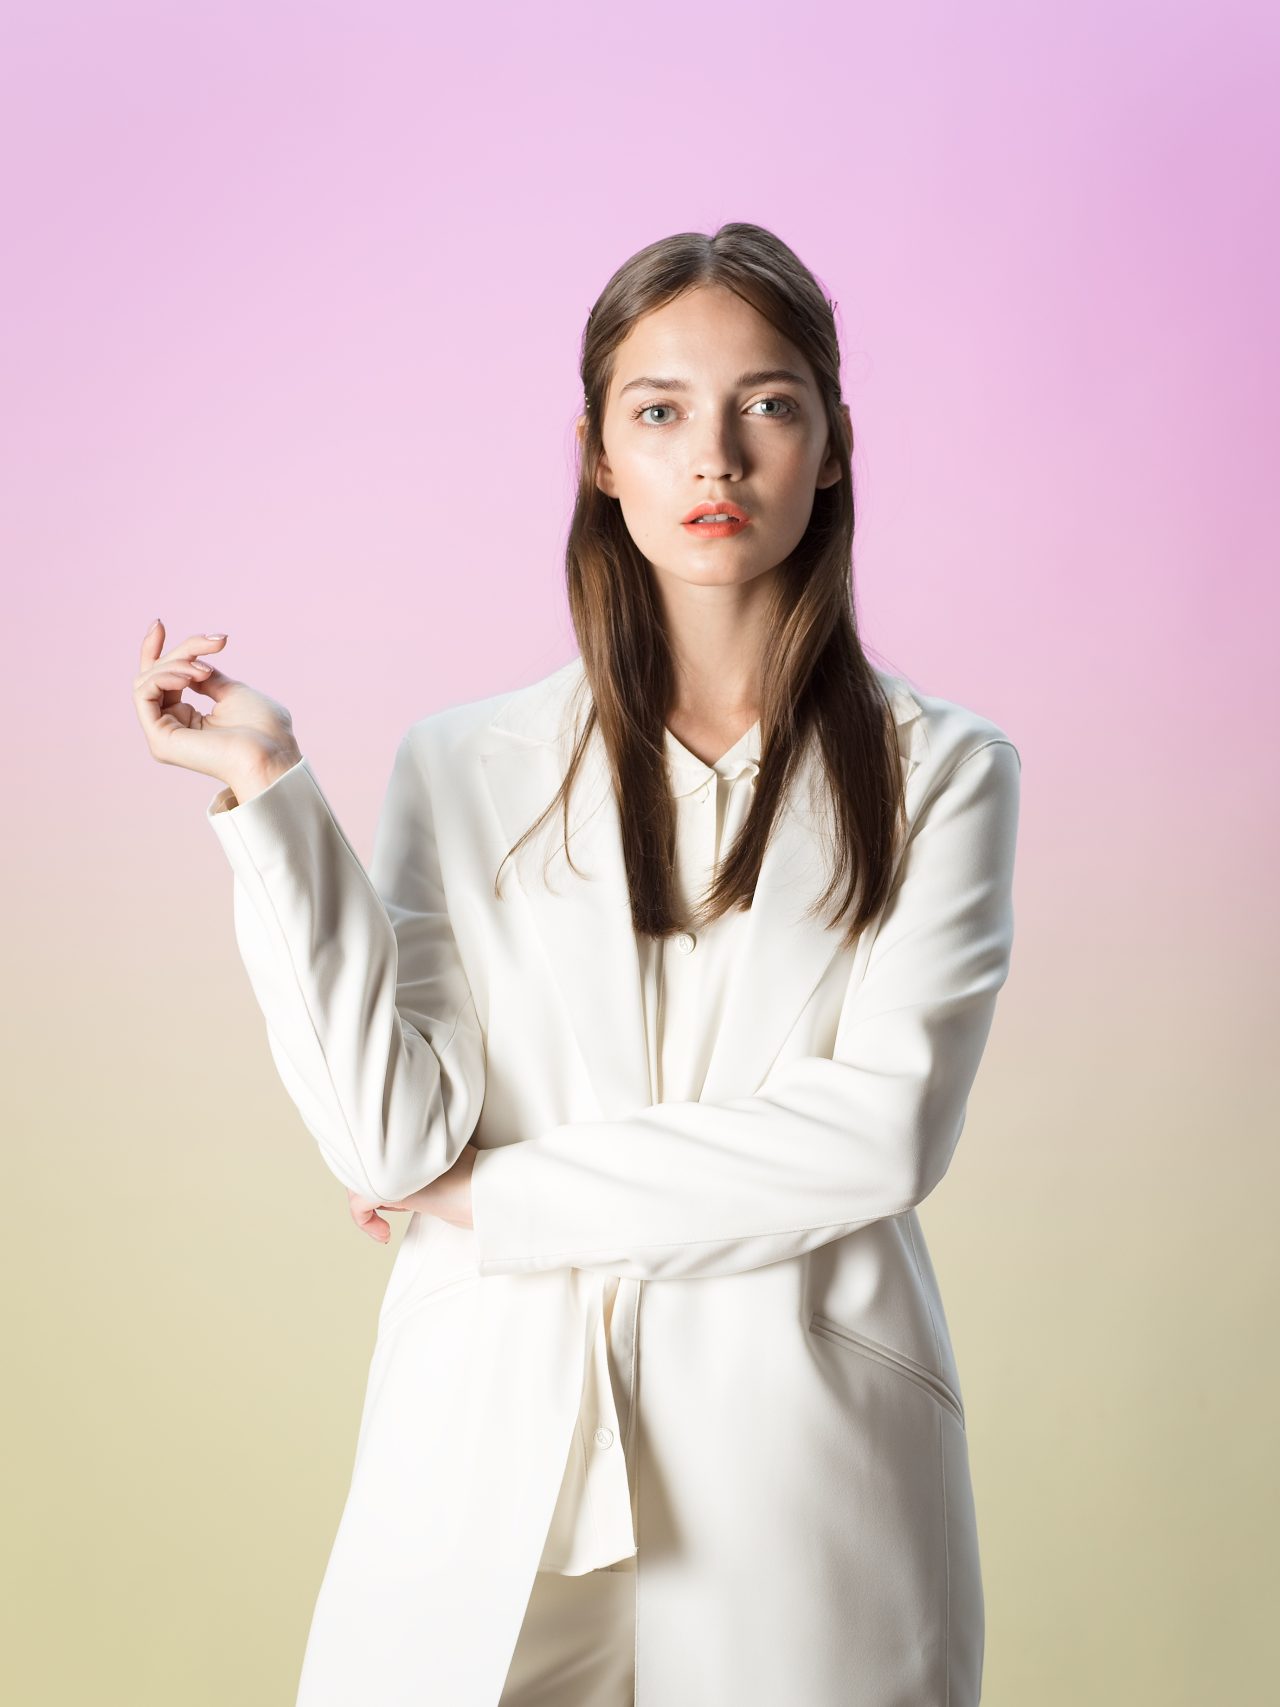
All done! Here’s how the photo looks before and after editing.
Edit your photos without limits
This example uses a Linear Gradient, but what would happen if you tried a Radial Gradient instead? Or if you used completely different colors? Experiment and find your own approach. If you don’t have Zoner Studio yet, you can download it free for 7 days and try out all the options.
FAQs
Does this technique work on backgrounds other than white? Yes, but you get the best results with a simple, light background. It might not work or require additional fine-tuning with more complex scenes.
Are these adjustments destructive? No. Everything is done in the Develop module and is fully non-destructive, meaning the original file remains unchanged.
Can I use a different type of gradient instead of a linear gradient? Yes. For example, you can use a Radial Gradient with the same process to achieve a different look.
Can I change the colors later? Yes. You can adjust both the color and the intensity of the overlay at any time using the settings for each mask.
Is this process suitable for product photography? Yes, especially for simple product photos where you want a clean and visually striking background.
There are no comments yet.