Hone Your Composition—Experiment With Abstract Macro Photos
No more walking the mountaintops waiting for better weather! You’ll find scenes for macro photography everywhere around you—or you can create them on your own. Miniature abstract compositions don’t demand any complicated ideas, and yet they can still be a delight to the eyes.
Just about every photographer has at some point tried photographing something tiny, bringing them into the realm of macro photography. Often these small objects are shown very concretely—on the Internet you can easily find fantastic detailed photos of flies and other tiny animals. There are also other examples you could find.
On the other end of the scale are abstractions, which also have their place in the sun. This time we won’t be concentrating on specific objects, but on shapes, lines, colors, and other graphical elements. These elements make abstract photography an excellent exercise for composition and for a photographer’s eye.
What Gear Should I Use?
Macro photography is a little more gear-dependent than usual. If your camera doesn’t let you shoot macro directly, but it has a removable lens, then you can start out in macro photography by purchasing a tool mentioned in another of our articles—cheap auto extension tubes. There’s also the option of supplementing them with an old lens.
No matter what equipment you use, you have to prepare for the fact that the depth of field (the front-to-back scope of the area in focus) will be small—even mere millimeters—and even the tiniest hand tremor will be a problem.
In order to achieve short enough shot times, it’s a good idea to either provide plenty of light (with a flash or the Sun) or use a longer exposure and a tripod. Meanwhile, depending on what technical approach you choose, there’s also the option of a higher f-stop, which will add some depth of field. Ultimately both a larger and a smaller aperture are usable, and it’s all a matter of your wishes and technical limitations.
In the two illustrations below, you can see how different a nearly identical shot can look when you use two differing apertures. Neither approach is a bad one.
All of the pictures in this article were taken on a full-frame Canon 5D Mark III with an 100/2.8 IS Macro lens as well as 65 mm auto extension tubes. Thanks to the special qualities of this lens and these tubes and the use of an f/2.8 aperture, the effective f-stop is somewhere around f/5 to f/10 (depending on the focal length). I used a flash for most pictures, and so the time and ISO settings are unimportant, and thus I generally don’t even list the exposure for these illustrations.
Focusing
For macro there also typically isn’t any point in turning on auto-focus. You can get much more precise and reliable results with manual focusing.
If you’re shooting from a tripod and your camera enables it, then it’s best to use a zoomed-in preview (like LiveView or simply the display) and then manually focus precisely.
When shooting by hand, it’s often simpler to focus roughly in advance, and then carefully shift the camera, and at the moment when it seems that your target location is in focus, then press the trigger. Generally every little hand tremor will be big enough to make you whoosh back and forth around the target, making it take long, long seconds for you to successfully take the picture. It may sound complicated, but on the other hand it eliminates similarly complicated work with a tripod, and so both methods have something to say for them.
Where to Find Inspiration
The big advantage of macro photography is that you can find many shapes worth photographing in an average household. Even a tiny detail is a giant scene for your camera, capable of filling up the whole frame.
Among natural subjects, flowering plants are a good choice. Different and full of colors and shapes each and every time. It’s simplest to photograph these subjects at home. If you must do it outside, choose a windless day, or pray for luck with focusing.
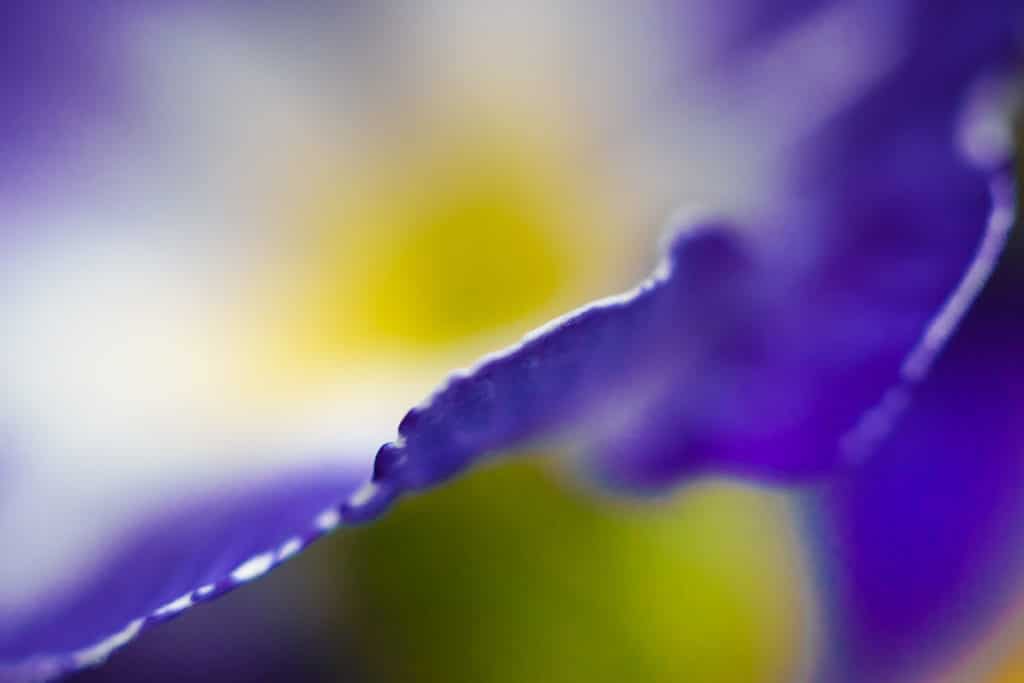
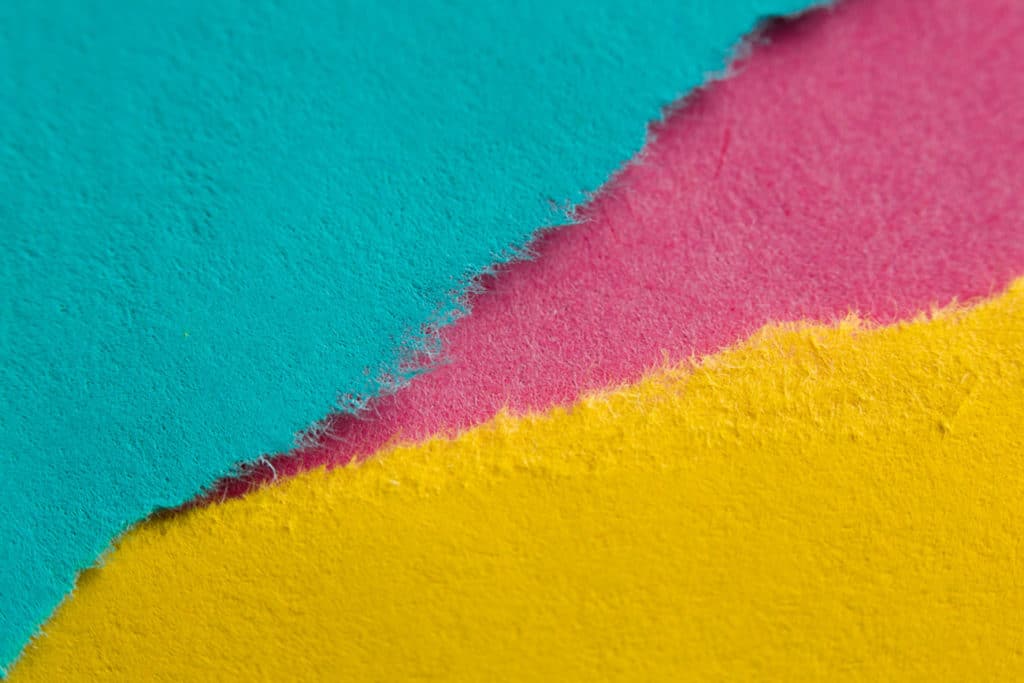
Pictures like these run right up to the borders of recognizability. And that’s OK, because they’re primarily about colors and their layout in the picture. Even if we lean a bit towards description, this will actually still be an abstract photo—just with a low color count that makes the shapes and surface structures in it dominate.

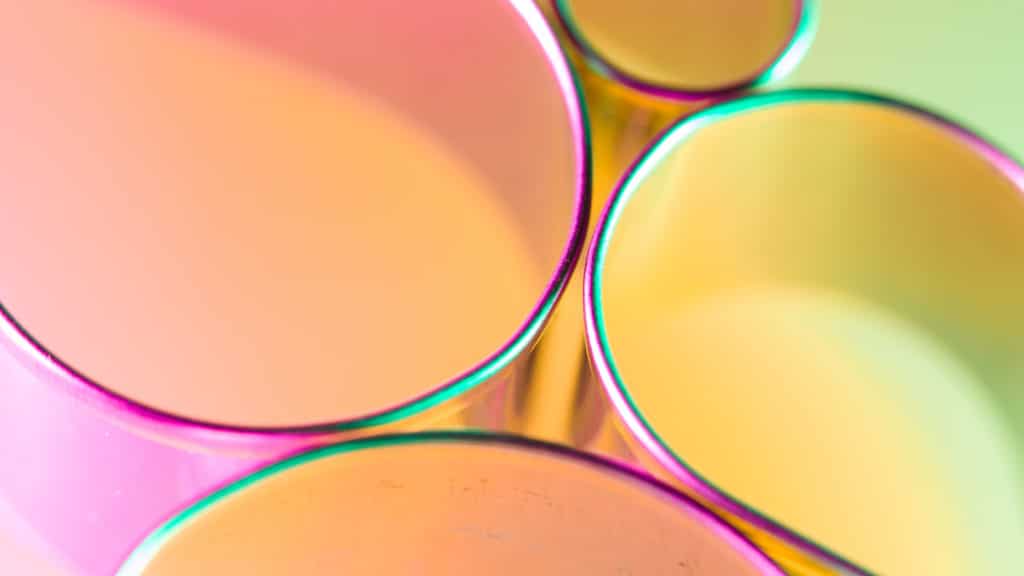
As a technically-minded man, I have also sought subjects among man-made objects, and found them too. After the binder rings, I obtained colored pieces of paper and started experimenting.
Unlimited Possibilities
Thanks to paper and materials like it, we don’t have to rely on the scene looking good to start with; we can reshape it however we need. It’s mind-boggling how many creative possibilities are hidden in something so unassuming as a block of colored notes.
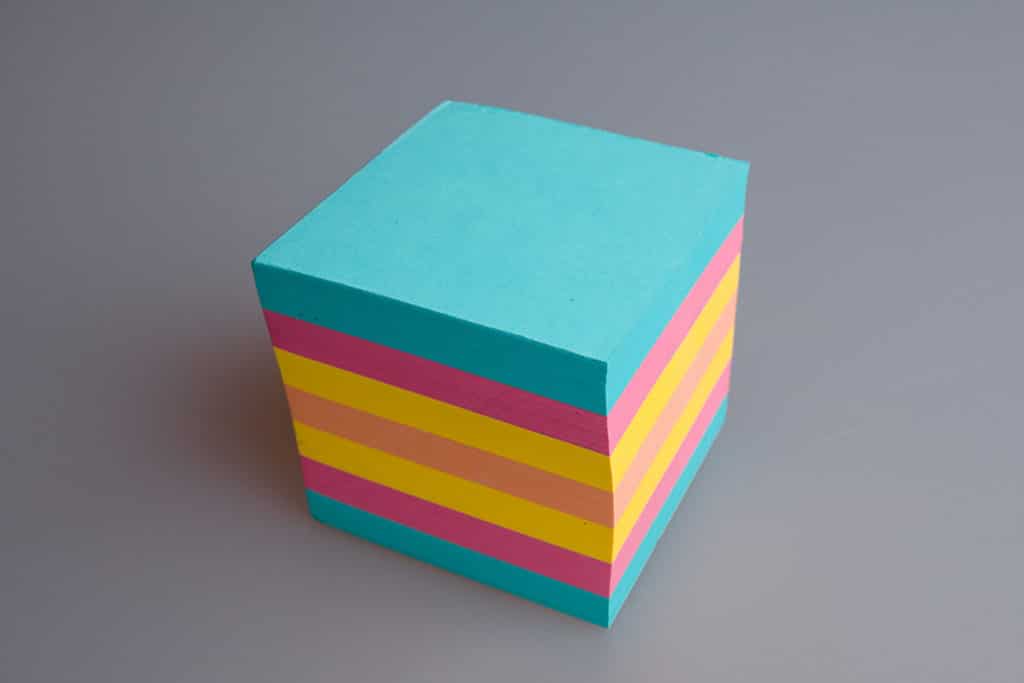
Thanks to my macro lens, I could have made do with even smaller pieces of paper, but these were the ones at hand. Since every one of us can work with paper, we all have an enormous potential here.
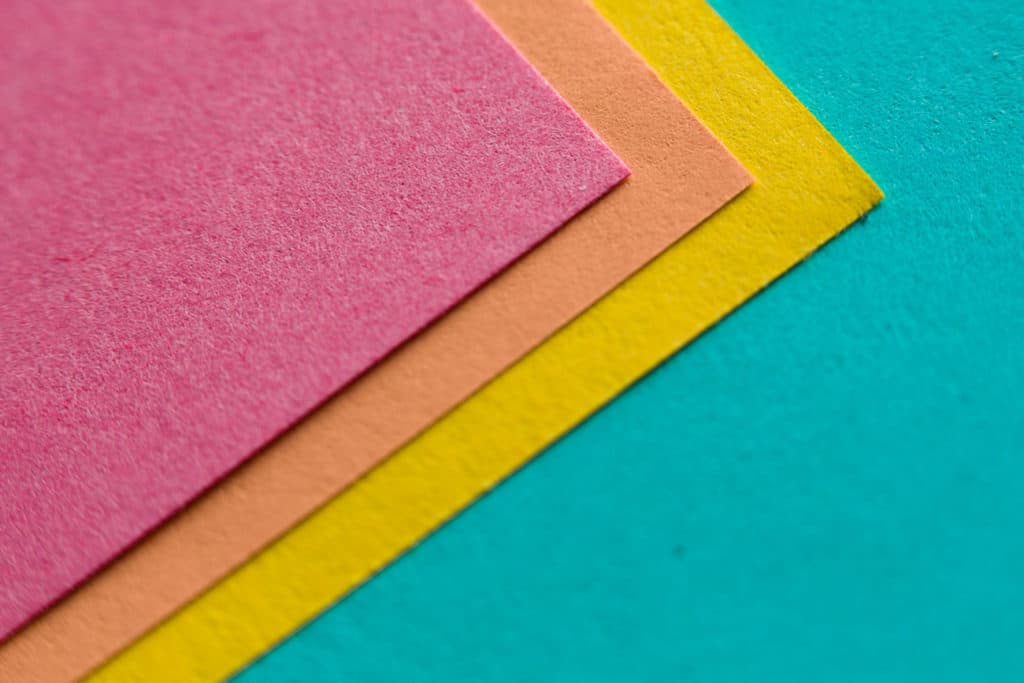
Even at macro size, the usual rules of composition apply, so I took advantage of diagonals and of the rule of thirds to make the picture more interesting. (But there are many other possibilities here as well.)
We don’t have to restrict ourselves to just a head-on view of paper. Side views of paper with gradual blurring out towards the front and back can also be striking.
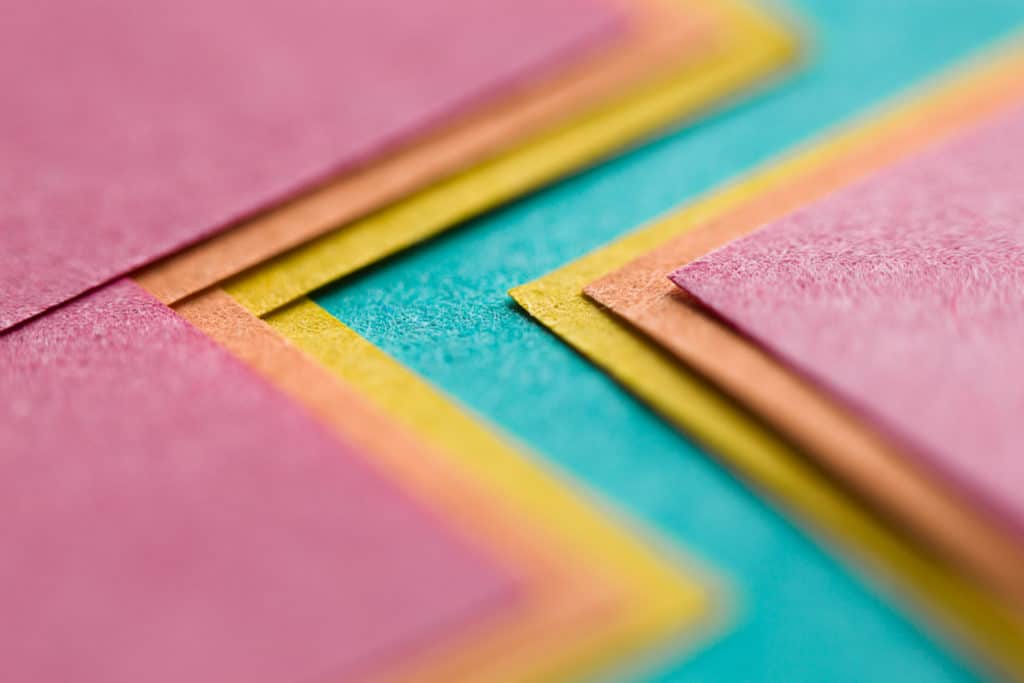
The pieces of paper do not even have to be flat. They can be arranged in some way, for example leaning on to each other.

And we don’t even have to use scissors! Let’s get some less-geometric effects into the frame.
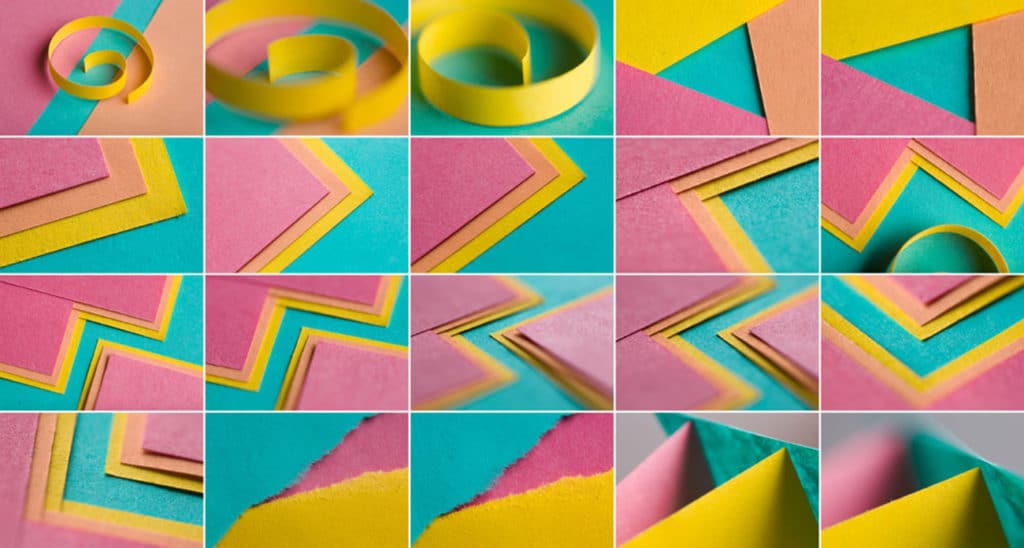
You won’t get an ideal picture on your first try, so be prepared to take a lot of shots, and then pick the best ones. For example, this is what my first test series looked like—and this is even after throwing away the shots with bad focus:
Christmas Isn’t Just for December
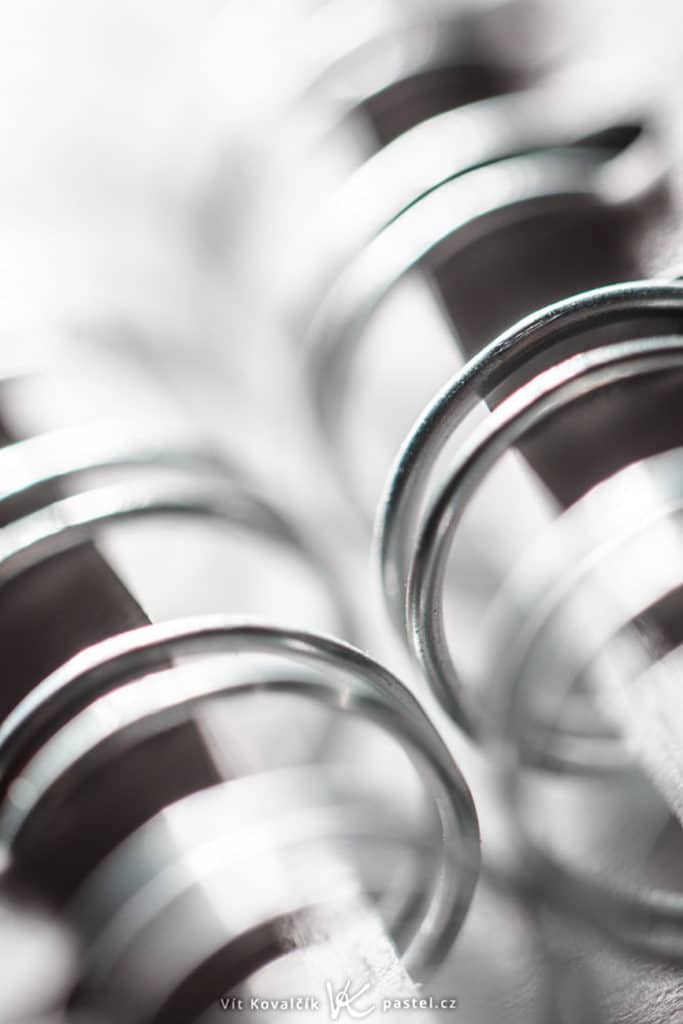
If pieces of colored paper feel a little too straight-angled for you, there are other options available. My choice was a set of cookie cutters for Christmas cookies. This too is something seemingly simple, but if you have a few simple ideas, you’re right on the way to complex experiments with composition.
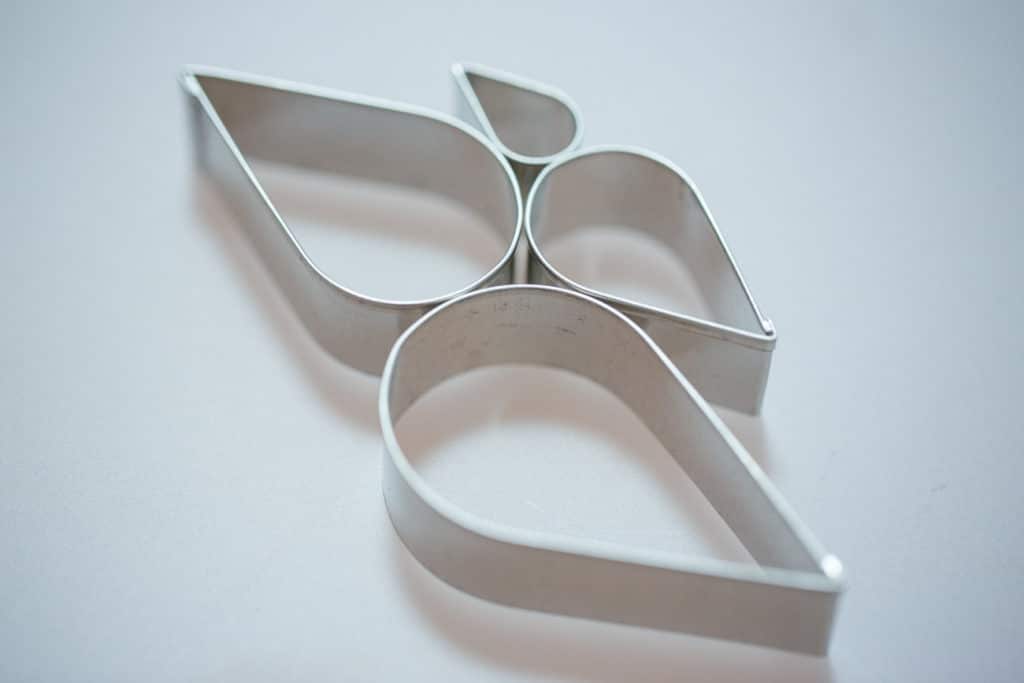
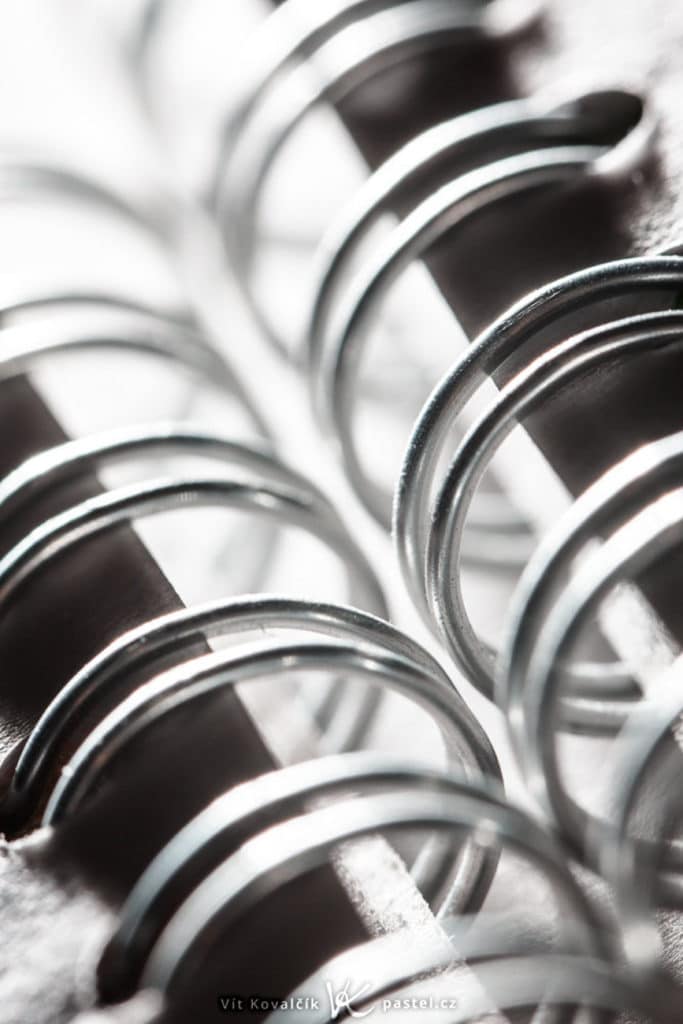
Even though they are coldly metallic man-made objects, cookie cutters can still be used to create smooth, flowing compositions. My example below is nearly colorless. It would look great in black and white (here there are also light, bright yellow reflections—most likely from distant light bulbs). The absence of strong colors enables a strict focus on just the lines.

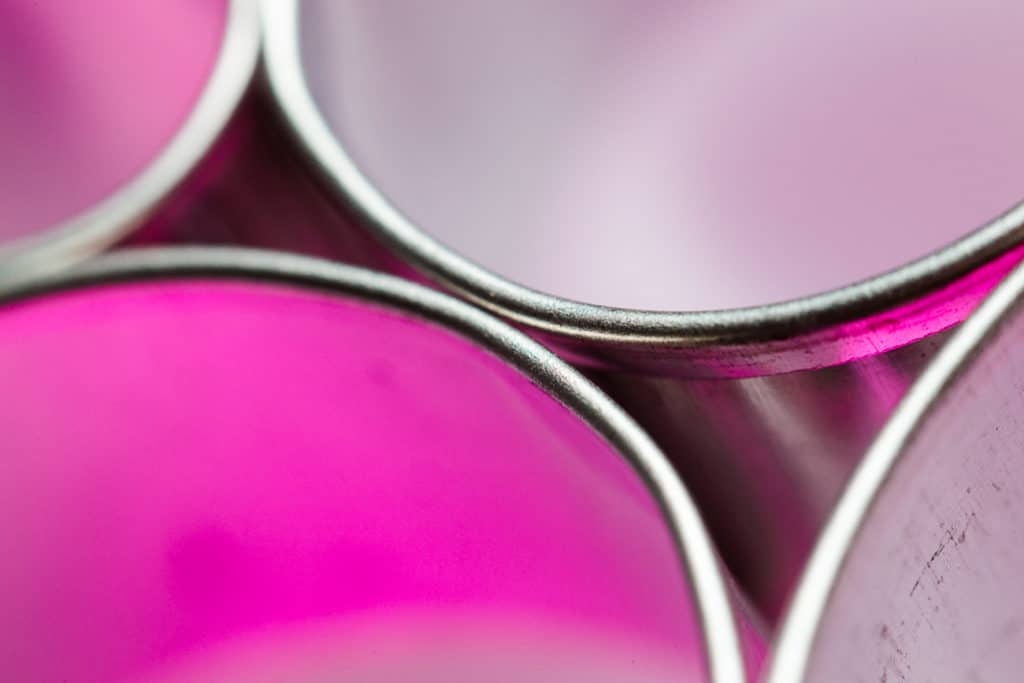
If black-and-white isn’t to your taste, you can also use color effects. Here I used colored lights, but using colored pieces of paper outside the frame would be just as interesting. They would be reflected in the metal forms.
I’ve left the most complicated example for last. It uses orange, purple, and green light:
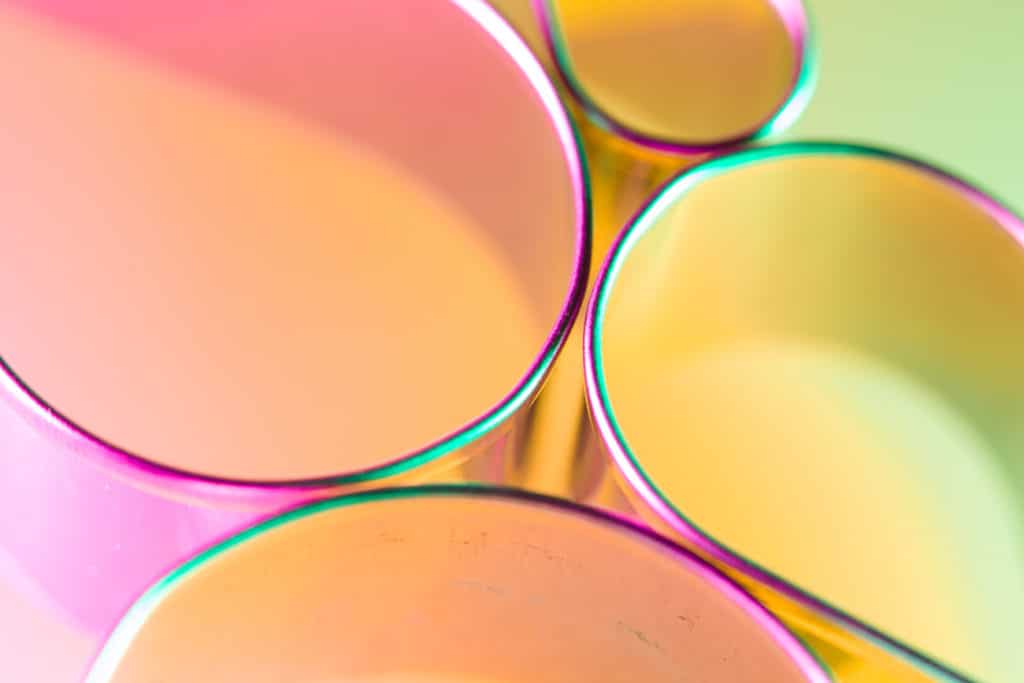
This is more an extreme than a typical road to go. Take it as just an example of where all you can go when photographing simple shapes if you play with their surroundings.
You Just Need to Get Started
While not everyone will find a set of colored lights at home, you don’t even need them—as you could see from the paper-only examples. Once you decide to get started, half the burden is behind you. Then you just need to choose from among the options available. I’m confident that after a little experimenting, you too will get interesting abstract photos.
yakout
Thank you very much for the information
Piet Nicolaas
Very usefull, thank you.
Zoner
We’re happy to help! :)