How Can You Get Stronger Bokeh? A Panorama Can Help!
The article is over 5 years old. The information in it may be outdated.
![]()
We are working on its update. In the meantime, you can read some more recent articles.
You can get stronger background blurring in your photos by using a longer focal length, a lower f-number, or a smaller distance to your subject. But what if none of that is enough? We’ll show you a method that will help you get amazing bokeh. And you won’t even need to buy a new lens for it. You’ll just take multiple pictures and then stitch a panorama. This article will show you how.
Portrait photography has been using low depths of field since its beginnings. And meanwhile it’s generally the most expensive lenses that have good bokeh. But methods exist for getting better results even with the lens you have today. And stitching several shots together into a panorama is one of them.
What Is Bokeh, Anyway? And How Does It Work?
Bokeh is produced in the parts of a photo that are outside the plane of focus, and especially where there are light sources. Its effect around point light sources—which it turns into large circles—is especially characteristic. Their exact shapes will depend on your lens construction (or various filters, but that’s for a different article).
But we’re most interested in the bokeh’s size. If you want more striking bokeh with stronger blurring, these things will help:
- a longer focal length
- a lower f-number
- moving in as close as you can to your subject
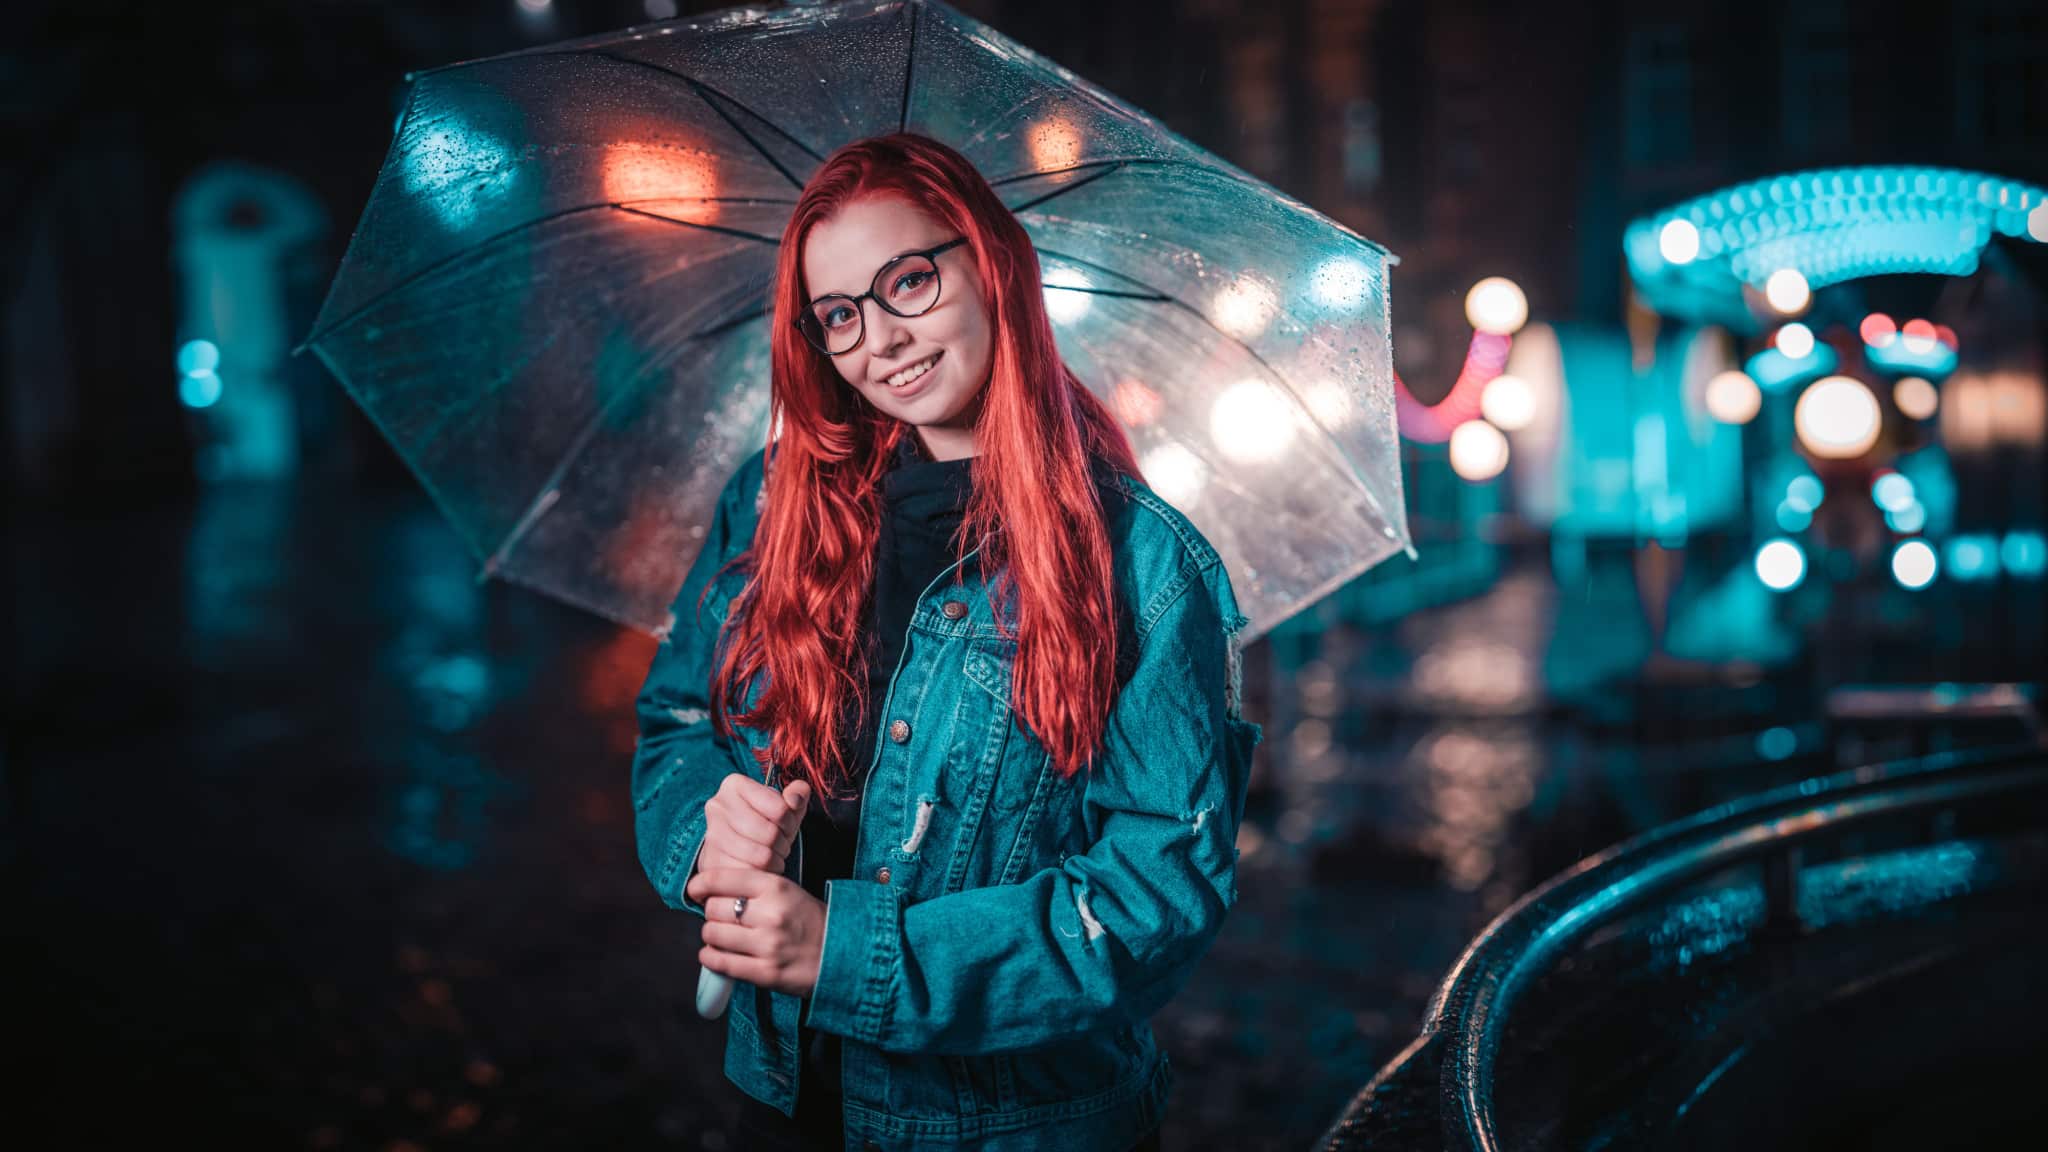
Heading Into the City Night
You can get very attractive bokeh when you’re taking pictures in the nighttime city, because it’s brimming with point light sources. And if you also take advantage of a time when there’s something happening in the city (Christmas markets, fairs, concerts, etc.), then you’ll have lots of other interesting options available too.
Our backstage video from this photo shoot and the search for a site might inspire you here:
The story of our Christmas-market photo shoot.
Every Lens Has Its Limits
The typical situation goes like this: a telephoto lens isn’t practical, because you can’t move that far back. So you use a 50 to 85 mm lens that lets you stay in touch with your model. But an f/1.8 or f/1.4 aperture can still not be enough.
This photo here was taken with a classical 50mm f/1.4 portrait lens. Not bad—but what if you want to blur the background even more? There’s a solution, and you don’t have to buy anything for it.
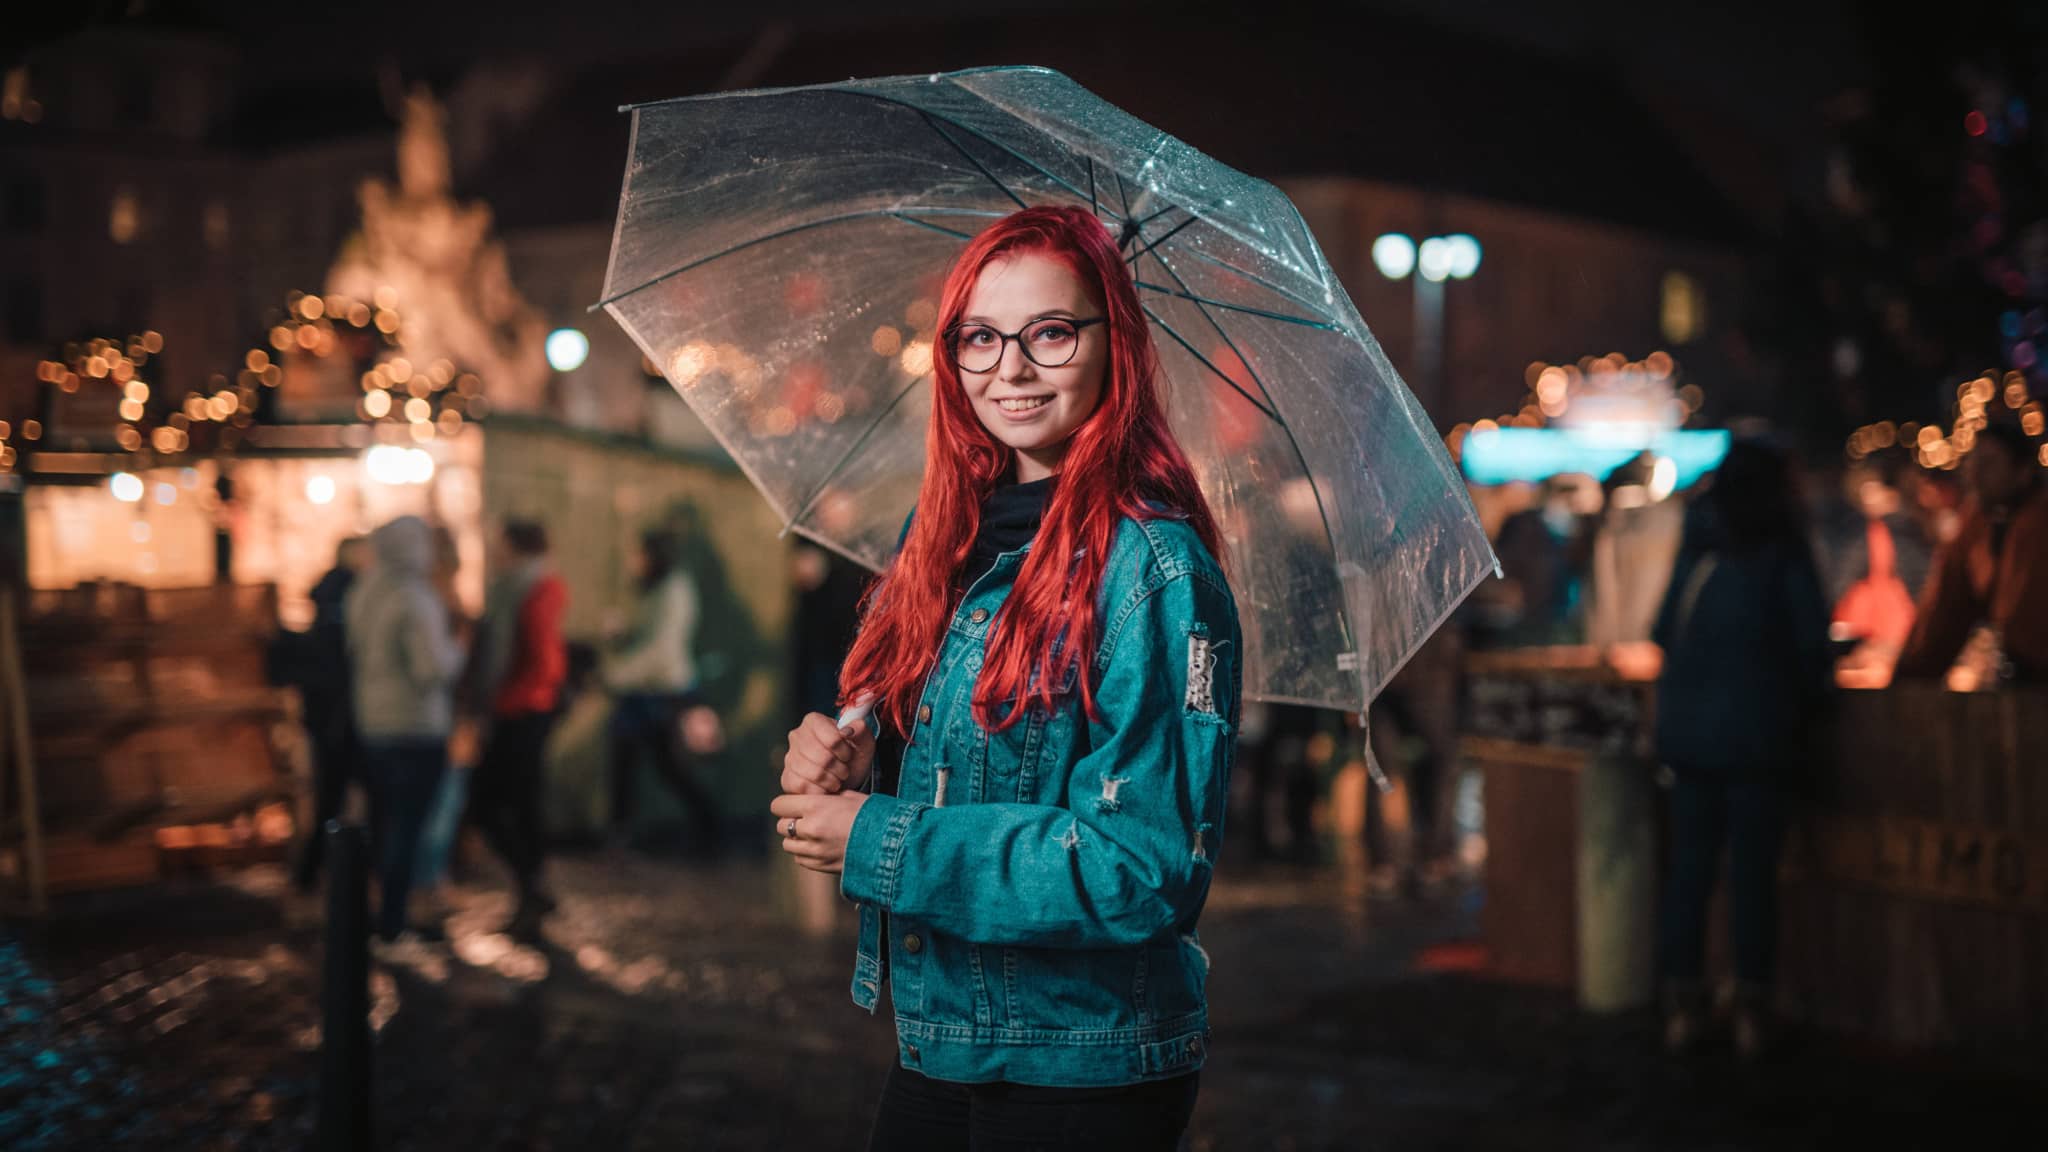
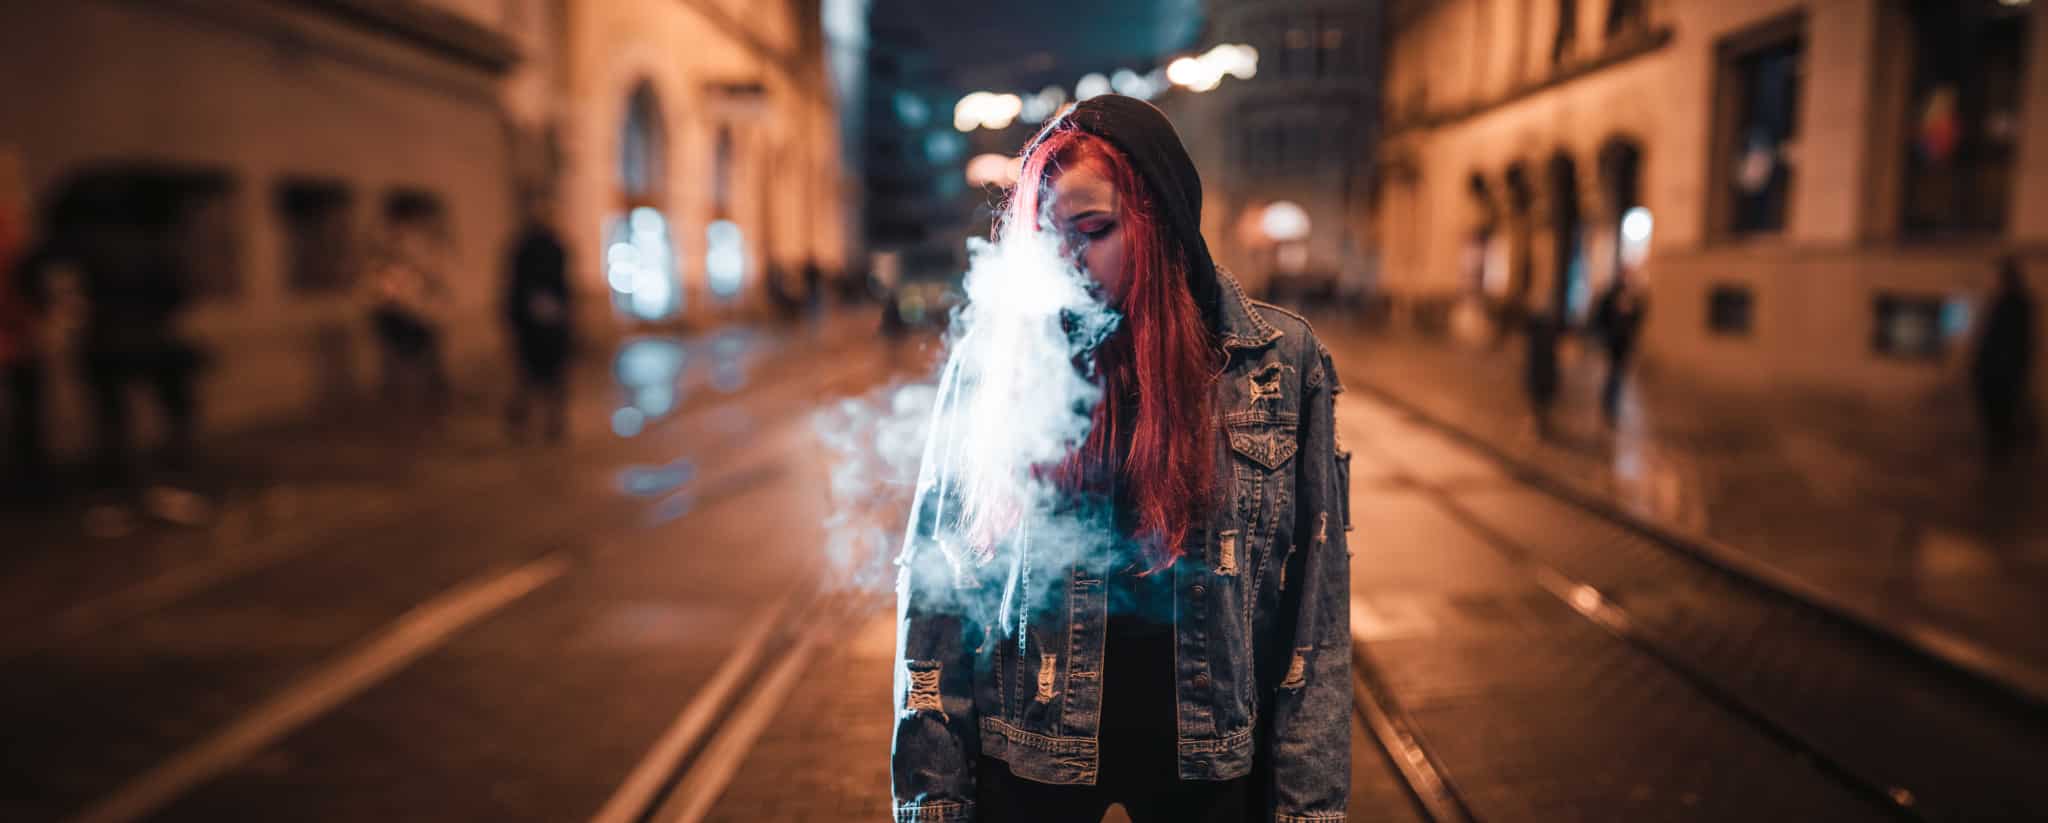
This example shows the same scene and the same camera settings. And yet the background blurring is considerably stronger. It’s harder to pick out the people in the background, and the bokeh is stronger. What’s the trick?
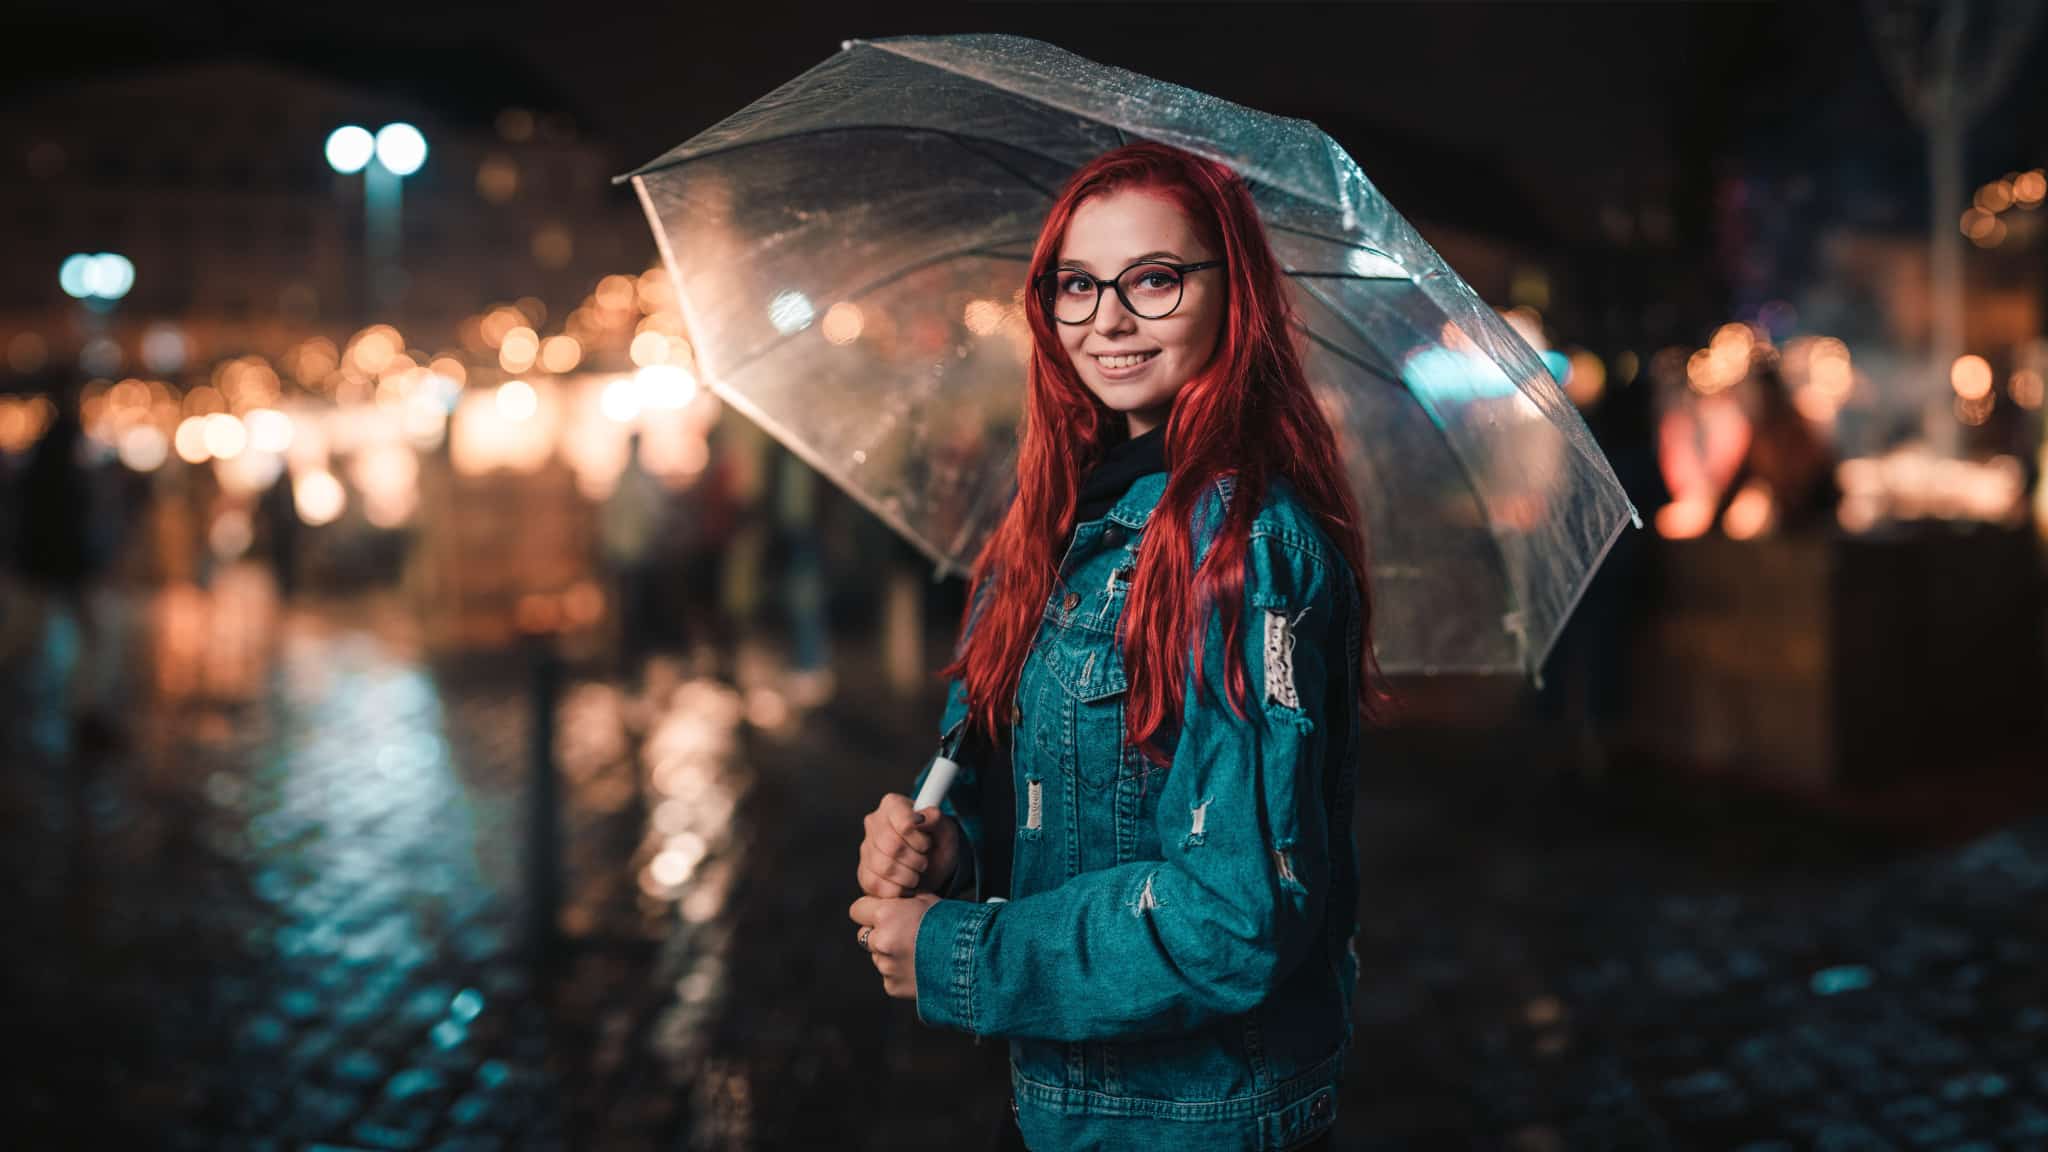
The Solution Is Simple: A Panorama
You know you have to get closer. But at the same time, you know you want more than just a portrait—you want to show the atmosphere too. So use the Brenizer method. Get closer, turn your camera 90° into portrait orientation, and shoot a horizontal panorama.
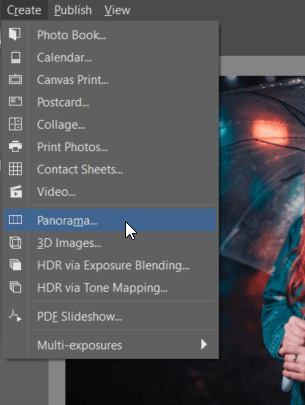
Then select your source photos in Zoner Photo Studio, more specifically in its Manager module, and then roll down the top-left menu and use Create -> Panorama.
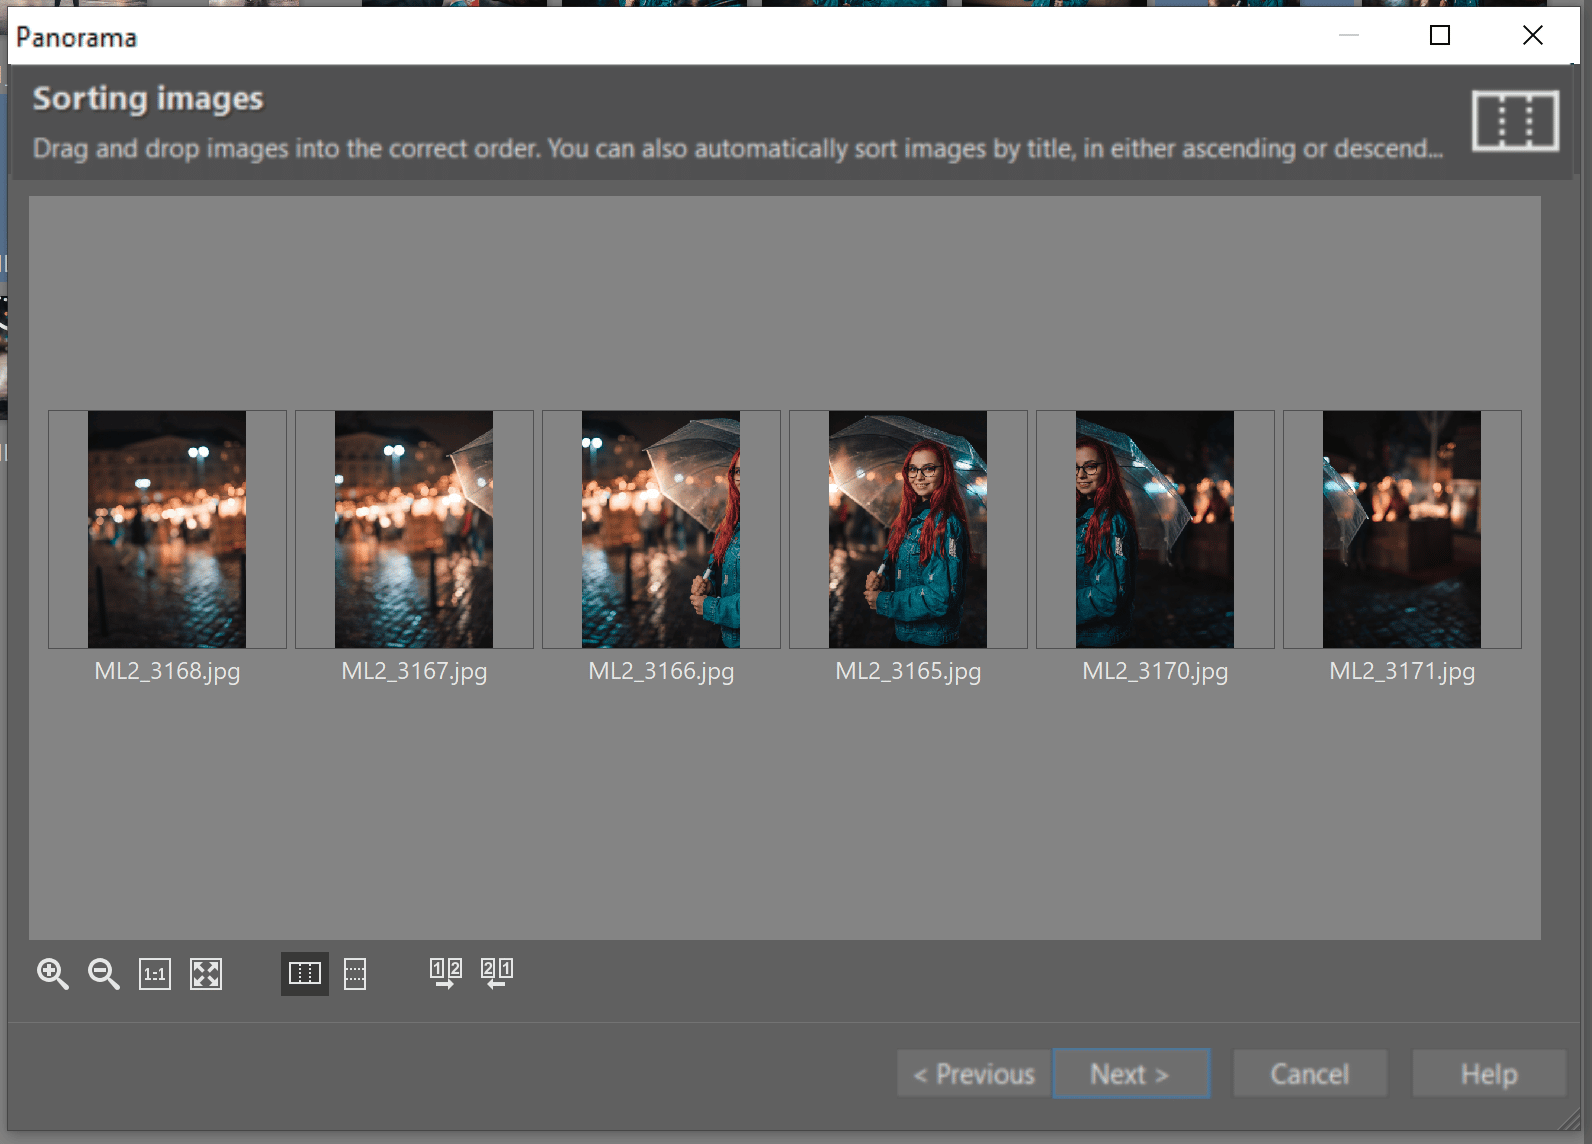
Then put the photos in order. Here I started with the portrait and then shot the two sides, so the photos weren’t taken in order like they would be for a landscape panorama. To change the photos’ order, just click them and drag them.
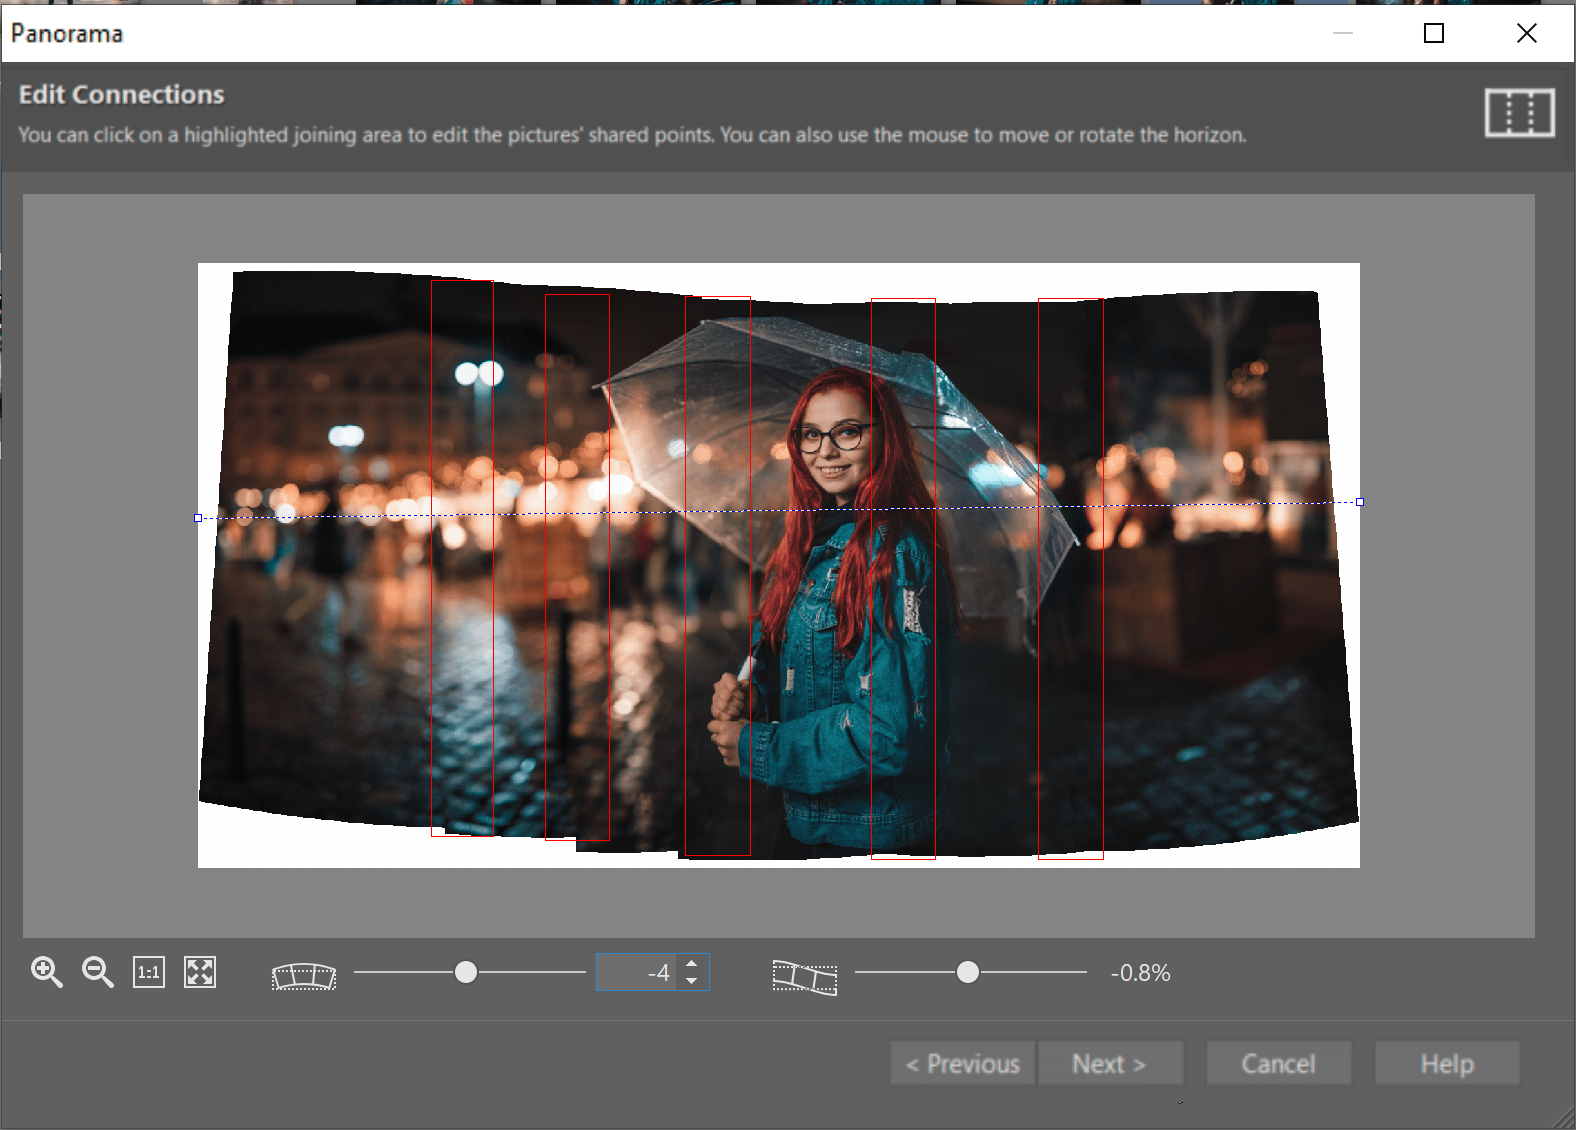
In the next step, manually fix any connections that were made incorrectly and could cause deformations. After all, you’re not always in the mood to lug around a tripod with a pano head to get the ideal source photos. Luckily handheld shots work too.
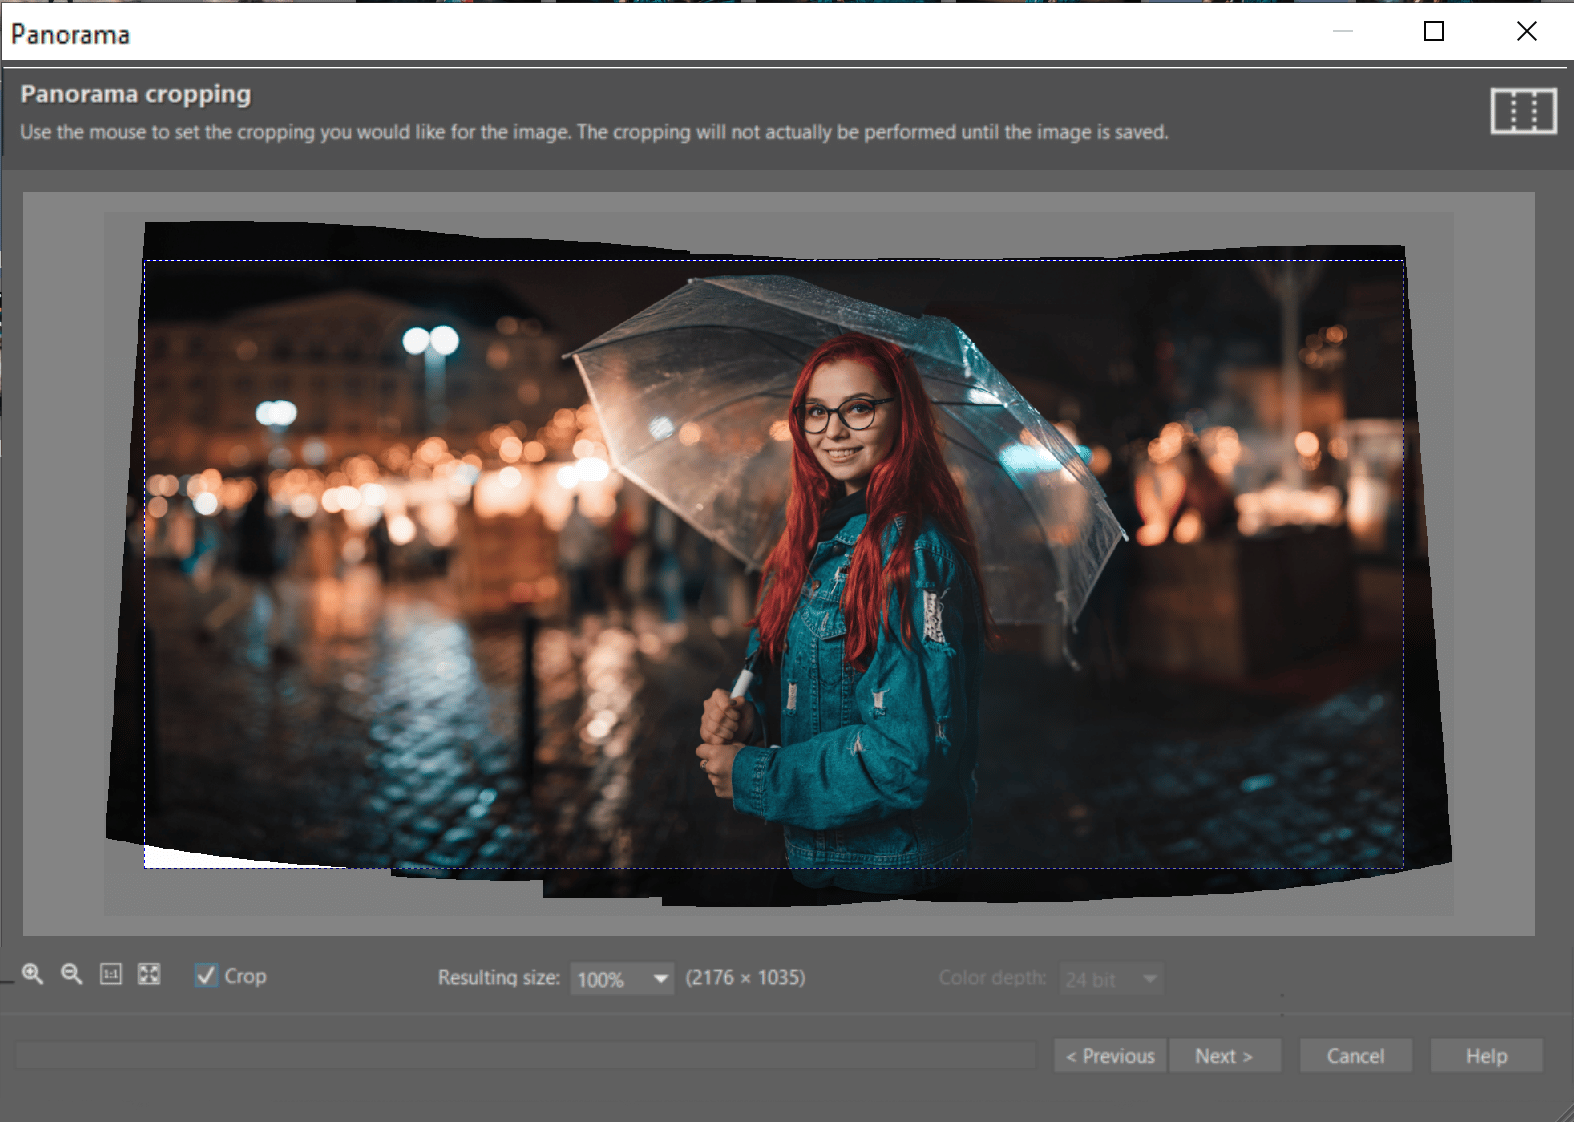
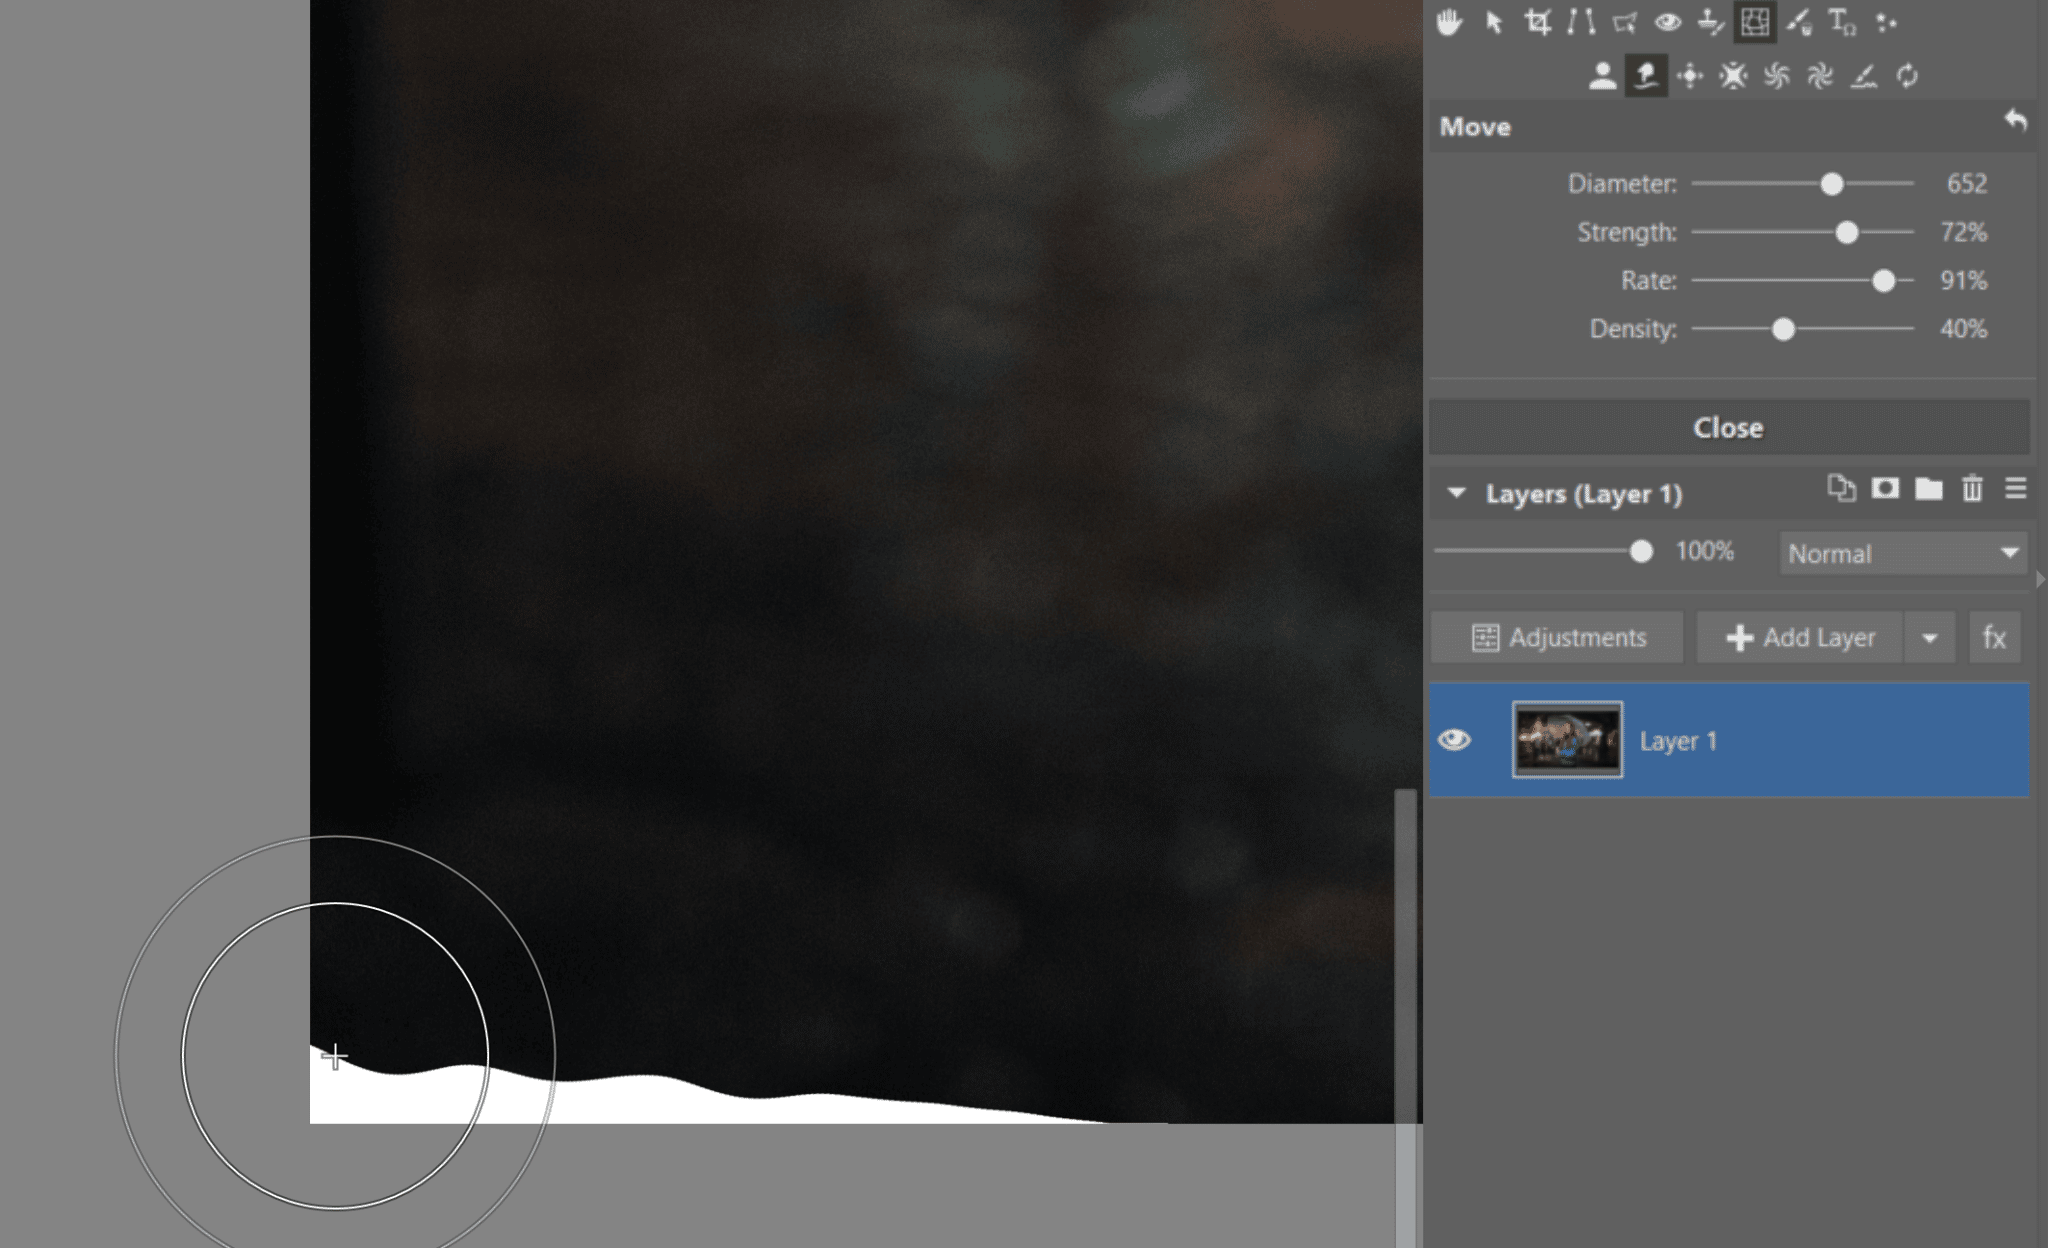
Finish the job by choosing how you want to crop the panorama. Here I left the bottom left corner out of the photo so I would have a little room under the subject’s arm. You can use the cropping option inside the Panorama wizard or use the full-featured cropping in the Editor.
Further Edits in the Editor
Then click Open in Editor and, if you need to, activate the Move and Transform tool and click and drag the photo up into the corner that your cropping has left empty. You might also want to retouch away any minor defects.
Great for Full Body Portraits Too
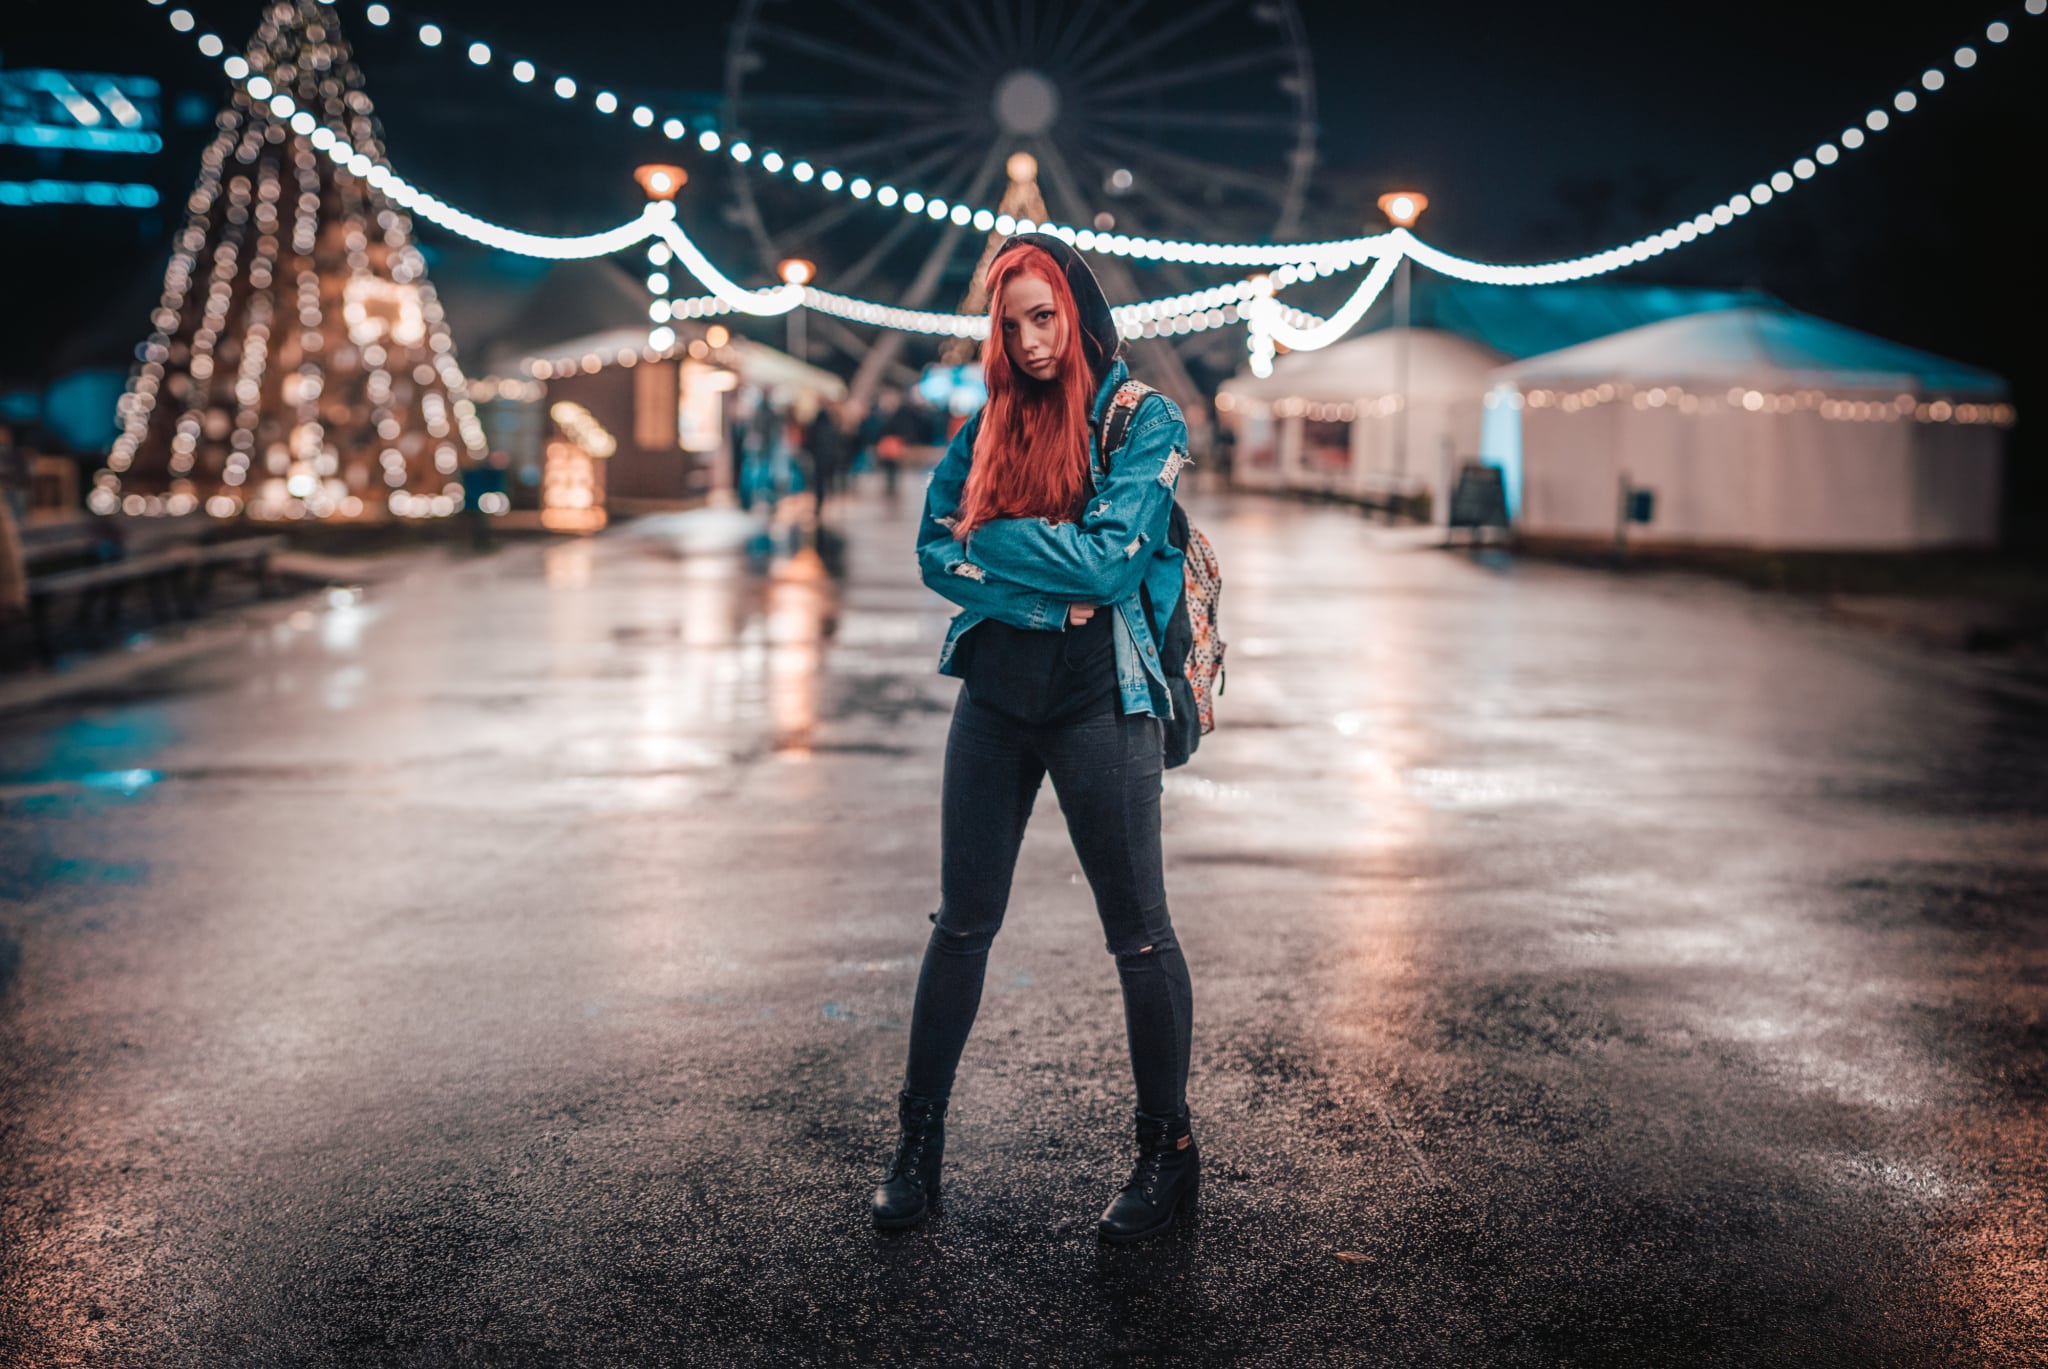
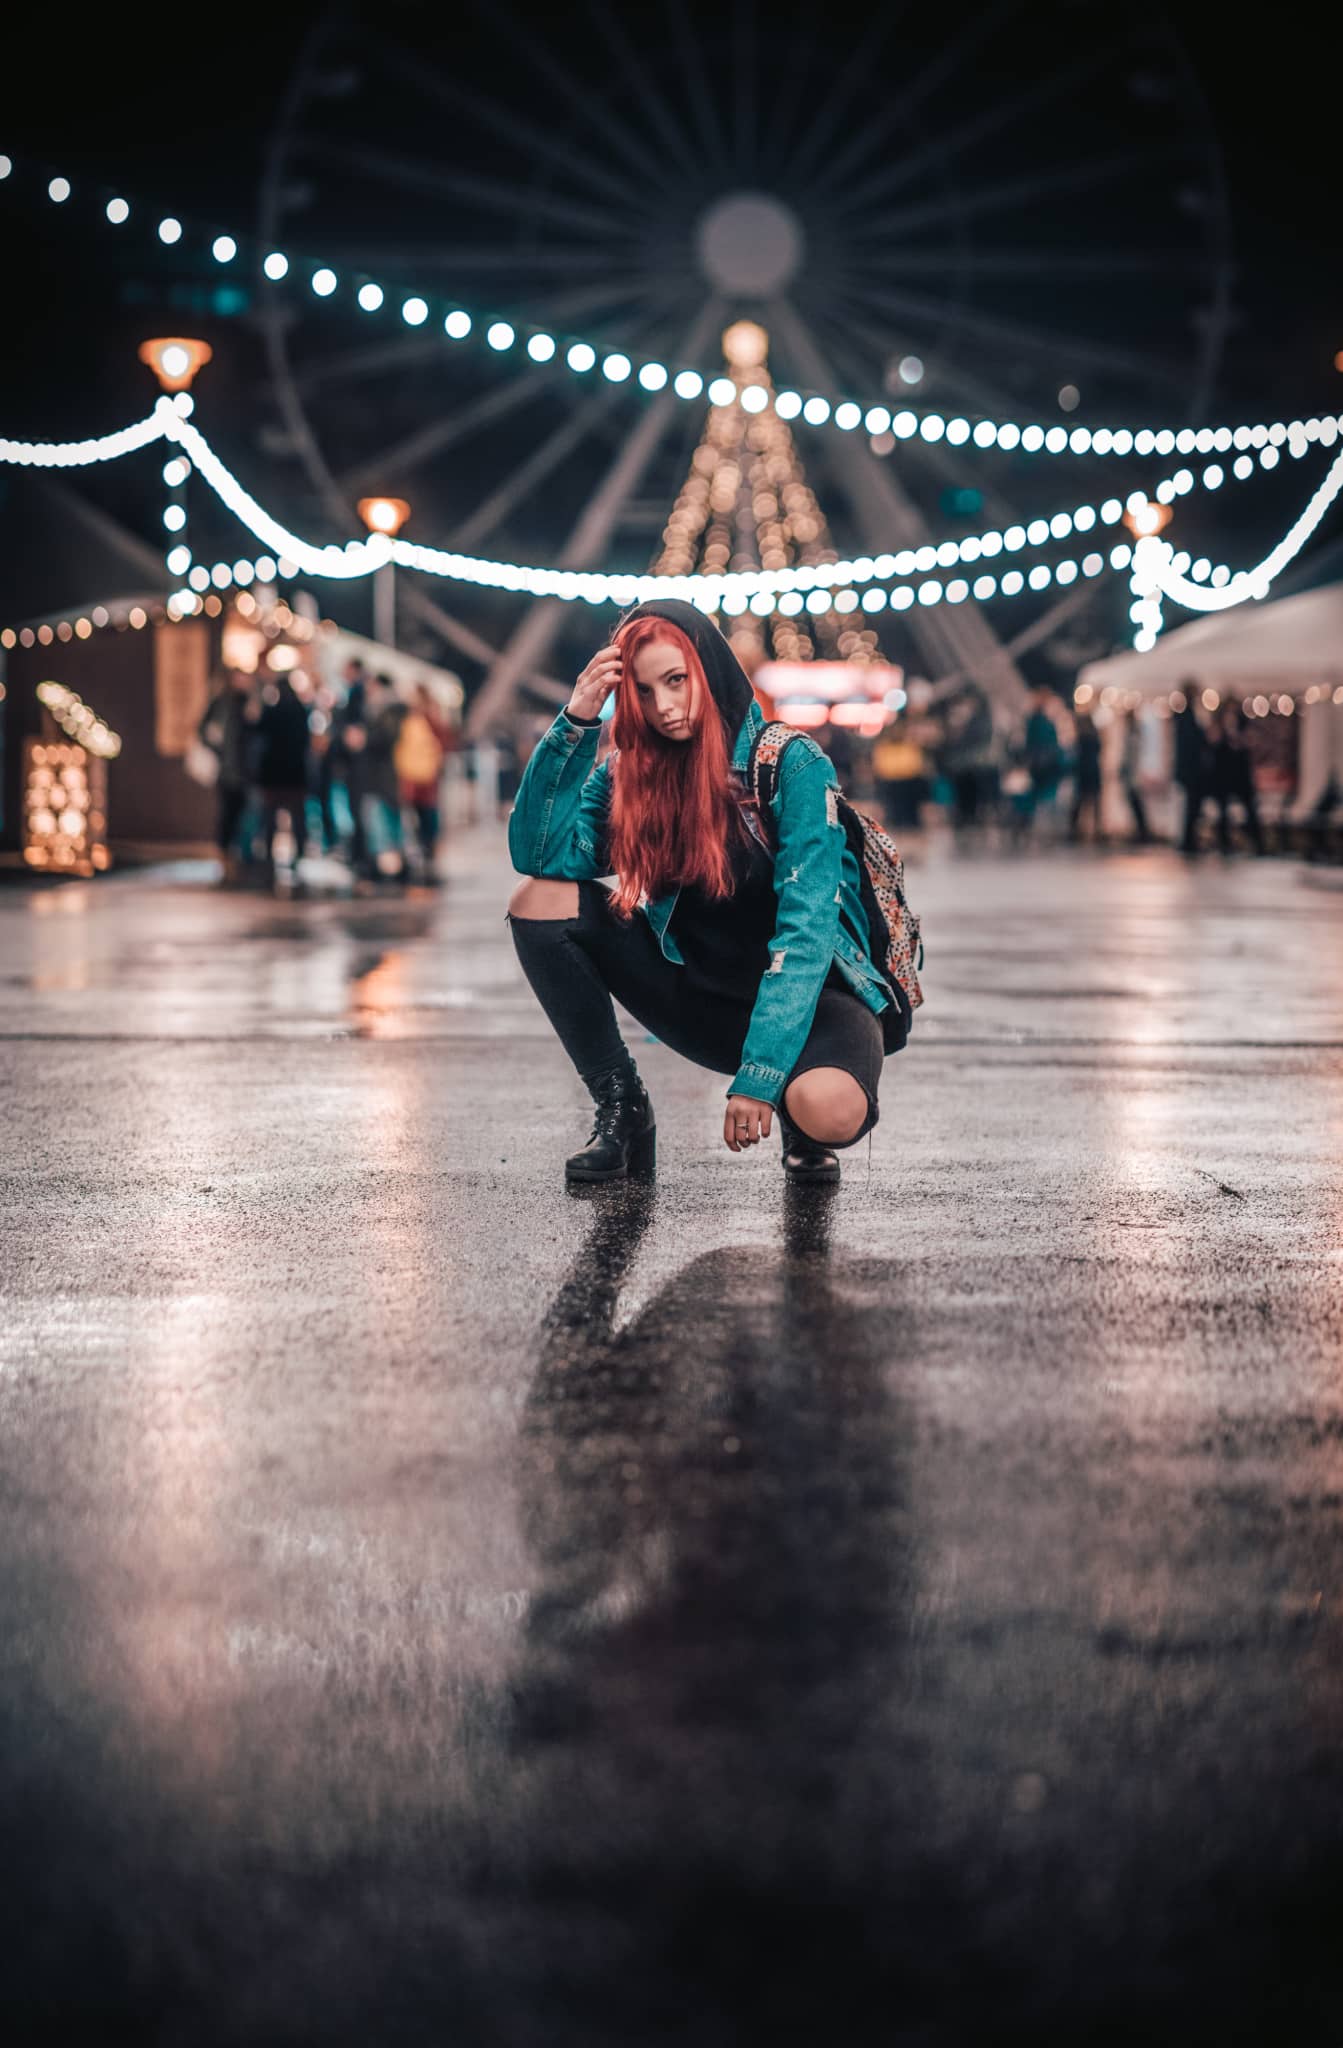
Actually, you’ll appreciate this technique the most for full body shots. You’ll easily get good bokeh for these when your subject fills up almost all of the frame. But when you want to get most of the surroundings in there too, a panorama is the ideal option.
Now Stand Still for a Bit
How do you take the shots though? The most important thing is for your subject to stand still as you take the shots. The next most important thing is to focus right. Focus on their eyes, and just to be sure, press and hold down the AF-L button for all of the shots, so that your depth of field stays unchanged.
A Vertical Panorama? Why Not?
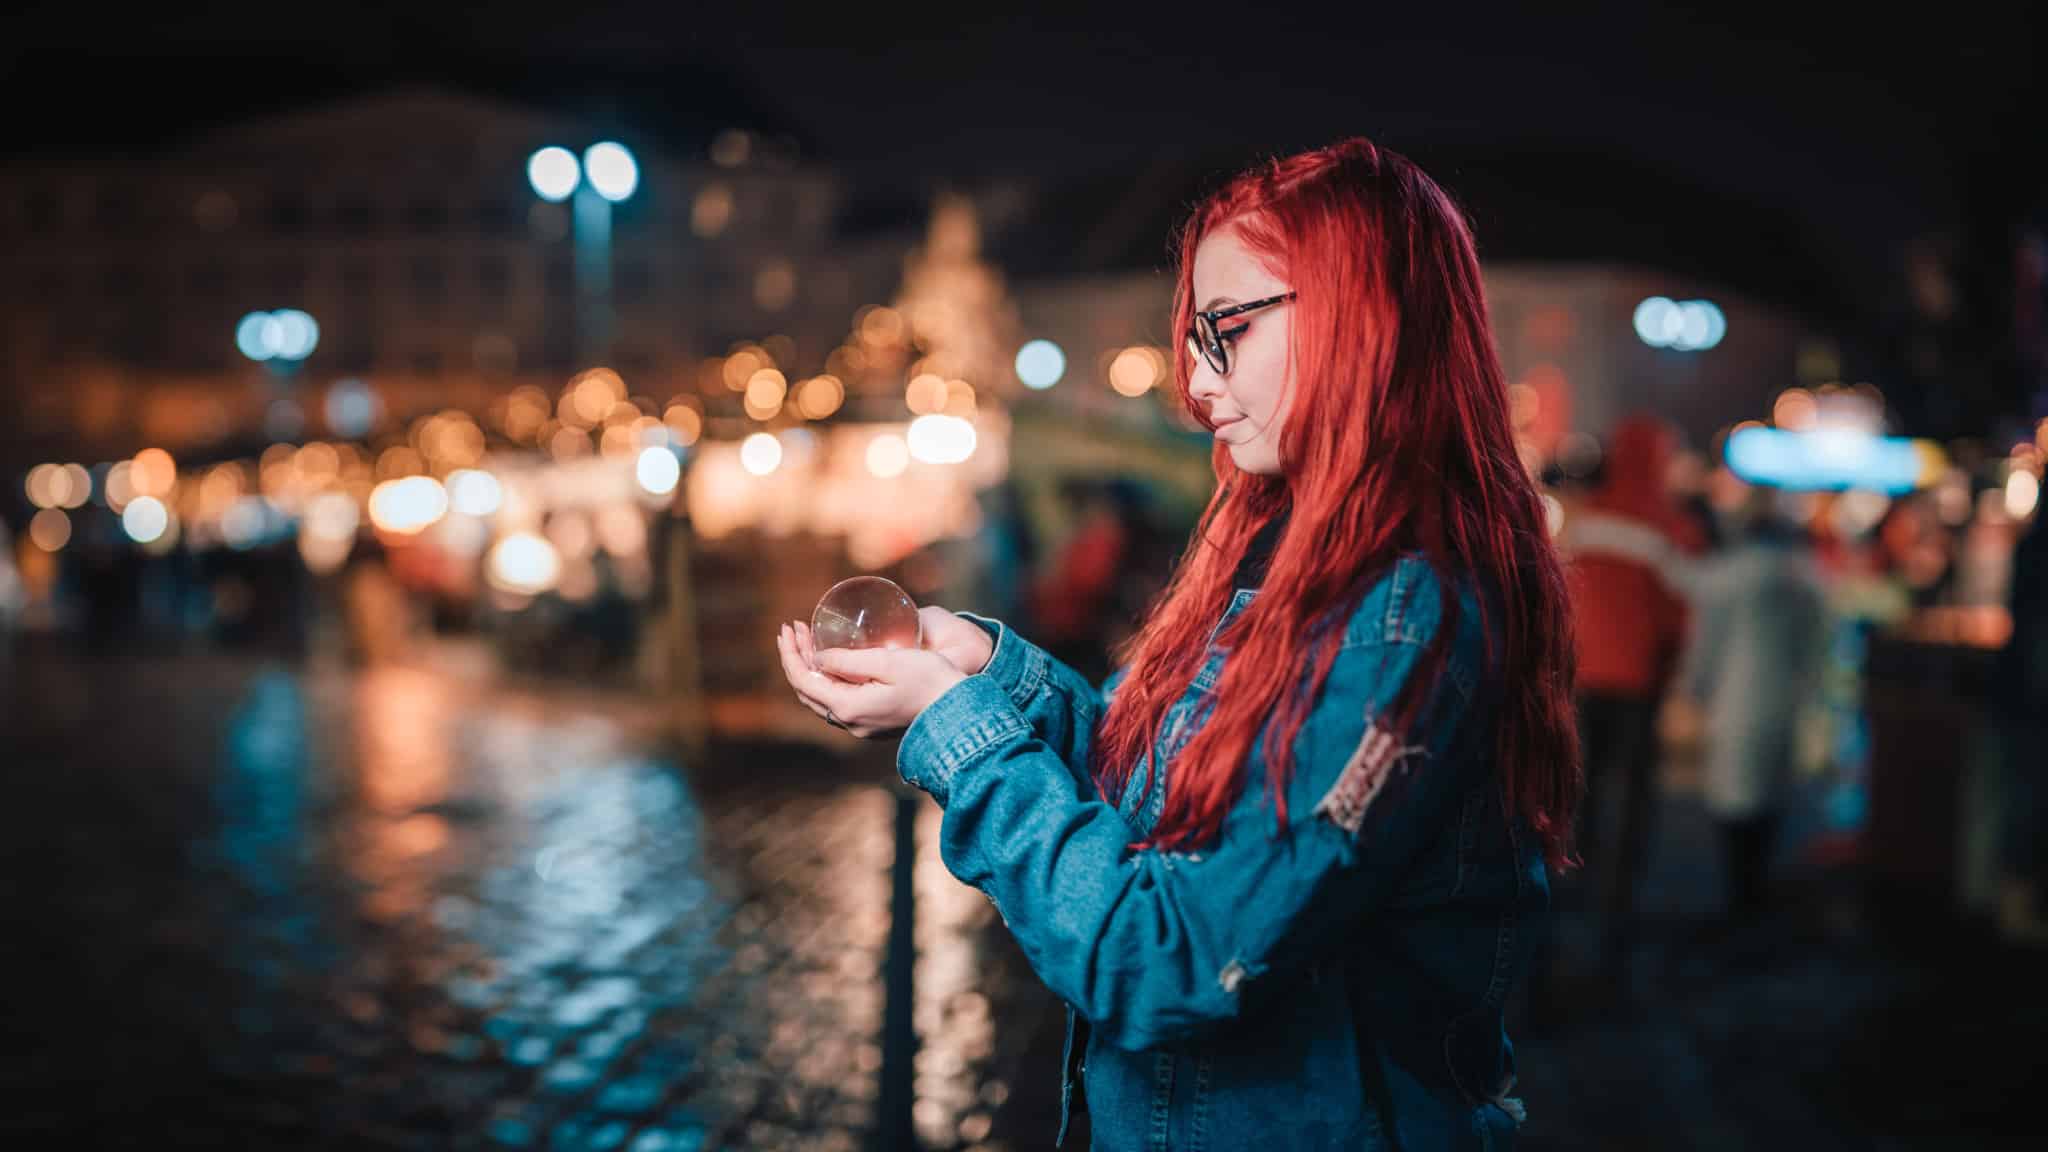
A vertical panorama made out of landscape-orientation source shots will work just as well as a horizontal panorama does. That approach comes in handy when creating pictures for e.g. Instagram. And more generally when creating any picture that will get viewed on a phone, because it will be better at filling out the display.
Ideal for Social Profile Cover Photos
Most social network profiles have cover photos that are far wider than the pictures a camera can normally take. Why crop a regular photo, when you can use a panorama instead?
Head Into the Streets
The best part about this method is that you don’t actually need any special gear for it. So pick up your camera, head out into the streets, and stitch the pictures on your computer. Download Zoner Photo Studio X, try it 7 days for free, and create a pano-portrait using the Brenizer method!

There are no comments yet.