How to Make a Photo book
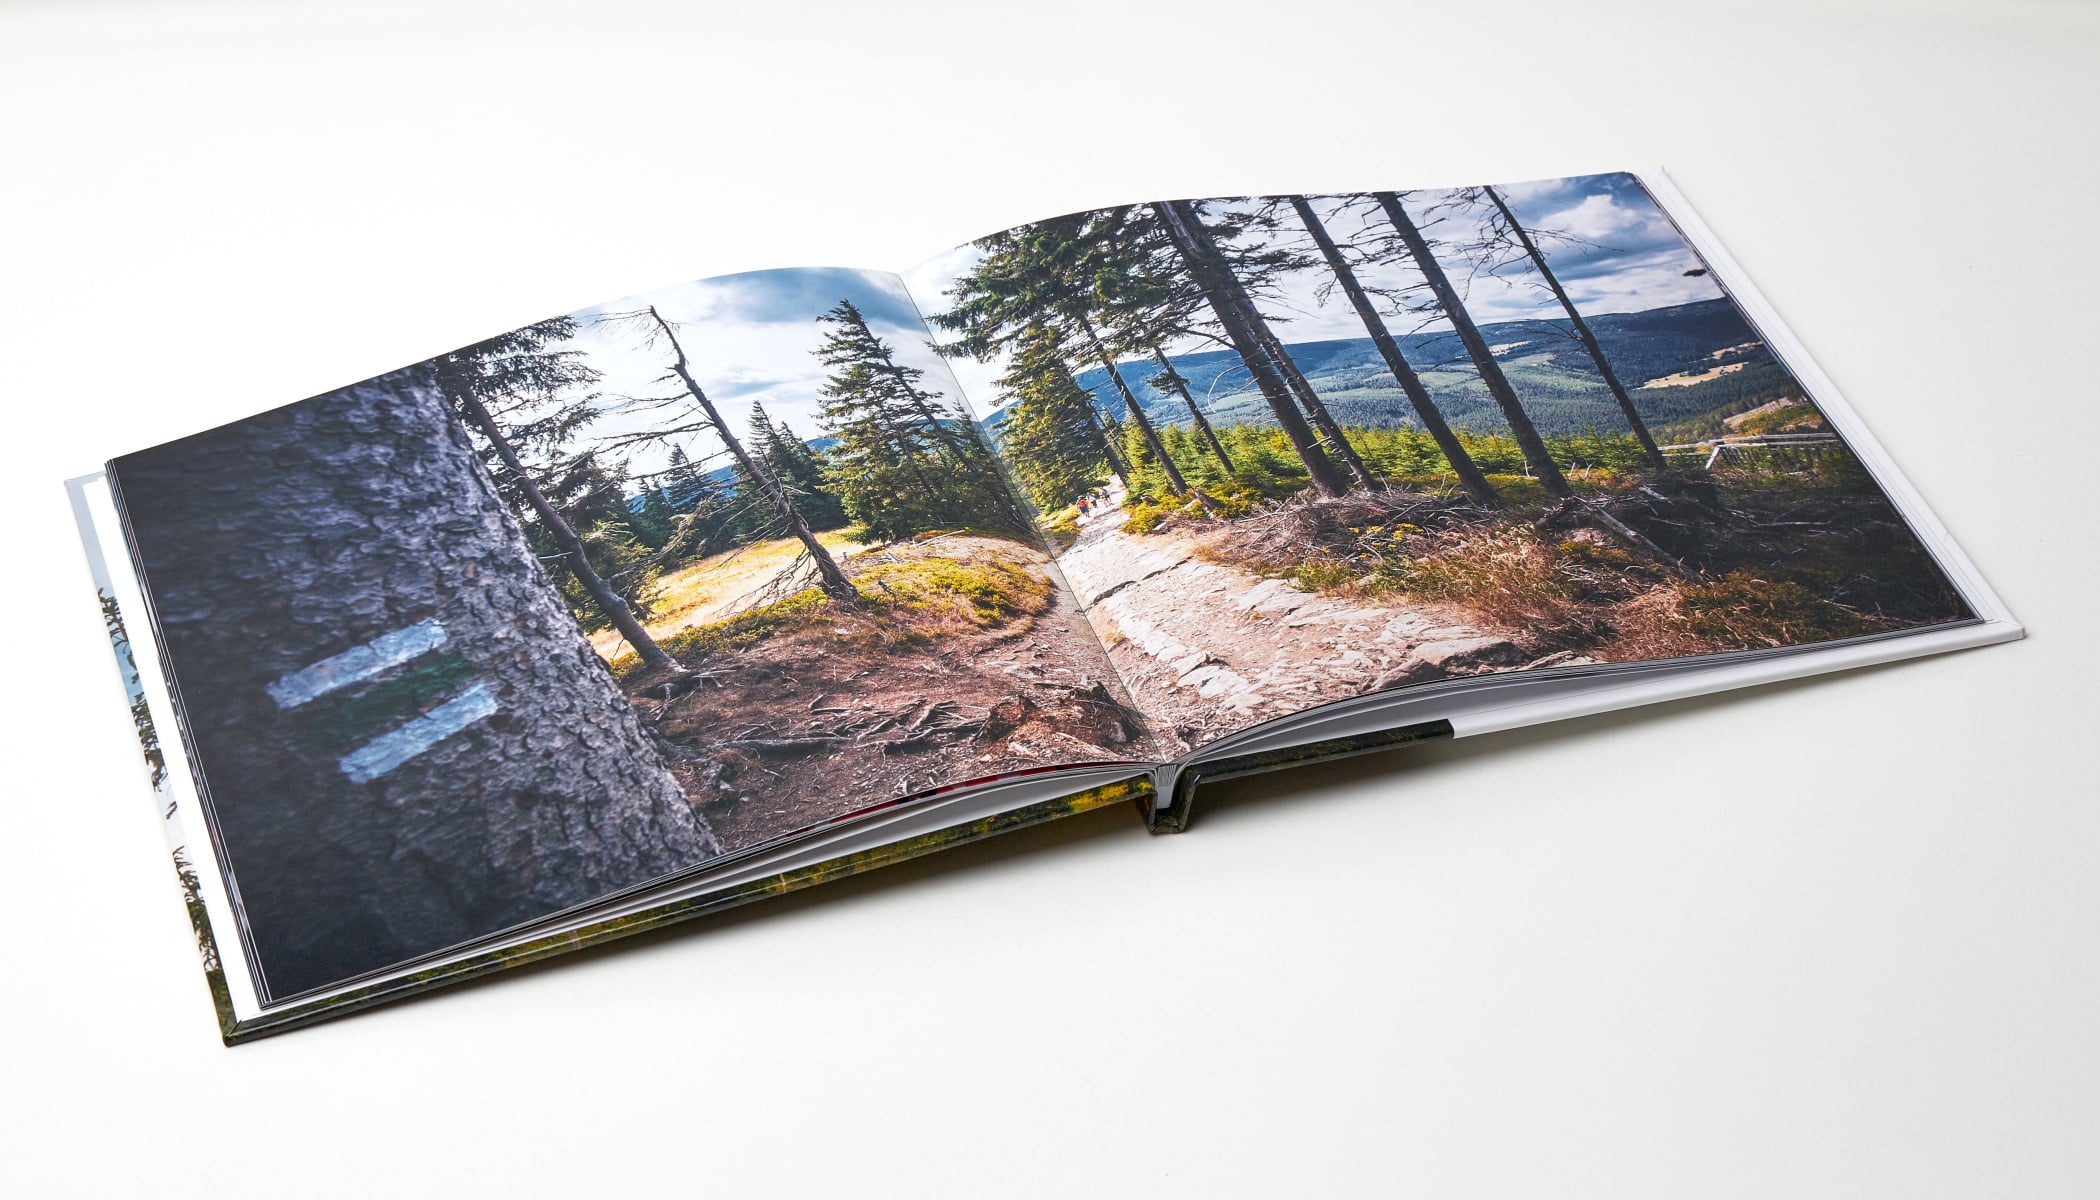
A printed photo always has more charm than a digital one because you can hold your memories in your hands. A photo book is a great way to bring all these memories together in one place. Choose your favorite pictures from your vacation or wedding and create a professional photo book. It’s a great memento for you and makes a great gift for your loved ones!
In addition to editing your photos in Zoner Photo Studio X, you can also use it to create great photo products. One of the most popular photo products is the photo book. In the following article, read about how to create a photo book using your own photos to preserve your precious memories for years to come.
Choose your photo book format and get started
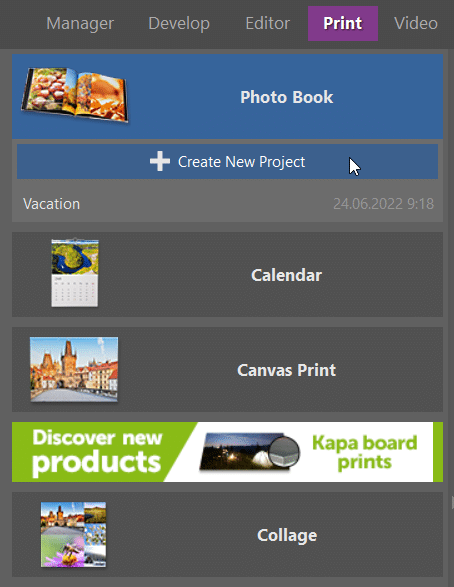
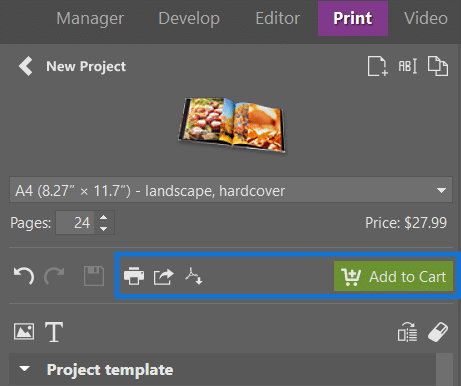
To create your photo book, open the Print module in Zoner Photo Studio X. Photo Book is the very first option. After clicking Photo Book, a list of previous projects appears, if you have any. To create a new book, click the +Create New Project button.
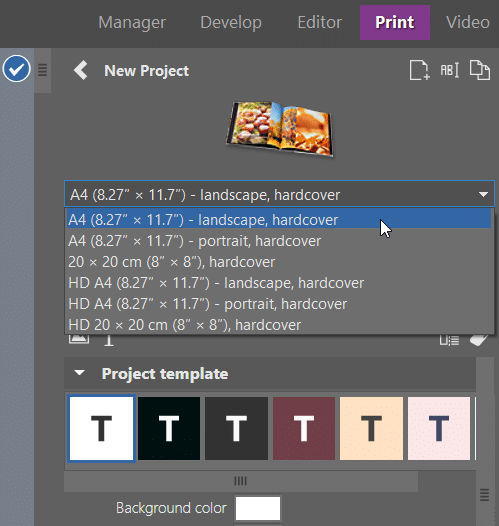
First of all, choose your photo book format. You have a choice of A4 (8.27×11.7”) landscape or portrait, and square books with pages that are 20cm (7.9”) long. HD options have the same dimensions, but the difference lies in the quality. HD photo books have the highest quality printing and materials done with new production technology. This new technology reduces the problem of folding in the middle section. We were able to flatten the book so much that you can add one photo to the whole two-page spread with minimal disruption at the fold.
Choose colors for your photo book
The project color templates are laid out in a way that the background colors and font colors match. But don’t feel that you have to use them. You can choose any colors you like.
Customizable page layouts
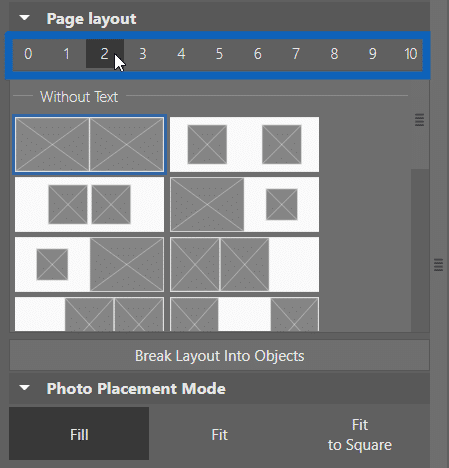
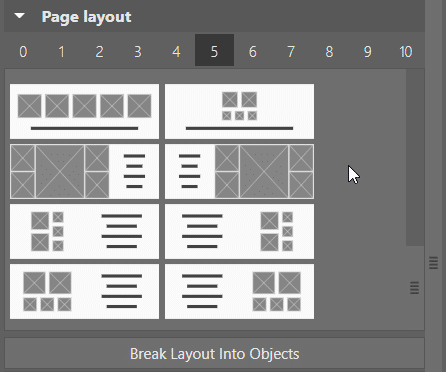
Under Page layout, you can find templates for each two-page spread. They are organized according to how many photos you have on the two-page spread. The templates are for photos only, or photos with text.
First, drag the photos you want from the bottom filmstrip to the two-page spread. Choose whether you want to add freestanding pictures or add them to an existing layout.
If you add photos to an existing layout and select Choose number of photos per page, ZPS X suggests a template with the selected number of photos. This way, the template adapts to what you want to have on the page, simplifying how you work with composition.

Add freestanding photos
If you want the freedom to choose the layout of the photos yourself, you can add freestanding photos. There are three ways to do this:
- Drag photos from the filmstrip and choose Add movable.
- Click the Place Freestanding Picture icon in the right panel.
- Use a template and click the Break Layout Into Objects button.
When working with freestanding objects, the Grid and Guidelines functions are available. Both functions add lines to your project that freestanding objects can snap to so you can make sure all the objects in your photo book are nicely aligned.
You can adjust the thickness of the grid lines. Guidelines appear along the edges of the rulers. Dragging away from the ruler inserts lines into the preview that can be moved around. To remove the guidelines, drag them outside the photo book preview.

If you want to leave these functions enabled, but need to position an object so it doesn’t snap to the line, hold the Alt key while moving the object.

Adjust the crop of the photos
To edit the photos on each page, double click the page to open them. Then position each photo so that it has the best composition. You can also find tools for rotating, fitting, or deleting photos.
If you want to resize the photo while keeping the proportions of the current crop, hold down the Shift key while dragging a corner of the photo.

Fill or fit images
This subtle option is crucial and deserves your attention. When choosing Fill, the image takes up the entire frame. However, expect the image to be slightly cropped.

The second option, Fit, means that the images remain uncropped, but there will be some margins on the page.

The last option is Fit to Square, where the image is cropped to a 1:1 aspect ratio. In our opinion, Fill usually looks best. But an important part of the image may be cropped. For this reason, you have these options and you can always change the frame.
Try frames
Last but not least, see if your photos look good with borders and frames. You can choose any color, square, or rounded. Use the sliders to adjust the width of the frame and how far apart the photos are. This doesn’t need to be set for each page in the book separately. To apply the same setting to all pages, click Set for all.

Add captions
Some templates, including the cover page, include text boxes. Click to open a window and adjust text settings.

For some templates in Page layout, text boxes are at the bottom of the template. This allows you to add a story to accompany the photos, write where they were taken, or add a note that can come in handy when you open the photo book after some time.
When your photo book is complete, you can save it as a PDF, print, or click the Add to Cart button to have your photo book delivered to your home.
Design your unique photo book today
Download Zoner Photo Studio X free for 7 days to make your photo book today!
There are no comments yet.