How to Swap Faces in Group Photos
You’ll sometimes have group photos where everyone except for one person looks great. You can save group photos like these as long as you’ve taken multiple versions of the same shot. Choose a more flattering photo of the individual in question and swap it with the one where everyone else looks good. This can be done in a matter of a few simple steps.
Here is some advice for you right off the bat: When taking group photos, always be sure to take multiple shots. Someone may close their eyes or move and you won’t notice until later when it‘s too late. Taking multiple shots always gives you the option to combine images. If none of the shots are perfect, closed eyes or unflattering facial expressions can always be edited in Zoner Photo Studio X.
The entire process is quite simple and consists of the following steps:
- Open the photos in the Editor module
- Select the face in one photo which you want to swap for another
- Use a mask to place your selection
- Fine tune the resulting photo
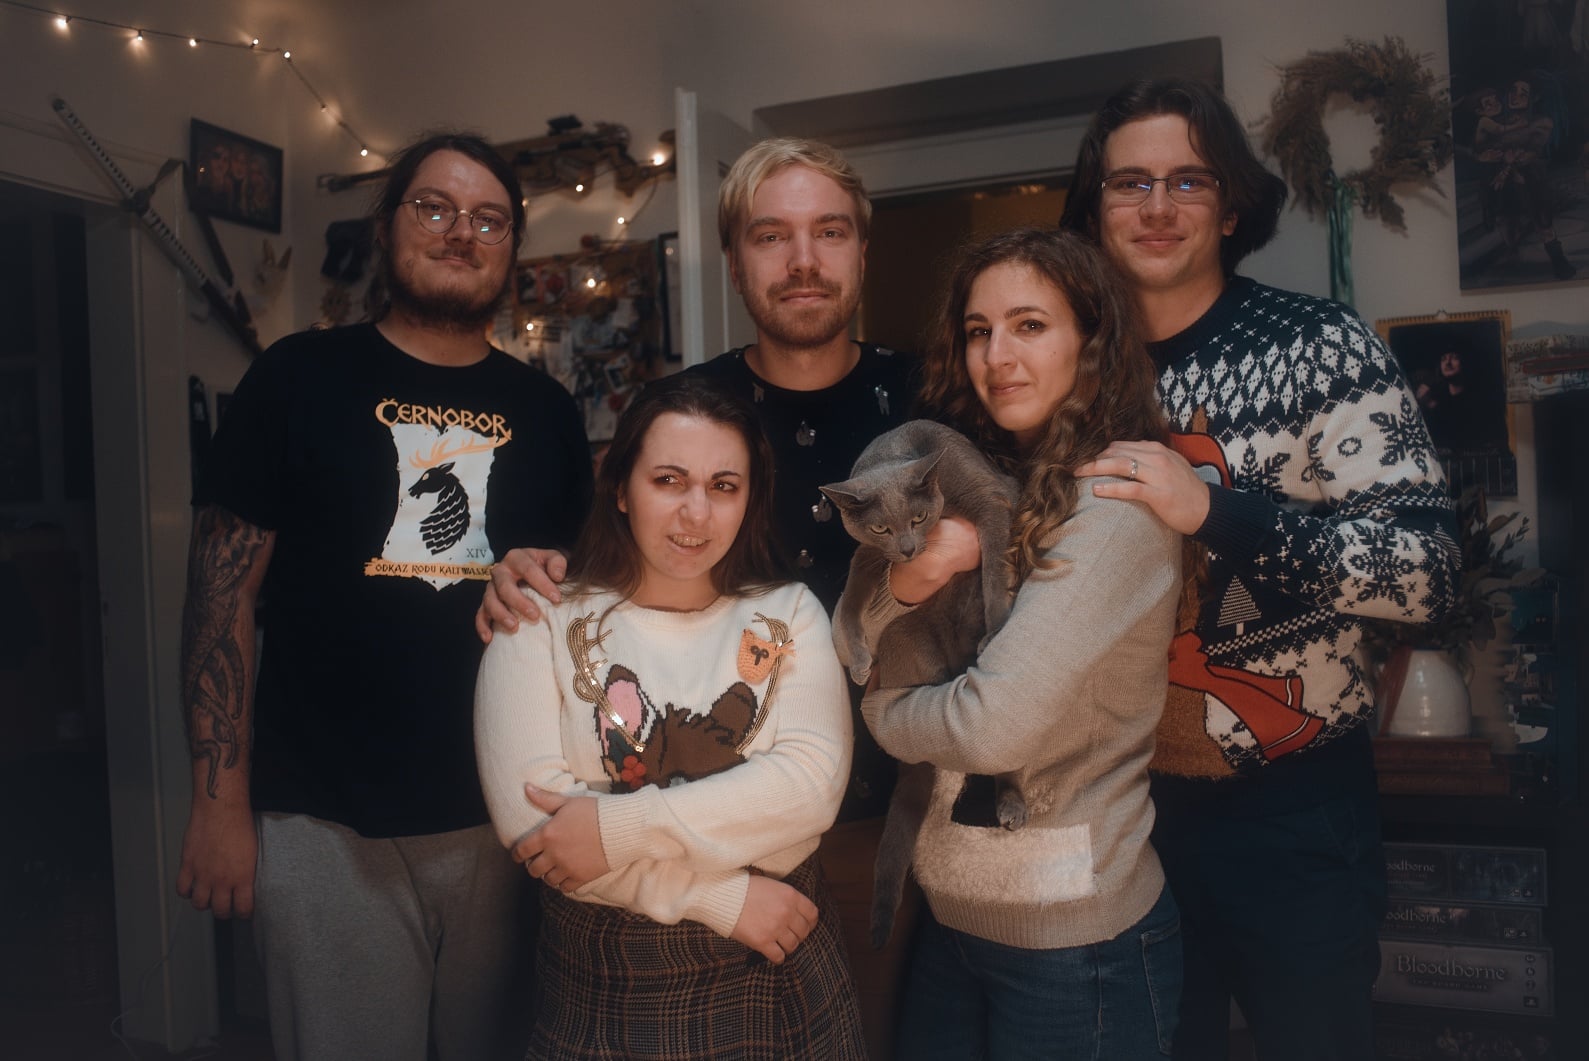

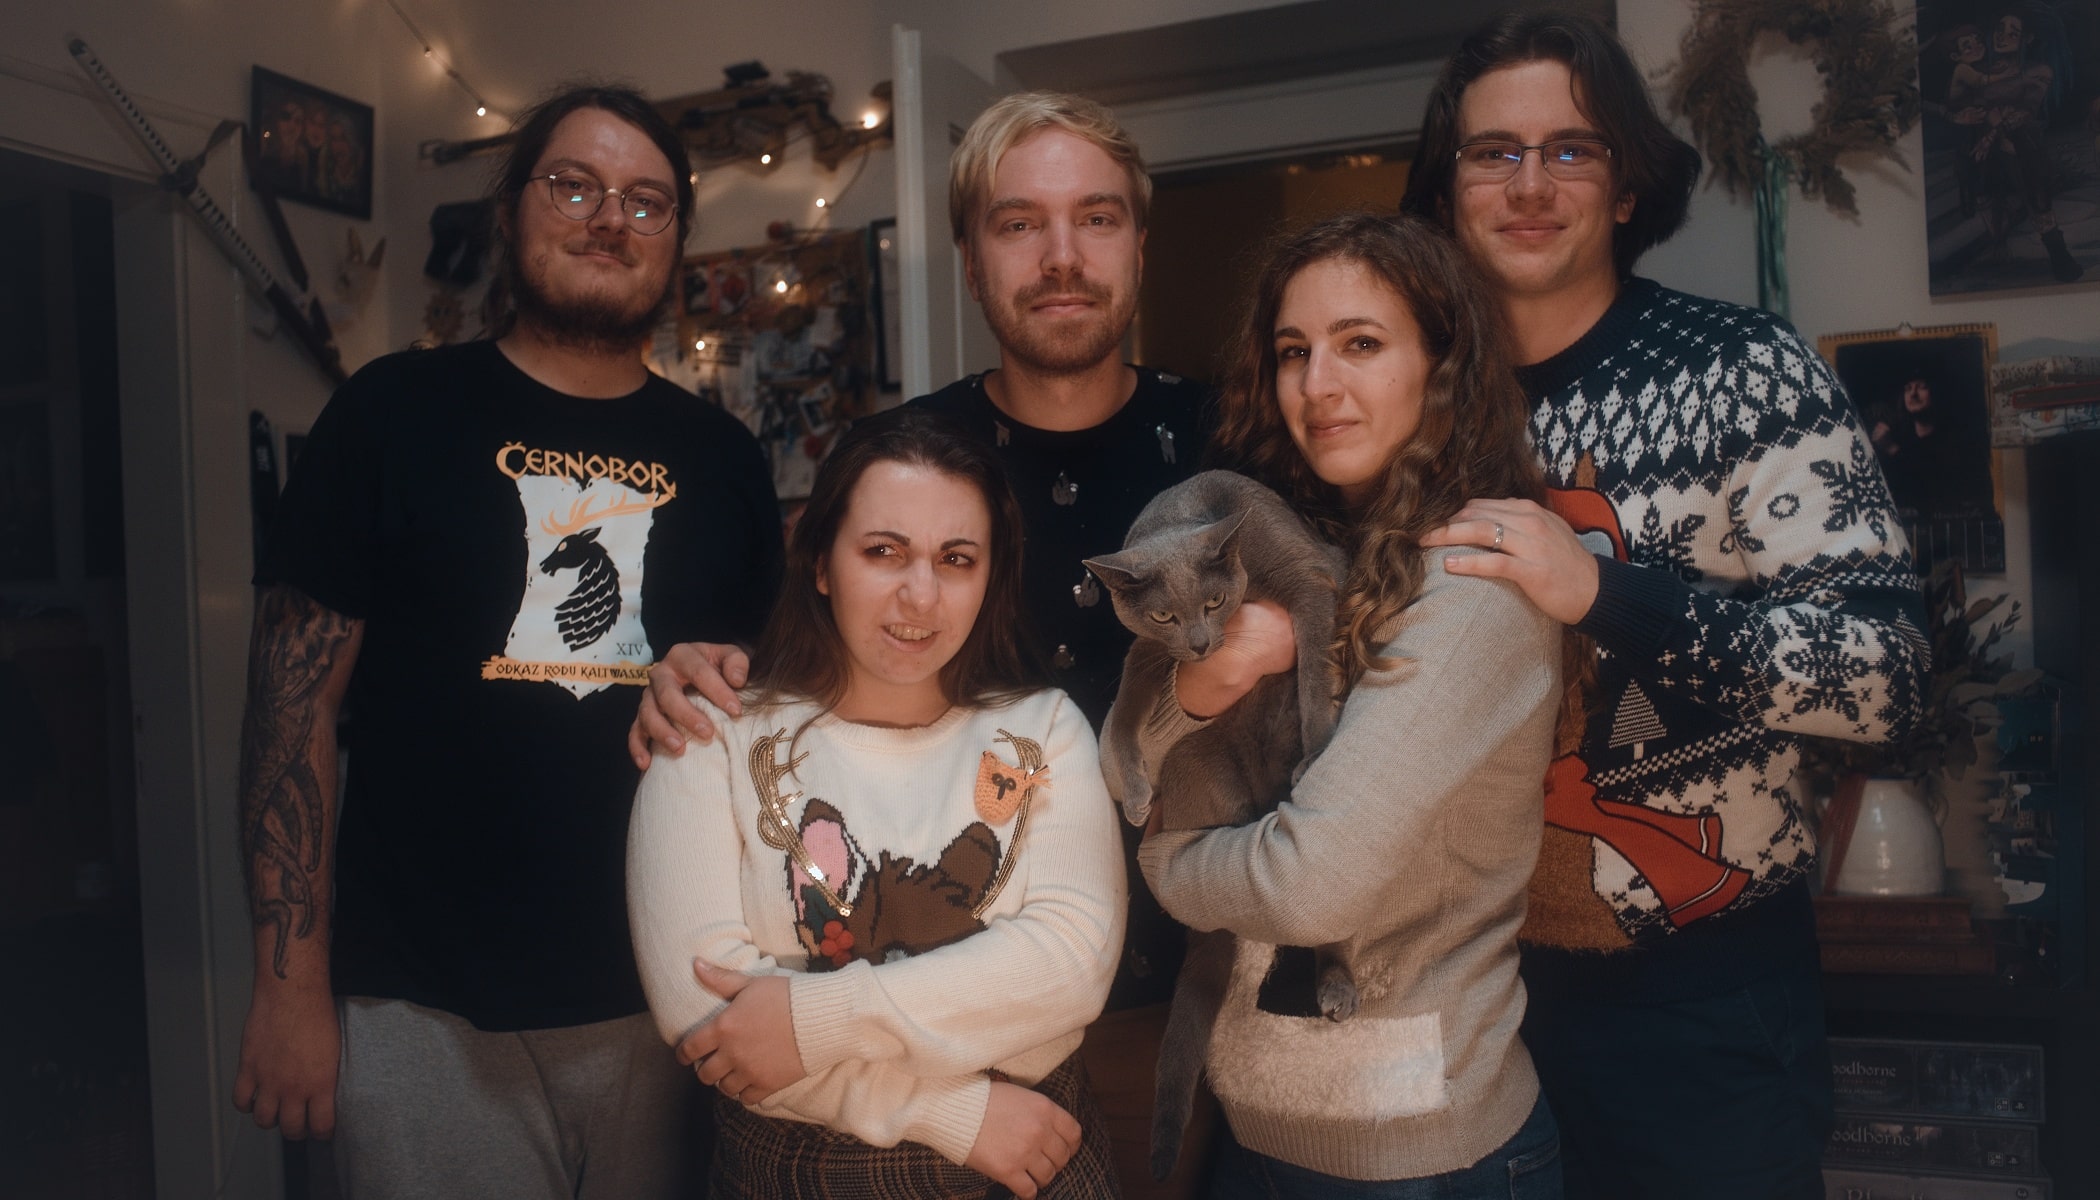
Before and after editing. Do you have a beautiful group photo but one troublemaker is ruining it? No problem! It can be saved with photo editing.
Select and open your photos
Select two photos that you want to combine, ideally in JPEG format. Open the photo that is perfect (except for that one face) in the Editor module of Zoner Photo Studio X.
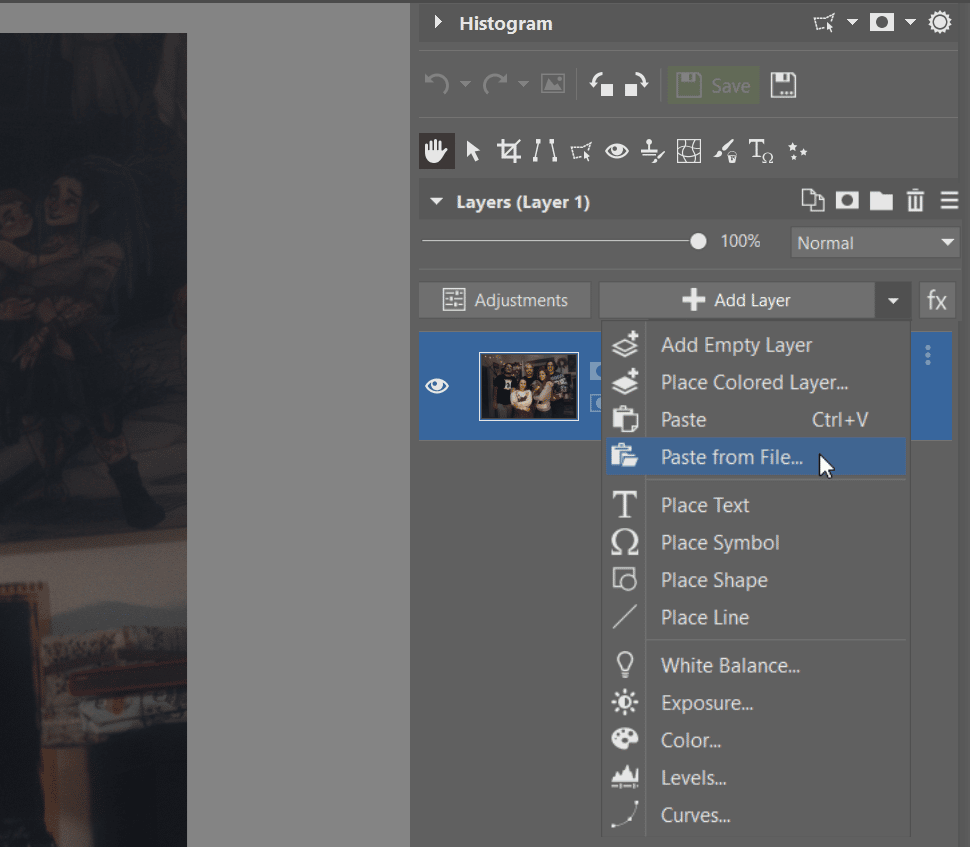
Then, add the photo that has the better face to another layer by clicking +Add Layer -> Paste from File.
Select the face
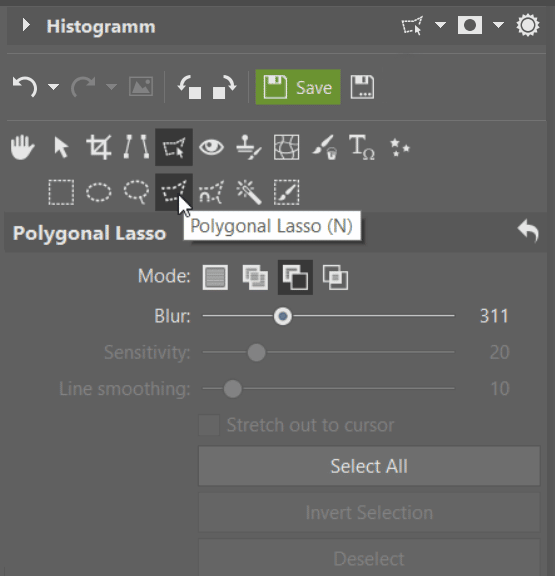
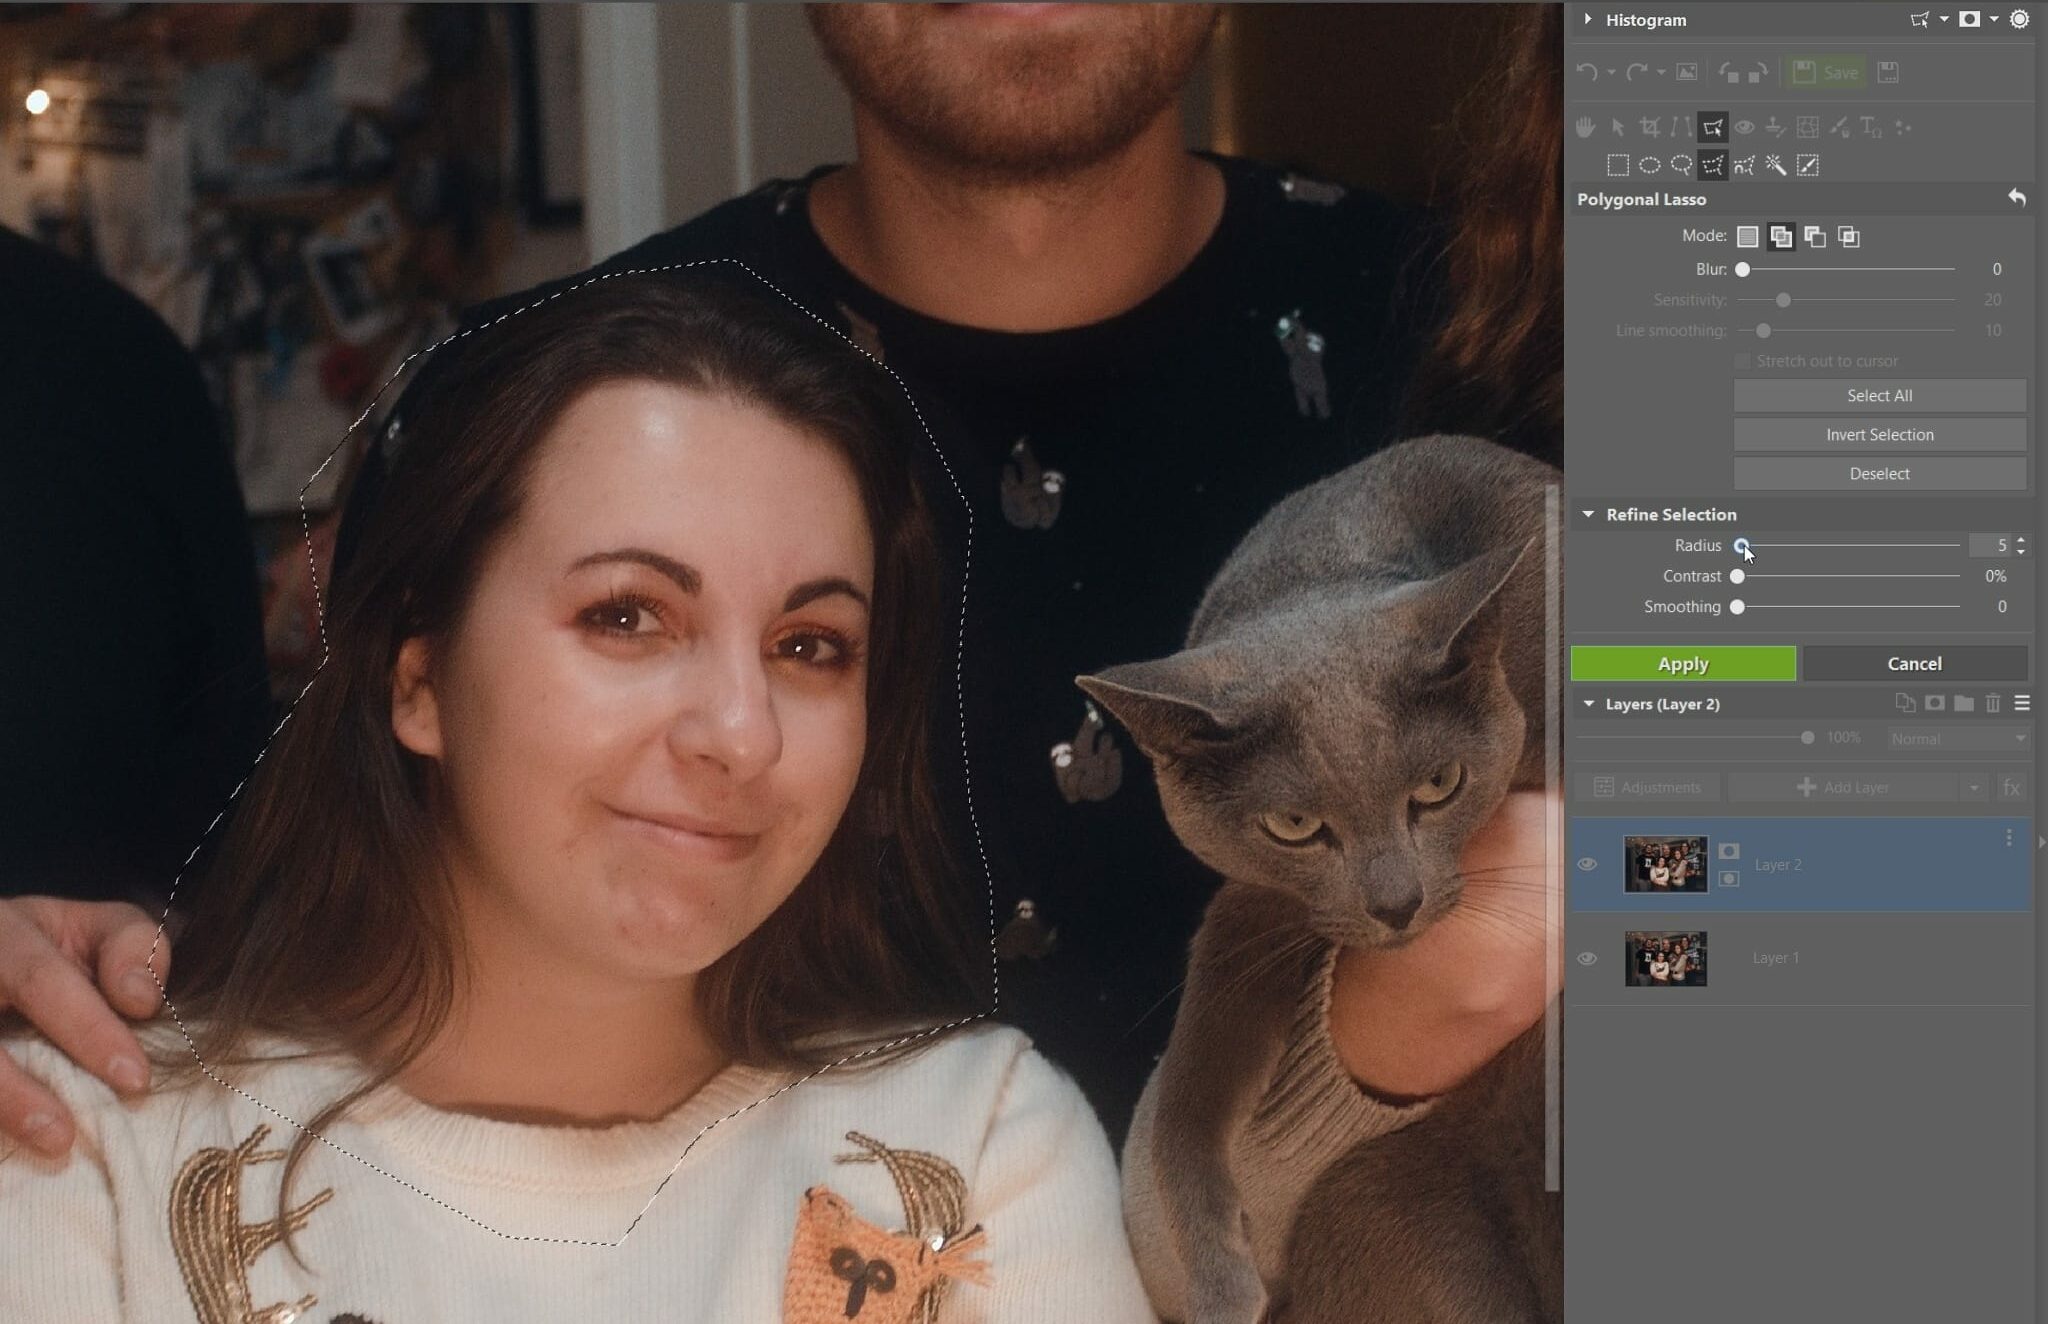
You now have two different photos in two separate layers. The photo that contains the desired face must be in the top later. You must select the face. Go to Selection Tools and select Polygonal Lasso (N). You can use other selection tools based on your needs, but we chose to work with this one.
Use the lasso to select the area you want to swap into the other photograph. Don’t be afraid to select a slightly larger area. If you include the area around the face in your selection, the photos will blend in better. When your selection is ready, increase the Radius slider by a few values so that the transition between the selection and the original is not too drastic. Click Apply for the changes made to the Radius slider.
Create a mask
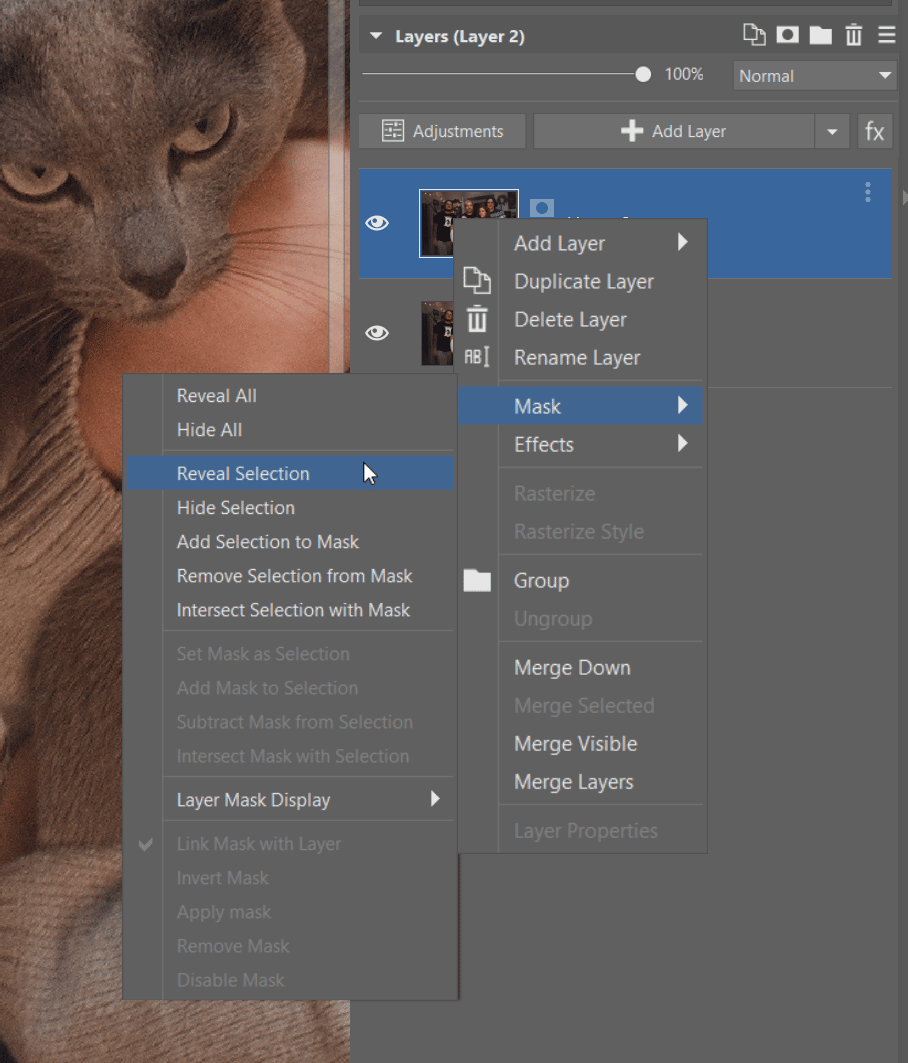
You now have a selected area that you want to place in the other photo. In order to place it, you must first create a mask. Right click the thumbnail for the top layer and select Mask -> Reveal Selection. You’ve created a mask that contains only one detail, the face.
Fine tune the resulting image
The face does not blend into the photo perfectly. You will most likely need to follow up with some manual adjustments. First, be sure the face is placed so that it exactly covers the previous one. If you didn’t shoot using a tripod, there will likely be some discrepancies. The same goes for if you’re using a photo from a different series. Use the Move and Transform (V) tool to move the mask.
TIP: To make it easier to get the mask in the right place, you can lower the visibility of the top mask to make the one below it show through. You can line up the details of the photo, such as the subject‘s shirt collar. Then, restore maximum visibility and you’re done.
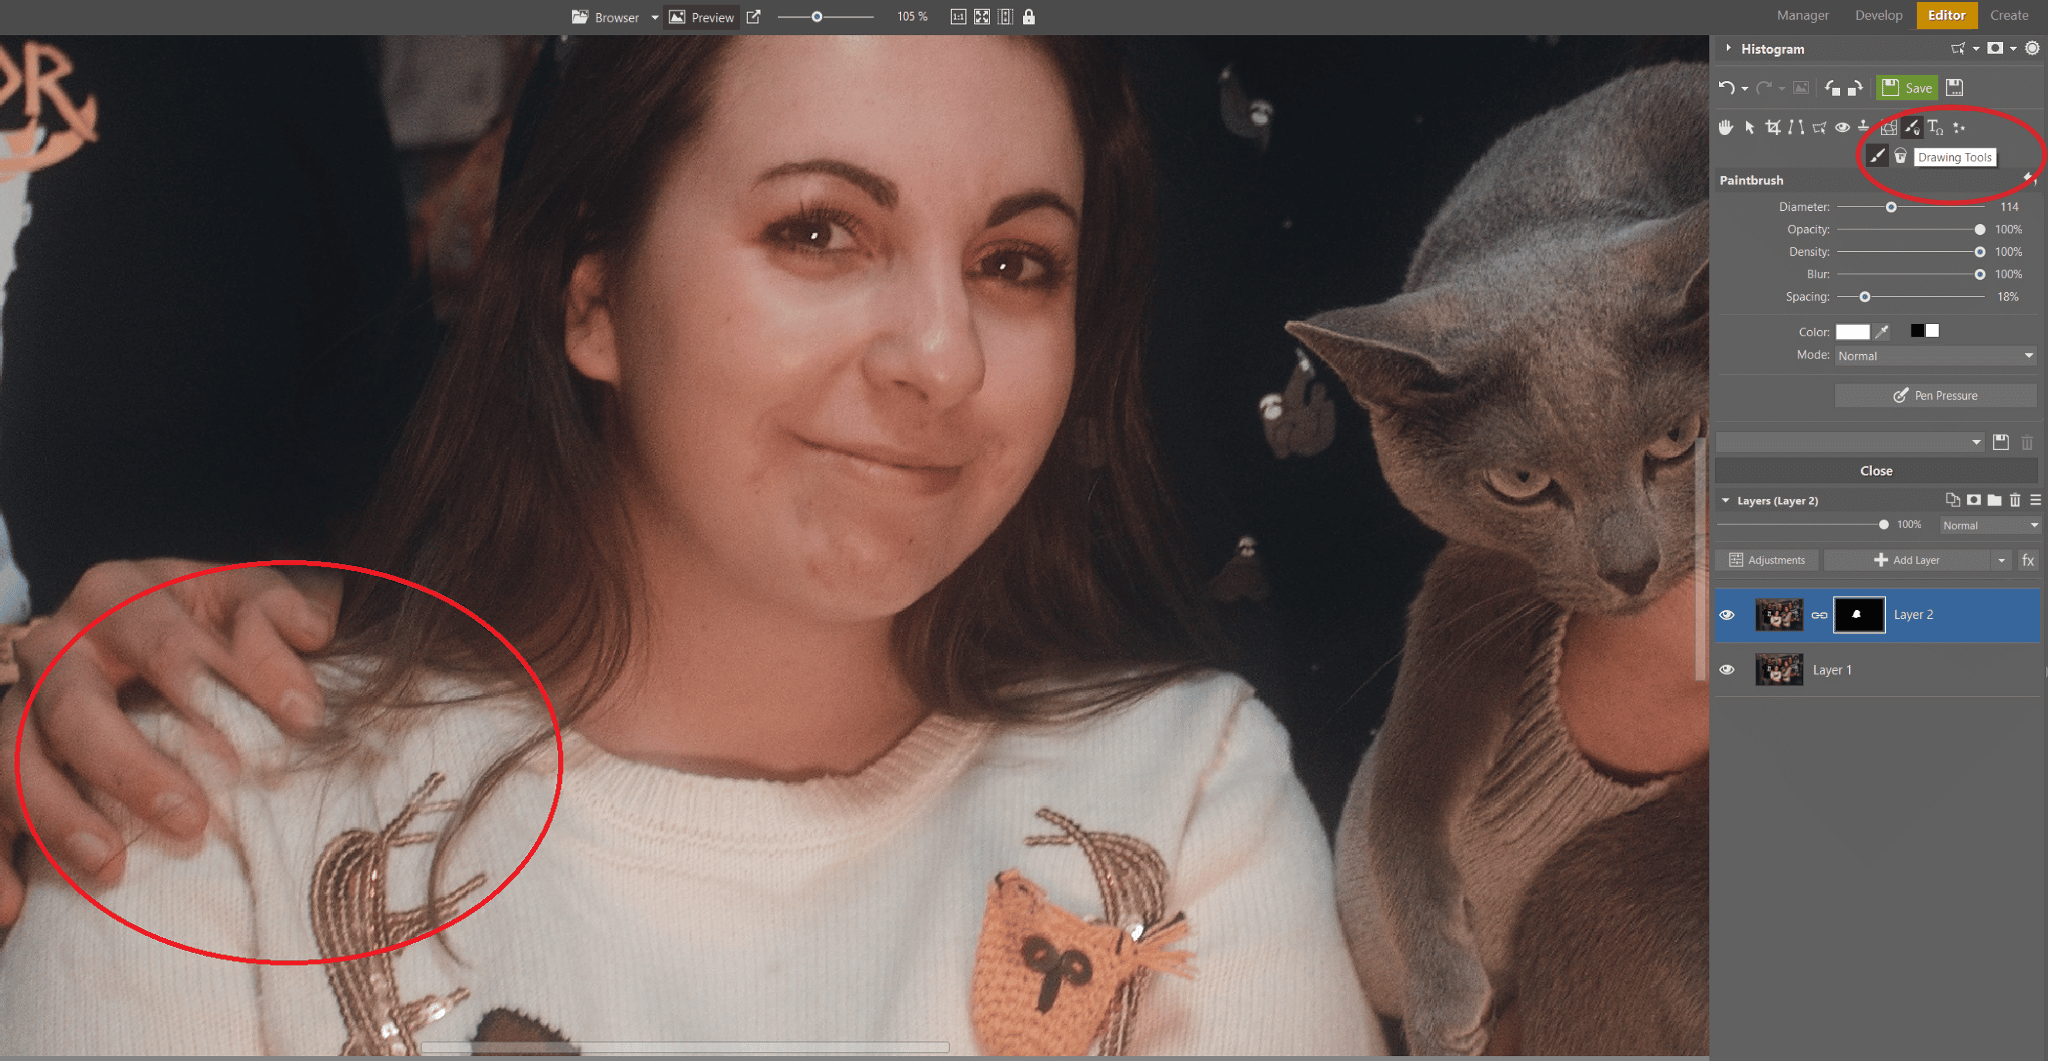
Even when you line up the mask with the new face perfectly, there can still be minor details that don’t align. These can be manually fixed by adding to or subtracting from the mask.
Under Drawing Tools, find the Brush (B) tool. If you click the mask you’ve created in the Layer list, the Brush offers two colors – black and white. Use these to add or subtract from the top picture.
If you spend some time drawing on the mask, you’ll be able to align everything and salvage your group photo. This method applies not only to group photos. Take a look at some examples of this method used on other portraits:
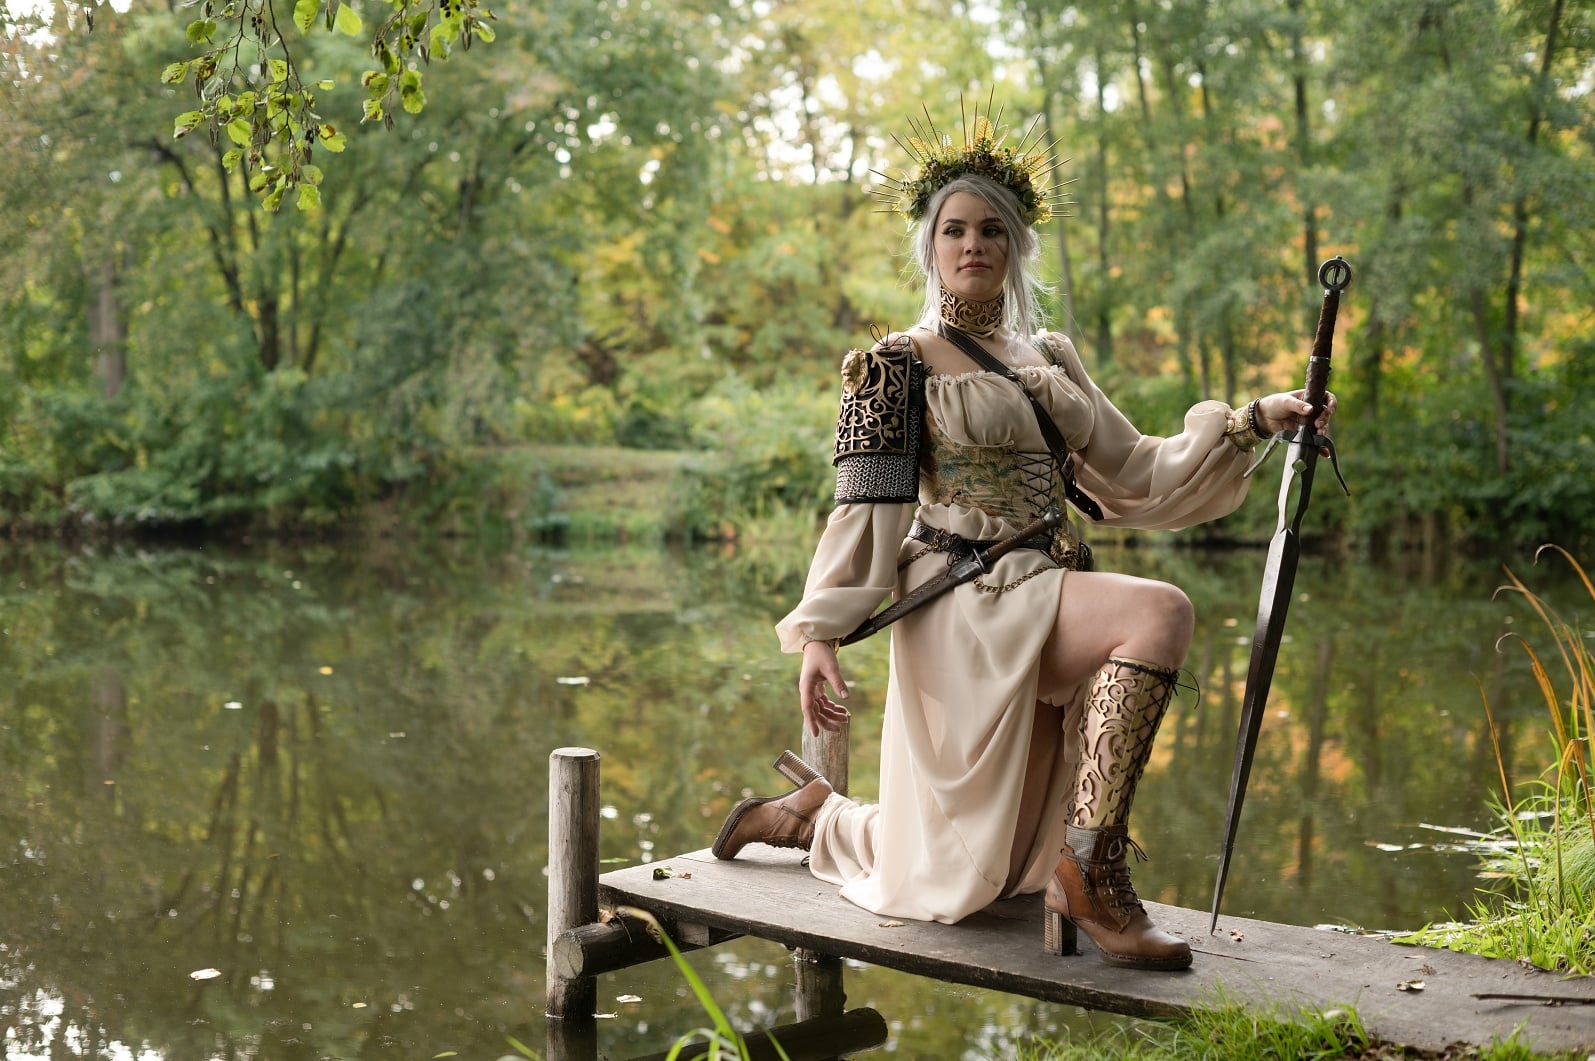
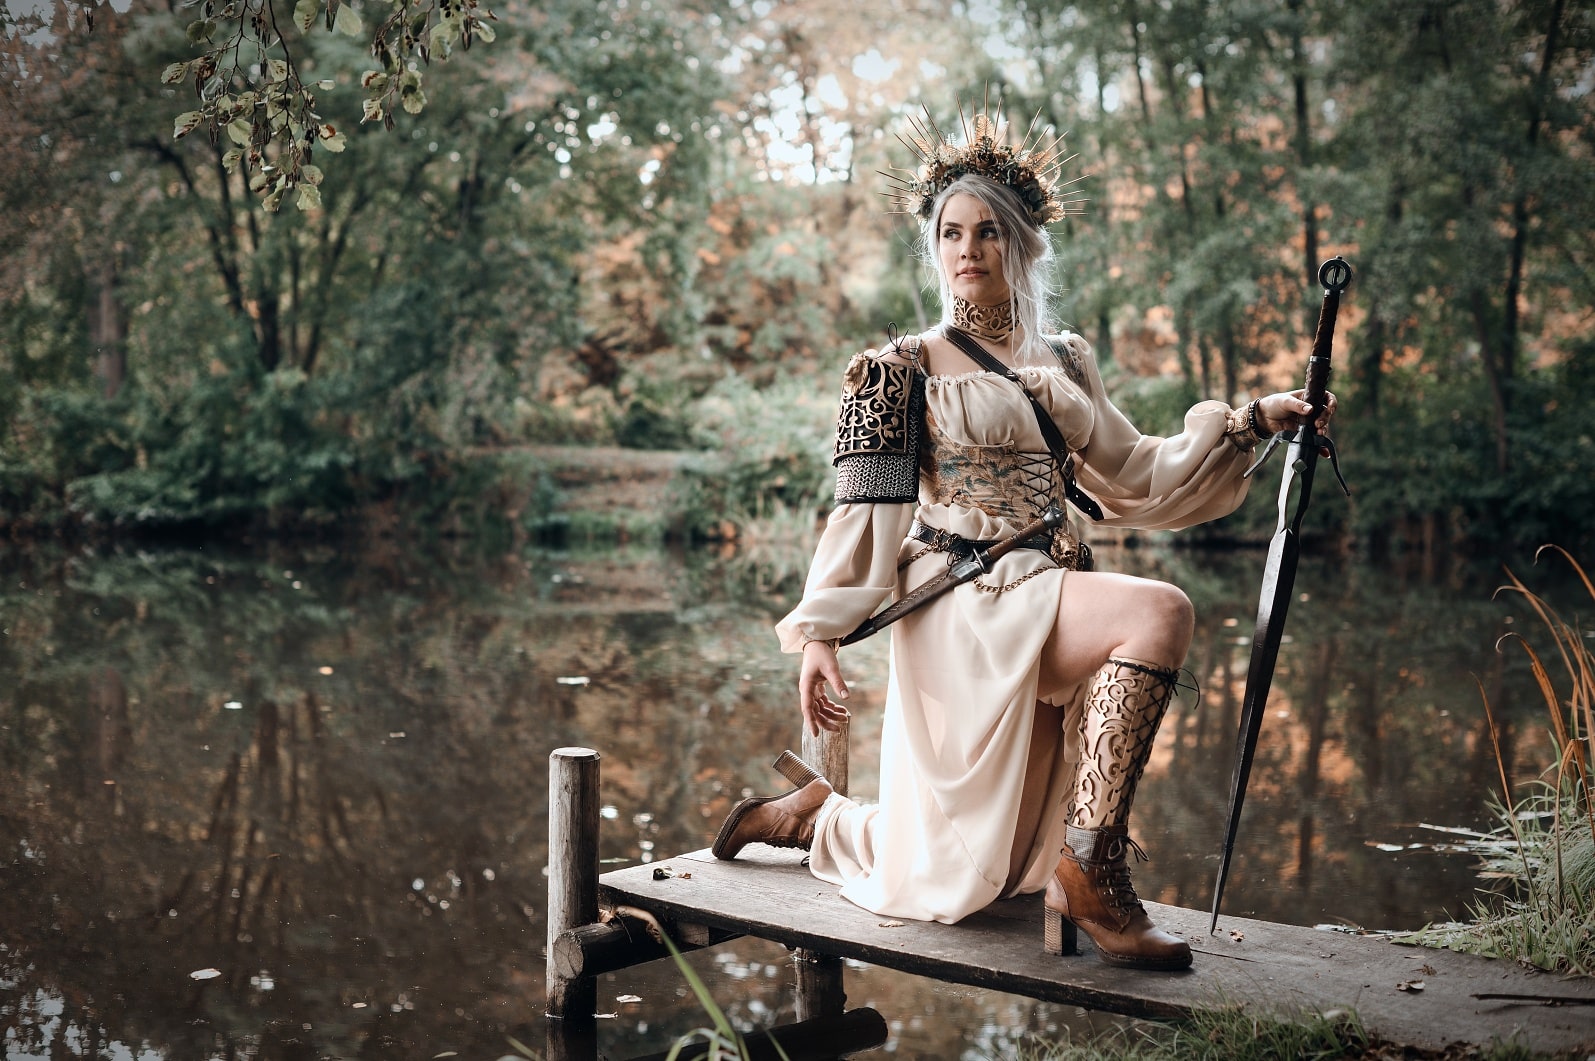
Nikon Z6 II + Nikkor 50mm 1.4, 1/320, f/2.8, ISO 320

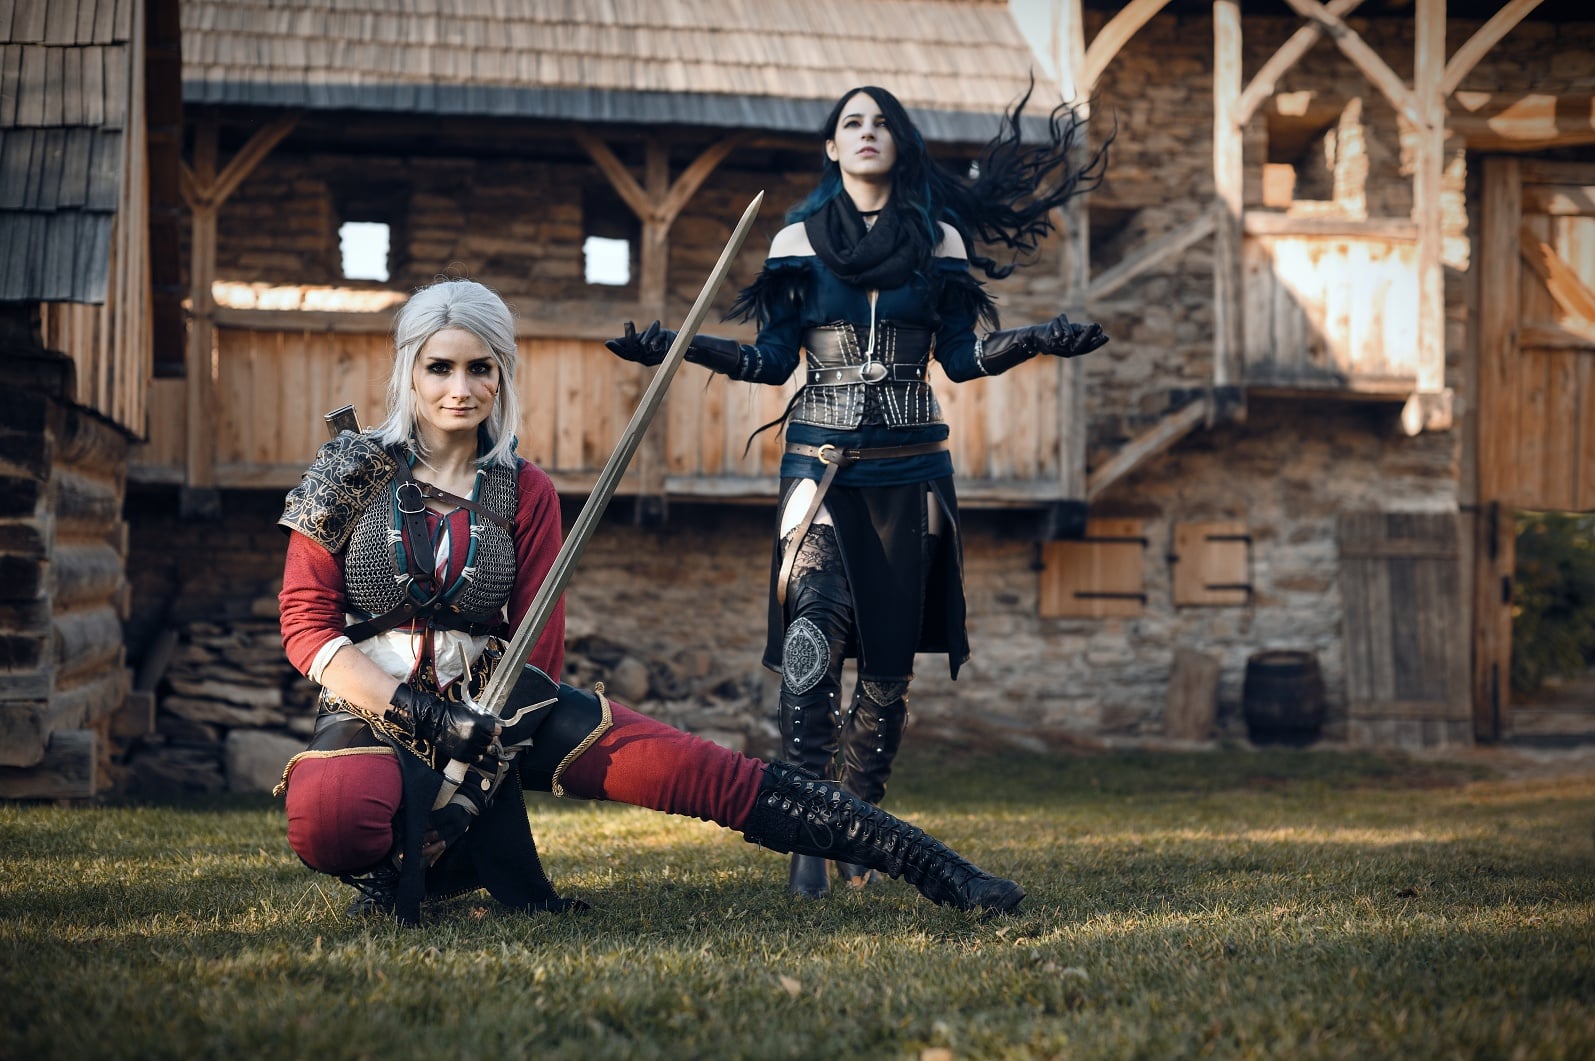
Nikon D750 + Nikkor 50mm 1.4, 1/800, f/2.8, ISO 200
In closing
The ability to swap faces in a photo comes in handy, especially when there’s an issue with a group photo. It can also be used for several other scenarios. Or, you can plan for it in advance and take two photos (ideally with a tripod) that you later combine using Zoner Photo Studio X.
There are no comments yet.