How to Use Rembrandt Lighting or Chiaroscuro in Your Photography
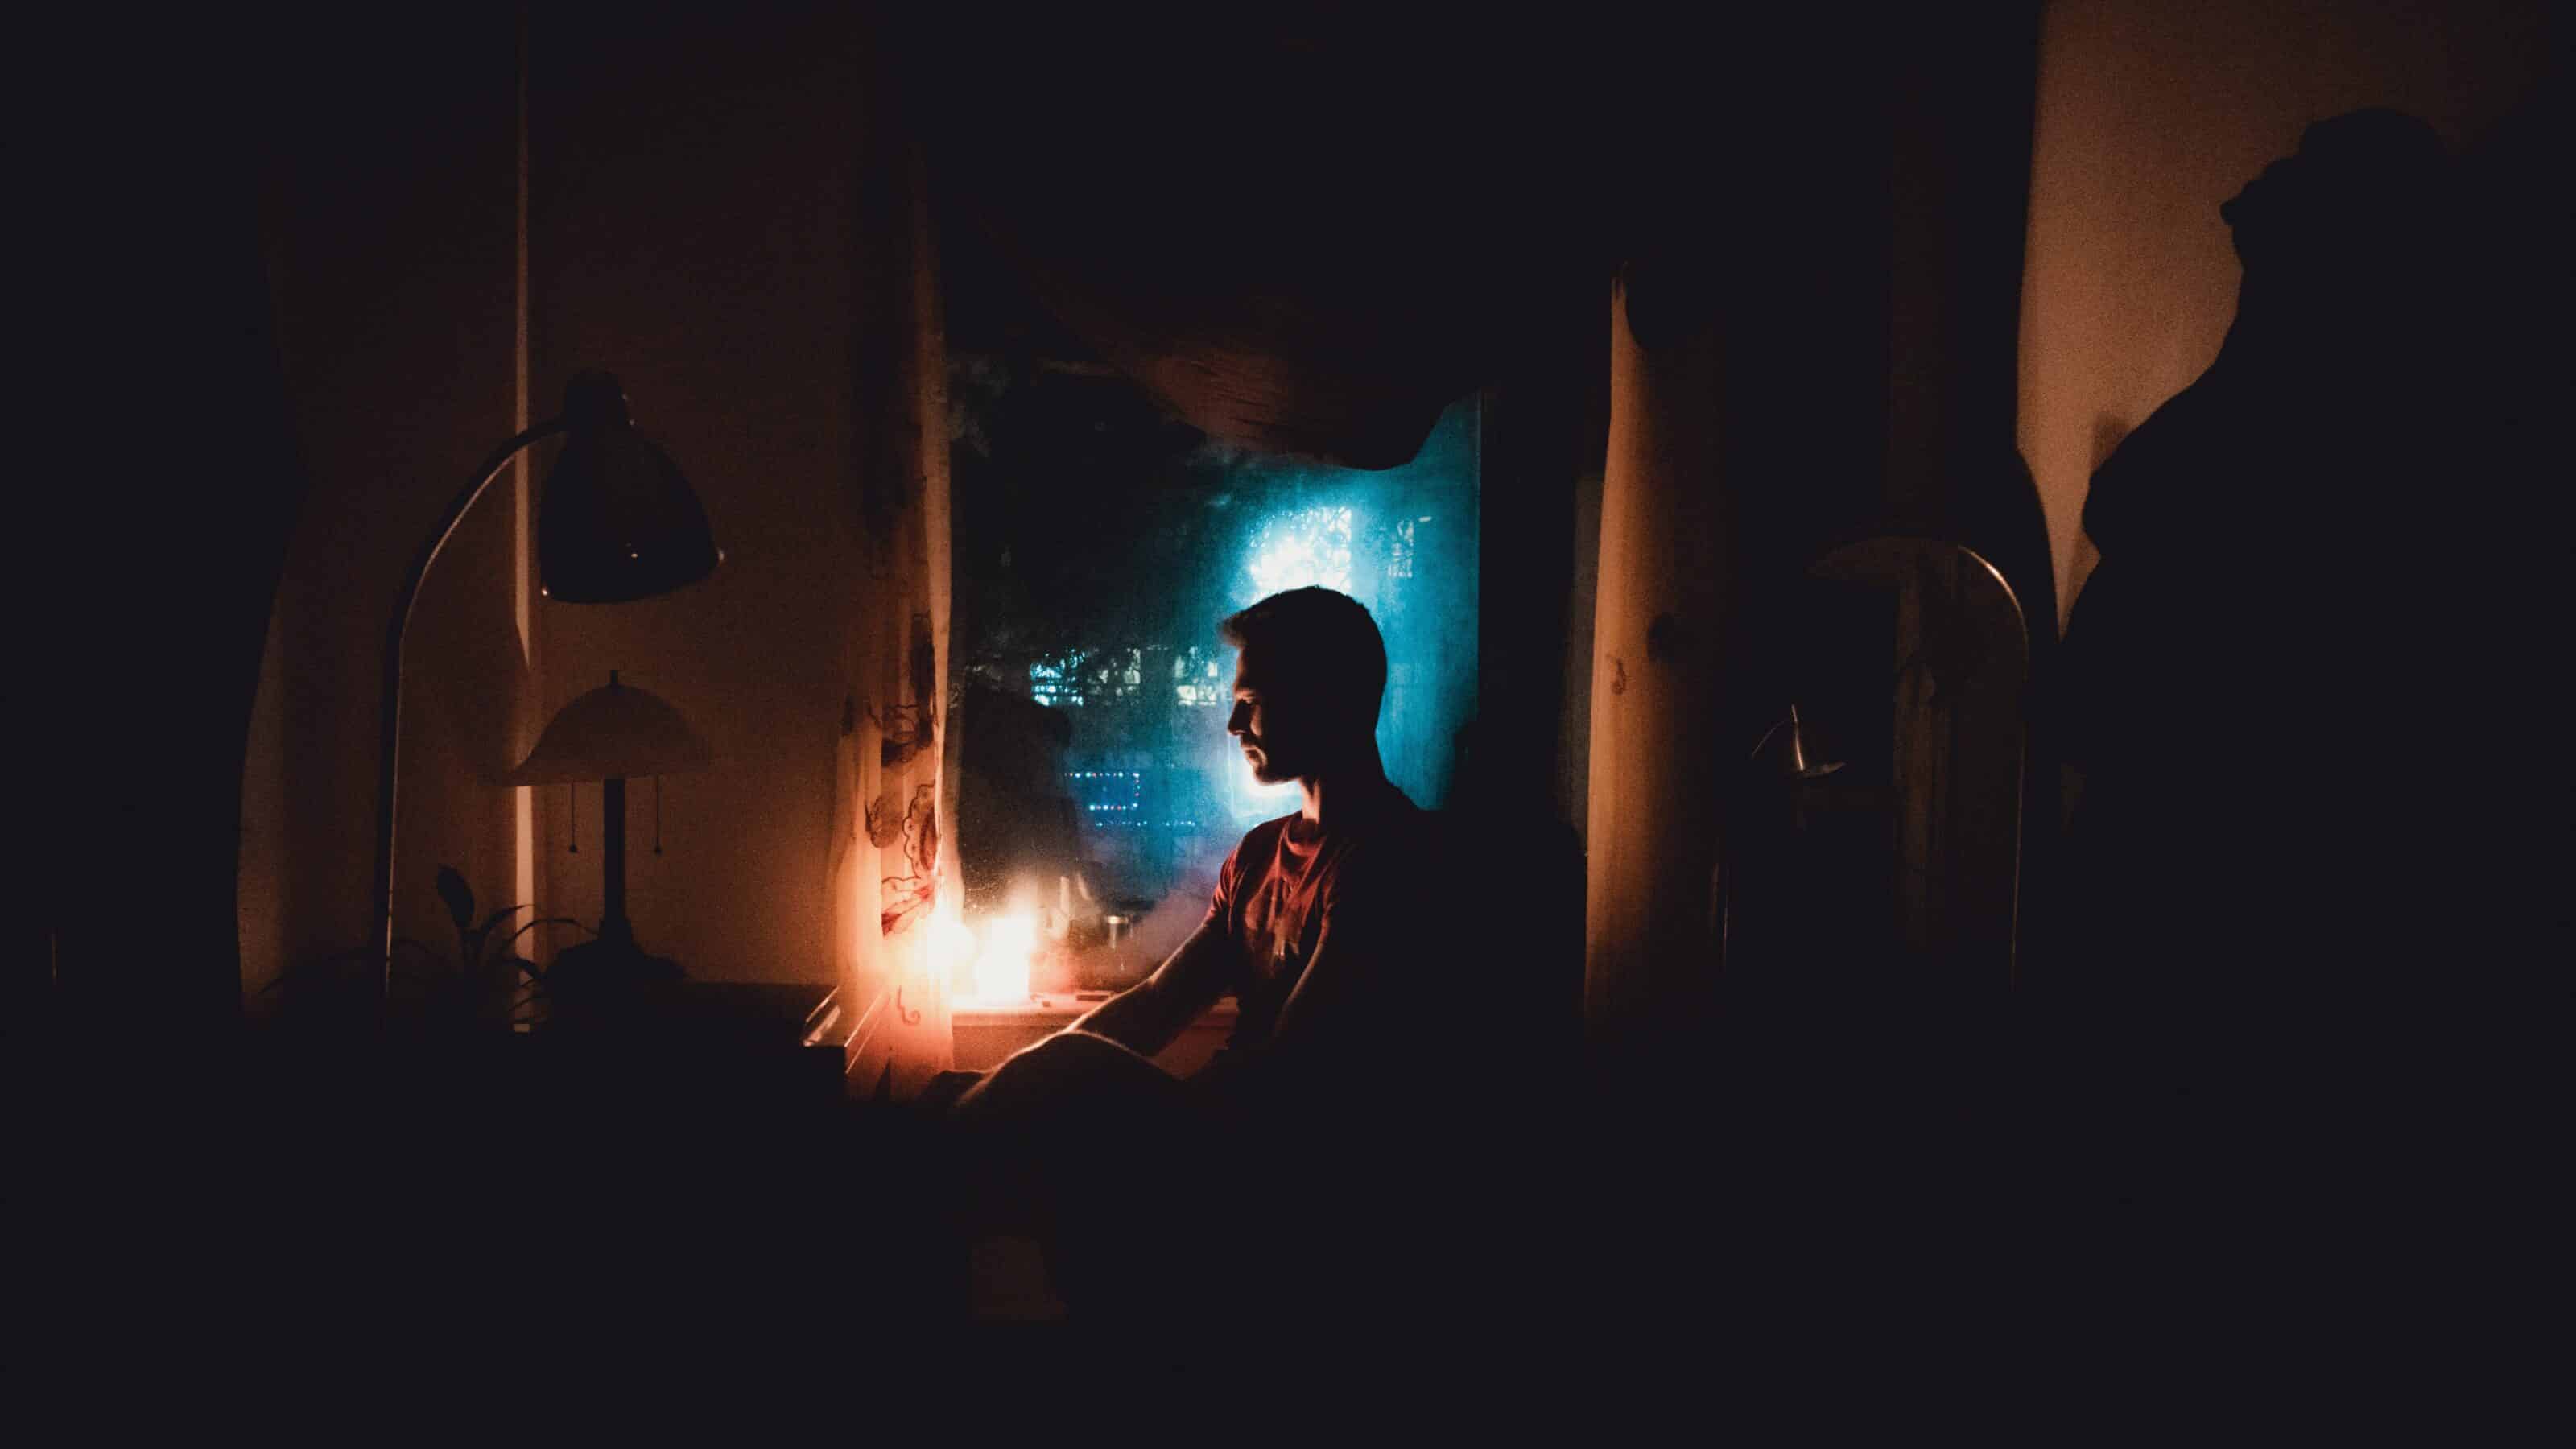
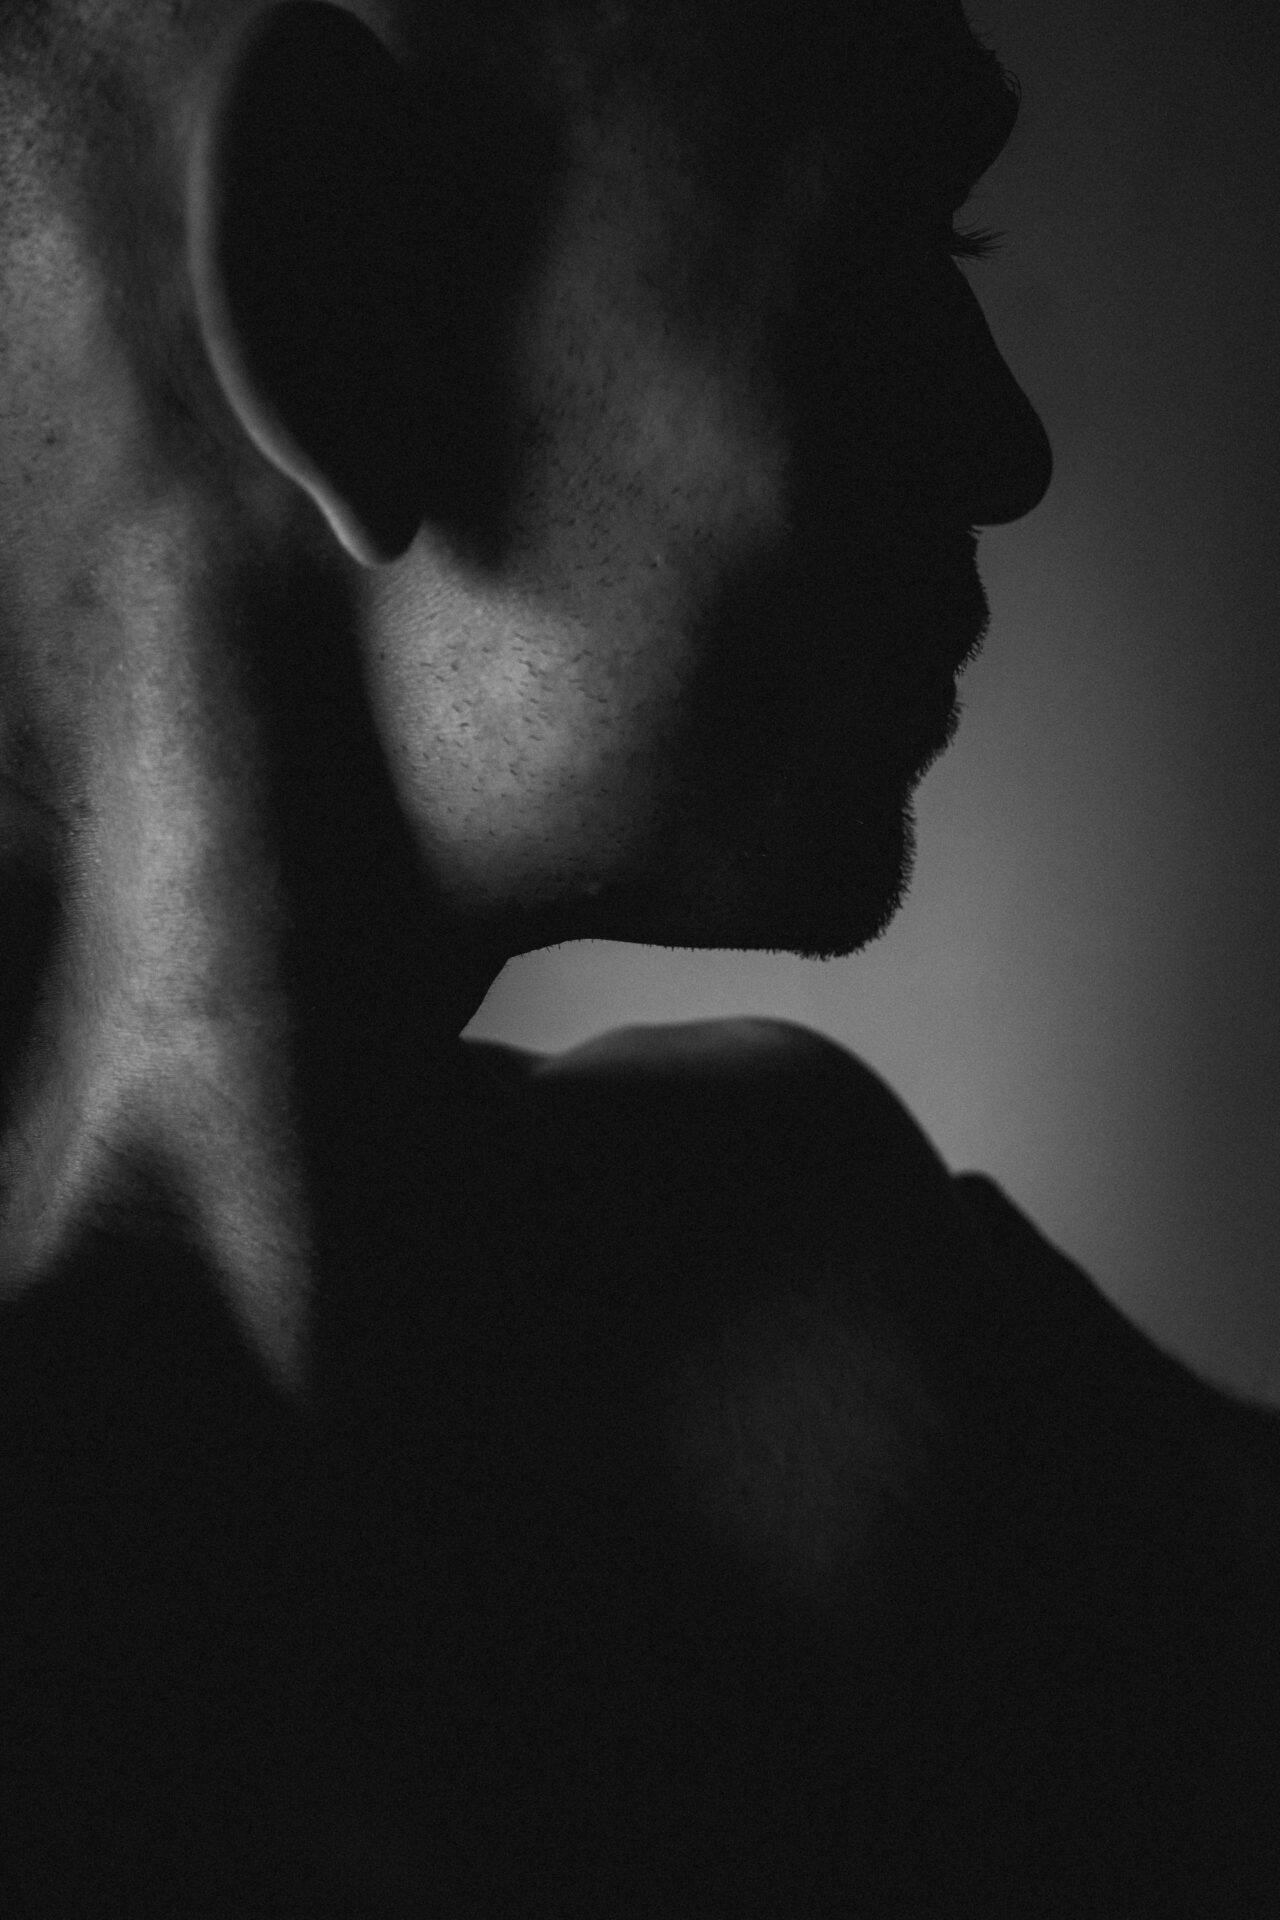
The term chiaroscuro comes from the Italian words chiaro (light) and scuro (dark). It’s a lighting technique that results in dramatic contrast between light and dark. As a result, our attention is drawn to the illuminated object, while the rest of the scene is immersed in darkness. This fine arts technique is seen in photography and can help us work with light in a better, more focused way.
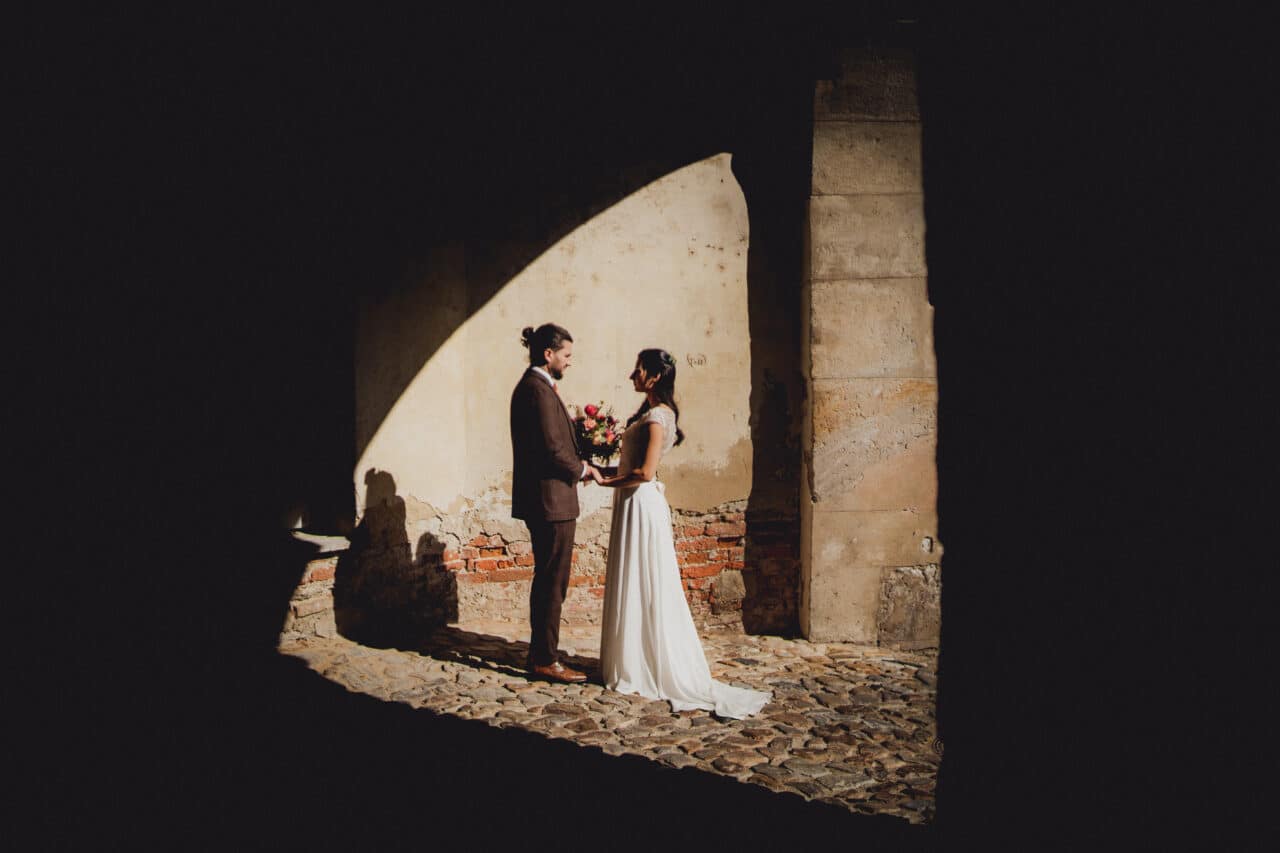
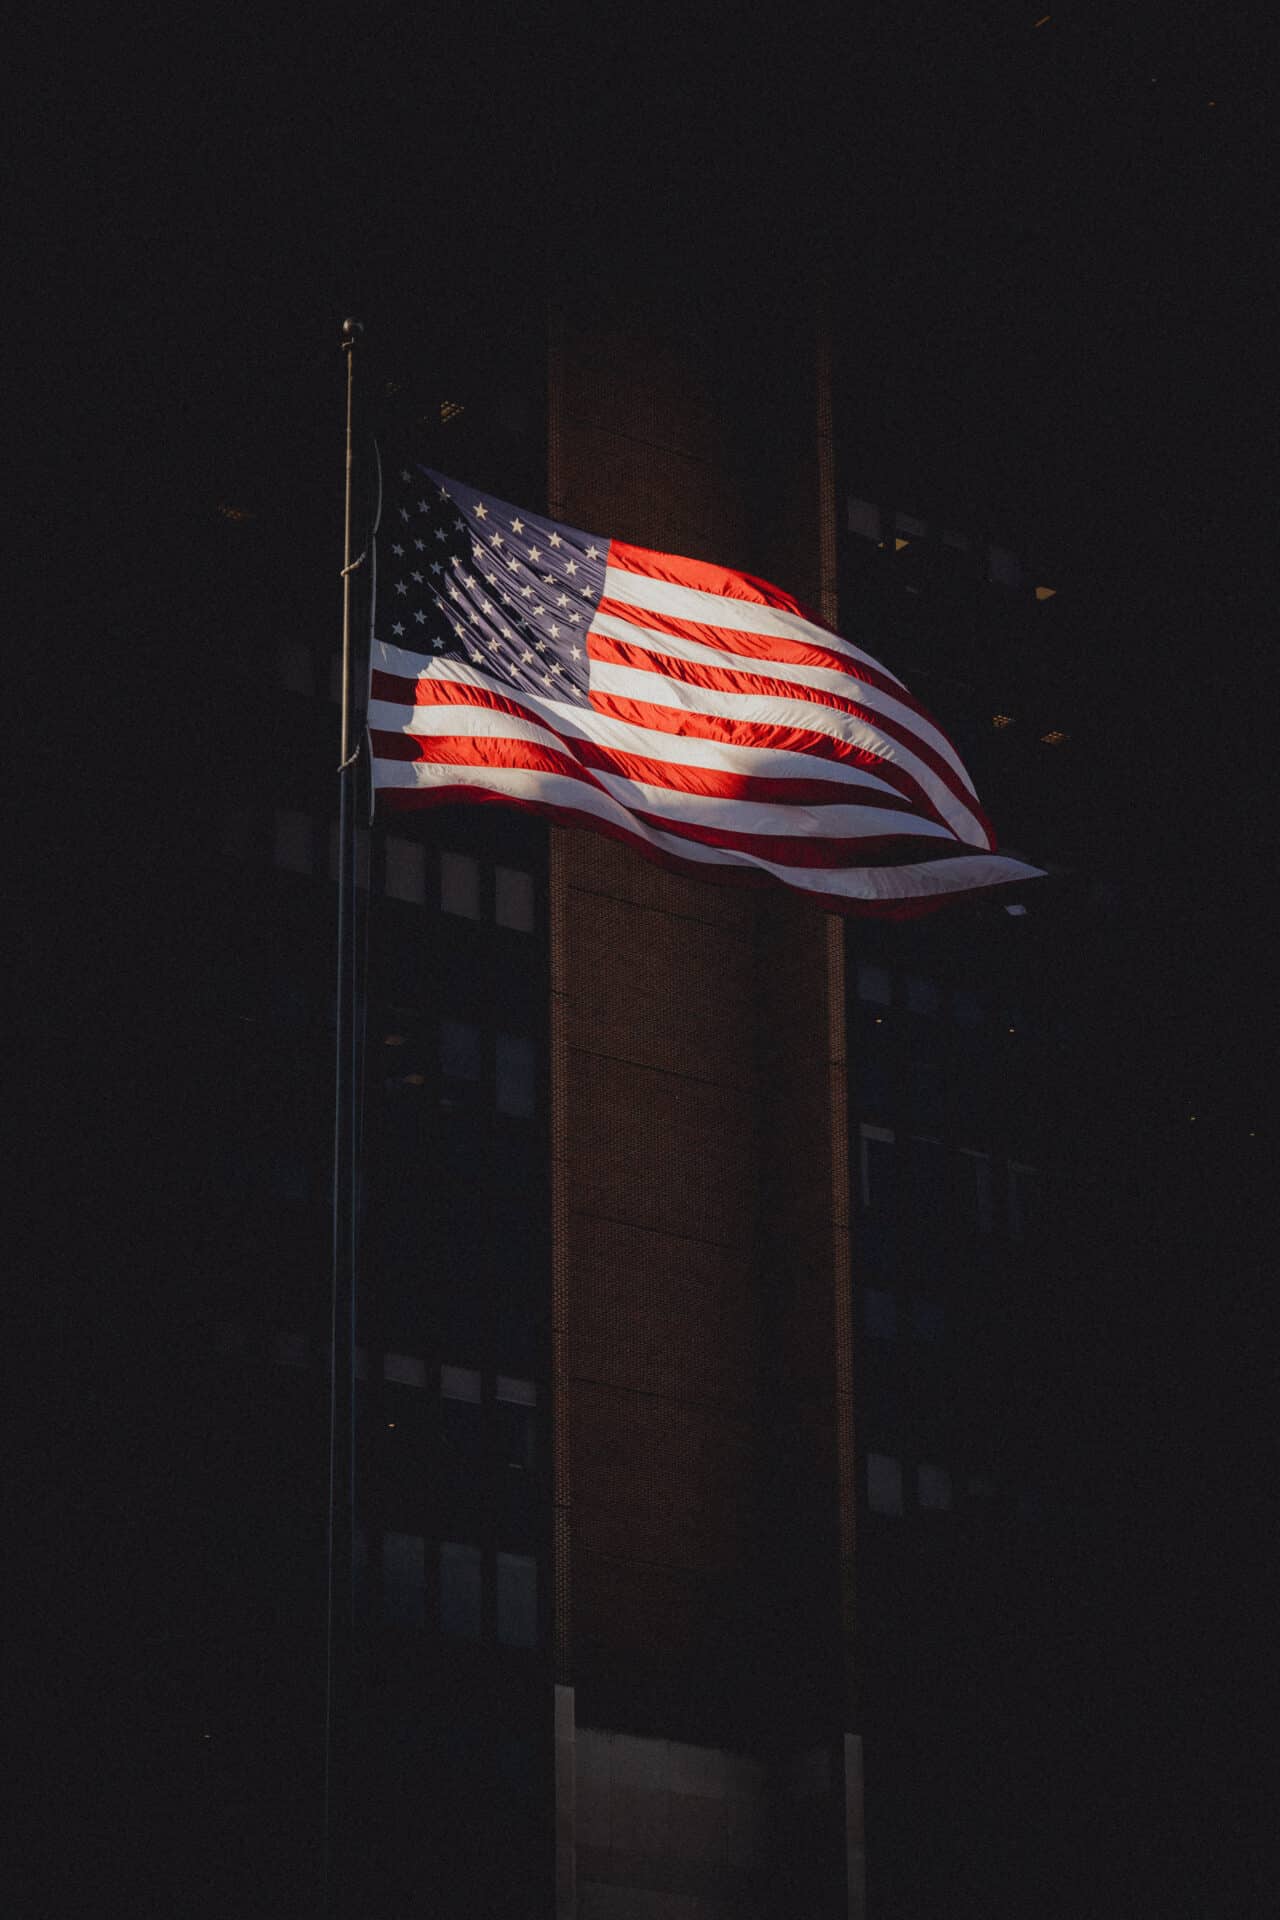
The magic of chiaroscuro lies in its simplicity. The effective contrast between highlights and shadows is achieved by using only one dominant light source. This can be a studio light, lamp, window, or sunlight coming in through the clouds.
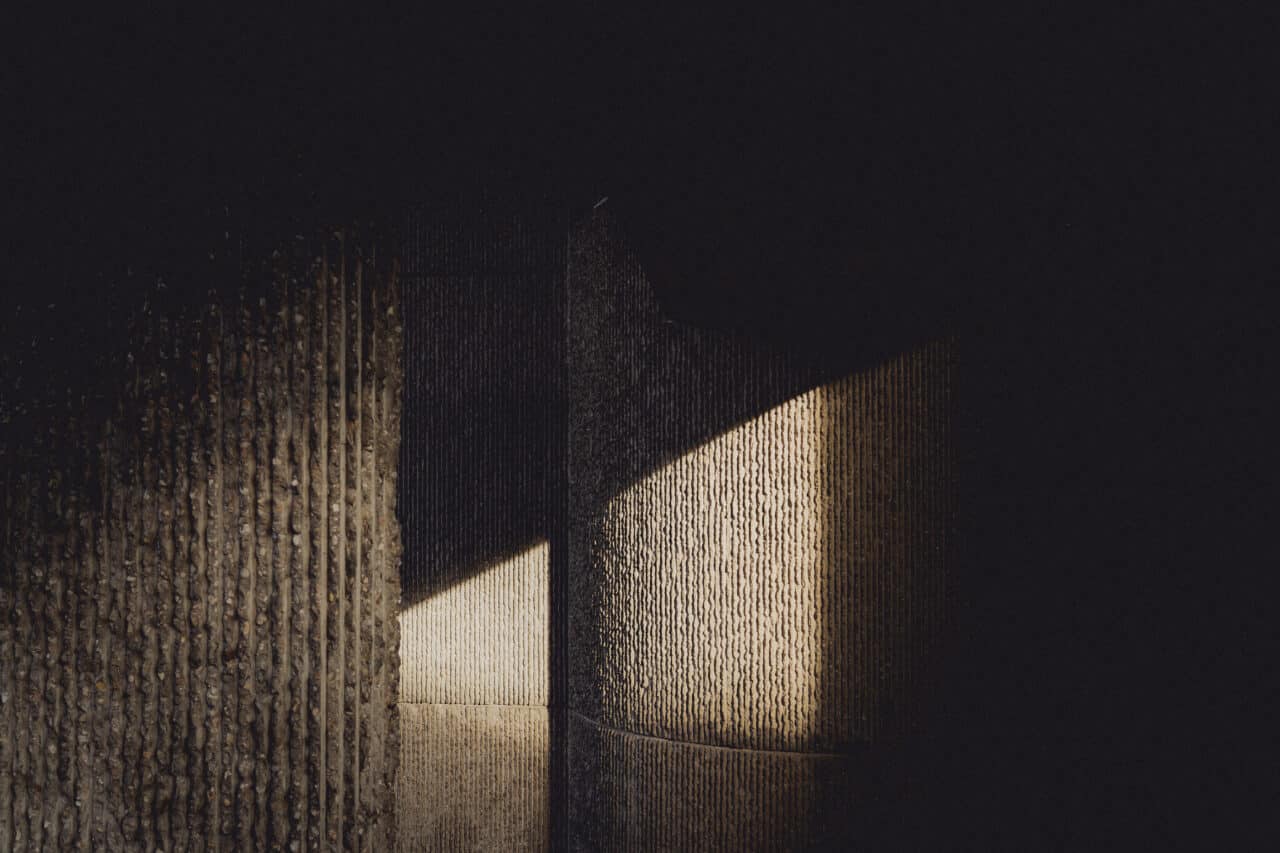
The light is sharp. The subject is illuminated in the darkness, thus evoking a sense of depth, emotion, and drama. This method is particularly useful for portraits, still lifes, food photography, and various other subjects. Chiaroscuro adds depth and three-dimensionality while emphasizing shape and texture.
The origins of chiaroscuro in fine art
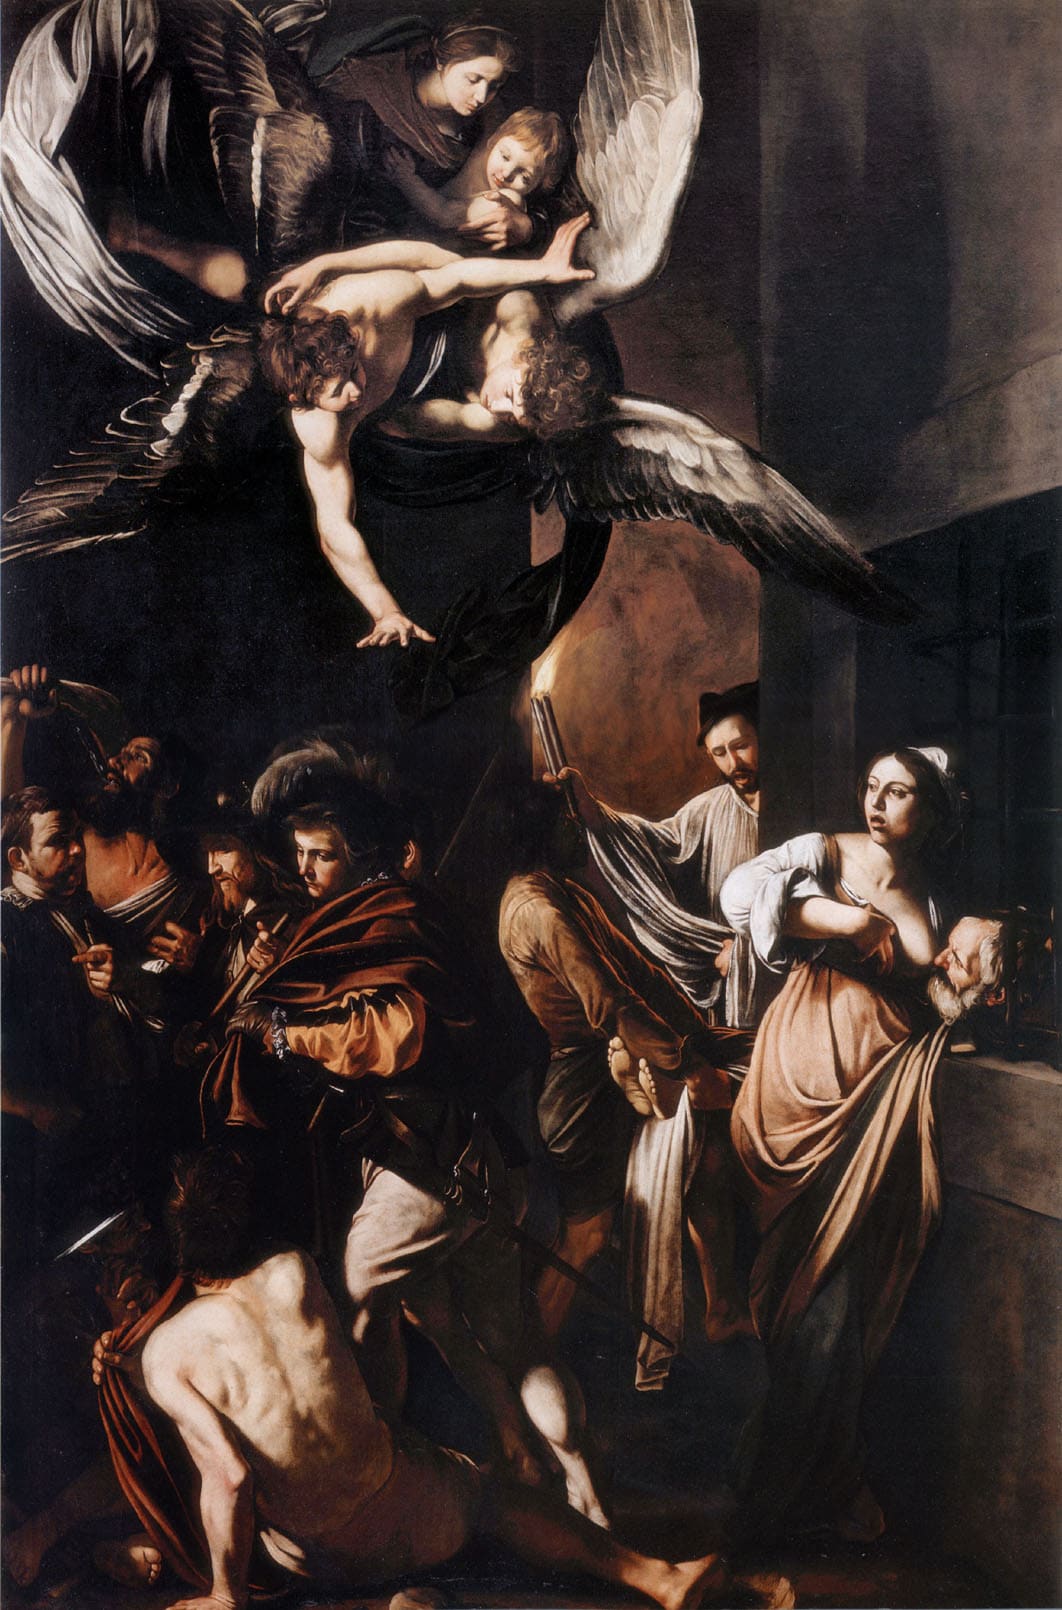
This technique was developed in 15th century Renaissance Italy, but did not become popular until the 16th century during the Mannerist and Baroque periods. Chiaroscuro is associated with artists like Caravaggio, Tintoretto, and Leonardo da Vinci.
These were often religious motifs where light from an unknown source dramatically illuminated familiar figures from biblical stories. This unknown light source was often a metaphor for the light of God.
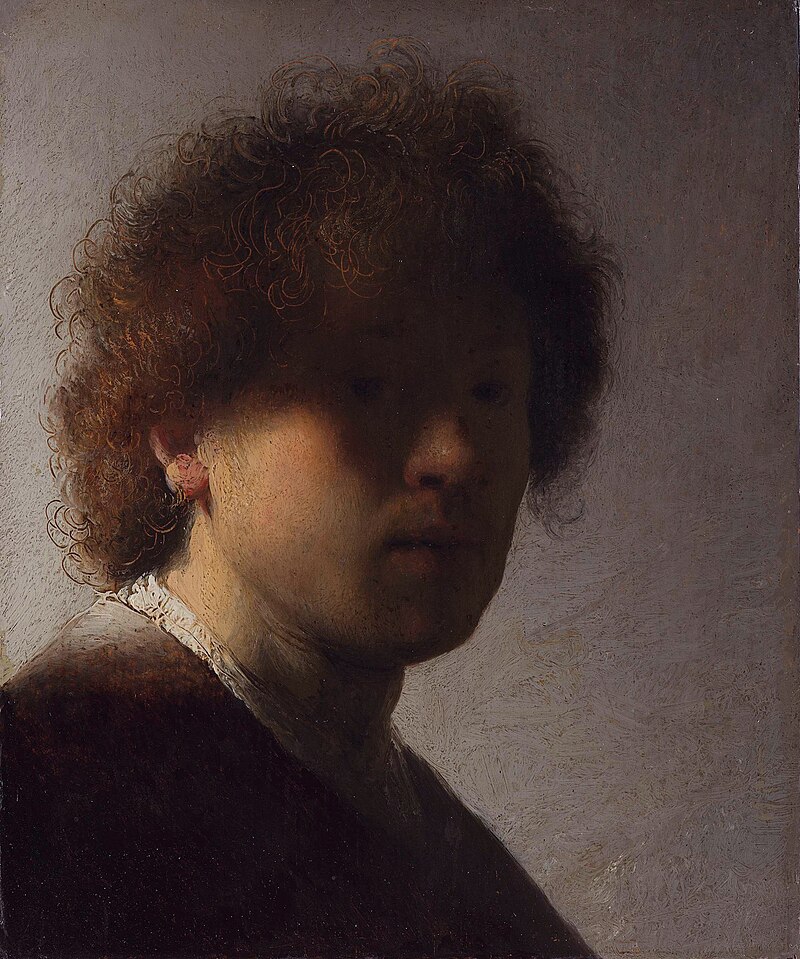
Perhaps the most important artist to use the chiaroscuro technique was Rembrandt van Rijn. Rembrandt often worked with scenes with candles or a window as the only source of light. This light gave his portraits not only a three-dimensional character, but also true psychological depth.
Chiaroscuro as the language of studio photography
Once you understand the chiaroscuro technique, it’s easy to apply its concepts to your photography. It works with both natural and artificial light. In either case, the key is to use only one light source. Or, at least maintain the impression of a single light source. In fact, with artificial lighting, you can use two light sources or one light source with a light reflector.

In studio portrait photography, this technique is known as Rembrandt lighting.
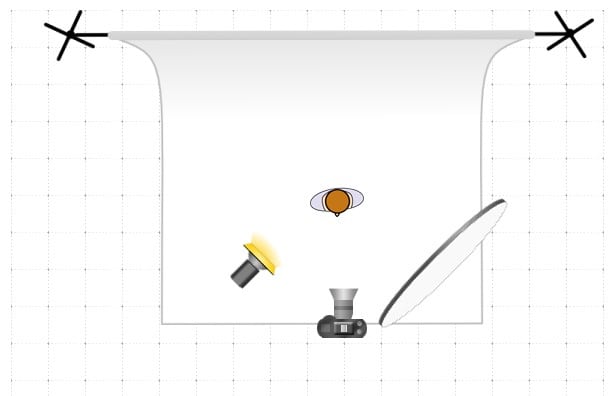
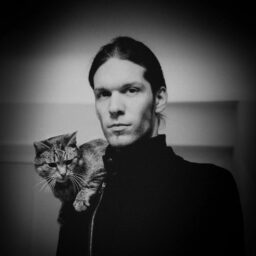
The basic idea is to create a small triangle of light below the subject’s eye. You can do this by placing a light at a 45-degree angle above the subject’s face, which fully illuminates one half of the face and partially illuminates the other half. The interplay of light and shadows creates a triangle of light beneath the eye.
In this case, it’s a good idea to supplement the partially shaded part of the face with light from a reflector or a dimmed second studio light. The second light is only supplementary so that the contrast between the two halves of the face is not as pronounced.
Chiaroscuro around us
A photography studio gives you the control you need to do chiaroscuro. That’s why I recommend a studio setting for learning the basics. Don’t be afraid to experiment. Once you fully understand the technique, you will start seeing it everywhere around you.

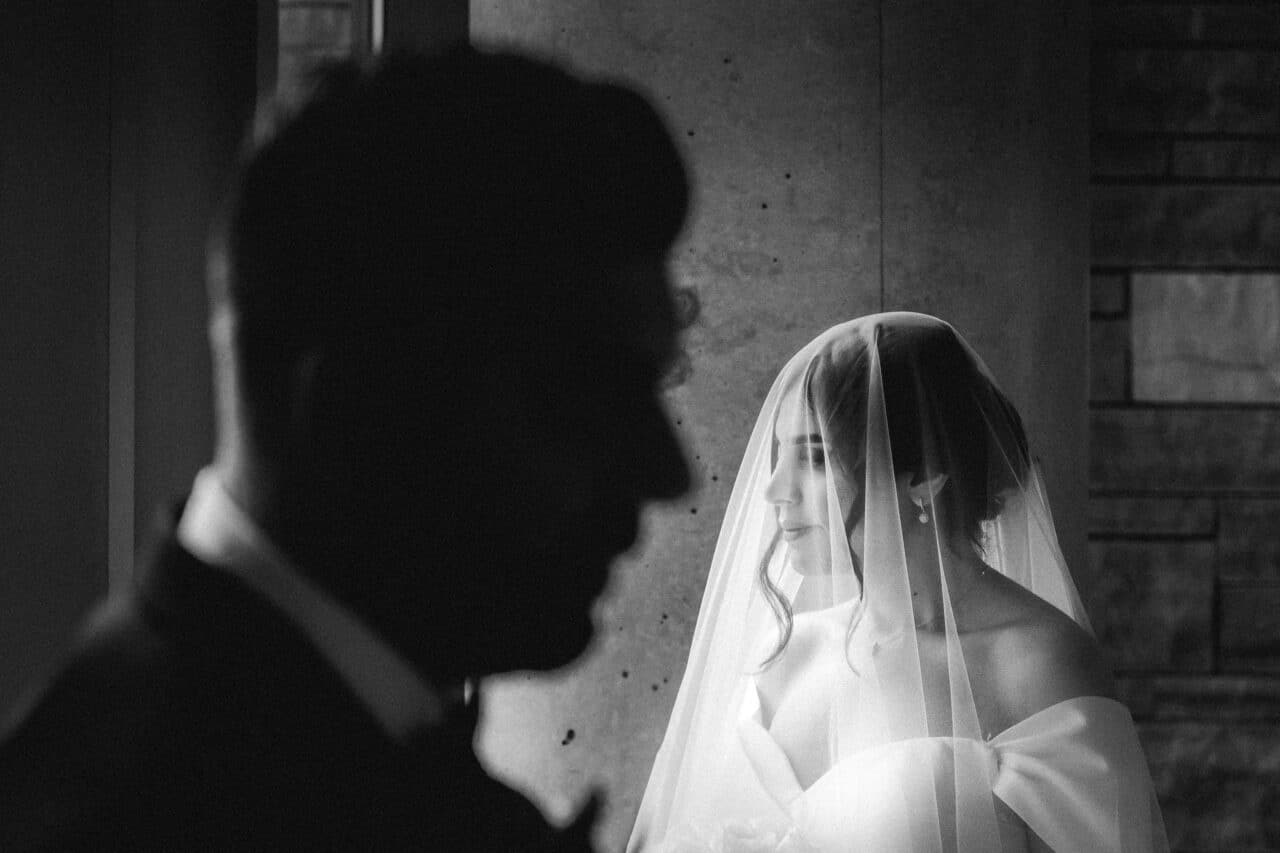
Windows are great for chiaroscuro, especially in combination with an otherwise dark room.
Another good option is to use candlelight. Its dramatic yellow light adds a unique mysterious atmosphere to your pictures. Today, there are many artificial light sources to choose from.
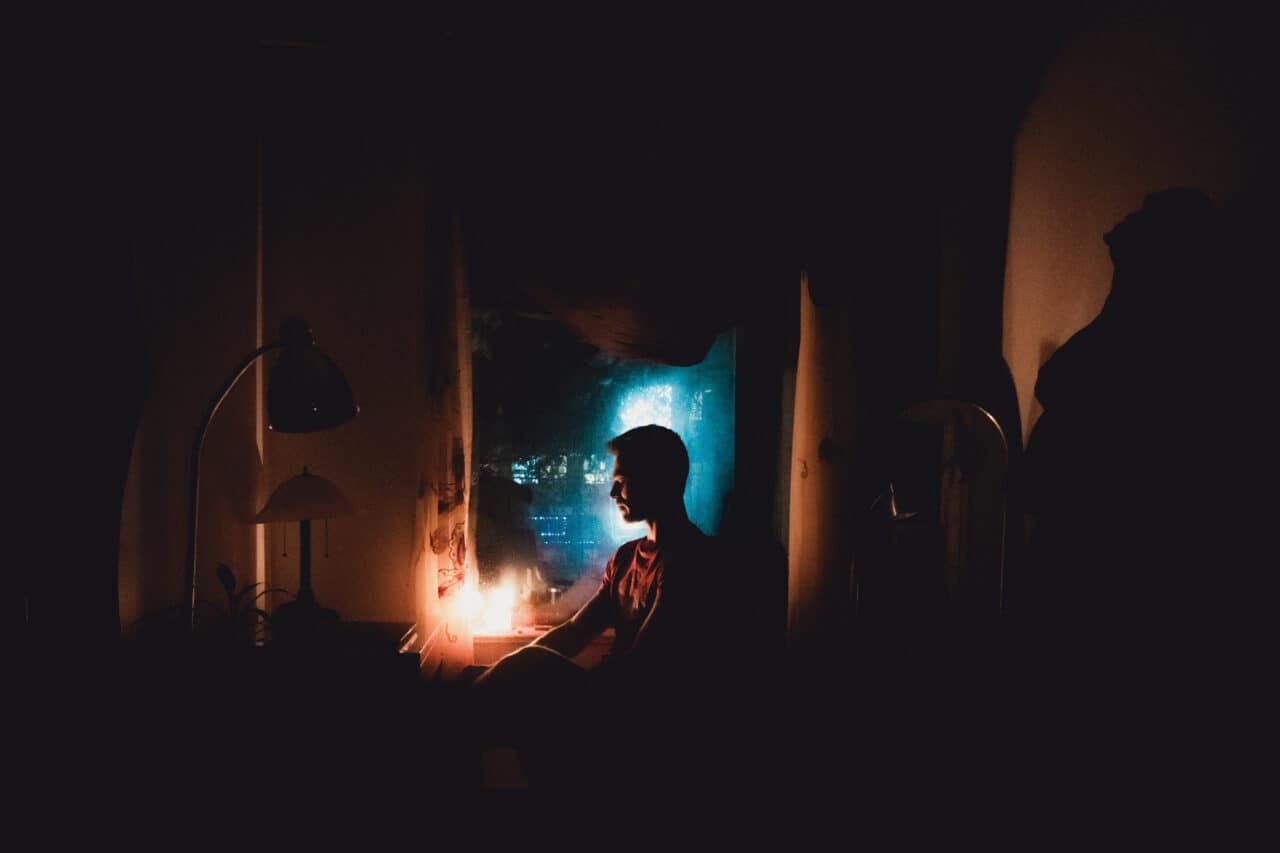
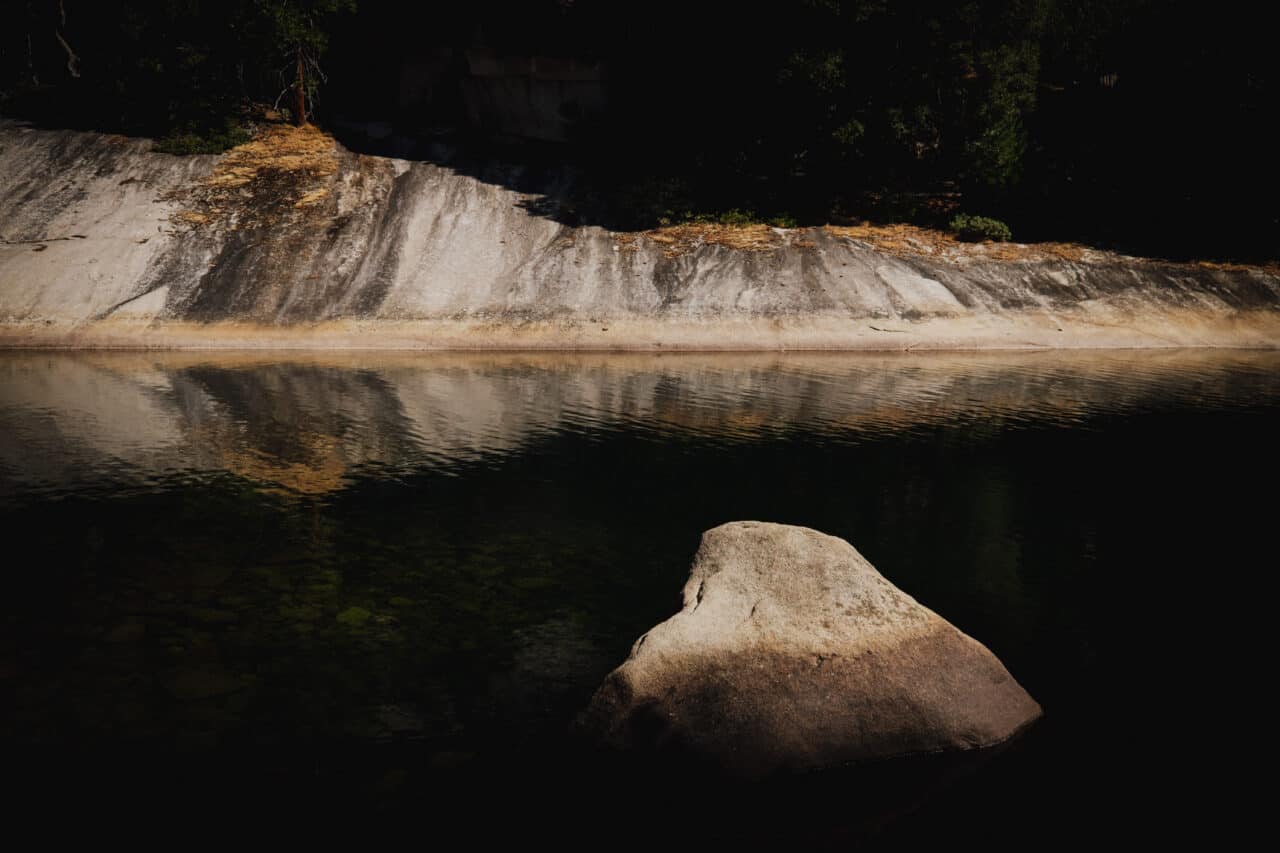
At night, you can experiment with other light sources such as car headlights, streetlights, or light emitted by different indoor appliances. Last but not least, you can make use of the unique weather before or after a storm, and wait for the moment when a ray of sunlight breaks through the clouds and illuminates the landscape almost like a spotlight in a studio.
Expose to the right
I’ve described how chiaroscuro works. Now, we come to a very important part, and that is getting the right exposure. As you know, cameras are extremely sensitive to high contrast and automatic settings won’t work.
I always use aperture priority and expose to the right, or the brightest part of the image. The photo may seem darker, but the most important thing is to preserve the details in the brightly lit parts of the image. You can also help yourself by using exposure compensation.
The importance of editing
The right exposure is half the battle. In order to perfect your photo, you need to play around with adjustments in Zoner Studio. You want to focus on contrast, lights, and shadows. These settings affect the drama and overall impression of your photo. Ideally, you want to preserve the details in the highlights, but there are no limits to your creativity.
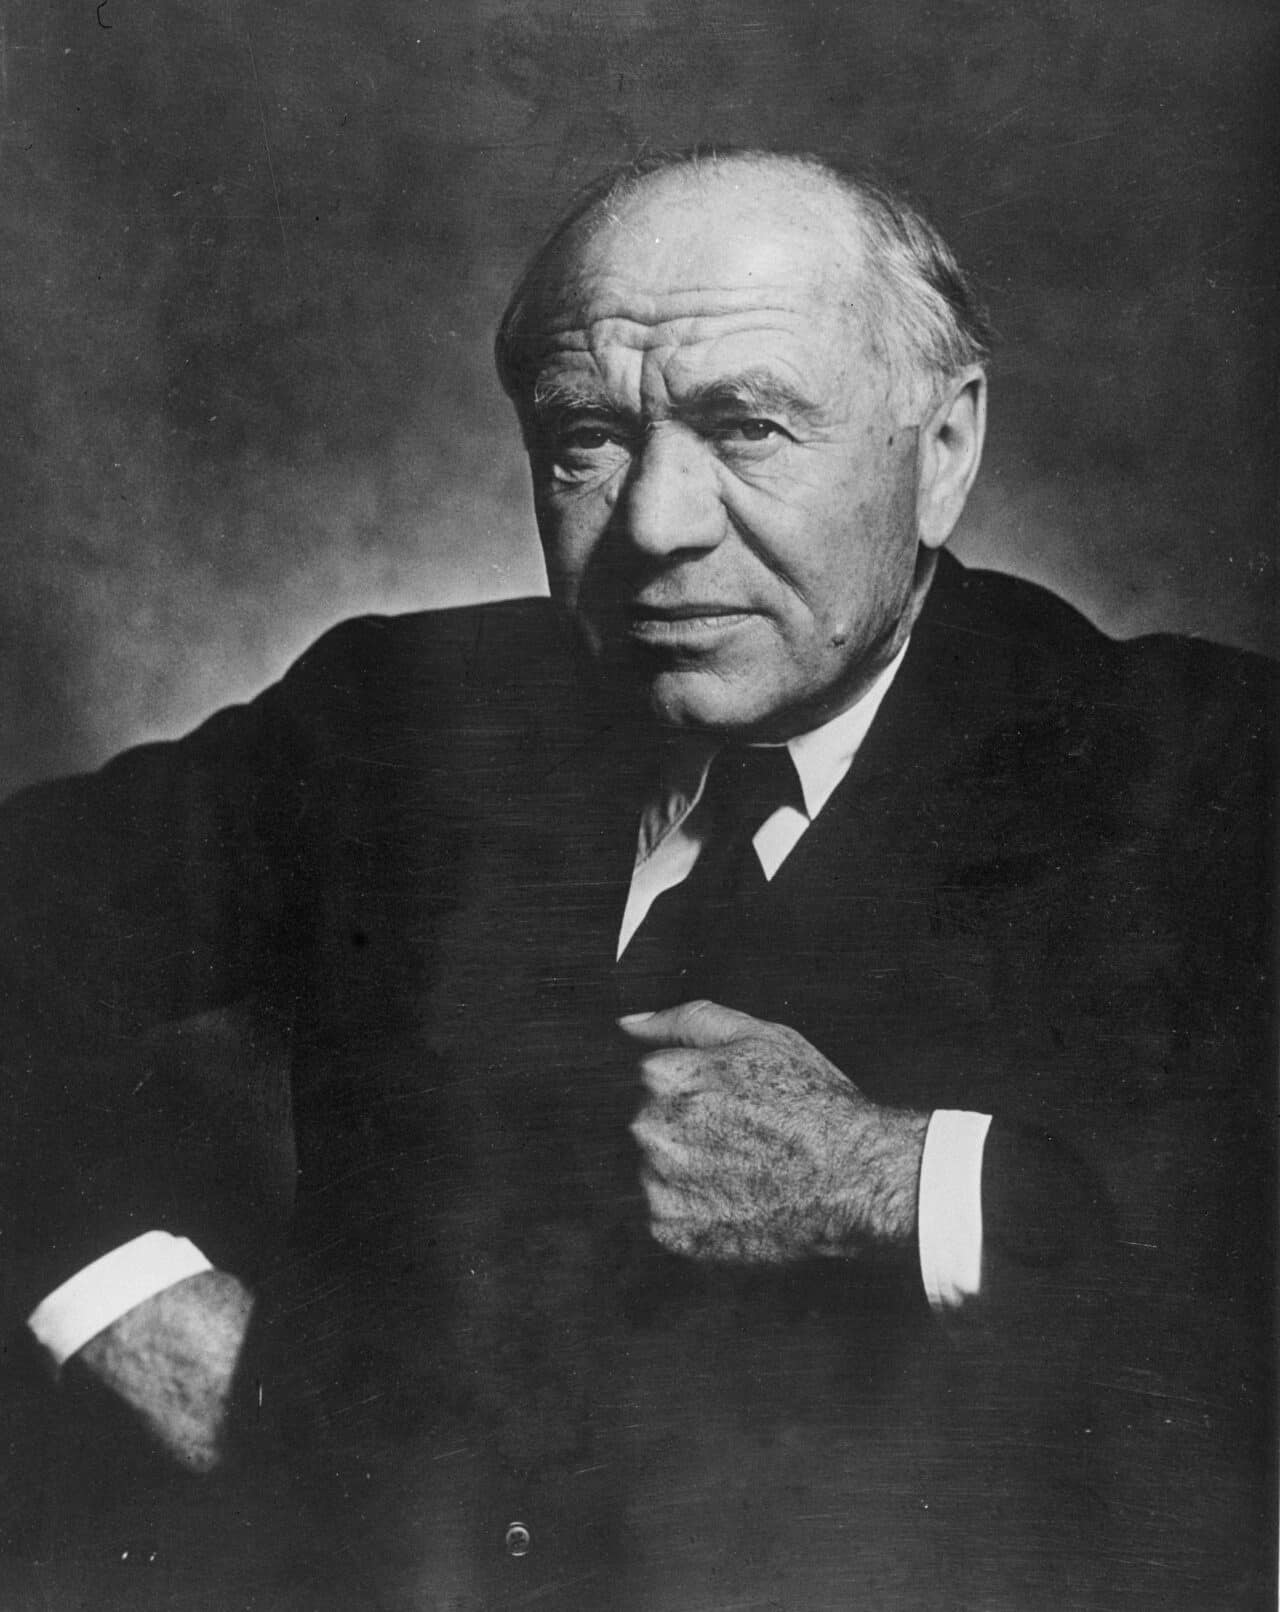
Try editing and saving different versions of a photo and after time, decide which version you like the most. A good option is to convert the image to black and white because high contrast looks great on monochromatic photography.
There are no comments yet.