Hyperlapses: Put Your Photos in Motion

The article is over 5 years old. The information in it may be outdated.
![]()
We are working on its update. In the meantime, you can read some more recent articles.
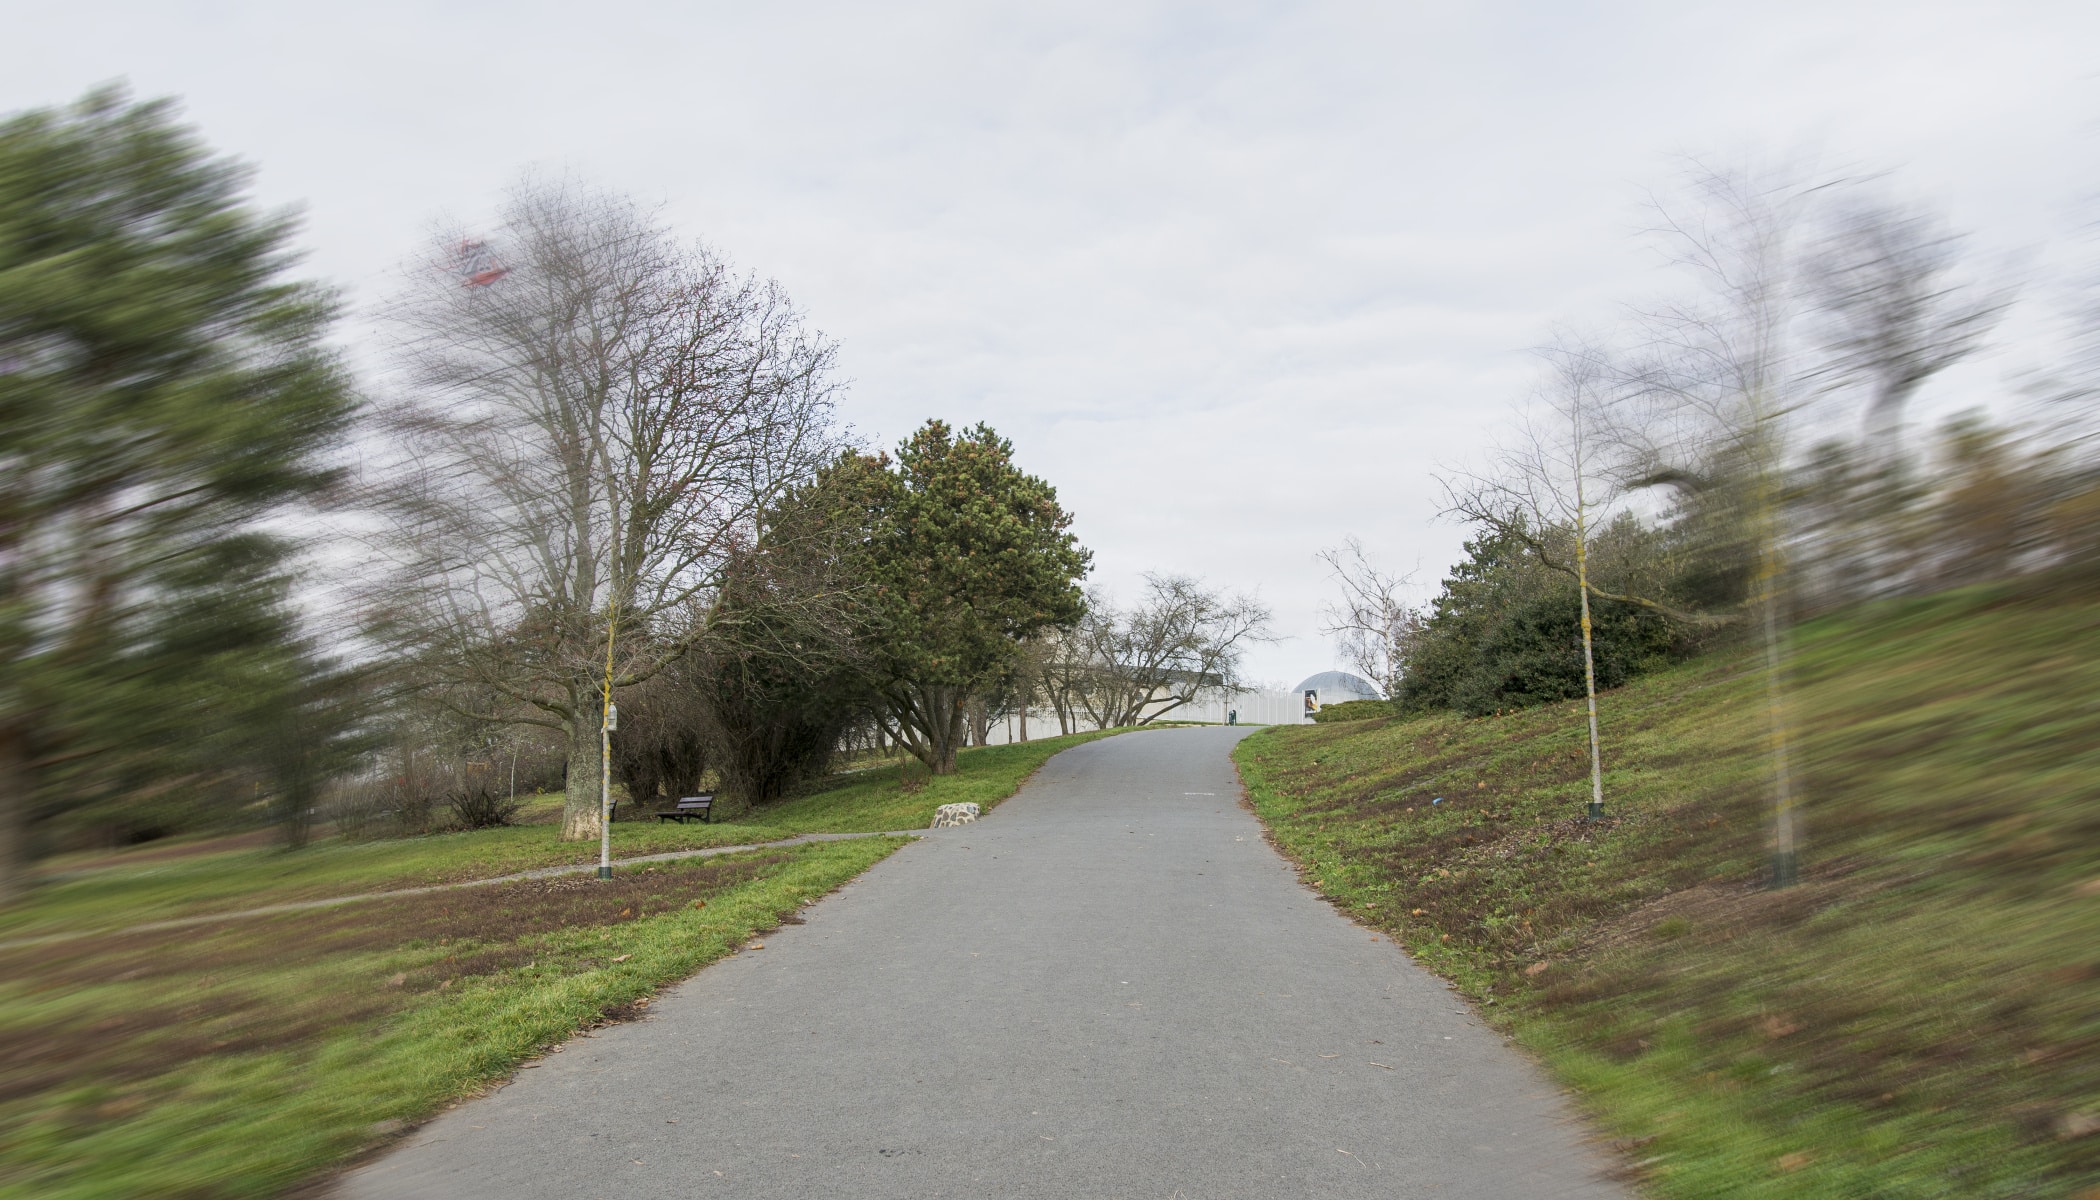
Hyperlapses are a very popular supplement to time-lapses. A hyperlapse adds motion to an image, letting you create breathtaking views of cities or nature on the border between photography and video. And it has seen a major boom in recent decades. So let’s take a look at what hyperlapses really are and how to create them—it’s simpler than it seems at first sight.
Hyperlapse is a special technique used in time-lapse photography. It’s the easiest way to get motion into time-lapse. This method of capturing an image live is experiencing a boom right now thanks to youtubers, and so it may seem to have been born recently, but the opposite is true.
What’s the difference between time-lapses and hyperlapses? You take photos for a time-lapse from one place—for example from a tripod that you don’t move—and capture the evolution of the scene. For a hyperlapse, however, you take your source images while in motion.
In 1991, a filmmaker in Montreal named Guy Roland shot a short film named Pace on an 8mm camera, and this film made him the first person to use anything approaching hyperlapse. He tied into this with a film named Pacer four years later. And Pacer is considered to be the first true hyperlapse.
However, the term hyperlapse only first began to be used in 2011–2012. Today, hyperlapses are very easy to create, and digital recording methods give you several possibilities for producing them.
Hyperlapses Using Your Phone
Most phones today at least offer a way to film a time-lapse. If you turn time-lapse mode on and head out with your phone in hand for a walk in the city or the countryside, you can film impressive hyperlapses quickly and easily. Some mobile telephones also offer a hyperlapse mode as such among their camera modes.
I took this video using just a hand-held phone. It looks better than it has any right to, thanks to the phone’s built-in image stabilization.
Although this method is simple, it unfortunately has a few “buts”:
- The video may be shaky due to either your walking motion or that of your phone, if it doesn’t have image stabilization.
- The final recording is composed and adjusted directly by your phone, and so you don’t have the individual pictures as a source for doing better edits.
- The recording interval between individual pictures can also be both a benefit and a problem. If it is set in the range of 1–2 seconds, you’re fine. If it’s longer, the recording will feel “jittery.”
You can solve these problems, but it costs time and money. You can get smoother recordings using a mobile gimbal, which nearly eliminate vibrations from walking. A shaky image can also be stabilized via software after recording. You can solve the remaining problems using time-lapse applications; these are able to set the intervals between individual pictures. Some of them even shoot to image formats such as RAW or TIFF.
Camera-based Hyperlapse—Gimbal or Tripod?
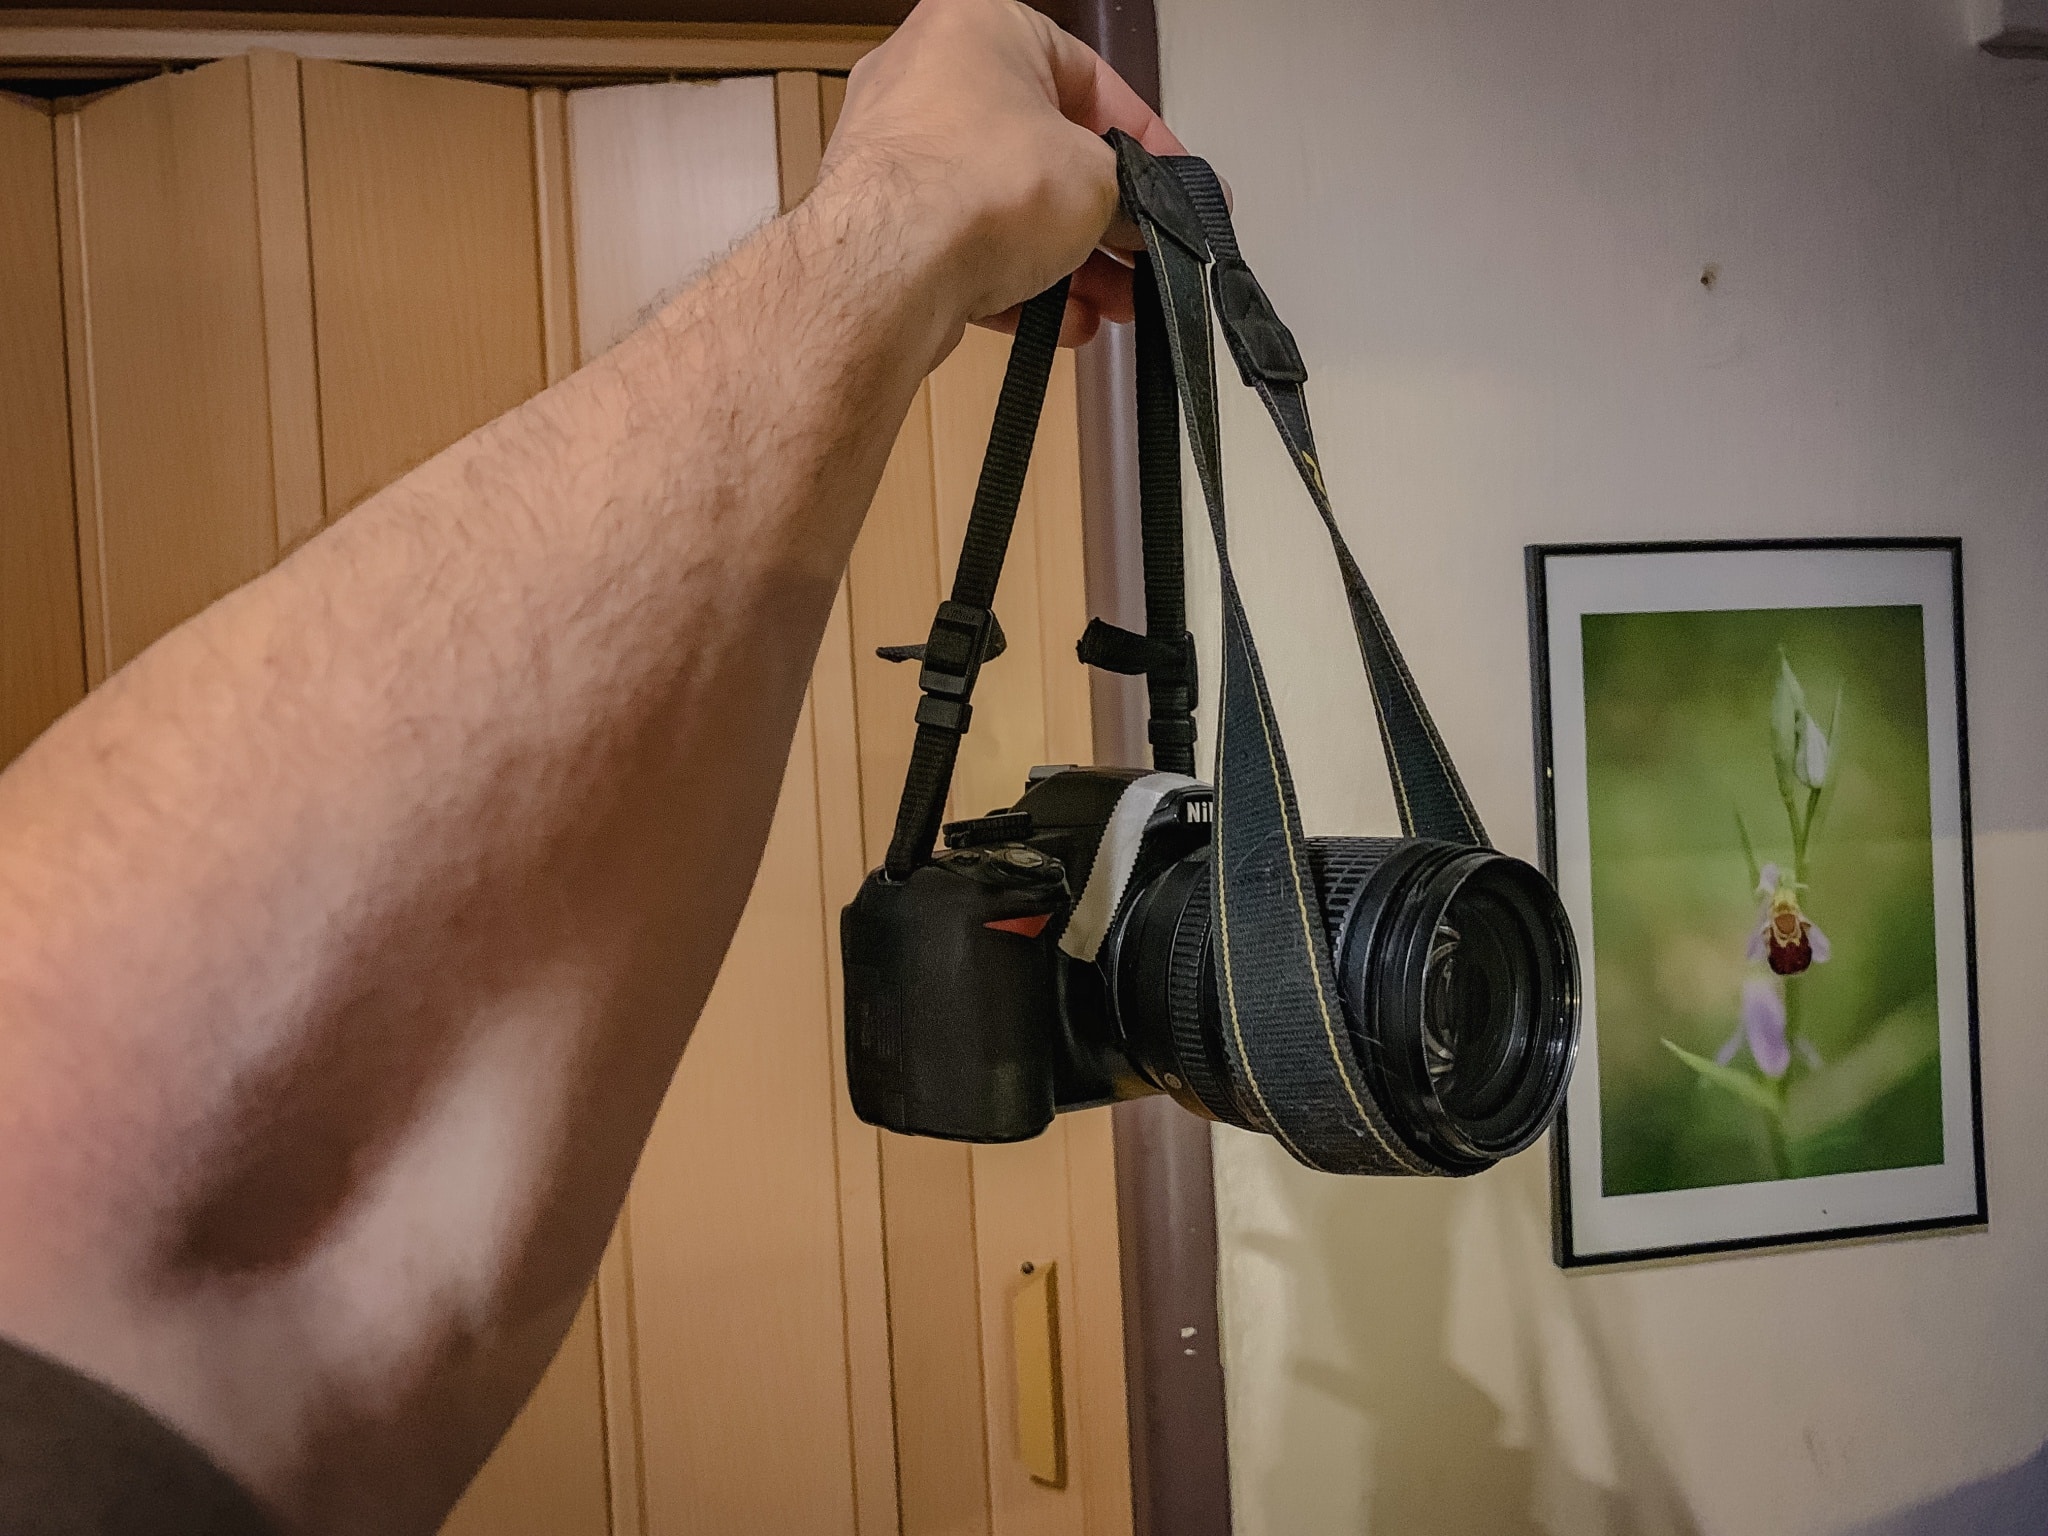
Hyperlapses can be taken using a digital camera as well. It’s not as convenient as doing so using a phone, but it does have several benefits. To prepare hyperlapses using your camera, you will need to use it along with either a gimbal or a tripod.
A hyperlapse taken simply by hand using time-lapse recording with an interval of 1s. As you can see, it works fine this way as well, but the video is very shaky even after using image stabilization. So it’s better to use a tripod and move it, even though it takes more work—or you can mount the camera on a gimbal.
If you own a gimbal and a camera with a time-lapse function, there’s little you need to do. Just set it to shoot to RAW and set a time-lapse interval in the range from 1 to 2 seconds. Then just mount your camera on the gimbal and you can head off on your merry way shooting hyperlapses just like you would from a phone.
If your computer is not powerful enough to edit a large number of RAW photos, take your pictures in JPEG. It’s less demanding on your computer, and it speeds up your work. But be careful with your edits so that you don’t introduce unwanted artifacts into the pictures.
Try choosing exposure using the ETTR method: expose the pictures slightly to the right for easier editing.
You can also take advantage of aperture priority mode when taking your pictures. Just keep in mind that the hyperlapse you create can suffer some flickering due to the varying shutter times.
Hyperlapse can also tie into a video, or be a part of that video.
The next variant—which takes more work but is widely used—is the use of a tripod. You set the camera to fully manual mode with the ideal exposure for the given scene. This time you’ll be taking the pictures manually, and you’ll be taking one picture each time you shift the camera.

When shifting the whole camera forward, leave the tripod disassembled and carry it the required distance. Find some guideline and stick to that. Once you’ve got this method under your belt, you can start additionally changing the camera’s upward angle each time you shift it forward. While taking your pictures, try to move in as straight a line as possible, towards an interesting object that you can circle around at the end as a way to wrap up the hyperlapse.
Speaking of wrapping up, here’s a closing video from a night trip that makes use of a hyperlapse.
You can then assemble the source pictures into a hyperlapse using Zoner Photo Studio X. The process here is the same as for creating a time-lapse, which we’ve covered in a separate article.
There are no comments yet.