Landscape Photography at Every Hour—Part II: Photographing Landscapes in Rain or Shine
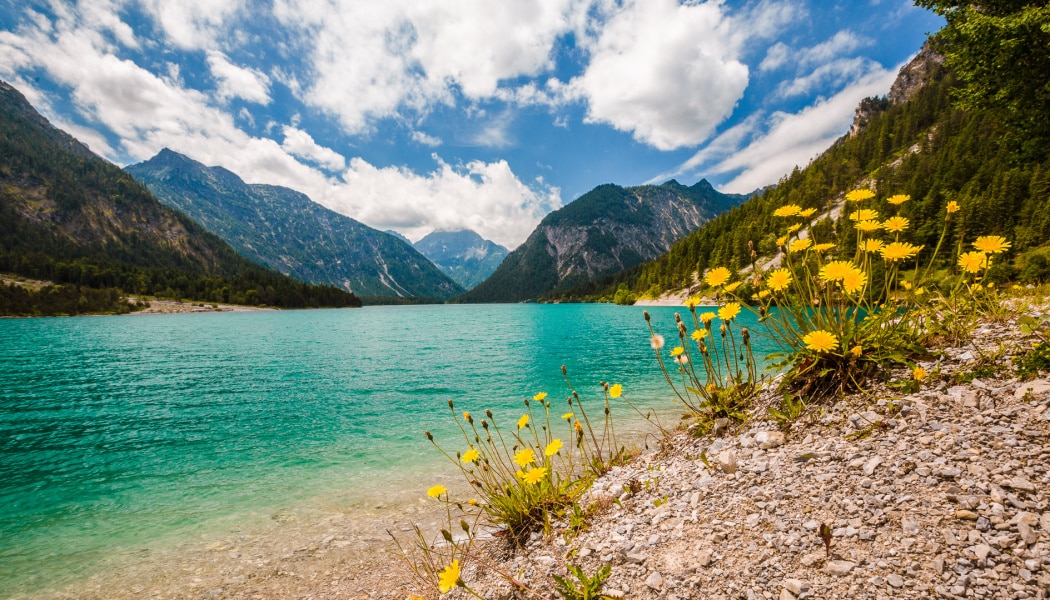
Early in the morning and late in the evening are when you’ll find the best light for landscape photography. But sometimes you can’t wait. For example on vacations, you’ll probably have no choice but to take your pictures in daytime. And you’ll have to face things like the noonday sun, cloudy skies, and rain. So in today’s article I’ll be showing you how to work with precisely these conditions.
Recently I showed you how to photograph landscapes in the evening and at night. And so this time I’ll focus on photography during the day.
Photographing Landscapes Under Sharp Sunlight
As I’ve mentioned before, the ideal light for photos is the soft morning light of the golden hour. So it may seem that the period around noon is the least suitable for photography. On the one hand, it’s true that your photos just won’t be the same as if you’d taken them under golden light. But they’ll still be entirely usable.
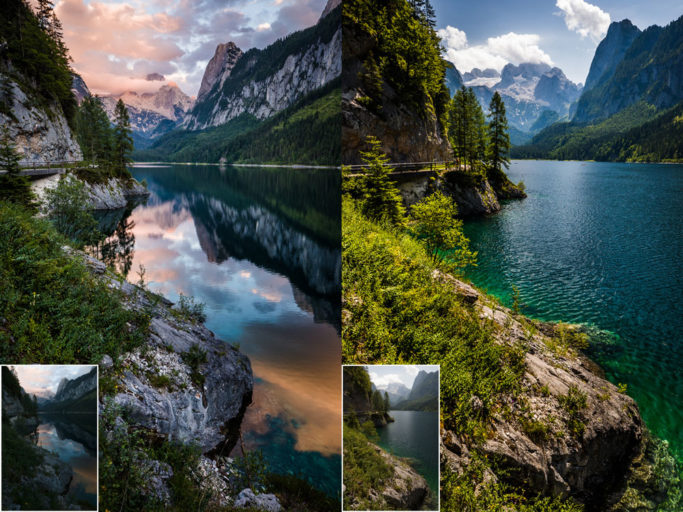
For illustration, here are two pictures of the same place. The first was taken after eight in the evening, while the second was taken at noon. Meanwhile, note the unedited original versions.
The weather is calmer in general in the evening. I also used a longer exposure (1/6 s, in contrast with the 1/125 s I used at noon), which emphasized the lake’s mirroring effect.
If I had used a stronger ND filter for my noontime shots, I would probably have gotten a more impressive picture. But that evening reflection would still have eluded me. All the same, though, the noontime version isn’t downright bad.
When you’re taking pictures where the sun’s shining from the side, you can add life to landscapes and skies by using a polarizing filter. It pays to go on and raise the contrast in Zoner Studio after that. But you won’t see the kind of immense differences between the brightness of the sky and the earth that you’ll see in evening photos.
This fact makes your picture-taking easier—and doubly so because you won’t be needing drastic edits, and so you’ll be able to safely raise the ISO if needed. Even though it’s still nice to aim for the highest possible quality by shooting to ISO 100, exposing to the right, and using a tripod, it isn’t critically important. If circumstances force you to shoot by hand and use an ISO of 400, you’ll still get very good results.
This was the case for the next photo, where the wind was bending the dandelions. To keep them from being too blurry, I had to use a fairly short exposure—1/160 second. I also needed an f-stop of f/16 to make sure that both they and the faraway mountains would be in focus. That’s why I had no choice but to raise the ISO to 800.
All this while shooting on a full-frame camera. For example for a Micro Four Thirds sensor, you’d need to set f/8 and ISO 200 for the same picture. Here are some other cameras that are great for landscape photography.
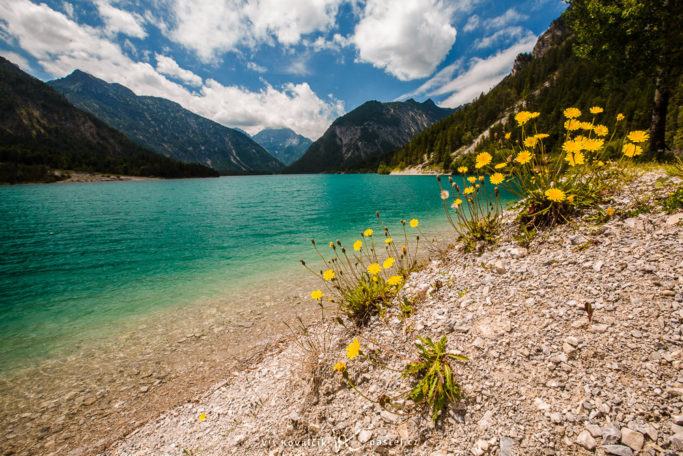
Canon 5D Mark III, Canon EF 16-35/2.8 II, 1/160 s, f/16, ISO 800, focal length 16 mm
For pictures taken under full sunlight, the shadows of mountains and other objects do tend to be very dark. For this reason, you usually have to brighten them significantly when you’re developing them (in Zoner Studio, you do this by moving the Shadows slider in the Develop module). This approach is useful for many landscape photos, but here it’s even more so.
Light Clouds Are Helpful
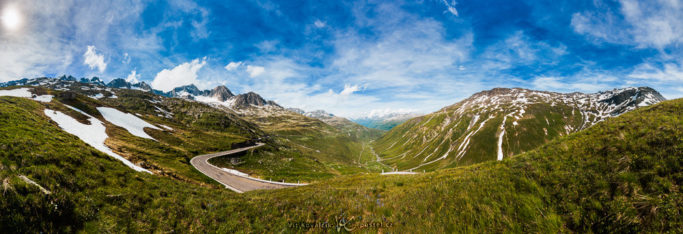
People like a completely clear sky (“we had great weather on our trip!”), but it feels a little empty in photos.
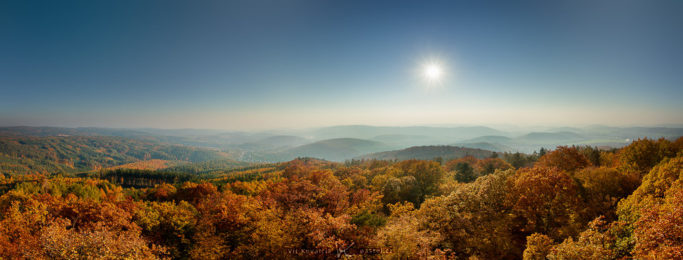
Naturally the sky doesn’t have to take up half the picture. The panorama above is mainly here for comparison. But cloudlessness does mean that you don’t have much of a choice and that you have to mainly photograph the ground. And if a picture does turn out, composition-wise, so that you have to capture a large part of the sky, it’s a bit of a complication.
I consider sharply defined small clouds, on the other hand, to be ideal for daytime photography. They have a “postcard” look, and you can make use of them in your pictures e.g. to supplement another composition—or as the main subject.

Stronger cloudiness doesn’t tend to be as impressive, but if there’s a strong enough wind blowing up there, it can still be useful. Then the sky basically has a something’s-happening-here look.
And white clouds also have the benefit of reflecting sunlight. That helps to soften those very deep shadows.
Completely Cloudy? No Catastrophe for Photography
Sometimes there’s no choice. When it’s overcast during the only chance you’ll ever have at photographing a particular place, you’ll just have to make do. Your pictures won’t have that exultant sunny atmosphere, but they can shine in other ways.
The basic problem is that, no matter what direction you’re facing when you take your picture, the sky in the picture will be practically white. Add to this the absence of shadows and the overall melancholic atmosphere. This is a typical unedited picture straight from the camera:
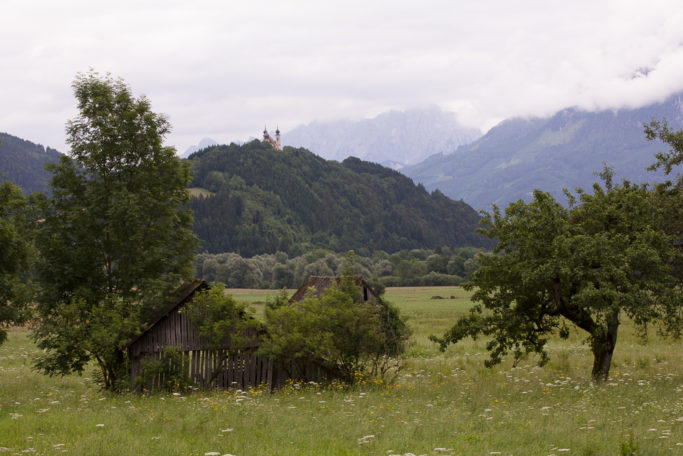
Canon 5D Mark III, Canon EF 70-200/2.8 IS II, 1/125 s, f/13, ISO 400, focal length 90 mm
It may seem that this picture might as well not have been taken and that there’s no way to make it look decent. But that’s not true. In reality an overcast sky (usually) isn’t really a gray, straight plate, but instead is made up of clouds with various shapes. Even though they’re not very visible at a glance, fortunately you can emphasize them in Zoner Studio.
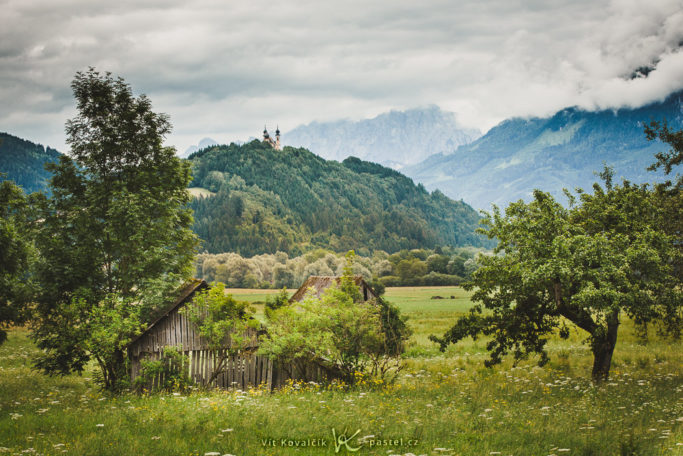
Here again I increased the whole picture’s contrast and the vibrance of its colors. And then I took the special extra step of applying a gradient filter to the sky, both to darken it and to further increase its contrast and clarity.
This helps the sky, especially, to stand out more and makes the picture more interesting:
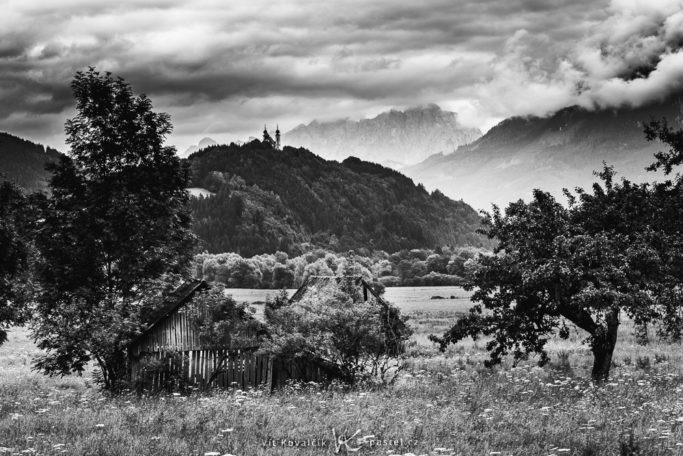
Weather like this looks good in black and white as well. So once you’re done with your edits, you can easily create an alternative version:
A Photogenic Fog
Fog isn’t bad weather! In fact, I love it. You can take some original pictures in fog, even from places you’ve photographed a dozen times before.
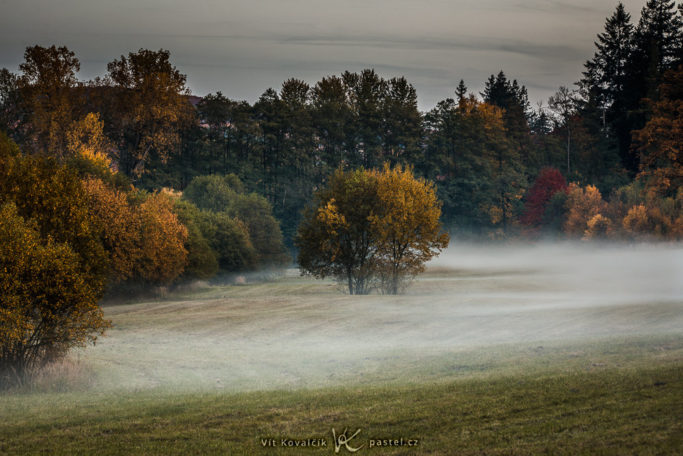
Canon 5D Mark IV, Canon EF 70-300/4-5.6 IS, 0.8 s, f/9, ISO 100, focal length 115 mm
“Fog photos” are generally short on contrast, and so here again you’ll need to do a lot of computer editing. And that will add noise. So it pays to expose to the right when taking your shots.
For more detailed advice, see our special article on photographing fog.
Watch out for Rain in Landscape Photography
It’s not exactly usual to take pictures in the rain. But it’s not unthinkable; you just have to protect your equipment more.
Some people use various jackets for their equipment, but you can also work without these. Your camera can handle a lot, and your lenses too. Still, manufacturers don’t guarantee that cameras’ electronics will make it through rain undamaged.
To keep it from raining into your lens, buy a lens hood. Telephoto lenses are a little more practical in this respect, because their apertures are deeper.
During the shot itself, rain works nearly the same as fog, and your results will also look similar.
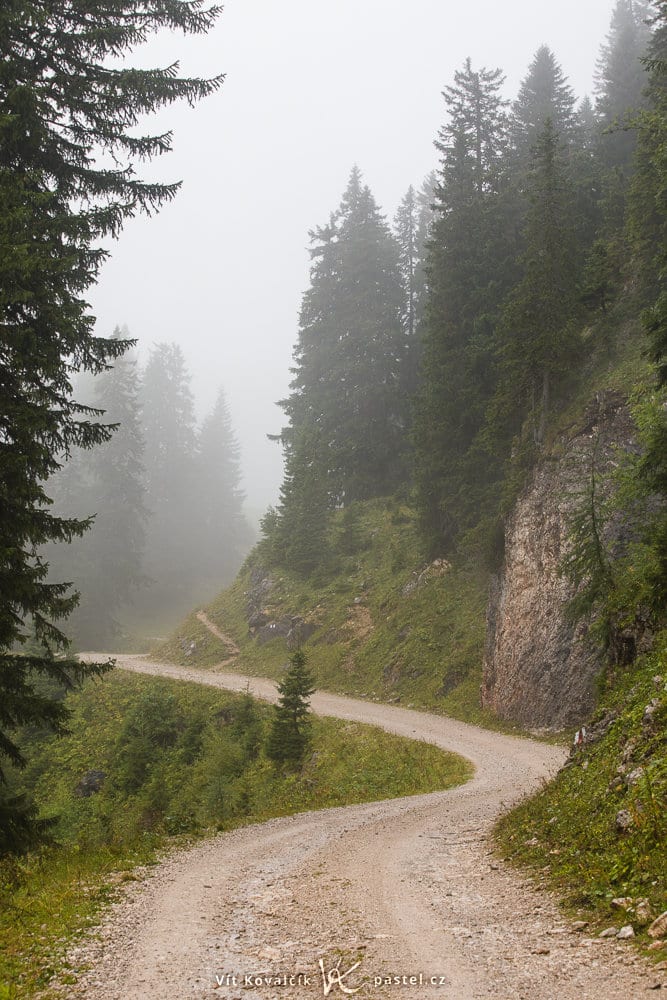
Canon 5D Mark IV, Canon EF 70-300/4-5.6 IS, 1/40 s, f/11, ISO 100, focal length 11 mm
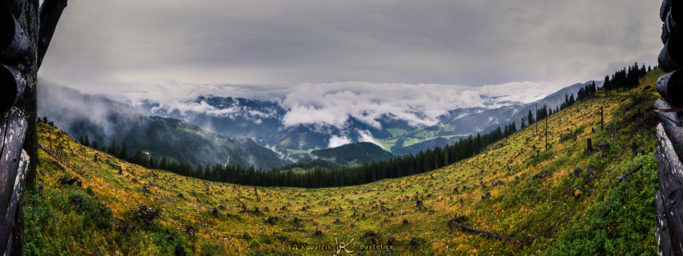
If you find a hiding place and wait for the rain to let up for a bit and the clouds to dissipate, you can enjoy the view of other places where it’s still raining, or where water is evaporating. For the photo below, I was standing in a lookout tower; a few drops were falling inside it, but I still found a dry place to switch to an ultra-wide lens.
And That Doesn’t Have to Be All
Now I’ve (perhaps) covered the main options for landscape photography. There are still some large untouched topics, like winter and water photography. But you’ll be reading more on these in separate articles.
And if another landscape photography idea occurs to you, please describe it in the comments. It just may lead to another entry in this landscape photography series.

There are no comments yet.