Learn to Take Great Pictures in Low Light
Both at night and at many times throughout the daytime, you can run into situations where there’s not enough light for a good picture. That’s especially true when the days are short and the nights are long. When you don’t have access to daylight or streetlights, you can also use a flash. But try these tips first. They’re flash-free ways to deal with a lack of light on your subject.
Photographers often end up in the situation where there’s not enough light, and so they have to use various tricks to keep their photos from being too dark. One way to light up any picture is with a flash. But there are also other tricks for overcoming a lack of light.
The Right Camera Settings
If you have enough light, fully automatic mode is nothing to laugh at—with enough light, it gets your exposure right most of the time. But as the light fades, you’ll want to know the exposure triangle and use that knowledge in manual mode. By choosing the best time, aperture, and ISO, you’ll get brighter photos overall, reducing your need to turn to the flash.
Shutter Speed
The longer your exposure time, the more light falls on the sensor. When shooting without a tripod, the longest “safe” exposure time is generally “1/focal length” seconds. For example, with a lens that has a 50 mm focal length, the maximum time that you can safely manage by hand is 1/50 seconds. But this also depends on how steady your hands are. If your lens is equipped with an optical stabilizer, that can extend your maximum safe time by a few tenths of a second.
But for moving objects, you’re always forced to use a shorter exposure so that you can freeze their motion.
When there’s not enough light, it’s for your shutter time to be a good compromise—it has to be short enough to freeze motion, but long enough for enough light to fall on the sensor.
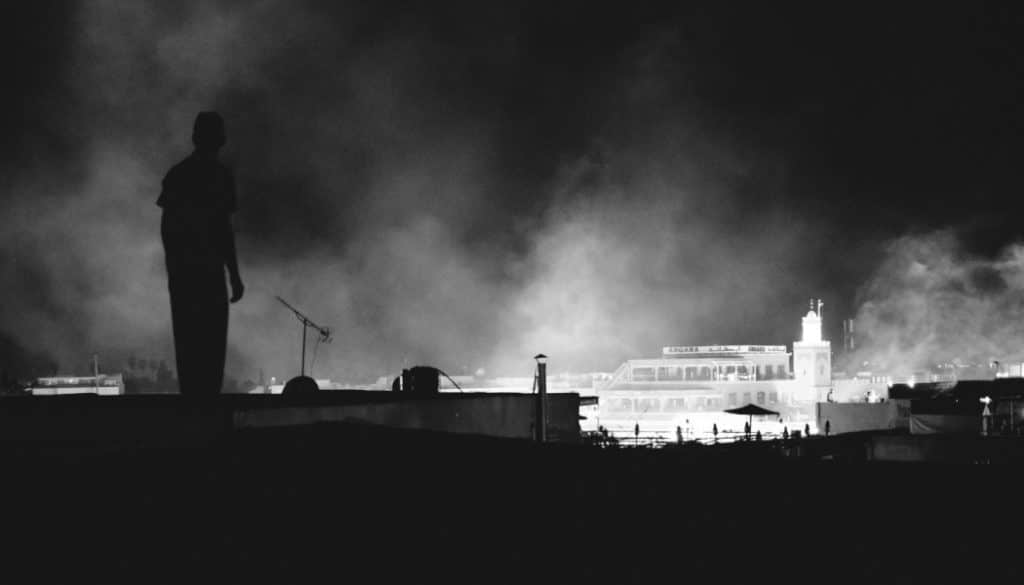
Fujifilm X-E2, Fujifilm XC 16-50mm f-3.5-5.6 OIS, 1/125 s, f/5, ISO 1600, focal length 16 mm
Aperture
As for the aperture, in low-light situations, you’ll usually want to be using one of the lowest f-numbers that your lens allows. Remember, the higher the f-number, the smaller the aperture, and thus the less light going into the camera. Often you’ll need to shoot “wide open”—with the lowest f-number—to get a bright enough photo.
ISO
The higher the ISO value, the greater the sensor’s light sensitivity. But by increasing its sensitivity, you’re also increasing the amount of digital noise. That’s why increasing the ISO is best done as a last resort.
Back in the age of traditional film, noise in photographs was not so unwanted. Mainly because it had a different character than digital noise. Film grain had varying sizes and felt more natural than today’s more regular noise, caused by the regular arrangement of the pixels in a photo grid. Test in advance to see the highest ISO value in your camera that gives results that you can accept.

Fujifilm X-E2, Fujifilm XF 35mm f/1.4, 1/30 s, f/1.4, ISO 3200, focal length 35 mm
The RAW Format
When shooting to the RAW format, you have to work with much larger files than you would have for JPEG, but there’s an advantage: each picture contains much more information. That extra information is especially useful when you’re brightening dark tones: you can draw out detail better when there’s more detail to draw out.
RAW can also save you from a mediocre exposure. In situations where a JPEG would be unusably bad and headed to the trash, a RAW picture still gives you a chance at a good fix.
Another advantage of RAW is the ability to safely wait to set white balance until you start editing.
Good Equipment Can Also Make up for Lacking Light
In general, “better gear makes better photos” isn’t something you should be saying. You can have the best gear, but if you don’t know how to work with it, you won’t get the most out of it.
But bad equipment does have its limits, and these mainly come into play when you don’t have enough light. Good photo equipment can help you to overcome this problem. A camera’s sensor size plays a large role, as does lens speed and a good focusing system.
A Large Sensor
The larger the physical area taken up by each pixel in the sensor, the better the sensor is at expressing the recorded light levels. Because a larger sensor captures more photons, raising the ISO (the light sensitivity) does not increase noise as much as it would for a camera with a smaller sensor.
The area that each pixel takes up on the sensor depends on the sensor size (4/3, APS-C, full-frame, etc.) and the number of pixels on each square inch of the sensor. So the ideal solution for low-light situations is a large sensor—a full-frame—without a pointlessly high number of megapixels stuffed into it.
A Fast Last
A fast lens is a big help in dark places. Fast lenses let you use f-numbers going all the way down to 1.8. In practice this means a smaller depth of field and a larger aperture size. And since the aperture lets more light through, you can shorten the exposure time or reduce the ISO.
The Focusing System
A small depth of field can make it hard to focus precisely. All it takes is one wrong move, and the object you’re photographing leaves the plane of focus. And especially in low light, some cameras take a long time to focus. That’s why a camera with a precise focusing system and a lens with quick (ultrasonic) focusing is useful in low light.
But even with a good focusing system, you’ll still have to switch to manual focus in certain situations. After all, even a highly precise focusing system is not as advanced as the human eye.
Tripods
If you need a long exposure to overcome a low-light situation, use a tripod. This ensures that your camera holds stable and eliminates the tremors caused by handheld shooting, so that you don’t have to worry about unsharp photos.
A tripod is often useful, but in low light, it’s downright essential.
Know the Light
It’s easy to learn how to use the right camera settings—you just have to know the exposure triangle. Good equipment will keep you afloat in bad light, although you can take good pictures even without it.
But when there’s not enough light, it’s important to know the environment you’re photographing in and think in advance about what exactly you want your photo to show. Ask yourself questions like: What light sources are available?, In what direction is the light shining and where is it falling?, Is it reflected from a wall, people, etc.?
There’s only one way to really get a handle on work with light: practice. So take advantage of that time of the year when the Sun is lower than it was in summer and offers you an interesting interplay of lights and shadows.

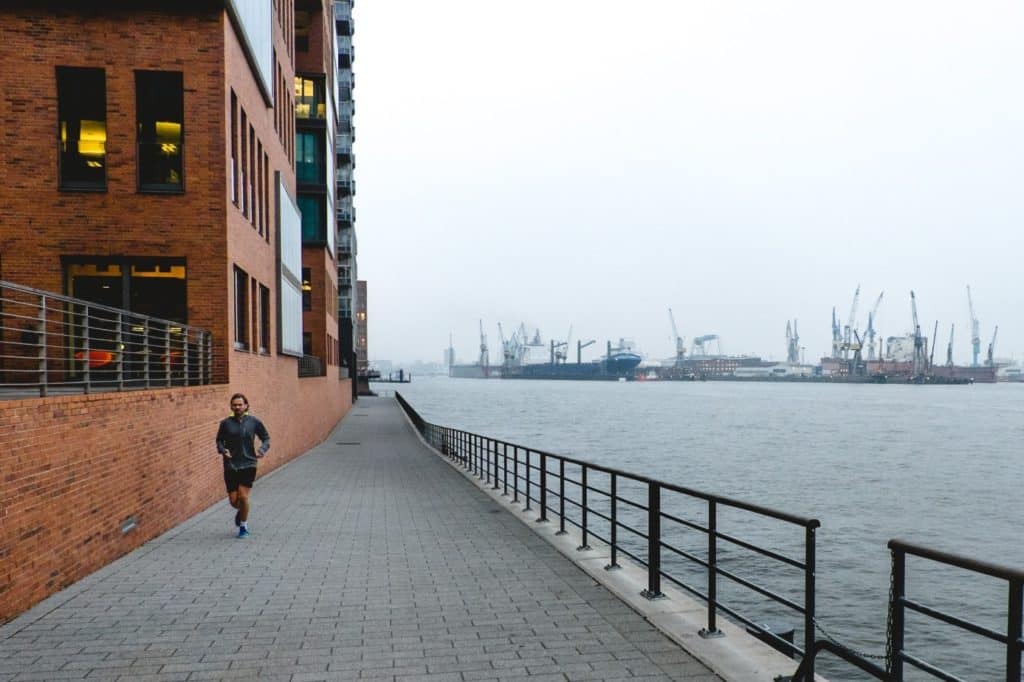
Fujifilm X-E2, Fujifilm XF 35mm f/1.4, 1/1000 s, f/4.5, ISO 200, focal length 35 mm
eric watt
Its good low light can be a night mare this my time of year now that am going after wildlife and fungi in forest am now starting to find out using Auto with or with out flash working all right and I have used every setting that my cameras as got over the last six year so play safe and go for auto because once your home its to late .
James Dunne
I liked the article. It covered all the approaches of dealing w/low light. I’m am anxious to try these suggestions.
Zoner
Thank you, James. Don’t hesitate to share your results, i. e. to Zonerama.com.