Fun with Photo Editing Make Your Very Own Caricature
In this article, you’ll learn how to create a caricature from a portrait. The good news is that you don’t need to know how to draw. Zoner Studio, and a set of Liquify tools in the Editor module, do the work for you.
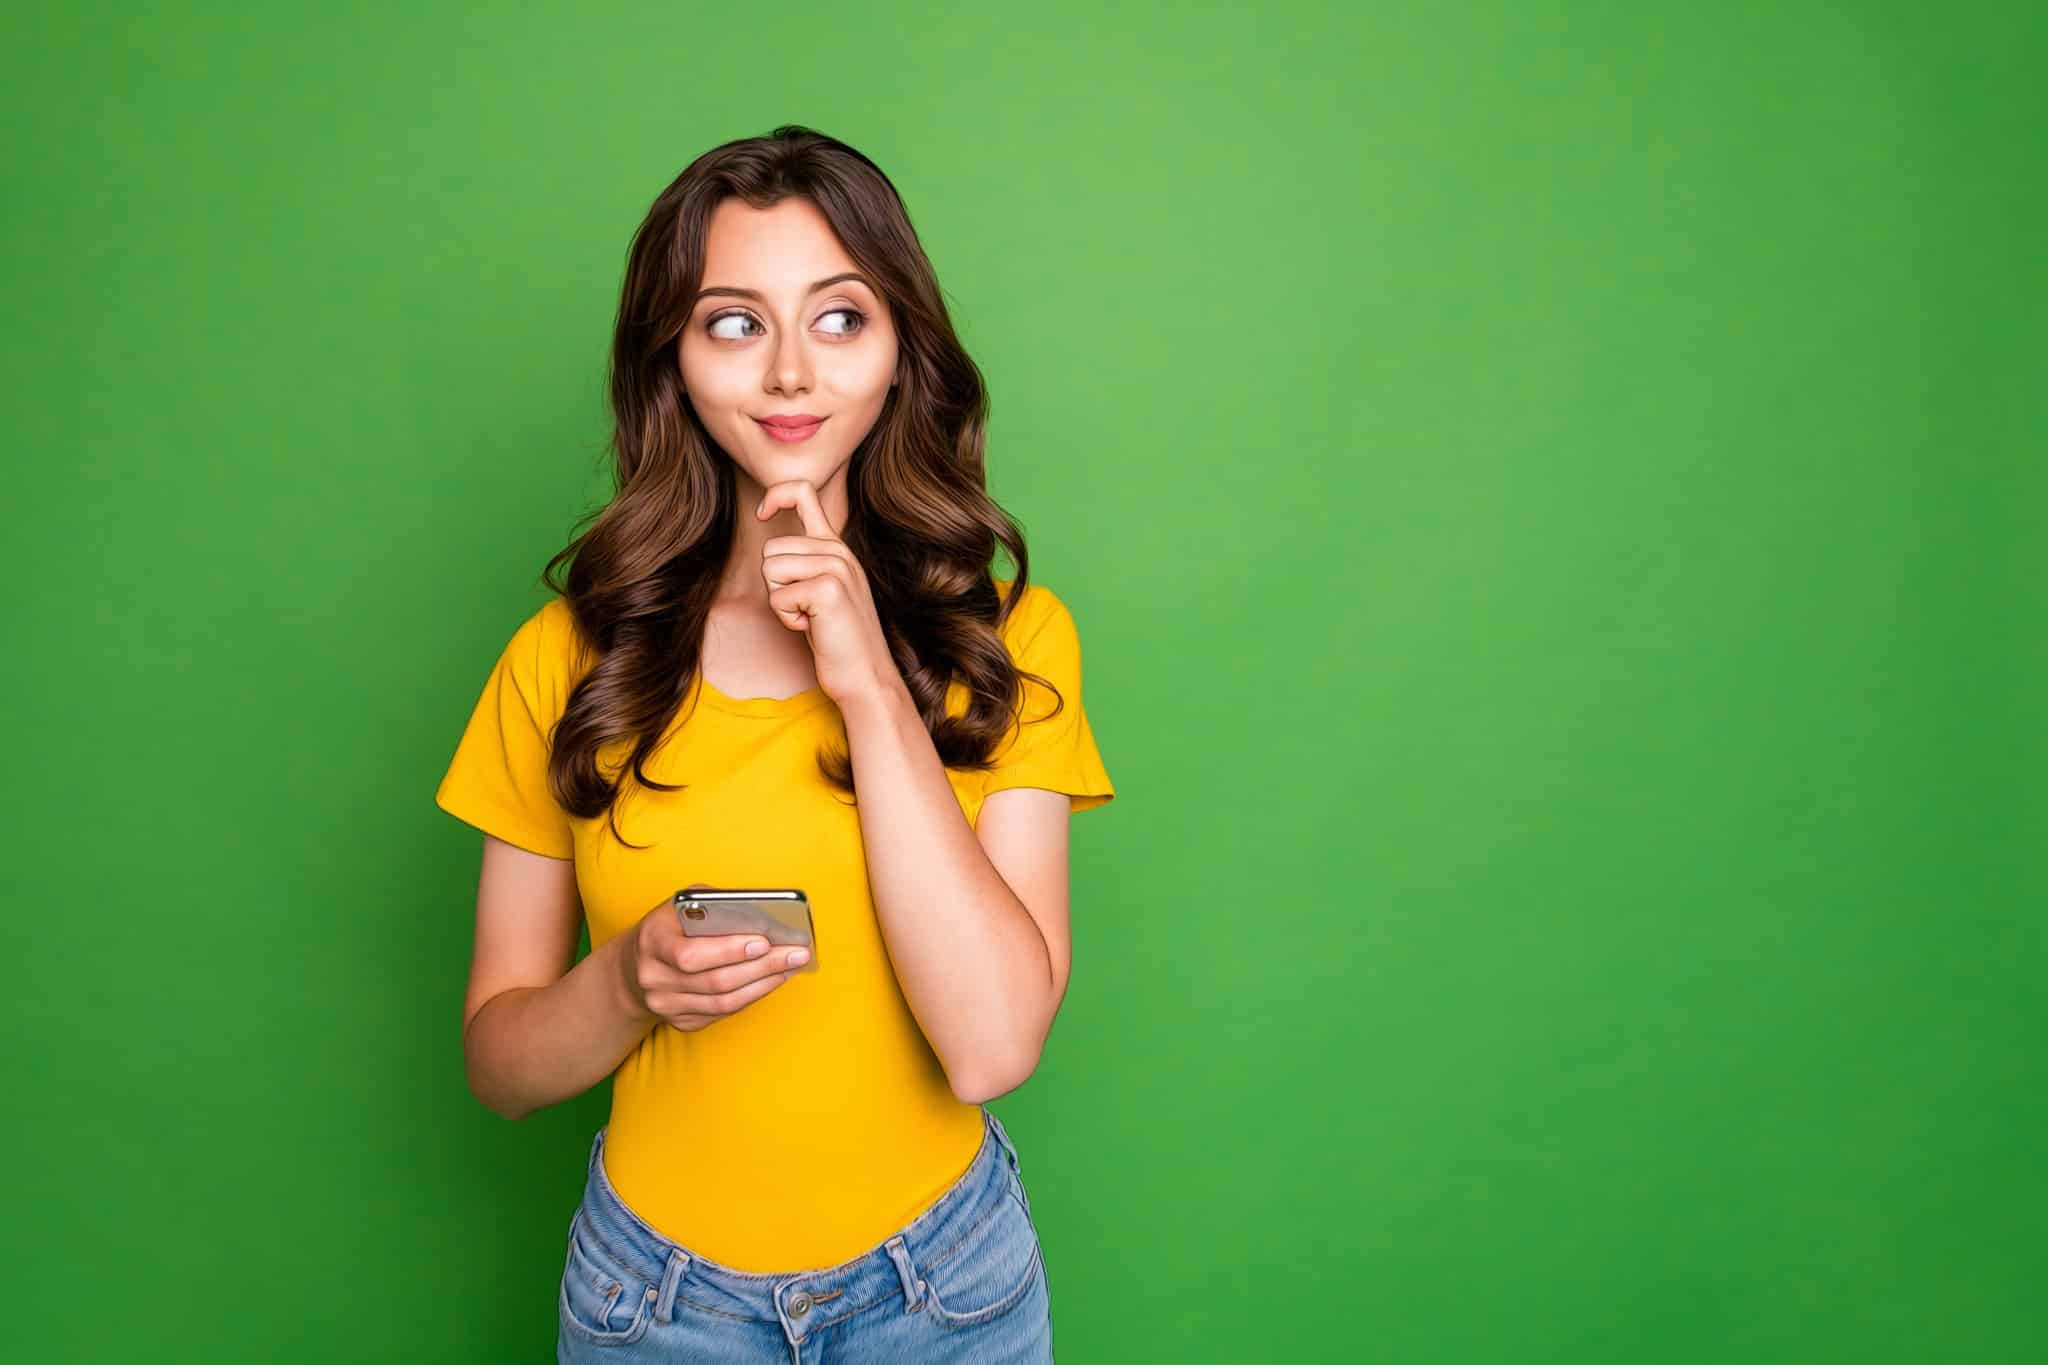
All you need is a portrait – a picture of you, your friend, a loved one, your pet…let your imagination run wild. The caricature can be used as a silly gift or as a creative birthday party invitation.
You have your photo, now what?
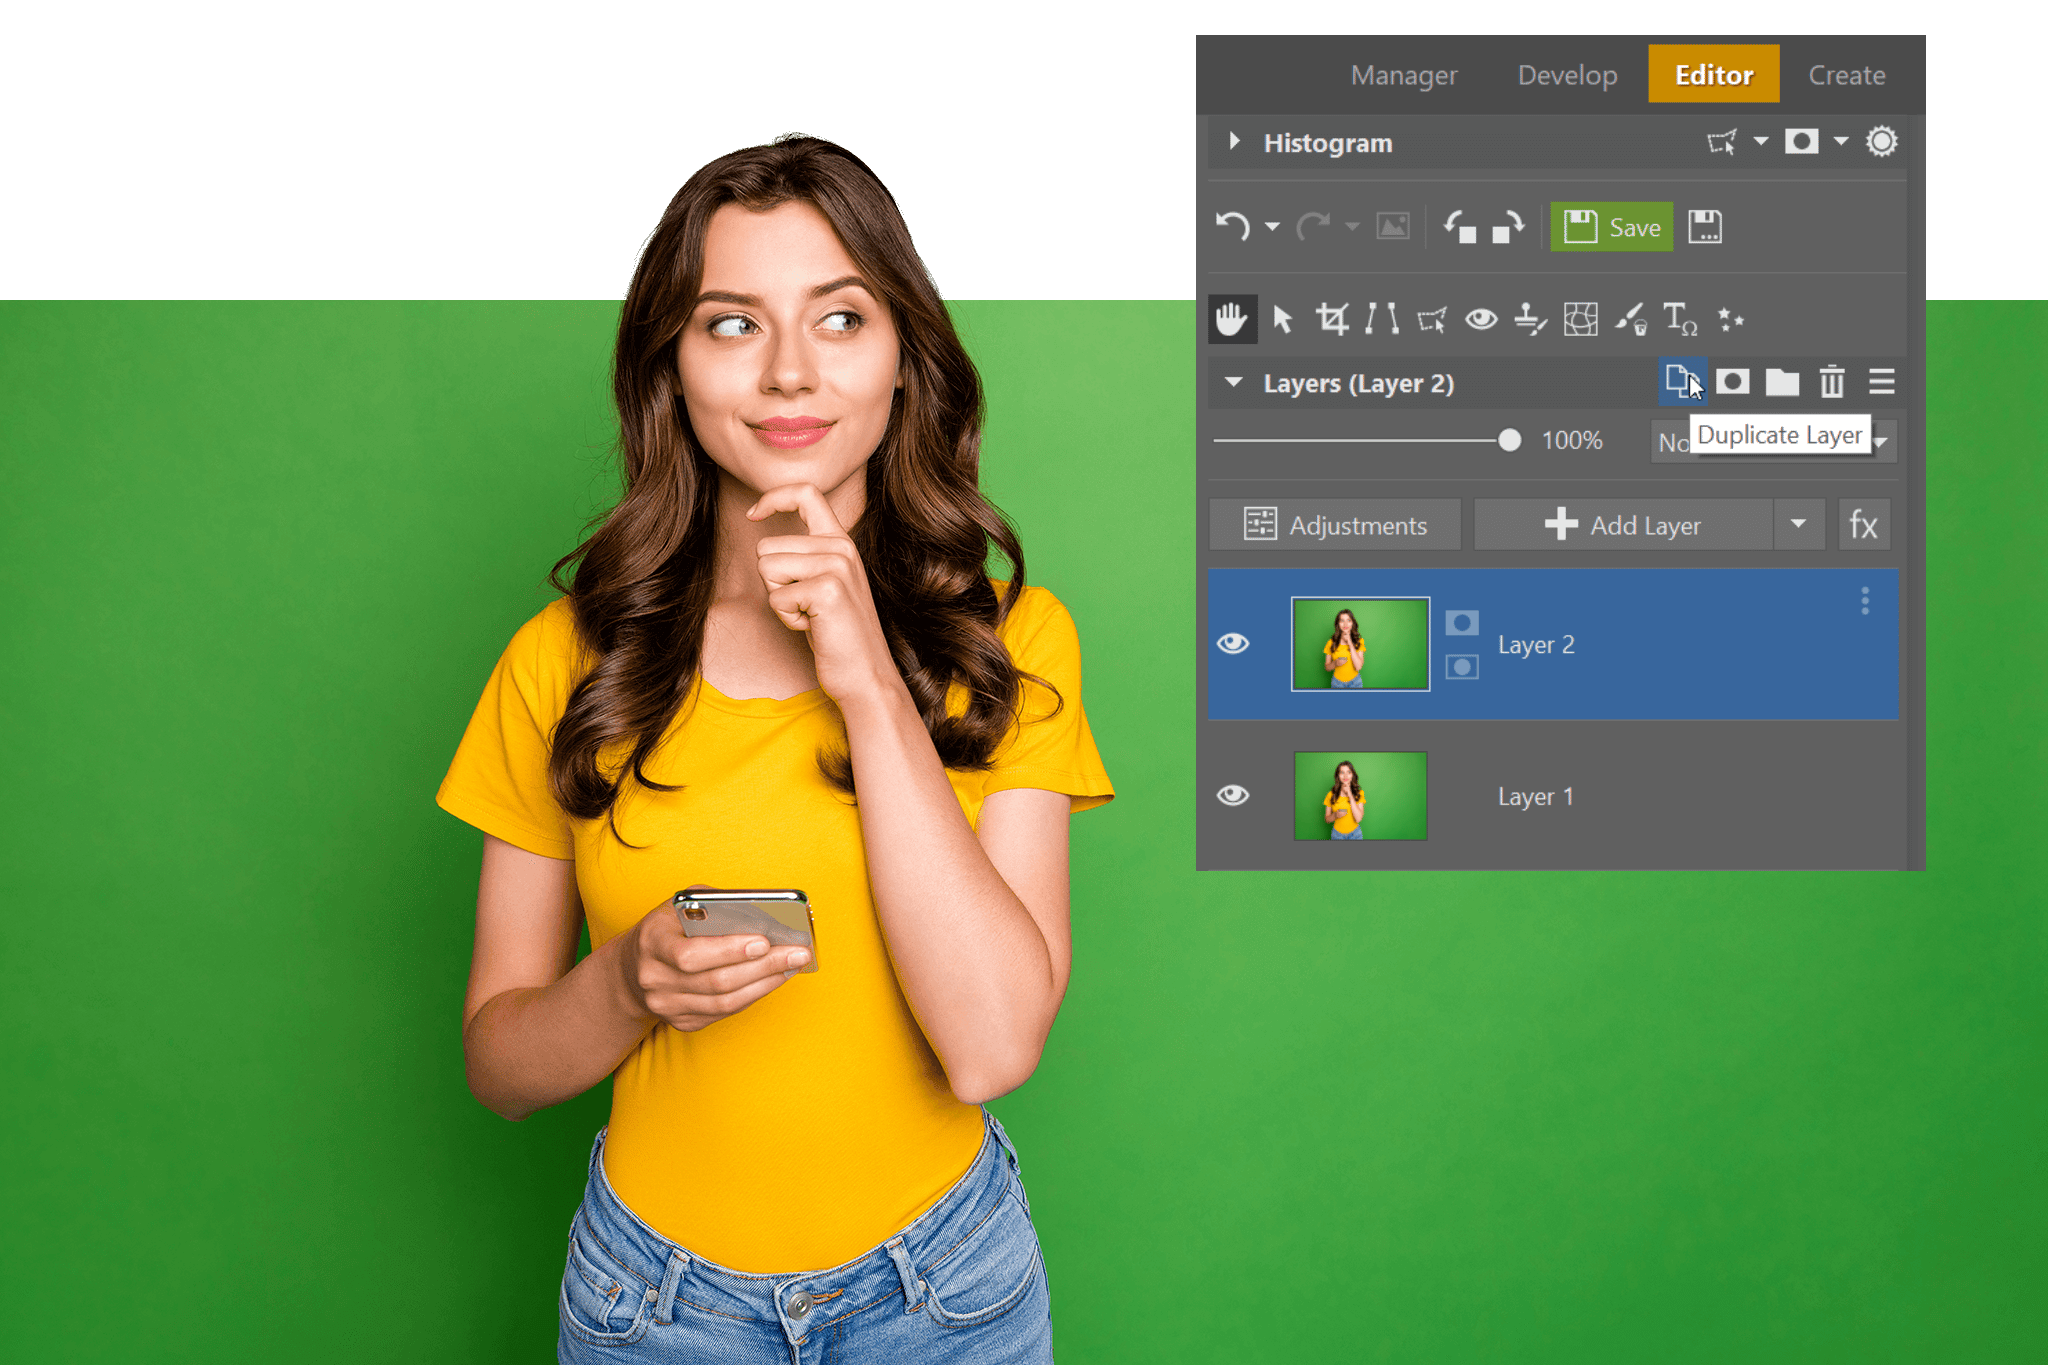
Open the photo in the Editor module of Zoner Studio. Duplicate it right away by pressing the Add Layer button in the right panel. This way you have a backup file. This is a good habit to have when doing any editing in the Editor module. You can always go back to the duplicate if you aren’t happy with your editing. This step also serves as a point of comparison for before and after editing.
Decide which features you want to emphasize in the photo
Now it’s time to think about what you want your caricature to look like. Usually, it exaggerates the facial features and shape, the subject’s figure, or even the personality traits of the person in the photo. It is very different from subtle retouching so you shouldn’t (really, you can’t) skimp on the editing.
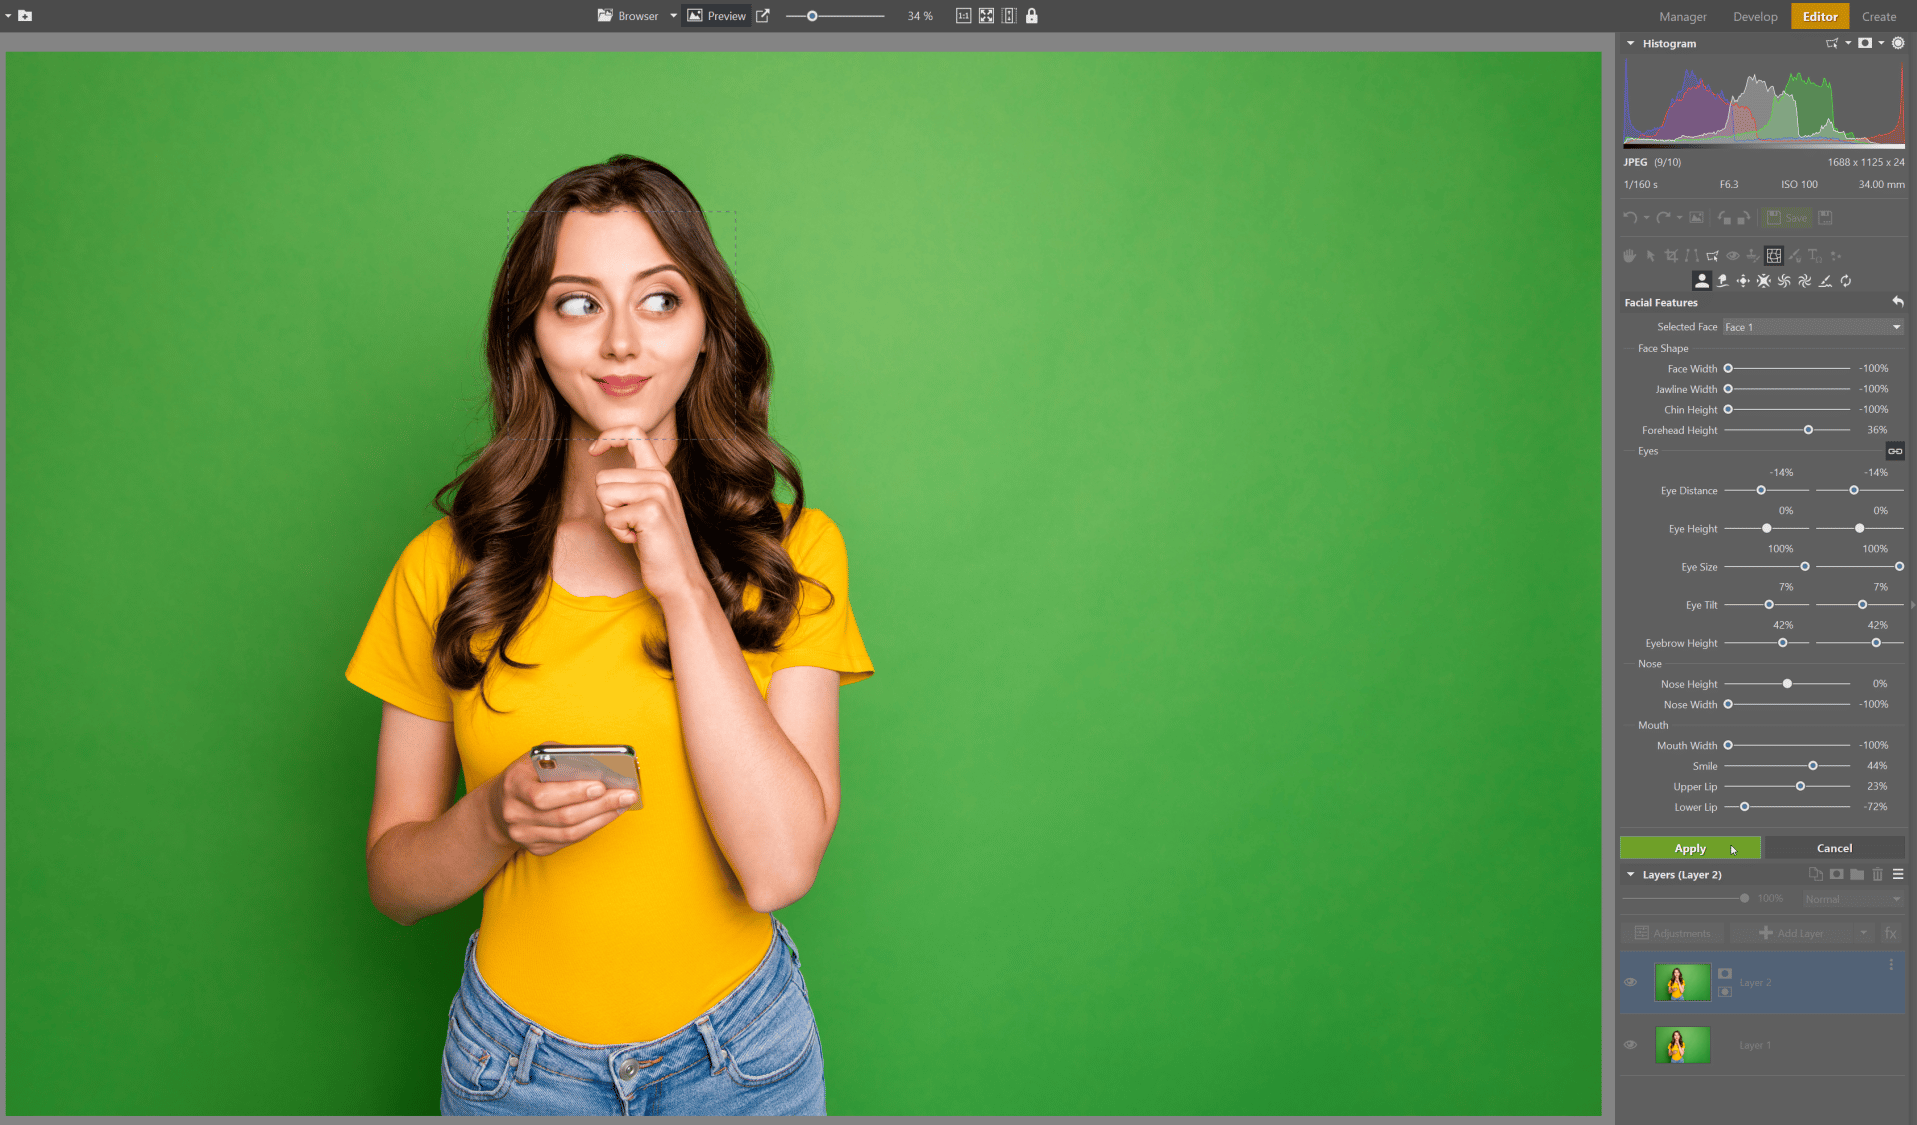
Click the Liquify icon and start with the Facial Features (Shift+X) function. Thanks to artificial intelligence, which can tell different parts of the face apart, you can quickly test which adjustments work for the photo to see if you are emphasizing the right features. The rest will be adjusted using other morphing tools.
First, edit the eyes and the area around them – make the eyes bigger, raise the eyebrows for an expression of surprise, and make the nose smaller. The face will slowly start to look more and more like a silly cartoon. Don’t be afraid to edit the shape of the face too – change the width of the face and make the forehead smaller. This should be enough for basic adjustments to the facial features. Now, click Apply to apply the effects. Compare the original photo to the one you’ve edited.
TIP: Hold Ctrl and click the eye icon 👁️ next to a layer to display that layer in the preview. To display the other layers again, hold Ctrl and click the eye icon.
Continue on to other tools
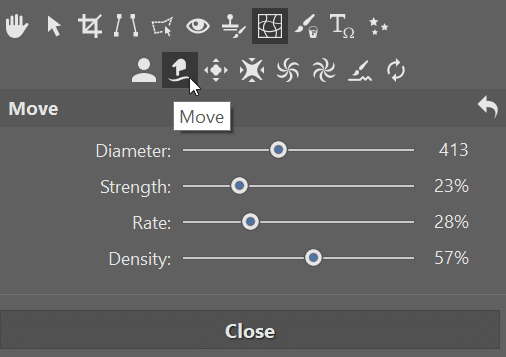
Now you will have more control over further adjustments. You will be using the following group of Liquify tools:
- Move
- Stretch
- Shrink
- Rotate
Within these tools, you can change different settings, such as brush diameter and adjustment strength. Even though you are making substantial adjustments, try to choose more neutral settings in the sliders of the side panel.
This will make working with the tools easier.
For example, when increasing the hair’s volume using the Move and Stretch tools, you’re better off setting a lower Rate so you can see what is happening in the photo. You can then layer adjustments on top of one another and combine the tools. In this step, aside from increasing hair volume, we also lengthen the neck and face, and accentuate the cheekbones.

Fine-tuning your caricature
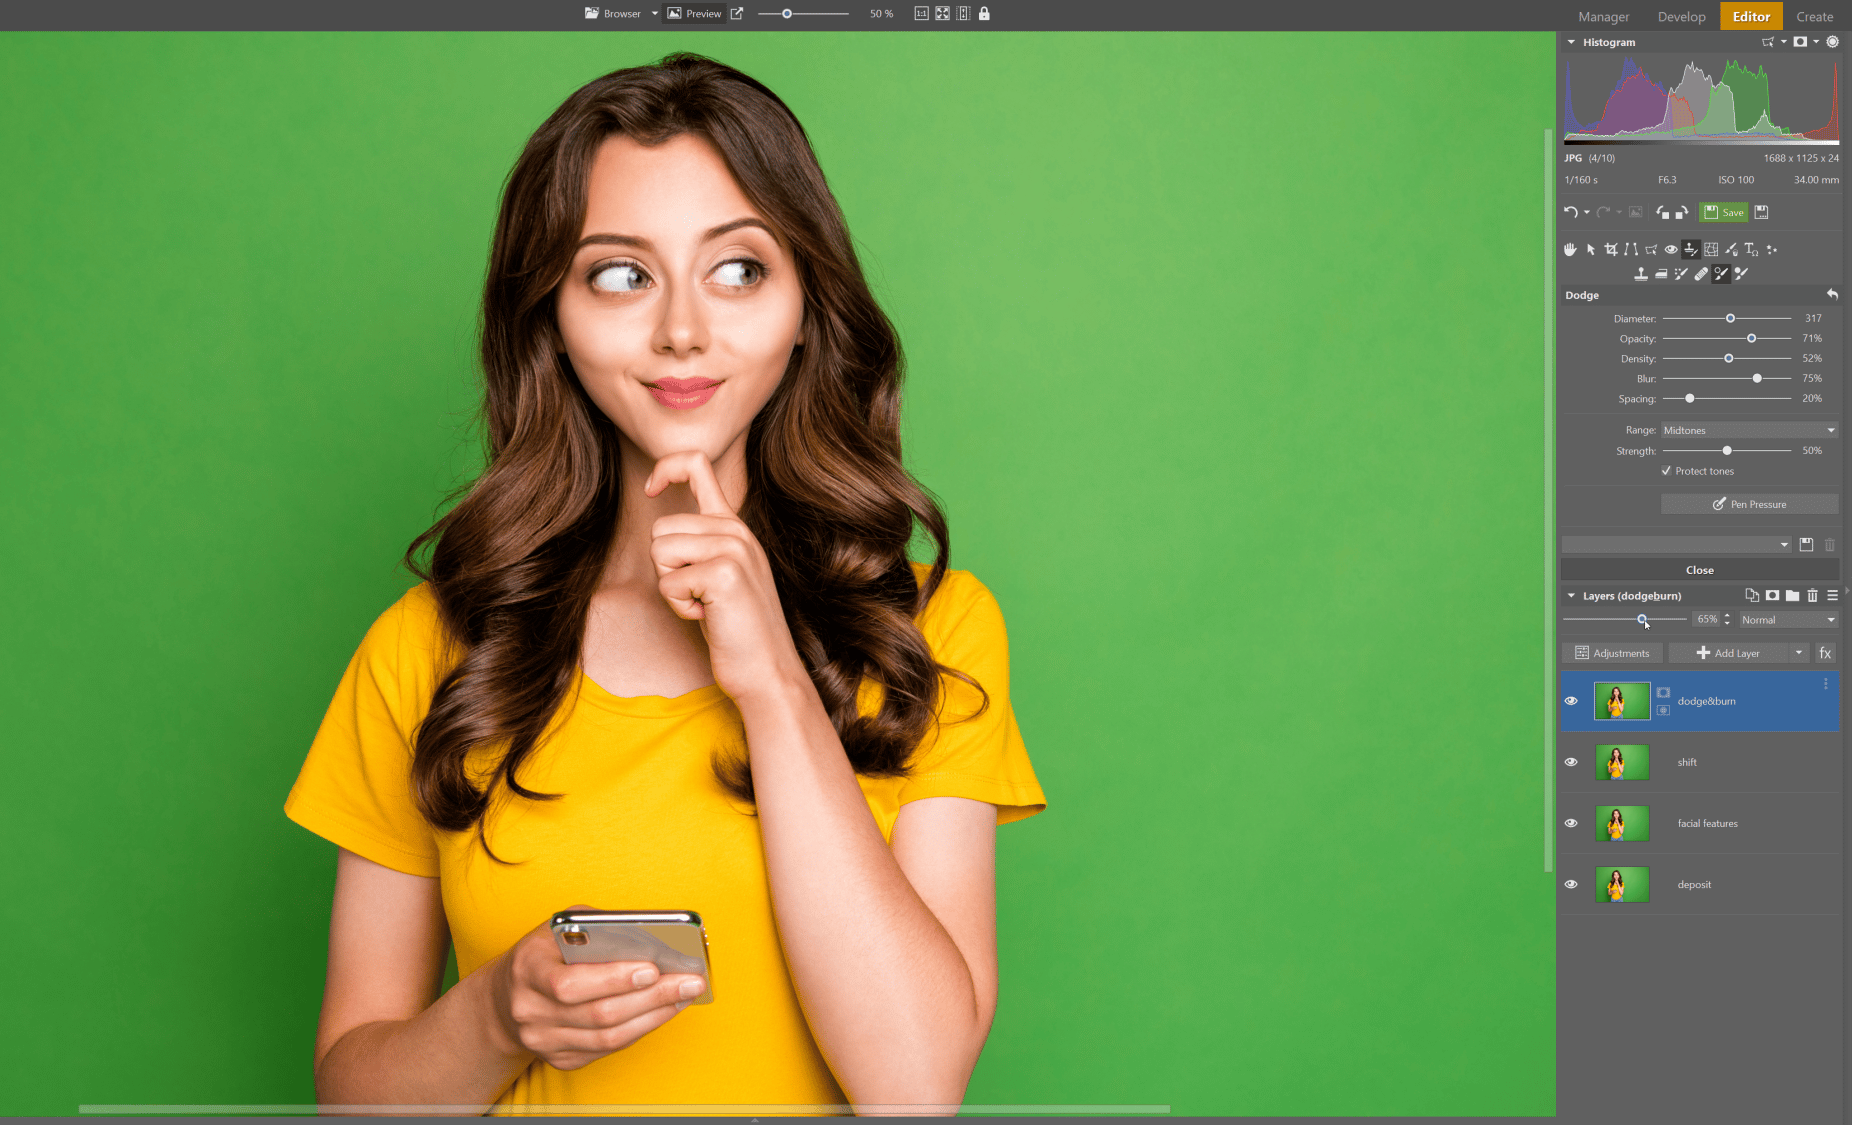
After completing the previous step, you can easily save and export the picture. However, our caricature still has some room for improvement. We will use the brush and the popular Dodge (I) and Burn (Shift + I) technique.
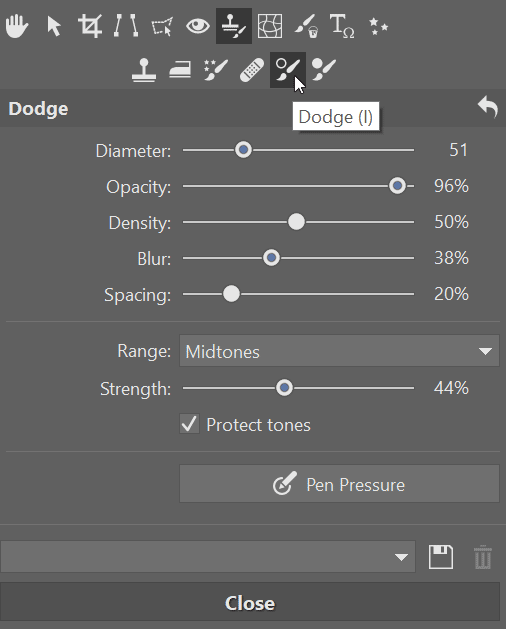
Duplicate the layer with the most recent adjustments and paint directly in it using the brush. The brush is found right next to the Liquify tool under Retouching Tools. You will dodge, or lighten and burn, or darken specific areas of the photo.
Start with Burn and adjust the sliders, being sure to choose more moderate settings. It is always better to gradually increase the effect rather than needing to take away from it. Now you can paint in the portrait. First, burn or darken the parts of the face below the cheekbones, edges of the neck, and also areas of the hand. The idea is that by darkening (burning) you are detracting from these features, and by lightening (dodging) you are drawing attention to them.
Use Dodge to lighten and bring out parts of the forehead, as well as the space between the eyebrows and cheekbones (upper cheekbones). The entire editing process is done to add contours to the face with the result looking more like a cartoon or caricature. If the adjustments you’ve made are too drastic, you can always lower their visibility by lowering Layer Opacity.
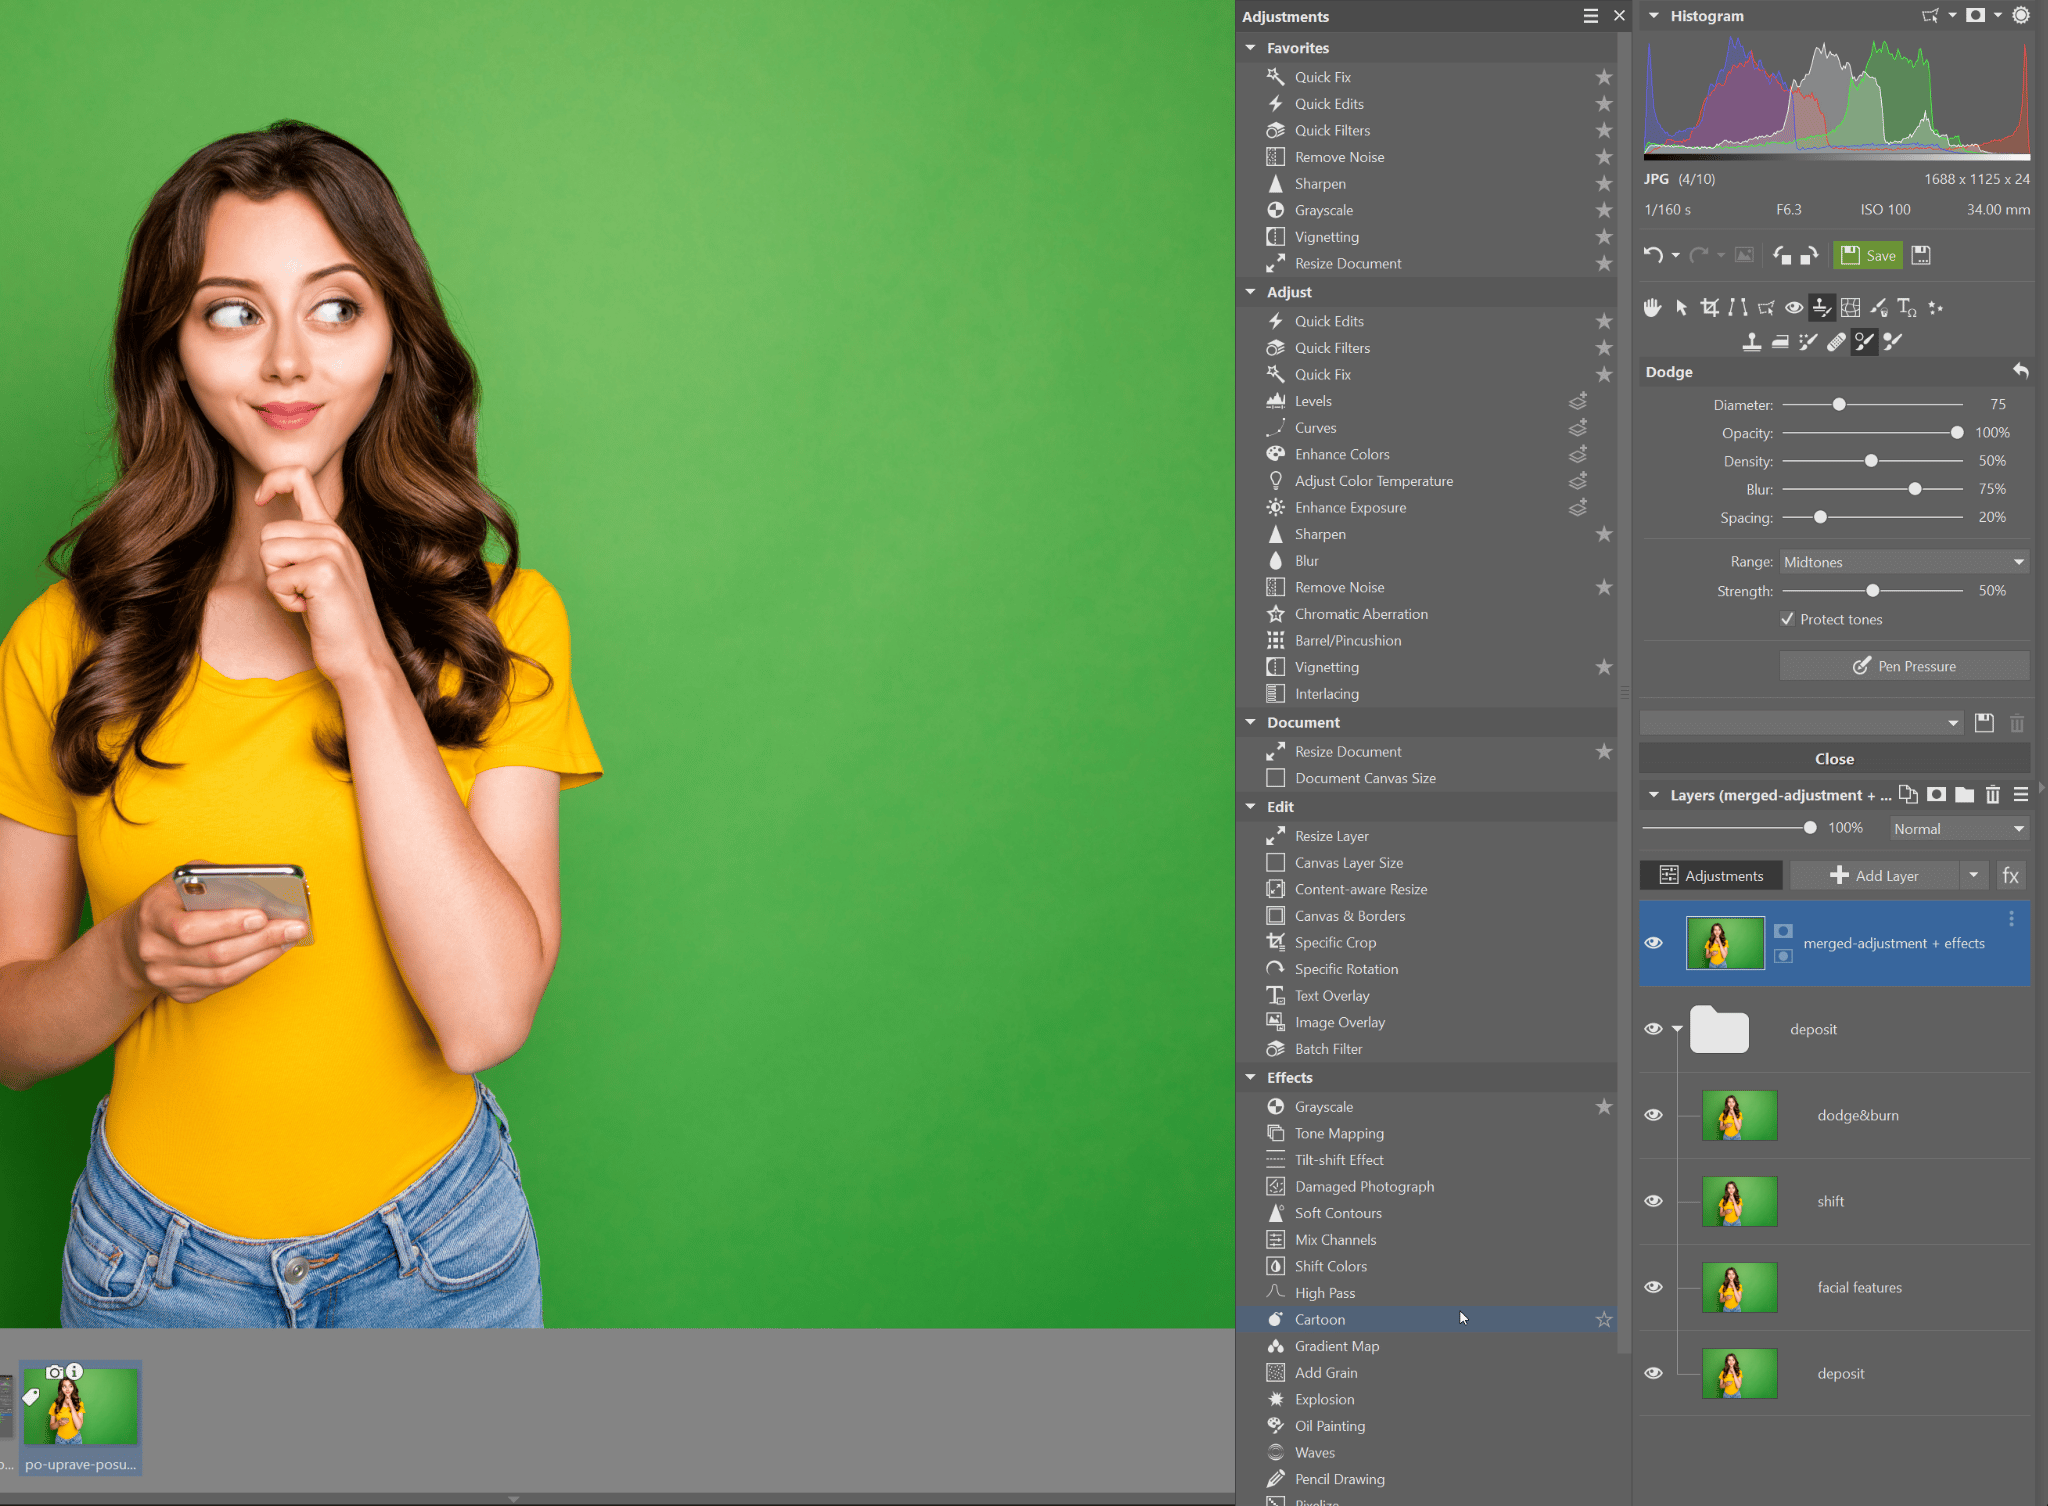
Finally, edit the caricature using the predefined effects. Select all the existing layers and right click them. Select Group to group them in a folder that you will duplicate. Then combine the duplicated folder into one layer (right click -> Merge Layers). You will then apply Oil Painting and Cartoon effects to this single layer. These effects are found in the side panel under the Adjustments button. Your caricature is now complete!
If you enjoyed this article, let us know by clicking the heart icon below. Or, if you’d like to see an article on a similar topic in the future, be sure to let us know in the comments.
Want to create a caricature, but don’t have Zoner Studio? No problem! Download Zoner Studio and try it free!
There are no comments yet.