Multiple Monitors: More Room for Fun
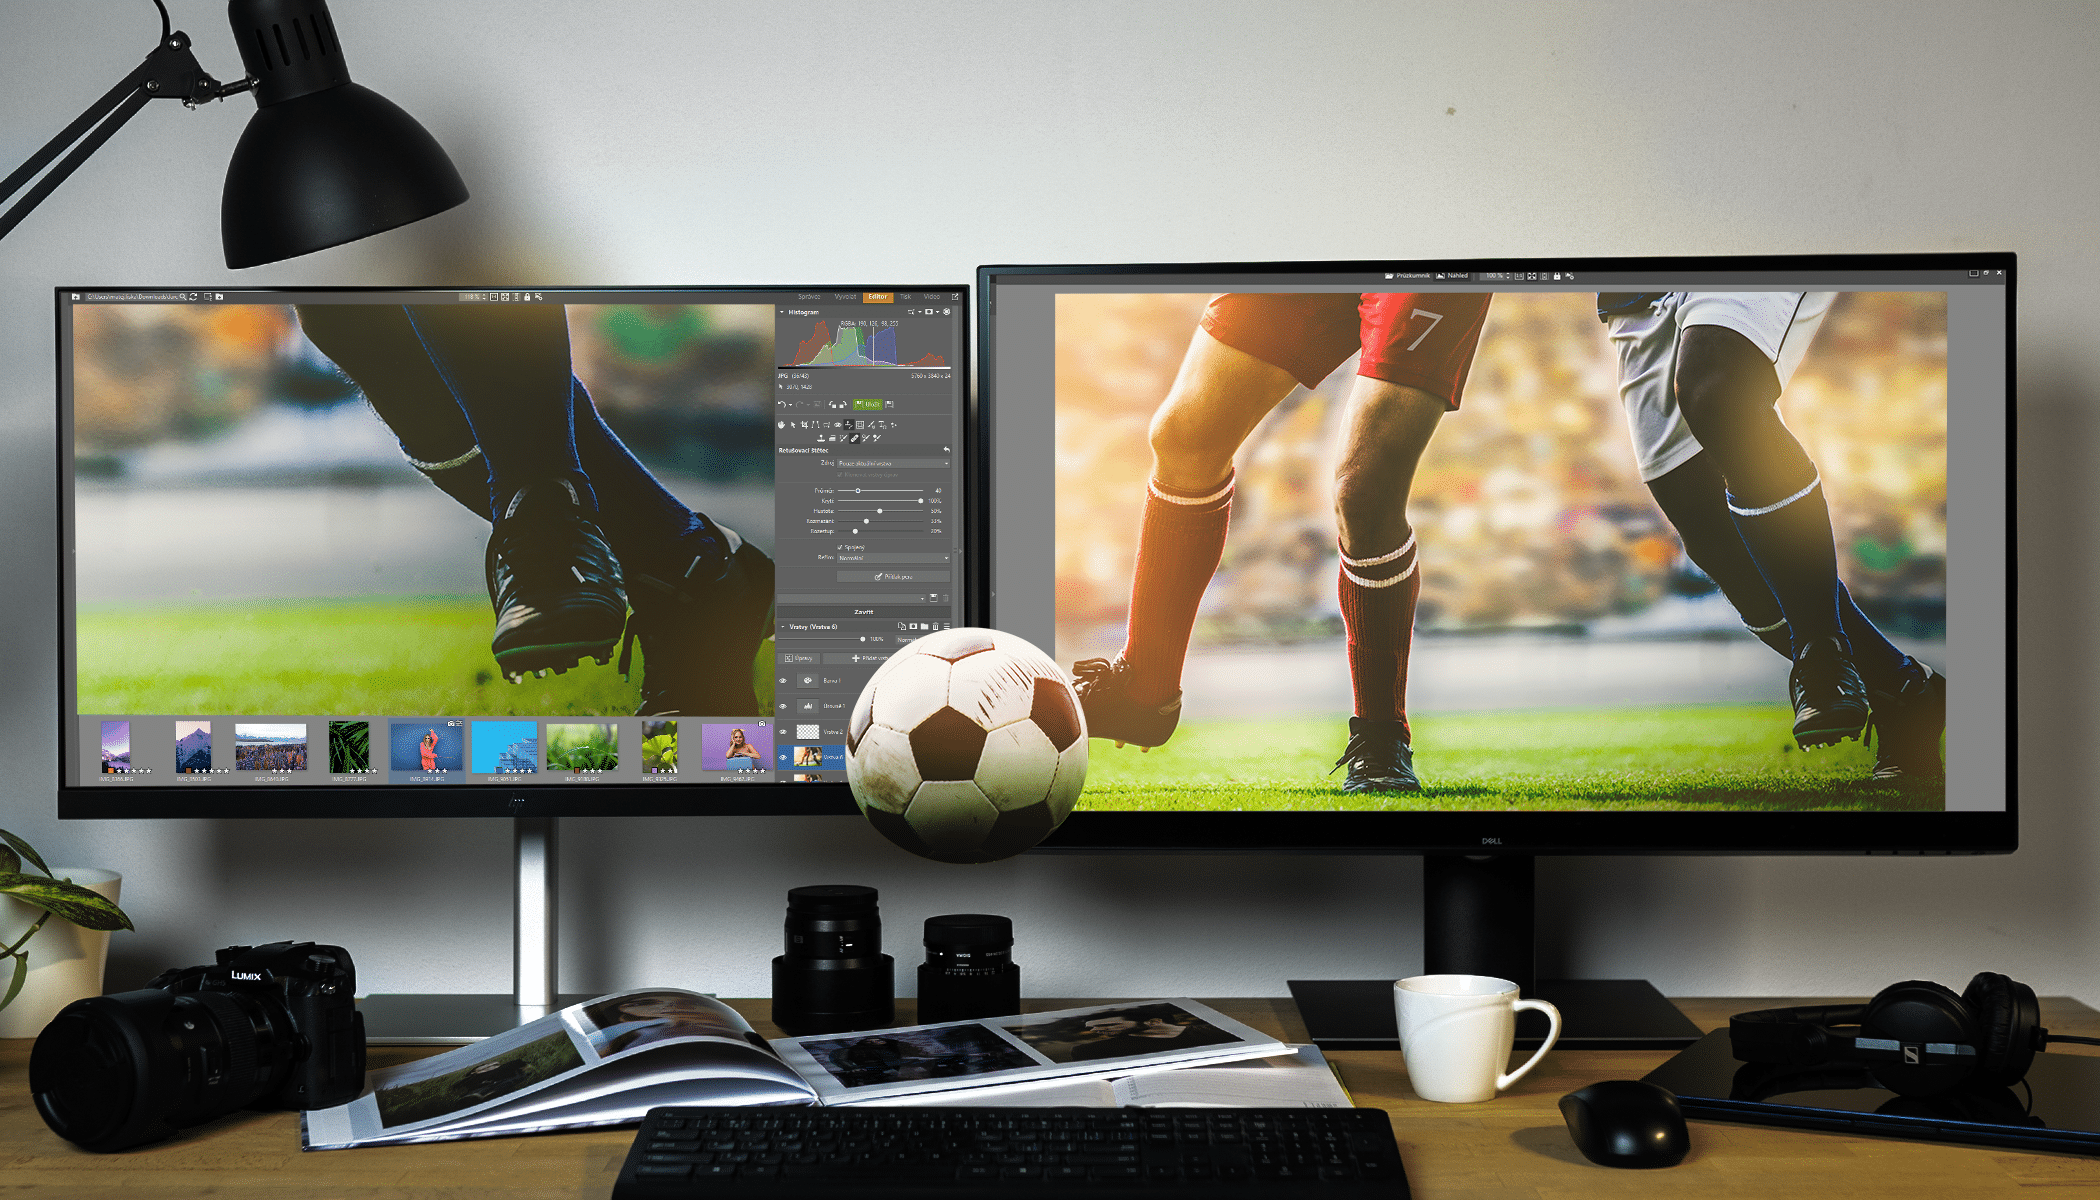
For many of us, a larger workspace is a major bonus while photo editing. That’s why the Zoner Studio update is bringing improvements for work on multiple monitors. Your photos deserve the extra space!
There are many options for using a second monitor to fit each user’s unique needs. In Zoner Studio, you can set many options for what each window does on each monitor. But how you set them up depends on if you happen to be organizing, viewing, or editing photos. In this article, we’ll try to provide several tips for different editing layouts. You can then choose the layout that works best for you.

If you have an ultrawide monitor, the tips in this article apply to you as well. When you open two windows side by side on one monitor, everything works the same as if you were using two monitors.
The Browser and Full View for organizing and browsing
When you open Zoner Studio, you most likely have one monitor by default. If you want to try working on two monitors, click the icon at the top right or use the F10 key.
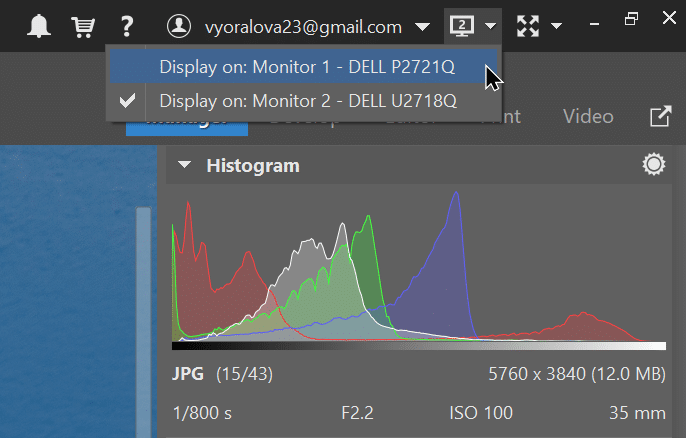
This puts the Zoner Studio layout in a mode where each monitor displays something different. This is when the fun begins.
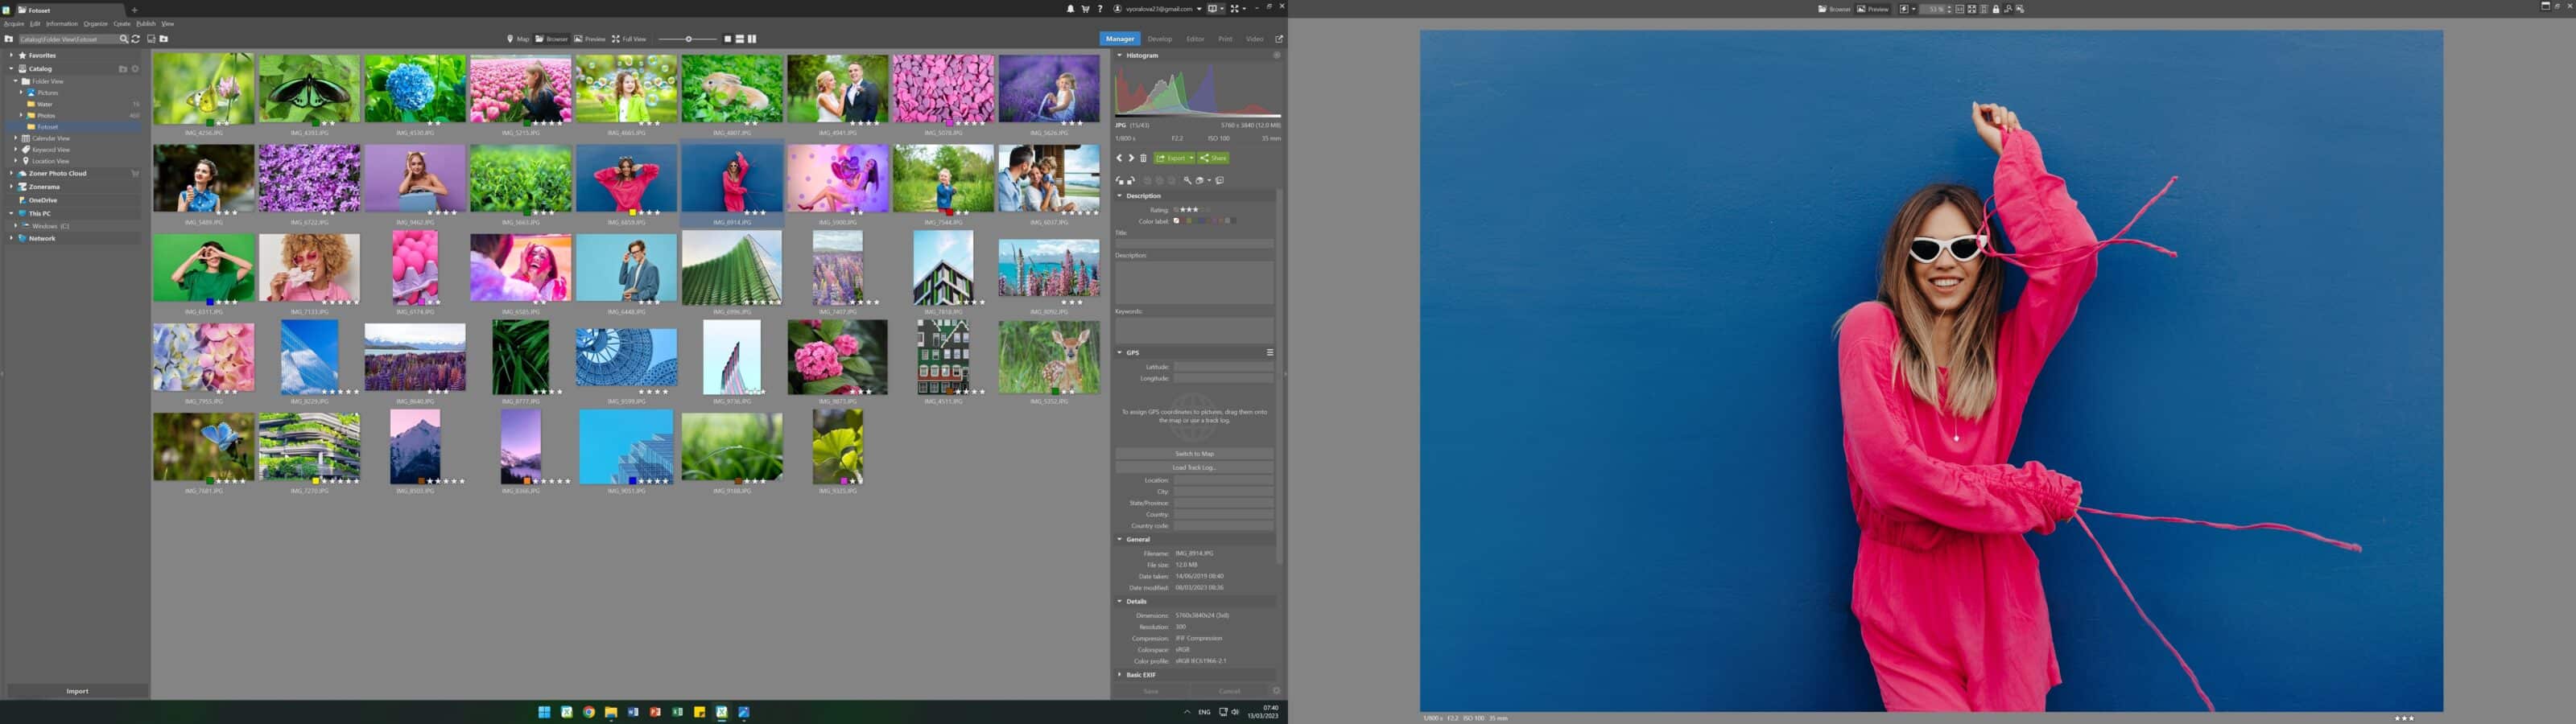
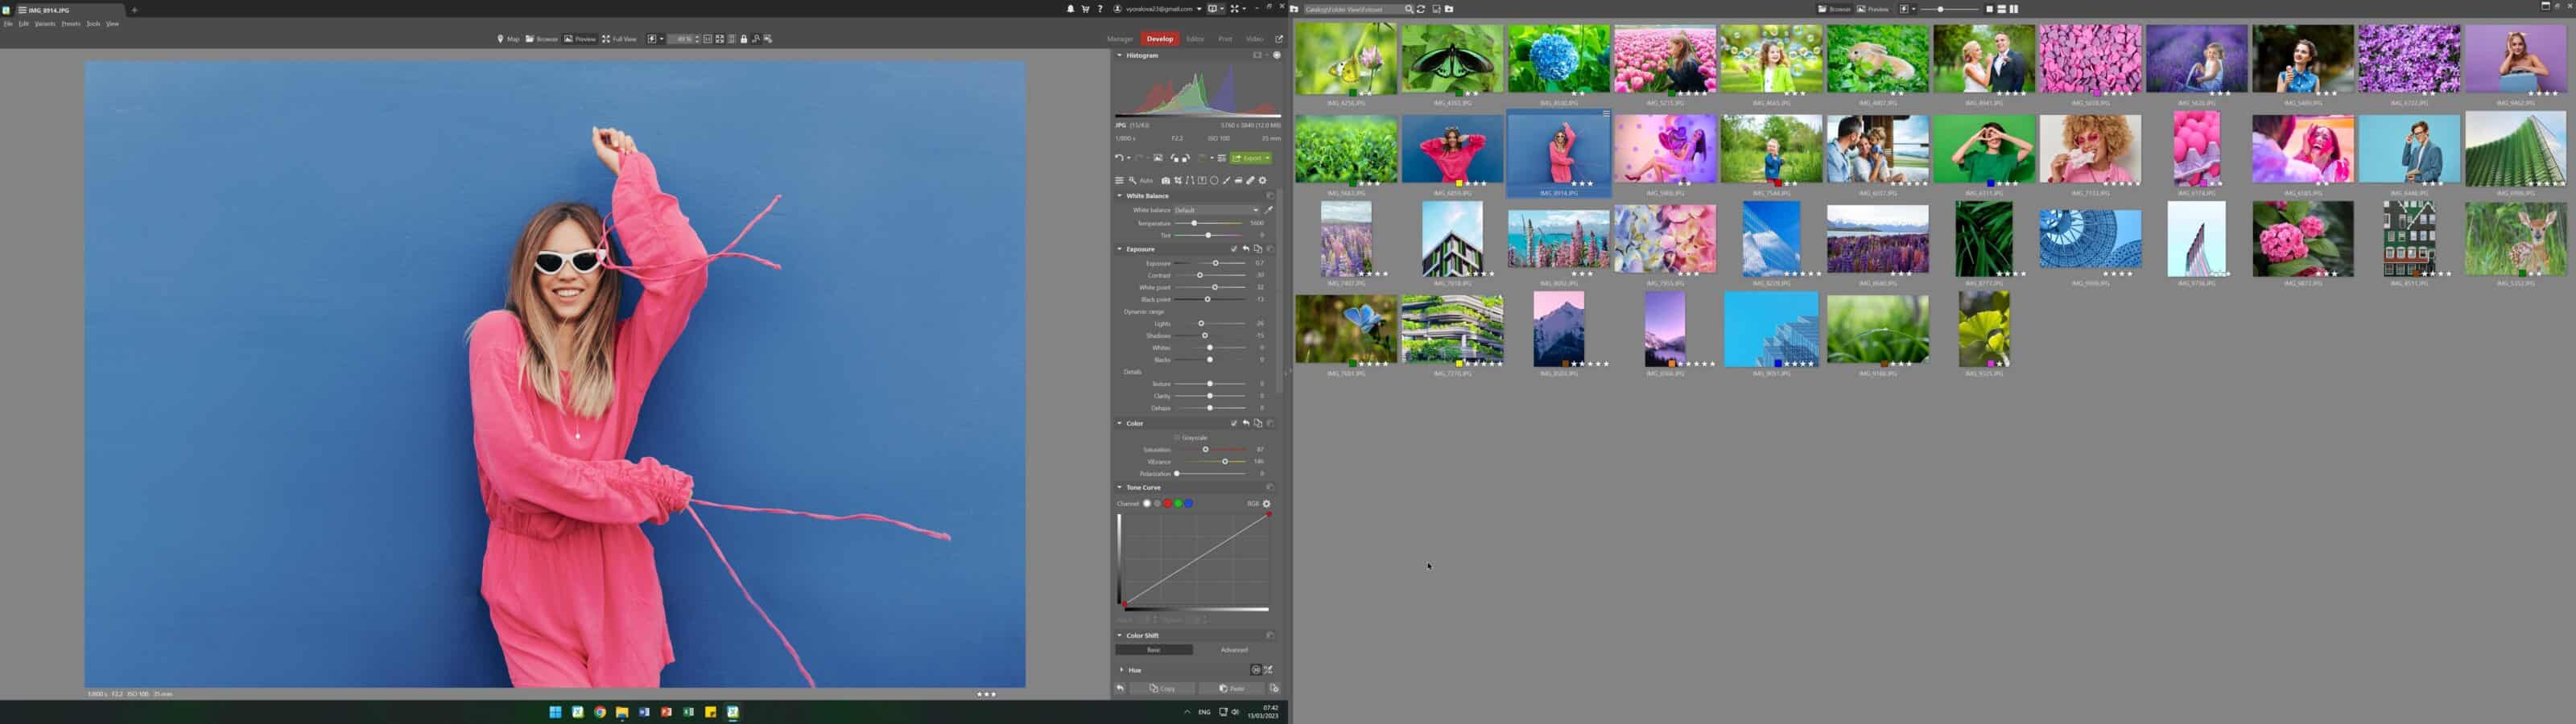
The first situation is for organizing or browsing photos. On one monitor, open the Browser so you can see thumbnails. On the second monitor, you have Preview mode, where one photo fills the entire screen. Ratings are at the bottom. These come in handy when organizing your photos.
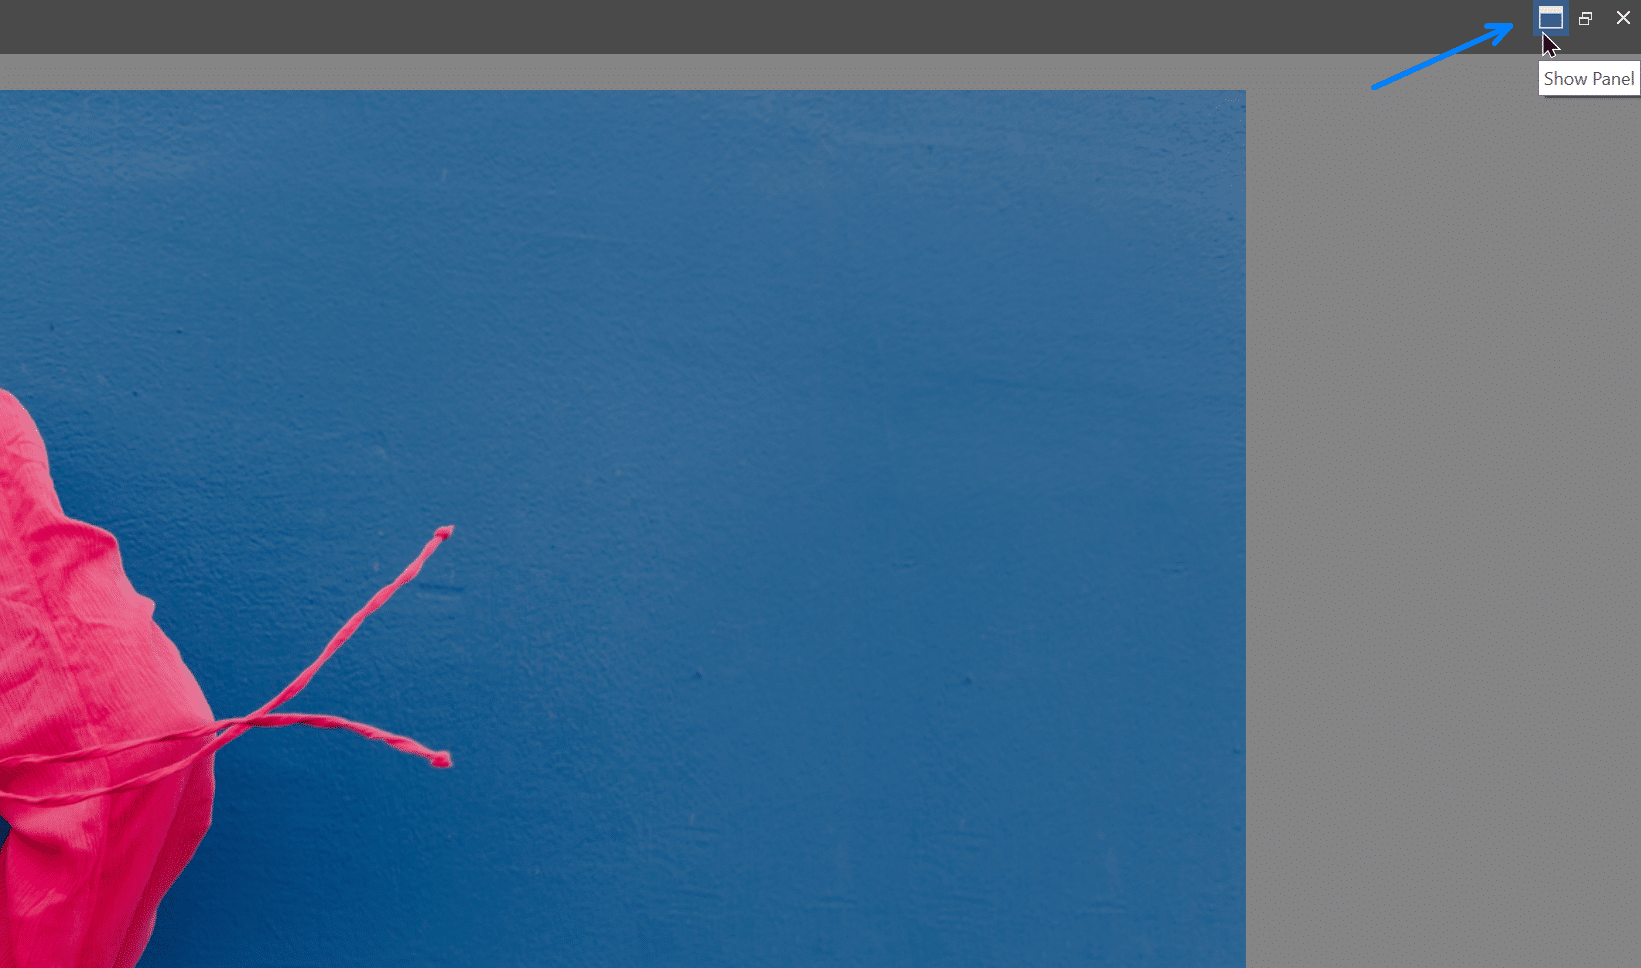
Your photo in Preview is already big enough, but if it’s still not enough, hide the top bar using the icon at the top right.
Toolbar and Full View in the Editor and Develop
Other uses for multiple monitors are obviously for editing. All layouts work in all modules, so it doesn’t matter whether you’re in Develop, the Editor, or the Manger. The information panel, or toolbar, is always at your fingertips. Let’s demonstrate the use of two monitors in the Develop module.

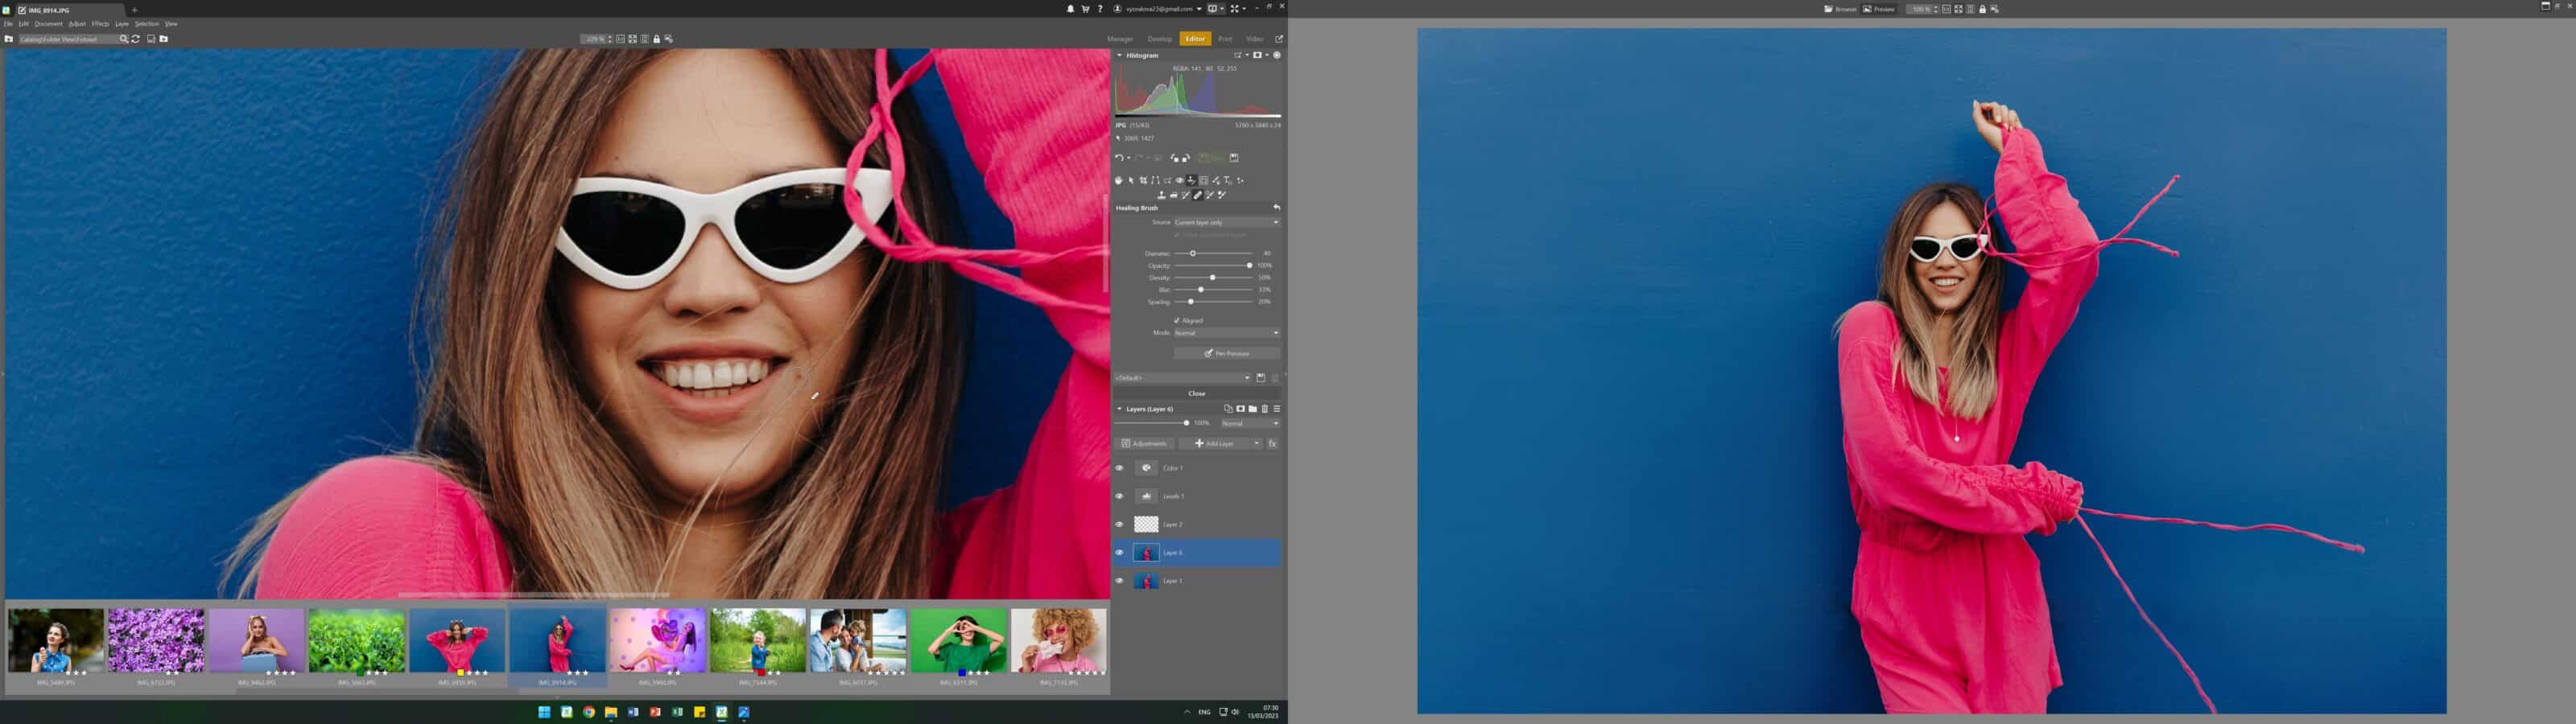
Another interesting combination is the side editing panel with the photo and the Browser on the second monitor. You can get this layout by hiding the side navigator and filmstrip, and then switching to the Browser on the second monitor.
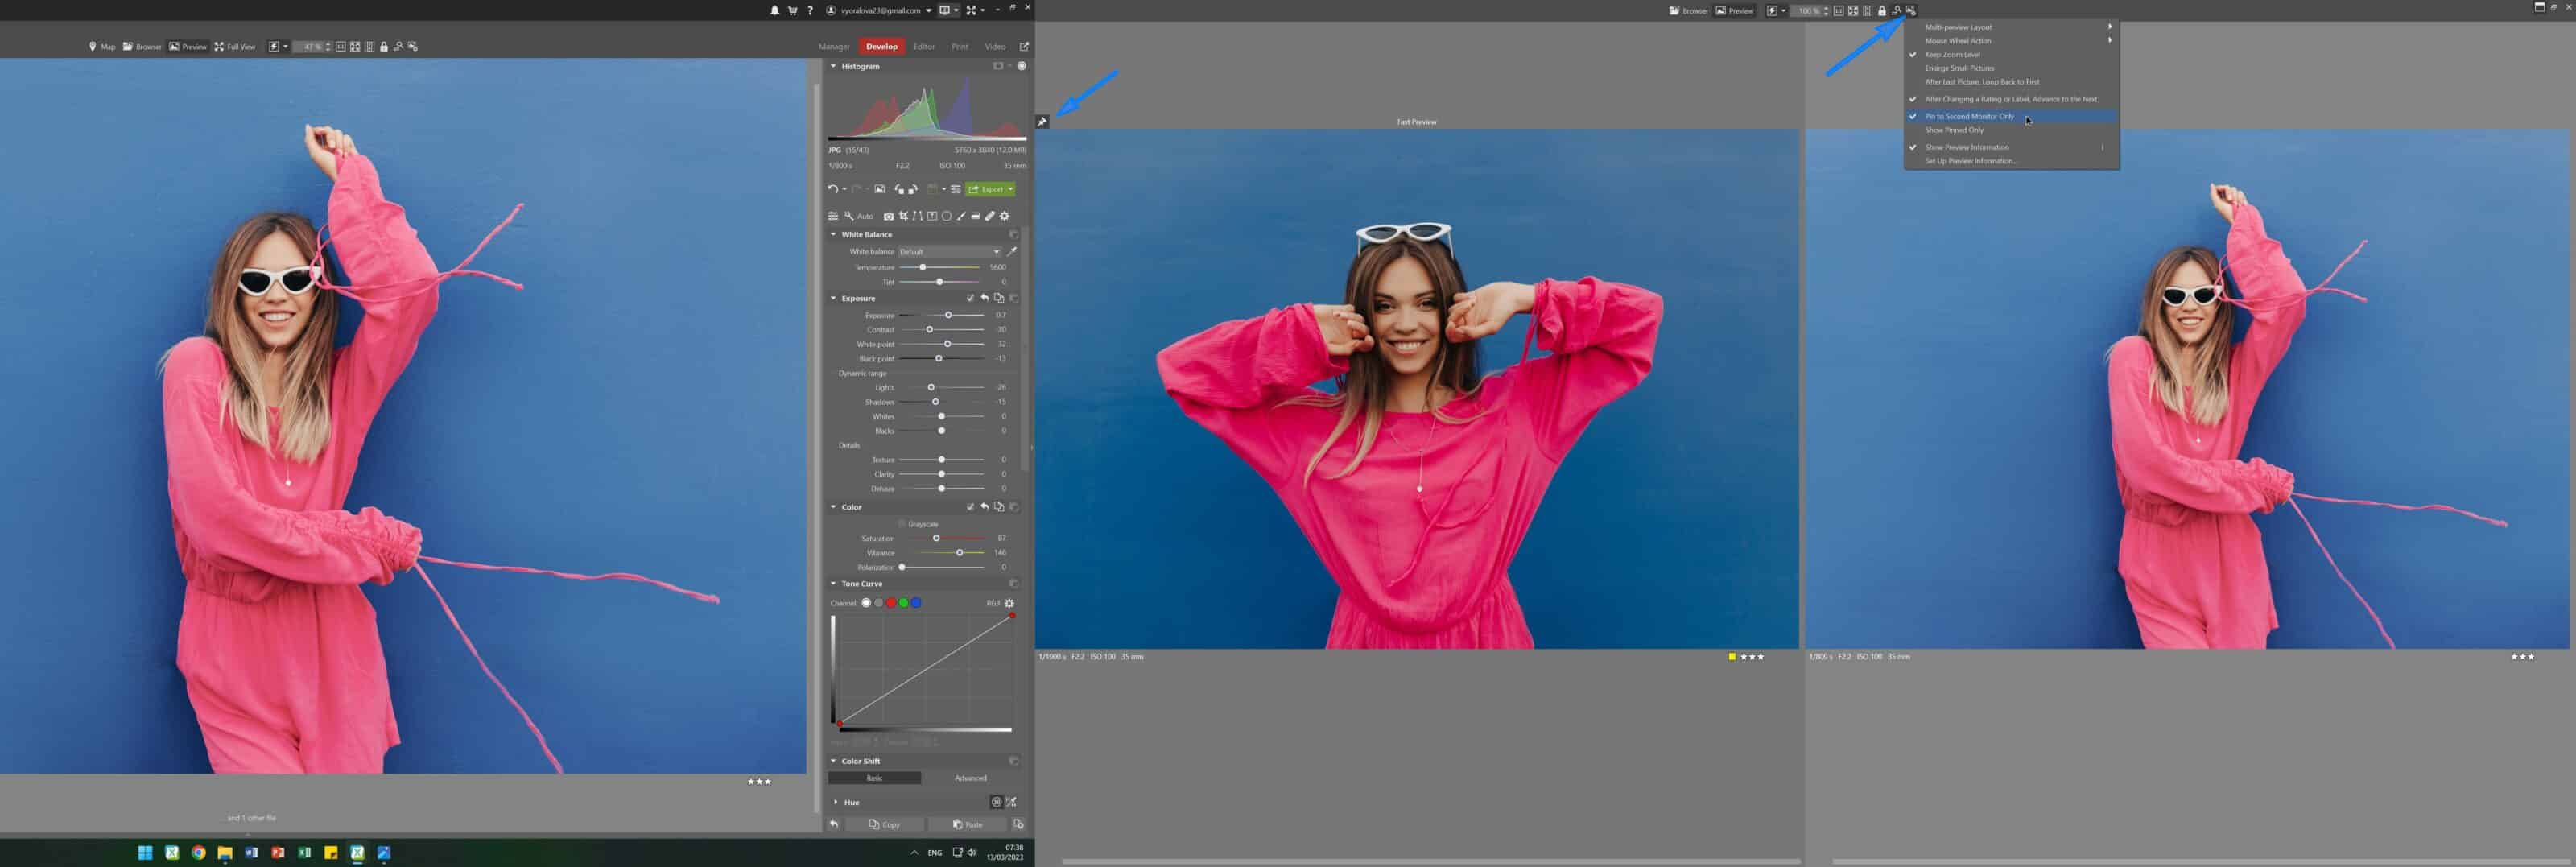
Pin a reference photo
If you are editing a series of photos and you want them to be color coordinated, you can use the pin. This feature has been in Zoner Studio for some time now. Use the pin icon in the top left to pin a photo. Once pinned, you can use it to edit the other photos. It is also useful to set Pin to Second Monitor Only in the top panel.
Using maps
The last tip we have for you, though it’s far from the last option, is working with maps. If you want to look at your vacation photos and have GPS coordinates assigned, you can turn on Map mode on one monitor, leave the filmstrip at the bottom, and open Full View on the second monitor.

These are far from all the options you have for working with multiple monitors. Using multiple monitors is extremely convenient and gives you the ability to customize Zoner Studio according to your needs. Download Zoner Studio free for 7 days and start editing smarter with multiple monitors.
Alex
Thank you, quite a helpful improvement.