HDR Editing Brings Your Photos out of the Shadows
Technical fields are constantly evolving, and photography is no exception. Remember how excited you were about autofocus, digital sensors, or the invention of mirrorless cameras? True HDR is now entering the photography world and will completely change the way you perceive photography.
Once you see photos in high dynamic range (HDR), you won’t want to see them any other way. Get hooked on HDR editing in Zoner Studio.

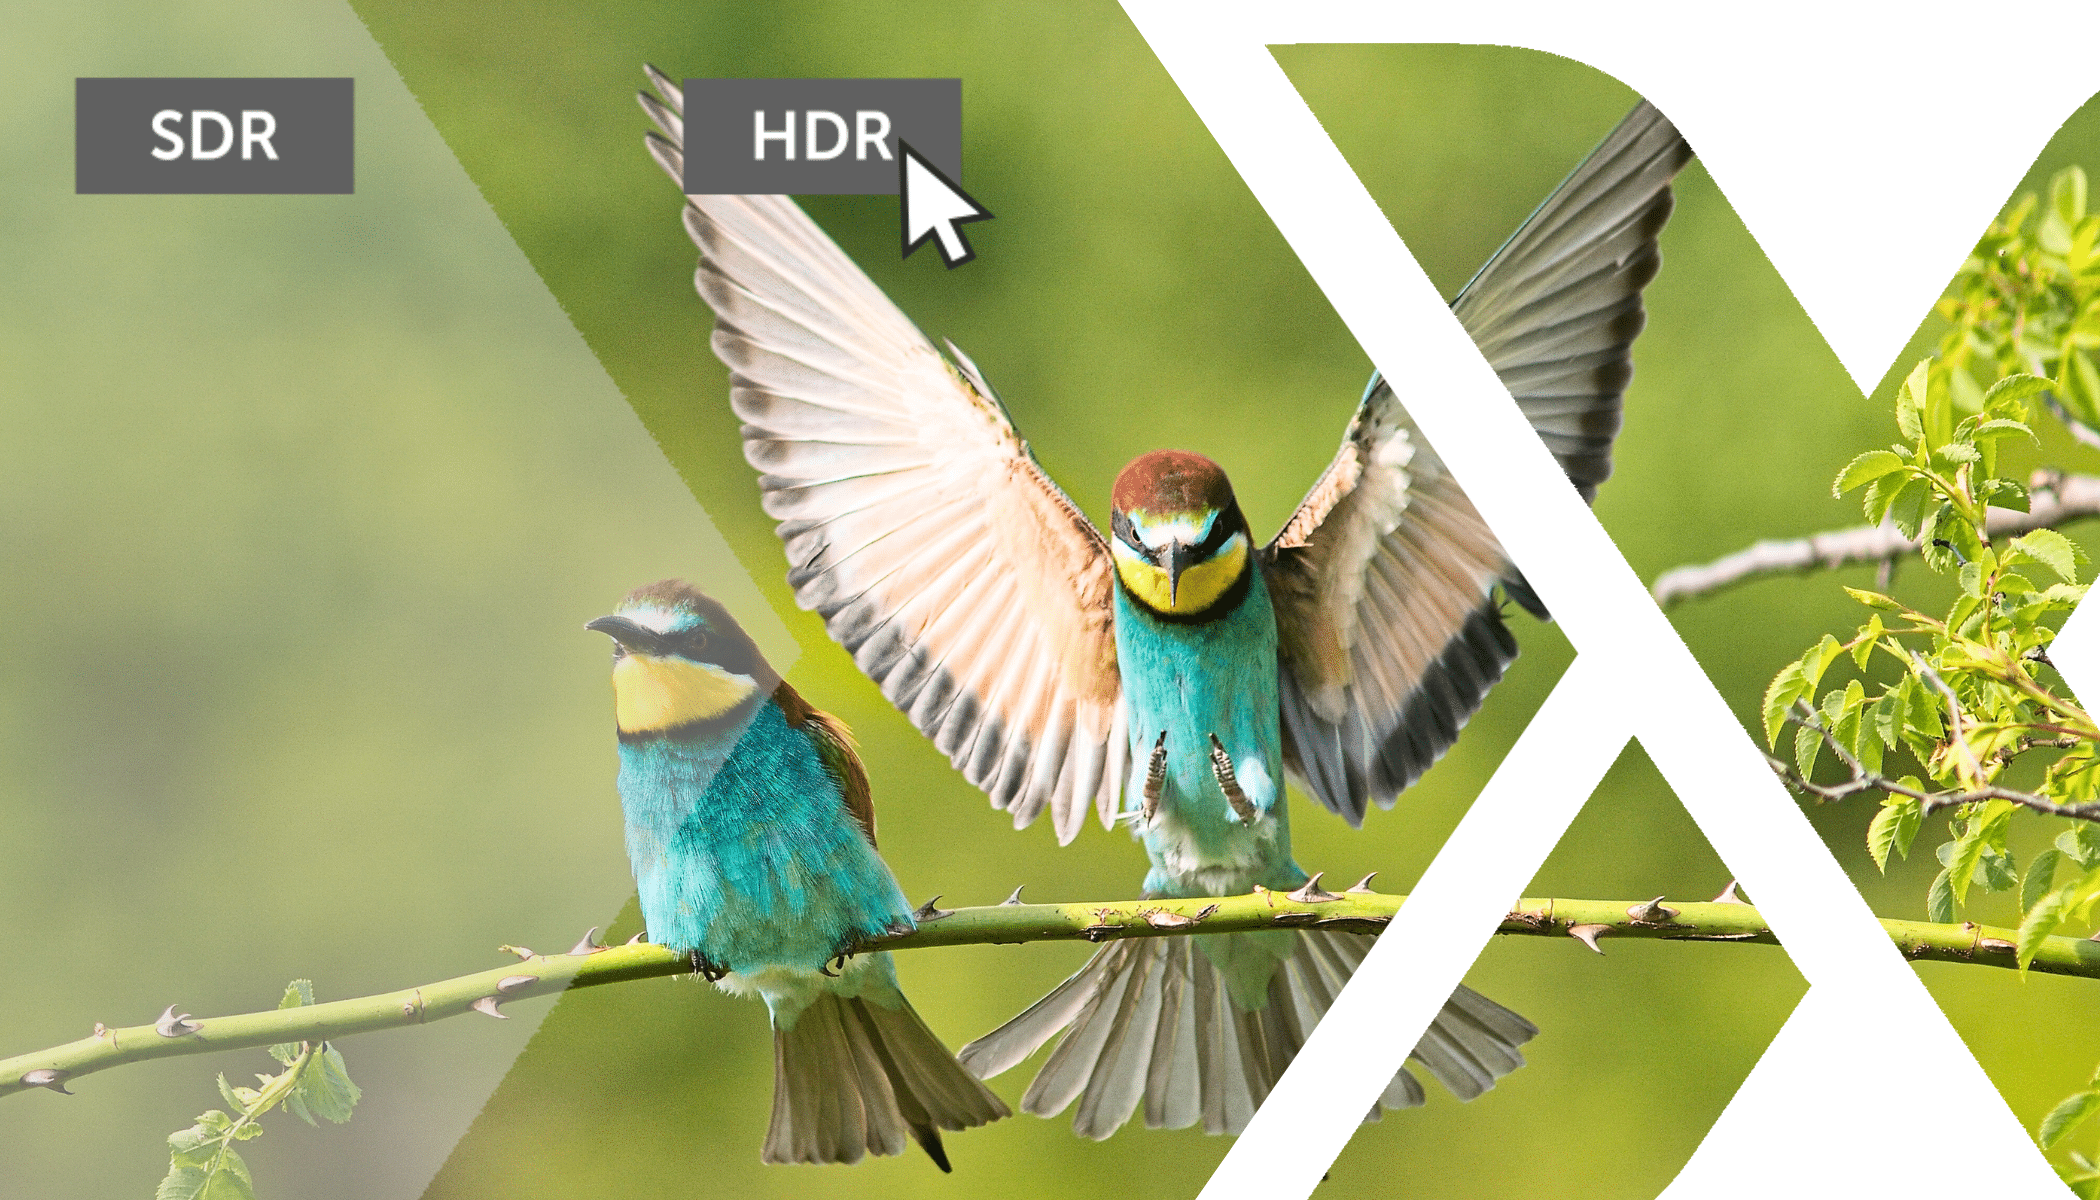
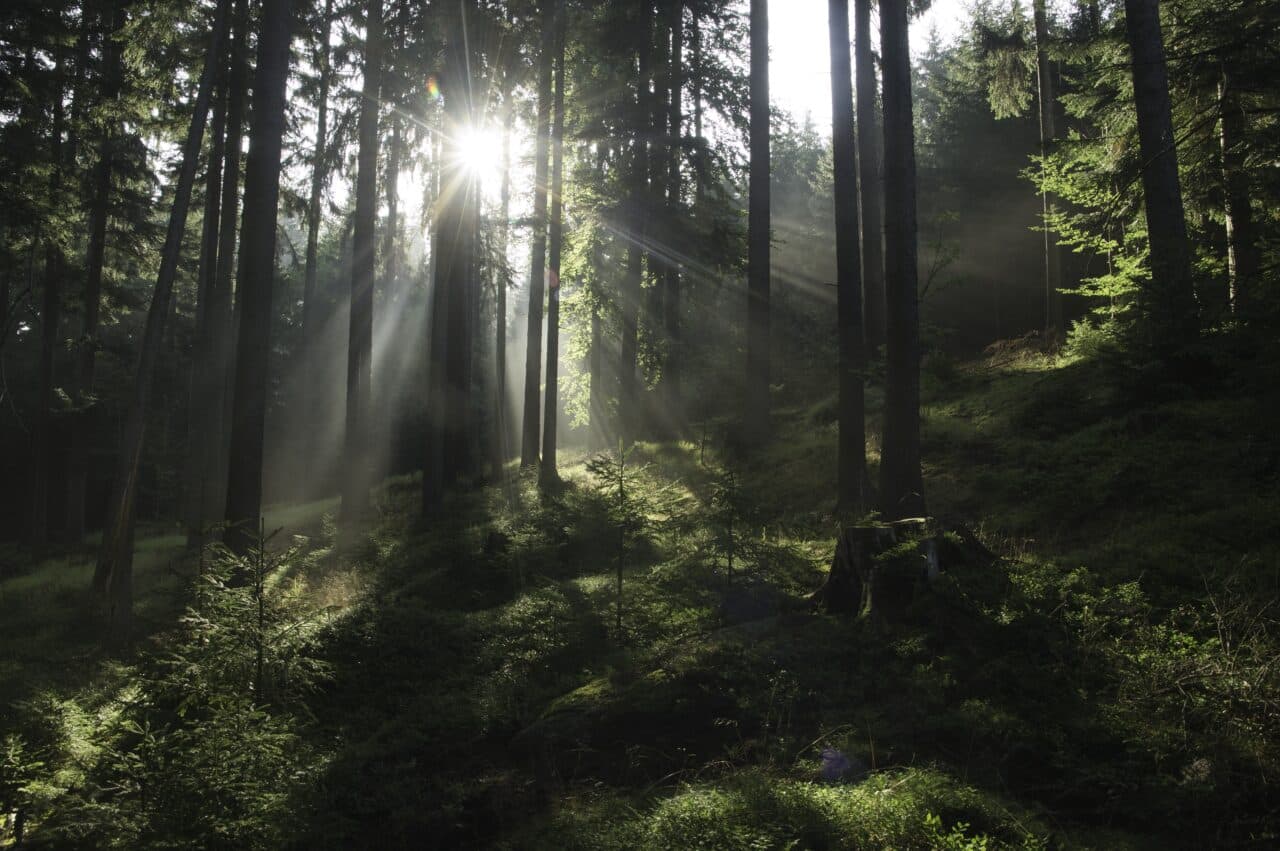
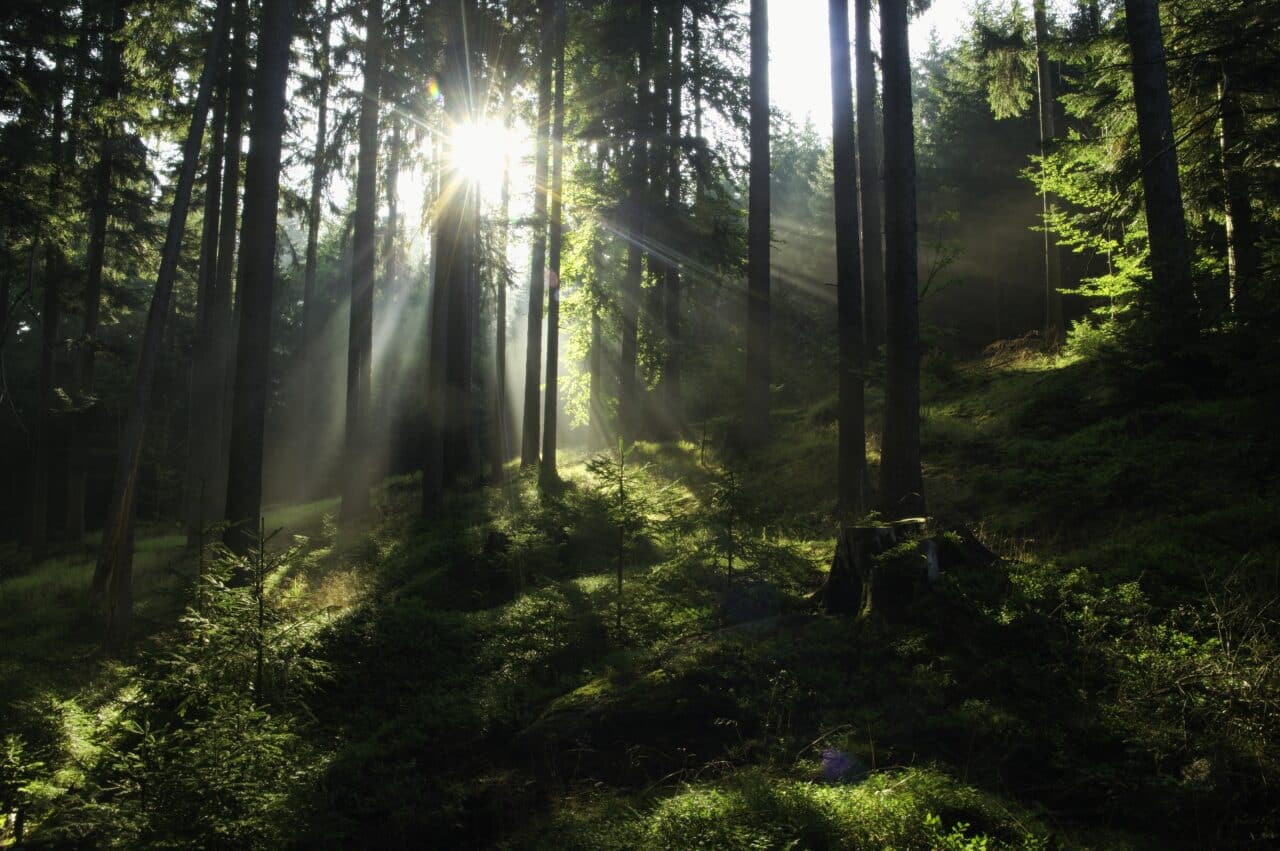
A comparison of the dynamic range without HDR and with HDR.
In order to see the difference, you need to have a monitor with HDR support and the feature turned on. More on that later in this article.
What is HDR?
HDR is an acronym for High Dynamic Range. HDR previously referred to an editing style that muted the highlights and shadows almost to gray to bring out more details, but the result was often unnatural.
Times have changed. We now can achieve more realistic results than ever before with dynamic range. Cameras offer a lot of image data when shooting in RAW, and newer monitors can bring out an incredible amount of detail thanks to their peak brightness.
HDR was first used in movies and video games, but HDR certainly has its place in photography.

Before you start HDR editing, you need to find out if your monitor supports HDR and is set up properly.
HDR editing in Zoner Studio
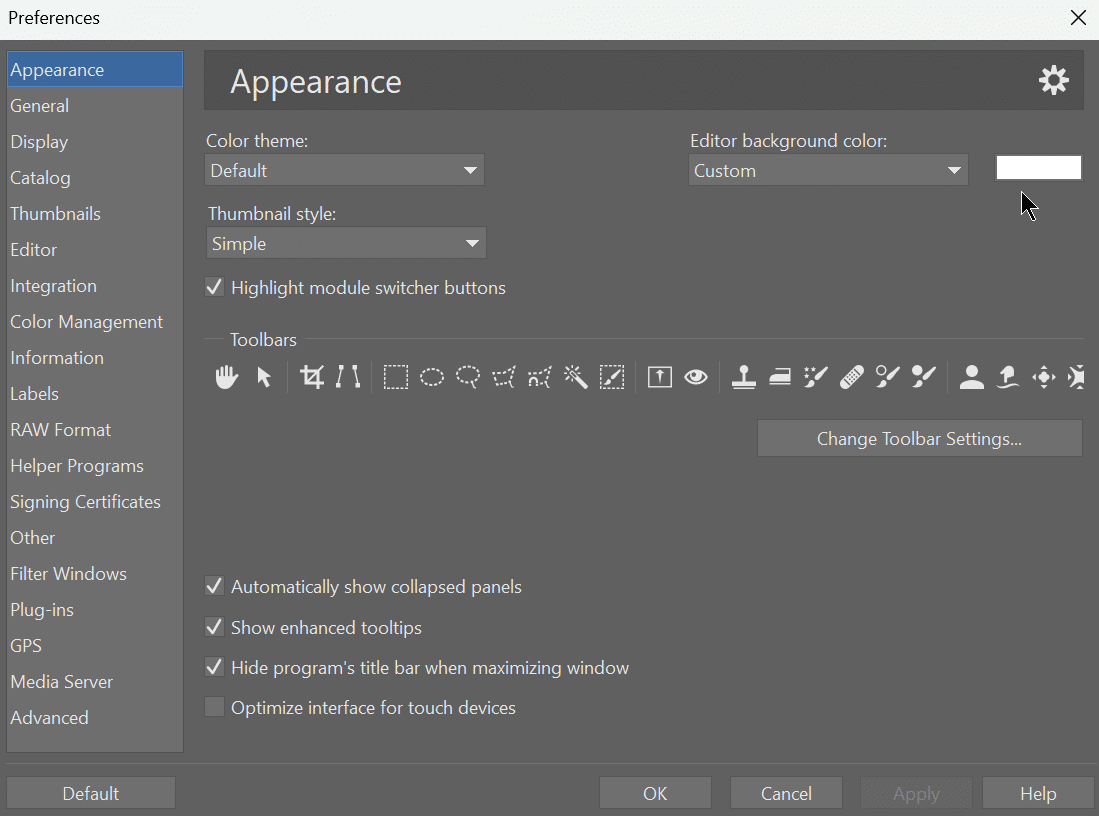
To see the difference between ordinary white and HDR white better, we recommend setting your Zoner Studio background to white when doing HDR editing. You can change your background in Preferences (Ctrl+M) – Appearance – Editor background color. In the drop-down, select Custom and set the color to white.

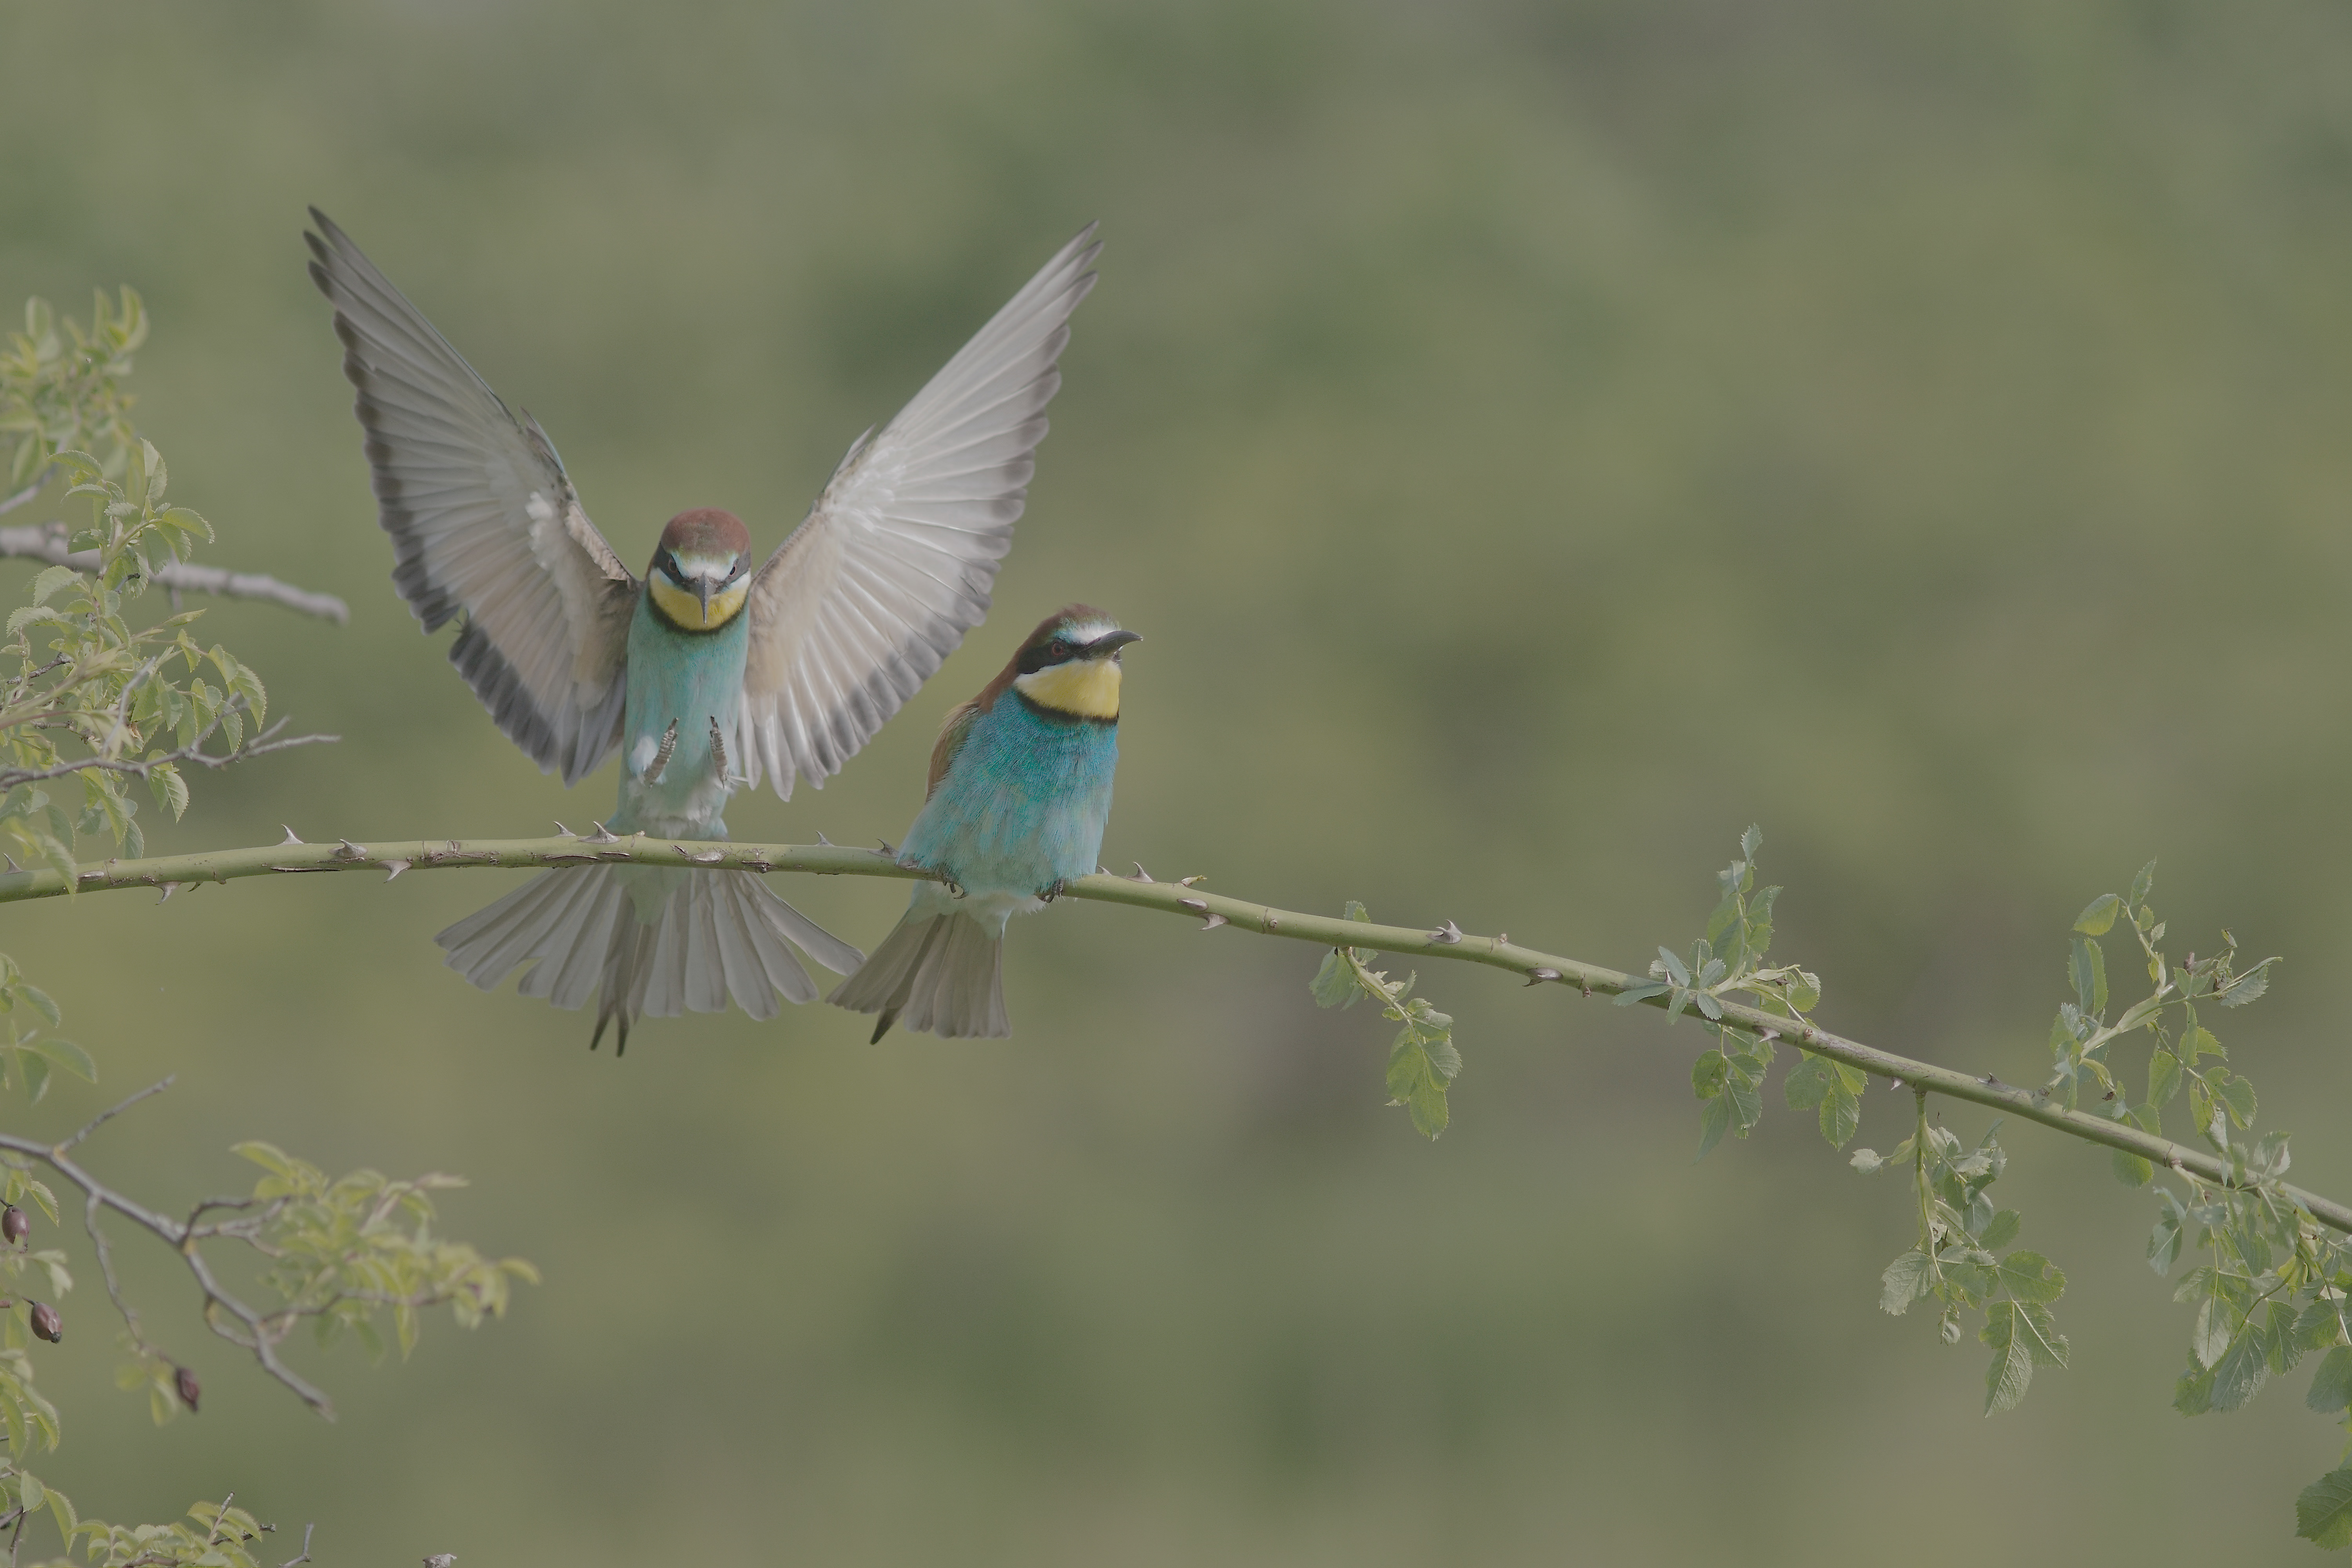
HDR works best on photos with a bright light source, like the sun. This is because the details hidden in the highlights are incomparable to Standard Dynamic Range (SDR).
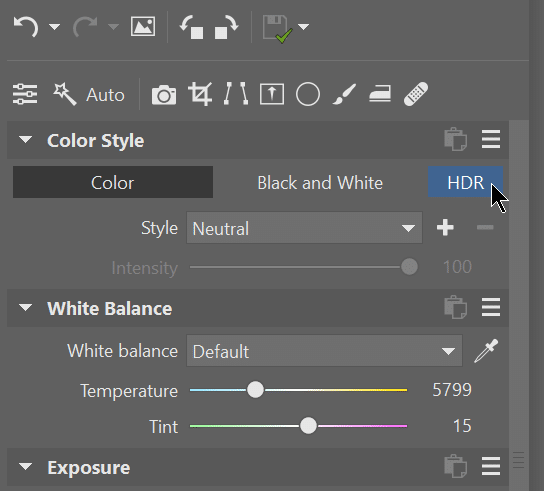
If you are going to edit a photo in HDR mode, we recommend switching to HDR as soon as possible. After opening your photo, turn HDR display on under Color Style.
As soon as you turn on HDR, your Histogram splits into two halves labeled SDR and HDR.
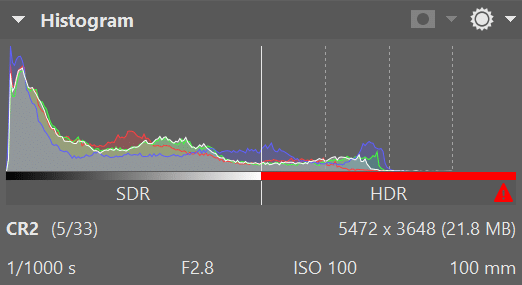
If you see a red bar with a triangle with an exclamation part next to the HDR section, this means your monitor does not support HDR display.
However, if this bar is mostly white with no or minimal red, you can start HDR editing. You can keep checking the bright parts of the photo with Show Blowout (the sun icon in top right corner). Monitors that support HDR give you a range from light blue to red in the HDR part of the Histogram, depending on your monitor’s brightness and luminance settings.
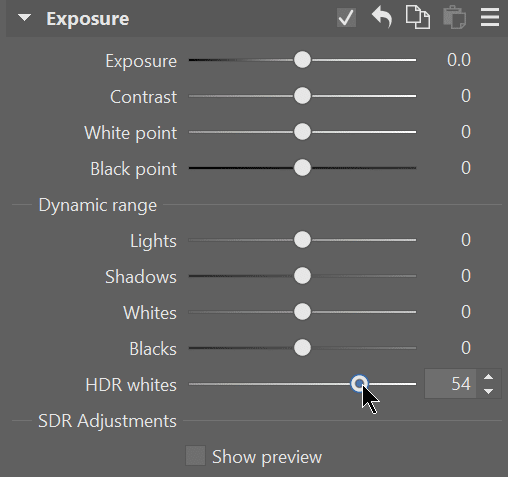
In addition to basic exposure settings that you’re already familiar with, you can adjust the dynamic range for HDR images using the HDR whites slider. This shifts the HDR section of the Histogram.
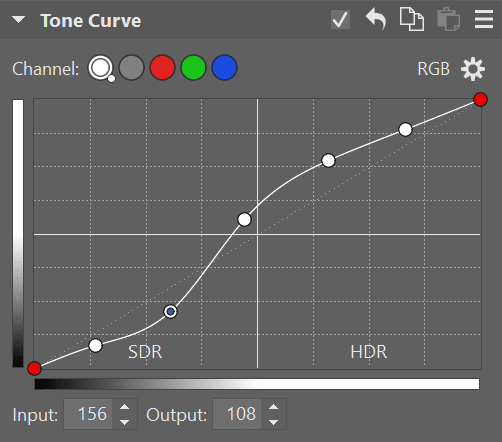
If you like working with curves, you don’t have to worry about any changes. Even though, like the Histogram, the Tone Curve has been divided in half, its settings have not changed. It has only been expanded to include HDR.
HDR editing for clients without HDR technology
Don’t forget to think about users who don’t have HDR devices. This may include your clients. When you’re done editing your photo in HDR, edit the photo for standard SDR monitors too.
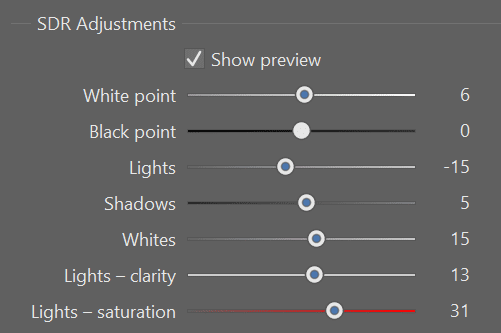
In the Exposure section, right before HDR whites, you can find SDR adjustments. Click Show preview to turn off HDR display and make the exposure sliders for SDR available.
Once you’ve switched your photo to SDR display, take a break from editing. This gives your eyes a break from HDR display and makes editing in SDR much easier.
We don’t recommend switching back and forth from SDR to HDR while editing. It’ll just give you the impression that the SDR photo is inferior. It’s better to treat the SDR image as a separate photo independent of the previous HDR editing.
Under SDR adjustments, you have two additional sliders: Lights – clarity and Lights – saturation, which help you bring out the highlights in your photos even more.
Save your completed photos
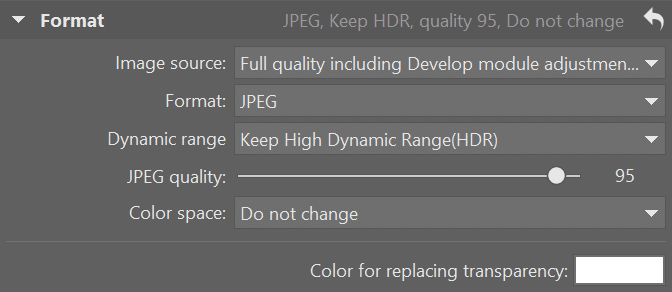
Once your photo has been edited in both HDR and SDR, it’s time to Export. Go straight to the Format section and choose JPEG. JPEG contains a gain map, with image data for both types of display. Leave Dynamic Range at the default setting of Keep High Dynamic Range (HDR).
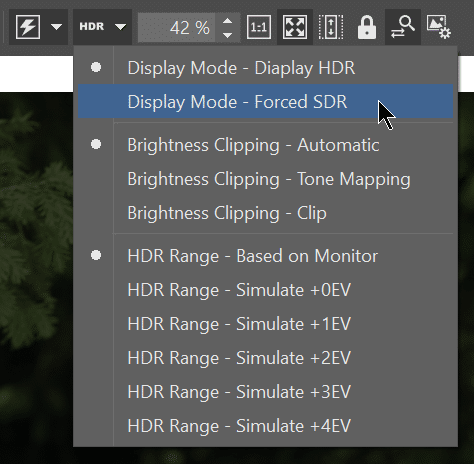
If you want to take another look at how others will see the photo in SDR, open the exported photo and in the top middle bar under the HDR icon, change the Display Mode to Forced SDR.
Now, when you send your photos to someone or upload them to Zonerama (which supports HDR), the user will see the version that their monitor supports. If their device supports HDR, they’ll see the photo in HDR. If their device doesn’t support HDR, they’ll see the photo in SDR.

Download Zoner Studio free for 7 days and take your photography to the next level with HDR display! Until you try it and experience what true HDR is, you can’t imagine the advances this change brings to photography.
There are no comments yet.