Must-Have Landscape Photography Equipment
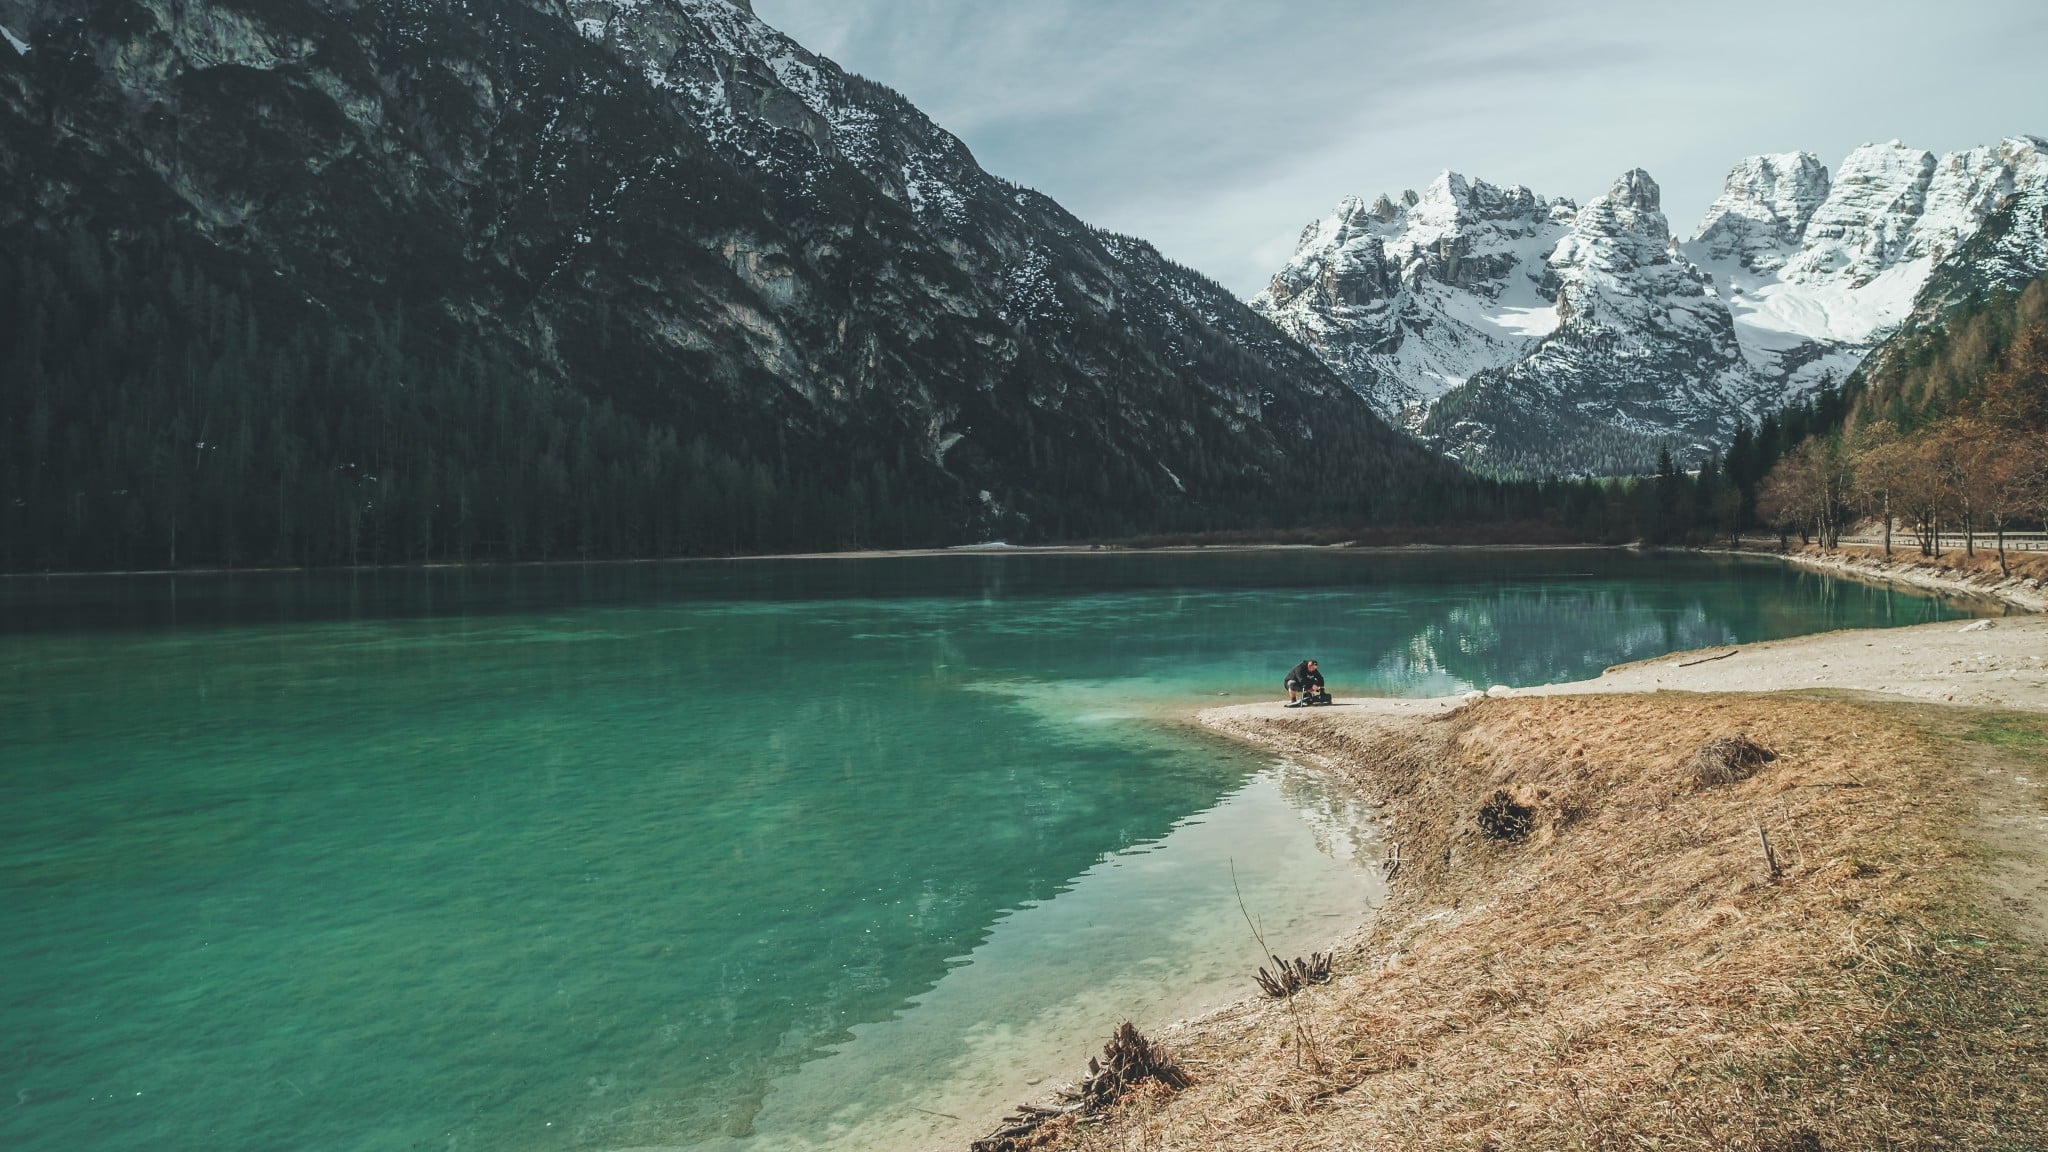
I would travel to the ends of the world for landscape photography. You have to plan ahead when traveling for photography because you might have trouble replacing what you forgot at home. You might also have to walk to your chosen destination. What type of photography equipment do you need and what should you be prepared for as a landscape photographer?
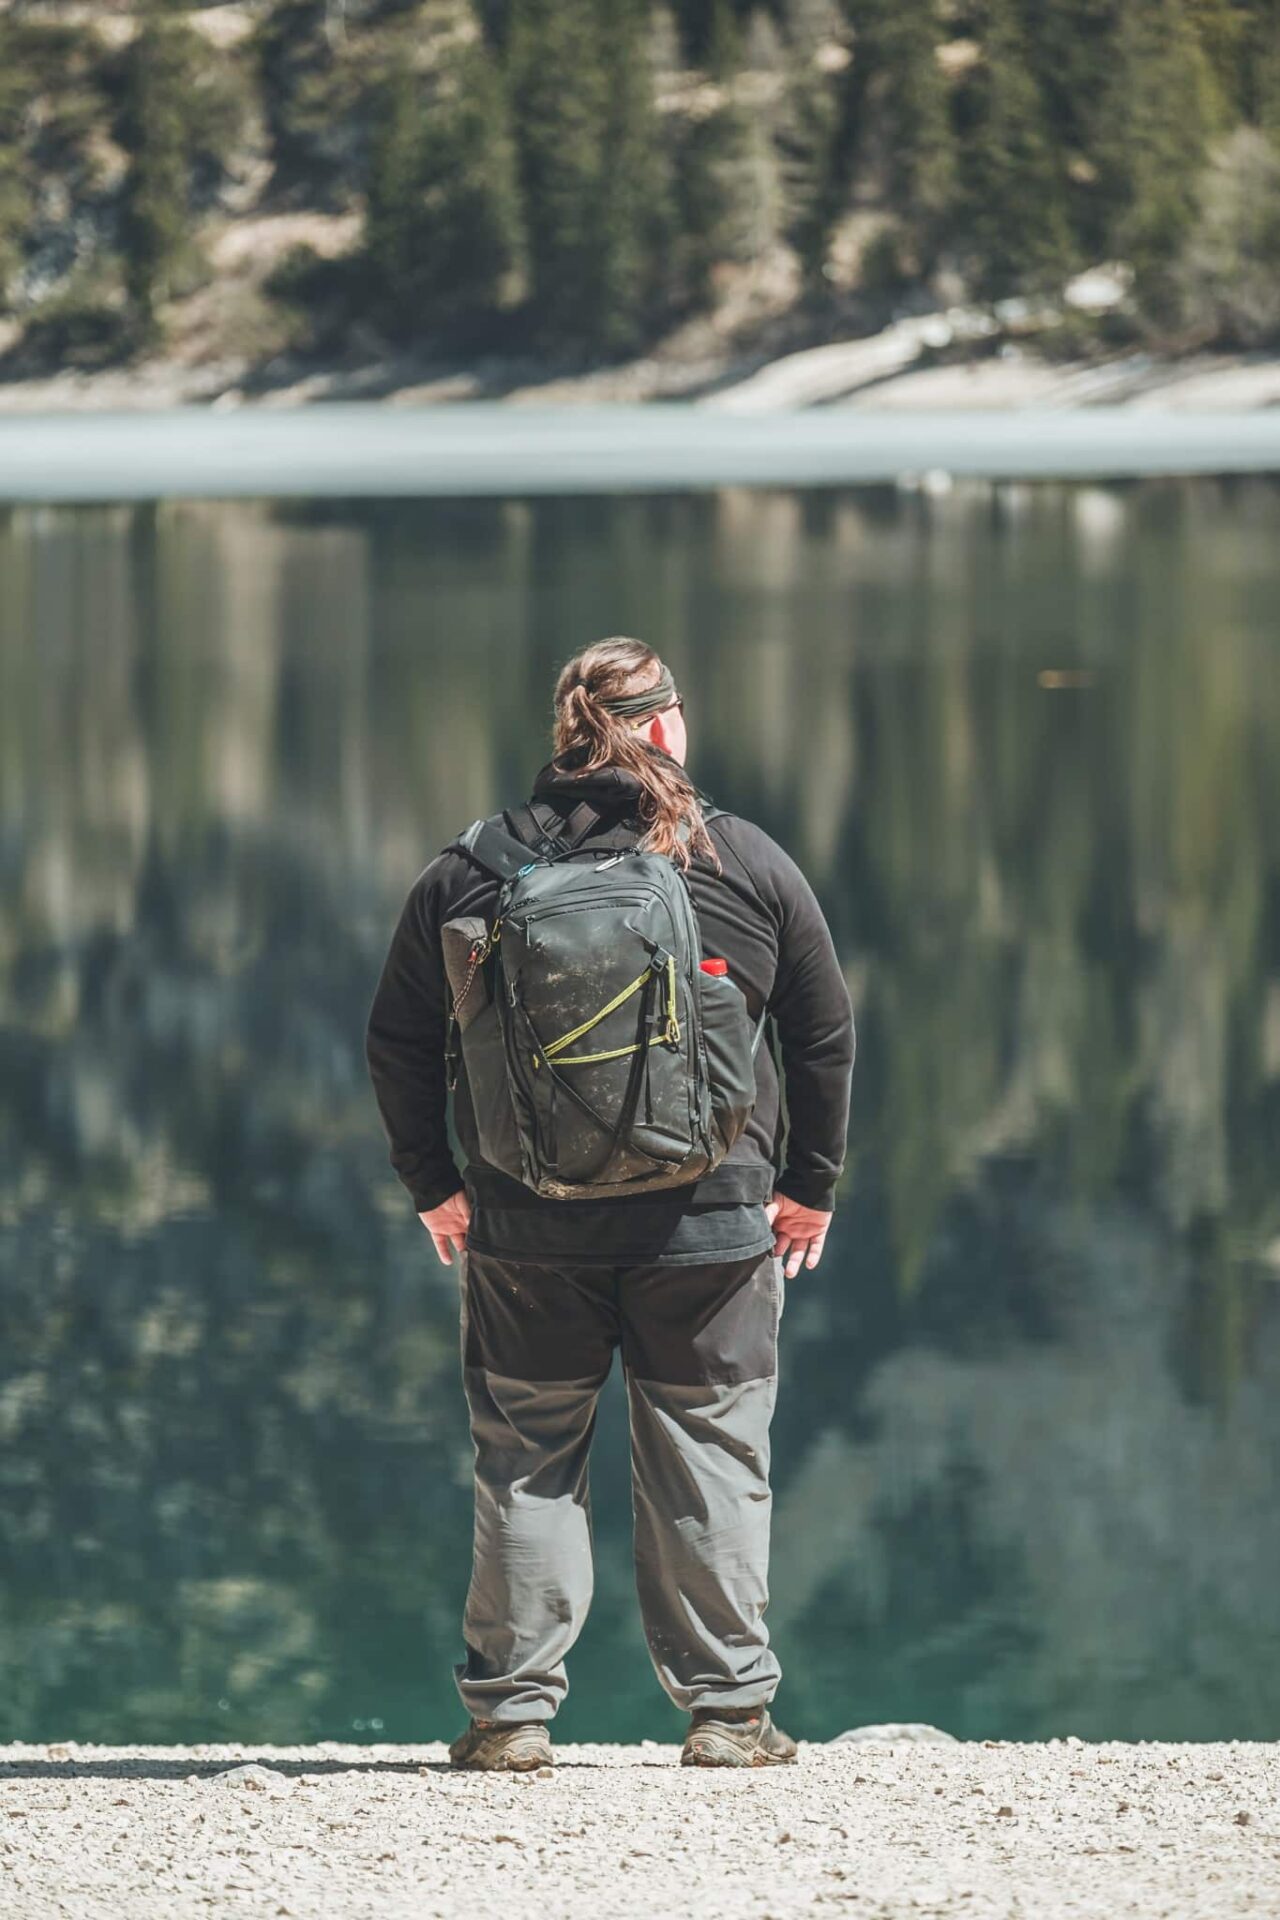
A durable camera bag or backpack is essential for transporting your equipment. You can’t forget a good jacket and warm, waterproof shoes. This is true even for the summer when mornings can be cold enough for a hat and gloves.

A headlamp with a red light is an important tool. Red light doesn’t narrow the pupils or cause glare.
Which lens should you choose?
Different lenses can be used to shoot landscapes, but the most used are wide-angle lenses with a 14-35mm focal length (10-30mm on a DX sensor). Long focal lengths are useful for shooting distance subjects.
Lens speed for landscapes is not as important as it is for shooting portraits. When traveling, it’s worthwhile to have a long-range zoom lens, typically 27-200mm (DX 18-140mm).
If you want pin-sharp images with beautiful details, you should invest in a fixed focal length lens with a fast lens speed. We’ll discuss how to choose a landscape lens and when to choose FF, also known as Full Frame or FX, or DX, or an APS-C sensor in a future article.
If you like shooting time-lapse videos, you may want to carry two cameras. One with a tripod that shoots frame by frame to capture the movement and changes of the landscape over time. You can use these images to put together a beautiful video.
The second camera gives you the ability to change the composition as needed and craft interesting shots. I prefer to use an action camera instead of a second camera, which is lightweight and can handle time-lapse videos with sufficient quality.
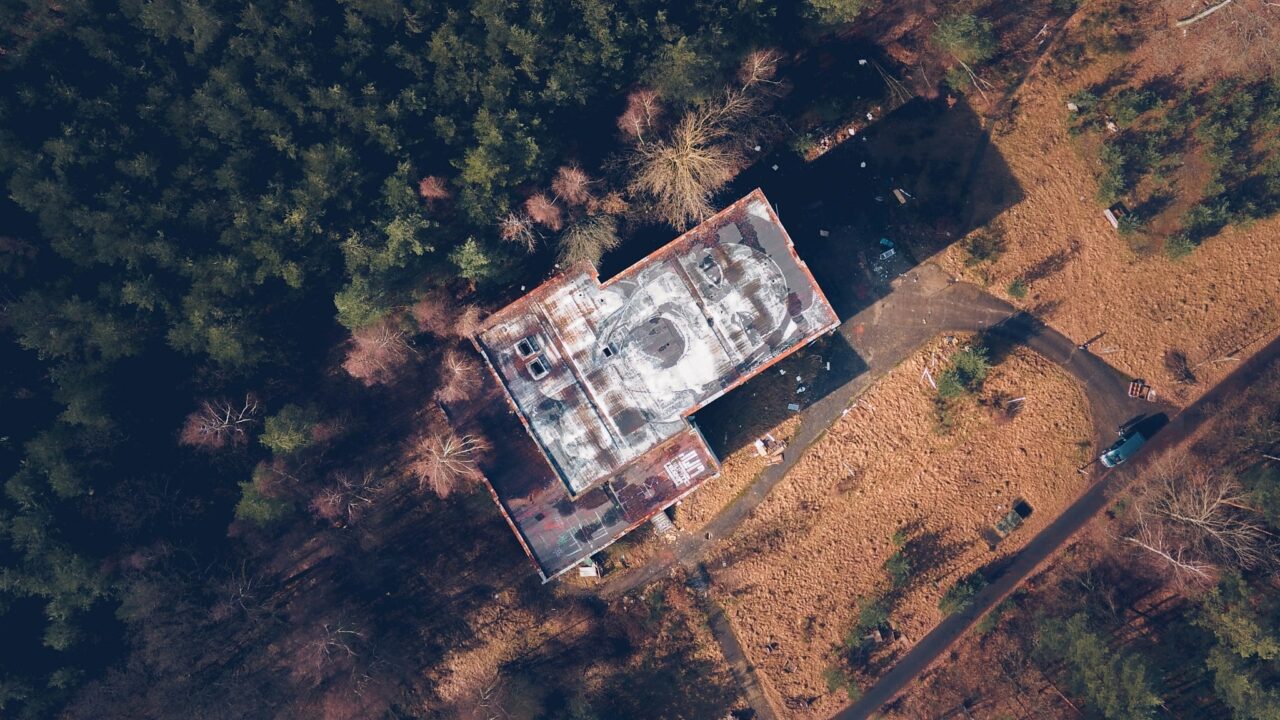
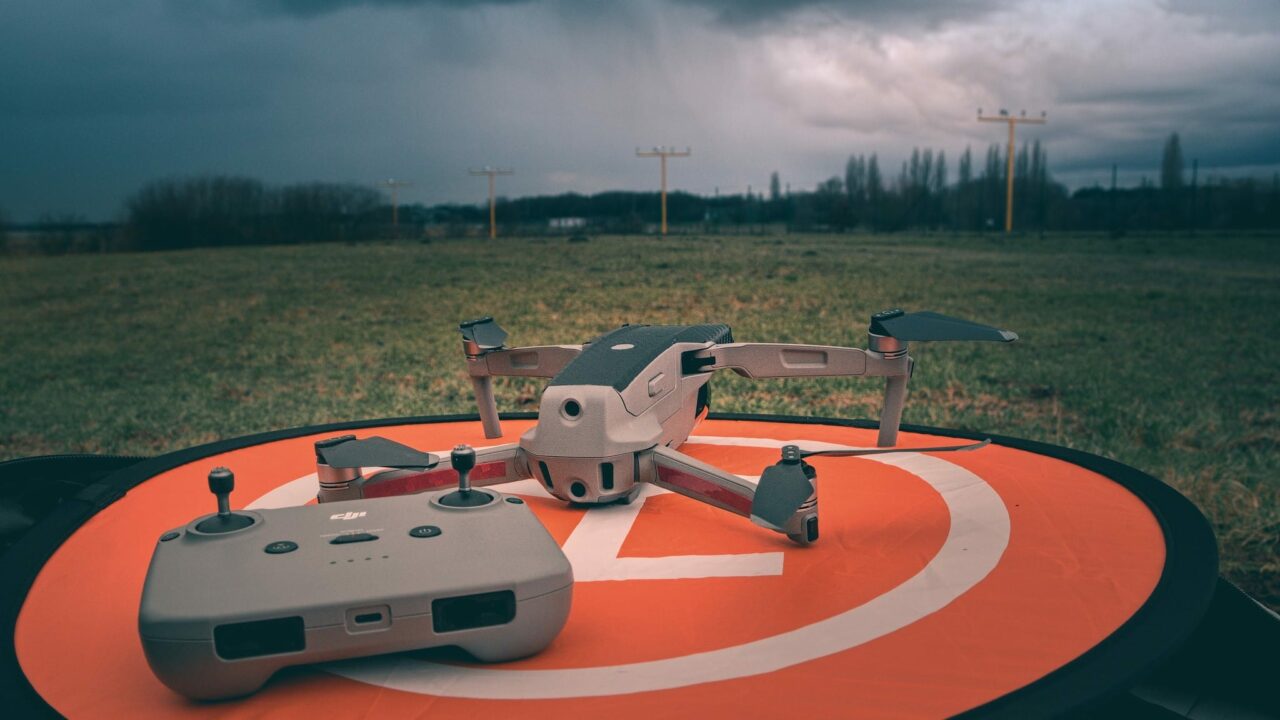
Some places can only be seen from a different perspective. In that case, a drone can come in handy to capture the surrounding landscape from above. I always try my best to leave my surroundings as undisturbed as possible, especially the birds and wildlife, which are most active in the morning.
Backpack or camera bag?
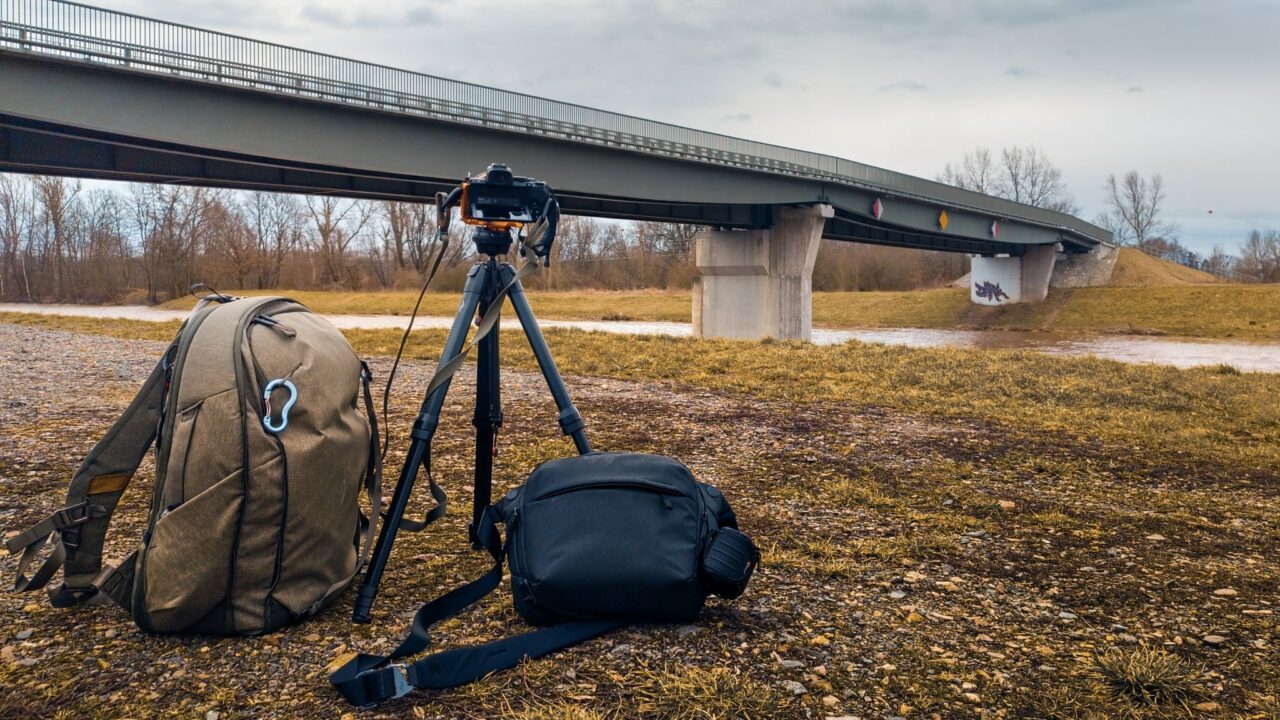
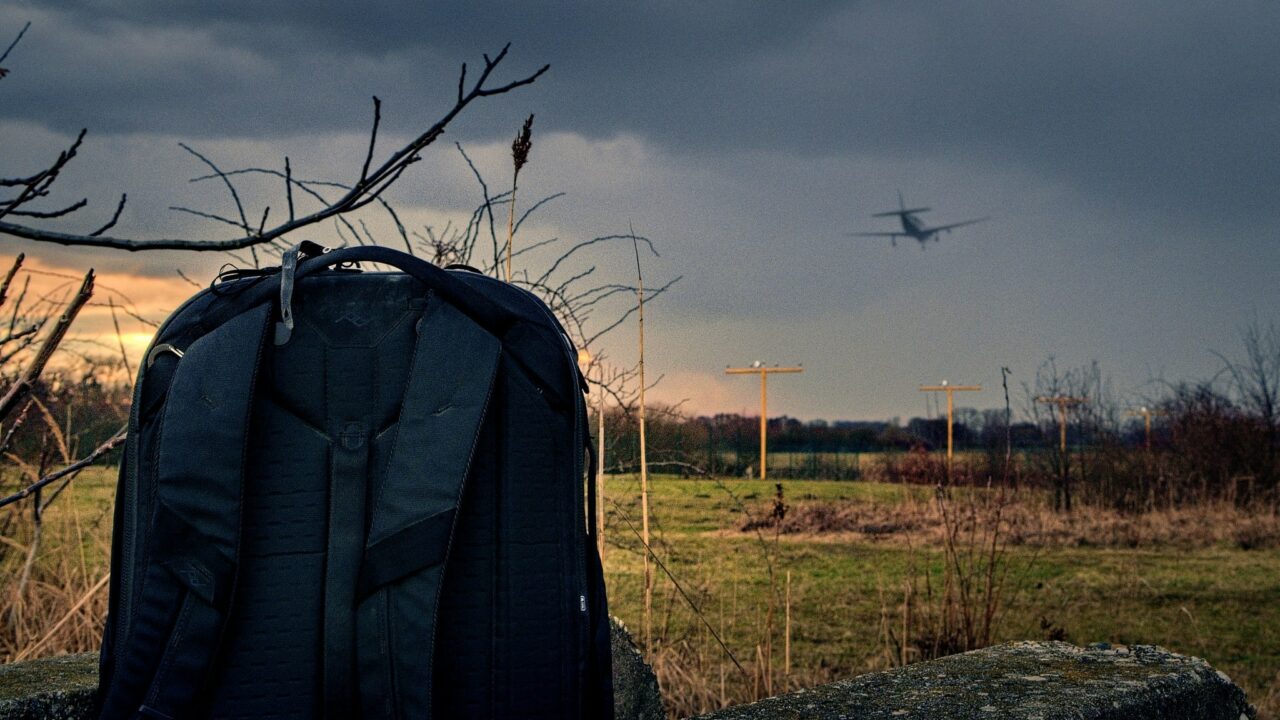
You need to have somewhere to store all the things you need for landscape photography. That’s why it’s important to get a durable camera backpack or camera bag.
The big advantage of a camera bag is its responsiveness. If you don’t want to carry your camera around your neck or hang it on your backpack, then a camera bag is more quickly accessible than a backpack. It keeps your camera protected and is ready to go at all times.
When choosing a camera bag, it’s a good idea to choose one that is water-resistant, abrasion-resistant, and comfortable to carry. The bag should fit the camera with the lens attached, as well as a second lens or any accessories. For example, I like the 6L Sling from PD.
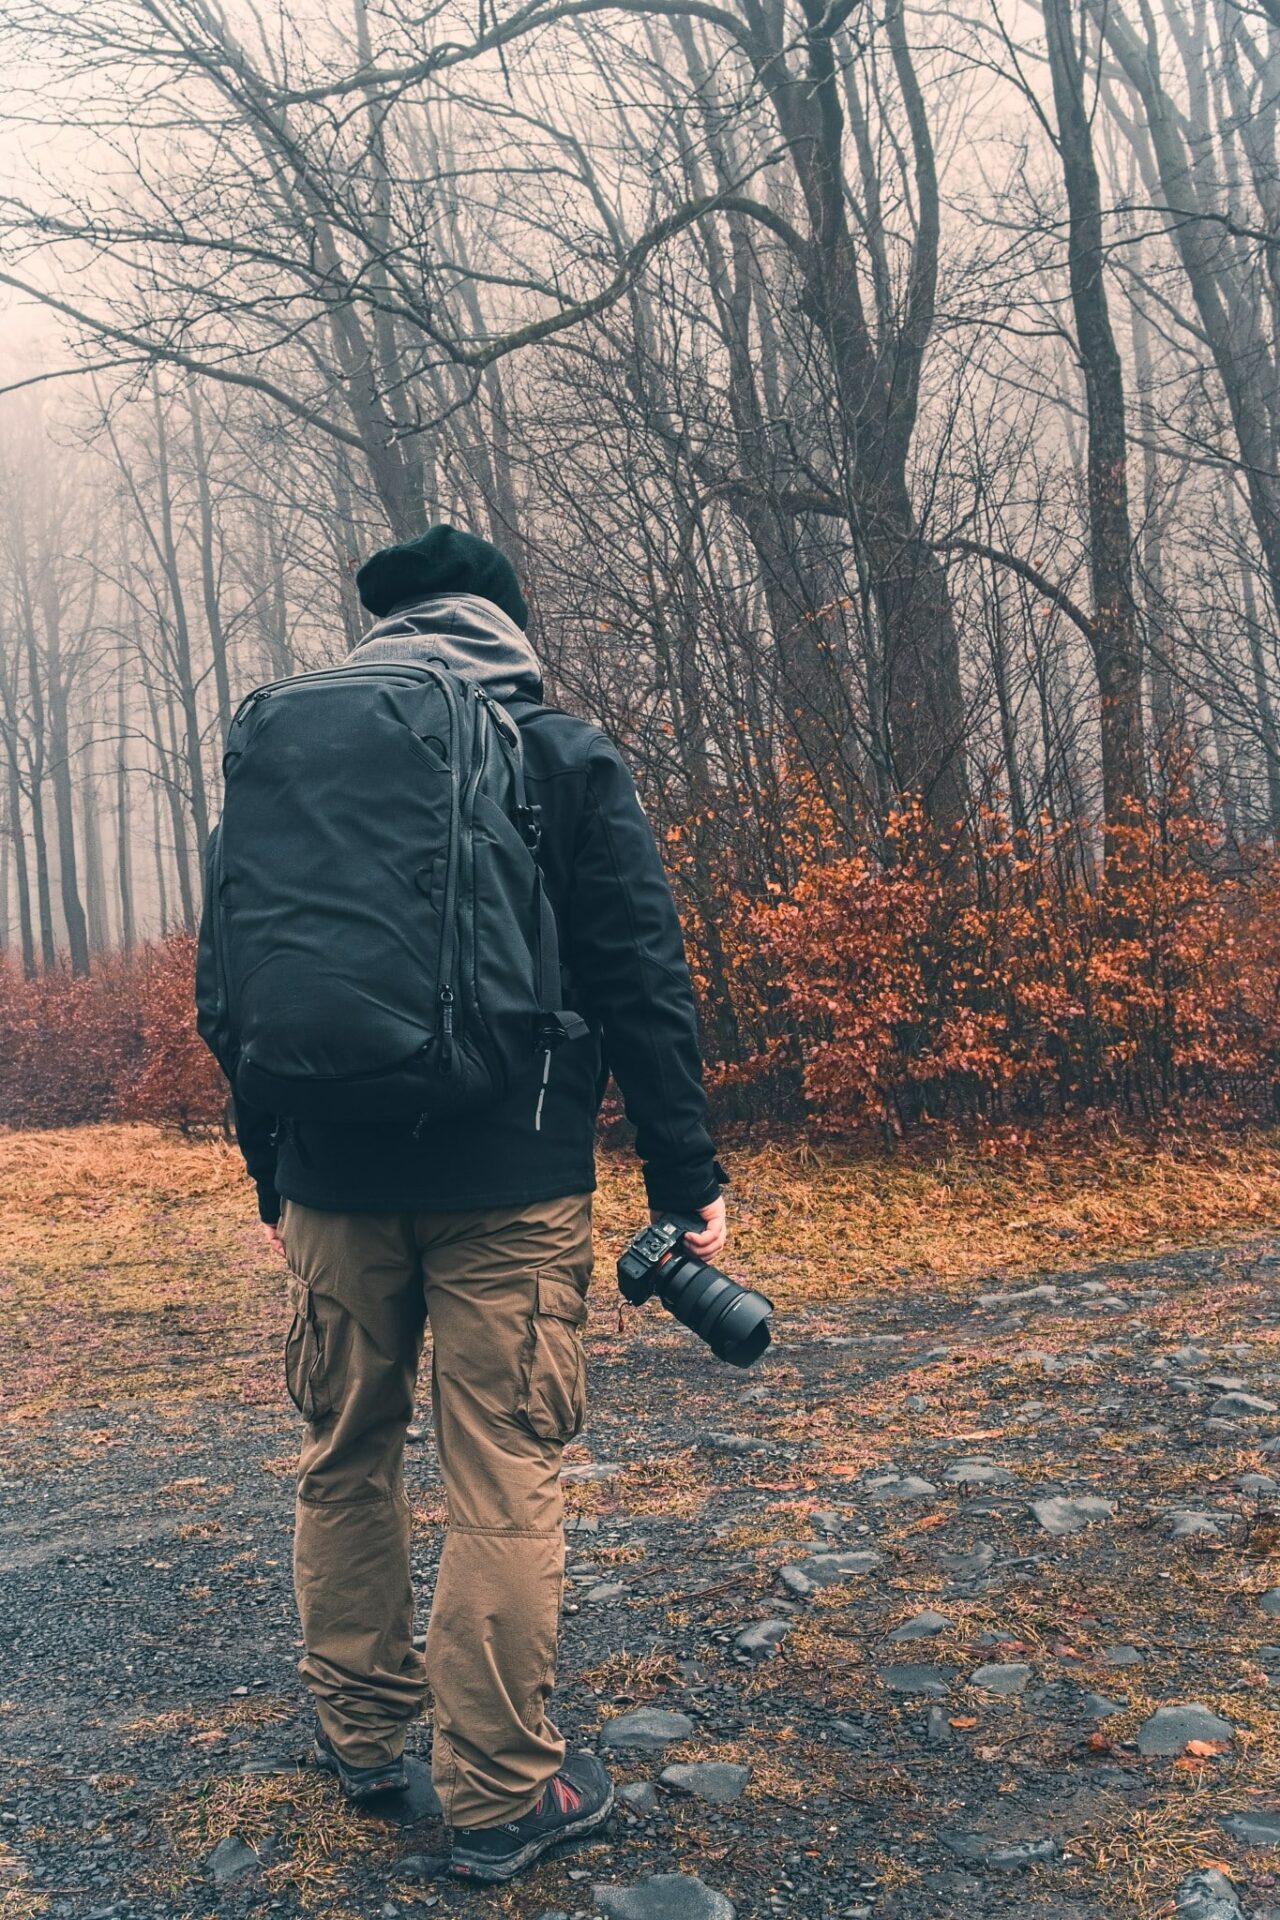
I carry other things like a tripod, drone, camera filters, snacks, and drinks in my backpack. From the high-quality and commonly available backpacks, I recommend the LOWEPRO Whistler BP 450 AW II, Manfrotto Pro Light 2 Flexloader Backpack Large, Shimoda Action X30, or my favorite, the Peak Design Travel Backpack 45L.
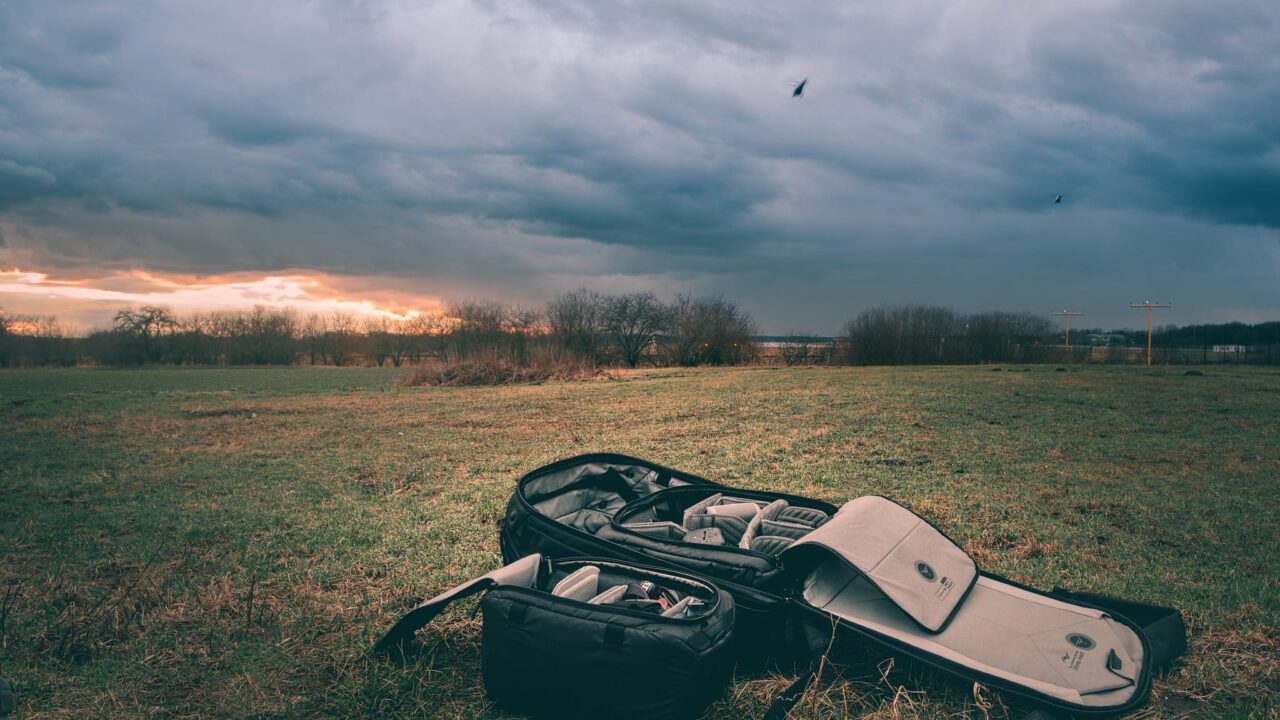
I chose the Peak Design Travel Backpack because it sits well on my back, which can vary for each person. Plus, I have the option to customize its internal layout using various Camera Cube boxes to fit what I need to carry with me that day.

All of these backpacks are suitable for extreme weather conditions, so you don’t have to worry about the rain.
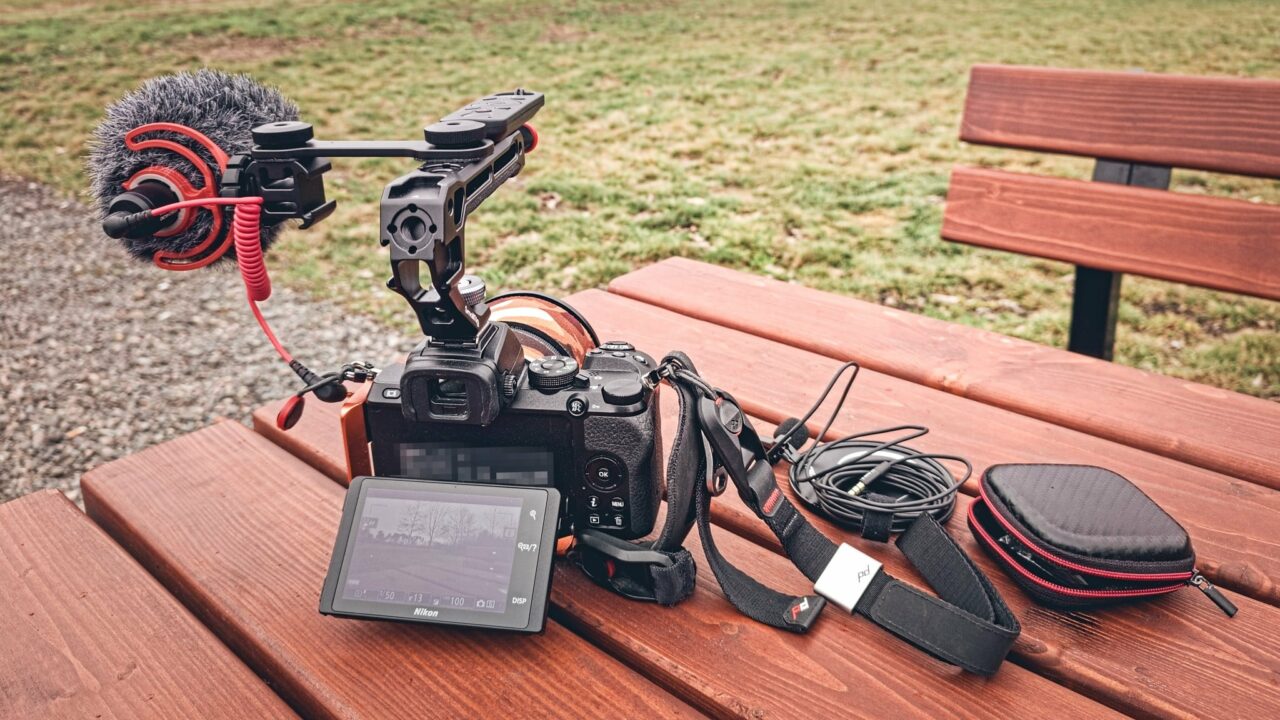
Since I like shooting video, I carry two lightweight gadgets that bring my videos to the next level. An external microphone for better sound and a SmallRig mount that hooks into the flash sled, making video movement much smoother than with a normal grip.
A tripod is not needless weight
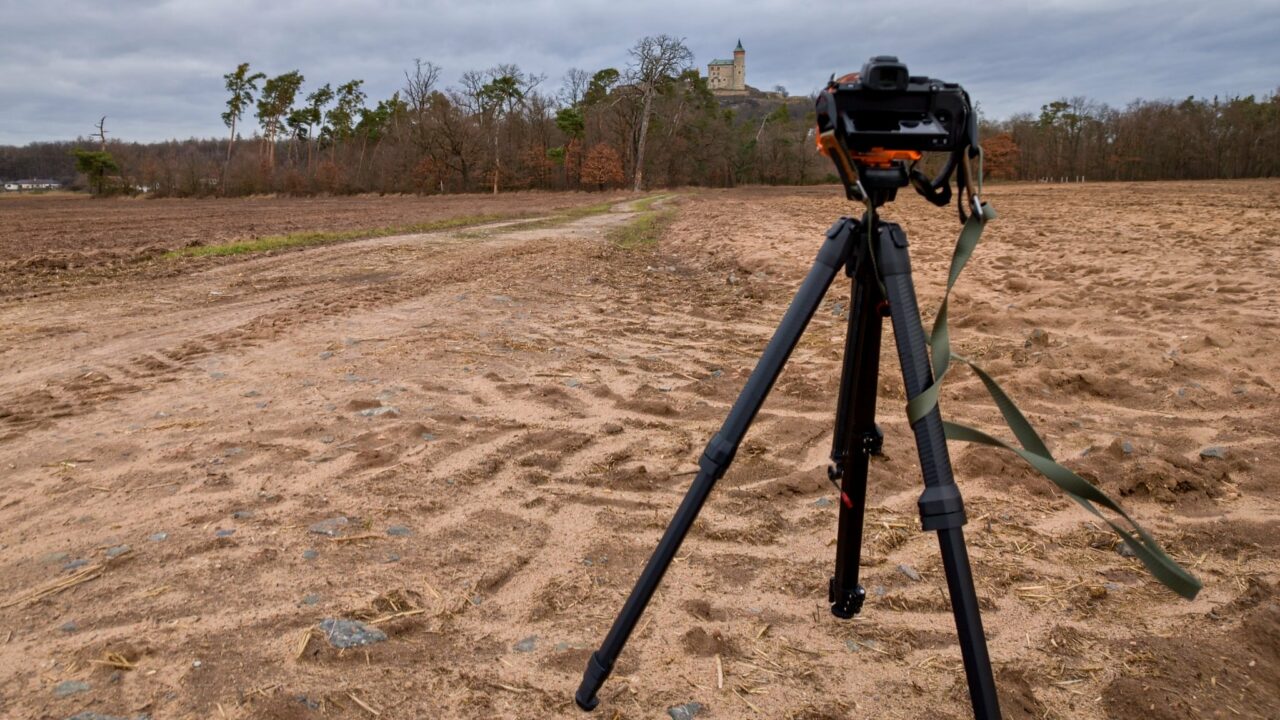
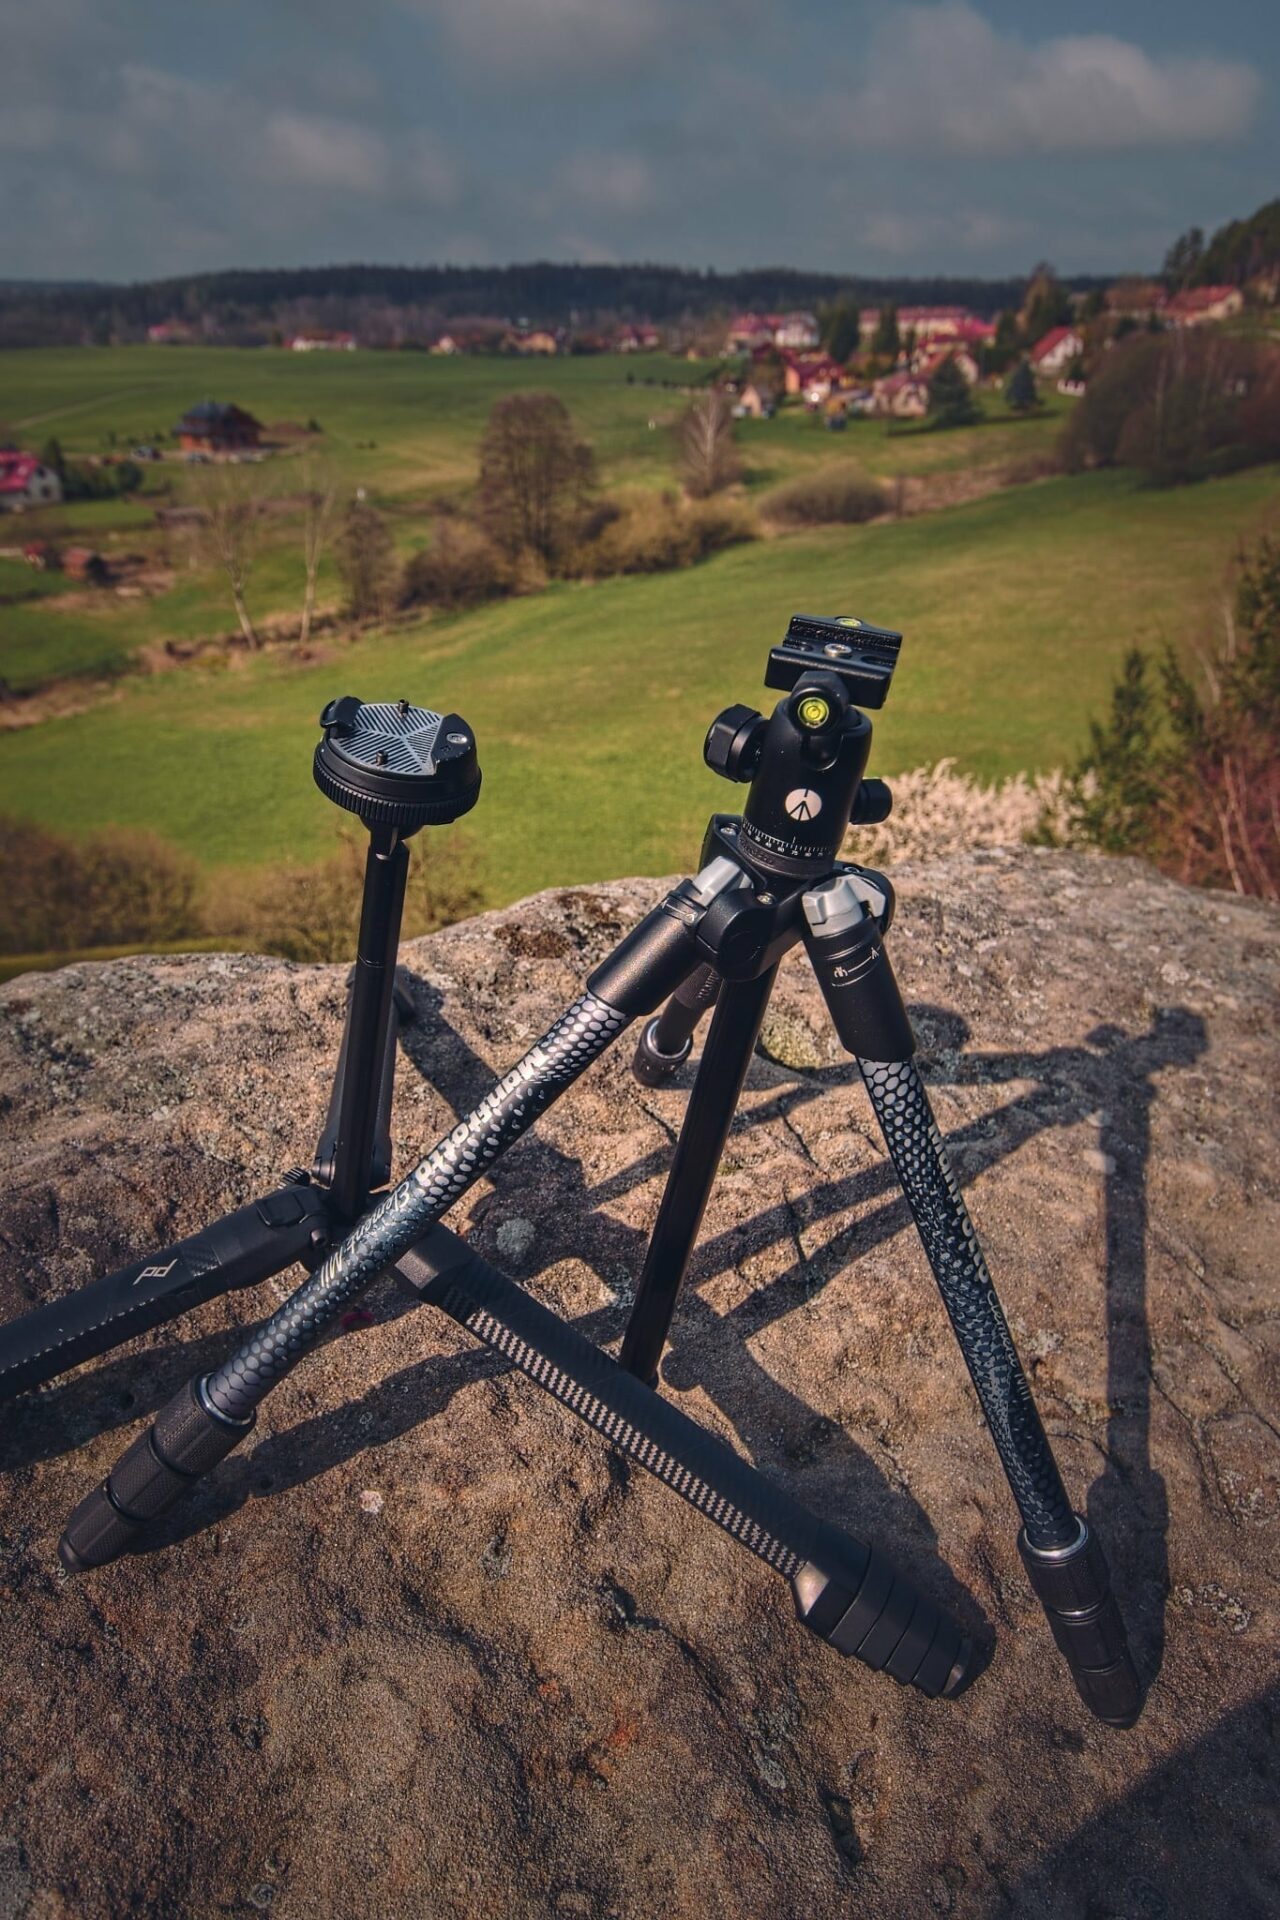
Have you ever heard the saying, you buy a tripod twice? It’s definitely worth investing in a high-quality tripod right away. My first tripod was very heavy, so I always left it at home or in the car. It was also quite unstable when unfolded, so putting the camera on my backpack was much more practical.
Choosing a tripod is always a compromise. You have to find one at a reasonable price and one that is lightweight and compact while still being stable. A lot depends on where you plan to use the tripod. A stable tripod with a soft pistol grip head comes in handy for shooting wildlife and video.
For macro, stacking panoramas, and the night sky, it’s useful to have a tripod with variable positioning of the center column and a round head.
If you travel a lot, choose a lightweight tripod that can be folded up to a compact size, and has a universal Arca Swiss plate for attaching your camera.
Whether it has levers or a swivel system to extend the legs is a question of preference. Each has its pros and cons. For many photographers, Manfrotto leads the way, where you won’t find a bad tripod. Also, the Peak Design Travel Tripod.
There are plenty of other brands that make great tripods, but be careful not to buy a tripod that you’d rather leave at home after a few trips.
If you like shooting in portrait orientation and composing panoramas, you should look for an se po L-plate bracket, that allows you to attach the camera vertically without having to tilt the tripod head sideways. I recommend sticking to the ArcaSwiss plate, which is the most versatile and widely used with high compatibility.
Filters
A case for accessories like camera cards, batteries, power banks, remote shutter chargers, and filters comes in handy. I carry quite a few landscape filters, one of which is a polarizing filter, which brings out the sky and contrast in the clouds or can make the water’s surface more transparent.
The Gradient Filter can be simulated pretty well in post-production, but once you try it, you might prefer using the gradient filter to balance the extreme light in the sky with shadows.
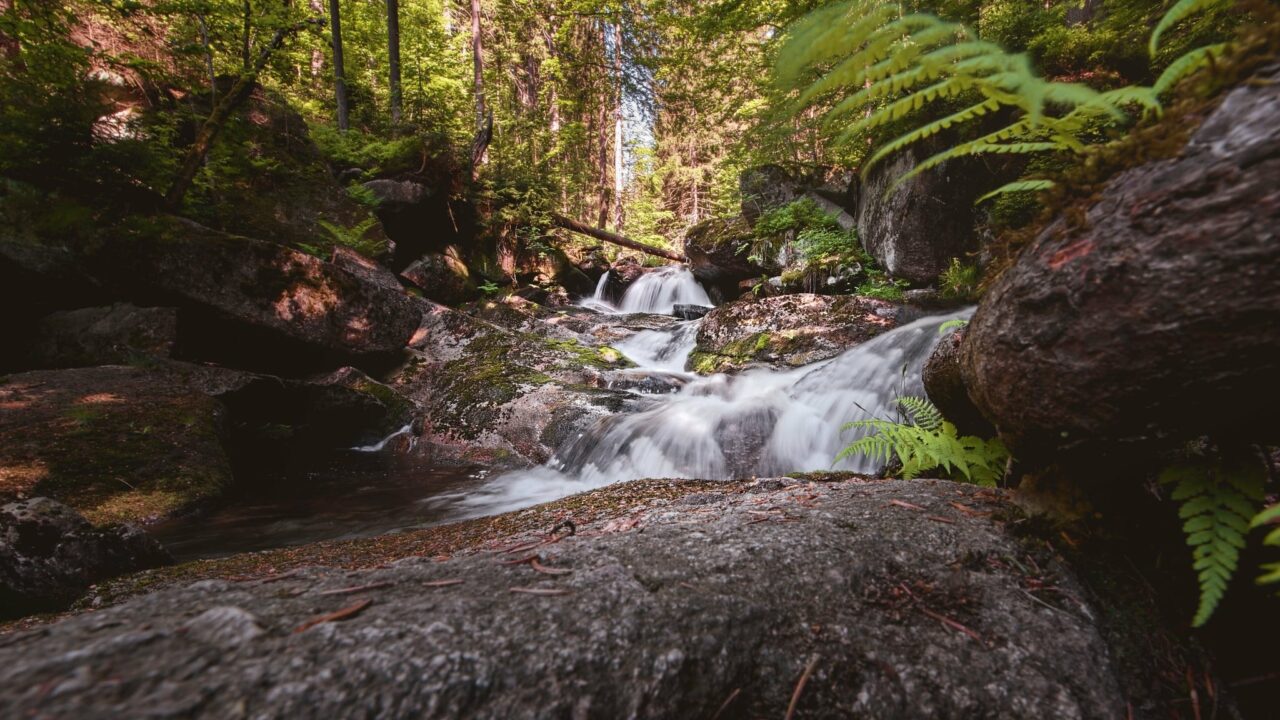
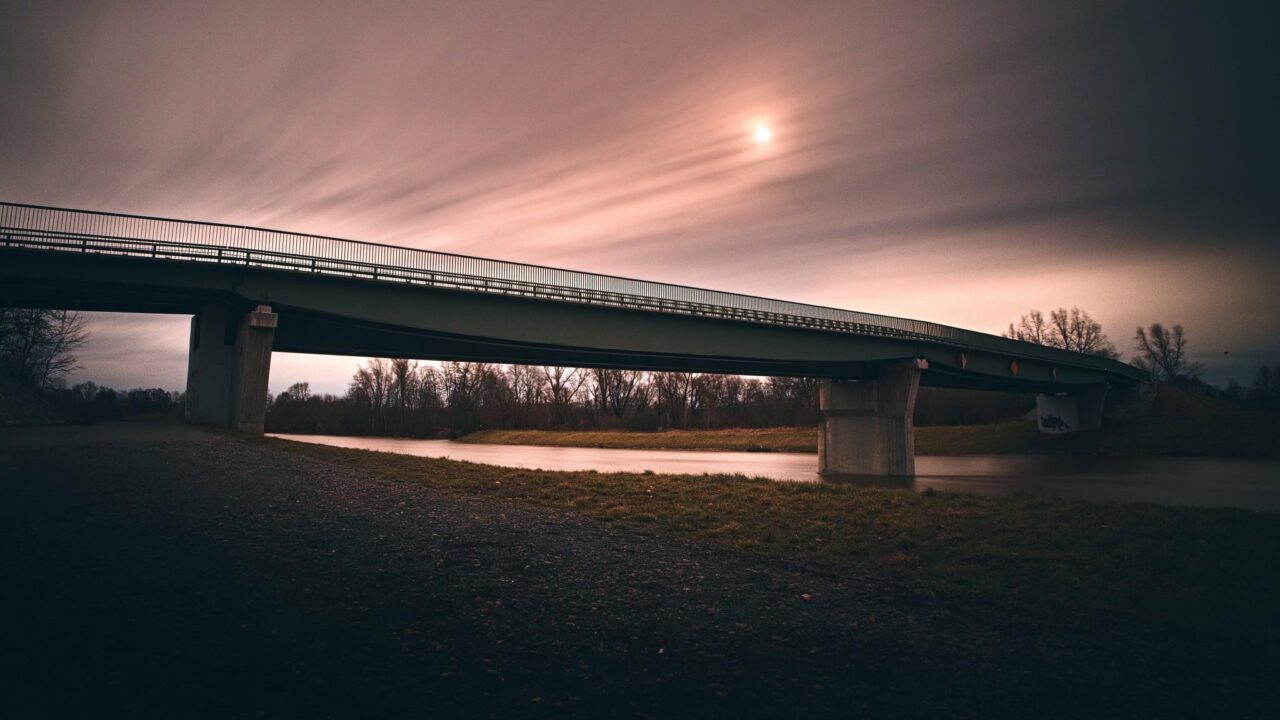
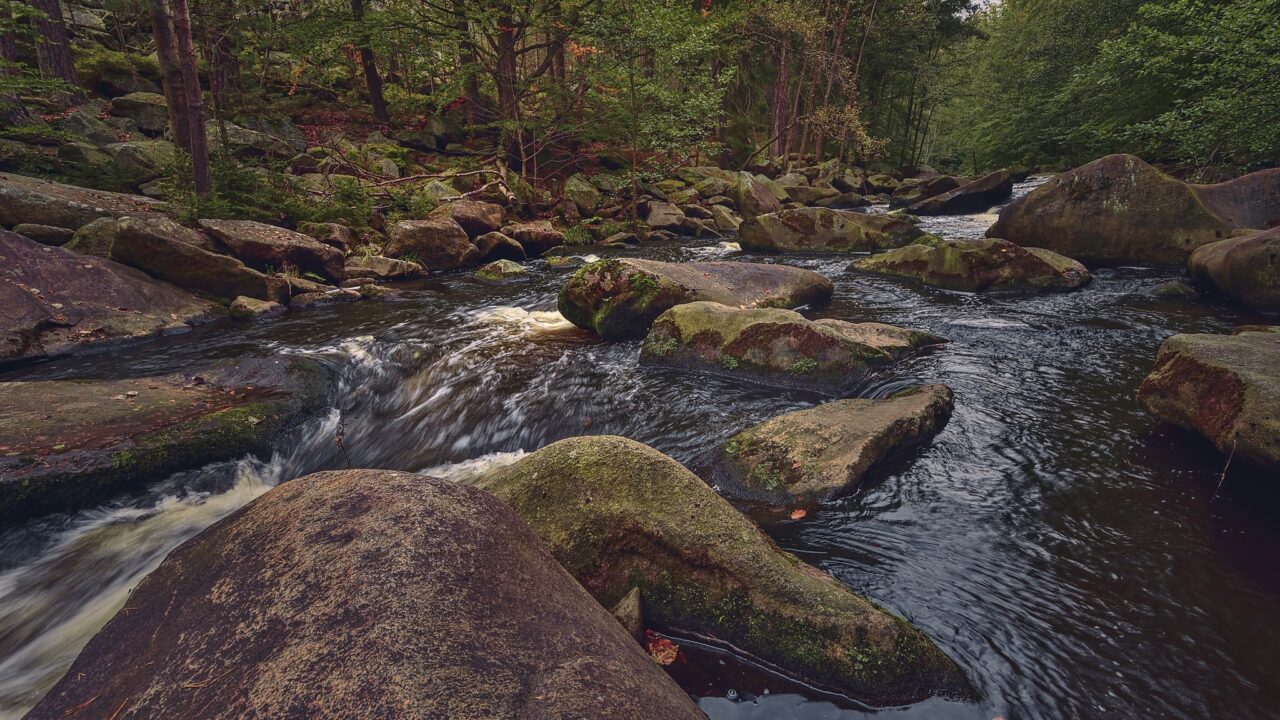
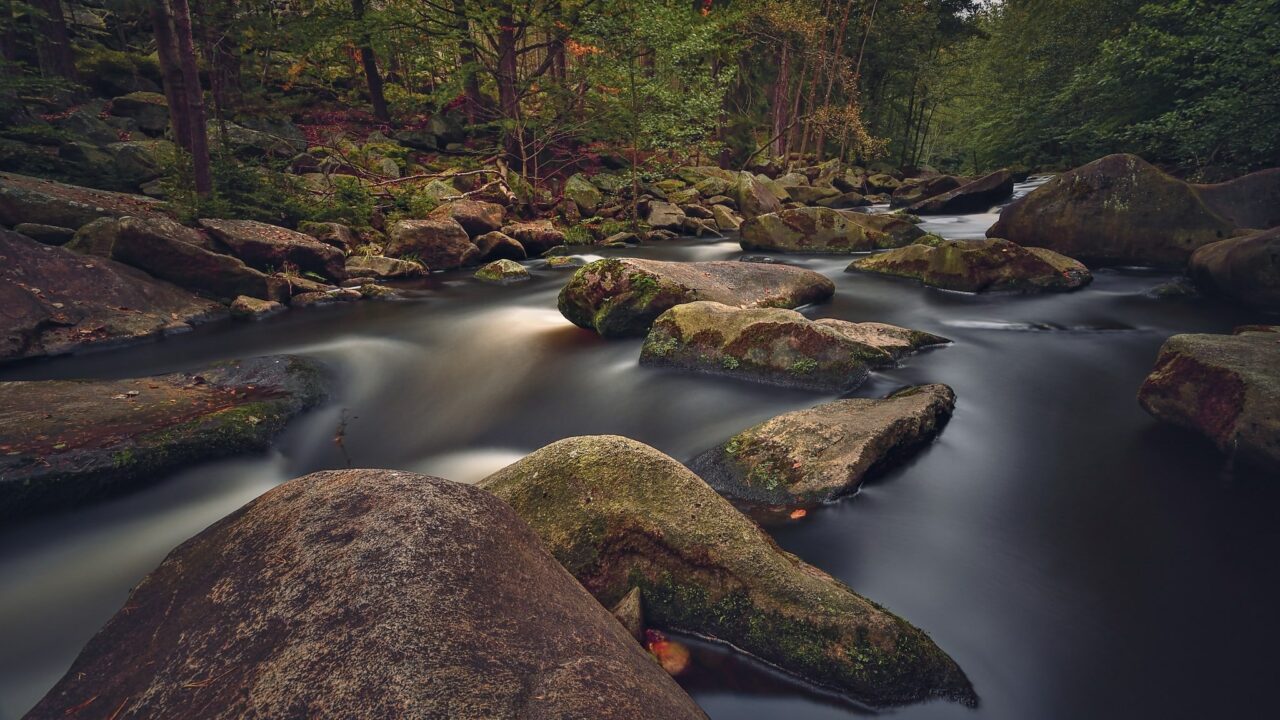
We can use neutral-density filters (ND+number refers to the amount of light reduction) to blur the sky, running water, remove tourists on the street, etc. In the countryside, you can often get by with a ND64 or ND2000. But for traveling and shooting large waterfalls, waves, or monuments, the ND8000 is a good choice.
The variable ND filter 2-32 is used for shooting video. For convenience, I like the magnetic filter attaching system used by the Czech brand VFFOTO.
The difference between a photo before and after the use of an ND filter.
For night photography, a NightSky and Mist filter can be useful, as their use in combination improves the contrast of the stars in the sky.
Basic camera settings for landscape photography
Before you start shooting, be sure to set your camera to shoot in RAW. This gives you much more information about the dynamics of the lights in the image than if we were to shoot in JPG. Plus, we can bring out the shadows better and not lose details in the highlights when editing.
If shooting with a tripod, it’s a good idea to turn off lens stabilization in both the camera and the lens, and use remote shutter release. With night photography, don’t forget to turn off noise reduction for long exposures.
If shooting a static scene on a tripod, you can leave your shutter speed on auto and set ISO to its lowest value. Depending on the lens’ focal length and the desired depth of field, choose the aperture. Switch to aperture priority (A, Av) and set the f-number. For wide-angle lenses on a full-frame camera, the f-number is between 11 and 16. For DX, the f-number is 8-11, and for 4/3 systems, use around f/5.6.

The hyperfocal distance helps us set an aperture at which both the foreground and background are sharp.
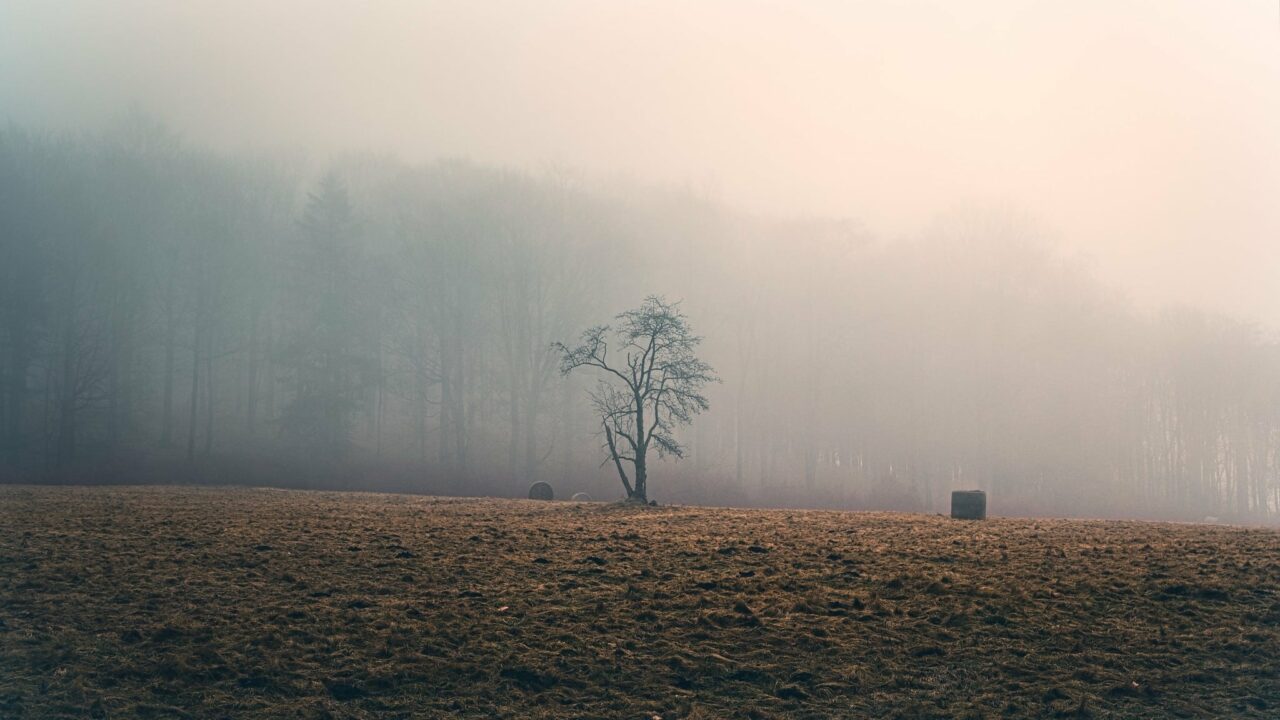
When choosing your composition, it’s good to think about giving your image depth. Choose an interesting subject for the foreground in the middle and a distant horizon in the background. Fog often helps us accentuate the impression of depth and add mood to the image.
As the saying goes, there’s no such thing as bad weather, only bad clothing. I hope that my list helps you put together all the things you need to pack in your backpack or camera bag next time. Now, all that’s left to do is purchase the missing pieces, pack, and set out for your photography journey.

Dave
One item missing – electrical tape ;-)
Next to no weight and helpful for fraying straps, boot failure (once caught a stone on a mountain top and most of the sole of my boot came away – long walk down in clown shoes, but tape held it together), holding dropped equipment together, holding filters to camera when you forgot that bracket.
If no space for the tripod, a bag of rice can also be handy – has the dual purpose of emergency tripod and food for later.
Honza Jan Musil
Good point :-D
Thank you
Larry A Aronberg
Great article. About to do my first traveling in 50 years. Need new equipment. This is a big help. Thanks.
Honza Jan Musil
It’s my pleasure.