Perfectly Stitched Panoramas: The Nodal Point Will Help

Sometimes when you’ve taken your shots for panoramas, you may not be able to stitch them on a computer how you imagined. The result feels awkward and not at all like the panoramas you know from experienced landscape photographers. The cause lies in bad rotation of the camera on the tripod. For the photos to be perfect, it has to rotate at the nodal point.
You can also encounter the term “no-parallax point,” which means the same thing. It means the optical center of a particular lens.
This center is fundamental when you’re creating panoramas. Turning a camera around this point while you’re preparing a panorama evens out the lens distortion that arises when the camera chip is in the center of rotation. This keeps you from having to worry about errors when stitching panoramas on a computer.
When Should You Use the Nodal Point?
Above all, use it when you’re taking shots for large-format panoramas, as these are where the transitions are most important. A tripod with a pano head will help. That kind of tripod will make the nodal point easier to find and utilize.
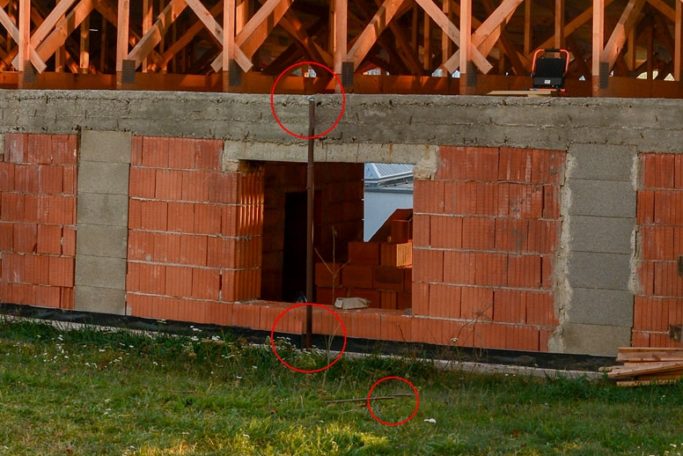
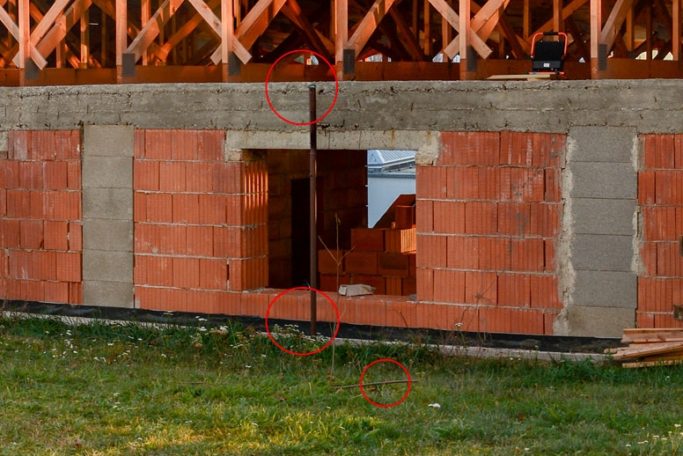
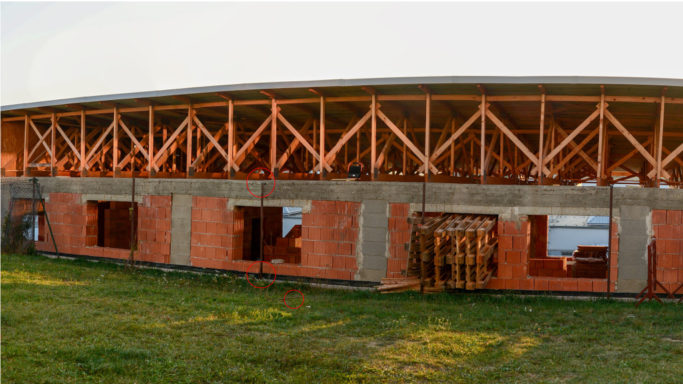
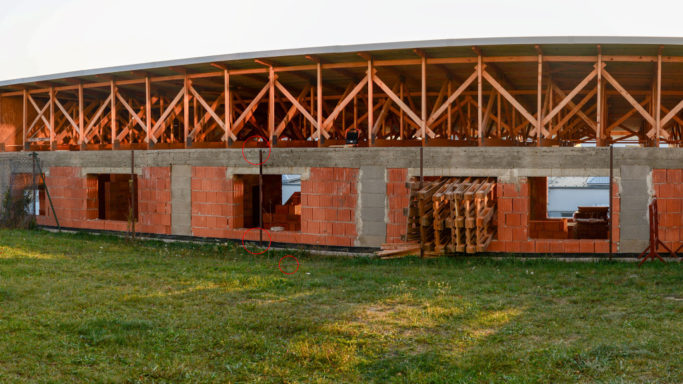
It’s entirely possible to take your panorama shots without using expensive pano heads and the nodal point. However, if there are any objects in the foreground, they will be distorted and won’t line up after you join the shots.
You can also see this kind of problem in electric wires if you’re shooting a panorama in a city.
This problem is caused by the camera chip rotating in the axis of the chip rather than in the center of the lens’ optical assembly.
How Can You Find the Nodal Point?
It’s not absolutely necessary for your tripod to have a pano head in order for you to find the nodal point. You always have the option of checking for any mark that may have been put on your lens by the manufacturer to indicate that point. For example on the AF DX Fisheye-Nikkor 10.5mm f/2.8 ED lens, it’s indicated with a yellow ring around the lens circumference.
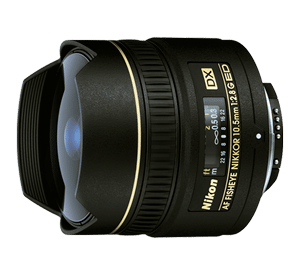
But you can’t rely on this. If you can’t find any mark, you’ll have to find the nodal point yourself.
The simplest method is to determine it using two vertical objects. For this, you just need a tripod and a slide-in quick release plate. Then:
- Put two vertical objects on the ground (for example trekking poles), about two meters apart.
- Fasten your camera to your tripod and turn on the live preview.
- Position the camera and the tripod so that the poles and the camera are on the same line, that is, so that the poles overlap.
- While you’re rotating the camera, you’ll notice how the rear pole runs out from behind the front one.
- This phenomenon shows the lens distortion. So move the camera back a little and run this test again.
- Keep repeating the test until the poles still cover each other even when you move the camera.
Once the poles keep on covering each other no matter how you rotate the camera, you’re done. You’ve found the nodal point for your lens and the given focal length.
Even Pencil and Paper Can Be Enough
If you don’t have a tripod with a pano head, then finding the nodal point is a little more complicated. But you can still take care of this at home all the same. All you need is:
- a compass,
- a ruler,
- a sheet of paper.
Now use the following guide:
- Draw the longest axis you can on your rectangular sheet of paper.
- Mark an “S” point on that axis as close as possible to the center of the rectangle.
- Draw a large semicircle out from that S point.
- Starting from the place where the semicircle intersects with the lengthwise axis, mark out 10 points at equal distances from each other.
- Mark lines that run out of the S point and intersect with the marked points on the semicircle. Make a fan out of them.
- Now lay the paper with the fan on a table and place the camera on it. Turn on the camera’s live preview, and then move it along the center line until the lines become parallel.
- Now look under the lens, where you have the S point on the paper. This point will show you the nodal point of the given lens.
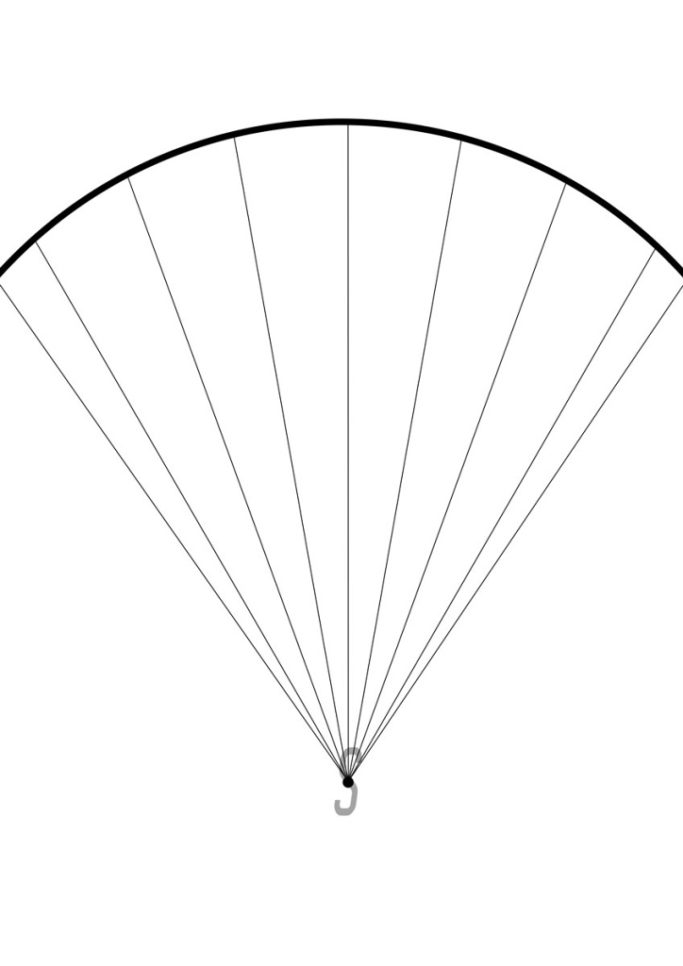
So that you don’t have to draw your own guide to finding the nodal point, we’ve prepared one for you in PDF format. Use the button below to download it.
What’s the Right Way to Mount Your Camera for Panoramas?
Once you’ve found the nodal point, you’ll see that it’s actually located outside of the camera’s tripod screw. This leads to the problem of how to fasten the camera to the axis of rotation at precisely the nodal point.
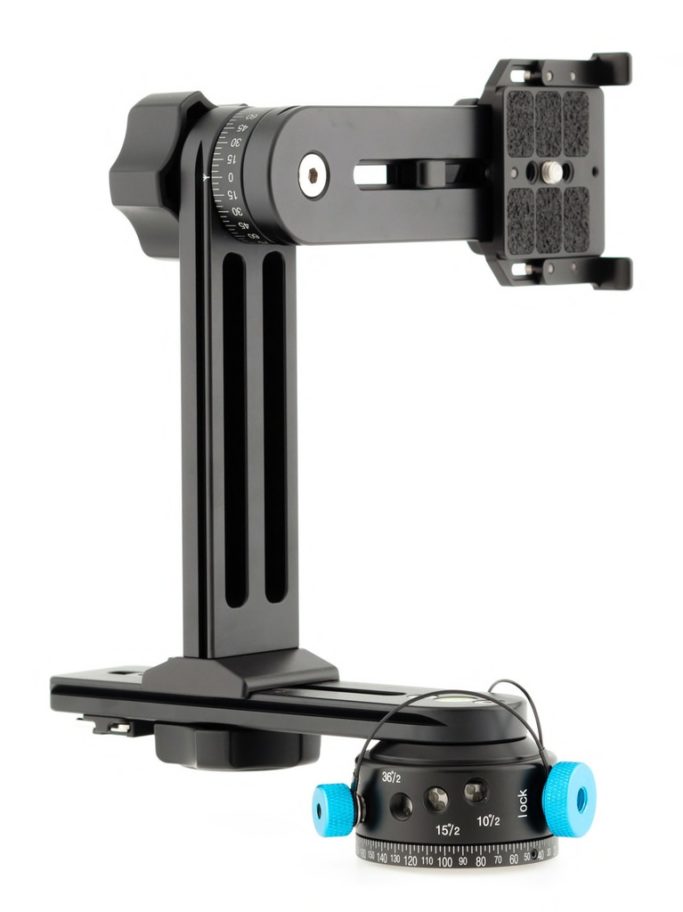
If you own a pano head, there’s no problem. Just mount your camera into this specialized head and take your pictures.
When you don’t have such a head, you need a sliding quick release plate or a macro rail. You’ll be using it to shift the camera into the needed axis of rotation.
You can also use a 200mm Arca-Swiss compatible plate and an L-bracket, which also lets you attach the camera to the tripod vertically. With this trick, you can get more precise rotation in the nodal-point axis and gain the option of shooting in portrait orientation.
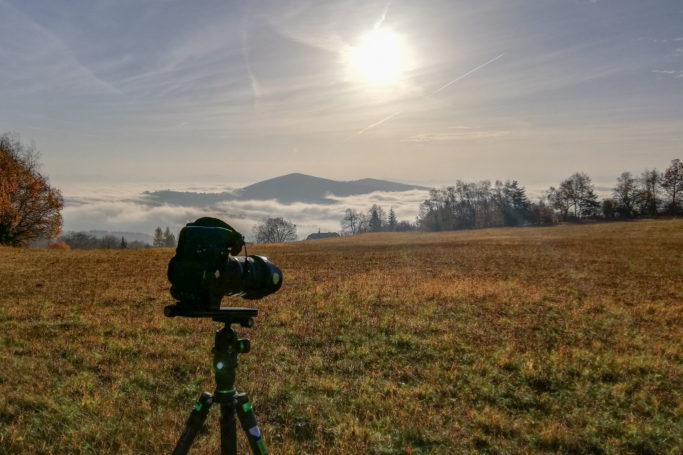
It’s all just up to you which solution you’ll choose. But every single one of these solutions will save you lots of trouble when you’re stitching panoramas.
There are no comments yet.