Photographing fog – Get a mysterious atmosphere in your photos. We’ll tell you how to get the right shots and edits
The article is over 5 years old. The information in it may be outdated.
![]()
We are working on its update. In the meantime, you can read some more recent articles.
Fog lowers visibility and can cause multiple issues during photography. But it can also be a source of creativity to form a mysterious atmosphere in your photos. We’ll give you a few tips for taking photos in the fog. We’ll also show you how to use the right edits to enhance the resulting mood.
Throughout the fall and winter, you have plenty of opportunities for photos in the fog. You can take advantage of them in many ways. We’ll give you some ideas! We’ll focus mainly on how to achieve an ethereal, mysterious atmosphere that looks like it is taken straight from a suspenseful movie or TV show. We’ll also show you how to enhance the atmosphere with edits in Zoner Studio.
Why you’ll fall in love with photographing fog
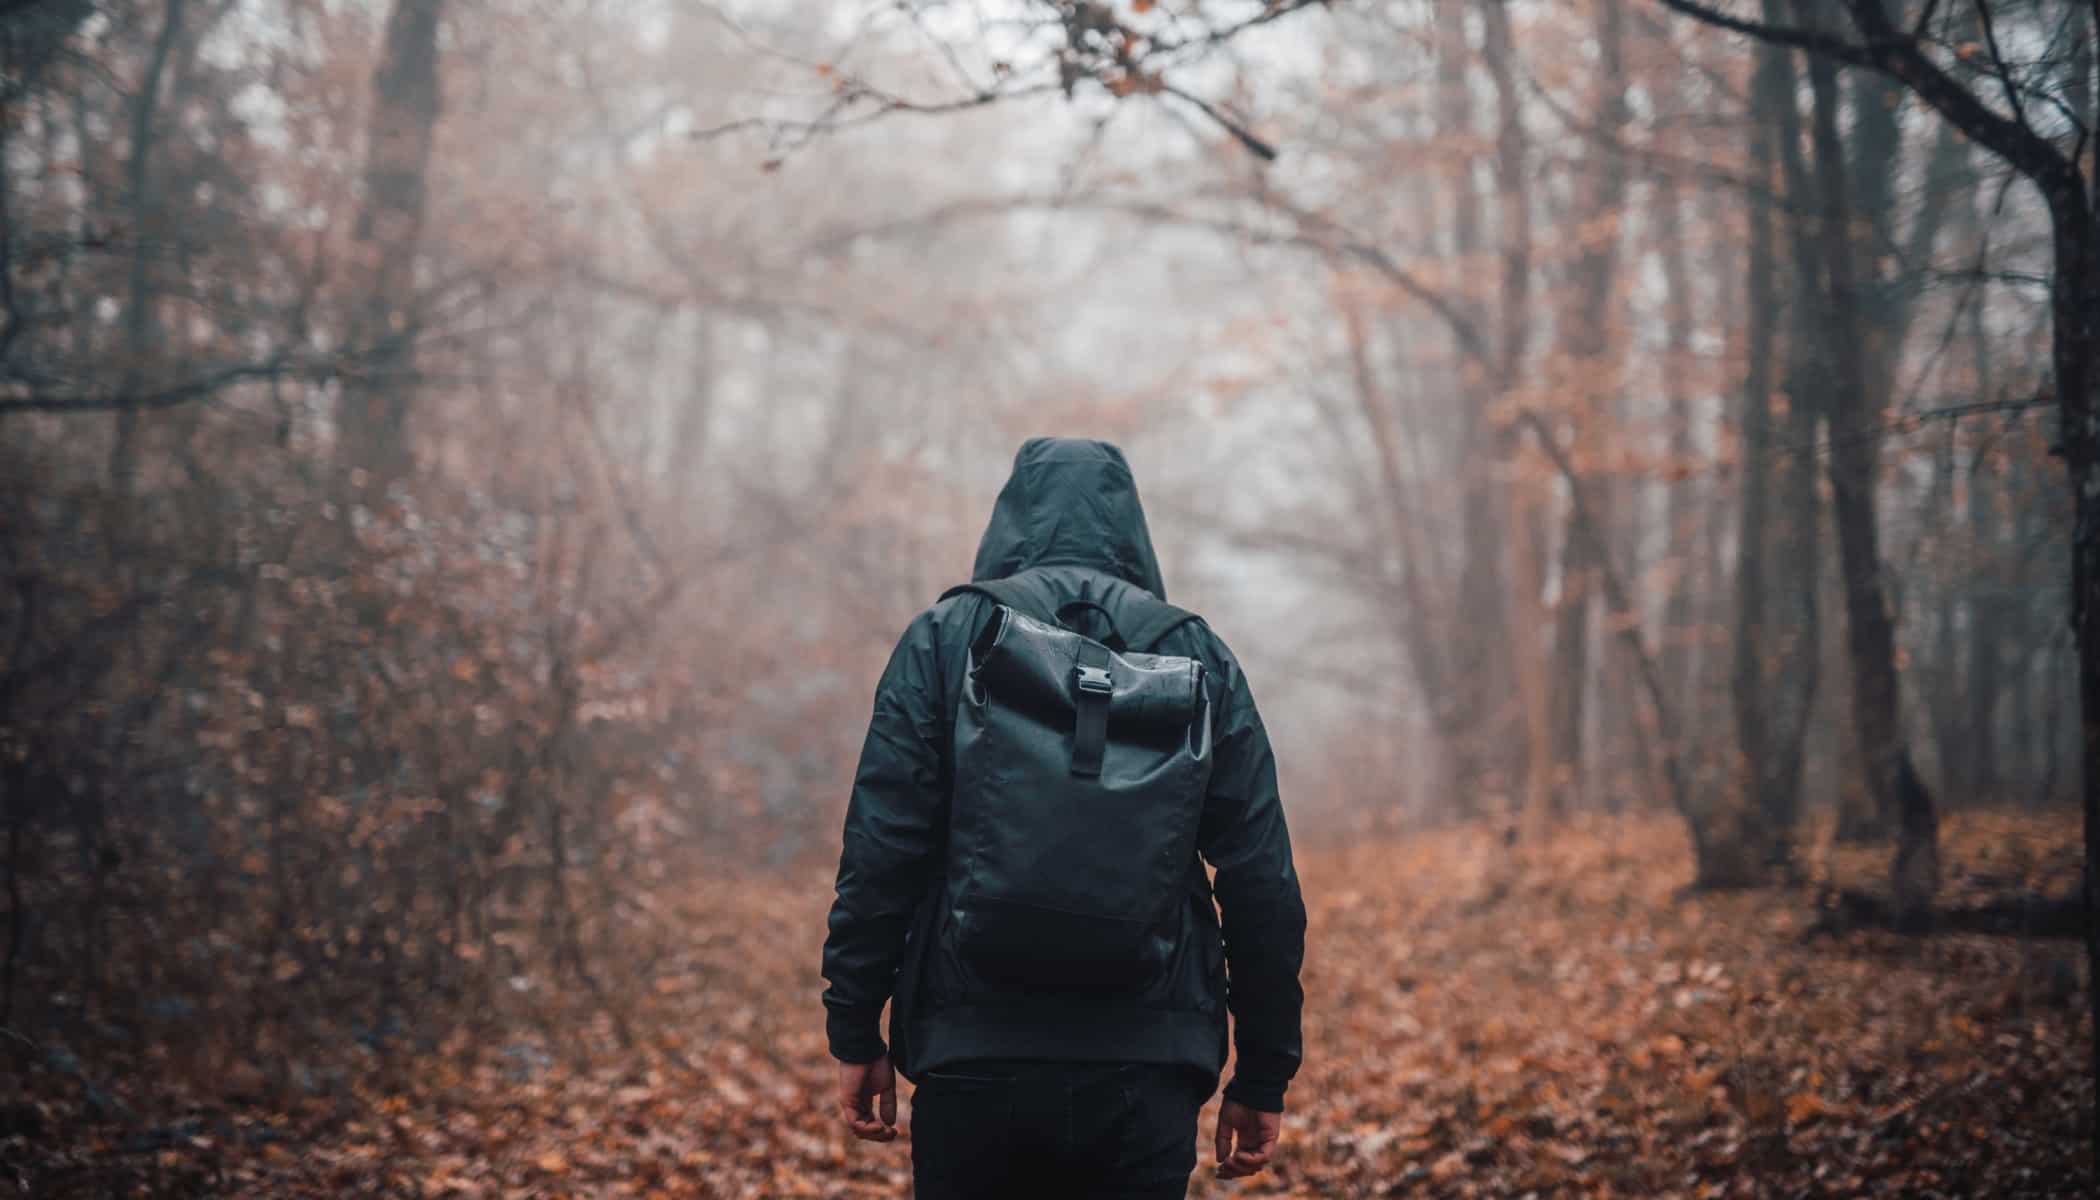
If you are taking photos in the fog or mist, you can easily create a layered composition. Objects placed closer to the camera appear clearer and the further in the distance they are, they disappear into the fog. Similarly, you can use a shallow depth of field to make the fog separate the subject of the photo from its background. You can even combine these two methods. By combining the two, the foreground will have a shallow depth of field and the fog will be all the more accentuated.

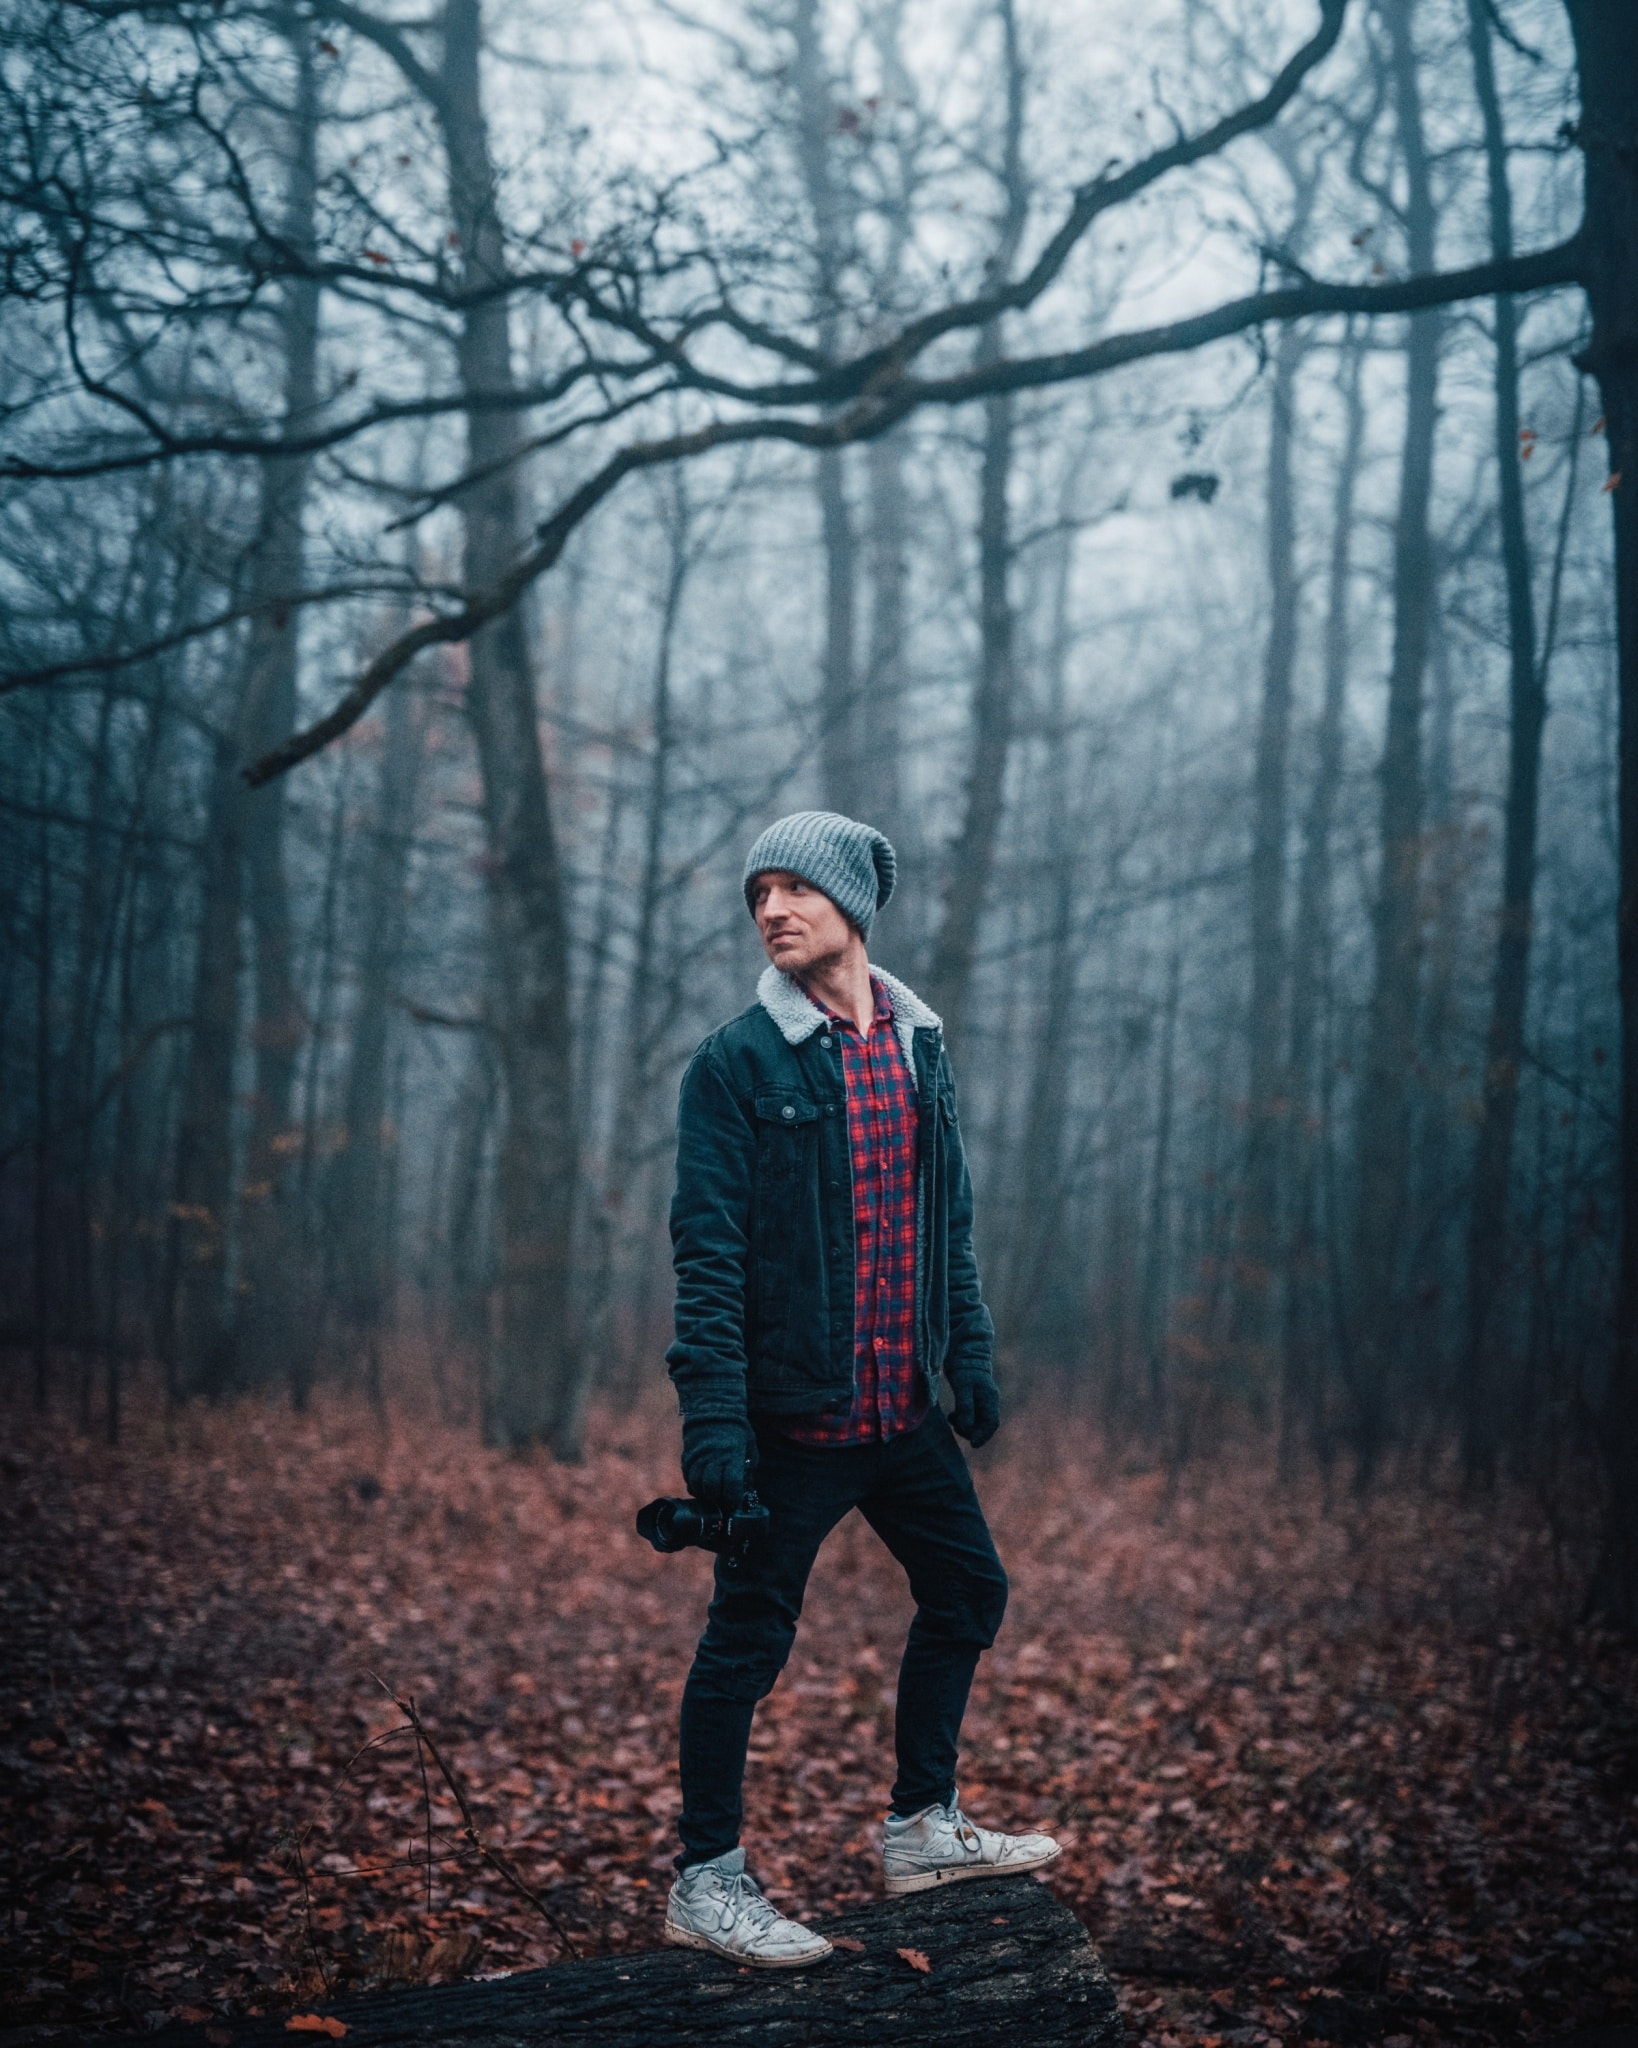
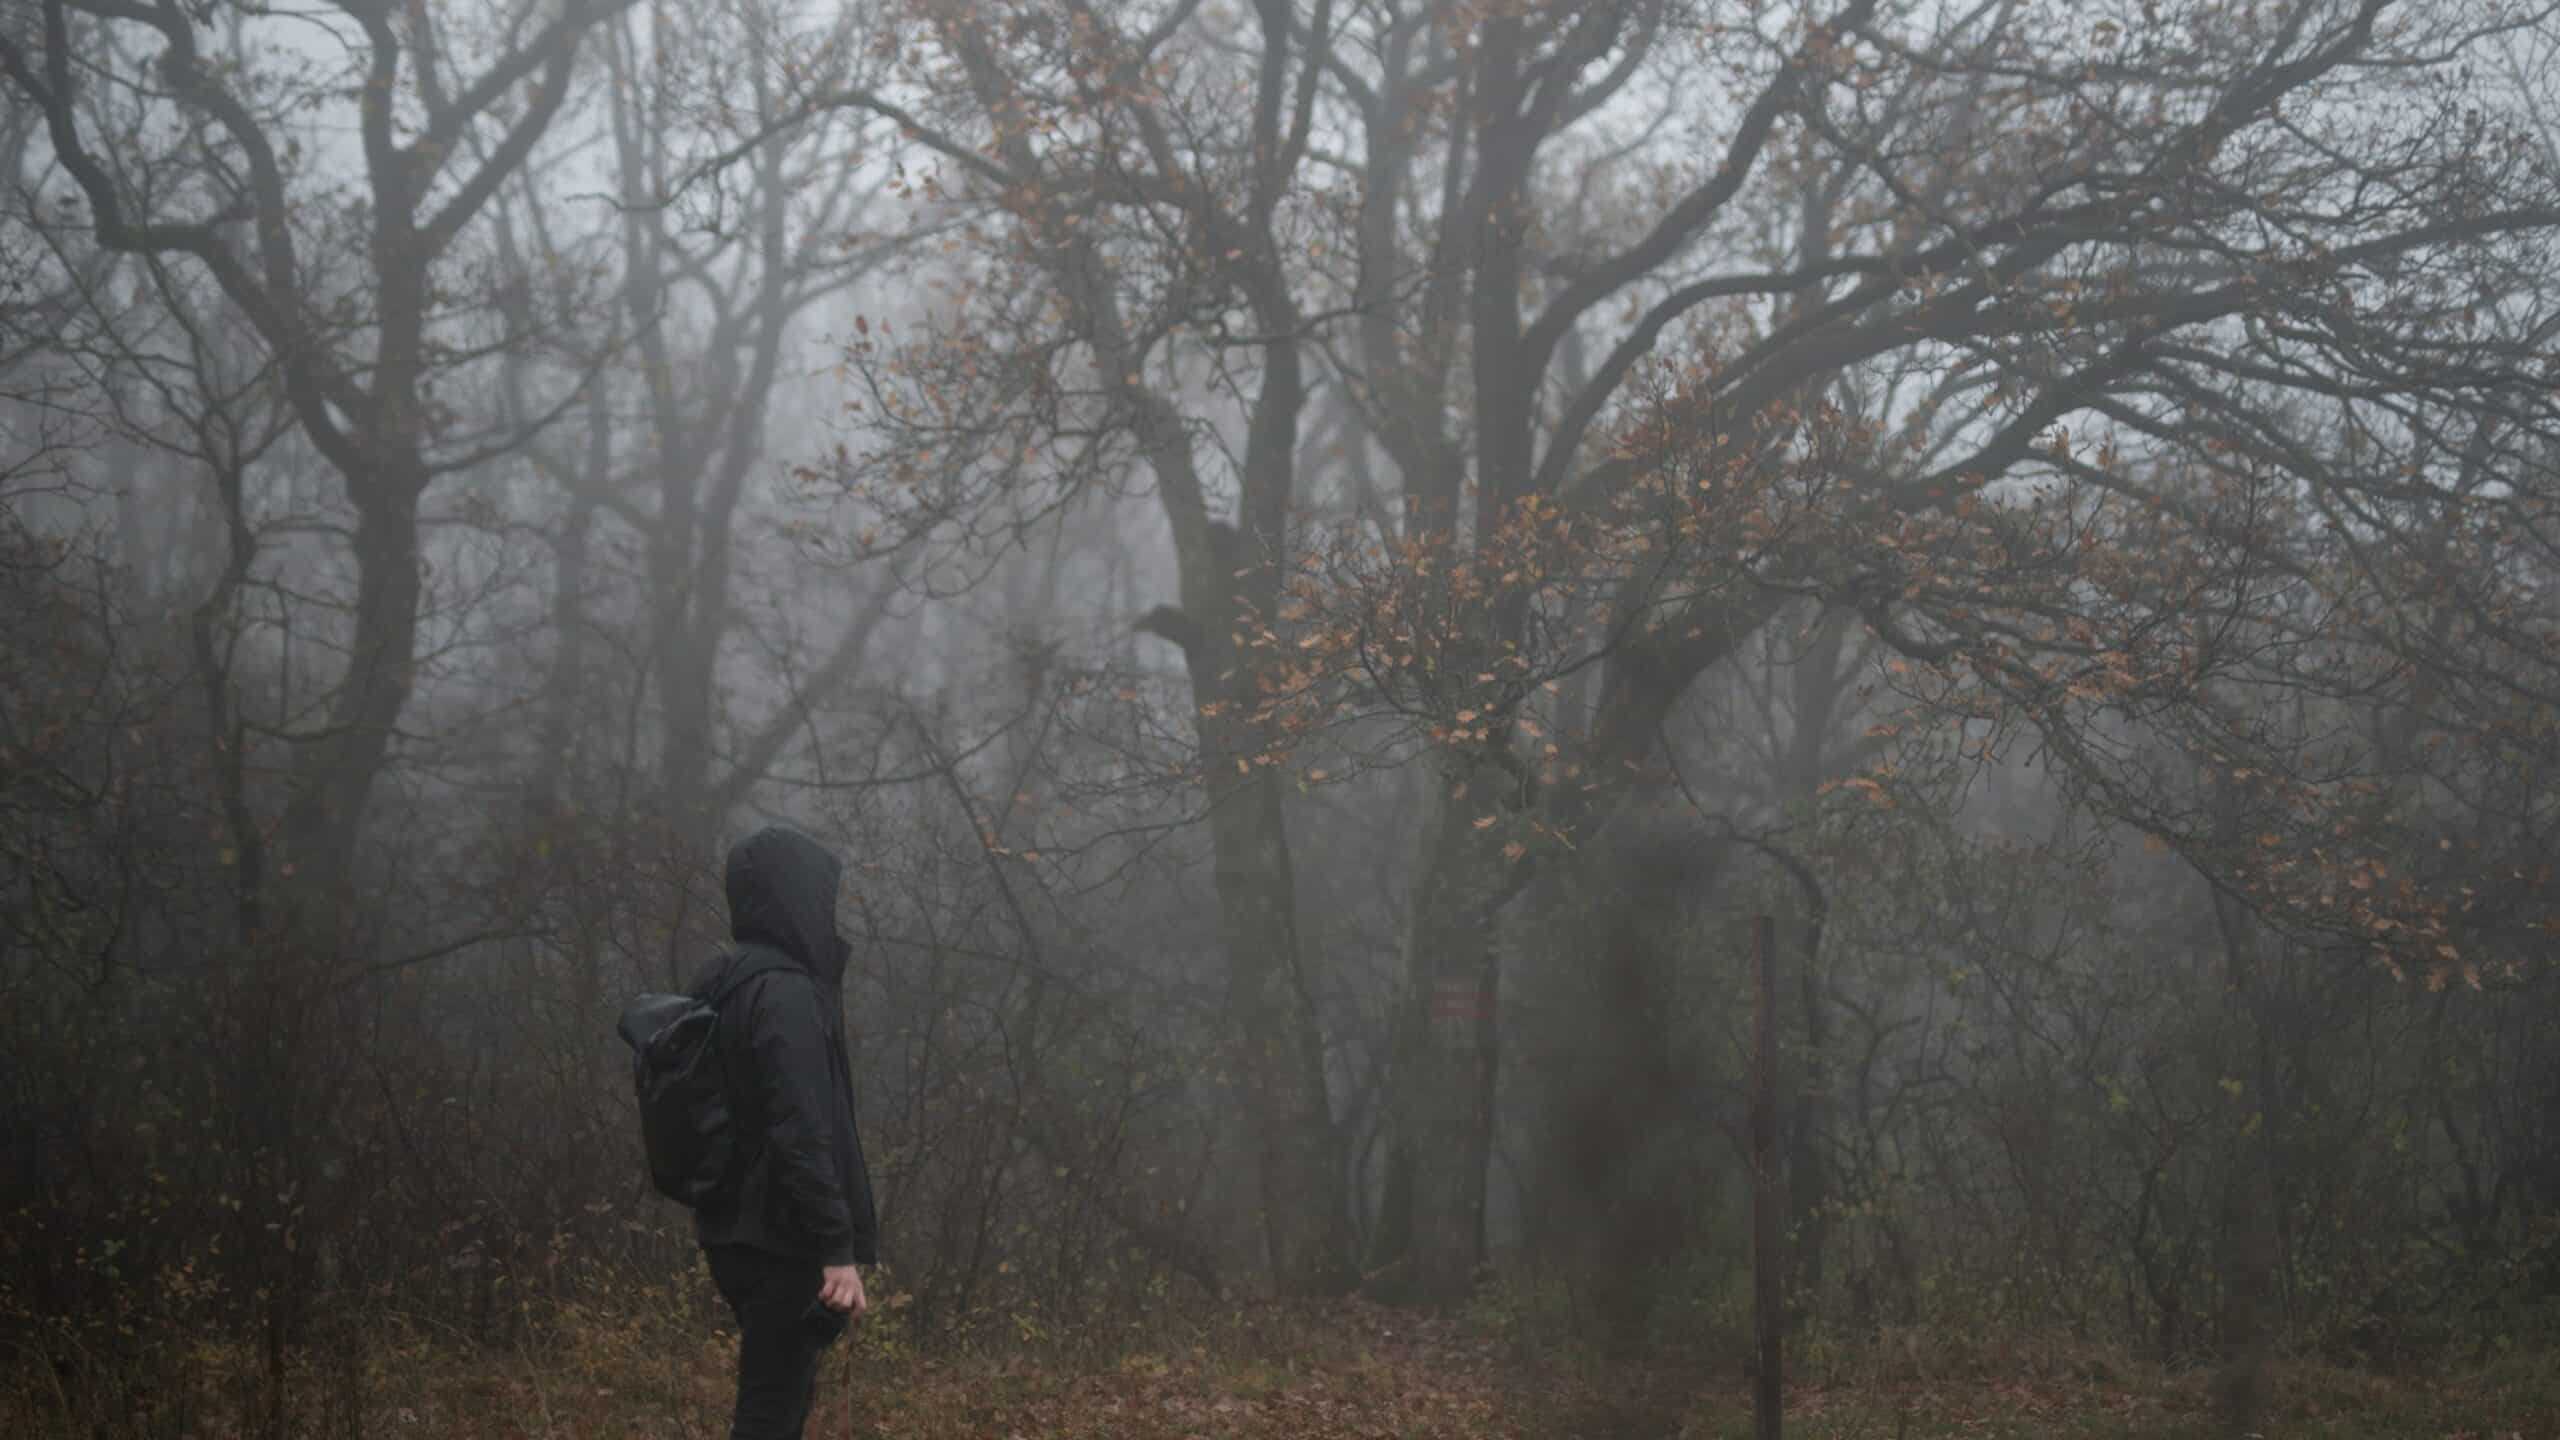
Another effect the fog has on us is evoking dark feelings. The low visibility of the fog in a setting such as a dark forest, can evoke feelings of unrest, because danger may be lurking around any corner. You can use this to your advantage when shooting dramatic or mysterious photos or movies.
A silhouette works well in the fog
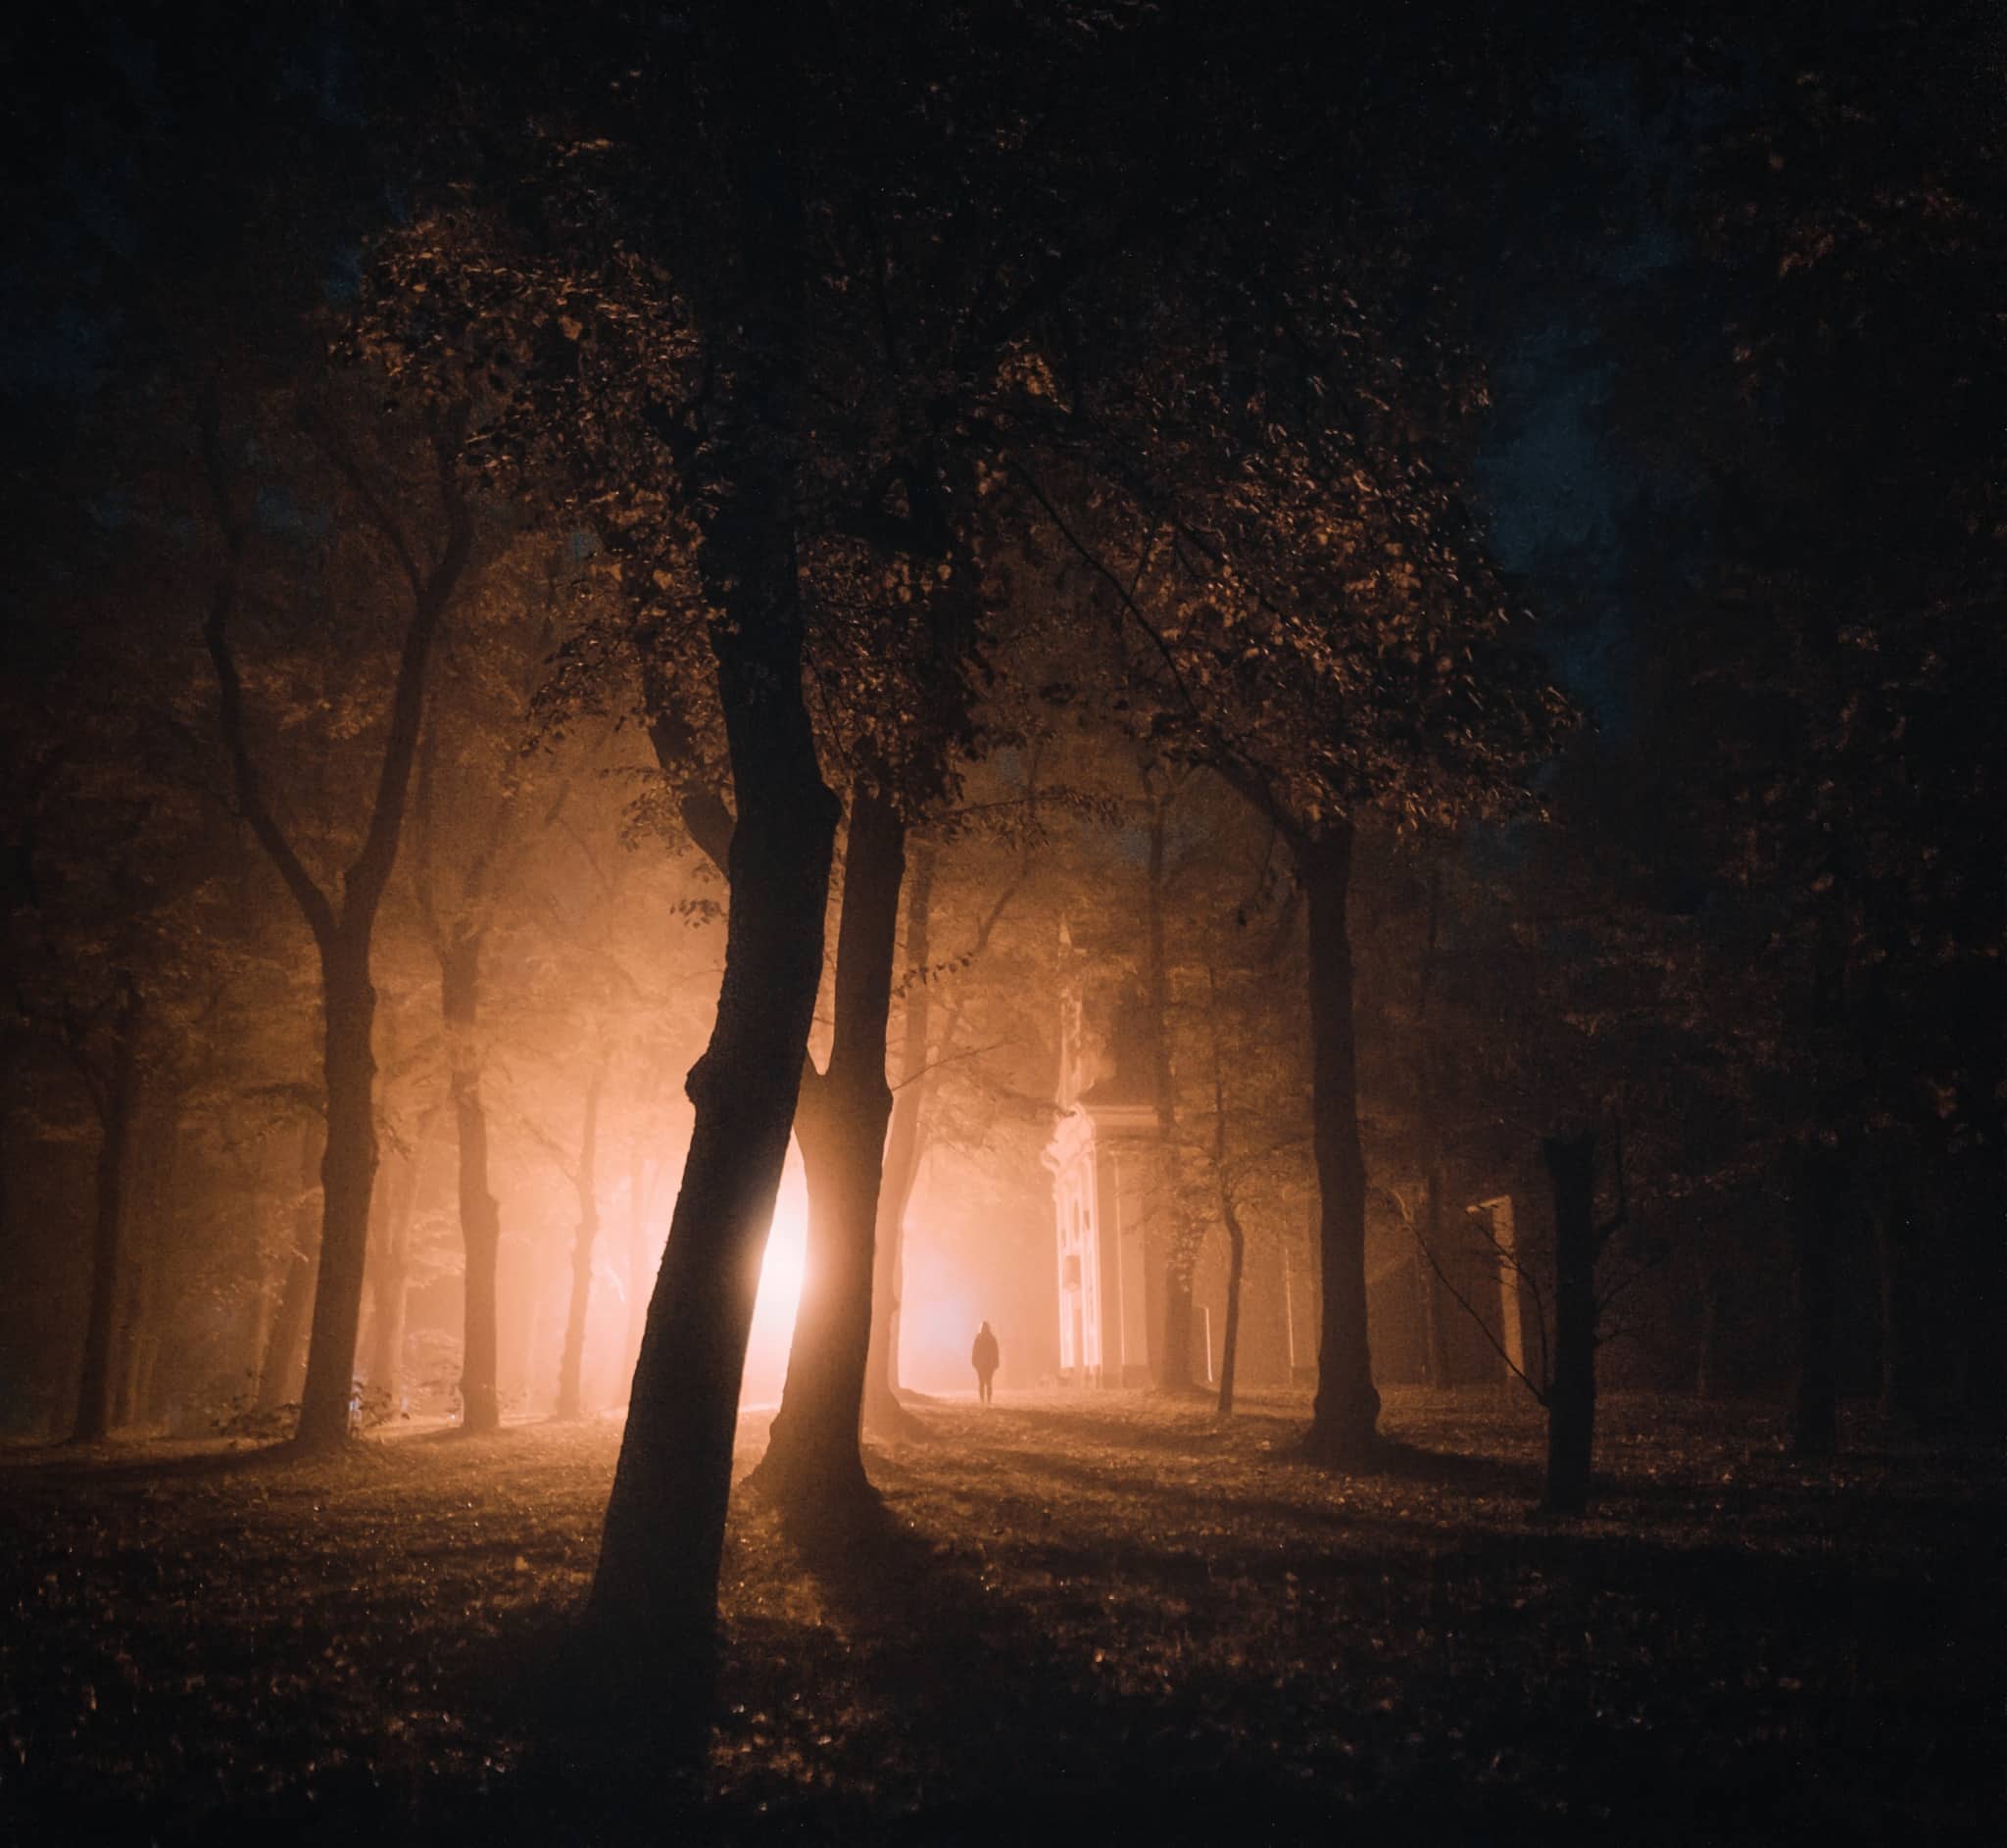
You can make use of fog at night by using a backlight to create and work with silhouettes. It is another way to add an element of mystery. And since the fog can scatter the light, it opens the door to more fascinating possibilities.
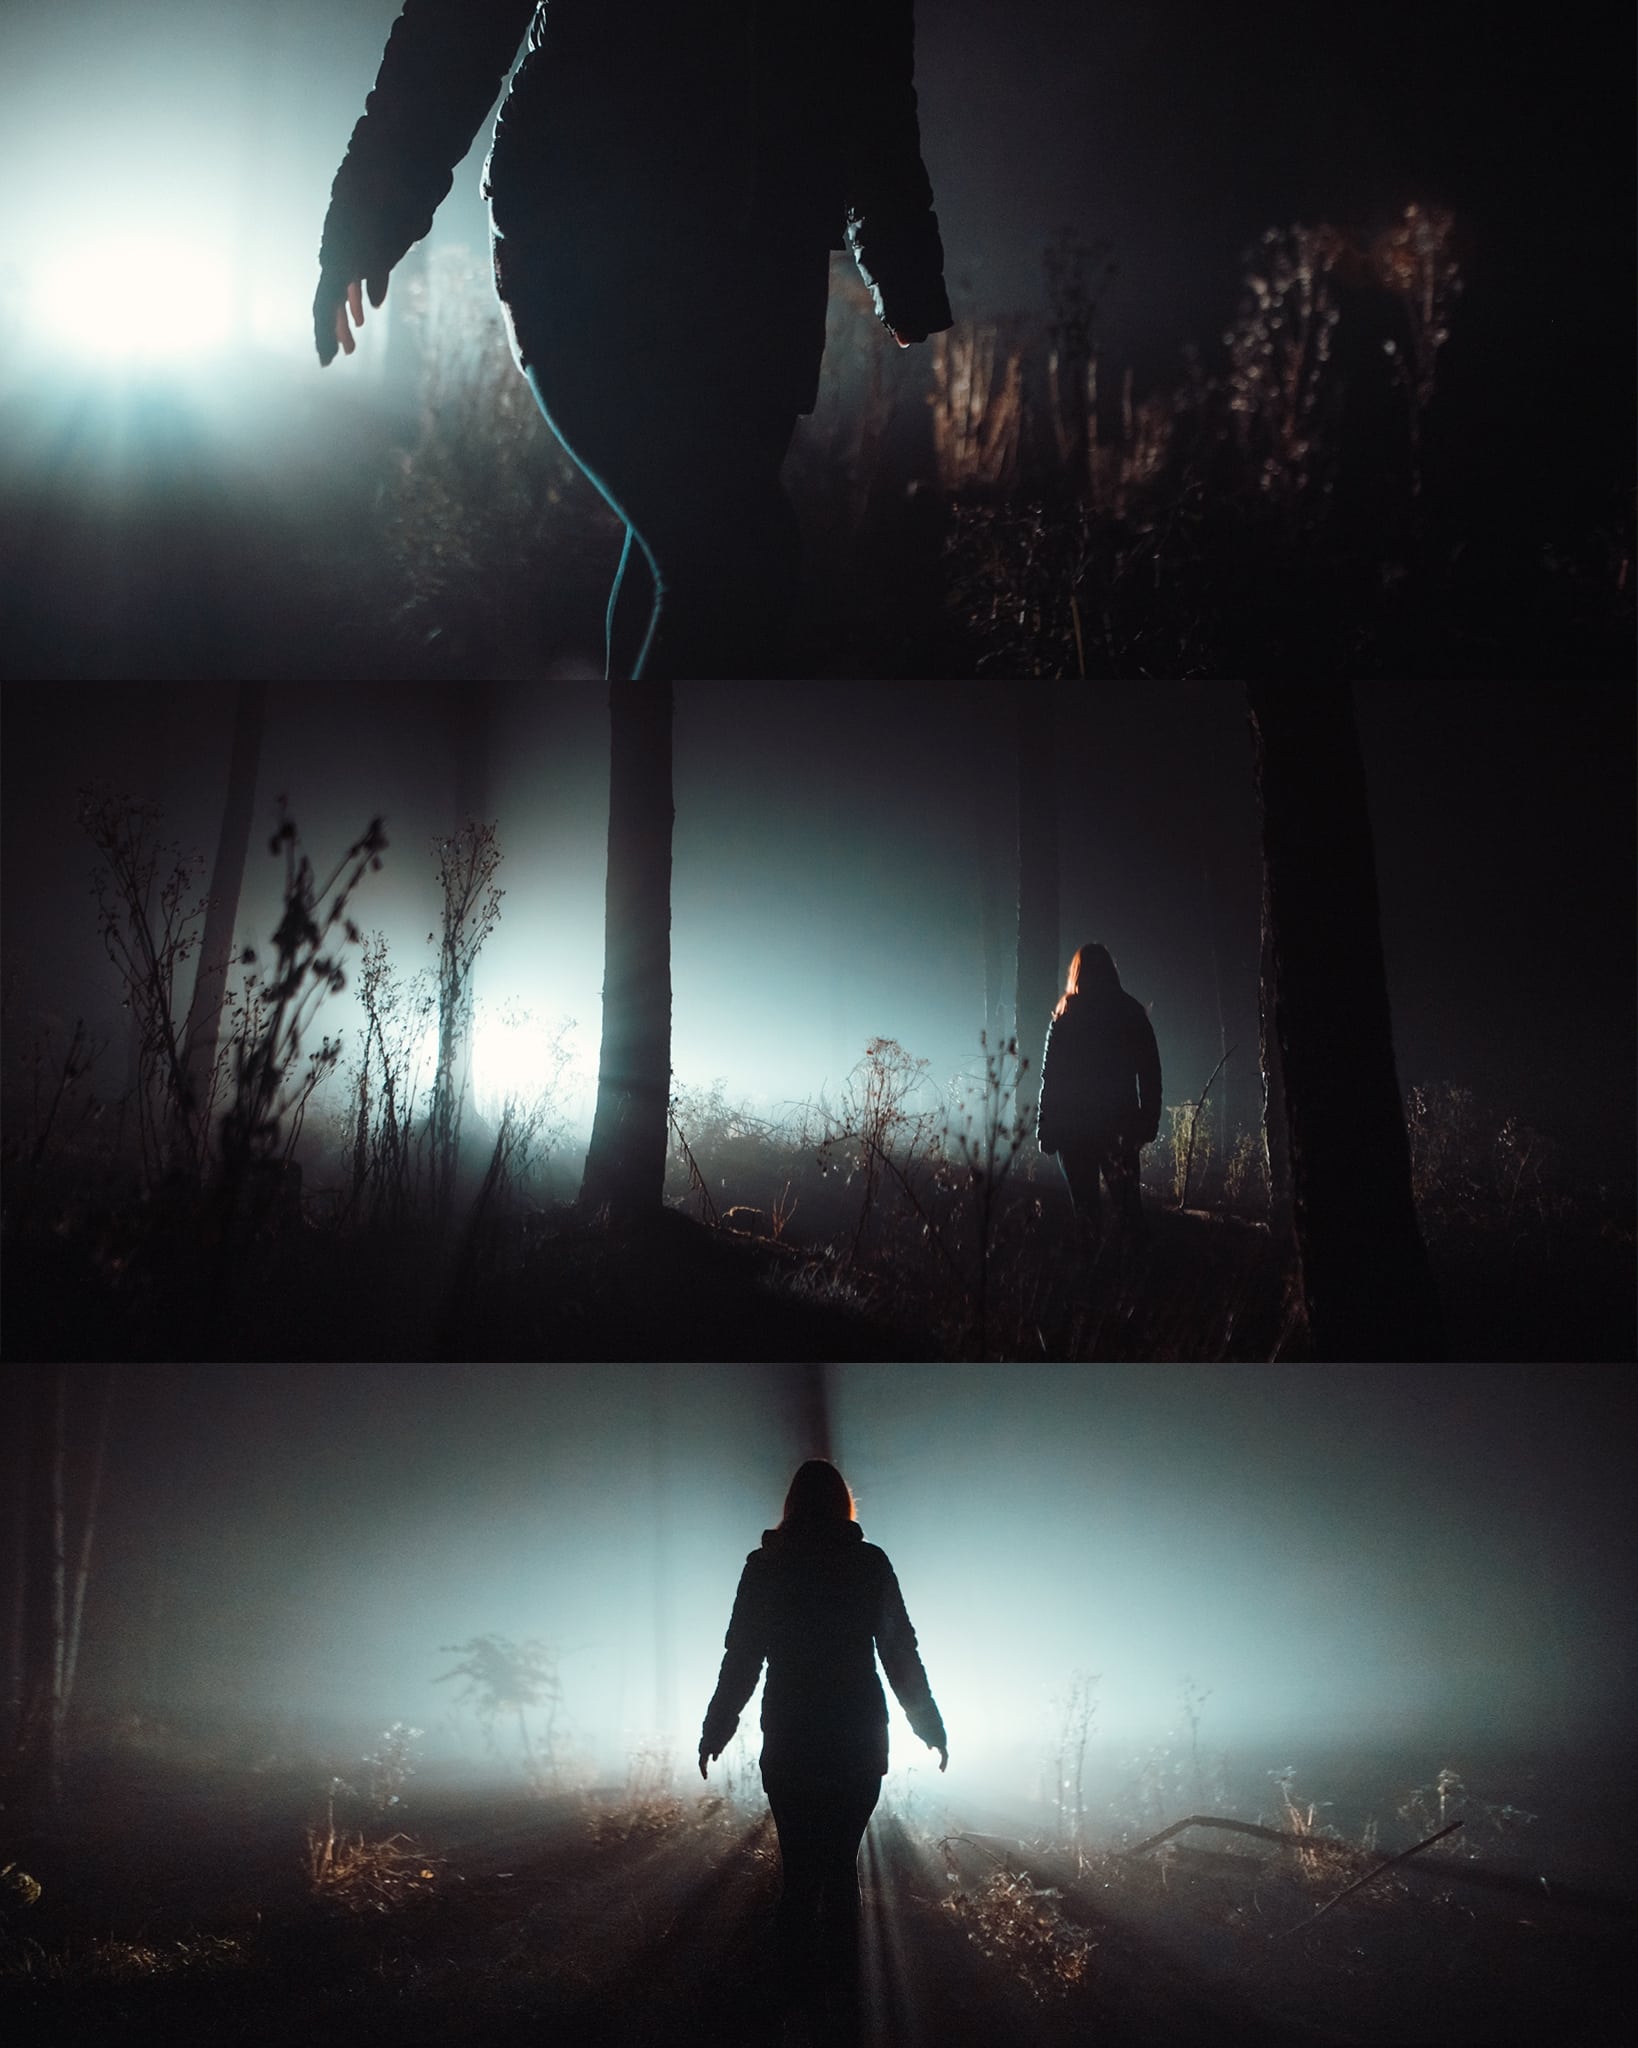
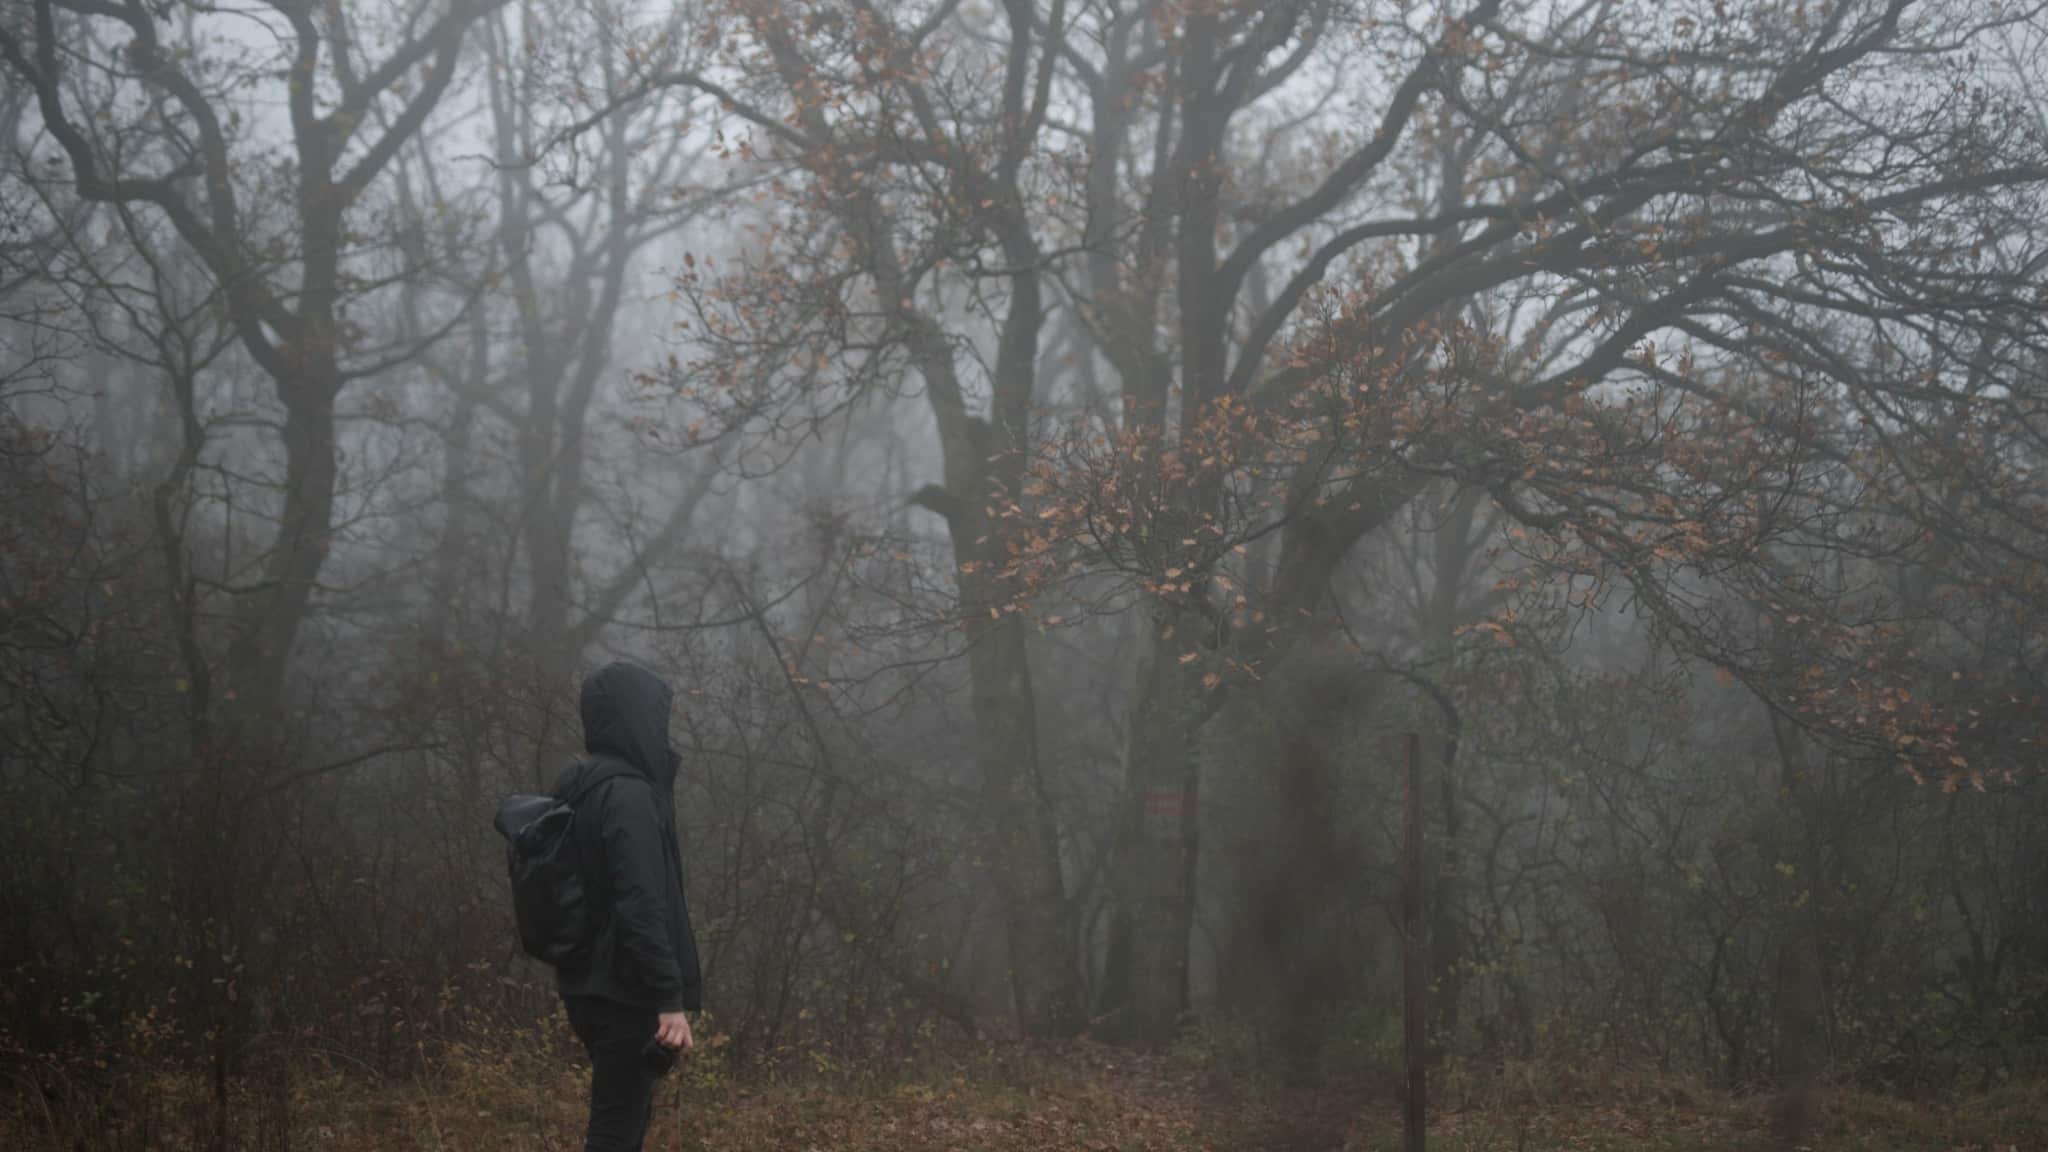
I recommend experimenting with the tried-and-true composition of a small, distant figure in a big forest. The big forest provides the human silhouette with a point of reference. The motif of a person lost and wandering among the fog in the forest will evoke the right feelings in your audience.
How to edit photos in the fog
Fog in the atmosphere works in a similar way to when your camera lens fogs up. The only difference is that the fog is not directly on the lens, but in front of it. In both cases, the result is similar – the contrast is lowered. When I adjust the contrast, I tweak the photo to achieve an even more mysterious atmosphere.
Add contrast
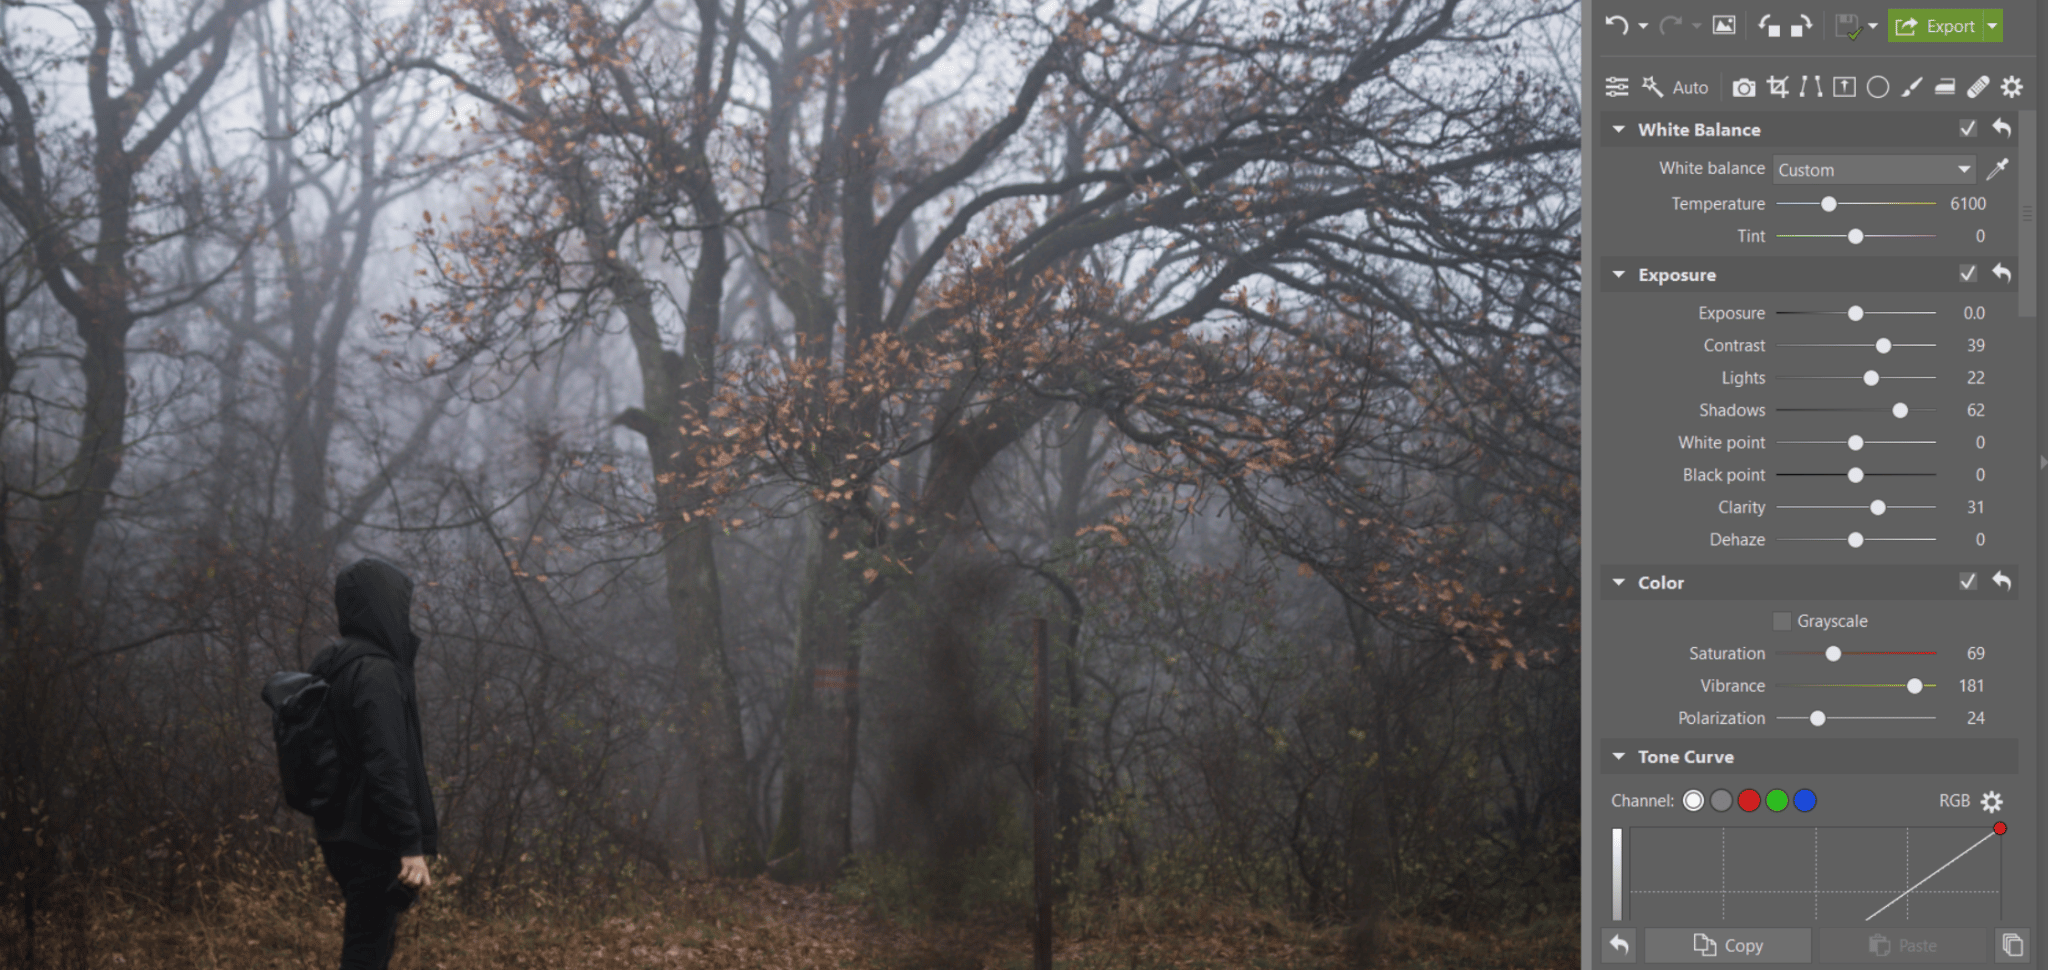
I open the photo in the Develop Module in Zoner Studio. The first step is to try to add contrast back into the photo. I do that by using the Contrast slider and other tools in the Exposure panel.
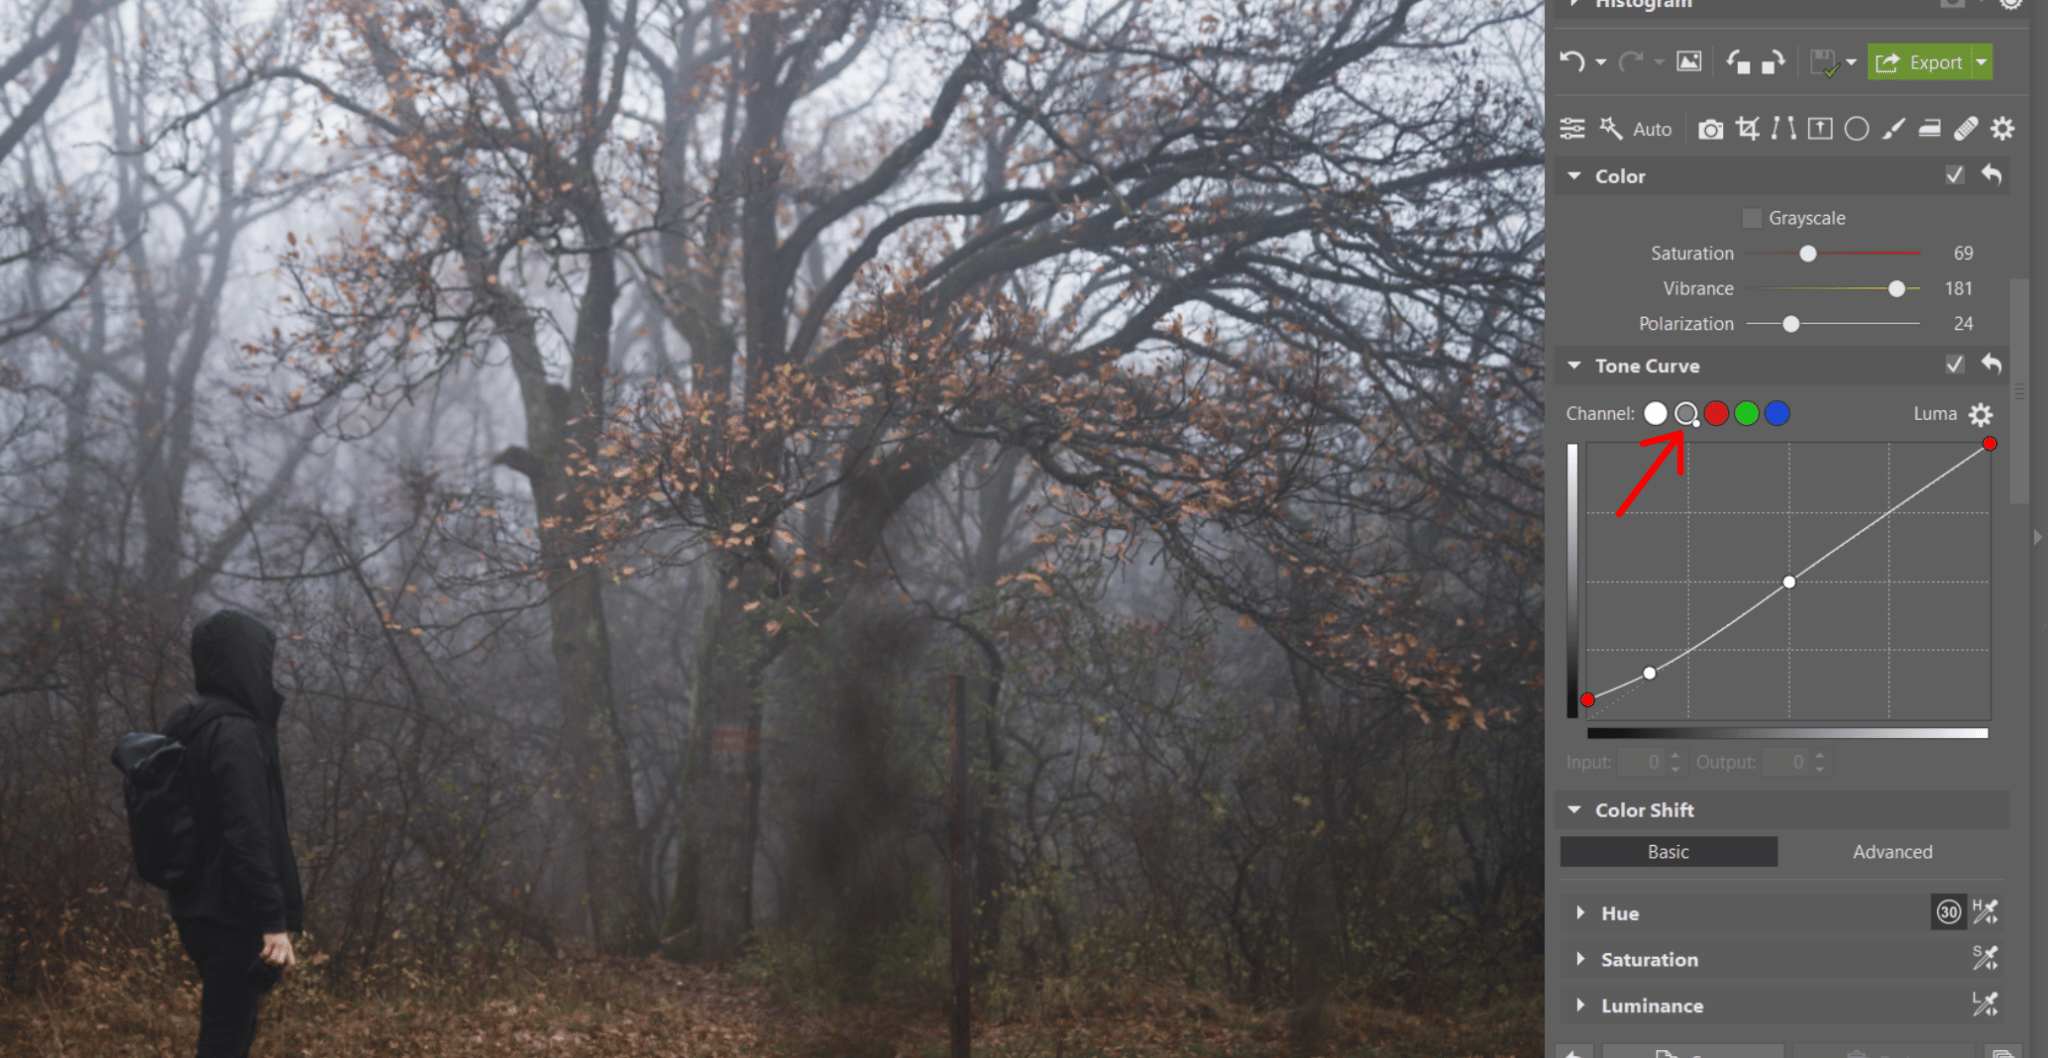
It is certainly possible to also add contrast using Curves. In this case, I use curves to brighten up the dark tones so that the photo’s shadows are slightly brighter. I use the Luma Curve which doesn’t impact color, but only adjusts brightness.
Adjust colors
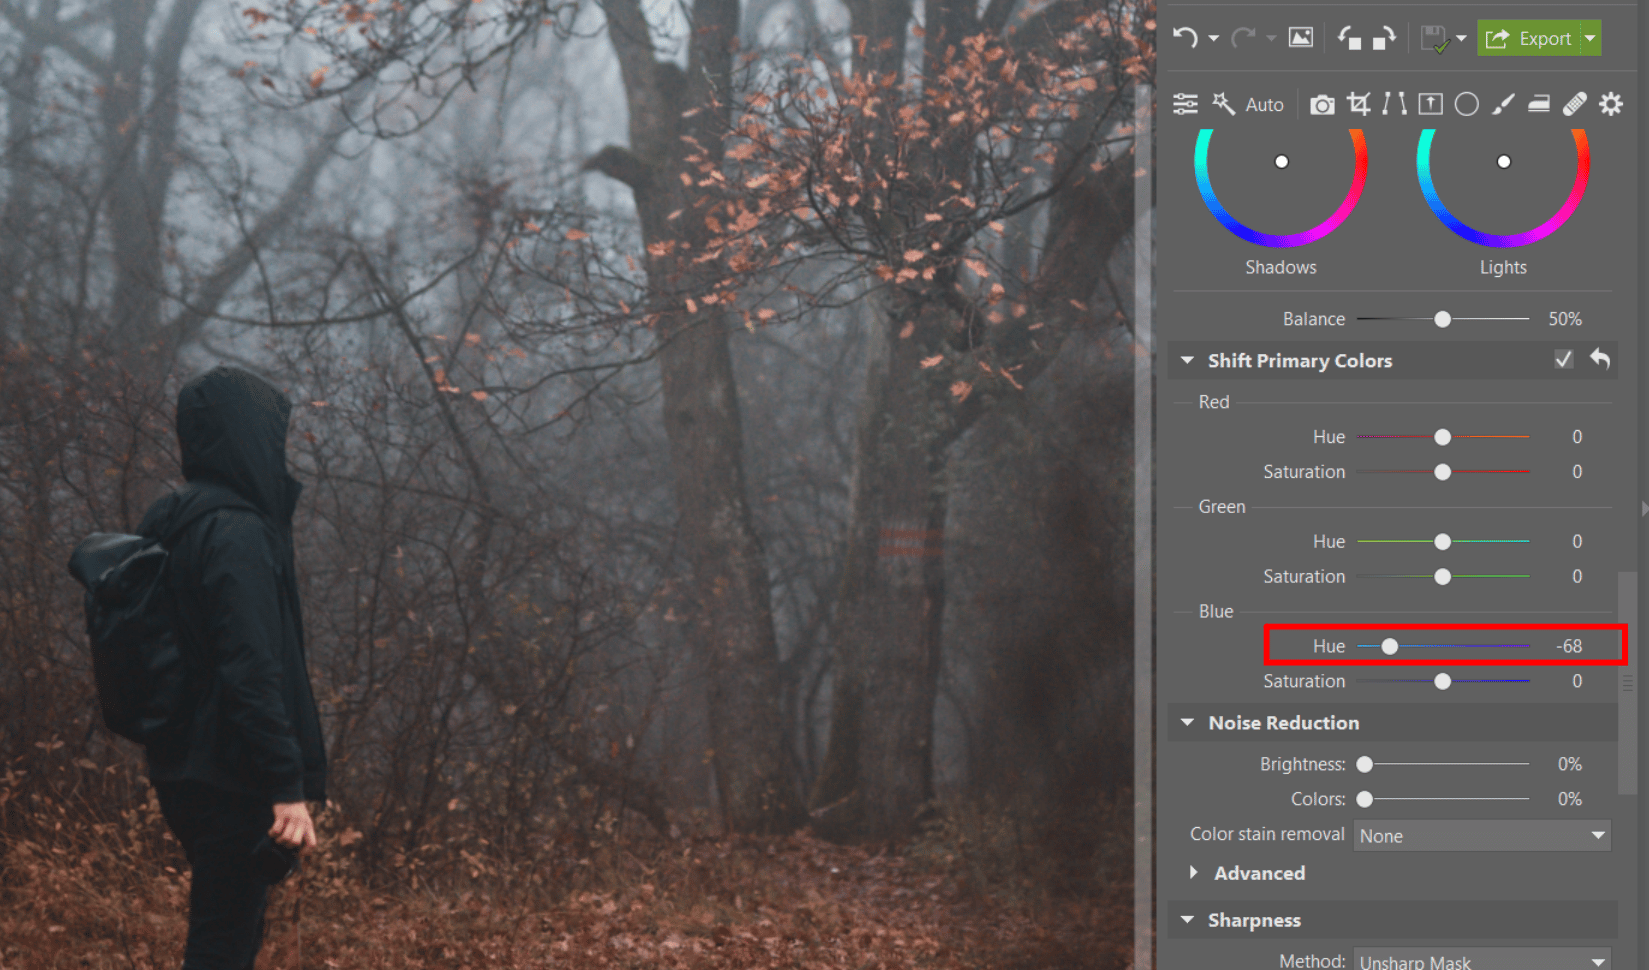
Next, we are going to unify the color scheme. I envision the entire photograph with no more than two main hues–brown combined with blue. This means that the last remaining green leaves don’t match. There isn’t much green in the photo, so I don’t need to locally edit individual areas of color. Moving the blue hues to the left in Shift Primary Colors is enough. This way, I can also take care of the surrounding greens and other analogous colors.
Local editing tools for drawing the viewer’s attention
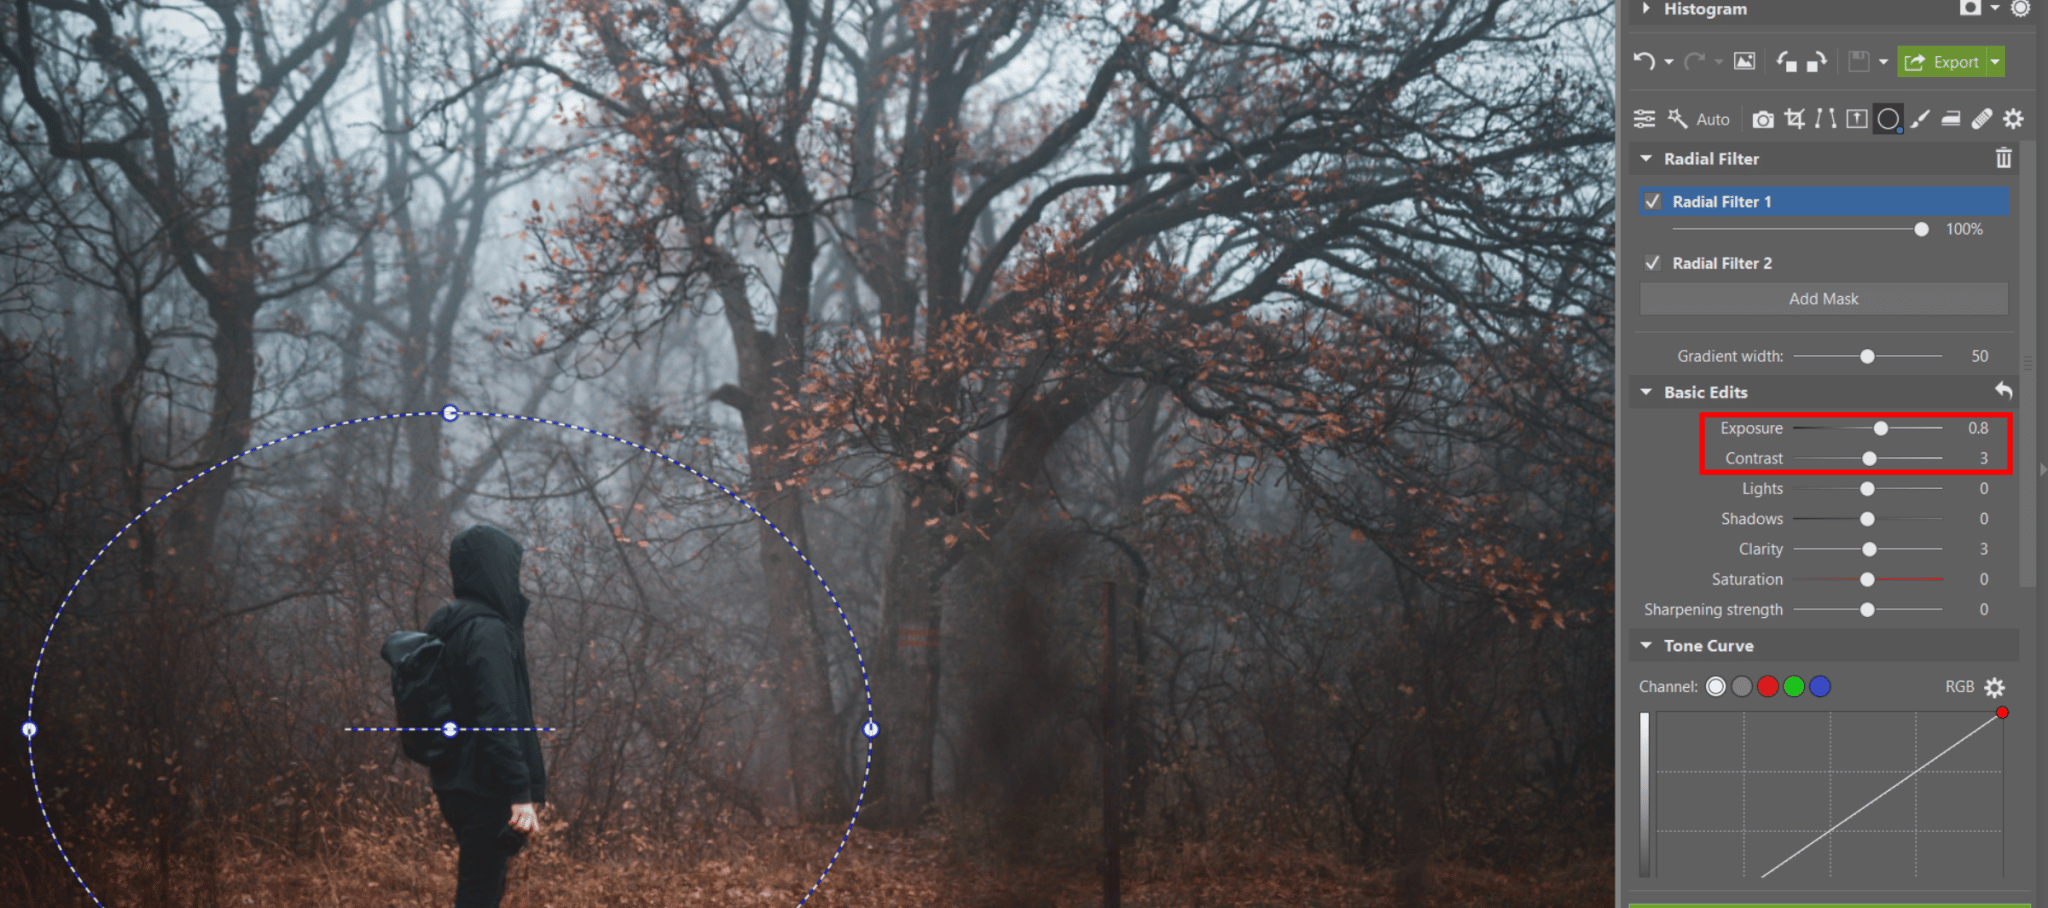
For drawing the viewer’s attention to the right places in the photo, I use the Radial Filter (R) with the highest Gradient width and maximum Exposure. You can also use the other sliders to brighten the photo’s main subject.
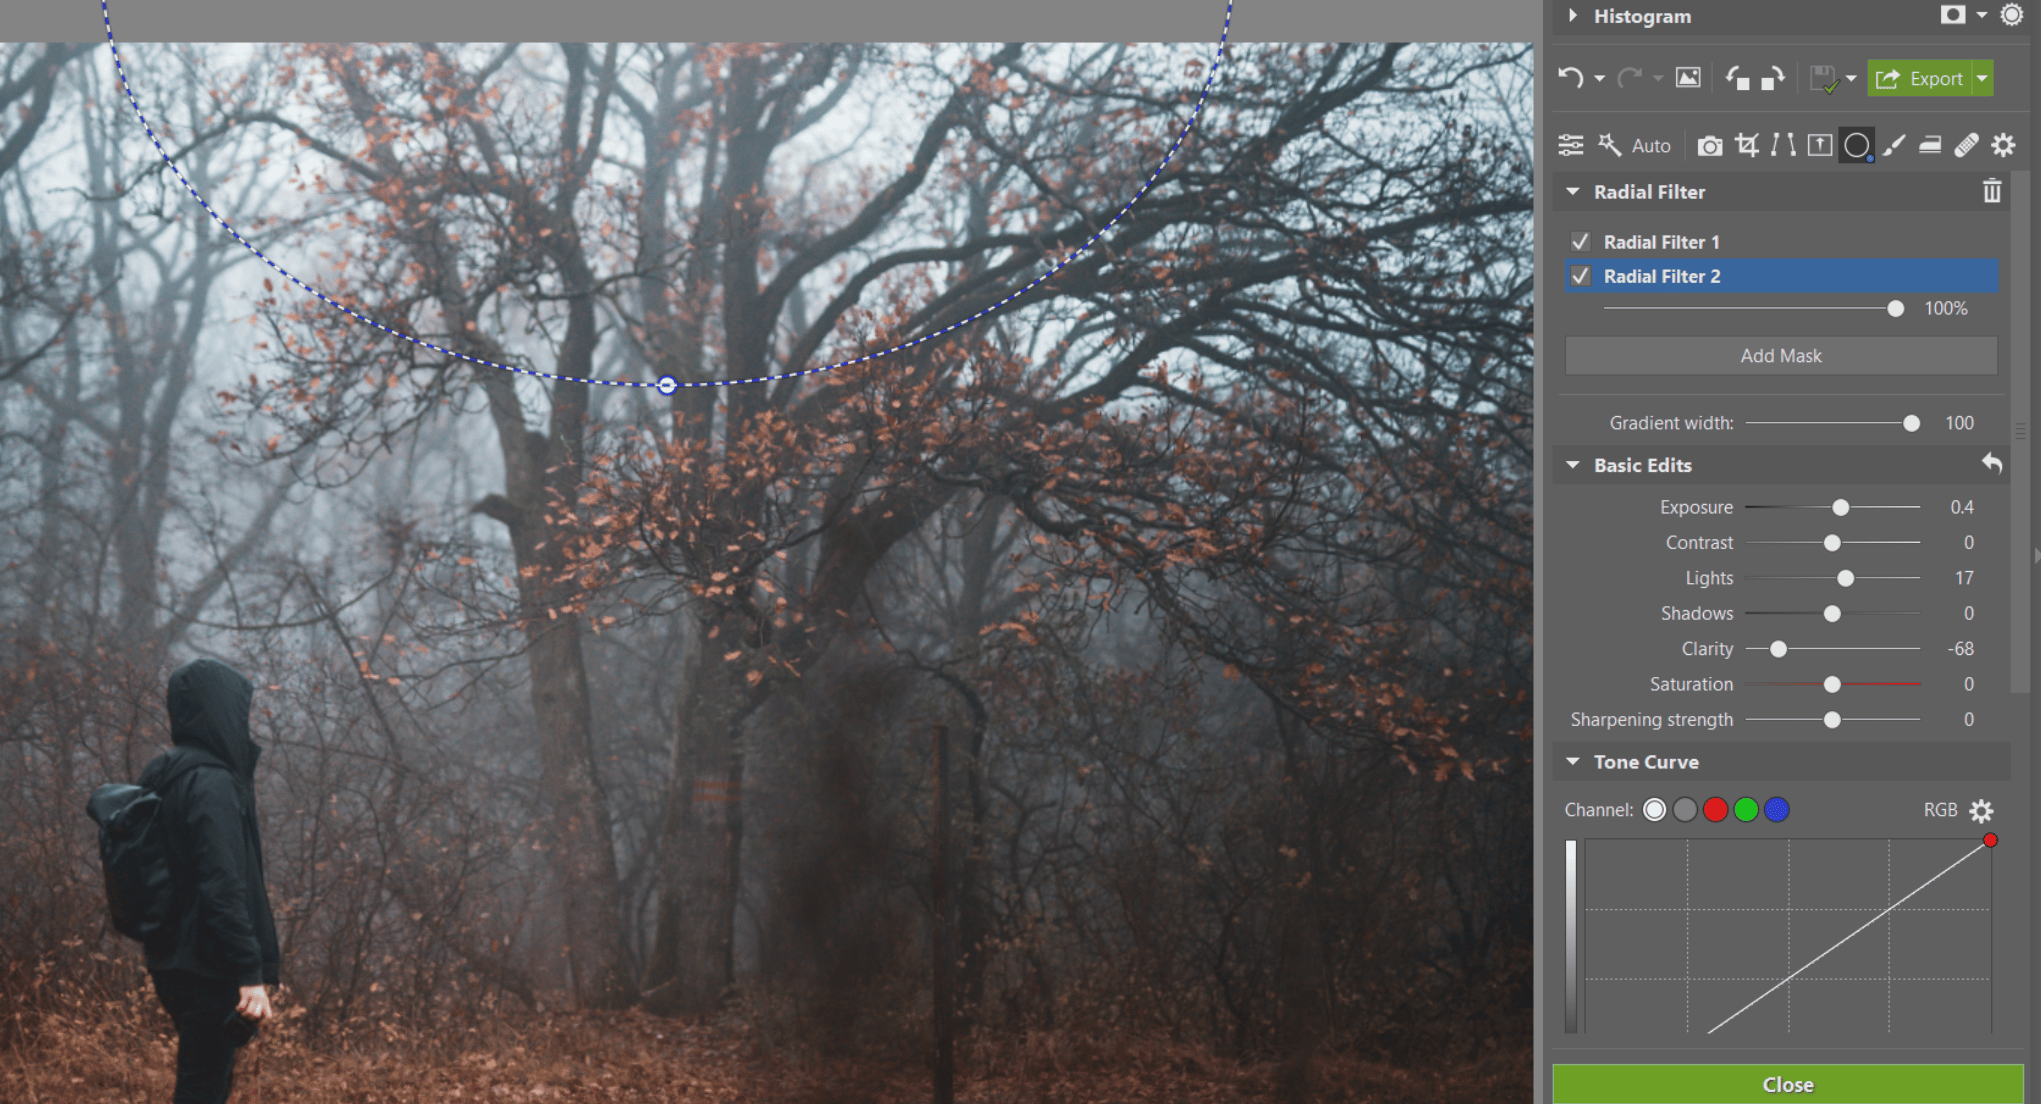
The lighter parts of the treetops, where the subject is looking, could also use some brightening. This adds a leading line and thus creates a hint of a story. I brighten the treetops using the Gradient Filter (G).
Final toning
In the final step, I need to color tone the photo. Get inspiration for your color editing from suspenseful movies and TV shows. This “color work” truly does a lot for the photo. The visual style of these movies and TV shows is often based on colors with low saturation and a unified color scheme of one or two primary colors.
For this, you’ll use Split toning. The shadows should be toned to shades of bluish-purples and the lights to shades of sky blue-turquoise. General color toning to light orange balances out these cool tones.


If you’re interested in getting more of this type of color toning, download our bundle of Moody Tones presets!
Download Zoner Studio free for 7 days and edit your foggy photos and more!
There are no comments yet.