Rectangle, Square, or Panorama? How to crop your photo?

The standard formats (height/width ratios, also called aspect ratios) for photographs have evolved over time. But some formats have proven over time that they’re best left untouched, and so camera makers stick with them. So let’s take a look at the most common aspect ratios for digital images—these ratios are also the ones produced by digital cameras, and photo labs and photo frame manufacturers expect them.
Photo size formats don’t exist for their own sake; they have a purpose. They mainly affect a picture’s composition, and so it’s good to have a format in mind before you take a picture (unless you want to crop it afterwards). Some formats make a picture feel static, unmoving, while others make it feel dynamic. And a picture’s format will affect where you put the subject of the picture.
Don’t feel limited, though, by the ratio of sides produced by your camera. If you need a different one for the purposes of your pictures, then simply go for it. But when cropping your picture after the shot, do try to stick to one of the standard ratios of sides. If you don’t, then it can be a problem to print and/or frame the photo later on. The picture will simply not be able to sit well in the frame.
Photo Formats
The 4:3 “Digital Standard”
Most compacts use a 4:3 ratio, as well as some DSLRs and mirrorless cameras (most commonly Olympus and Panasonic cameras). It’s similar to a square format, but not as static.

The 3:2 “Film Standard”
The 3:2 ratio is based on 35 × 24 film frames. Most DSLRs have this format. The exceptions use 4:3. The 3:2 format feels more dynamic that 4:3, and so it’s ideal whenever there’s action in the picture.

Portrait Orientation
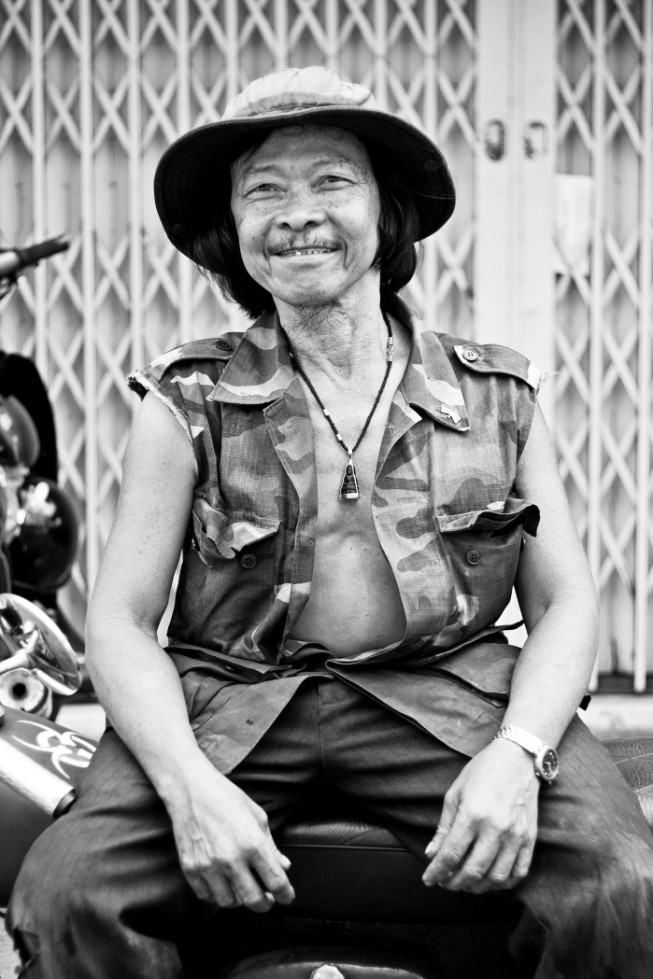
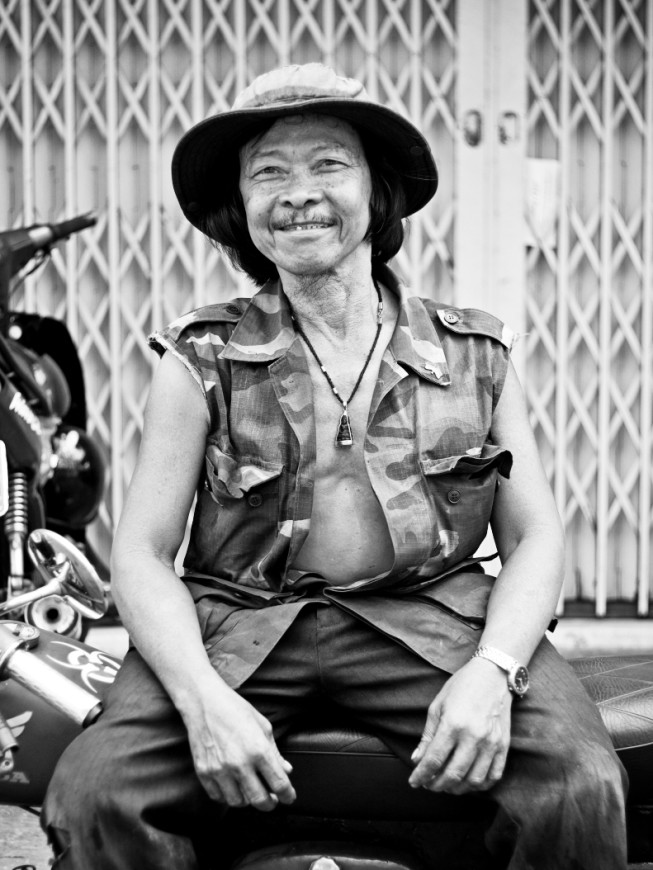
When you shoot portraits in portrait orientation and use a 3:2 aspect ratio, you can run into situations where there’s not enough space to the right and left of the subject. This can make the picture feel cramped. There can also end up being too much empty space above or below the subject. For these reasons, a 4:3 format is often more appropriate for portraits. But this is a guideline, not a rule.


The Dynamic 16:9
The 16:9 aspect ratio offers an even wider format than classical film. You won’t find too many cameras that can shoot directly to this format. Among the few that do, you’ll find for example the Panasonic Lumix LX.

The Cool 1:1 Square
This format too dates back to the days of film cameras. It’s best for static pictures, such as portraits, and also works well with center composition. It gives pictures a sense of calm.

Panoramic Ratios
While film cameras, especially models like the Widelux and the Horizon, used to maintain a certain standard panoramic aspect ratio, there’s nothing of the sort for the world of digital photography. This seems to be the reason why there are so many panoramic “noodles” out there with one side extremely wide or tall. Trying to print, frame, or otherwise exhibit pictures like this is at best a gamble, and at worst a just plain bad idea.
Still, panoramic formats are great for landscape photography, because they create an illusion of being able to look around at the landscape.

When Factory Settings Don’t Sit
If your camera normally takes pictures in 4:3 format, and you plan to take a picture where that ratio isn’t a good fit (for example, you want to use the more dynamic 3:2), you still have plenty of options. First take a look at your camera’s menus. There may be an option to change the format. Most cameras are prepared for this possibility, and so they offer a list of the above-mentioned typical aspect ratios—4:3, 3:2, 16:9 and/or 1:1.
You can also crop photos on a computer later on. We should definitely mention Zoner Photo Studio here! Just go to Zoner’s Editor and use the Crop tool. Like all the mouse-based tools, it is in the Toolbox, found on the right in Zoner 16, and on the left in earlier versions.

There are no comments yet.