What to Keep in Mind for Winter Sports Photography
Besides the short days, winter also brings some other specifics that every winter sports photographer has to watch out for. High-contrast scenes, frequent large swaths of a single color, and fickle weather are all real challenges for photographers. Join us for a look at how best to deal with them. We’ll tell you how to photograph sports in winter.
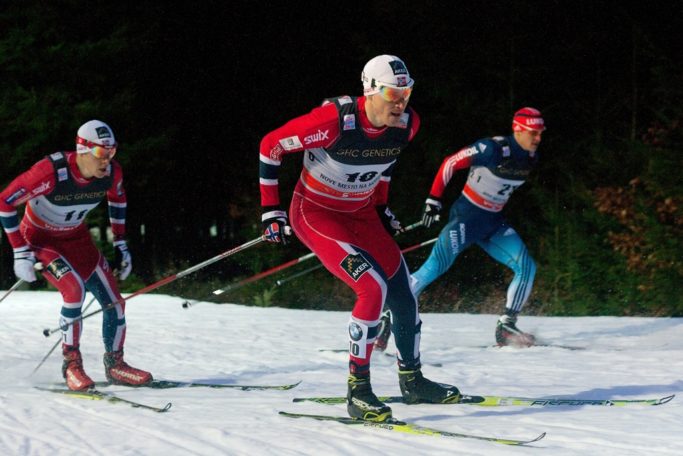
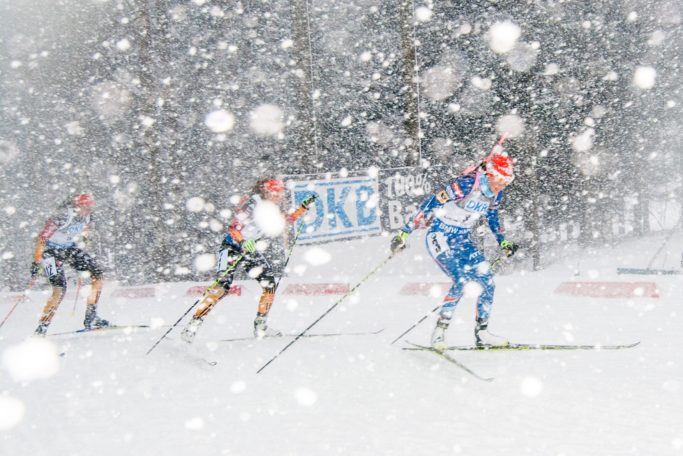
Snowy peaks are one dominant feature in winter sports, and man-made icy surfaces are another. And both the peaks and the ice are mainly white. So they both reflect a lot of light. Often under clear skies you’ll also run into reflections, which basically act as a mirror, especially on the ice.
This isn’t a problem on its own. But it is a problem when you want to take pictures using a camera’s automatic exposure modes. That’s because their algorithms measure an exposure value (EV) for the scene and then compare it with a reference value.
And what does that mean?
Your camera works from the assumption that every scene should have one clearly defined light level, one that corresponds to what’s called middle gray. But its automated systems often get confused when there are a lot of bright tones in the scene. It tries to suppress them, which generally makes the photos darker than you’d like.
How to Get the Right Exposure for Your Winter Photography
So when you’re photographing winter sports, it’s important to inform your camera that you want a lighter picture. Either use scene modes that are ready-made for these kinds of pictures, or correct it all manually.
No matter which method you pick, it pays to push the exposure into the pluses. Try to give the snow a natural color while you’re at it, and avoid blowout too. The Export button will help here.
Keep an Eye on the Color
The combination of a blue sky and normally-lighted snow often also leads to tinting. Here as well, your camera’s automated systems aren’t reliable enough for you to rely on them fully. Fortunately, preventing this kind of discoloring is easy. Just switch into a more suitable white-balancing mode.
The disadvantage of the above approaches is that they take a little extra time. When you’re photographing winter sports, you often don’t have that time.
Luckily, you can also fix exposure and colors in Zoner Studio. Especially if you’re shooting to RAW. With RAW shots, even fairly large missteps can be corrected. Although… I personally wouldn’t rely on post-processing alone.
Watch out for the Sun in Winter Photography
If the sun shows up during your winter photography, you can run into some treacherous contrasts of light and shadow. This is yet another situation where a camera’s automated programs can’t tell on their own which part of the picture to emphasize in the exposure.
You can give them a hint by choosing a metering mode.
How does that look in practice?
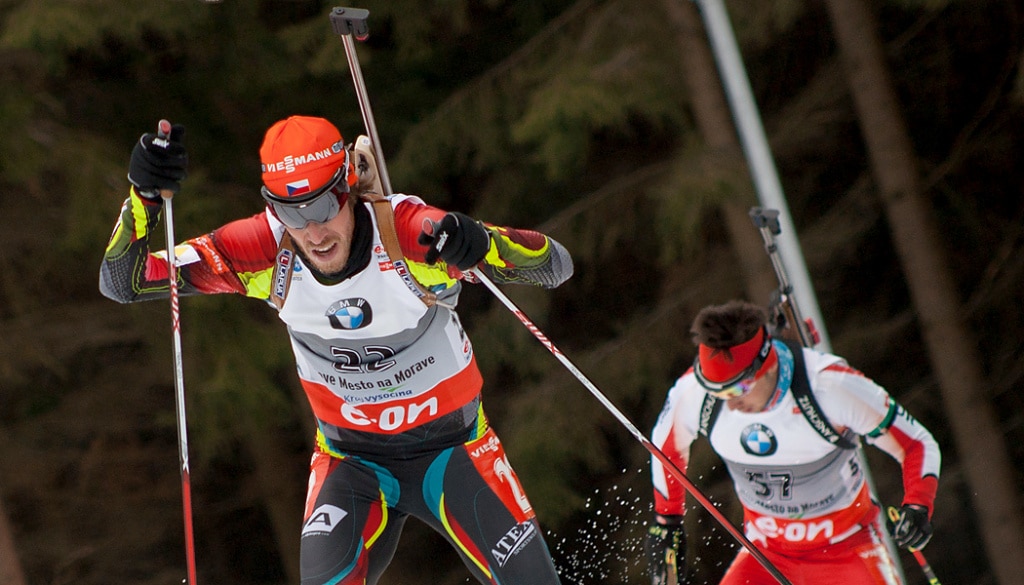
Imagine a snow-covered ski run. A skier is riding down it in a black jumpsuit, and you’re trying to photograph her.
- With evaluative or center-weighted metering, the level of bright and dark tones for a large swath of the picture are getting averaged. And that will likely give you a picture with a grayish-looking slope.
- But when you instead prioritize the area around the center of that scene, the part where the skier is, the picture is different—noticeably brighter.
Since sports photography generally means a series of pictures, I personally would go for settings that will give the smallest possible exposure differences among the photos in the series.
How to Take Care of Your Gear When Photographing Winter Sports
Winter days’ caprices will really stress-test your gear in another way as well. Your batteries will discharge faster in the cold weather, so it will pay to take more of them with you. Ideally you’ll want to have at least one battery in close contact with your body (e.g. in the pocket of one of your “bottom” clothing layers).
Also keep in mind that many of the parts of your gear have metal on their surfaces. Touching metal in the cold is not pleasant at all. But the solution is easy: cover the metal parts with tape, foam, or another insulator, and they’ll be much nicer to hold.
For every winter shoot, you have to think about the risk that it will start snowing. I probably don’t have to remind you that electronics and water mix poorly. Fortunately the snowfall itself isn’t all that dangerous here. But sooner or later, the snow will start melting. So if your budget allows it, try looking around for a camera jacket.
Not even very low temperatures tend to be a direct problem. But be careful not to subject your camera—and especially its optics—to sudden changes in surrounding temperatures.
Even though a microwaved rag will wipe off any dew on the outside of your camera, the temperature of your lens assembly overall will only balance out gradually. So what photographers often do here is to leave a camera in its bag for some time, or to pack it into a polythene bag and leave it there for about an hour.
Have It All With You
When you’re photographing winter sports, you should also be prepared for quickly changing weather. So have everything you need right at hand—but have it safe too. This applies for lenses, your other photo gear, and your own body as well.
Knitted mittens, for example, will definitely be useful. Although I personally go for thin gloves so I can feel the trigger better, the weather still always has the final word.
Don’t Forget Comfort in Your Winter Photography
Getting camera settings right in winter is not very simple, and it’s even less obvious. Then add to that the fact that you’re taking pictures in demanding situations and positions, where you’re often even having to roll around in the snow or nervously wait out in the cold and wind for the right moment.
The result is: if you’re at all serious about your winter-sports photography, you can forget about major comfort.
And you should prepare for your winter photography well, to preserve at least some minor comfort. Also, even if it doesn’t seem like it, perfect pictures aren’t about getting lucky, but are largely the result of careful preparations.
There are no comments yet.