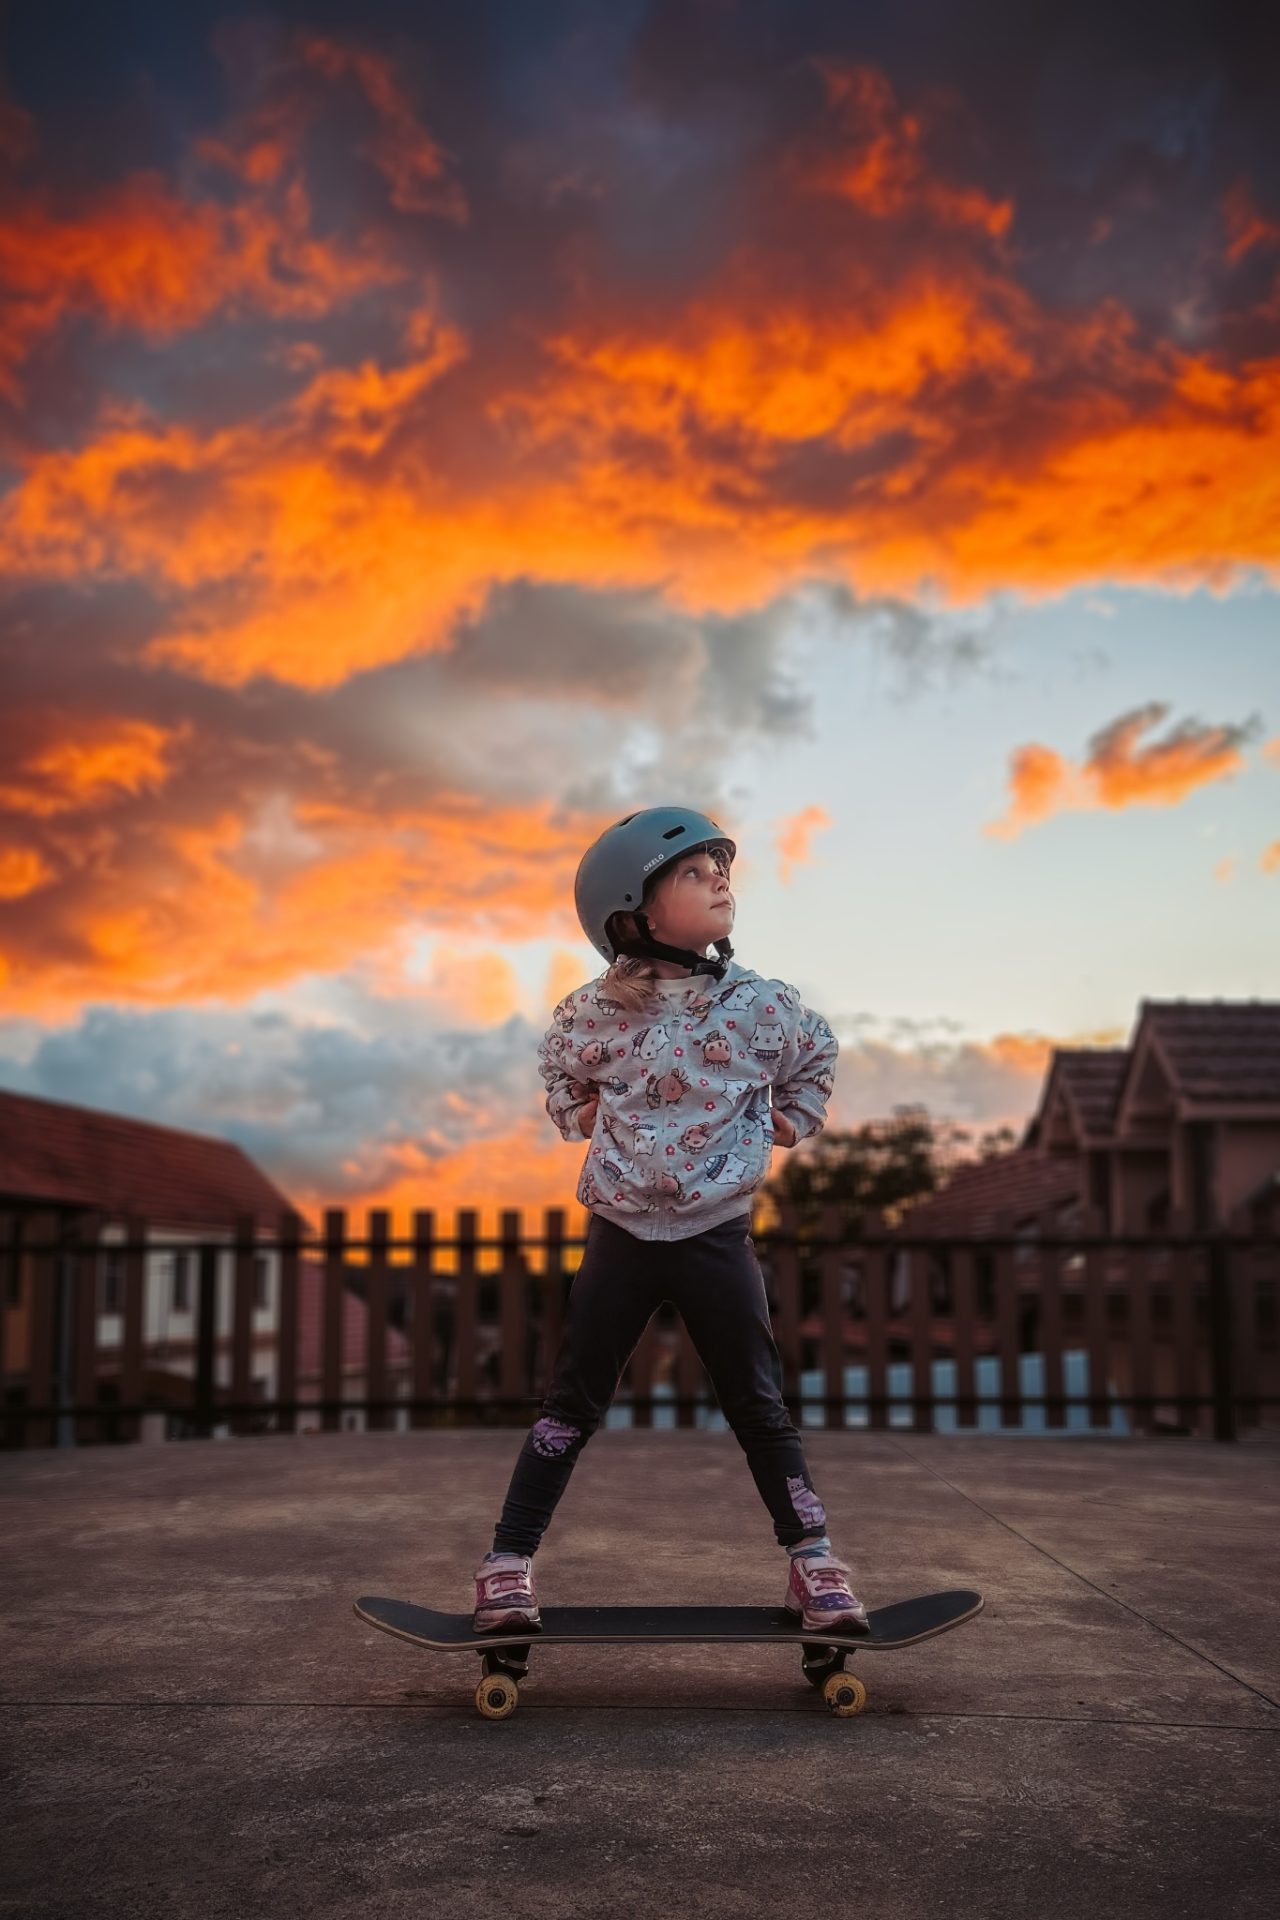
3 Tips for Bringing Out the Main Subject in Your Photo
Every good photo has a main subject. It should be as prominent as possible and clearly dominate the image. In addition to good composition, adjusting the background of your photo can help highlight the main subject. This article explores how to work with your photo’s background to make the main subject stand out.
In this article, we cover:
- how to use adjustments in Zoner Studio to bring out the main subject.
- why the background often draws attention and how to mute background colors.
- how to separate the subject from the background with darkening or brightening.
- how to artificially blur the background and simulate the look of a portrait lens.
- practical steps for working with local adjustments, masks, and layers.
We go through two basic adjustments and one more advanced technique to help your subject stand out.
Dimming background colors
If your photo’s background is made up of greenery, it can easily draw too much attention. Slightly toning it down helps bring out the subject in the photo. Open the photo in the Develop module of Zoner Studio. Go to Local Adjustments (L) and select Background for more precise results. Under Color Shift, find the shades of green and reduce their saturation.

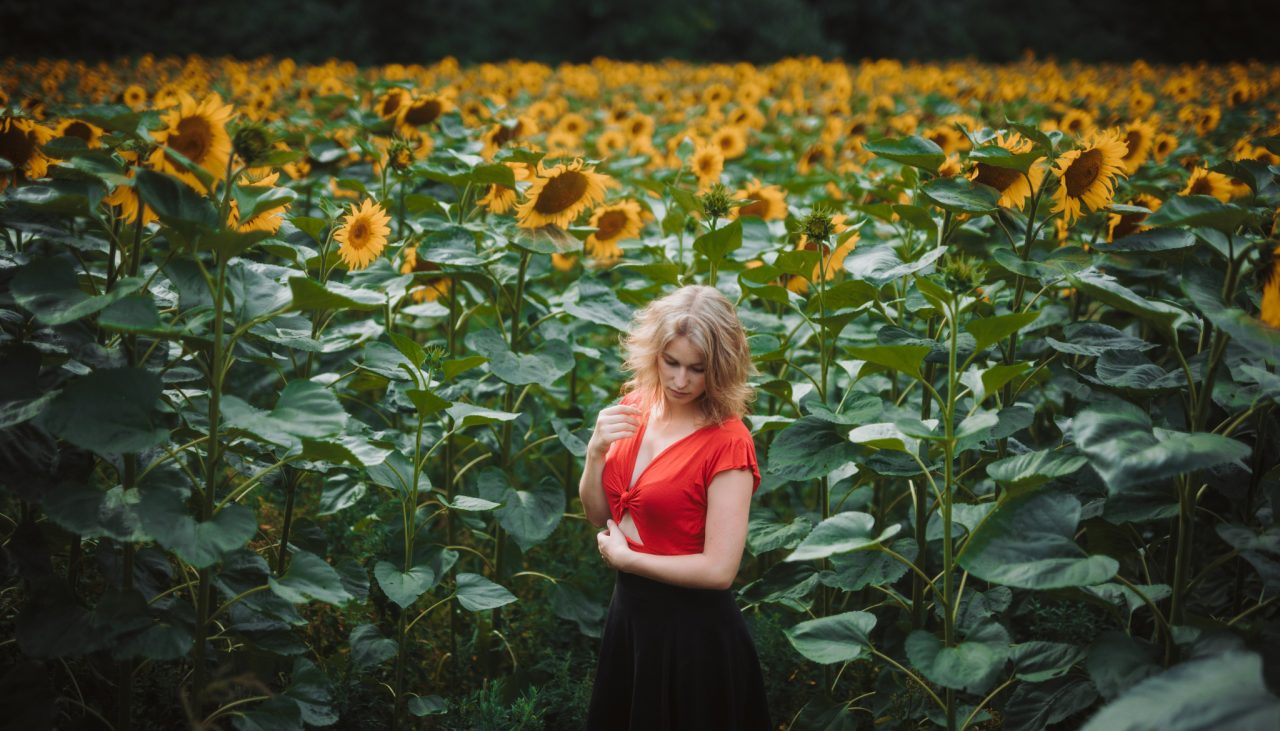
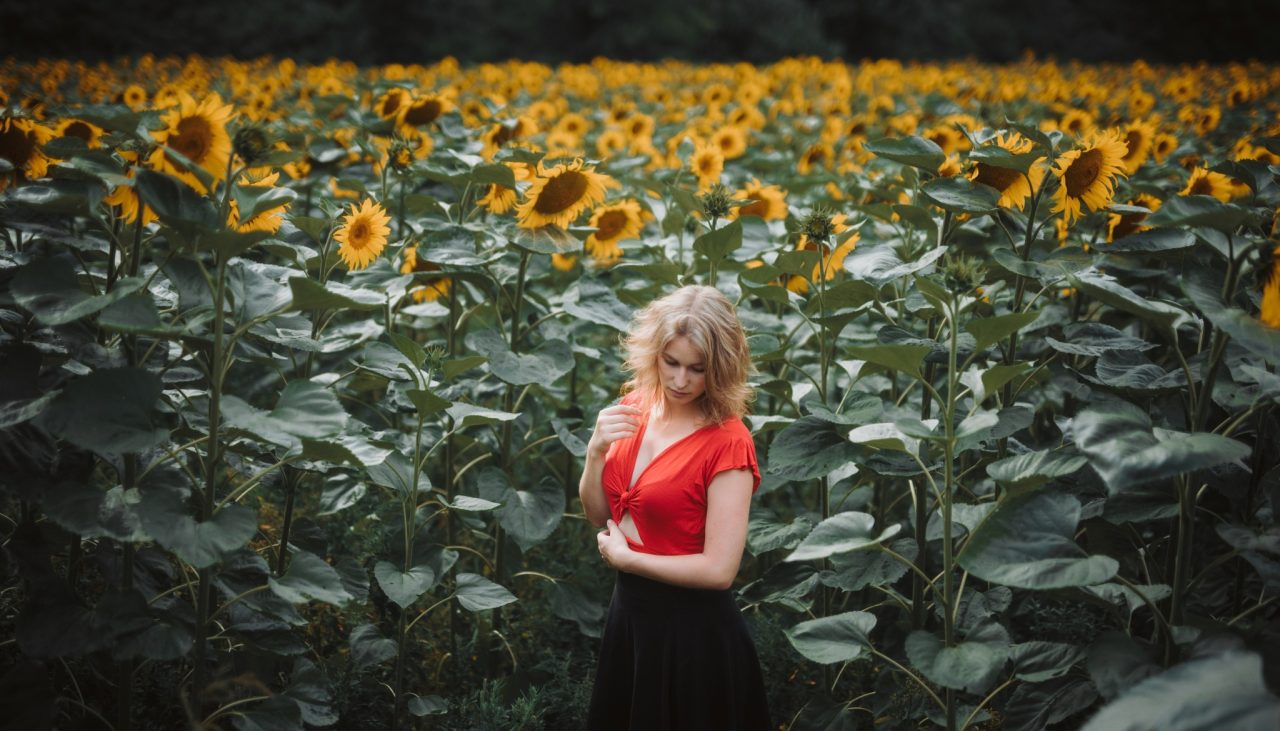
Before and after editing.
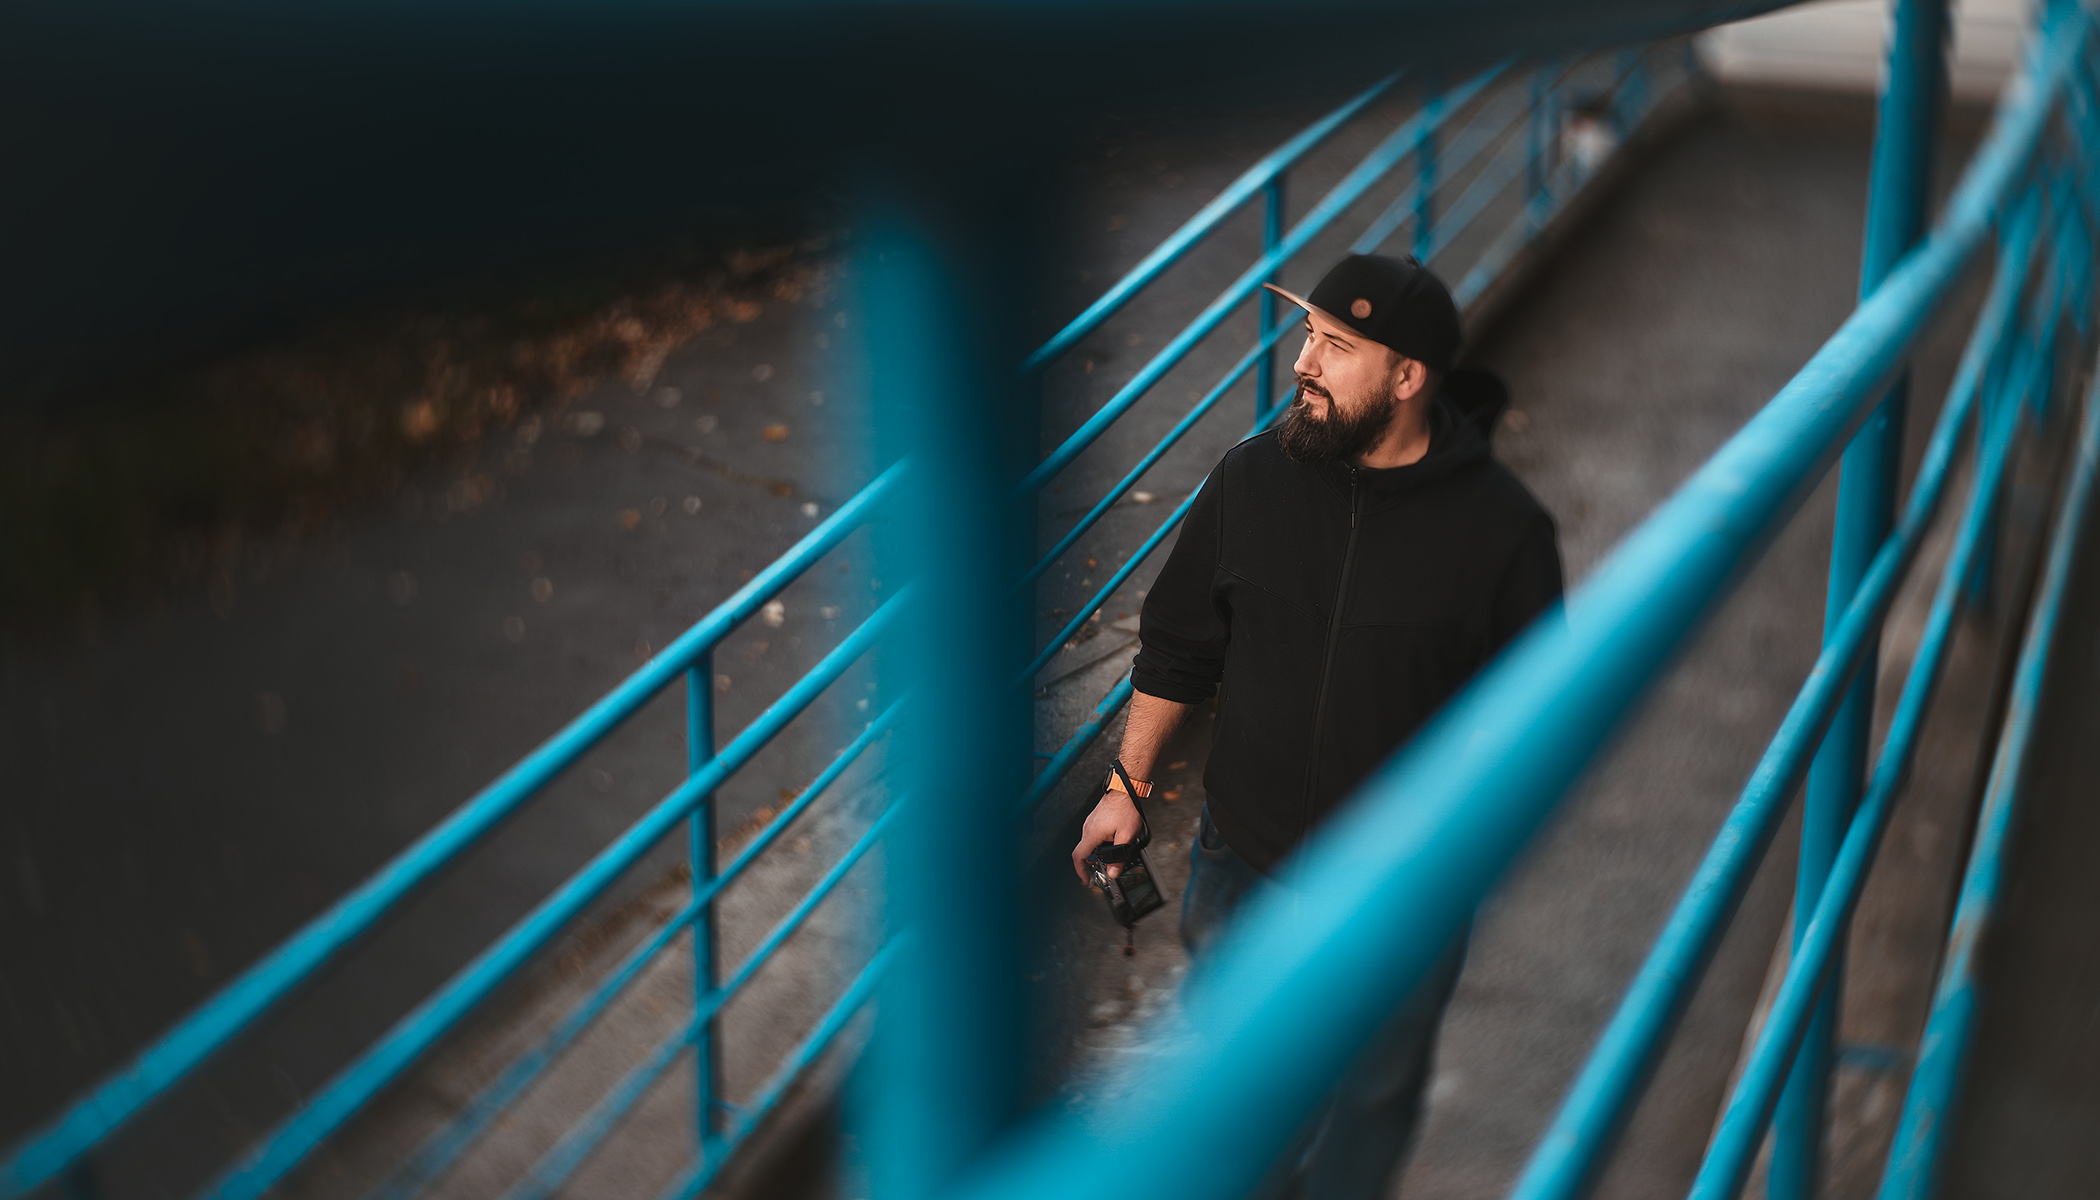
Darkening the background
Another common situation is when a photo looks a bit flat. The main subject doesn’t stand out because it’s about as light or as dark as the rest of the image. To fix this, darken the background or brighten the main subject. Go to the Develop module, choose Background under Local Adjustments (L). Under Exposure, lower Lights, Shadows, or Exposure—depending on what works best for your photo.

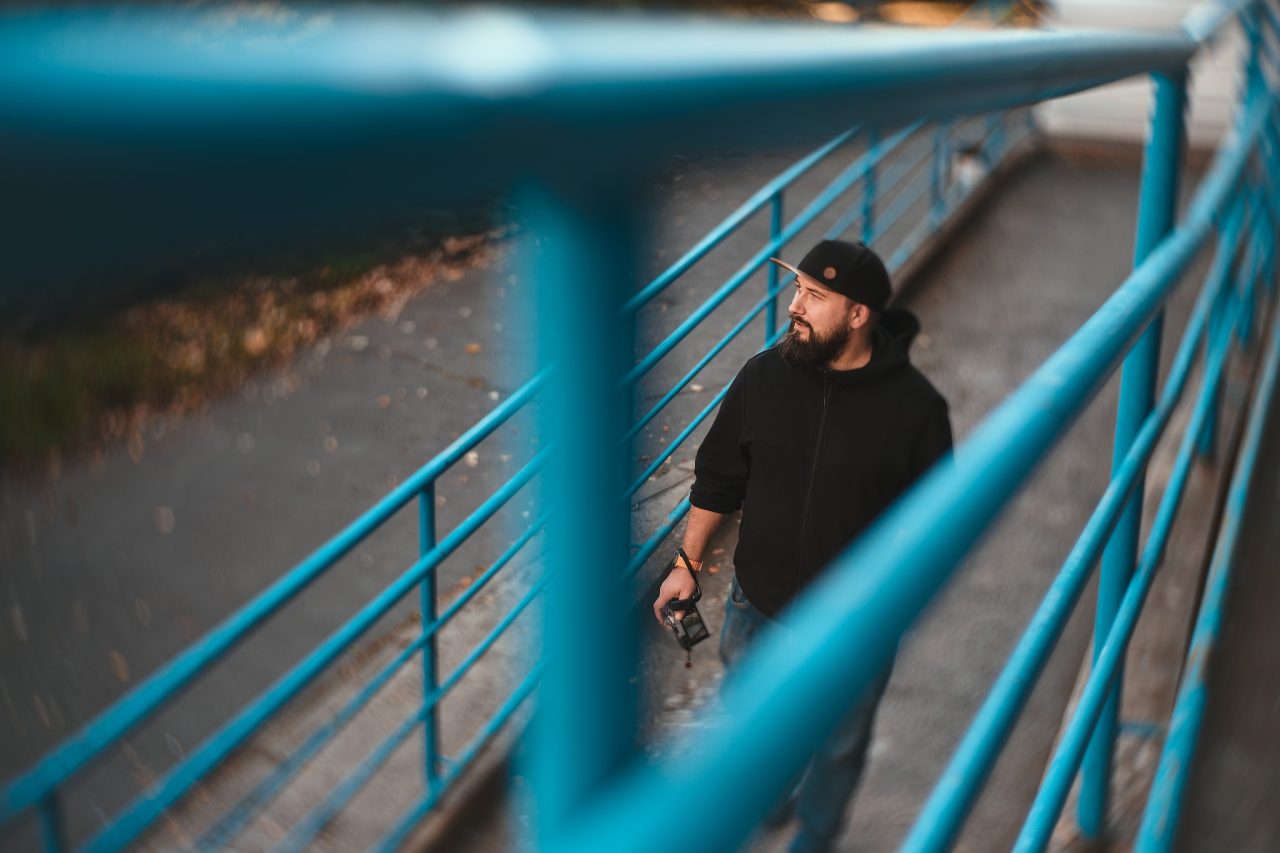
Before and after editing.
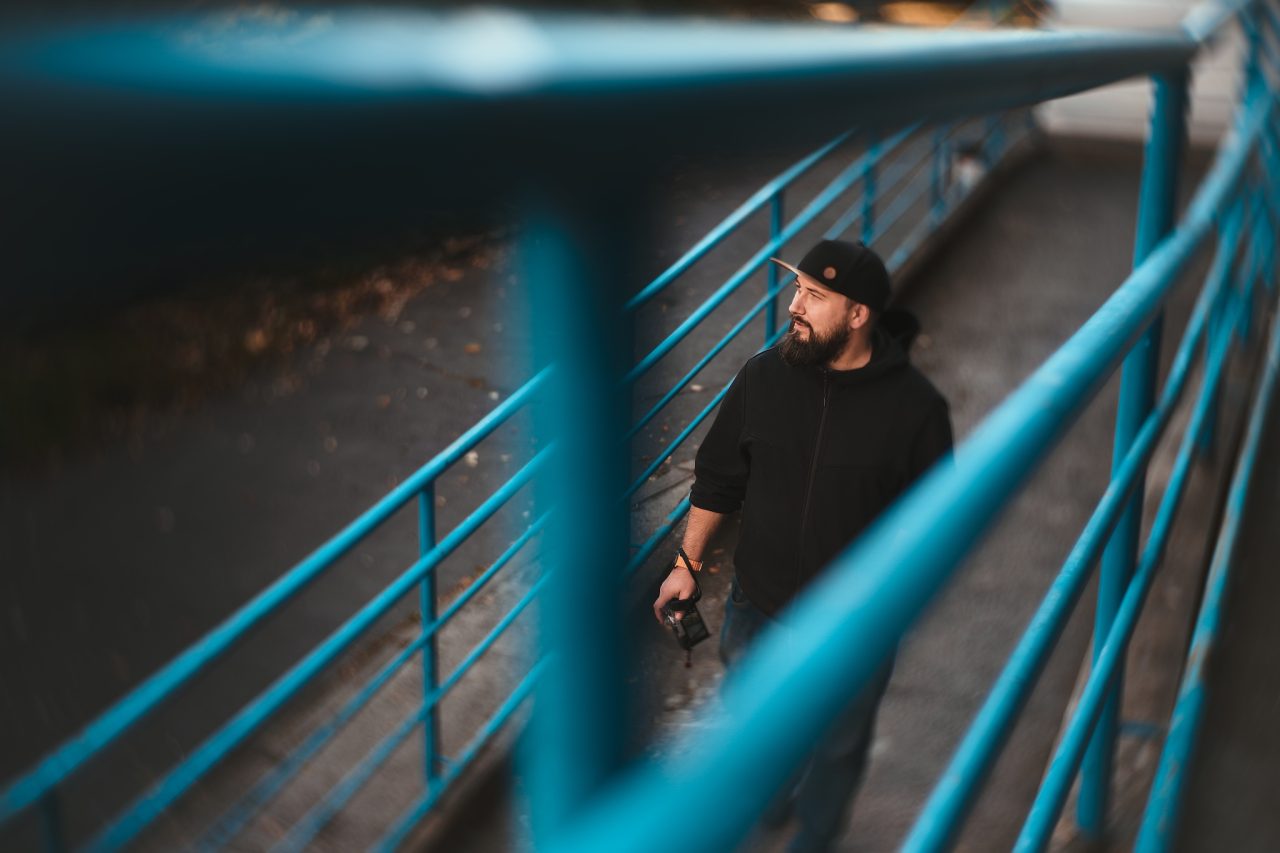
Blurring the background
Blurring the background can be useful to create the illusion that the image was taken with a portrait lens, especially with mobile phone photos. A blurred background makes the main subject stand out more.
Open the photo in the Editor module. Duplicate the photo layer and use the selection tools to select the entire subject. In most cases, Magnetic Lasso (A) works best. You can then fine-tune the selection using Refine Selection.

Next, click Reveal Selection on the duplicated top layer. This leaves only the foreground in the top layer.
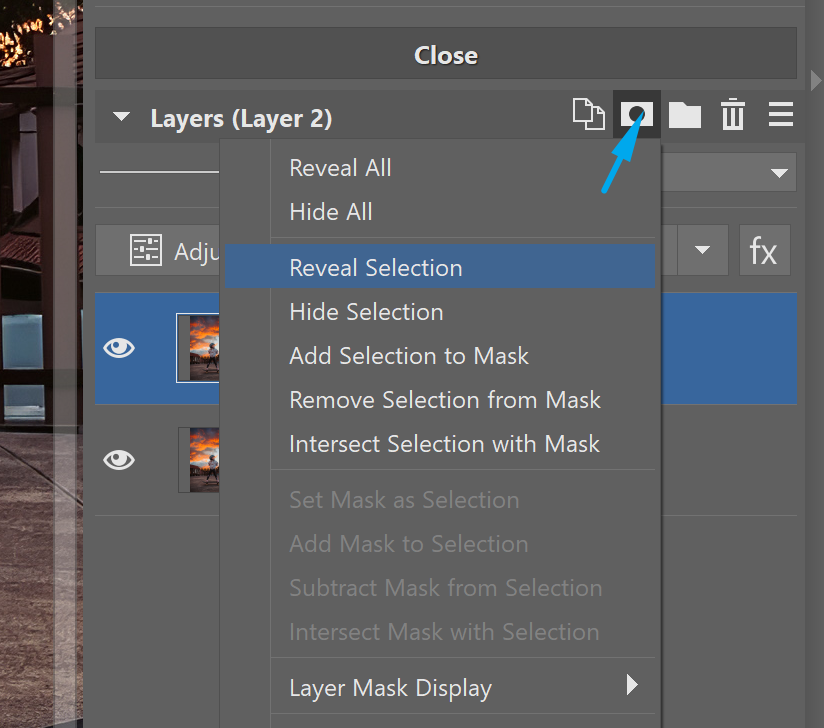
Switch the bottom layer. For best results, retouch the edges of the subject, as they can cause issues once the background is blurred. The Clone Stamp (S) or Healing Brush (J) works best here. Hide the top layer using the eye icon next to the layer to make this easier.

Make the top layer visible again, then go to Adjust in the top menu, and select Blur.
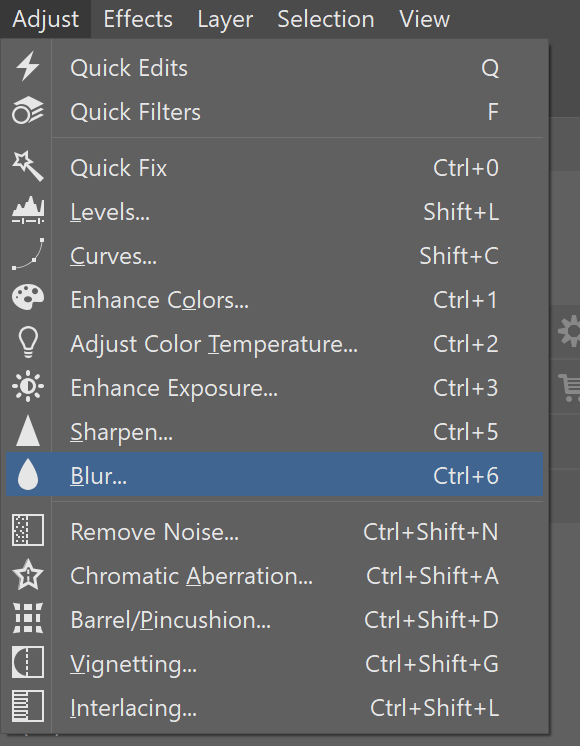
Choose the blur type. Overall or Gaussian usually works best. Use the Strength slider to control how pronounced the blur is.

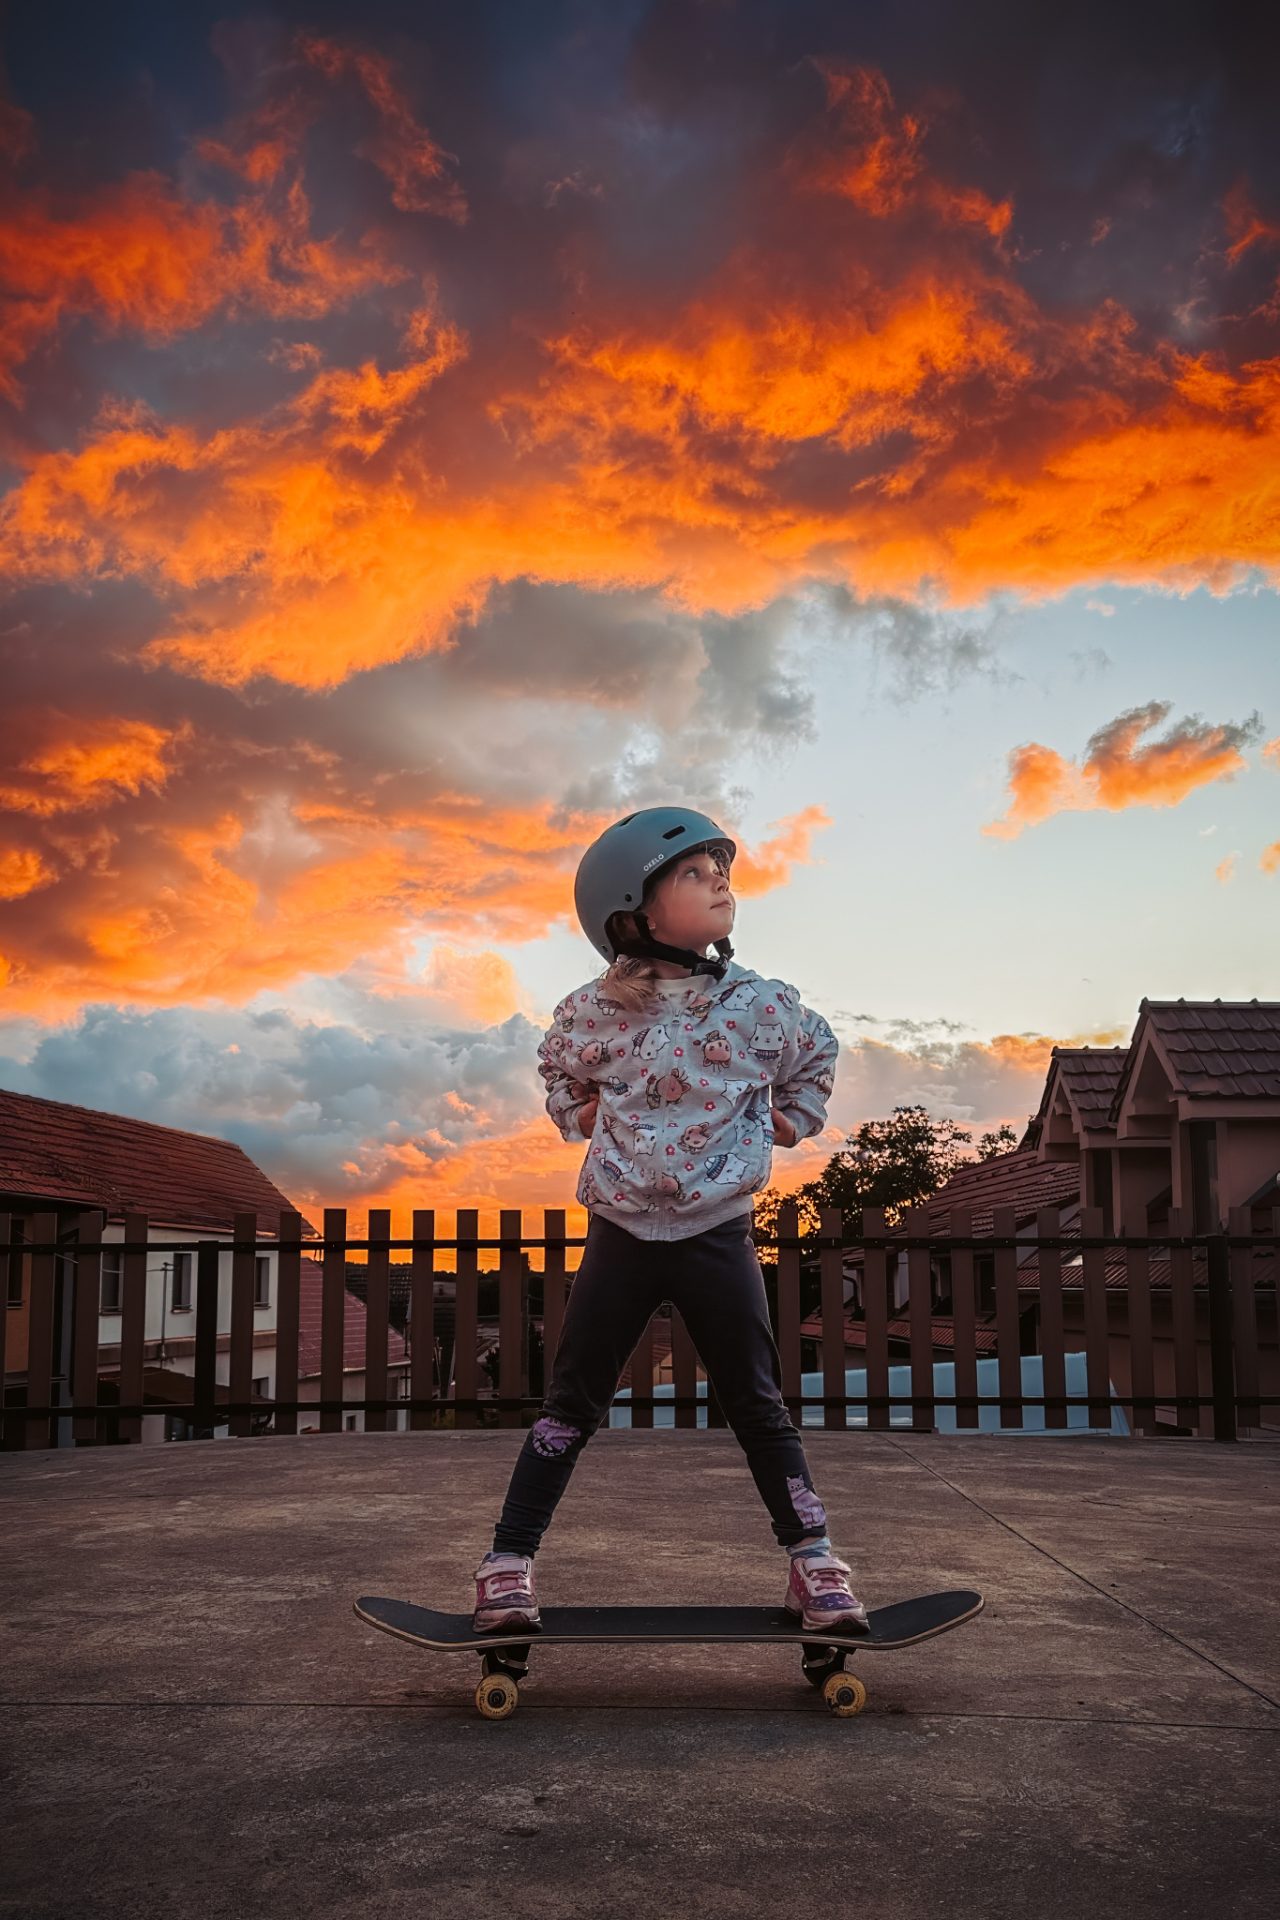
For typical portraits where the ground isn’t visible, this would be enough. But in this photo, the ground is in the same plane of focus as the subject, so blurring everything below them doesn’t make sense. To fix this, add a mask to the layer by clicking the mask icon and select Reveal all. Then, go to Drawing Tools, select Gradient, and drag it from the bottom upward. Click Apply and you’re done.

Mobile phones often try to do this automatically, but they’re still limited in terms of accuracy and can’t simulate background blur at all focal lengths. That’s why it’s useful to know how to do this manually.
Download Zoner Studio free for 7 days and try bringing out your subject and improving your photos today.
FAQs
Do these techniques work on mobile phone photos? Yes. Color adjustments and darkening the background work on any image. Blurring the background is especially useful for mobile phone photos because it compensates for the phone’s shallow depth of field and fixes inaccuracies in its blur simulation.
Do I need to edit in RAW? It’s not required, but RAW files offer greater flexibility when making color and exposure adjustments without a loss of quality.
What if automatic background selection is not accurate? You can always fine-tune the selection manually using the Brush.
How strong should the blur be? Less is usually more. The goal is a natural look, not an obvious cut-out effect.
Can software-based blur replace real portrait lenses? Not entirely, but for online use and family photos, the results can come close to those of a portrait lens.
There are no comments yet.