Battle of the Edits: Portrait Edition
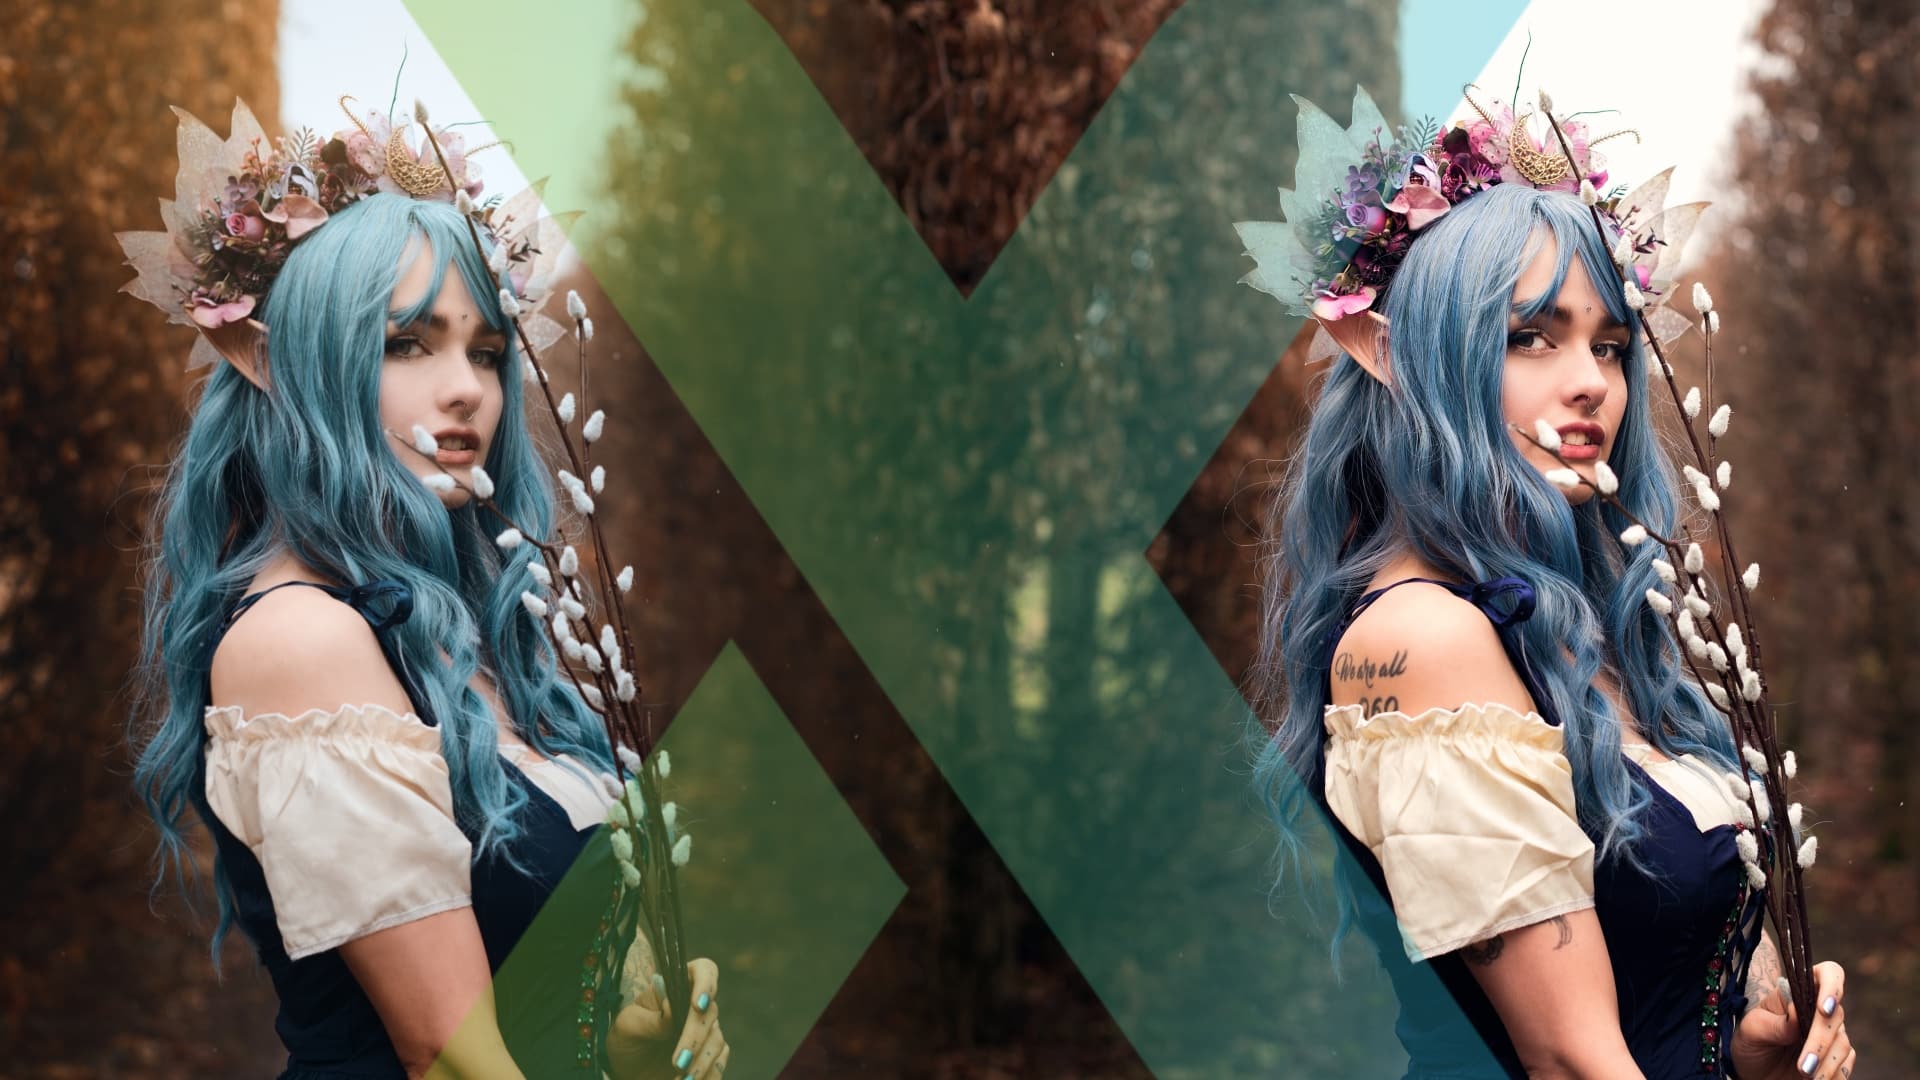
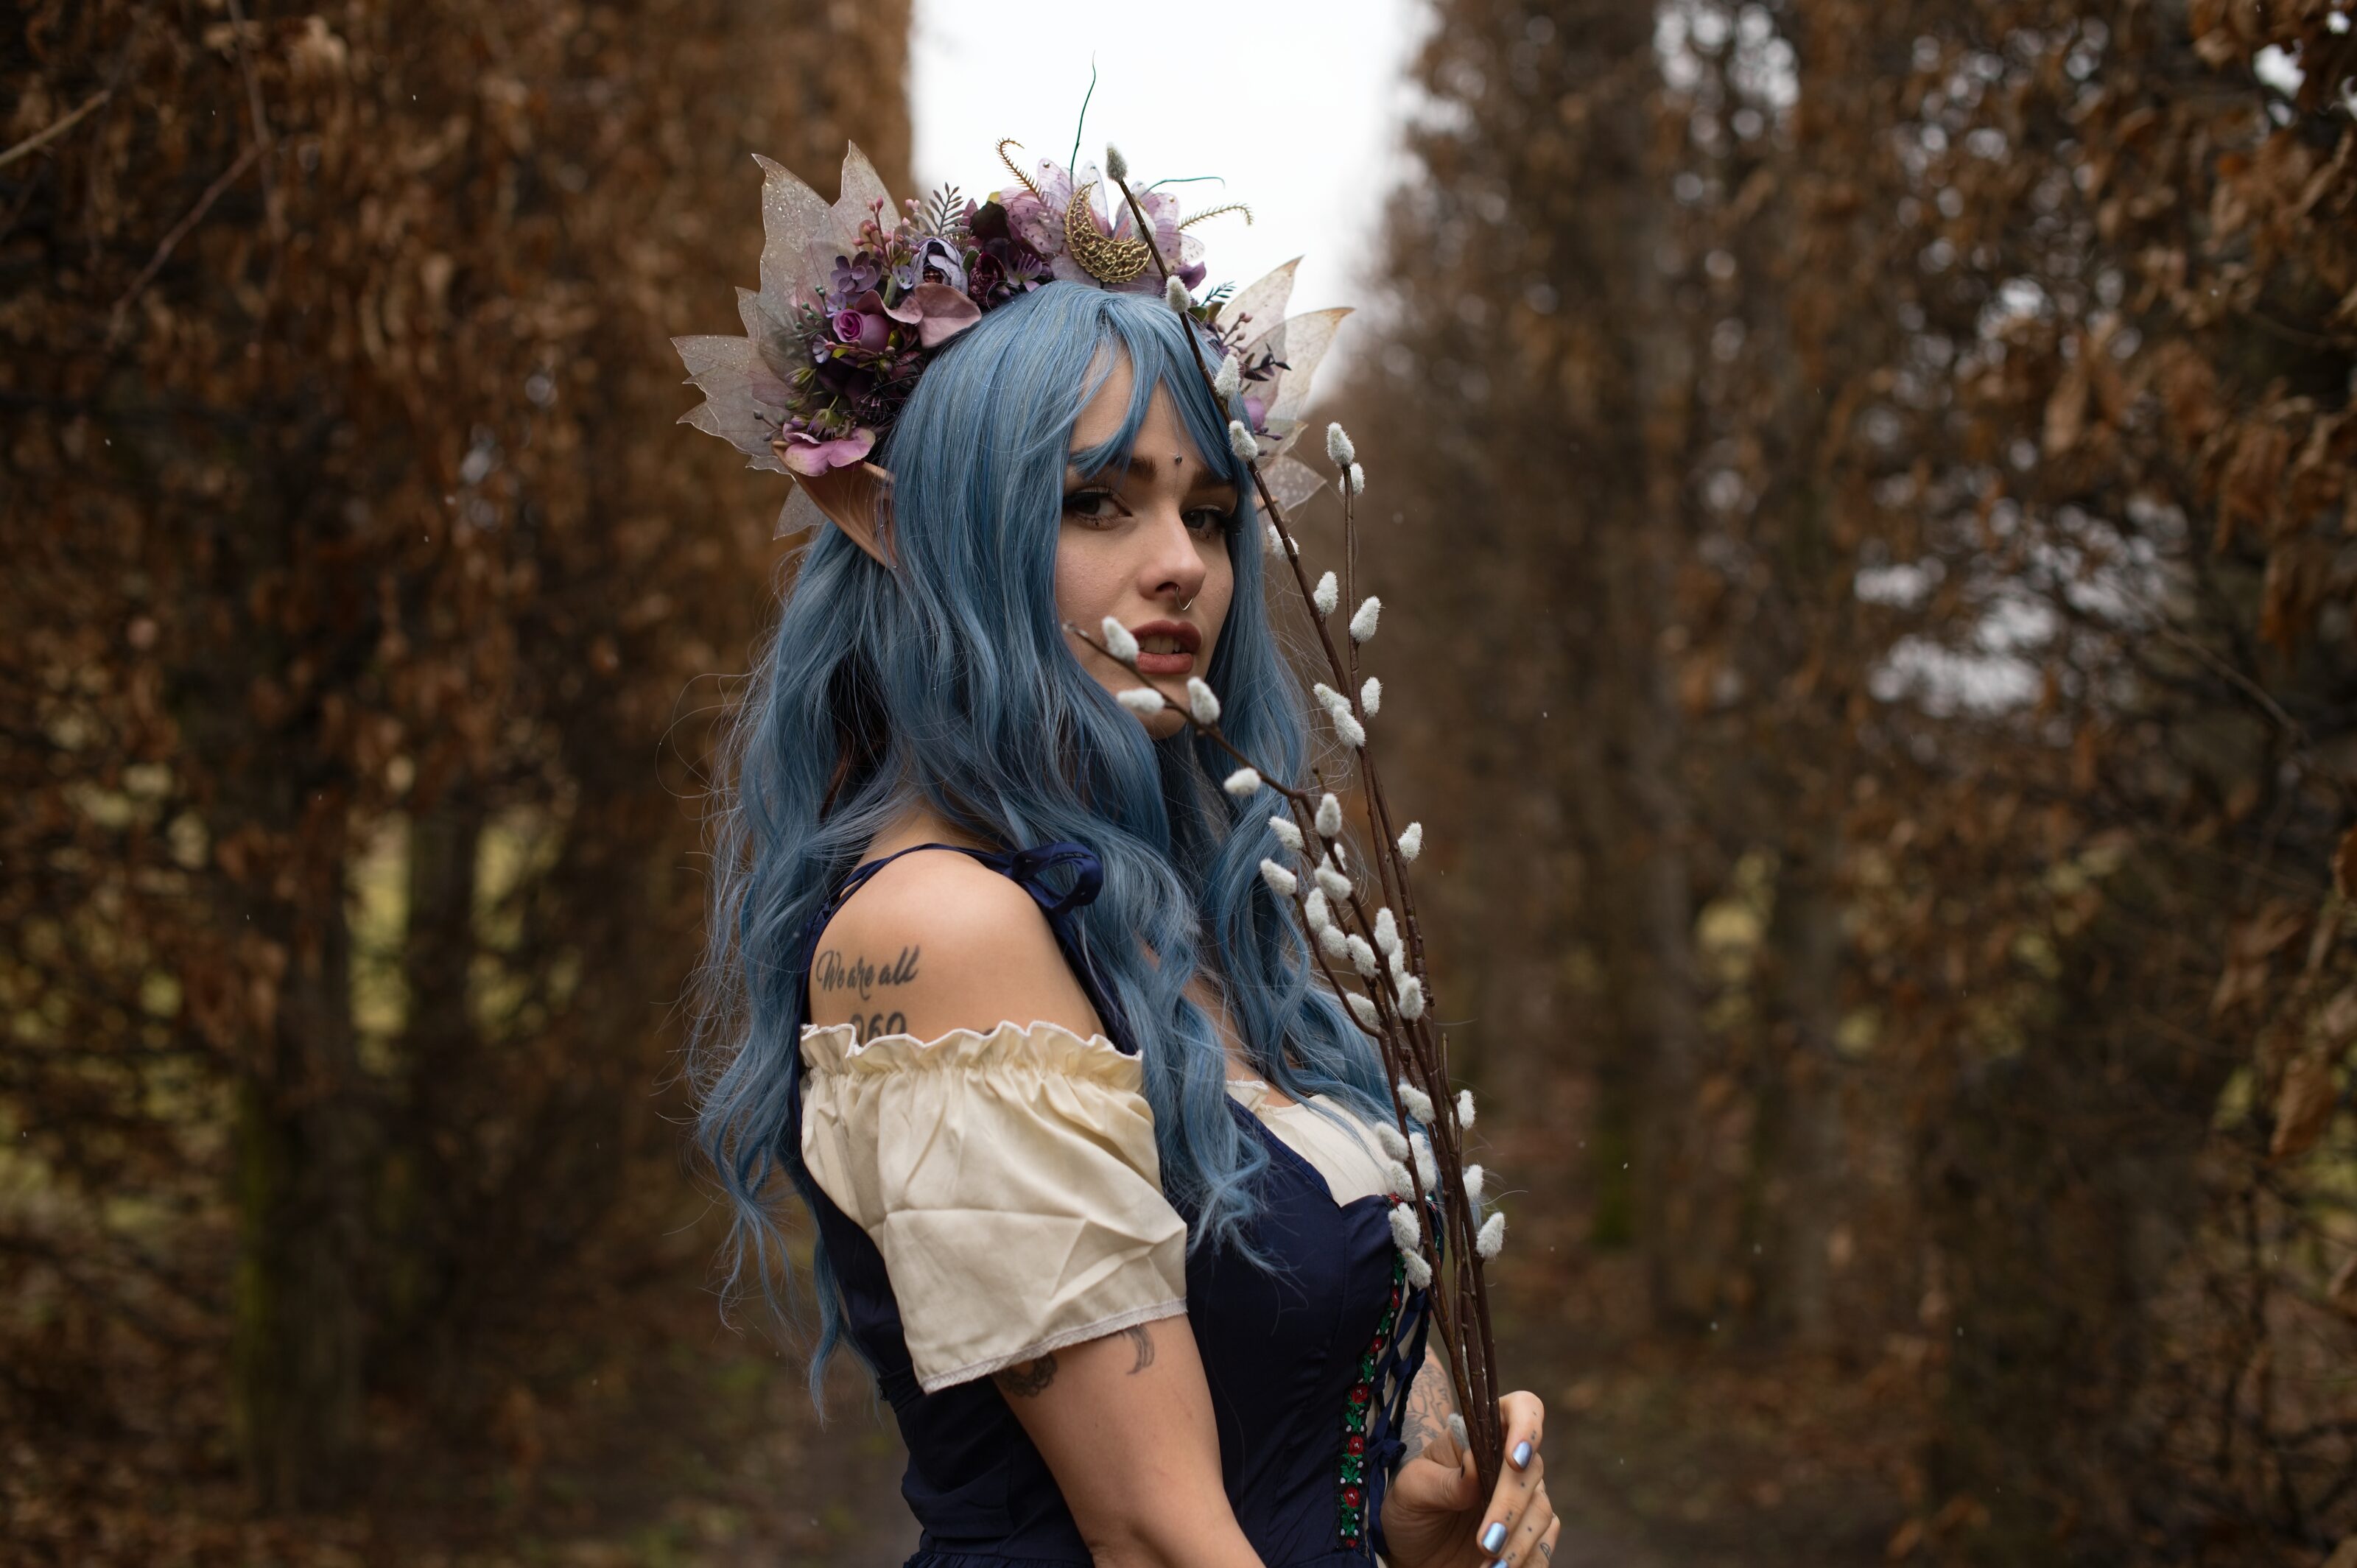
Once again, we are bringing you two different editing styles for a single photograph. This time around, it is a portrait. Zoner ambassador Zdeňka Povolná and promising portrait photographer Gabriela Goffová edit one RAW portrait and get two completely different results. How much can the editing process differ in Zoner Studio? Apparently, quite a bit.
Editing by Zdeňka
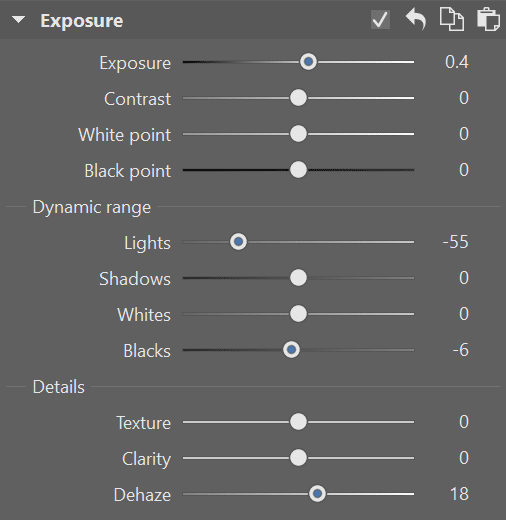
I started like I always do, with adjustments to Exposure. I didn’t make any major changes because I did many of the brightness adjustments later using the Luma curve.
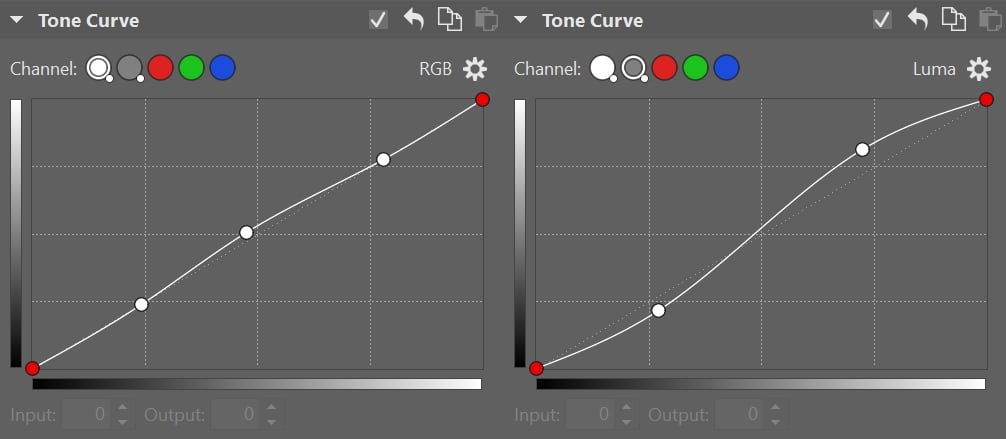
I didn’t do many curves adjustments either. As I already mentioned, Luma helps me balance the highlights and shadows how I want. I chose not to use color curves since I prefer Color Shift, which I’ll get to later.
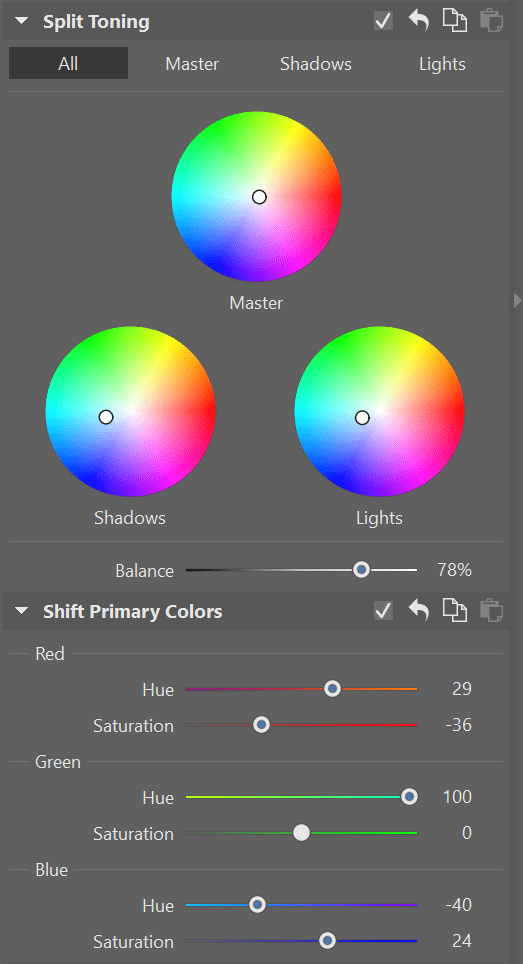
Color Shift is my favorite tool and the main source of my color editing. I combine any adjustments to Color Shift with adjustments to Shift Primary Colors. This lets me see how everything works together. I do a bit of jumping back and forth between the two and some trial and error. Colors must be adjusted carefully because you have to keep your eye on the skin tone. This is why color work is the most time-consuming.

I wrap up with Split Toning to spice up the color adjustments a bit.
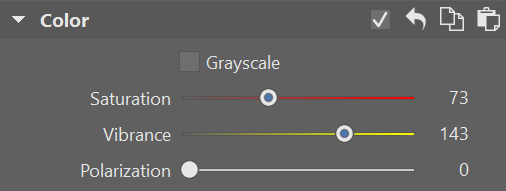
Finally, I go back to Color and adjust Saturation and Vibrance.
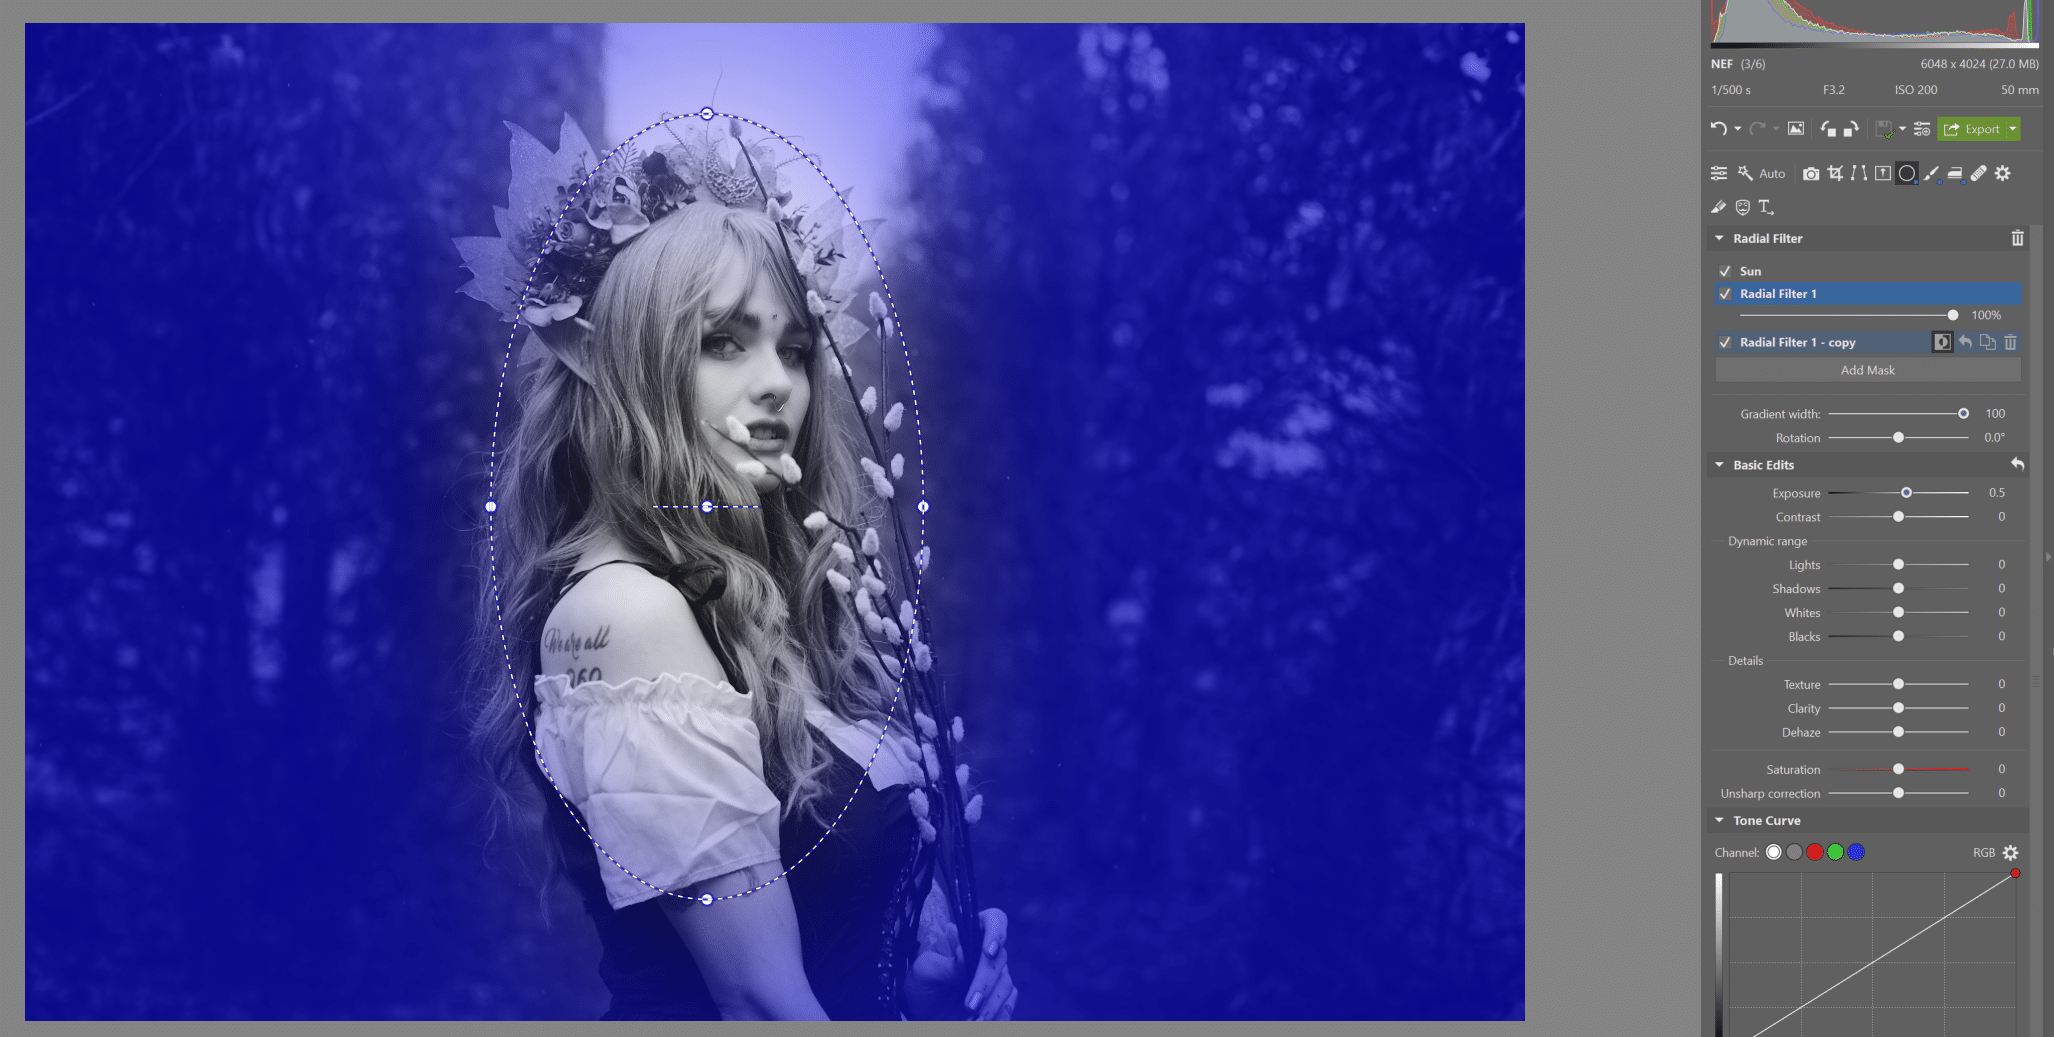
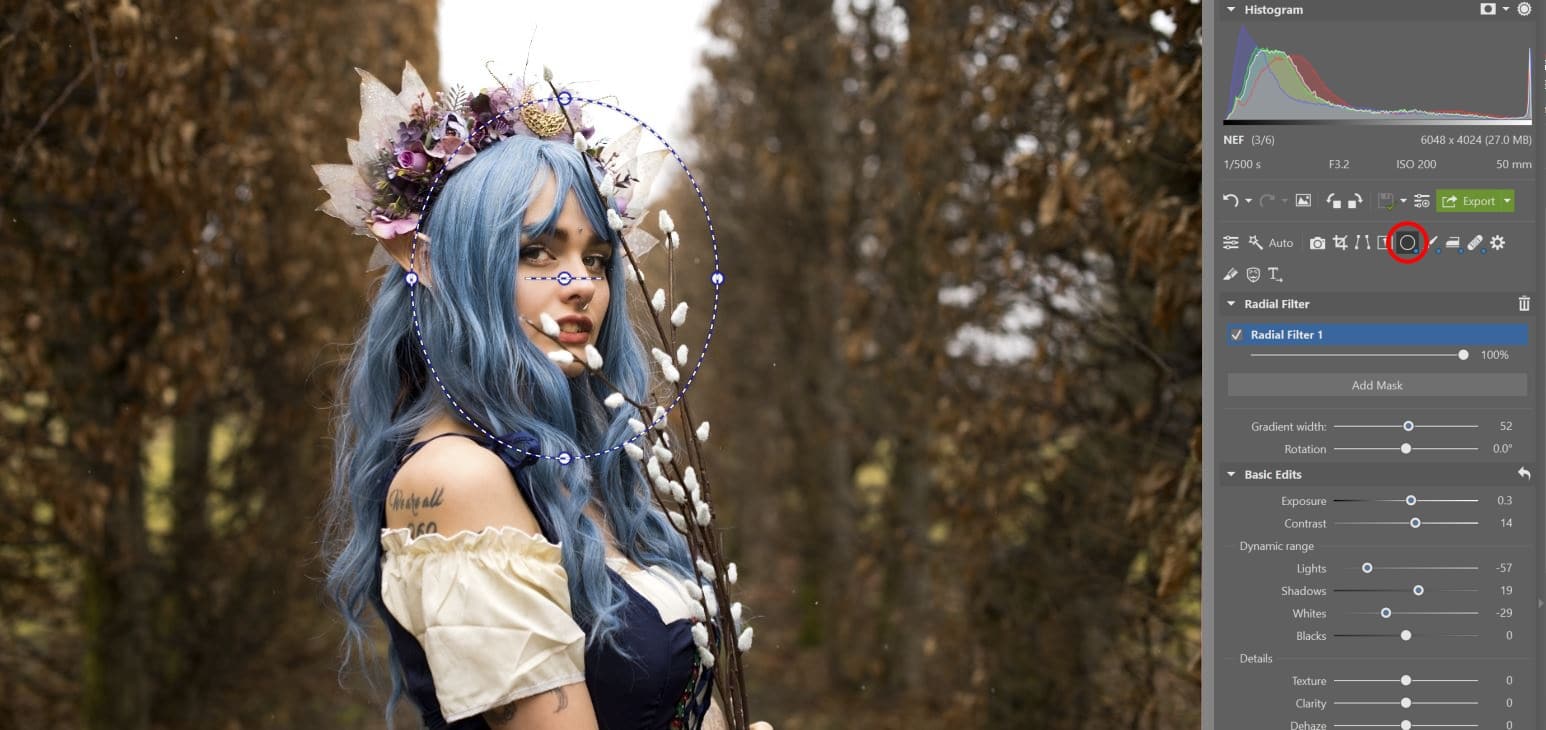
The Radial Filter (R) is something I use on occasion for two reasons. The first is as an alternative to vignetting. I like to bring a lot of attention to my subjects. For the subjects to stand out, they need to be seen. They need as much light as possible to become the main focus. For this reason, I use the Radial Filter to increase exposure locally on my subjects and decrease it for the surroundings.
So, how’s it done? I used one filter where I increased exposure on the model. Then I duplicated it, inverted it, and adjusted the exposure to negative values. I also brought out the color of the leaves so they didn’t look so washed out. The photo was taken in February when there isn’t much color to work with.
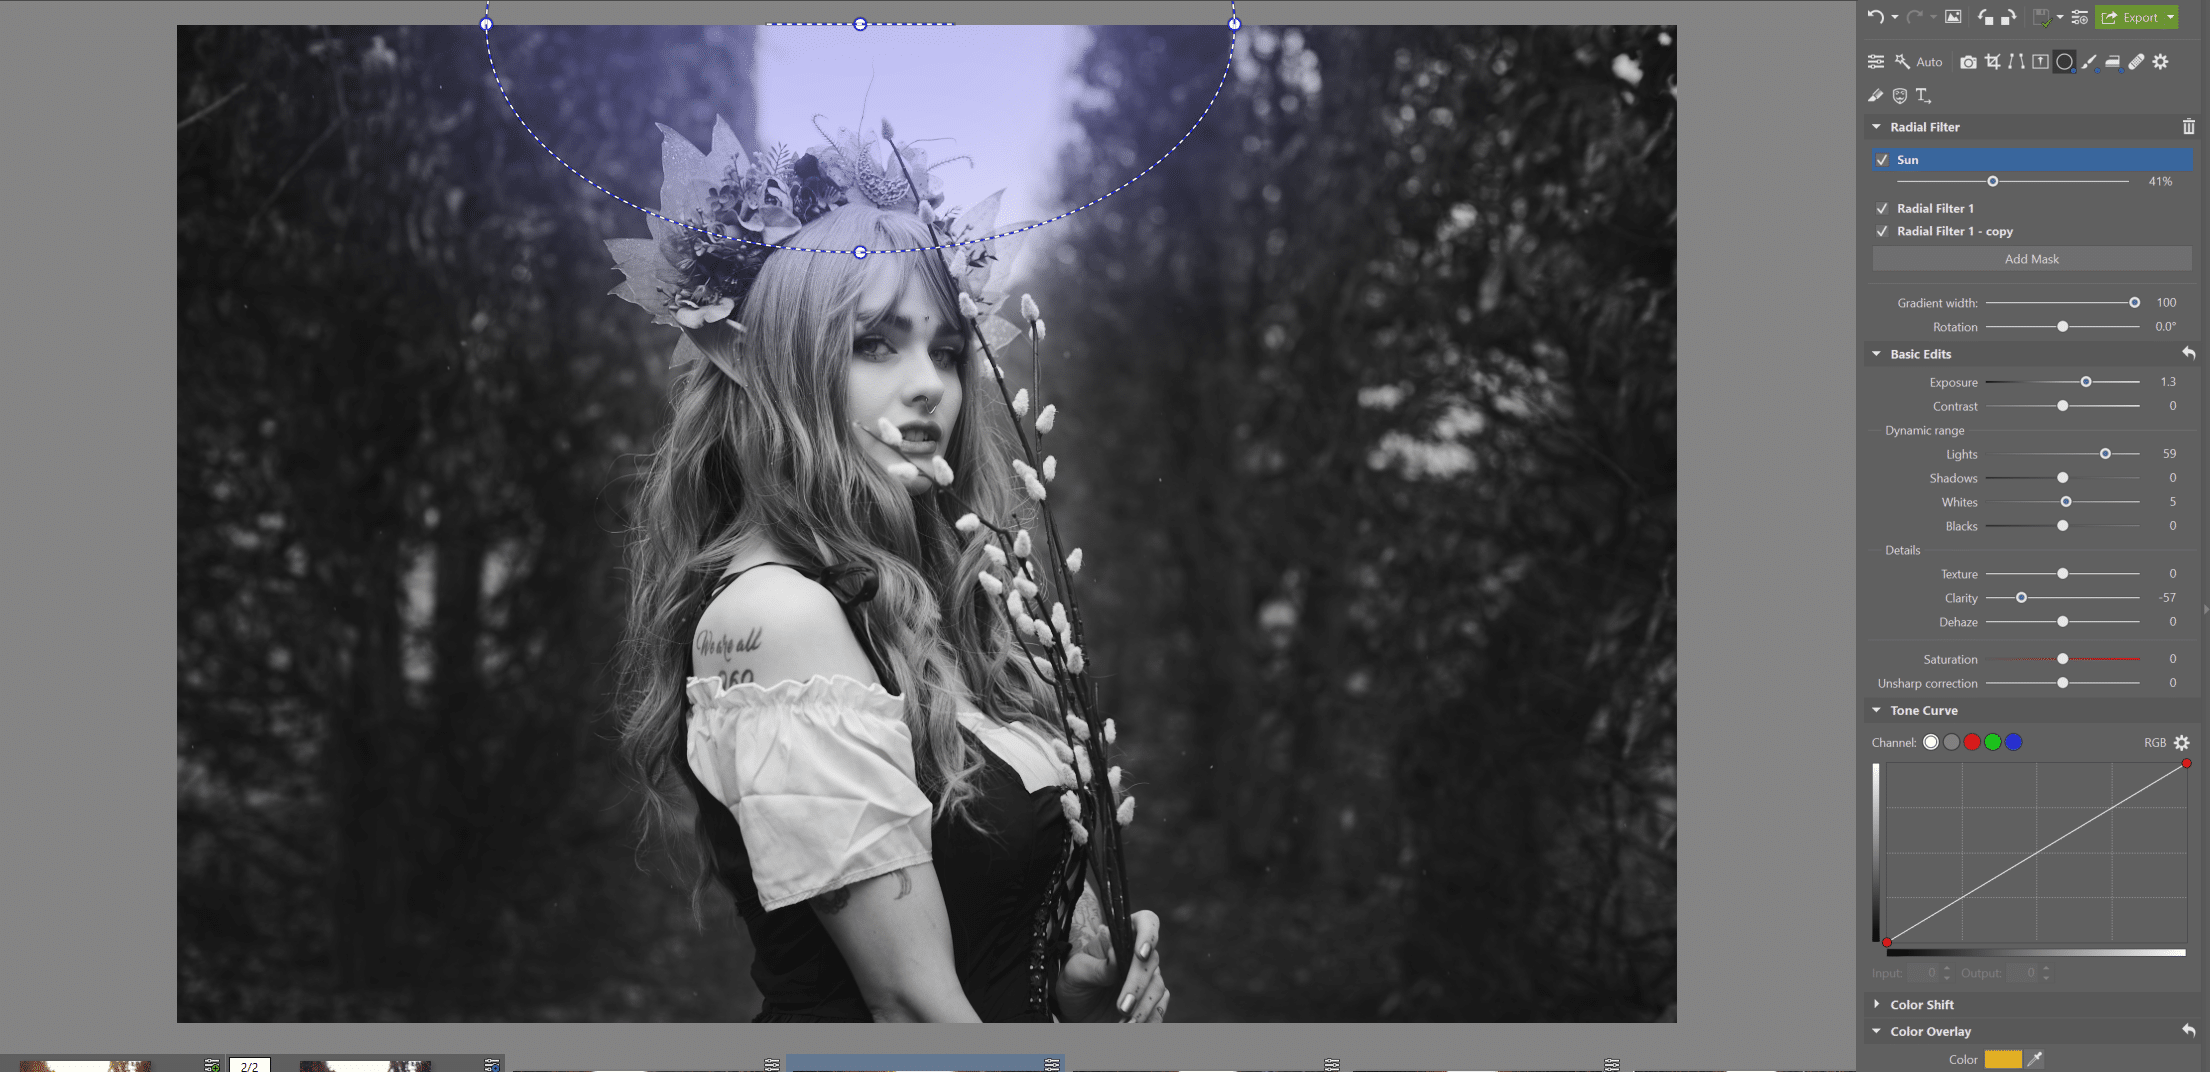
Another thing you can use the Radial Filter for is to add fake Sunlight. Using Zoner Studio presets which you can download for free, you can find a preset for the Sun Radial Filter.
This is exactly the one I used. But be careful. Only add this type of filter with care. The sunlight must have a light source coming from the sky. If your photo is dark and doesn’t have a logical place for sunlight, don’t force it.
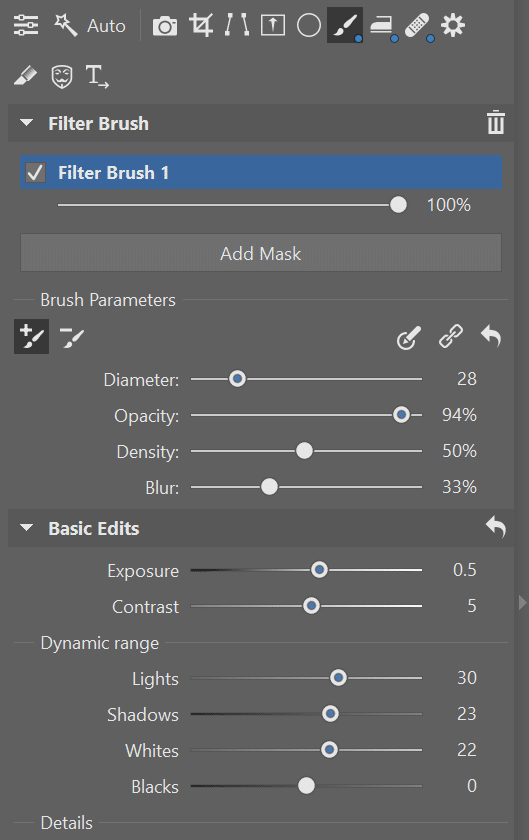
Next, I used the Filter Brush (B) to bring out the eyes. The model’s eyes are quite dark, so to bring them out, I added exposure to the irises and left them looking a bit haunting.

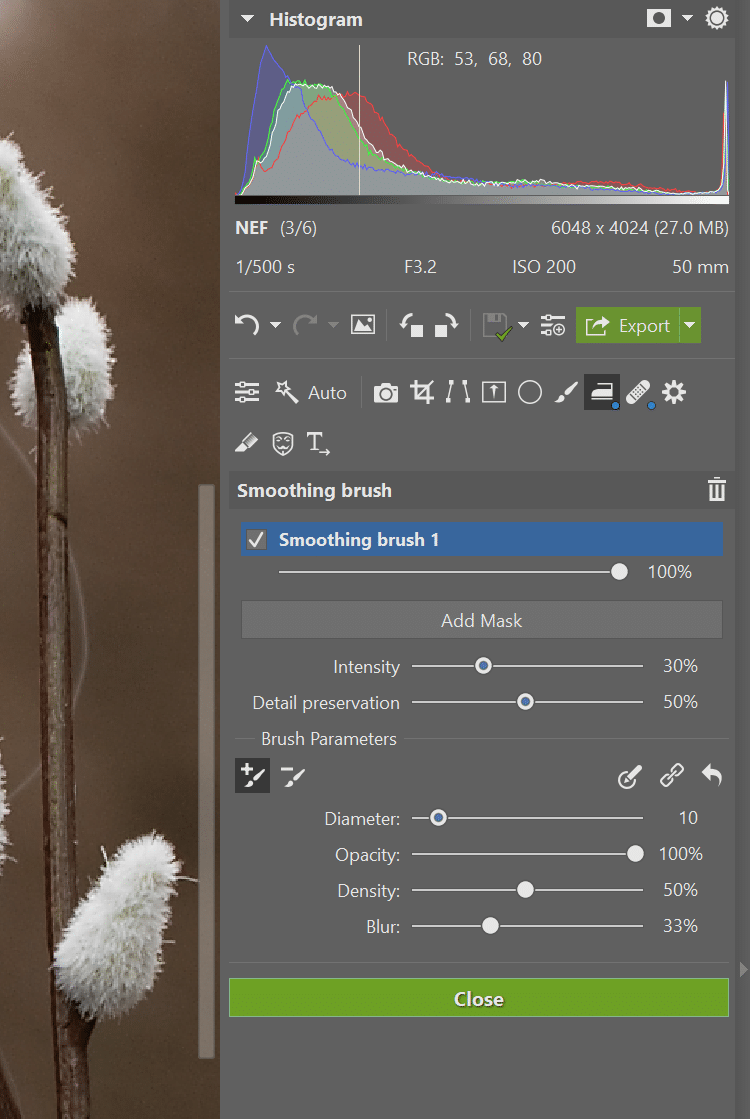
The last step in the Develop module was smoothing the model’s complexion. For smoothing that is subtle and not overdone, I use the Smoothing Brush (U). I selected the model’s face and set Intensity to only 35%. There was no need for more. Retouching should be subtle.

I put on some finishing touches in the Editor module, where I first used the retouching tools to remove pimples and other blemishes. Then, I used the same tools to remove the model’s tattoos. I mainly did this just to show it can be done.
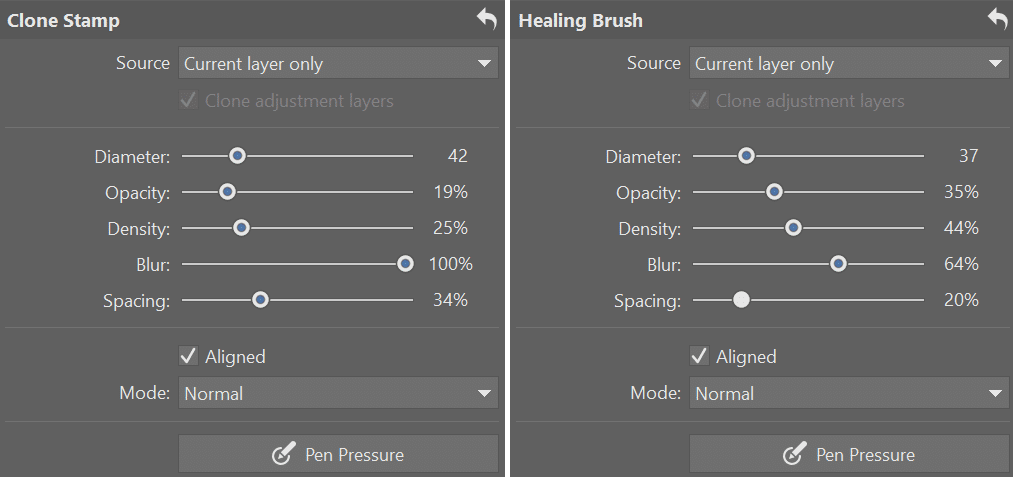
Tools like the Clone Stamp and Healing Brush in the Editor are truly powerful. Personally, I prefer them to the tools in Develop. You have more control when working with them. For example, I am constantly adjusting Opacity and Density settings with nearly every stroke. Working with them is precise and I generally recommend working slowly with small-diameter brushes. Retouching took me about 10 minutes.
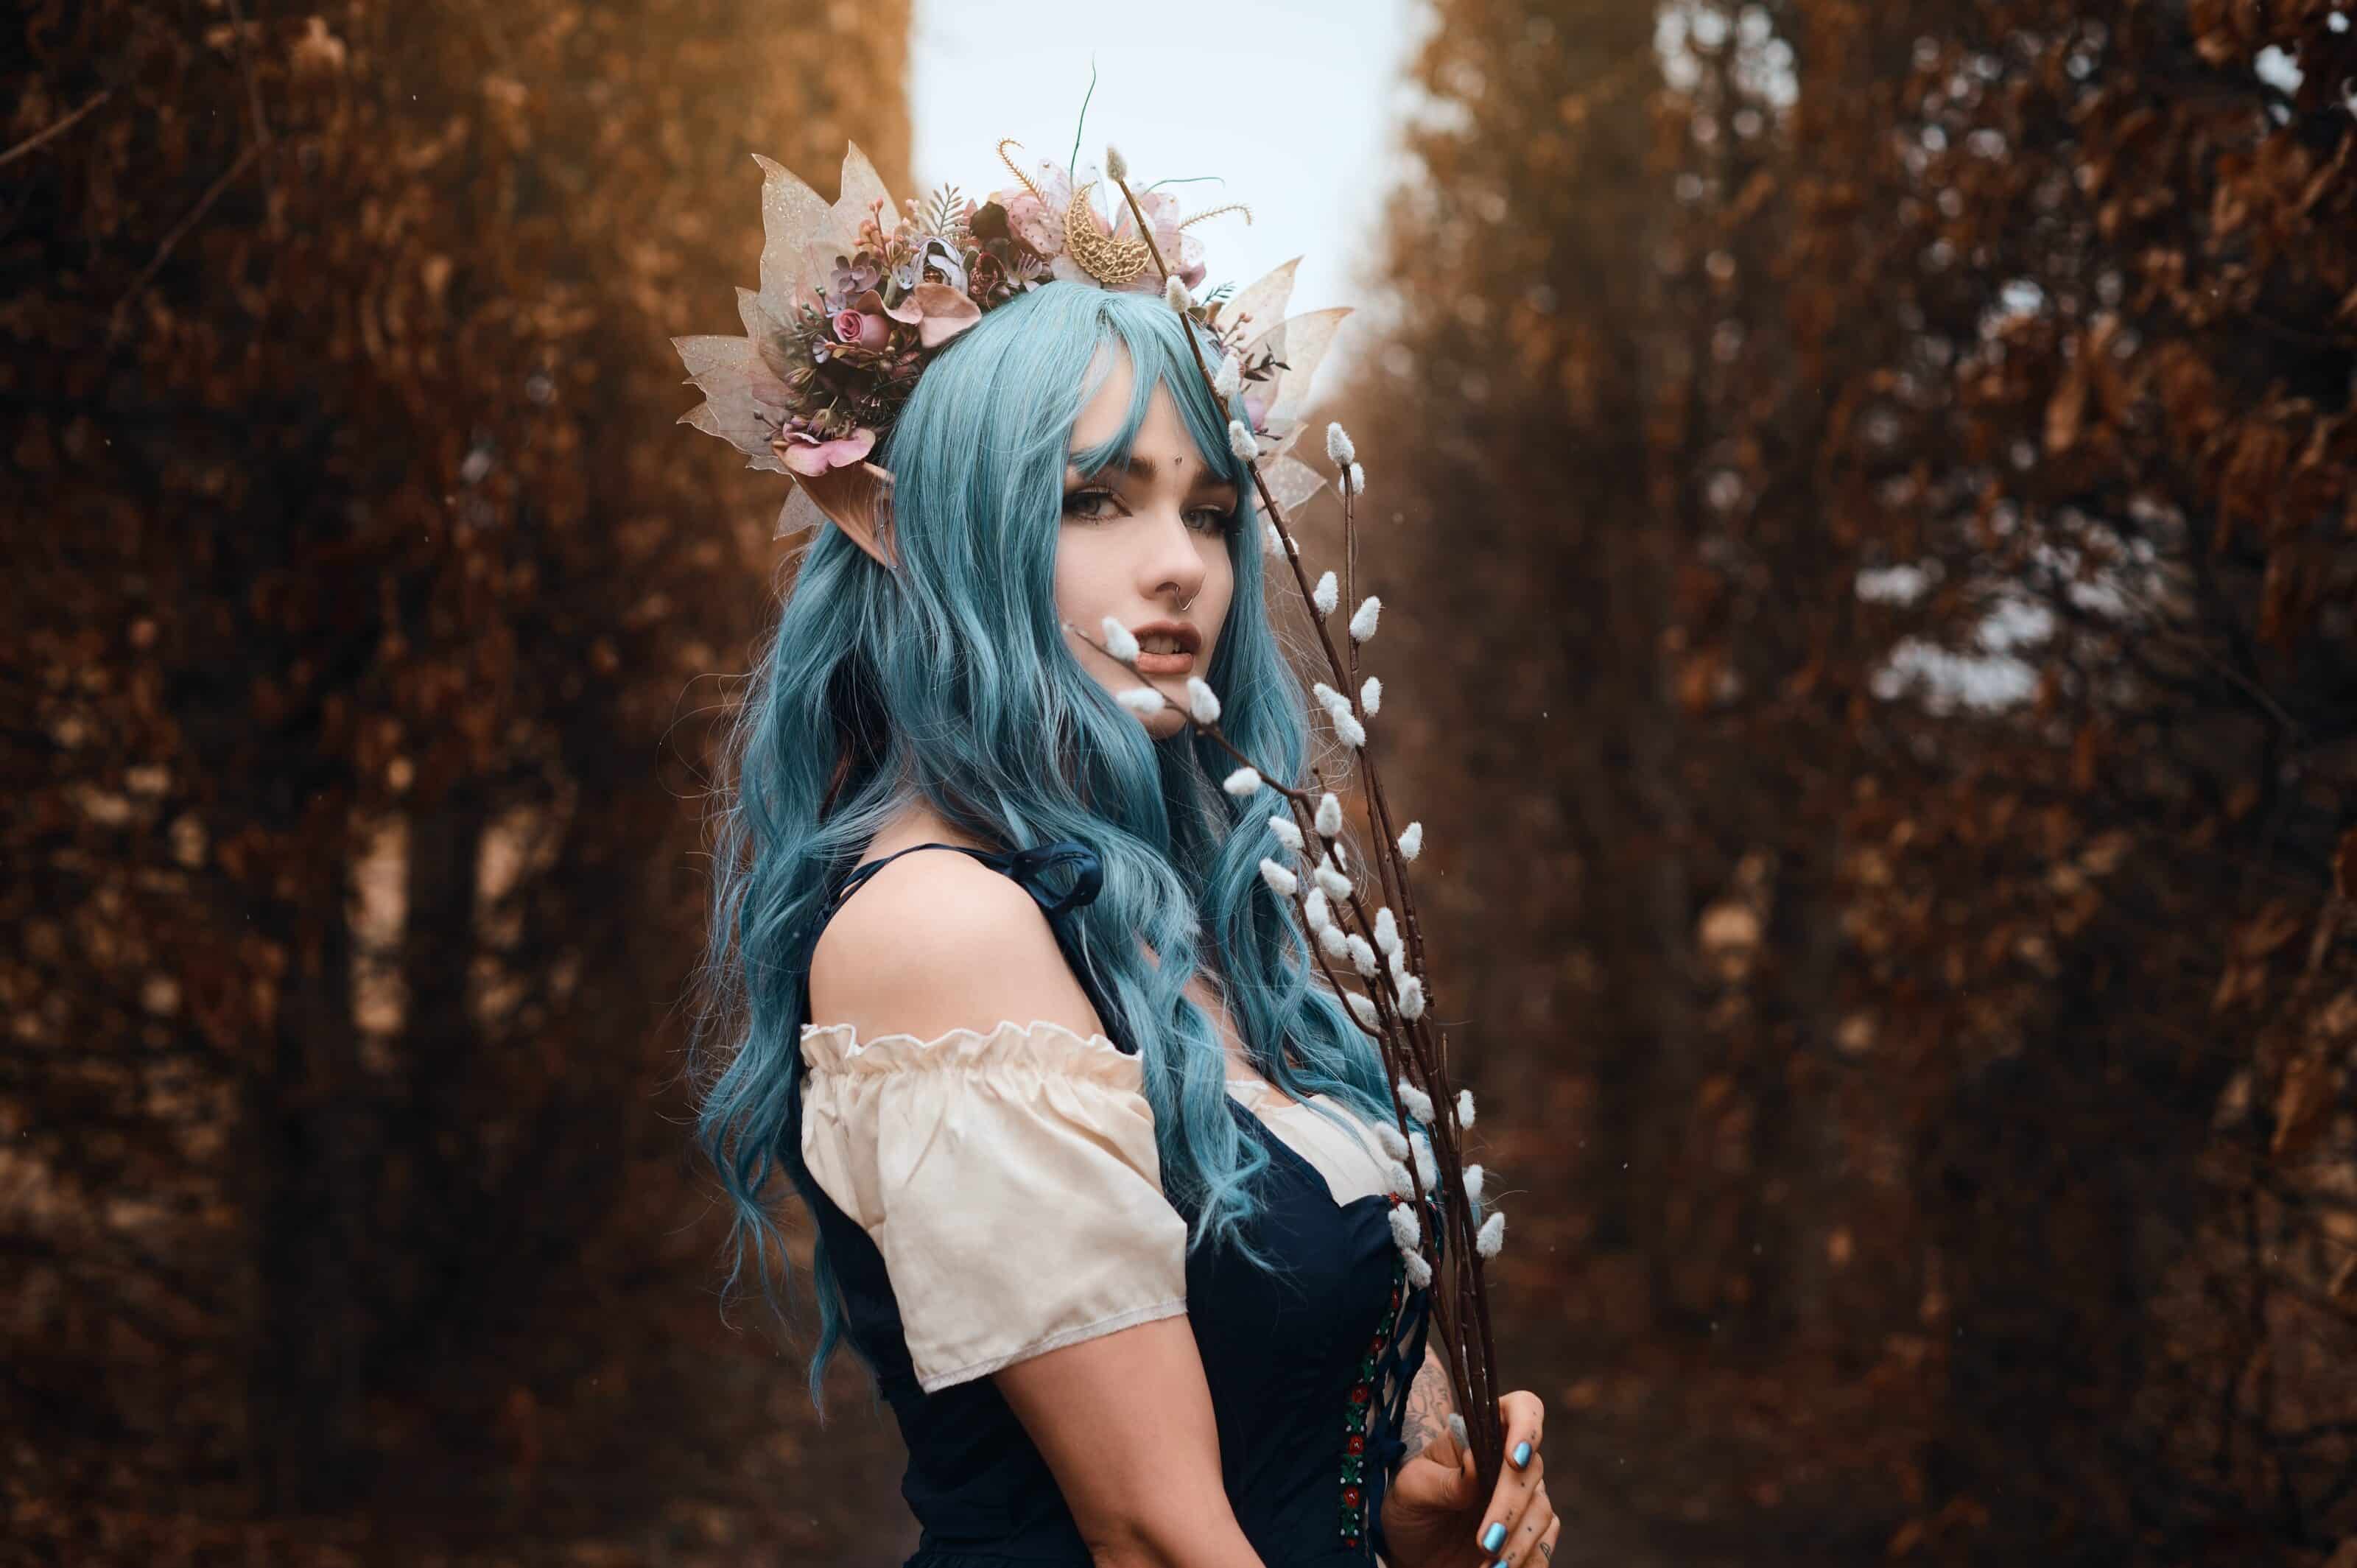
Editing by Gabriela
I started my adjustments with the Healing Brush and Clone Stamp to remove skin blemishes, mascara build-up, and other things.

For the next step, I chose the Smoothing Brush (U) to even out skin tone.
Then, I moved to the Filter Brush (B) and brightened the eyes, which looked covered in shadows and sunken in. I also increased the exposure for the ear and a couple of flowers in the headband.
The Radial Filter (R) helped me bring together the brightness of the face. Using the Radial Filter, I was able to work locally, so the adjustments did not affect the surroundings in any way.
Then, I moved on to general adjustments and fine-tuning the photo. I slightly increased the photo’s exposure and contrast as well as moved around White point and Black point.
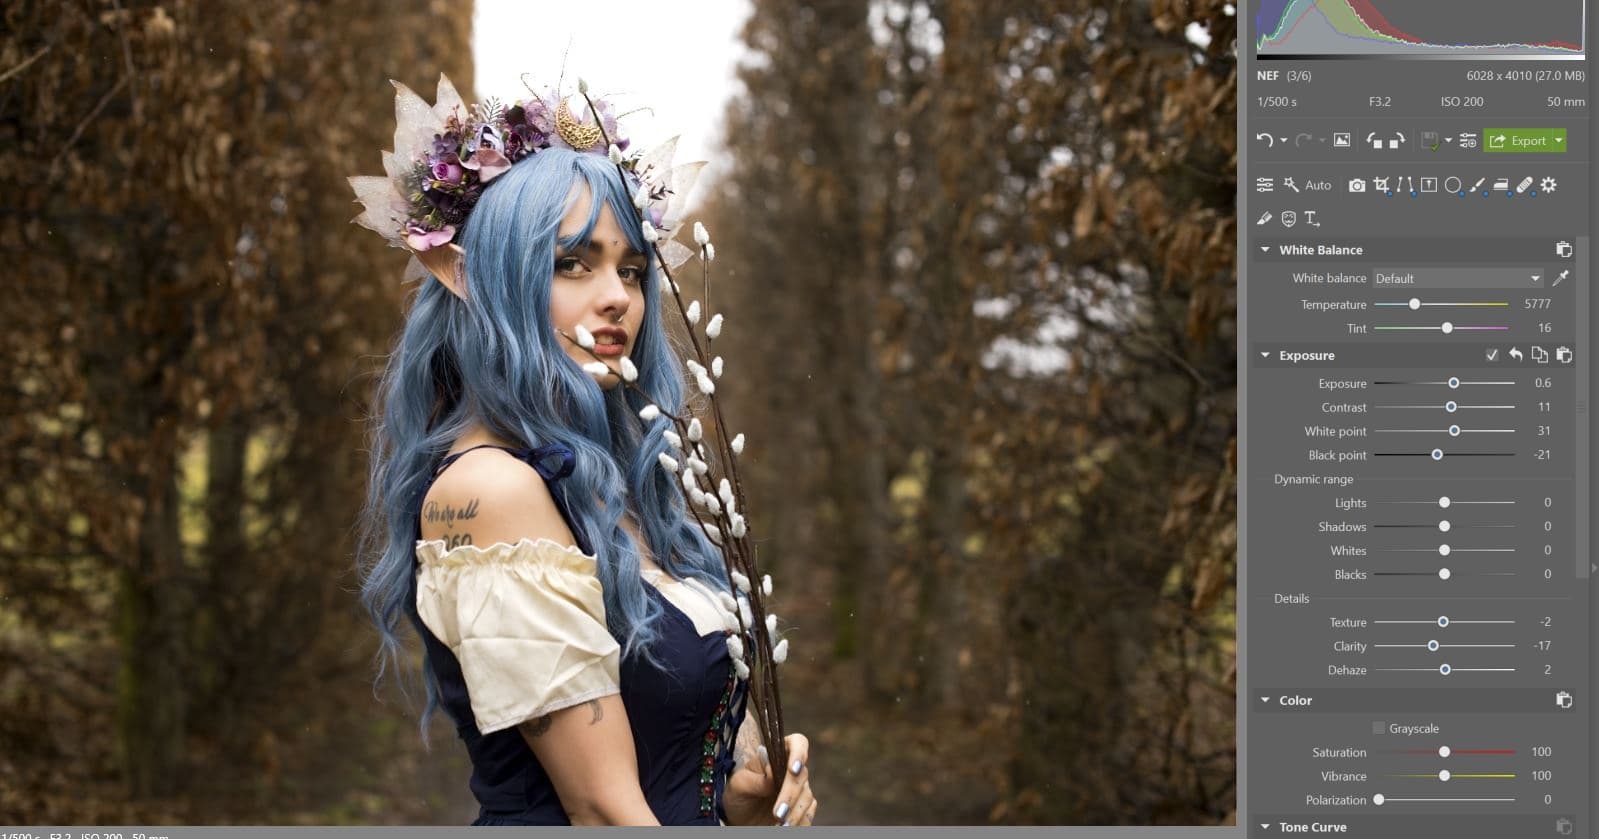
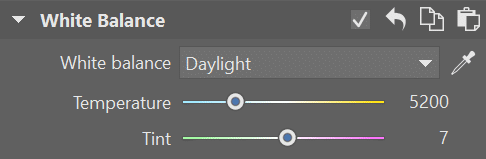
Finally, I changed the White Balance setting to Daylight.
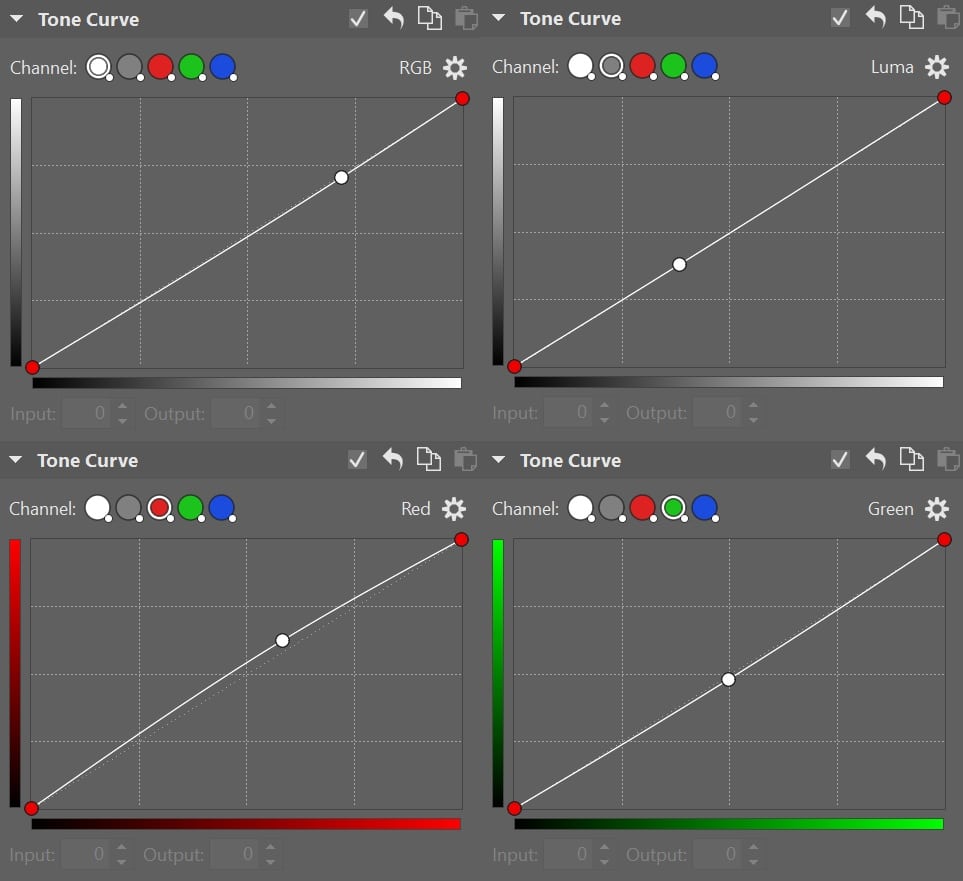
Next, I moved to Tone Curve, where I slightly adjusted each color channel.
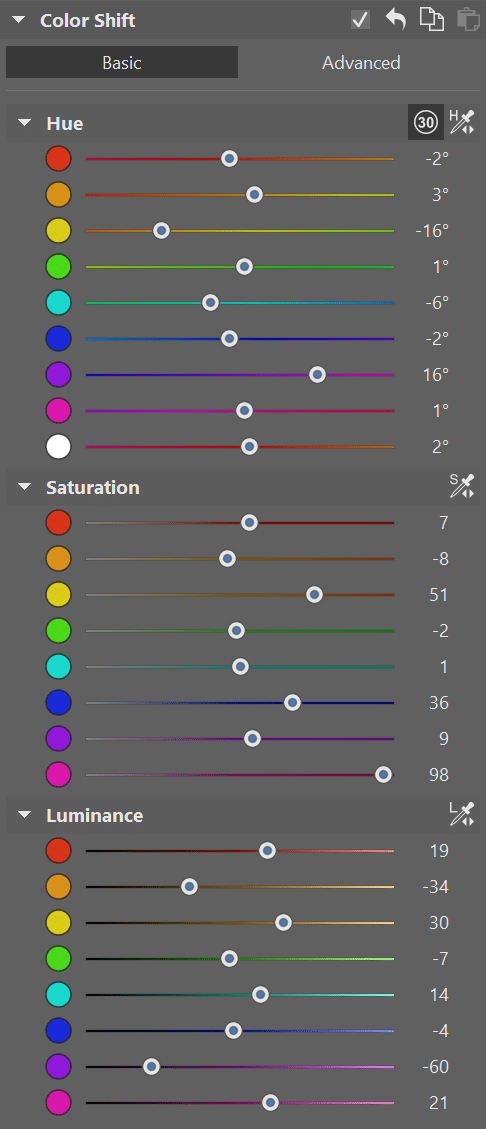
Next was Color Shift. First, I adjust the Hues for each color based on my own preferences. Then, Saturation for these colors, and finally, Luminance.
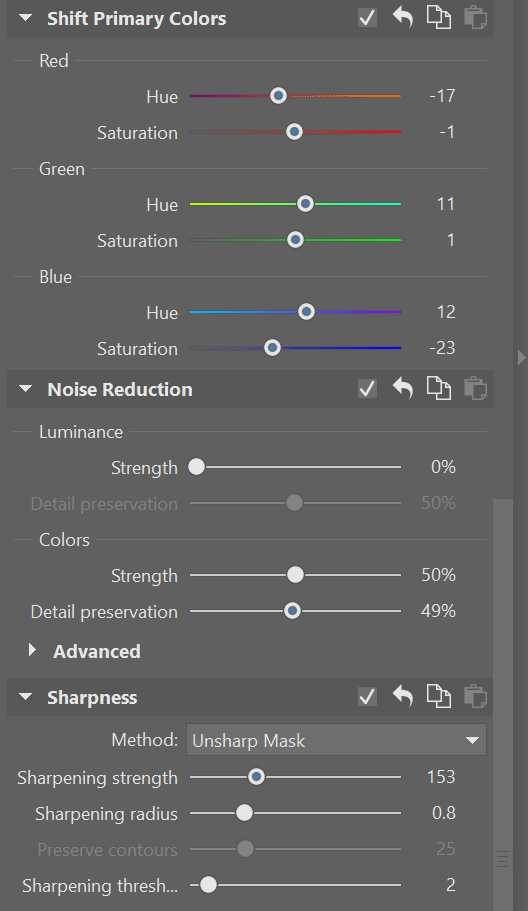
In Shift Primary Colors, I adjusted the settings until I liked the overall look of the photo’s colors.
Finally, I tweaked a few issues that I hadn’t noticed using the Clone Stamp under Retouching Tools (J) and the Filter Brush (B).

Do you also have a photograph that can be edited in two different ways? Try doing your own Battle of the Edits with a friend. Try Zoner Studio free for 7 days limit-free and with access to all its features. Don’t forget to show off your results in the comments!
There are no comments yet.