How to Remove Tourists from Your Photos
Taking pictures in touristy locations without tourists may seem like a superhuman task. Fortunately, this issue can be solved with a bit of photo editing. In this case, the editing takes less time than you may expect. It can all be done in just a few minutes.
You’ve seen many photos of famous landmarks like the Taj Mahal, the Great Wall of China, the Leaning Tower of Pisa, or Stonehenge. These photos appear to be taken in the very best light and without a trace of tourists. But the reality is often the opposite. There are most likely tourists everywhere and they can get in the way of almost every shot you try to take.

TIP: The early bird gets the worm; in this case, a photograph free of tourists. Find our tips for architecture photography in our article
Urban Architecture Photography.
However, not all these shots need to end up in the trash. You can subtly remove tourists from many of these images using photo editing software. In this article, we’ll take a look at several ways you can use Zoner Studio to remove them.
Solution 1: Retouching
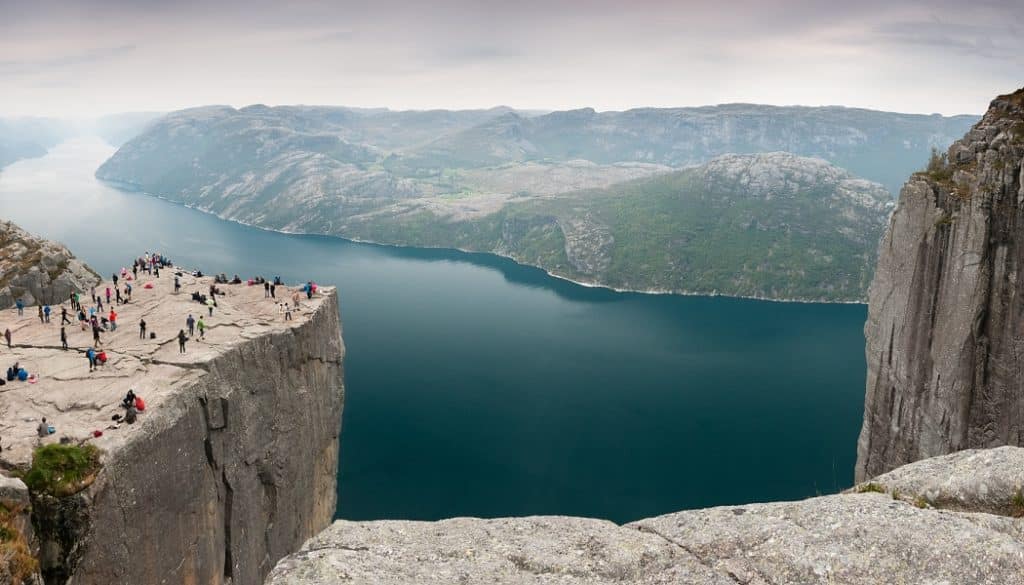
Photo editing software can work all sorts of magic on your photos. However, if your photo has crowds of tourists on top of one another, there’s no point in even trying to retouch it. Also, pictures with simple perspectives or longer focal lengths are not best suited for removing tourists. If you have a picture in your folder similar to the one below that contains seamless and repeating textures, then retouching may be your best bet.

Remove tourists from your photograph in the Develop module using Retouching Tools, specifically the Clone Stamp.. Set the source area by holding the Ctrl key and clicking the area you wish to clone. Use the tool to copy the color from the source area to the new area and “paint” to cover up any imperfections.
- Use the Diameter slider to set the size of the stamp. We recommend choosing the diameter based on the object you’re retouching. If it has a smaller diameter, you’re making extra work for yourself. For objects with a large diameter, you may end up retouching more than you want. You can also adjust Diameter using the mouse wheel while hovering over the slider.
- Opacity determines the effect’s “strength” (in percentage). Or, use it for other retouching tools. Sometimes it’s better to do more subtle retouching by playing around with the sliders and using values lower than 100%.
- Density is very similar to the Opacity slider.
- Blur softens the tool’s effect at the edges.
When retouching, enlarge your image to several times its size in order to make your work more precise.
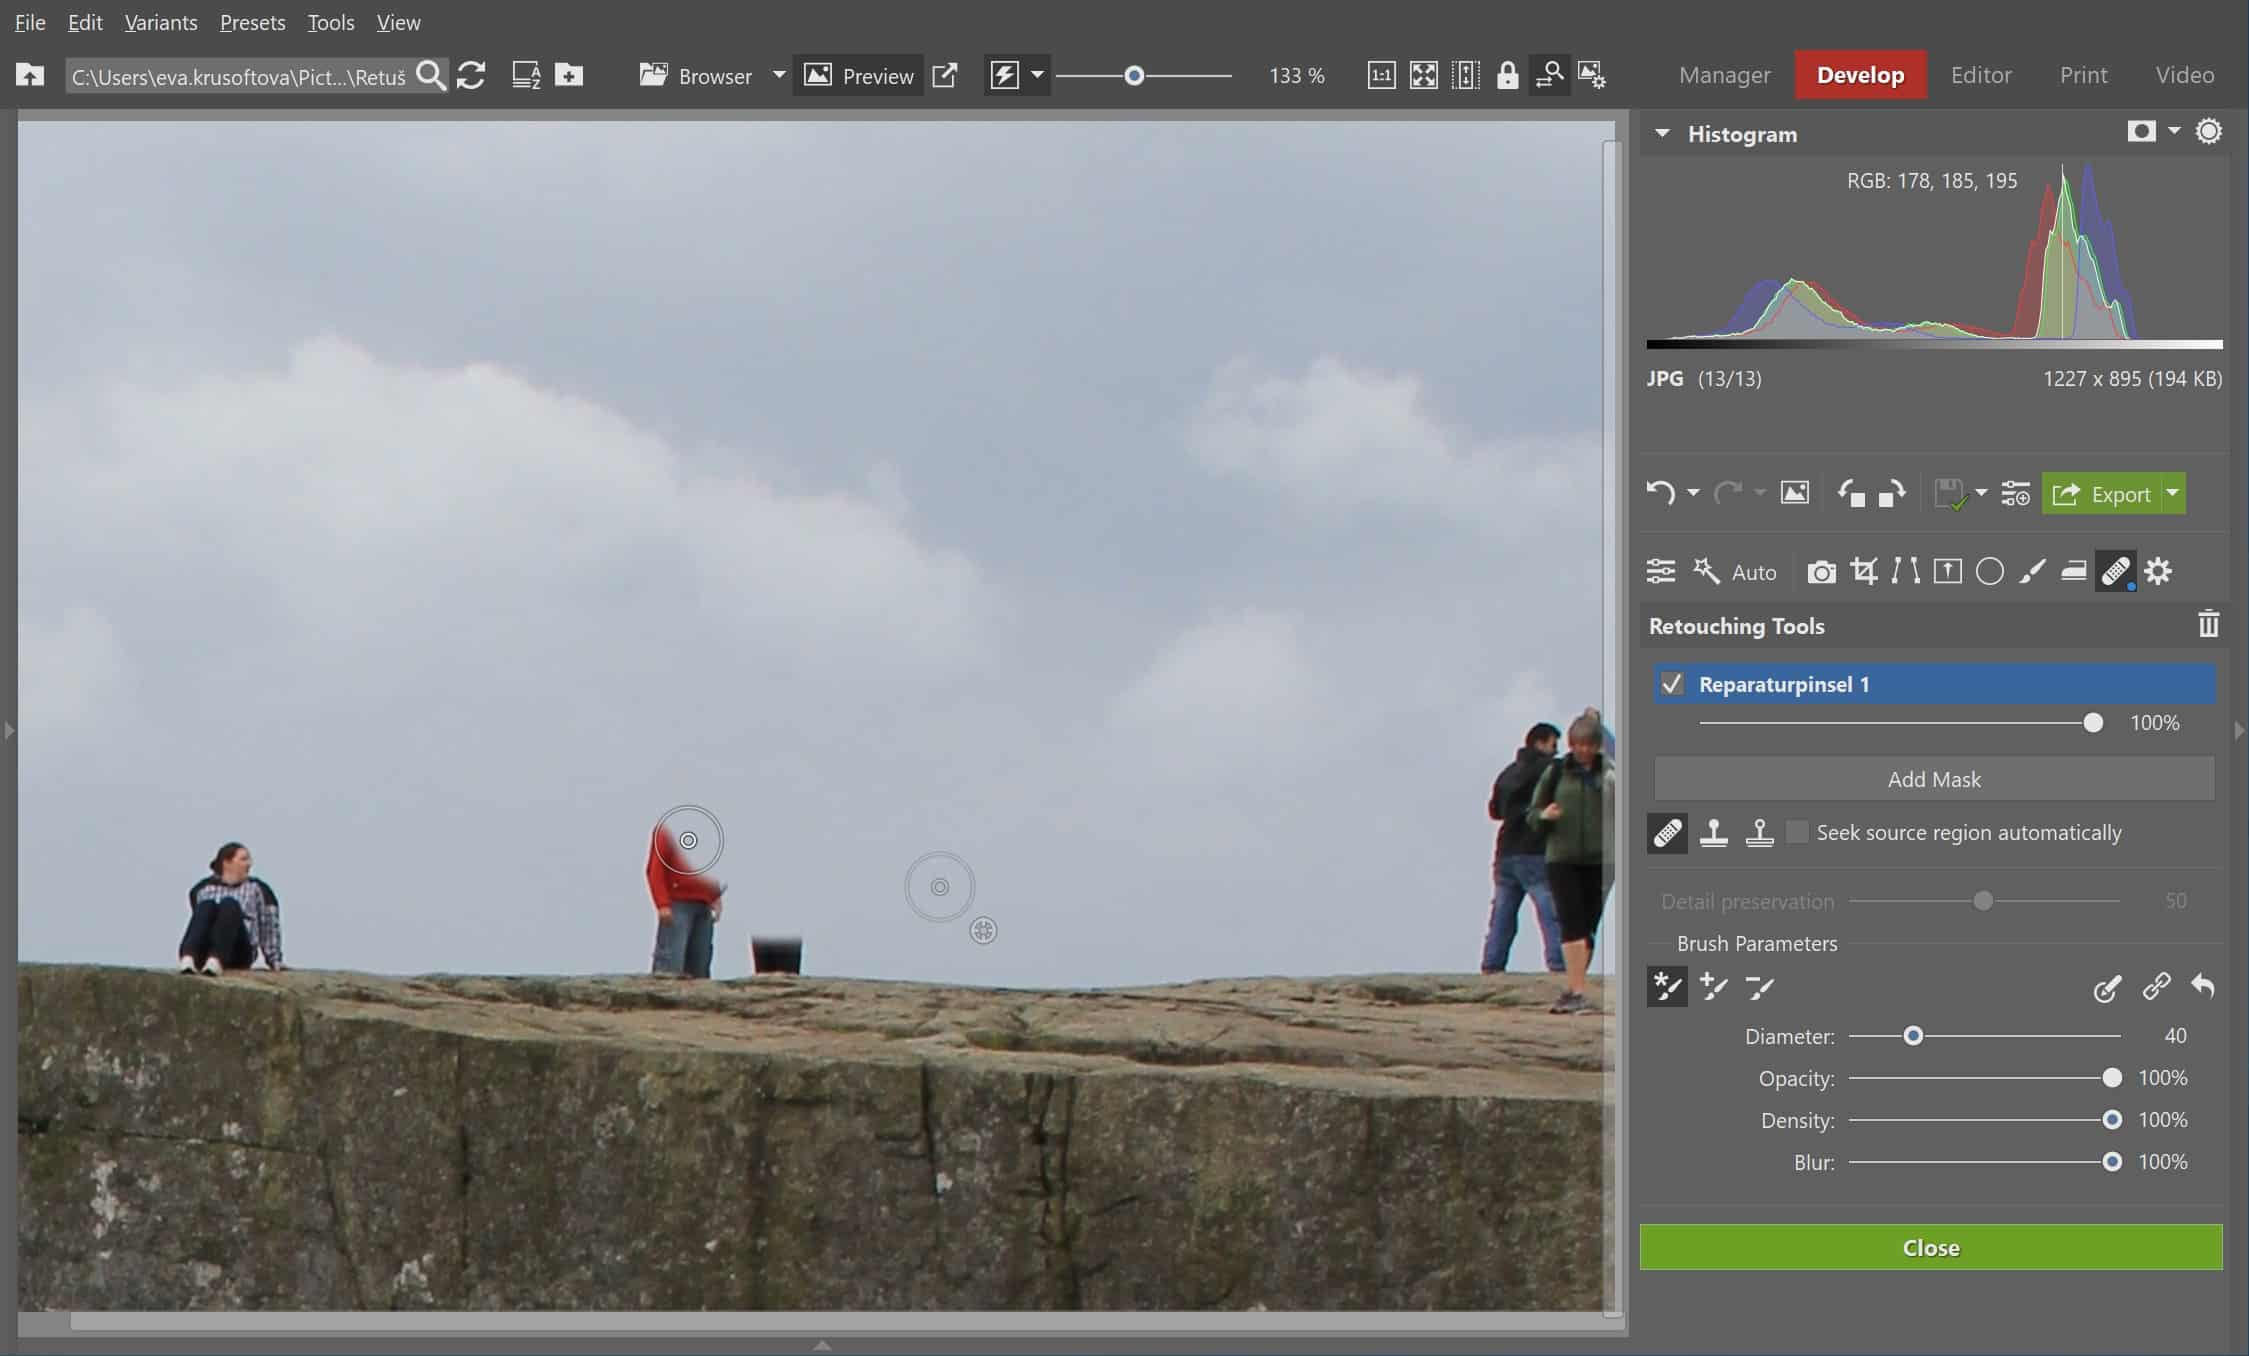
Try to be keep your retouching natural-looking. The idea is to not make it obvious that you retouched the photo. If you are retouching solid surfaces, set Blur to 100%.
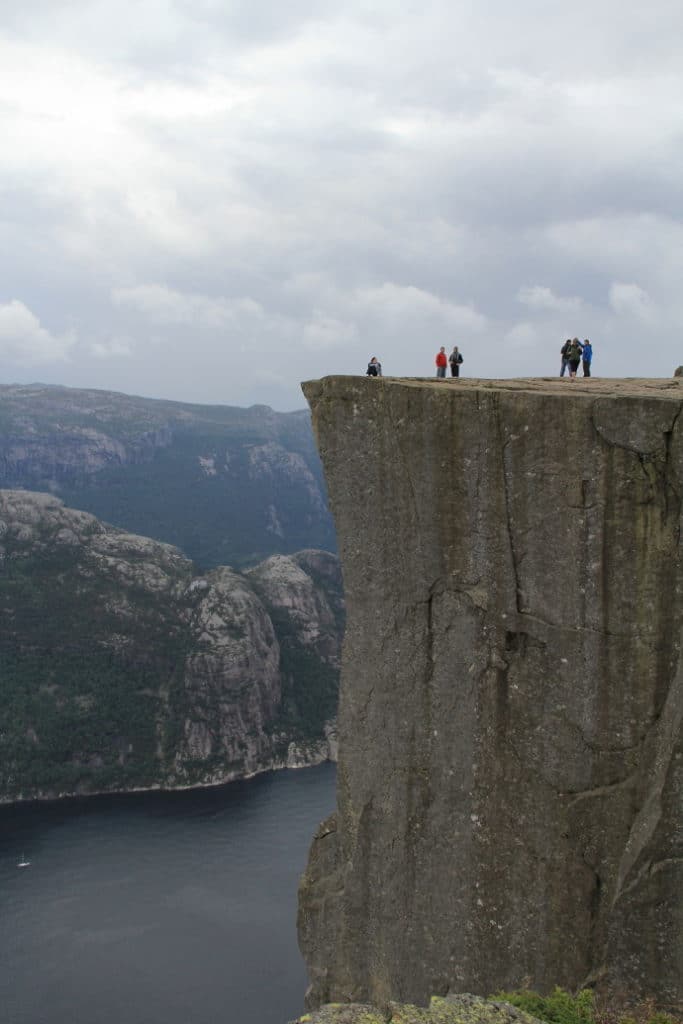
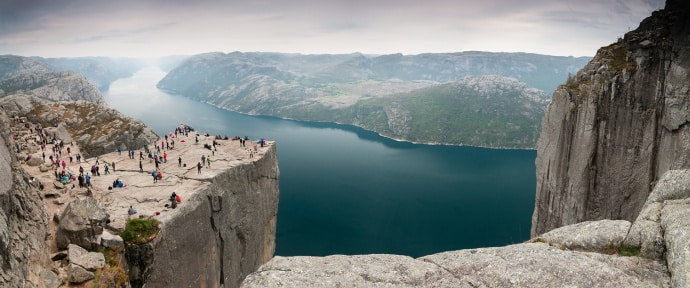
In the end, we decided to leave one individual in the photograph. This person helps emphasize the sheer size of the Norwegian cliff Preikestolen.
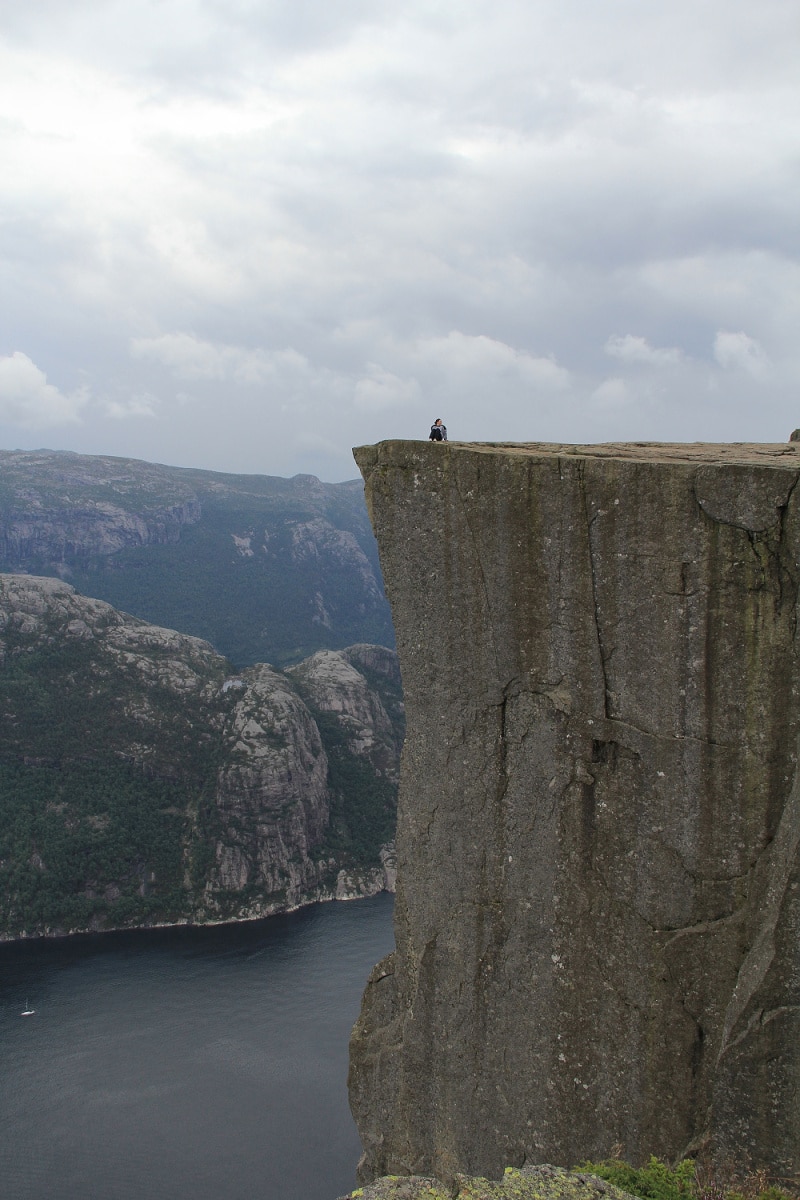
See how the image has changed using the slider.
Solution 2: Exposure blending
A creative solution is to blend several images into one with multiple exposures. A similar method was used to get the following photograph:

LEARN: Find the tutorial for making a quadruple portrait in the article Turn 4 Pictures into 1 with Multiple Exposure Technique.
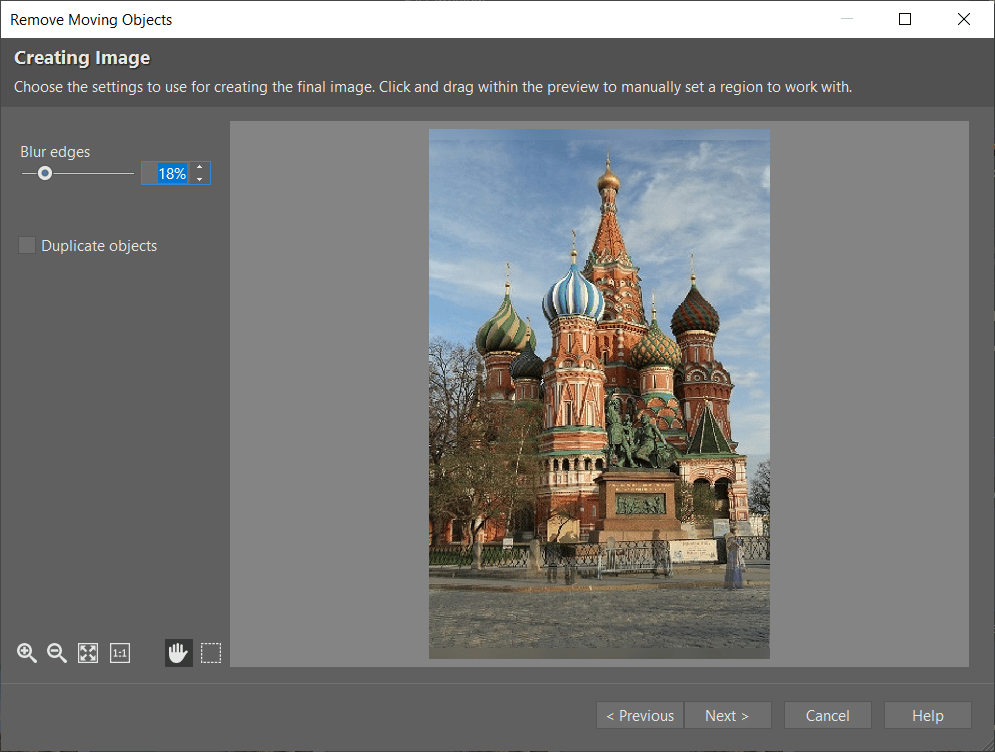
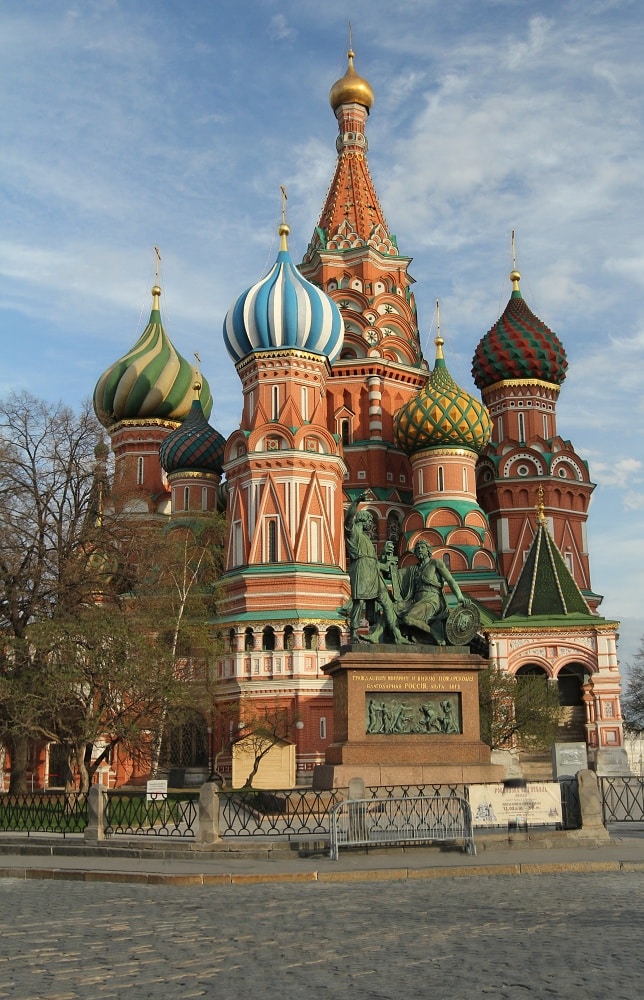
The same technique that was used to get the photograph above can be used in reverse: to turn four different exposures with tourists into one exposure without tourists. The only thing you need is multiple shots of the same scene, ideally shot using a tripod.
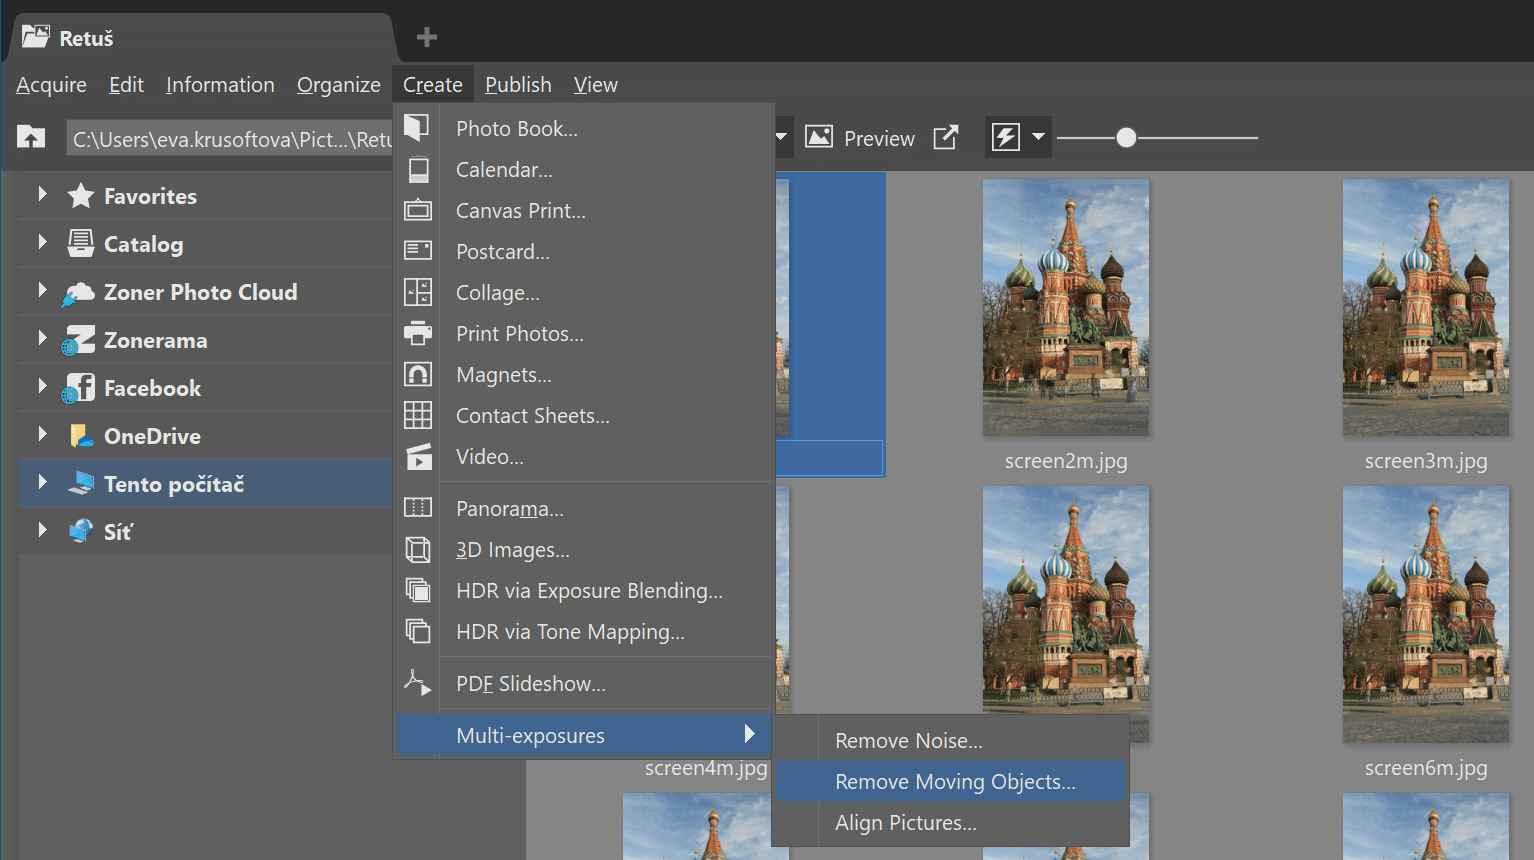
Then, upload the photos to your computer and open them in Zoner Studio. Blending multiple images into one takes only a few minutes. In the Manager module select the following: Menu > Create > Multi-exposures > Remove Moving Objects.
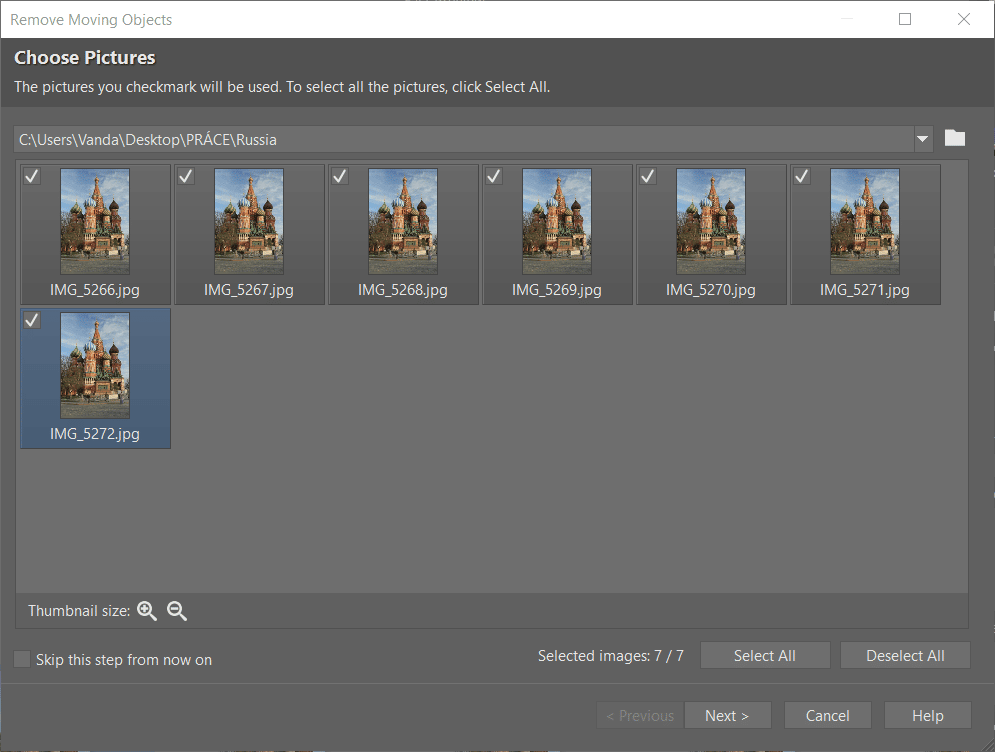
A window opens where you select the photos you want to combine into one.
Next, a window opens with the photos you’ve selected.

Solution 3: ND filters and long exposures to blur bystanders
Retouching is a solution for when you’re left with no other option. Sometimes simply waiting for people to leave the shot is enough. However, in highly frequented places, you’d have to wait hours to get a shot with no people.
In this case, a better idea is to use a neutral-density filter and set a long exposure to blur the tourists while keeping everything else sharp. This process would work great on a photo like this.
Sometimes you simply can’t avoid crowds of tourists. In this case, it may be better to acknowledge that the tourists can actually contribute to the location’s character.
Do you need to remove pesky tourists from your photography? Download Zoner Studio free for 7 days and try the methods we discussed on your photos.
calle73
Good article! :)
I had no idea that Zoner had a built in tool for removing objects from multiple exposures! So i learned something new and very useful! :) :)
Zoner
Thank you! If you need any details, don’t hesitate to write us to support@zoner.com.
john
As usual, this is a well written article, providing excellent information on solving typical issues.
Zoner
Thank you for your nice comment, John!