4 Creative Blur Techniques
A blurry photo doesn’t always have to be a mistake. It can be a powerful creative tool. Learn techniques like zoom blur, panning, or tilt-shift simulation, and discover how to use blur to add motion, atmosphere, and emotion to your photos.
In this article, you’ll learn:
- Blur doesn’t have to be a mistake.
- How zoom blur works and when to use it.
- How to simulate the tilt-shift effect without an expensive lens.
- How to use glass as a creative lens filter.
- How to shoot panning properly.
- How to set shutter speed for different types of movement.
Like Robert Vano said, a photograph doesn’t have to be sharp. The question is where the line lies between blur that ruins a shot and blur that turns a photograph into a striking image. The difference lies in the intention and in how well the technique you choose matches your idea. Let’s take a look at a few of these techniques.
Zoom blur
Zooming during the exposure can add a dynamic effect to an otherwise static shot. This creates the effect of artificial linear perspective, where all lines converge toward the center of the frame.

The most striking photos are often taken during twilight. Streetlights are already on, but the sky is still relatively bright, so point light sources create striking lines. You can also take photos during the day—you just need to stop down significantly or use an ND filter for a longer exposure.


Shutter speeds are usually between 0.5 and 3 seconds. Longer exposures require a tripod. Try experimenting with the direction of the zoom as well—zooming in and out produces different results, even if you’re standing in the same spot.
An interesting effect occurs if you don’t start zooming right away. If you pause briefly at the start of the exposure and only then begin turning the zoom ring, partially sharp outlines of the subject remain in the image, and the result might resemble a double exposure.
Zooming can also be combined with a moving subject, like a swing. Have your model sit on the swing, stand in front of them, and set the shutter speed to 1-2 seconds. When the swing is closest to you, press the shutter button and simultaneously zoom out at roughly the same speed as the swing moves away.

But use this effect wisely. If you quickly zoom in on something like a dandelion, the viewer may wonder why. Movement only makes sense where it belongs and where it serves a creative purpose.
Tilt-shift effect without a specialized lens
Are you fascinated by tilt-shift images but don’t want to invest in expensive equipment? You can achieve a similar effect using a standard lens.
Under normal circumstances, the focal plane is parallel to the sensor. Tilt-shift lenses allow you to tilt this plane. This lets you capture images where your feet in the foreground and the roof of a house in the background are in focus, while everything in between is blurred.

You can achieve a similar effect by gently detaching the lens and tilting it. Switch the camera to manual focus, set a wider aperture (lower f-number), and use a fast shutter speed, such as 1/125 s.
Focus before detaching the lens, then fine-tune focus by moving the camera. Let the lens rest against the mount—this makes the setup more stable.

Don’t overdo the tilt. A large gap between the lens and camera body can let in stray light and overexpose part of the image. Sometimes this can create an interesting effect, but if you want to avoid it, cover the opening with your hand.
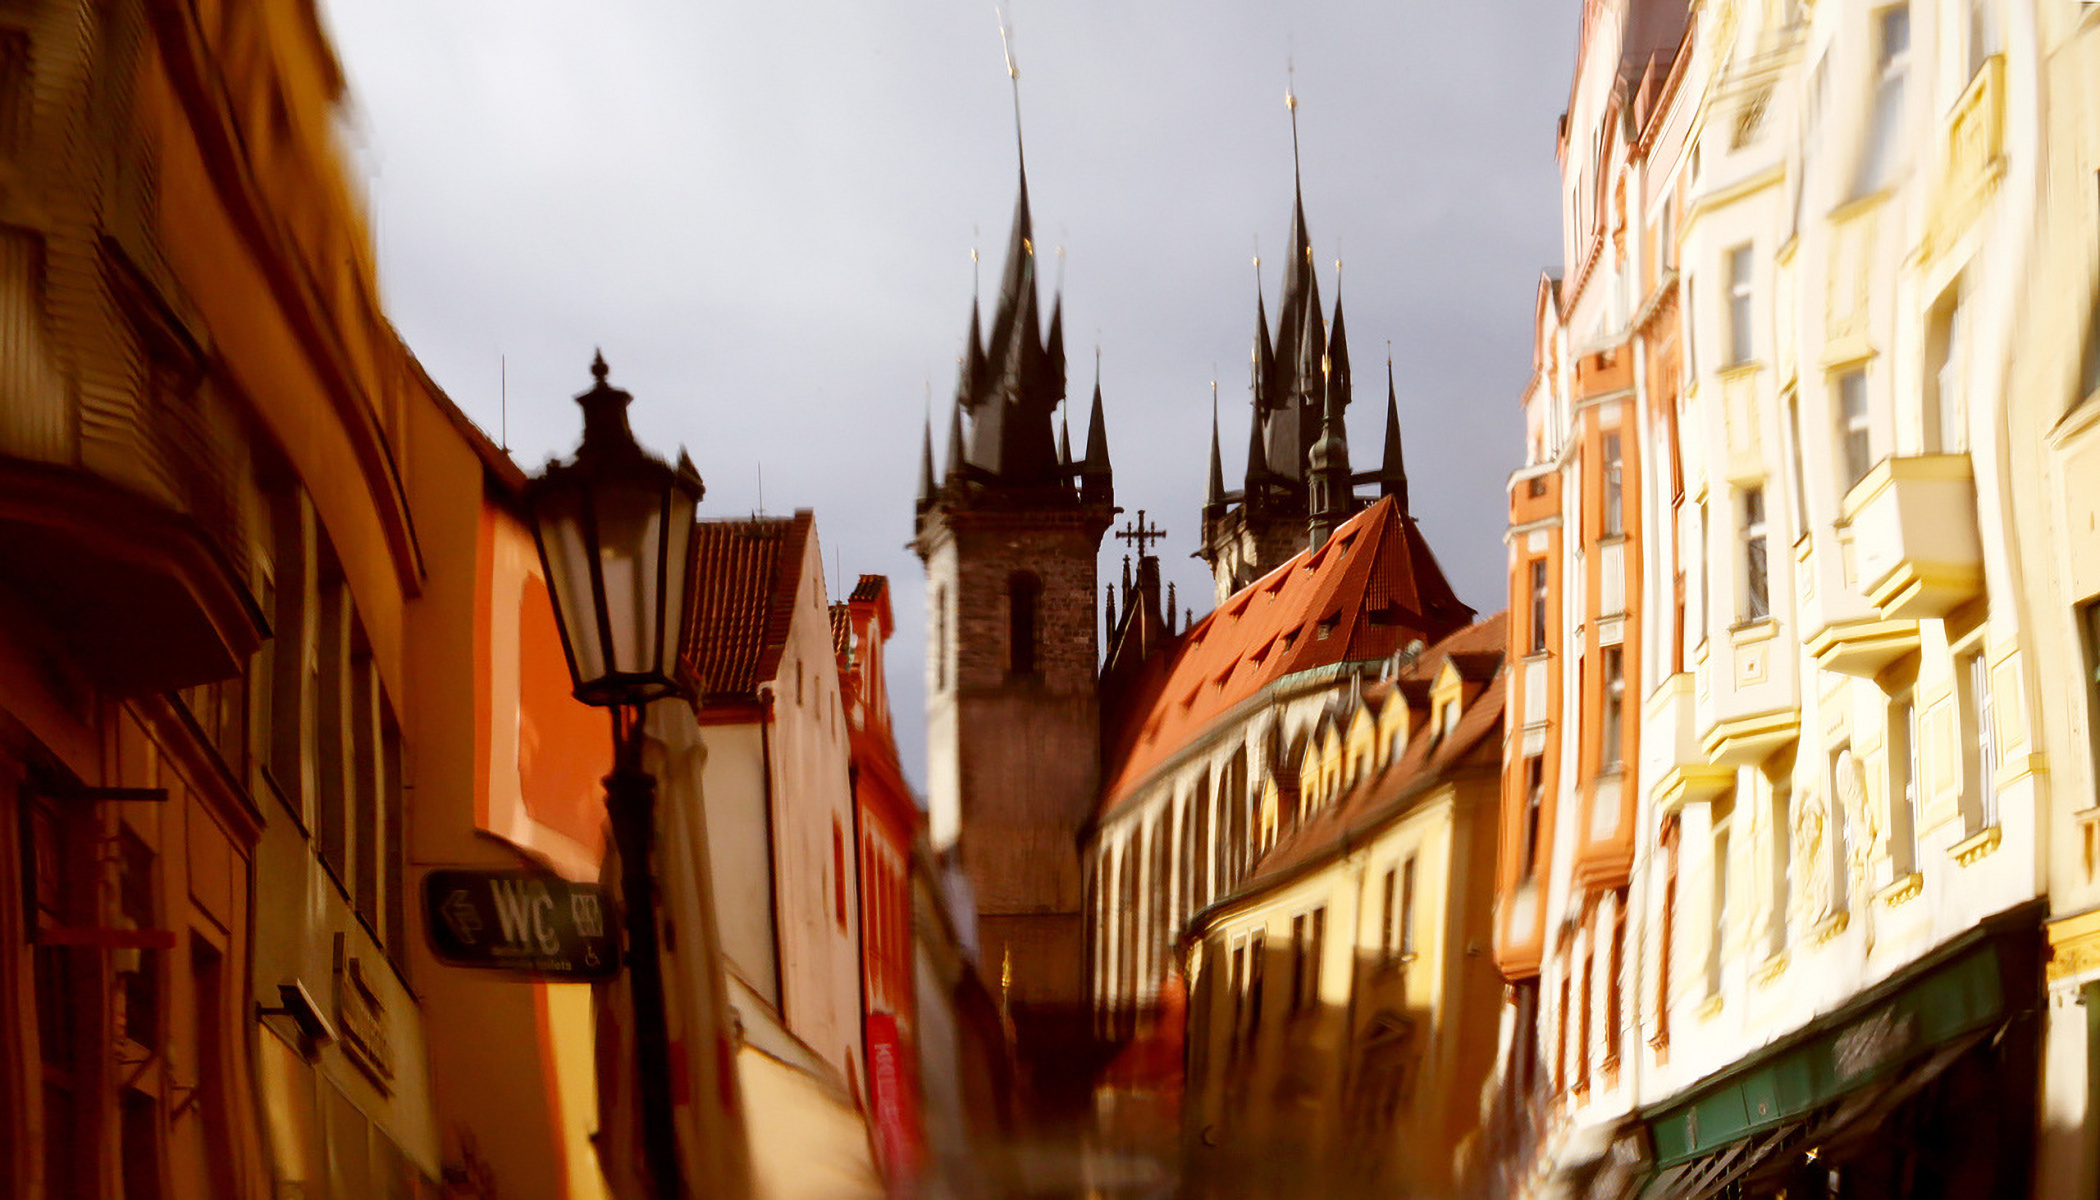
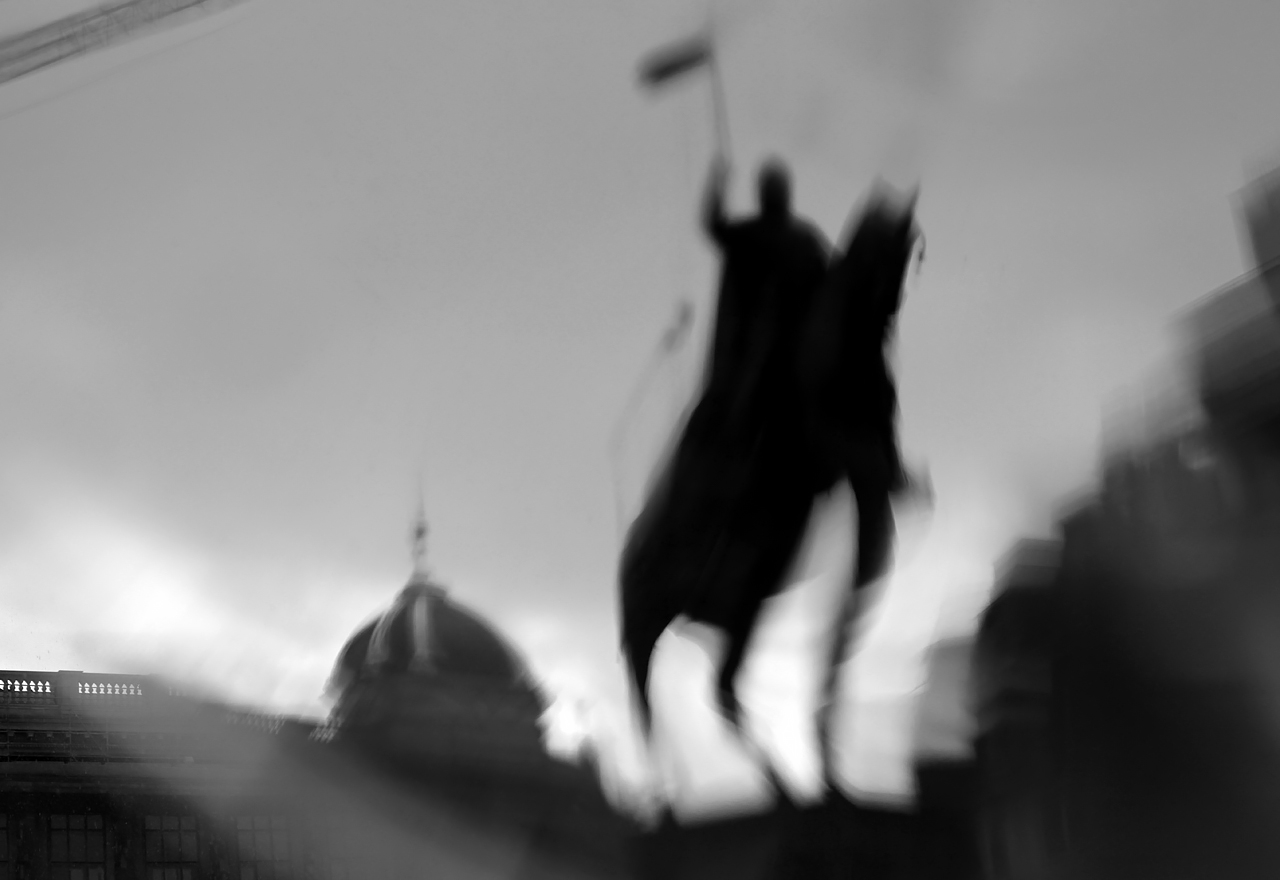
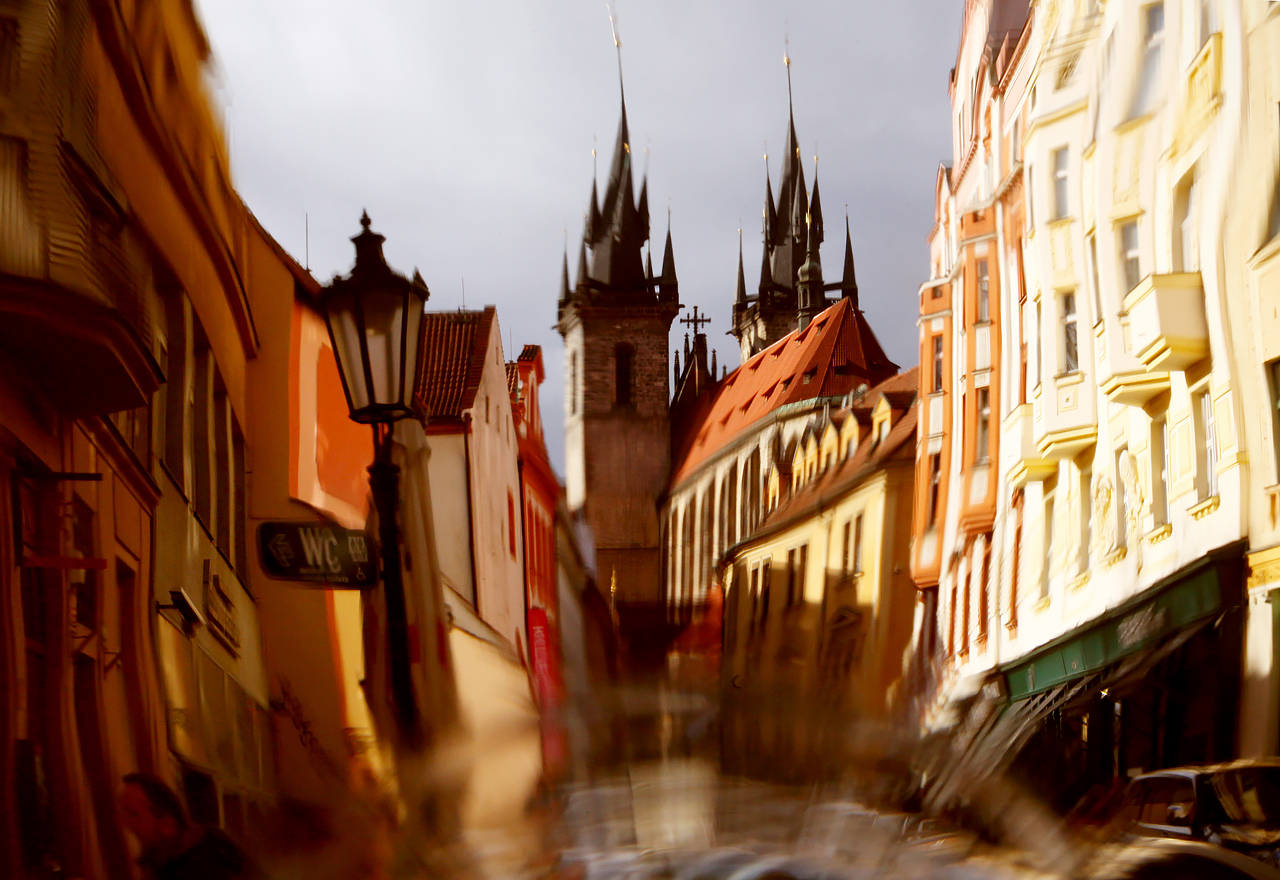
DIY filter using warped glass
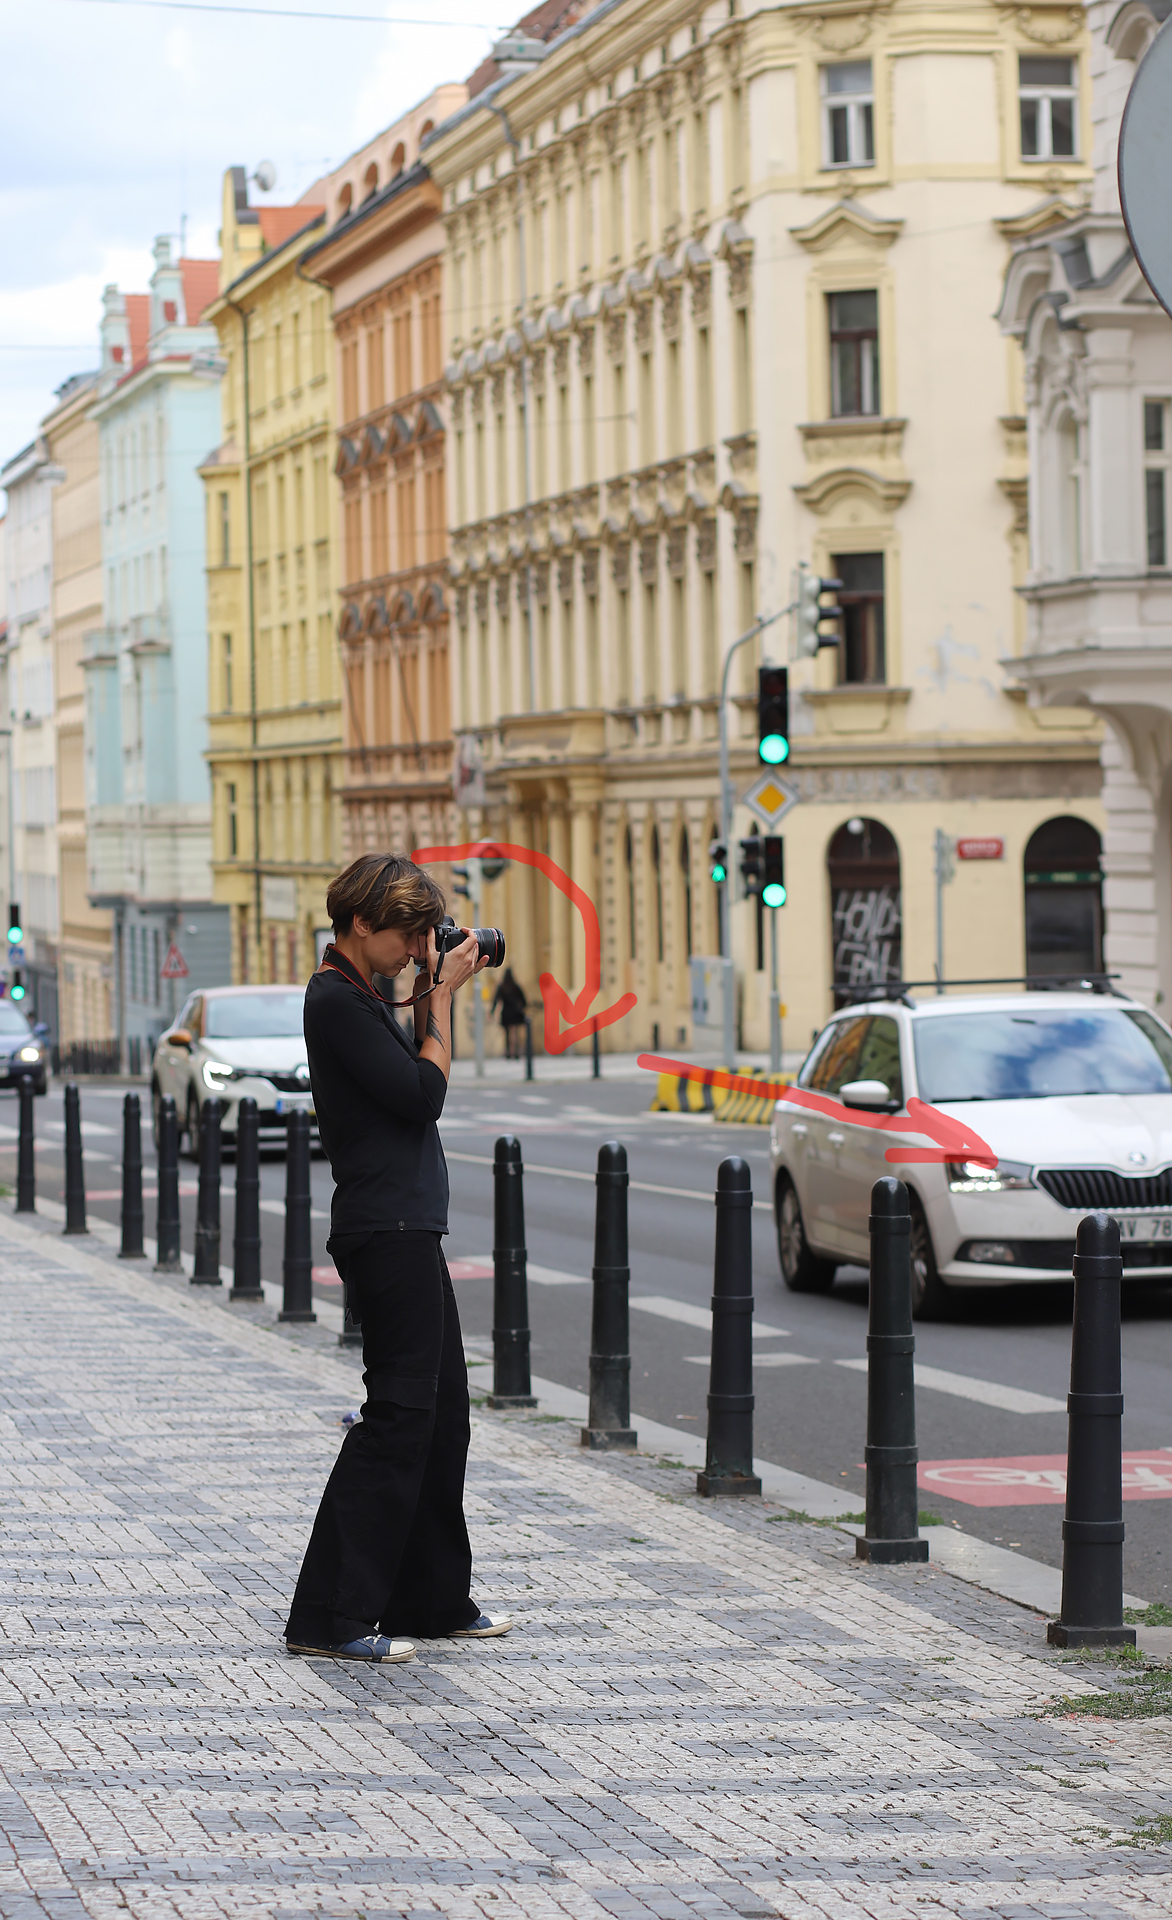
Here’s a simple technique that can transform reality into a surreal image. Just take a piece of uneven glass and hold it in front of the lens.
Hold the glass close to the lens, but don’t touch it to avoid scratching the front element.
This can be a shard of glass from a bottle, a glass teacup, or any other piece larger than the diameter of your lens. Clear glass is the most versatile, but colored glass can also produce interesting results.

Everyday, easily recognizable subjects work best—a cup of coffee, a flower in a vase, a statue in a square, or a passerby. Distortion then turns an ordinary subject into a visual puzzle.
Explore the characteristics of your “filter.” Is it round or square? Does it distort the image in one direction? Does it have an interesting crack? Adjust your composition accordingly.

Panning
Panning is one of the most well-known creative techniques. It’s perfect for capturing the motion while blurring a distracting background.
The concept is simple: track the moving subject and pan with the camera at the same speed. The subject remains relatively sharp, while the background turns into horizontal streaks.
This works best when the subject is moving perpendicularly to you. If the subject is moving toward or away from the camera, it will rarely be in focus.
Shutter priority mode works best (S/Tv). Choose your shutter speed based on the subject’s speed: about 1/20 s for a walking person, 1/60 s for a cyclist, and roughly 1/150-1/250 s for cars and motorcycles.
Enable continuous shooting—usually only a few photos in a series will turn out well. Track the subject with your whole body, turning at the waist and continuing the motion even after pressing the shutter button.


Don’t be afraid to experiment with blur
Each of these techniques works best when it serves a clear purpose and supports what you want to convey. Try different approaches, combine them, and see how they affect the overall feel of your image. It is often these “imperfections” that lead to photos that are more compelling than technically flawless but dull shots.
Do photographs always have to be sharp?
Not necessarily. Sharpness is important in documentary or commercial photography, but in creative work, intentional blur can be a powerful means of expression.
FAQs
What is the best shutter speed for panning?
It depends on the subject’s speed. For a slow walk, a shutter speed of around 1/20 s is suitable; 1/60 s for cyclists; and roughly 1/125 to /250 s for cars.
Do I need a tripod for zoom blur?
You can shoot handheld at faster shutter speeds, but for exposures around 1 second or longer, a tripod is a big advantage.
How safe is it to shoot with the lens detached?
This technique carries some risk—dust can enter the camera, and there’s a chance of damaging your equipment. Use it with caution and ideally in a clean environment.
What subjects work best for shooting through glass?
Simple, recognizable subjects like flowers, architecture, or people work best. The distortion then creates interesting visual contrast.
There are no comments yet.