5 Tips for Photographing Trees

For landscape photography you definitely need some patience, some “sitzfleisch”. I heard this statement many times when I was starting out in photography. There’s probably something to it, and by the end of this article we’ll state once more that luck comes to the well-prepared. So read on, head out, and help your luck to find you!
Trees take their time, and so should we. Let’s first dwell on a few questions.
1) What tree, what season?
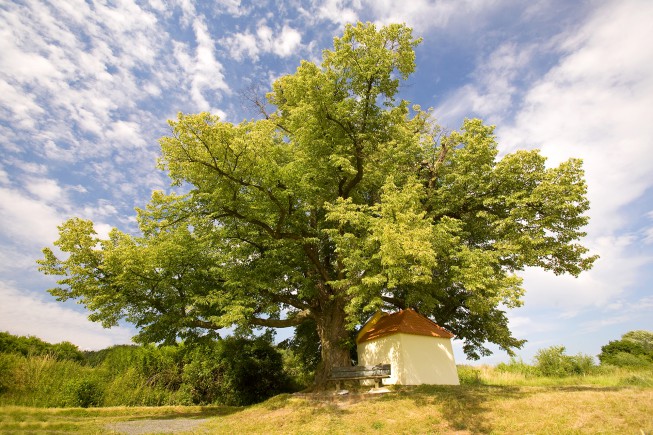
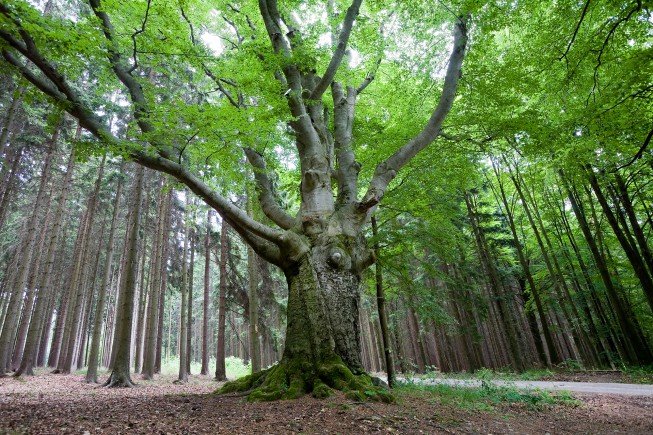
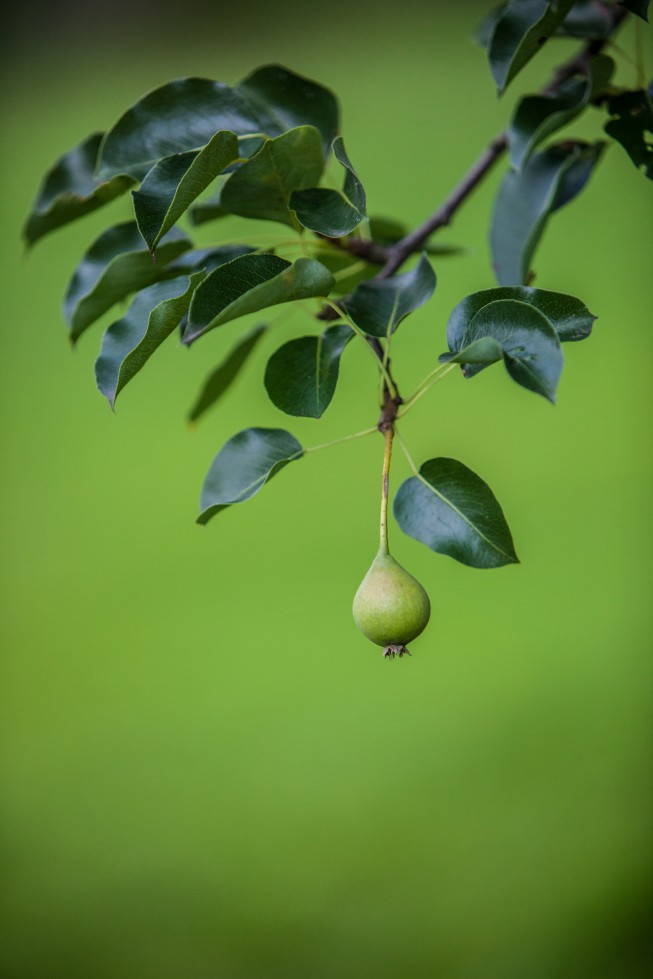
Fruit trees are best photographed when they’re fruiting or flowering, while, say, linden trees look best in May. Evergreens in winter, trees with a nice crown structure also in winter. Oak and beech, meanwhile, in summer. But do we have to choose? Usually not! So this is just a theoretical choice.
2) When?
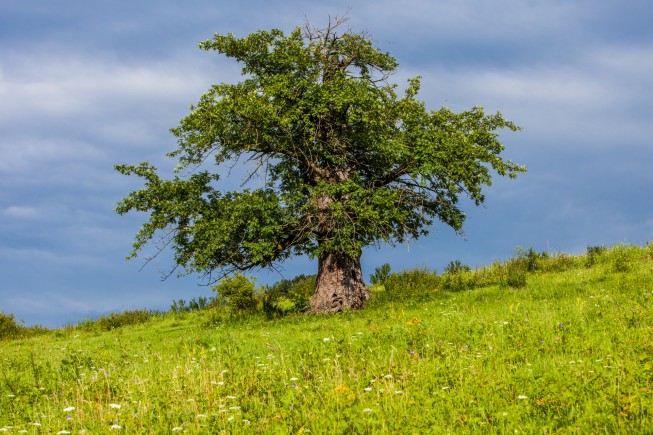
But photographing trees is about more than just picking the right time of year. More important is the time of day. You should keep in mind that in the morning, the sun rises longer, or more precisely keeps its white/yellow color longer, than in the evening, when it turns red quickly. And that in the noontime sun there are no shadows, which normally is bad for photography, but in the case of trees, especially if they are standing alone in the landscape, can be very interesting. Also, before you photograph a tree, you should know that tree well, and choose your time for photographing it based on how light and space affect it.
By the way, this is one type of photography where you can finally concentrate on light over color! You can… and you have to. Watch carefully where the light is coming from and how it shapes the shadows.
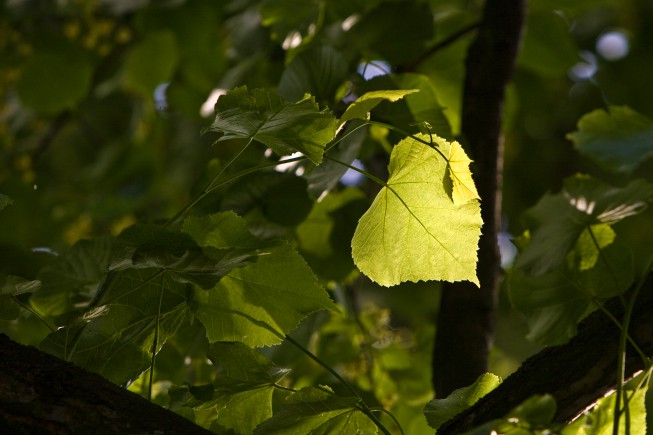
I can’t unambiguously say that a cloudless sky or a dynamic one is better. Ultimately even a cloudy sky or a very light rain don’t have to be a barrier when photographing trees. (In fact try it sometime and see what dampness does for leaf detail.) Light always has something to say, and unless you want to take pictures using a pre-prepared technique based on some photographer whose pictures you saw in a magazine or at an exhibition, you should not only respect the light, but also go a step further and make use of the magic it brings to the moment.
3) What Equipment?
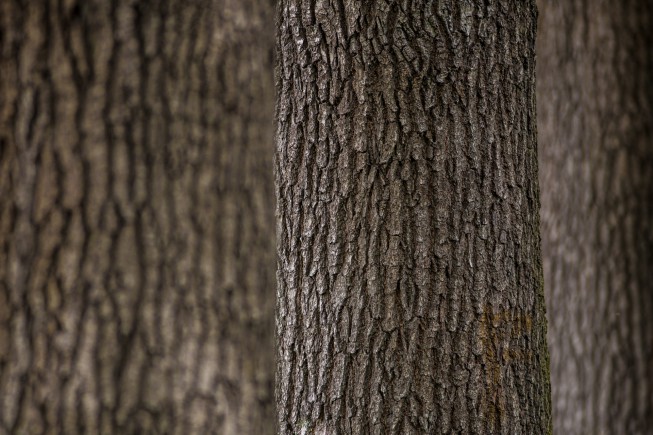
Although trees are rooted to the ground, they’re by no means static objects. Not at all! Trees are permanently in motion. It’s truly a rare moment when “not a leaf is rustling.” Your camera settings should reflect that. Use short exposures, and if possible use a tight aperture for wide shots. Open up the aperture, meanwhile, for closeups. Incidentally, trees are truly ideal subjects for getting artistic with aperture. Control over depth of focus (how deep an area in the photograph will be in focus) lets you put the tree in context with its surroundings or emphasize its individuality, with a beautiful blurry background in a multitude of greens.
Equipment: DSLR, wide-angle lens starting from e.g. 24 mm (35mm equivalent). A telephoto lens, e.g. with a range of 70–200 mm, and a basic lens (perhaps just the long end of a wide-angle lens), a polarizing filter, and a gray gradient filter. You can use a tripod, or do without one. Use the polarizing filter to get more detail for clouds and more saturated colors… or go without it, and use software to do the same. The gray filter, meanwhile, lets you lower the contrast between the sky and the landscape.
It’s vital to set your camera’s profile to landscape, scenery mode, or the like, before you start taking pictures. A good landscape mode will increase sharpness before the shot. (Of course you can also do the same manually in the menu.) Using the right settings here can get you vastly better results on details like leaves, and getting them right in-camera prevents having to (slightly) damage the picture later on with digital edits on a computer. Keep the ISO as low as you can to avoid colored noise in the picture. Colored noise is exceptionally disruptive against green leaves.
4) How?
There are a few rituals that any true pro photographer will go through when approaching a tree.
a) They check the wind direction and the weather, and if appropriate speed up their shoot or call it off.
b) They walk around the tree from a distance to choose the best composition and the best lens type to use to achieve it.
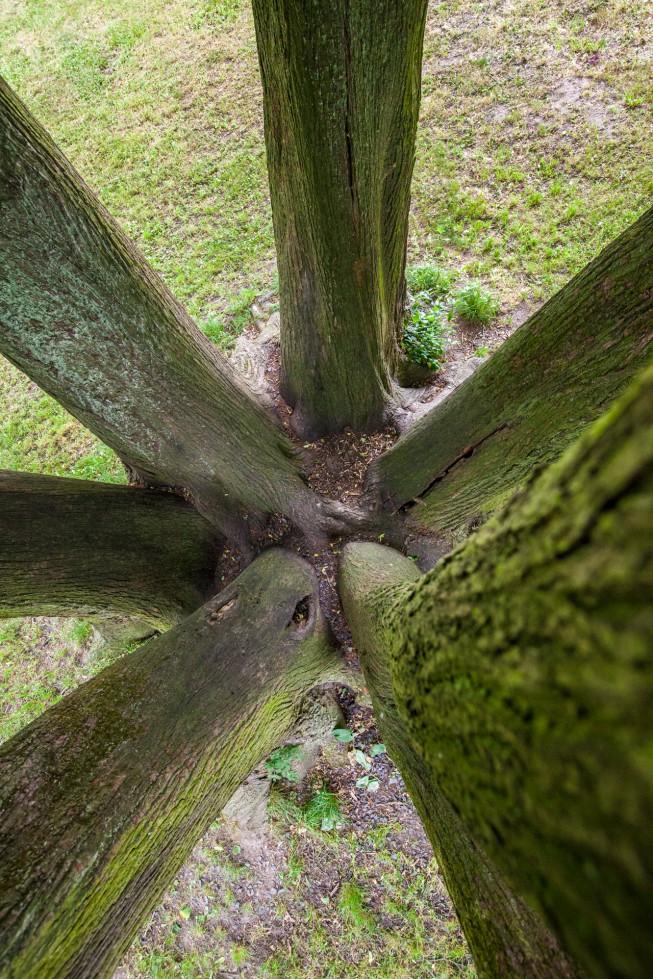
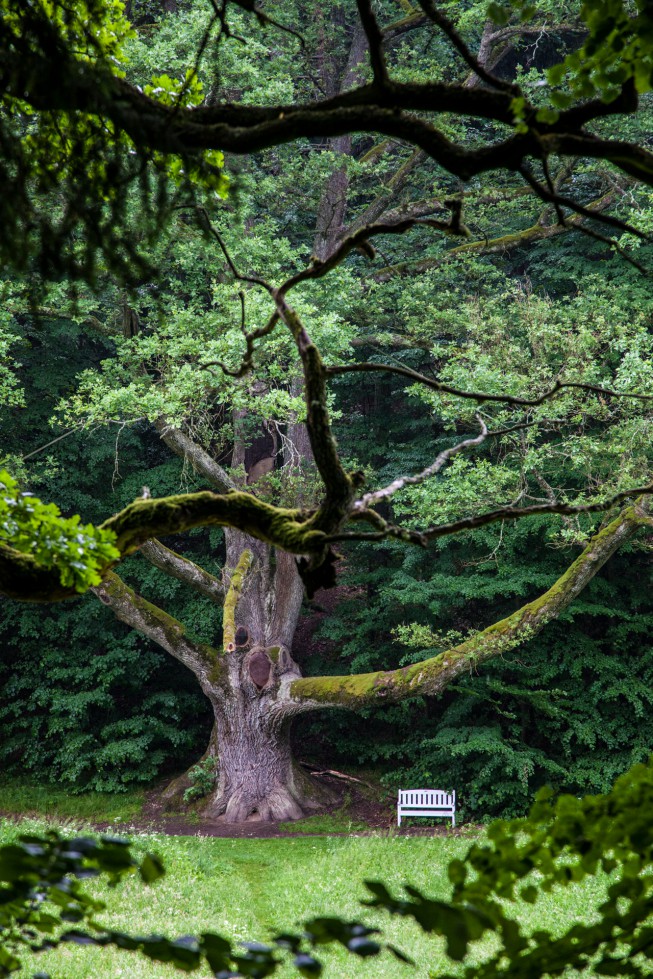
c) They choose a size for the shots they’ll be taking, i.e. whether they’ll be showing the whole tree, a crop, or a close-up. This depends on the amount of space and light, but ideally no matter what there should be some examples of all of these types within the shoot.
Of course, rules exist to be broken, and questioned. But to break the rules, you need to know the rules.
5) Why?
We should always be asking why, no matter what we’re doing. Why in fact am I doing this?
Am I photographing a tree because I have to? Probably not, unless it’s a paid assignment. Otherwise, I’m photographing it because of something about it, or for my own pleasure.
As Seneca the Roman once said, luck is what happens when preparation meets opportunity! So it’s very important to have an expectation in mind and prepare for it when you approach a tree. That expectation may or may not be met, but it’s very important to have it. Already just because of what it does for your investment in the photo. For this and other reasons I recommend staying at a tree for a while after photographing it, walking around a bit, looking at the crown, avoiding all thoughts of technical questions. Often when I am walking around like this, I discover a detail or a play of light that I would otherwise overlook in my rush. And because I know myself well, I leave my camera out during this stage.
Remember, your life is insignificant compared to the lifespan of a tree. So never regret spending time on a tree. Personally, I am sometimes surprised by how much some trees resist being photographed. I often can feel how the visual mystery of a particular tree is still eluding me. I know it’s there, I’m sure it’s “in reach,” but it’s still not in my hands. That can be a good reason to come back again later. You can’t step in the same river twice, but you can definitely go back to the trees!
There are no comments yet.