6 great ways to deal with dark photos
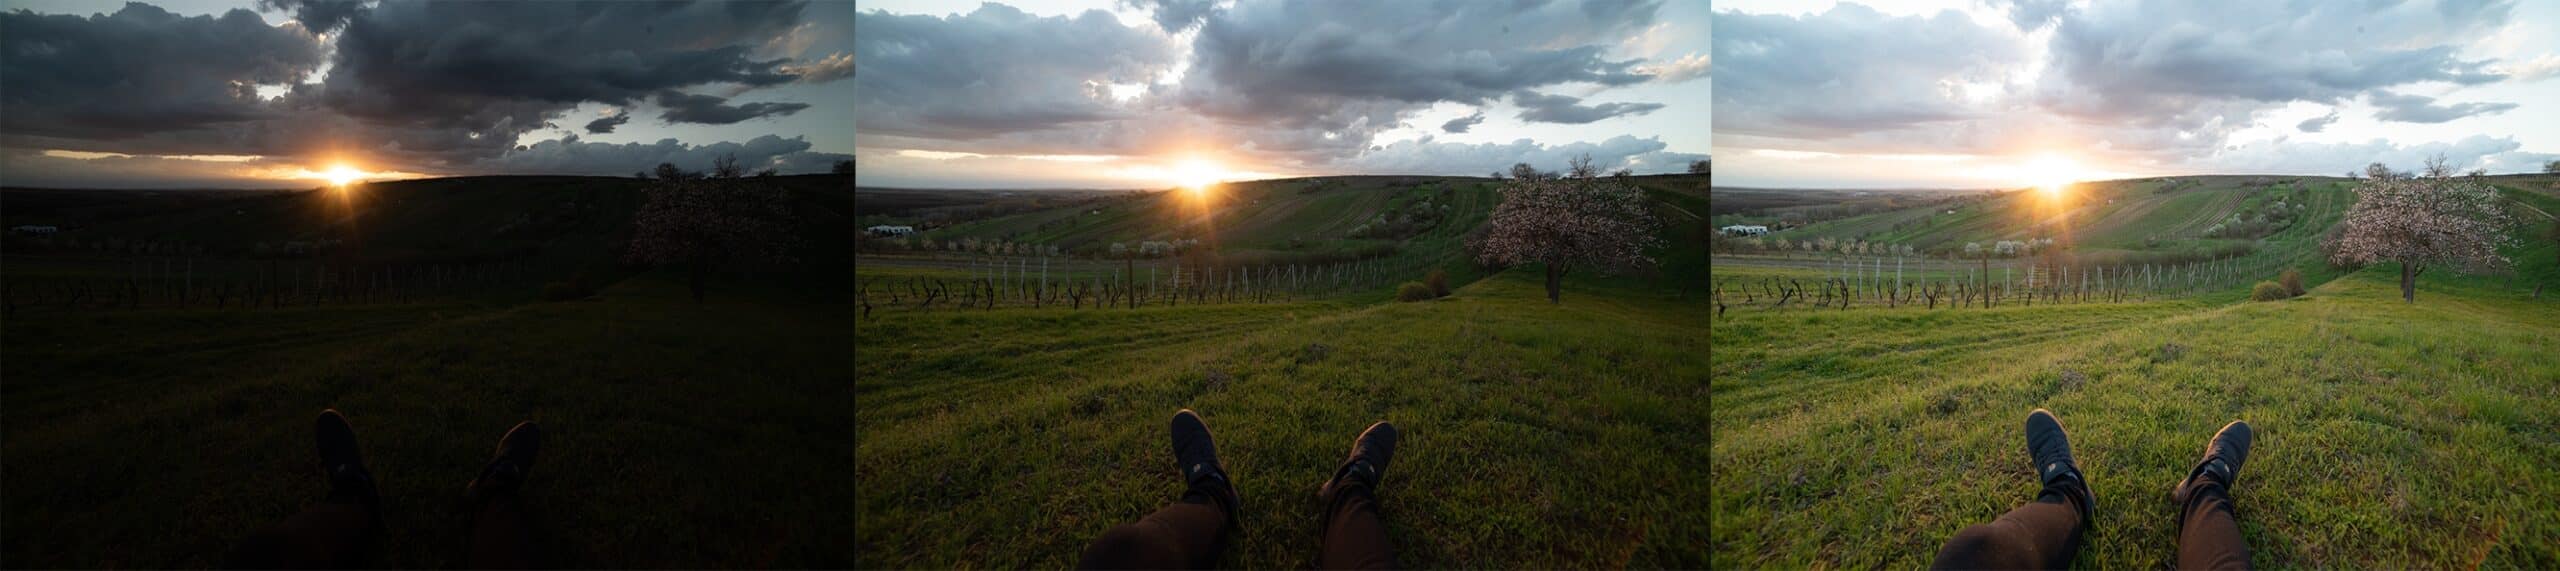
Every now and then a photo just doesn’t look how you want. Underexposure is one frequent problem – maybe you were rushed and didn’t have time to adjust the camera, maybe you used automatic exposure when shooting against the light. One way or the other, now you’ve got a dark photo. But luckily you’ve also got Zoner Studio to fix it!
Even if you had the exposure triangle set up right during your shot, sometimes you still just get a dark photo. It happens. Fortunately Zoner Studio offers several ways to brighten it back up.
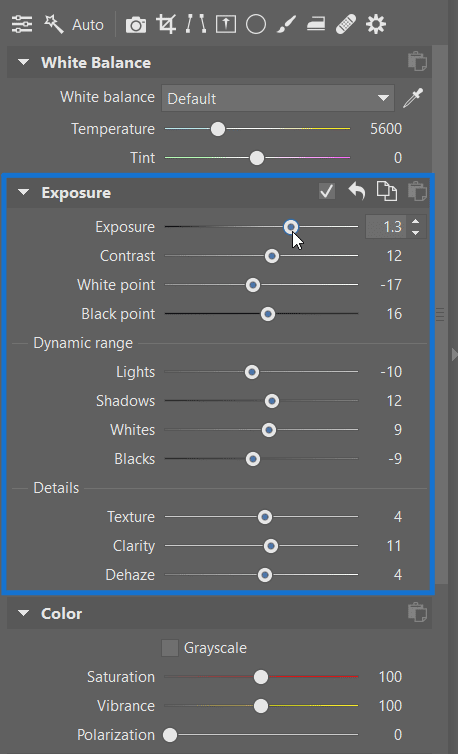
1. Adjust exposure and brighten shadows
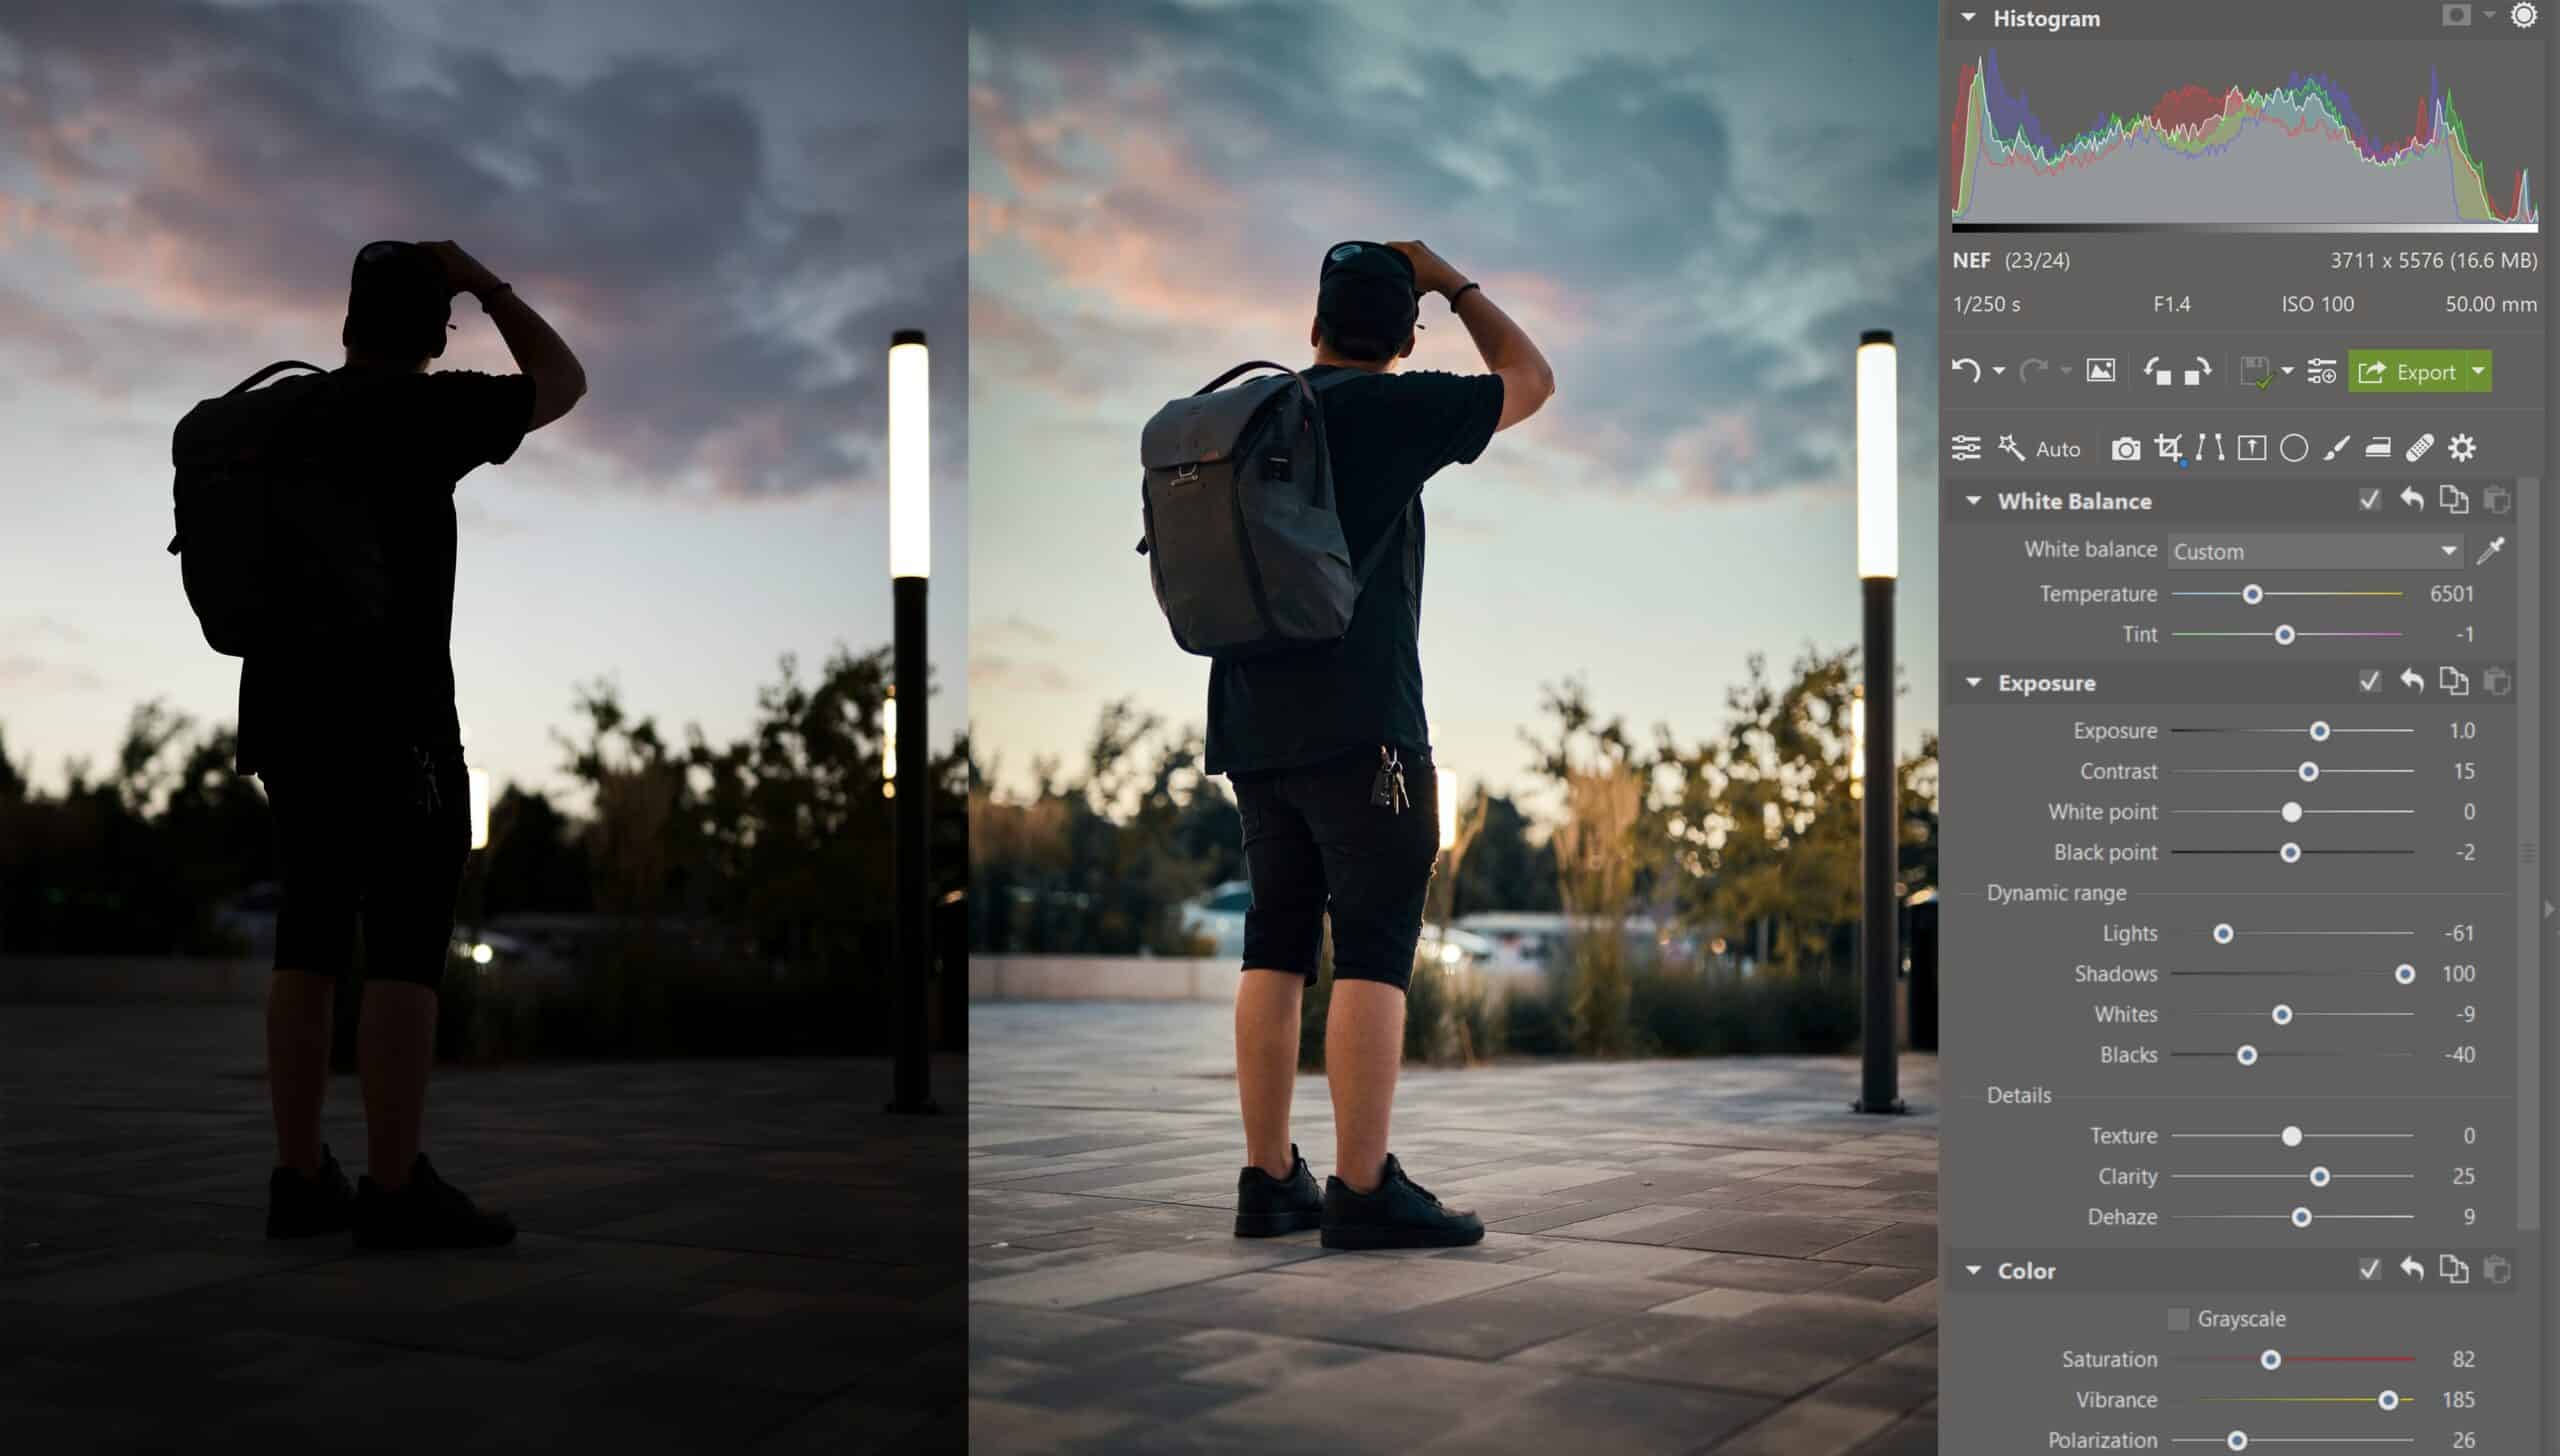
One way you can fix these photos is with exposure tweaks in the Editor or Develop modules. Play a bit with the various settings and brighten your dark photos.
Shadow brightening can help as well. For example if want to make sure the sky in a photo isn’t overexposed, you have to start by underexposing a little bit and then brightening the photo’s shadows. This will cause some noise, but that’s still better than having overexposed spots in the sky. If you also shoot to RAW on top of that, you can brighten shadows much better than you could with JPG.
2. Use Exposure Blending
If the difference between a scene’s light and dark areas is too large, and you can tell already during the shot that shadow brightening alone won’t cut it, you can turn to the functions in Zoner Studio for Exposure Blending HDR or HDR via Tone Mapping.
The way that Exposure Blending works is that you blend e.g. two shots (one light and one dark) into one picture, brightening the photo’s dark parts.
If you opt for Tone Mapping HDR, keep in mind that this function can easily change a photo so much that it’s too much. So – careful with the intensity.
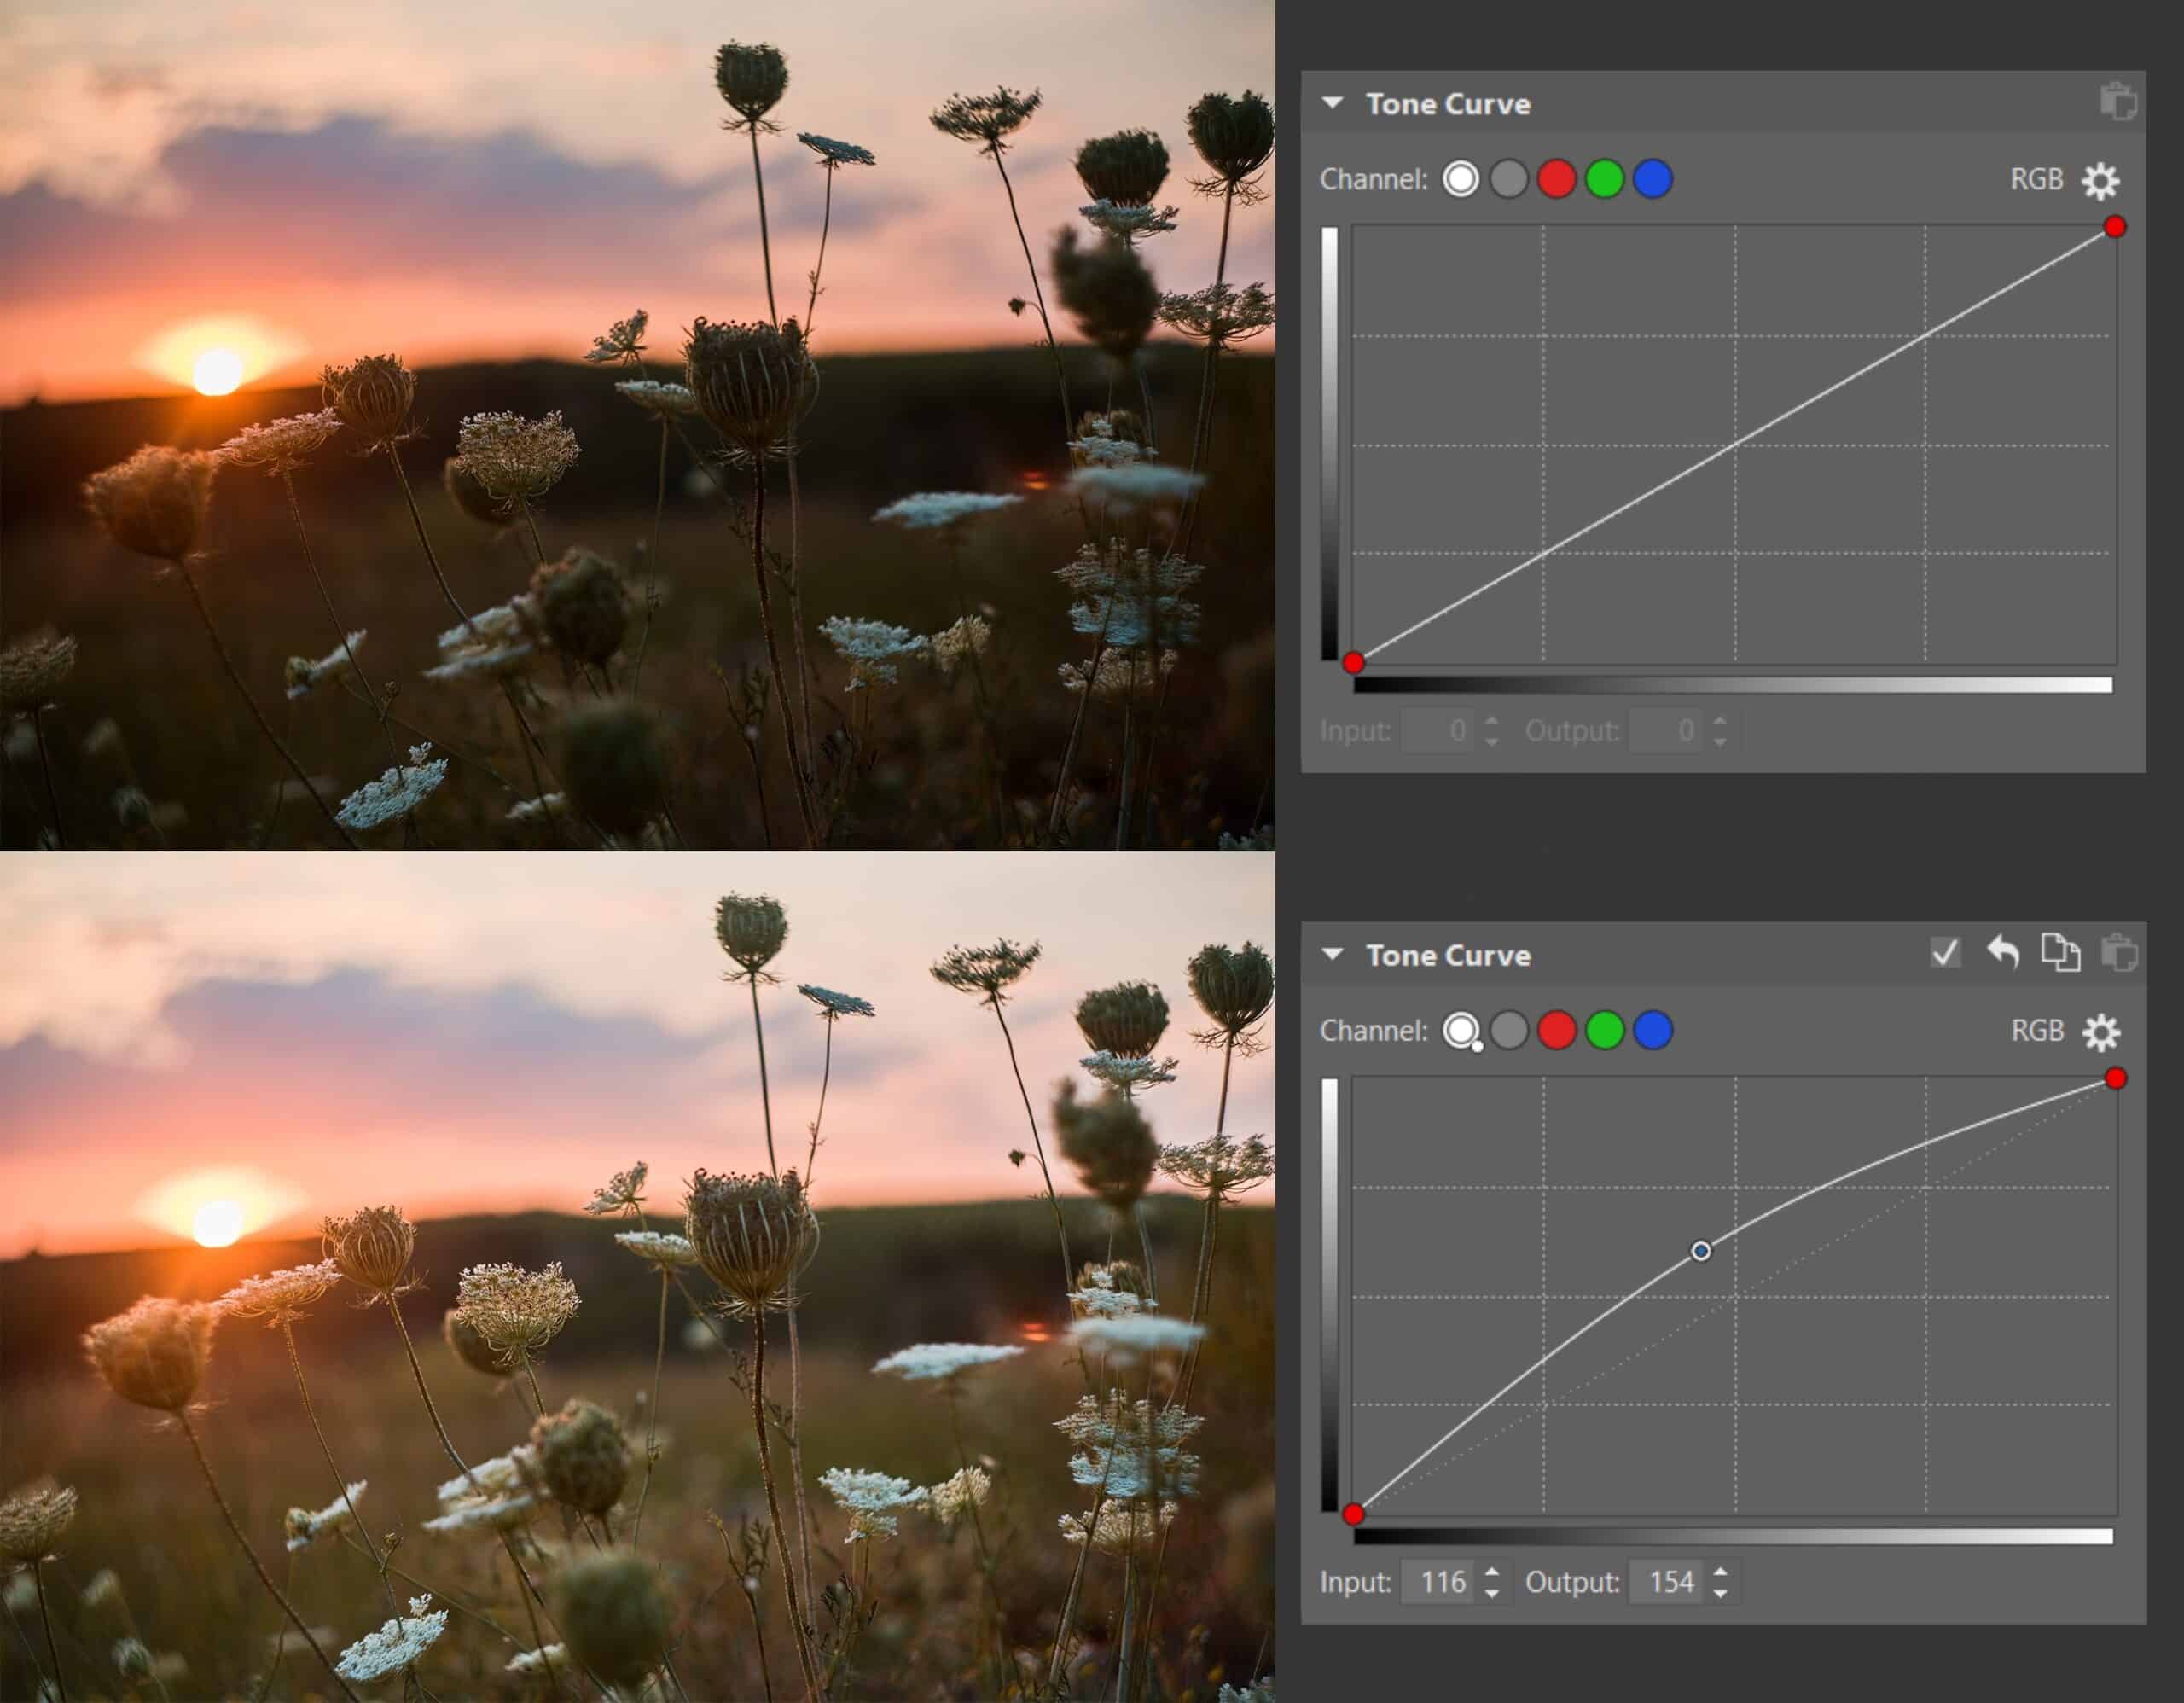
3. Brighten photos with histogram curves
Besides the methods above, you can also fix these photos using histogram Curves, which you can access from the right-hand panel of the Develop module, or in the Editor’s Adjust menu (or via the Shift+C shortcut). Curves give you far more options for brightening than you can find in any of the simpler exposure adjustments.
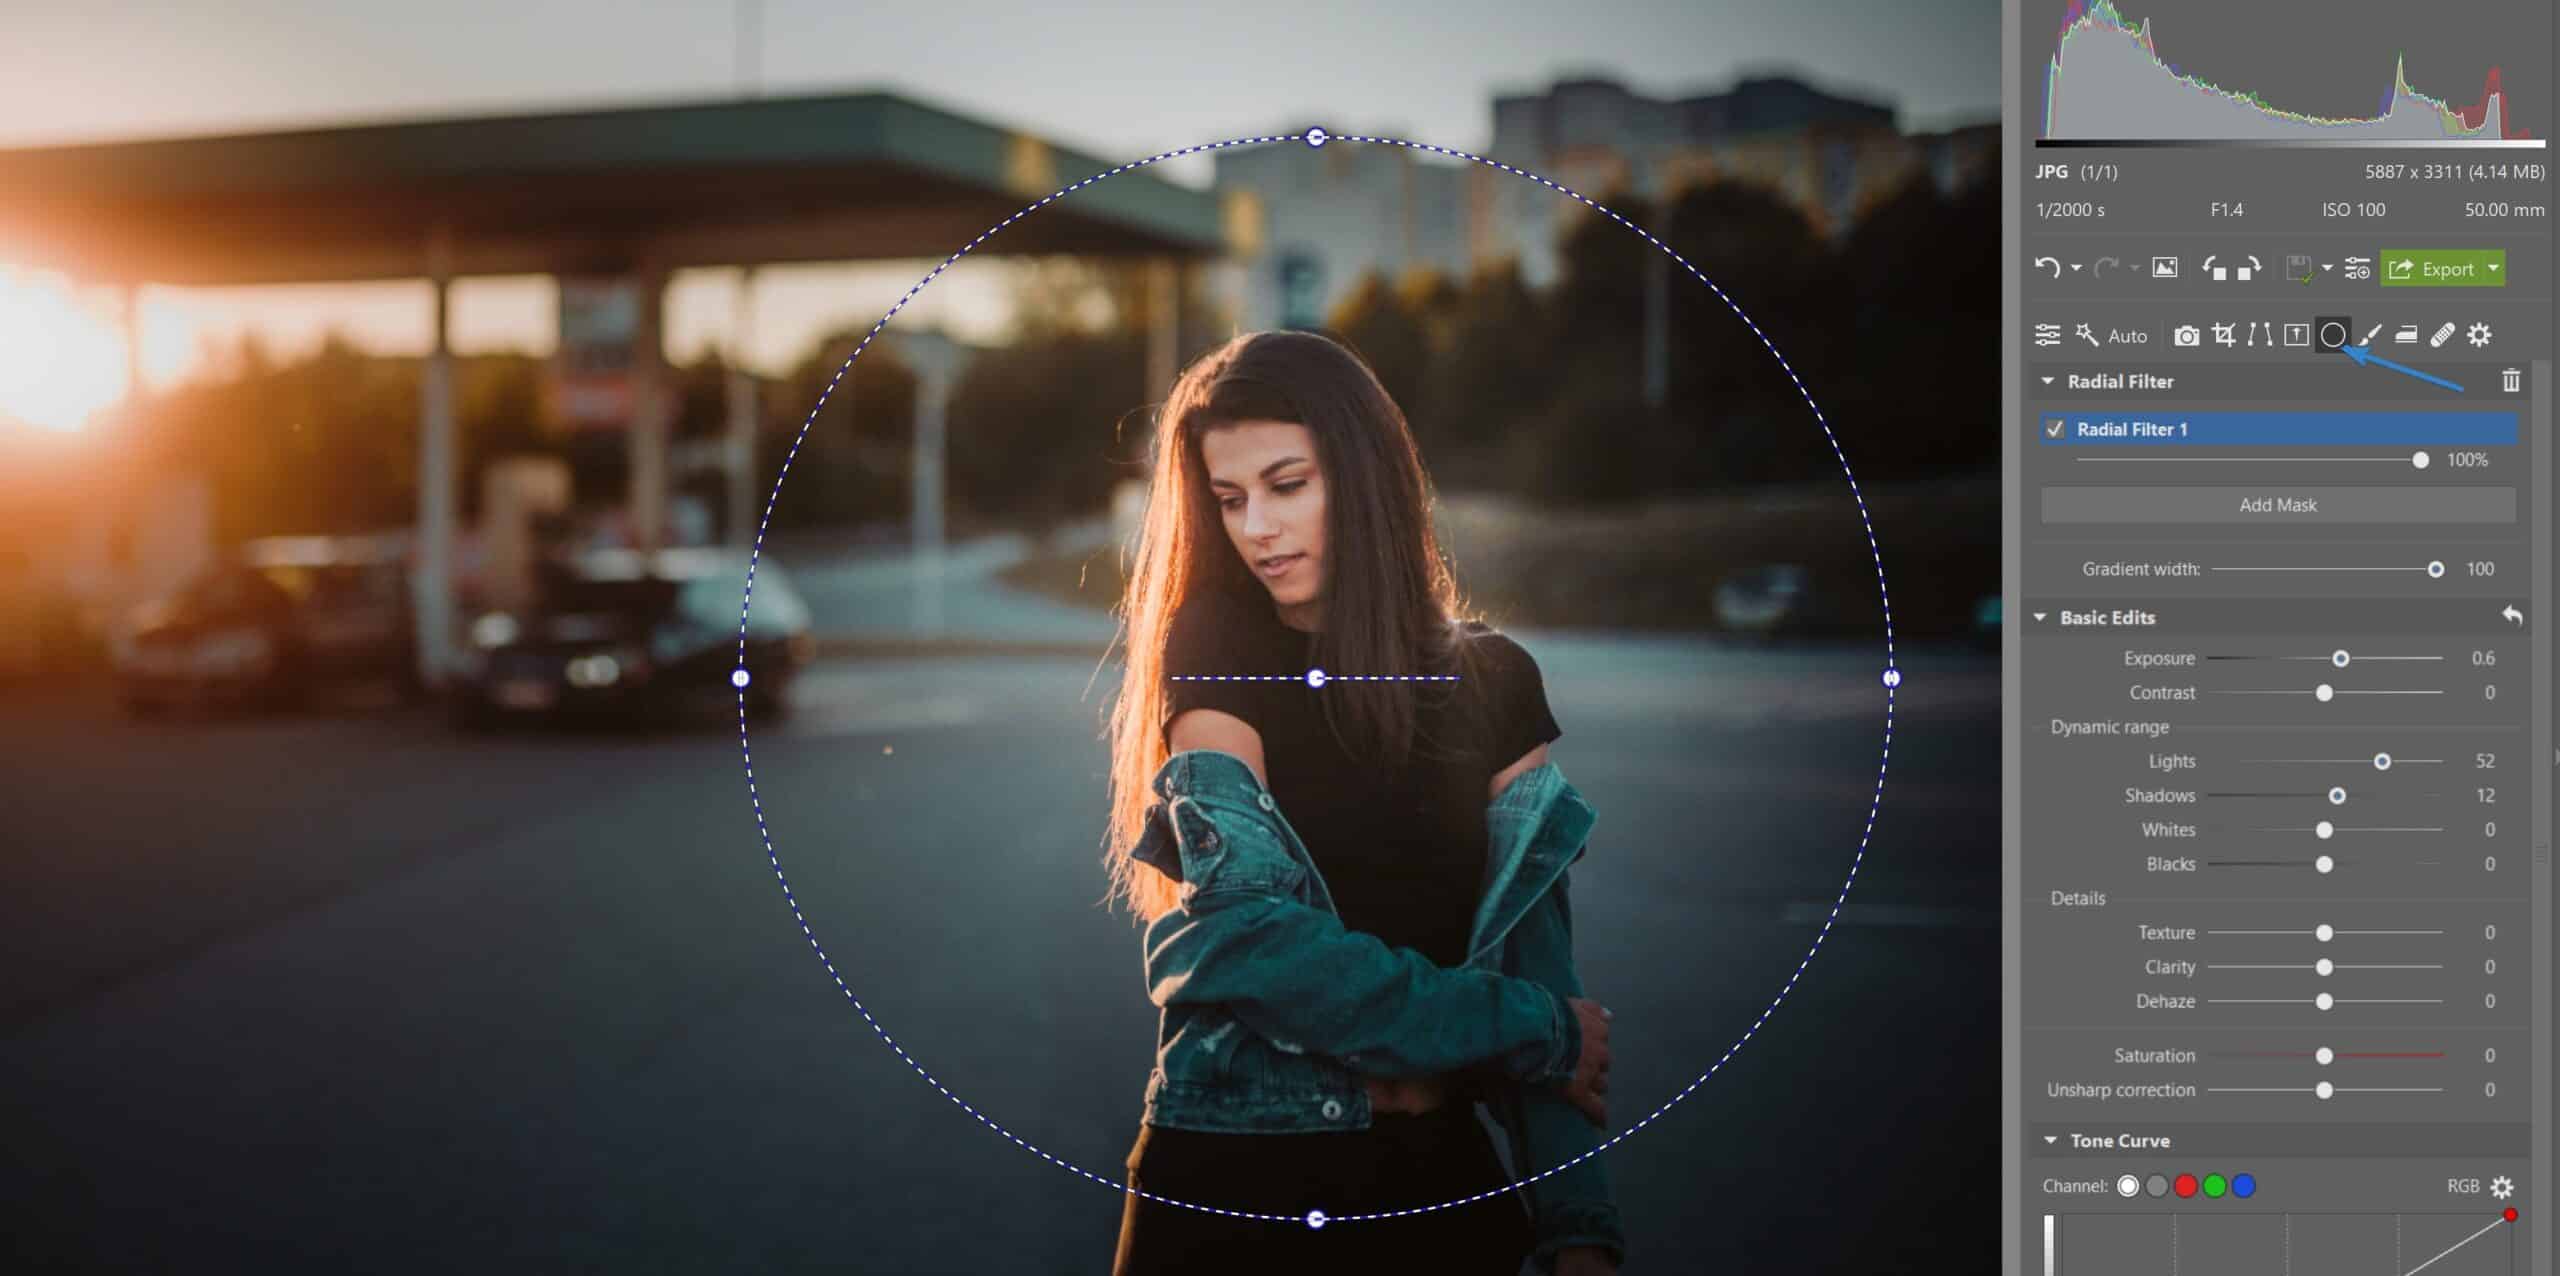
4. Brighten just the right spots with local edits
If only one certain part of a photo is too dark and so you only want to do brightening there, normal shadow brightening won’t help much, because for example you don’t want it to brighten the shadows underneath clouds. So in these situations, work with just a part of the picture using the local editing tools in Develop. These are the Gradient Filter (G), the Radial Filter (R), and the Filter Brush (B).
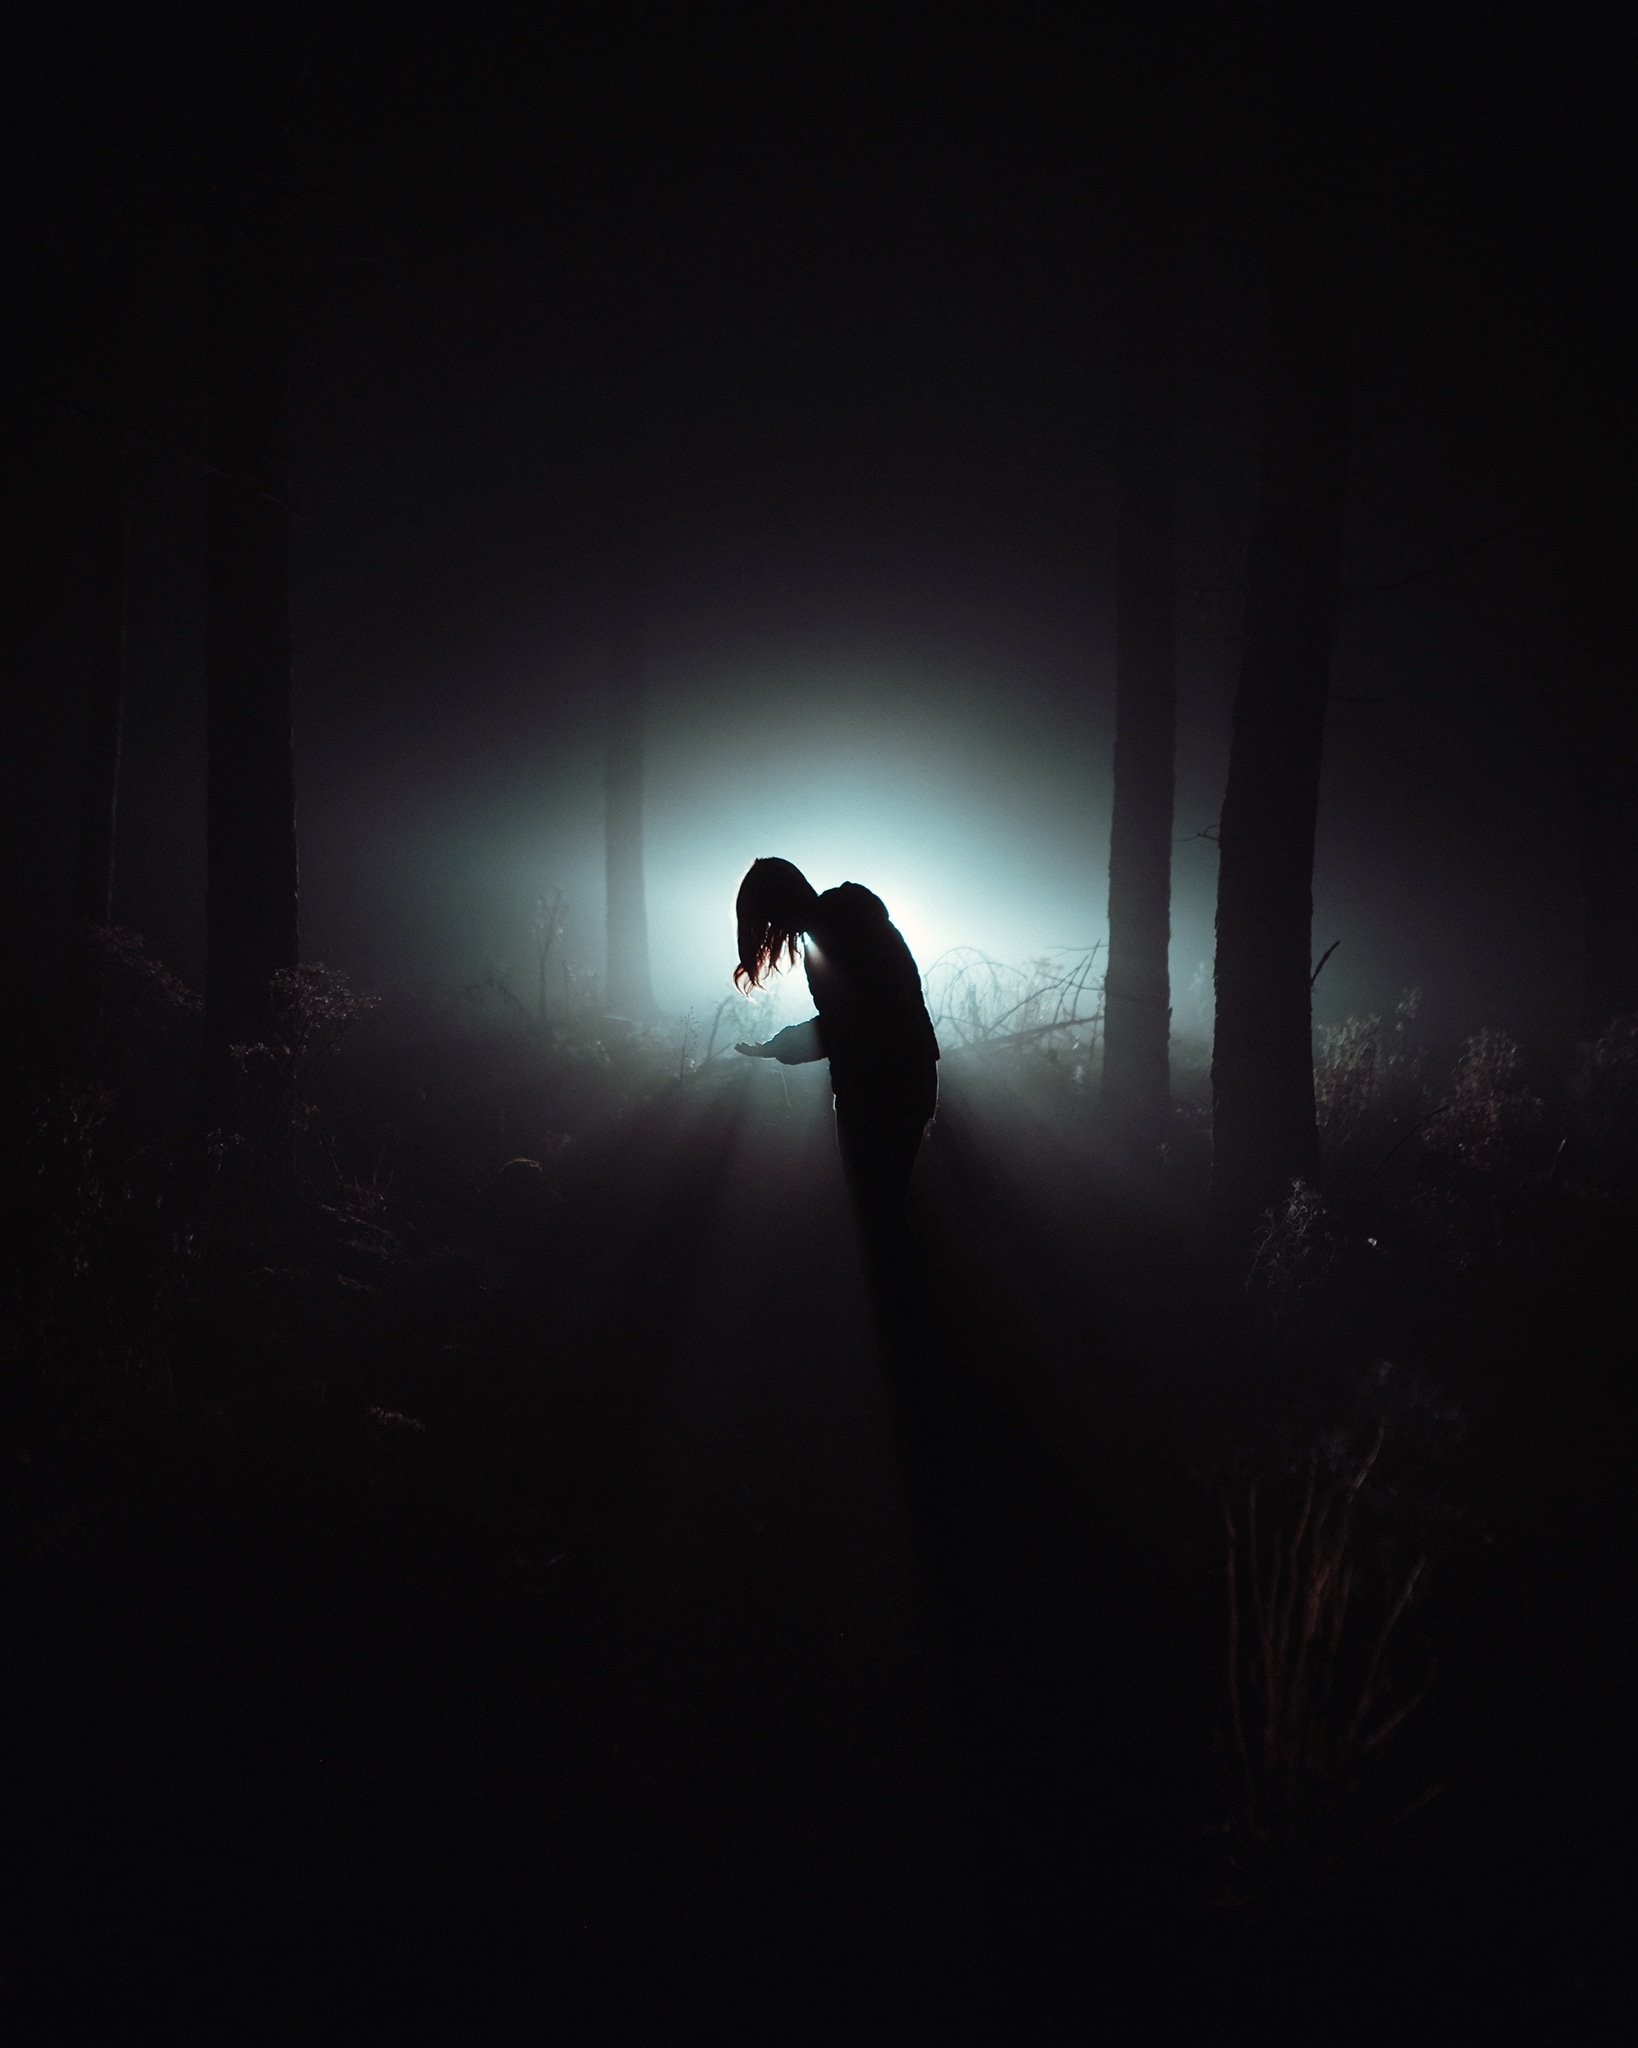
5. Create your own Low key photographs
If you press the trigger and can tell that you’ll only be wanting to highlight certain outlines in the picture, then try this instead: darken it even more and then just add to the lights. This way only a few outlines will stand out, and the photo will be built on the rock of “Less Is More.”
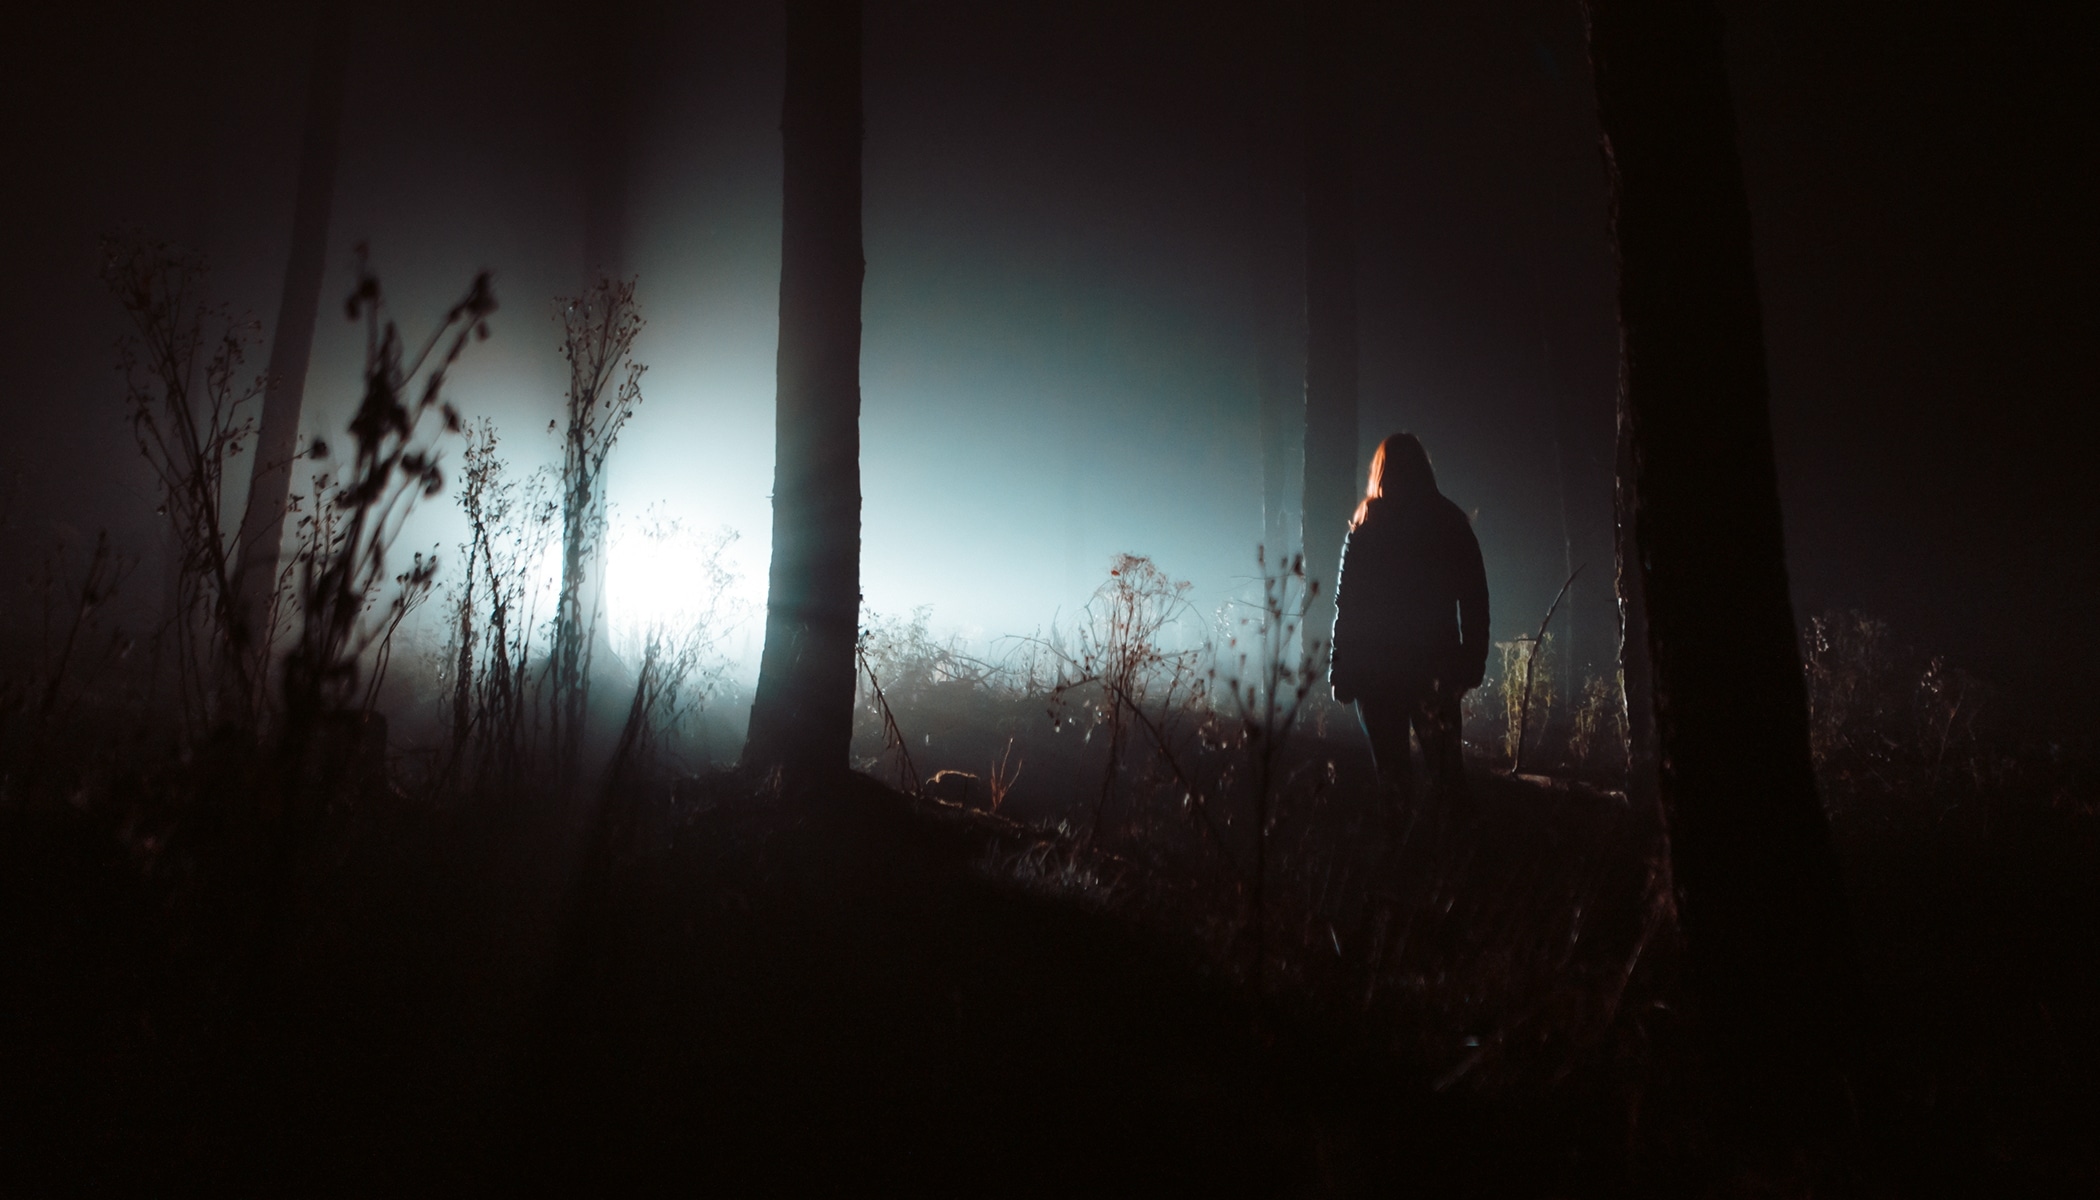
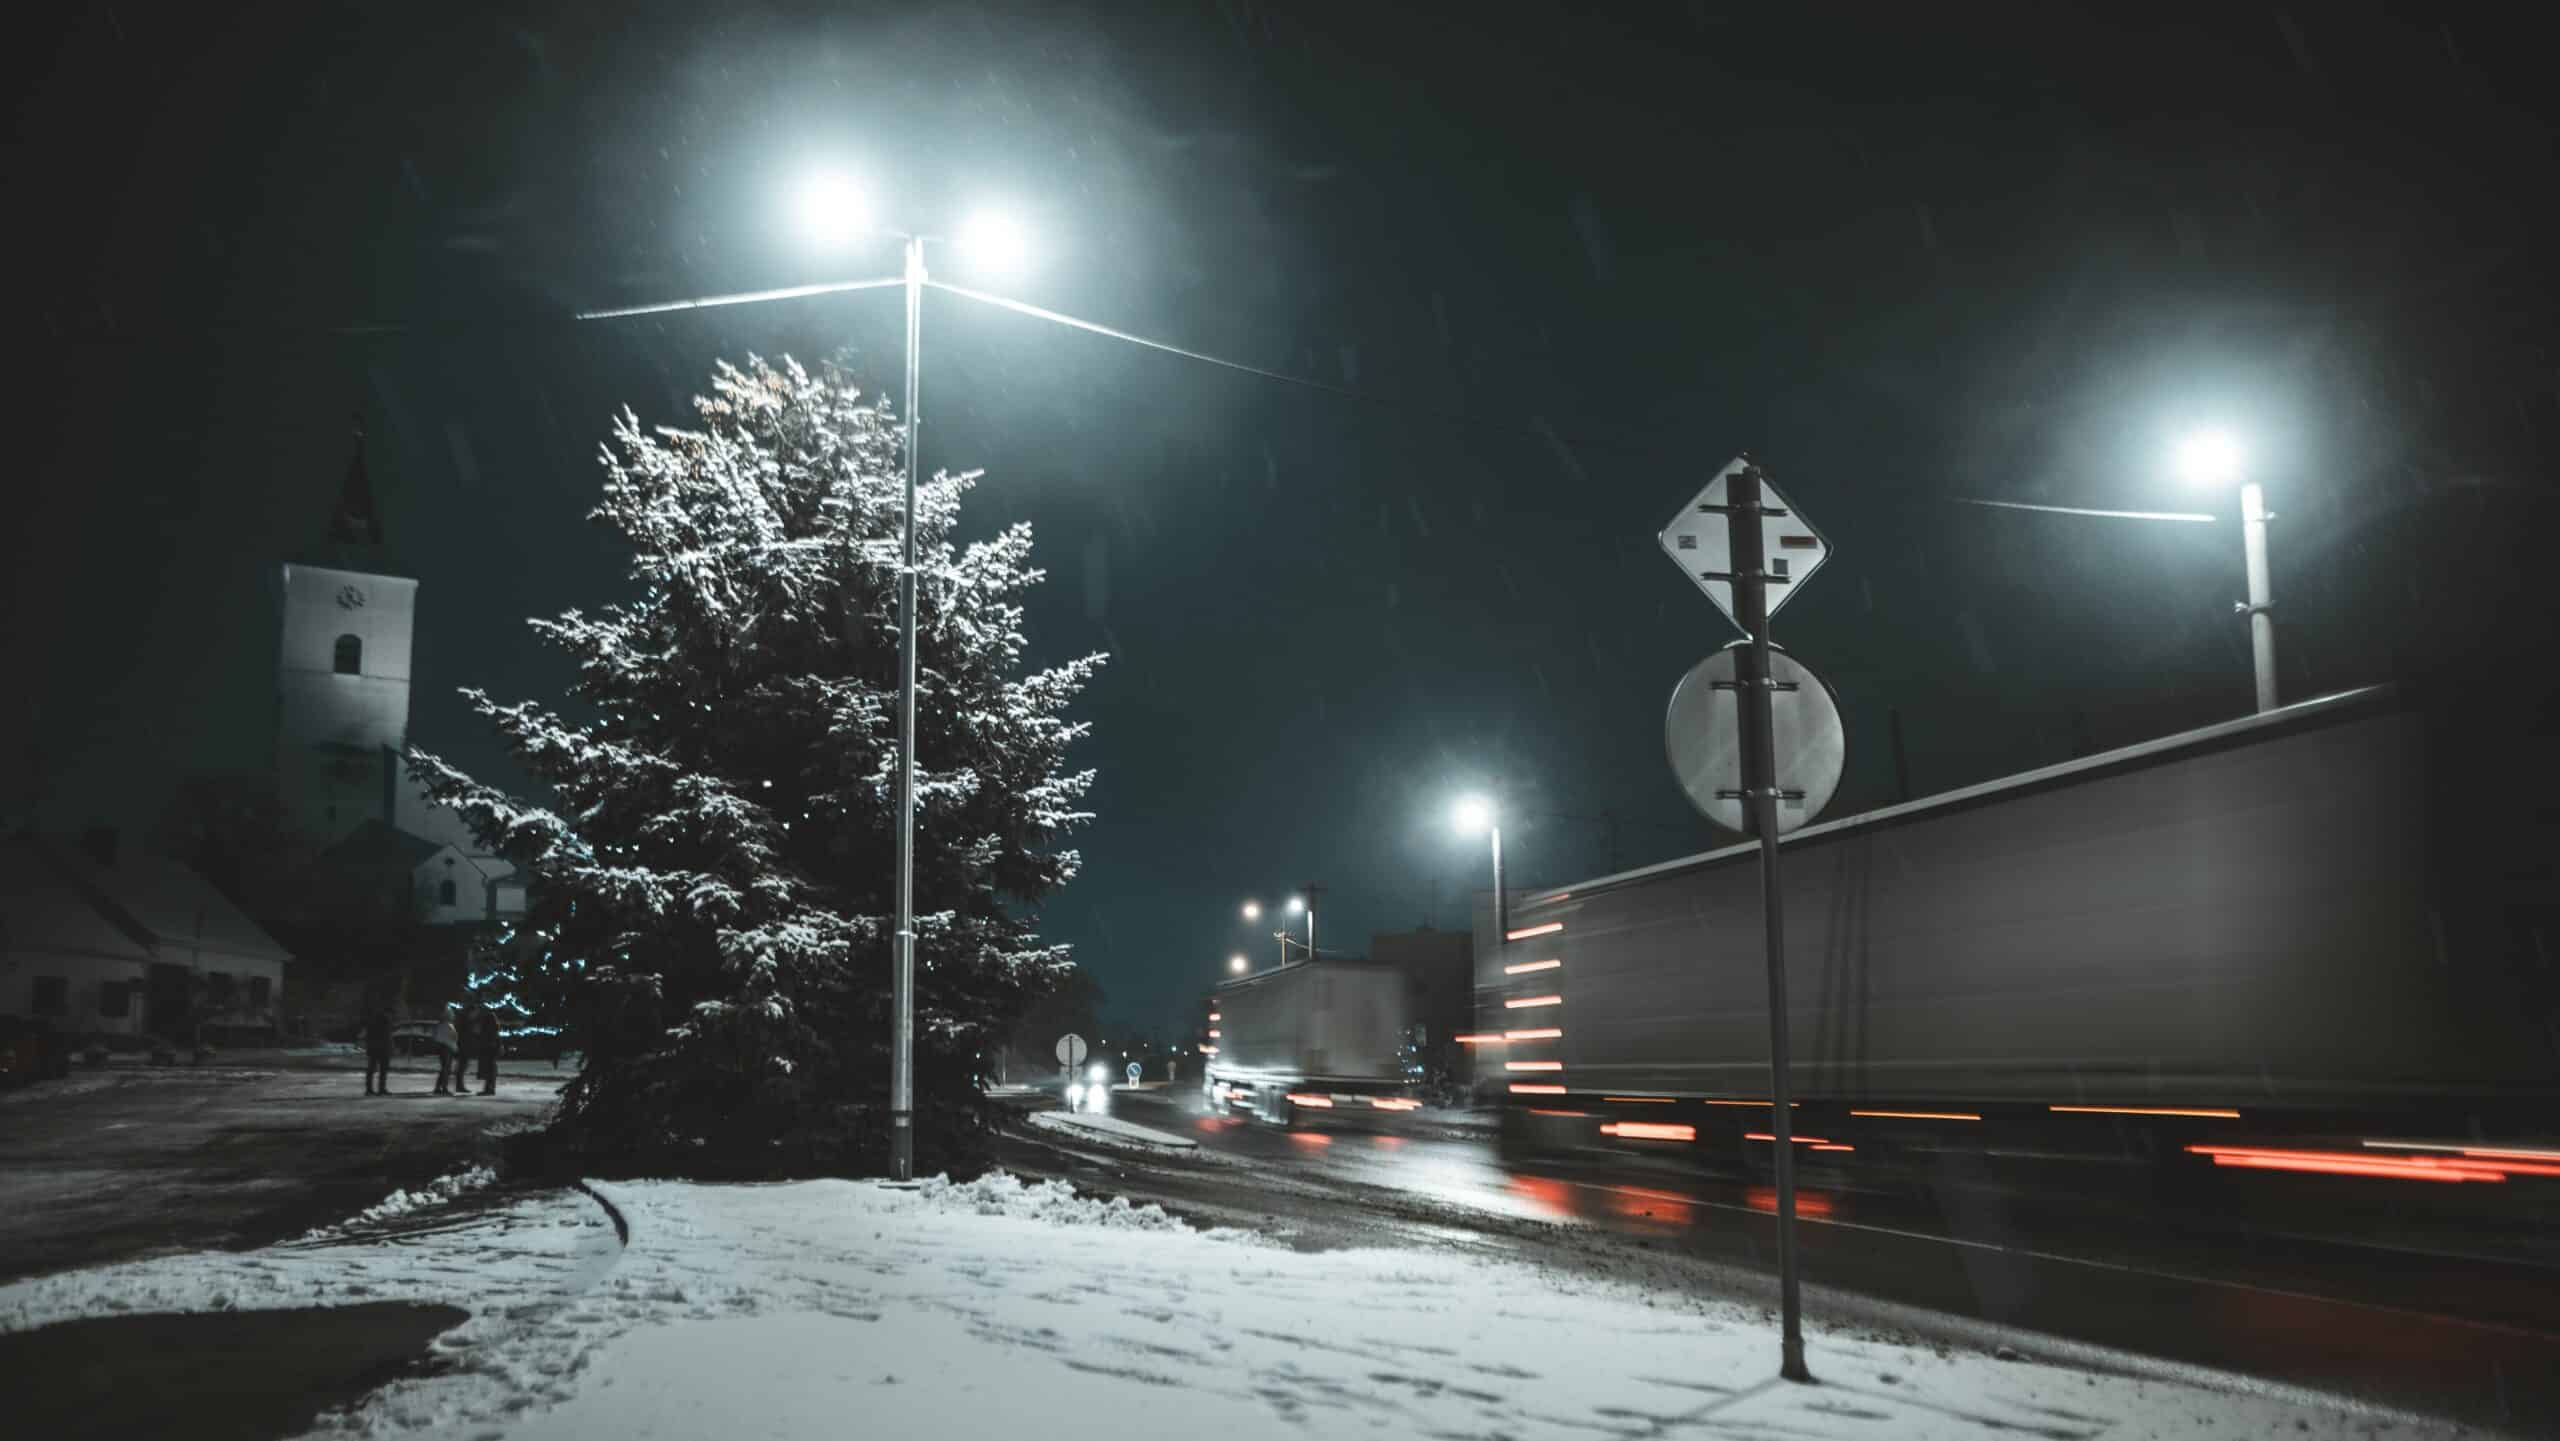
6. Make the darkness the point
The last option is to just deliberately leave the photo underexposed or darken it even more and, for example, just add to the lights, as in this photo.
Dark photos aren’t a tragedy – but learn how to avoid them anyway
A dark photo is better than one that’s overexposed because noise reduction can fix the noise created when brightening shadows, but generally, overexposed spots can’t be fixed at all.
It’s important to know how to avoid problematic dark pictures. For example, by correctly setting your shots’ exposure parameters, and by shooting to RAW – that won’t make your pictures brighter, but it will make dark pictures much less trouble to work with. Exposure editing in RAW is far more natural than in JPG.
Dark pictures can also happen when you’re shooting against the light in one of a camera’s semi-automatic modes. That’s why we recommend using your camera’s bracketing mode in these situations. This mode shoots three pictures in a row (one dark, one normal, and one bright). Even though I don’t plan to turn these three different exposures into an HDR, there’s no harm in having choices!
Have some dark photos in your photo archive you’d like to brighten? Download Zoner Studio, enjoy it free for 7 days, and try these brightening tools for yourself.
There are no comments yet.