Adding Light Effects to Your Photos – Be Sure to Get the Right Lighting First
Before adding any effects to your photograph, it’s important to prepare for them beforehand. The majority of effects, whether they are fire, magical objects, or lightning, create a large amount of light. If the side of your model’s face is shaded on the same side of the body where you’ve added flames, as you can imagine, it will look all wrong. In this article, we’ll give you suggestions for using light sources. We’ll tell you where and how to place your lighting so that the resulting photograph is as authentic as possible.
You can add effects in different ways. For fantasy or cosplay photos, adding fire, magical objects, or lightning are most popular. You can give this type of magical editing a try with some of your friends or family members. It’s not too difficult to get right the first time, as long as you know how light works.
Effects and their influence on the scene
Light is associated with shadows, so be sure to think about how you will deal with them. If you choose a place where you later want to add fire, then think about what role the shadows will play in the photo.
For example, natural light frequently leaves half of the face shaded. If this happens, then you cannot add any glowing effects to the shaded side or in front of your model.
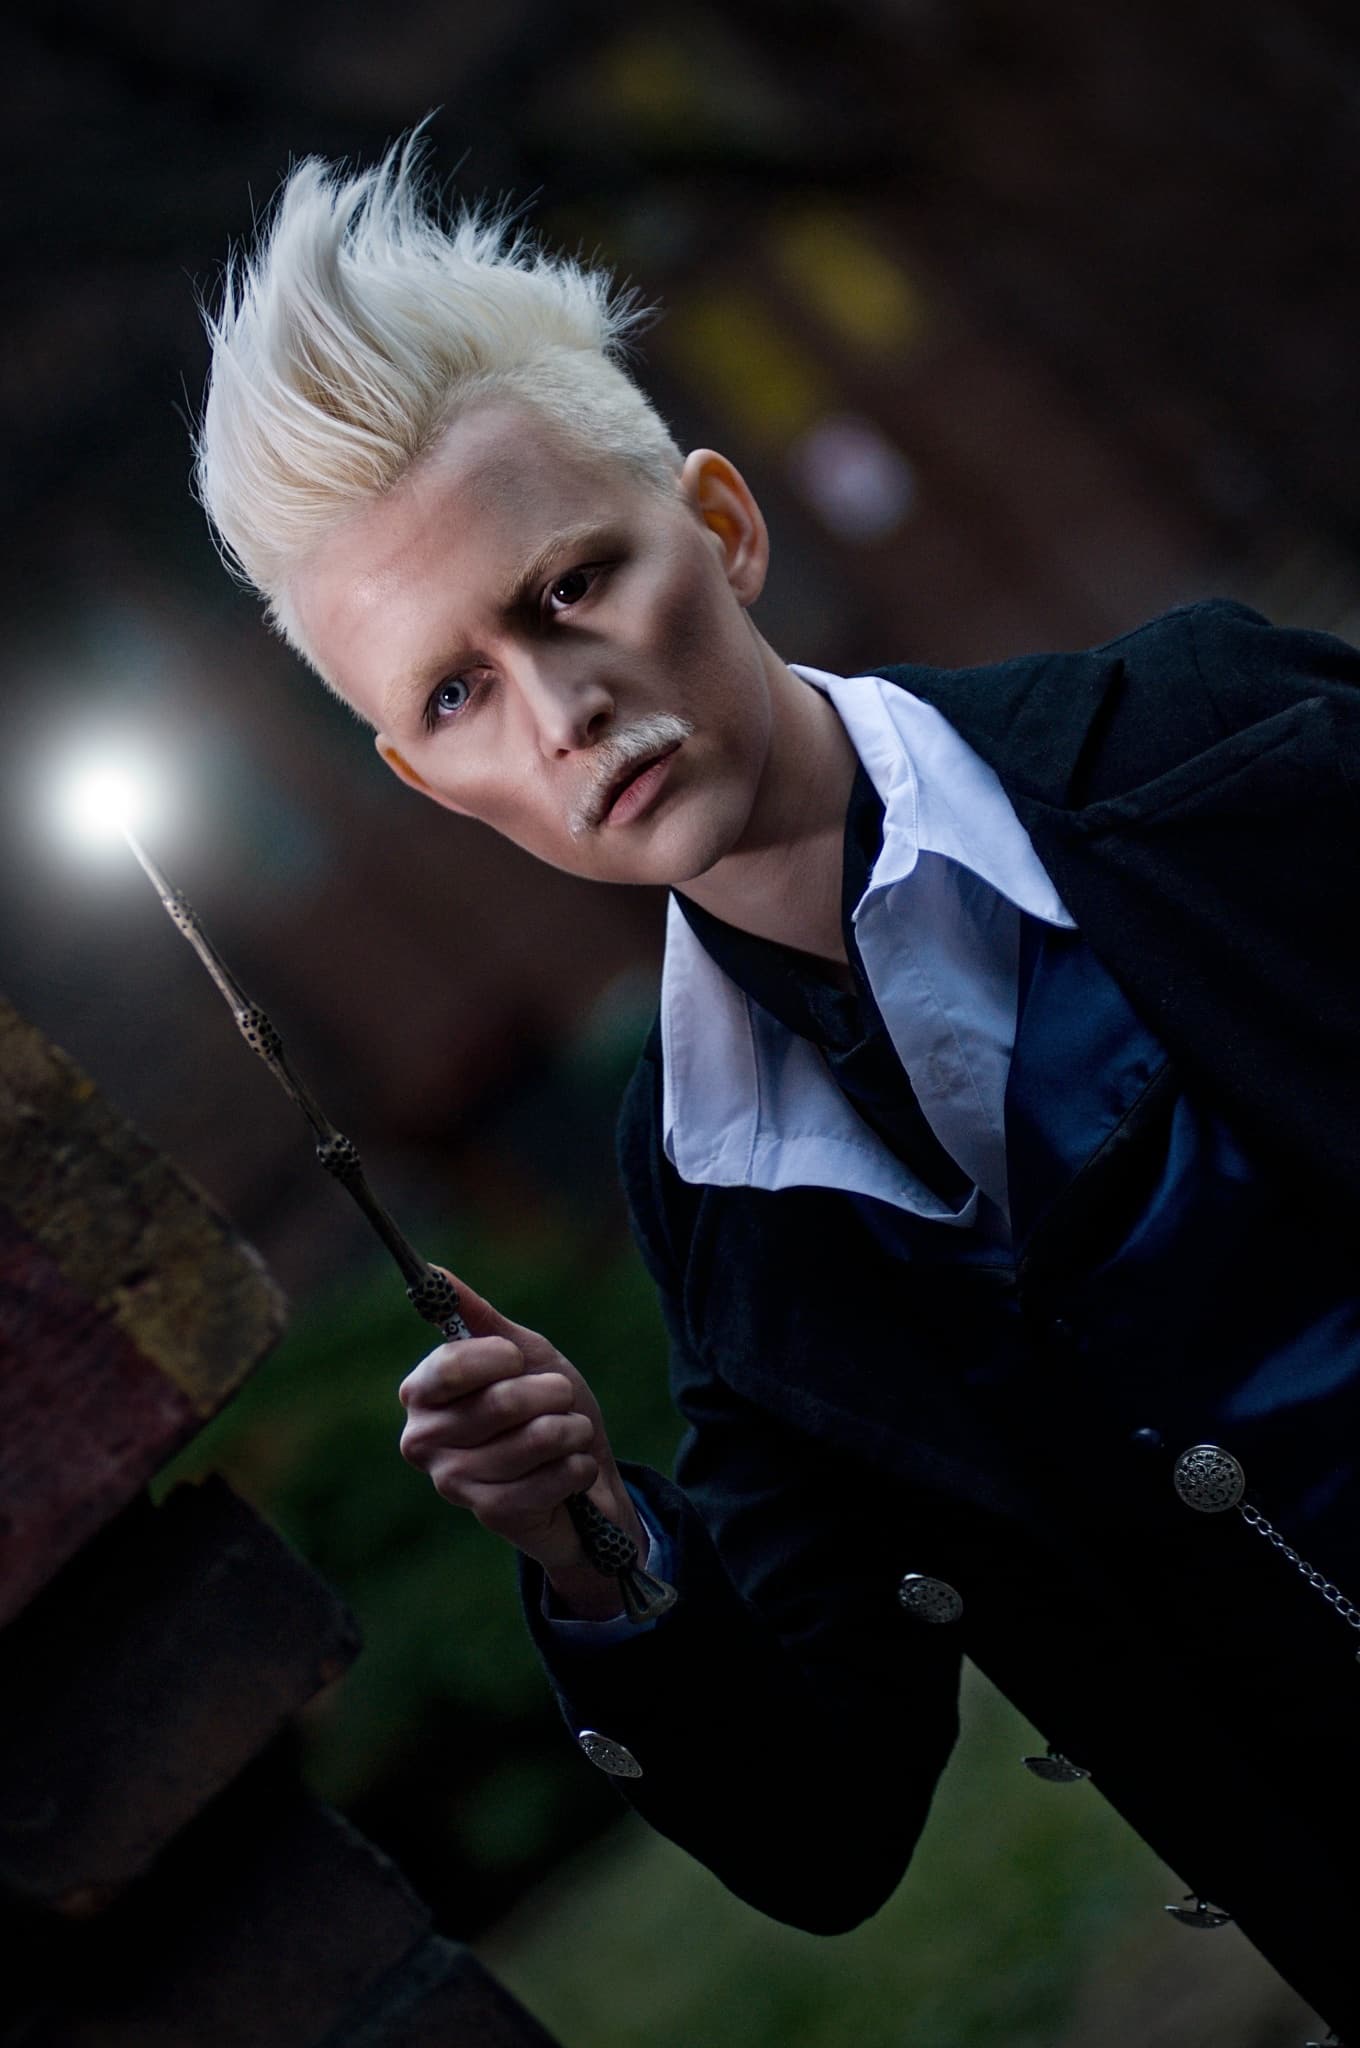
Model @aladdinjane. Nikon D90, Nikon 80-200 mm F2.8 AF ZOOM-NIKKOR D ED A, 1/200s, f/2.8, ISO 400, focal length 80mm.
If you are able to manipulate the light in any way, place its source, direct the shadows, prepare the scene, and photograph knowing that something will be added to the photo later. For instance, with fire, you need plenty of light. This light should be directed in many directions. Magical effects aren’t real, so they can be manipulated a bit in comparison to reality, but some type of plausibility should remain.
How to set up the lighting
When deciding where to put your lighting, there are a few things to watch out for. The most common issue is when the model is photographed holding the effect in their hands. You can light the effect from the front, but then their hand is lit from the outside, while the object is held in their hand. Logically, this makes no sense. You can try having your model hold the light source in their hand, but be sure to plan for removing light sources in post-processing.
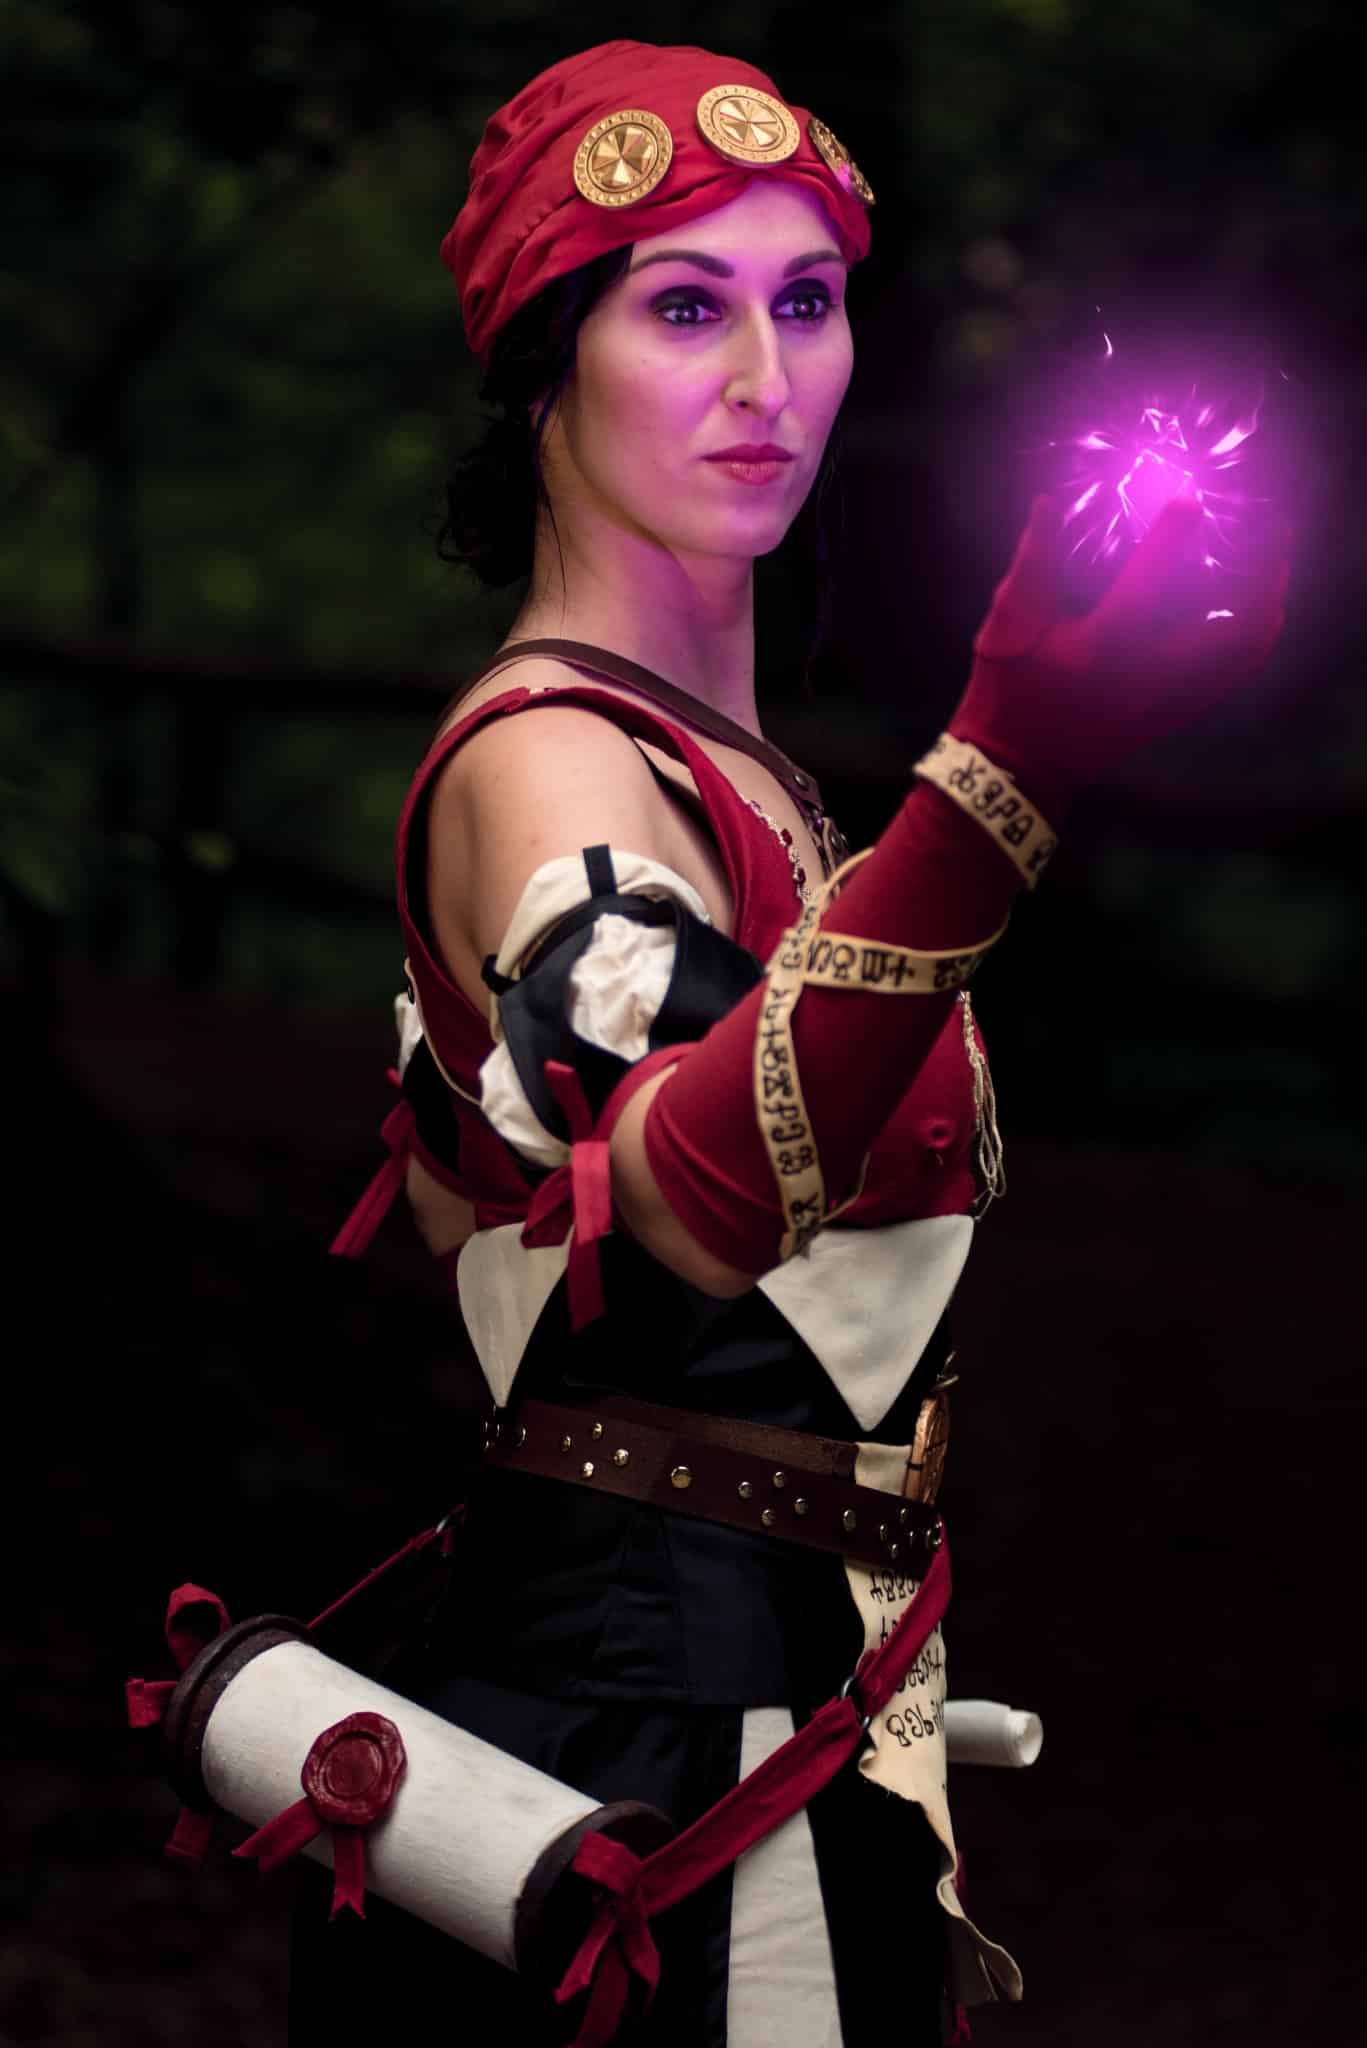
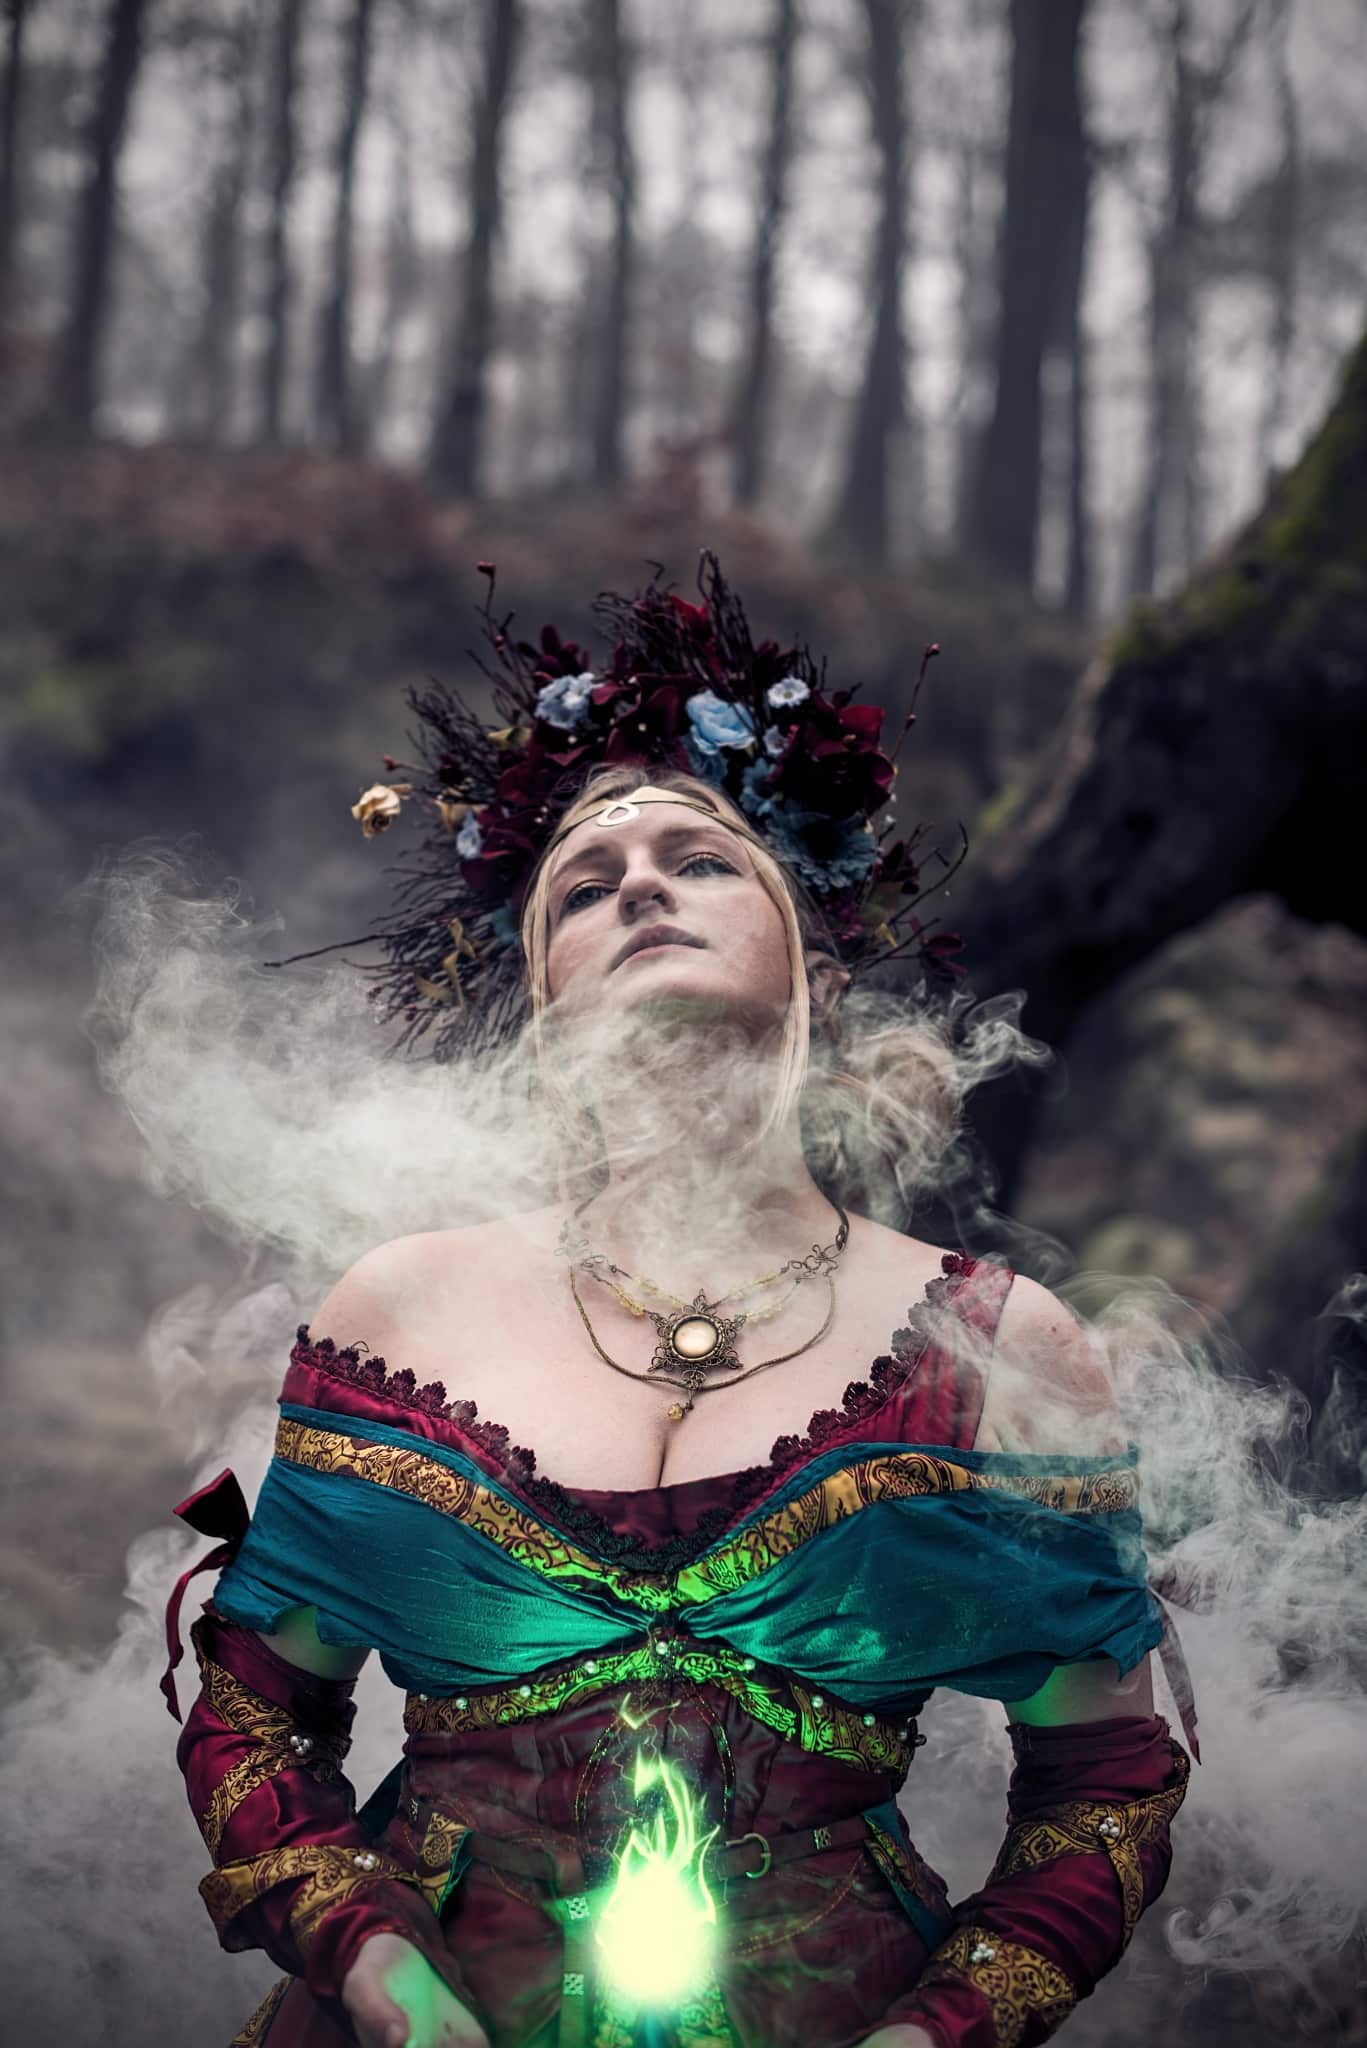
Model @zuzana.von.drak. Nikon D750, Nikon 80-200 mm F2.8 AF ZOOM-NIKKOR D ED A, 1/160s, f/2.8, ISO 400, focal length 80mm.
You can use combinations of multiple light sources. You can use flashes, reflectors, or other light sources. There are different types of LED photography lights that also work great. Even if the light which serves as the basis for the effect has only a minimal effect, it still helps make the photo believable and authentic. The light doesn‘t always have to be very bright. It just needs to fill in or create the right shadows.
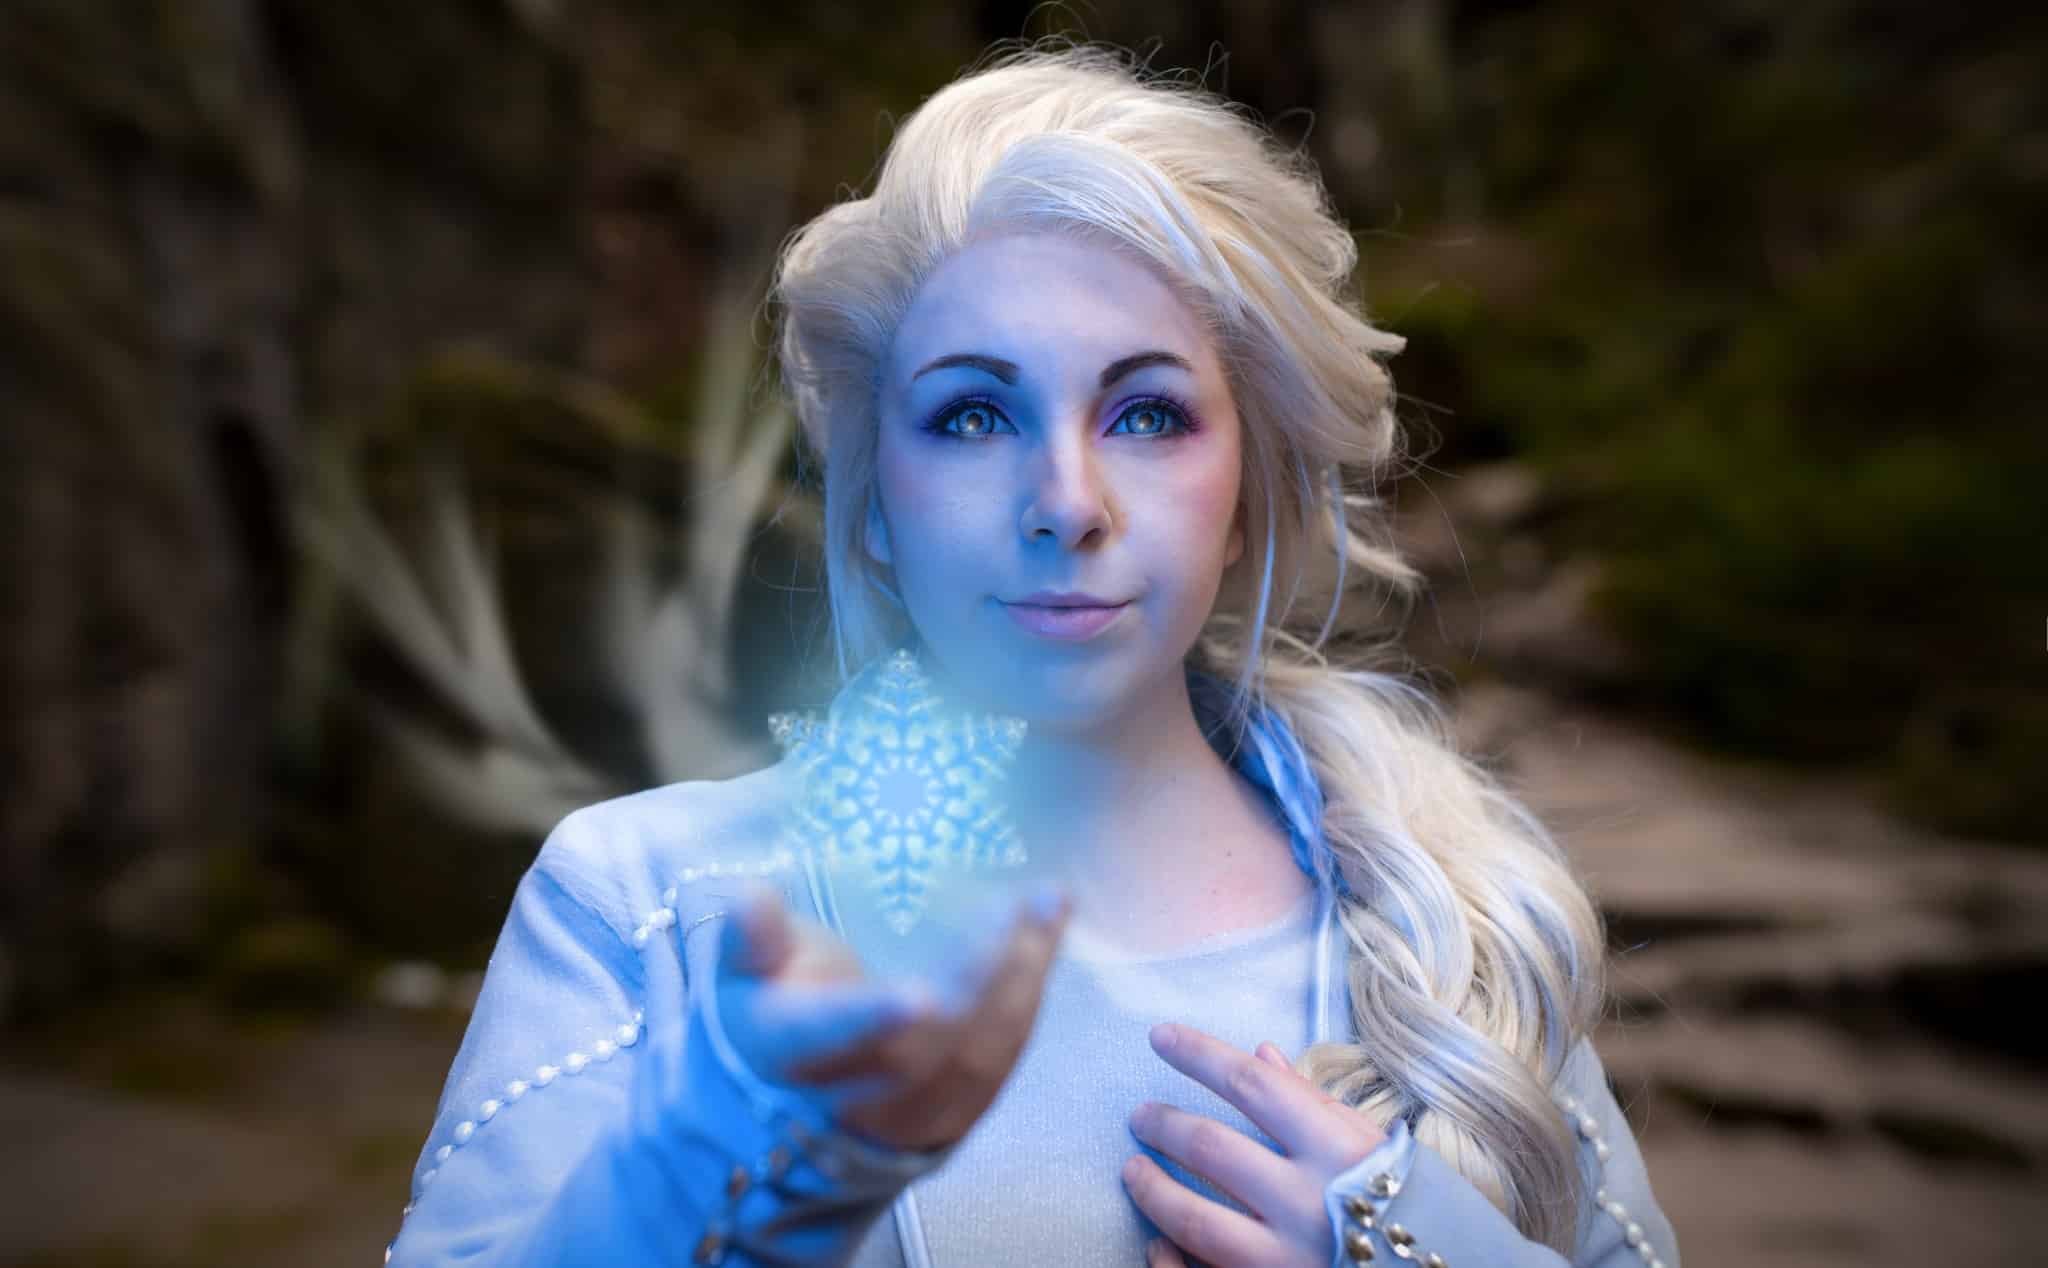
Model @joanbaggins. Nikon D750, Nikon 50mm f/1.4 AF-S NIKKOR G, 1/125s, f/3.2, ISO 200, focal length 50mm.
Light can be added from any direction. Virtually any type of light that is intended for photography can be mounted on a tripod. You can always have an assistant hold it for you. If the light is to shine directly on your model, have your assistant hold it next to the lens so they aren’t visible in the shot. You can also have your model hold the light. Of course, you’ll have to do some retouching later on, or else they risk having their hands cut off in the photo. If you’re not sure what to do, try both options, and then choose which one you like best.
Model @squirrelmomma. Nikon D750, Nikon 50mm f/1.4 AF-S NIKKOR G, 1/500s, f/2.5, ISO 200, focal length 50mm.
Options without lighting
If you don’t happen to have artificial lighting available to you, but you still want to try some type of effect, you have three options.
Use a reflector. If you set everything up properly, it will be enough. Reflectors often reflect light from the bottom so keep this in mind when telling your model where to put their hands or when setting up the scene how you want.
Use natural light. It definitely won’t be as effective as artificial light, but it will work. For example, the light from a sunset shining directly on the face works well when setting up effects with fire. Or try lighting the model from the side and add the effect from that side so the effect isn’t on the shaded side.
If there isn’t good natural lighting and you don’t have a reflector, an option may be to keep it ambiguous. Photograph your model from behind, place the effect far from them, and make it more subtle. Find out how the shadows are moving, how the light shines on the object, and adjust. For this option to work, it must be very subtle. If it doesn’t work, don’t force it.
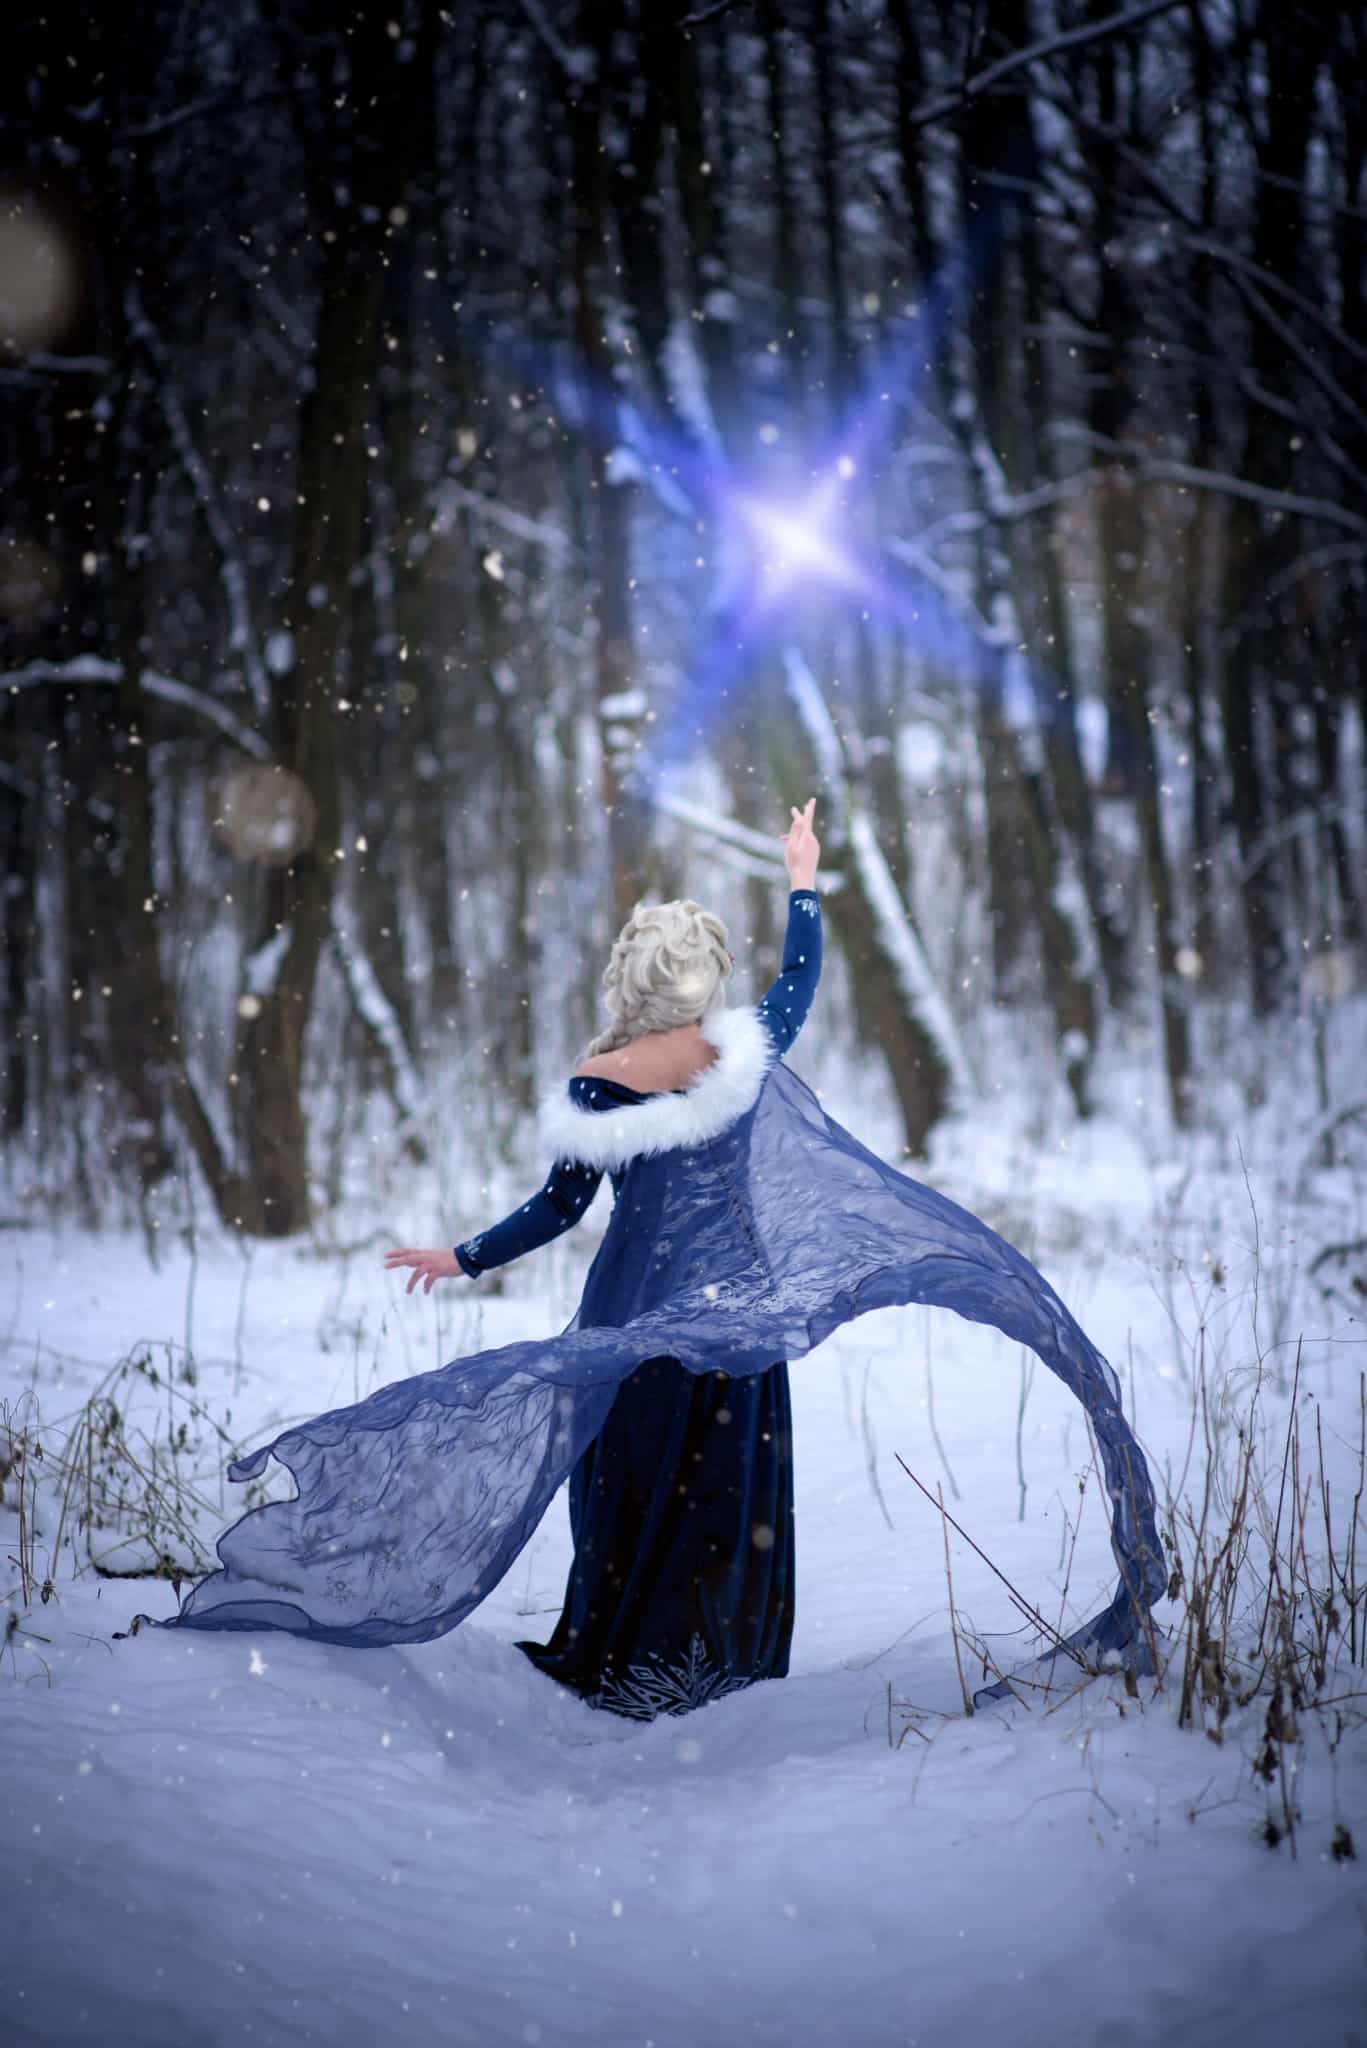
Model @joanbaggins. Nikon D750, Nikkor 105mm Ai-S f/2.5, 1/2500s, f/??? (manual), ISO 200, focal length 105mm.
Use the effect directly, without additional light
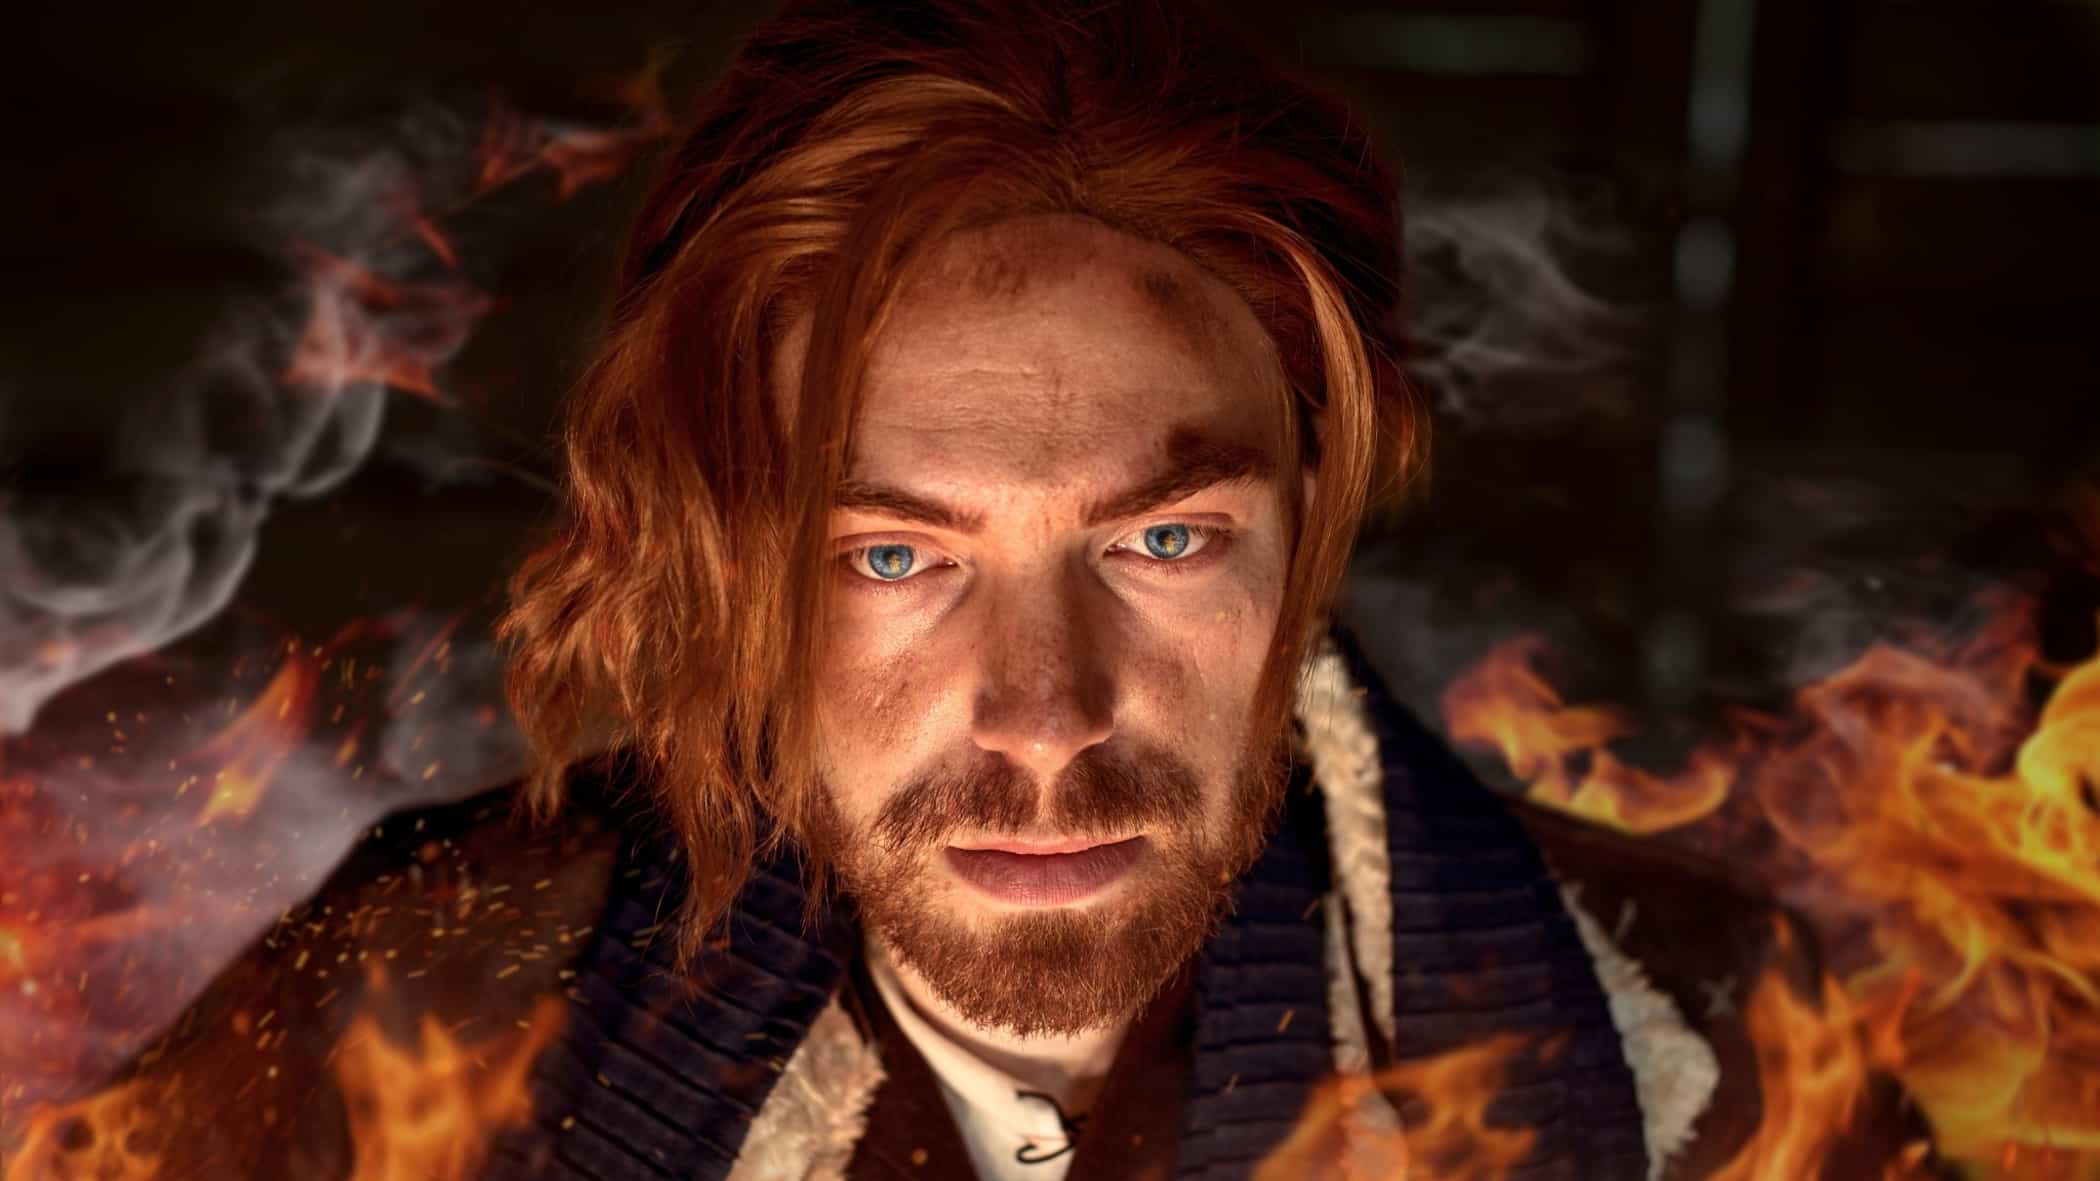
If you don’t want to bother with lighting and are feeling adventurous, then take a picture of the fire directly. Real fire is the best way to get the fire effect. Post-processing will always be somewhat noticeable. Experimenting with and adding in the effect while shooting is the most convincing option.
However, remember, working with fire is dangerous! Make sure you put safety first for all those involved. Effects with fire are possible, but lightning and magic are not as easy to conjure.
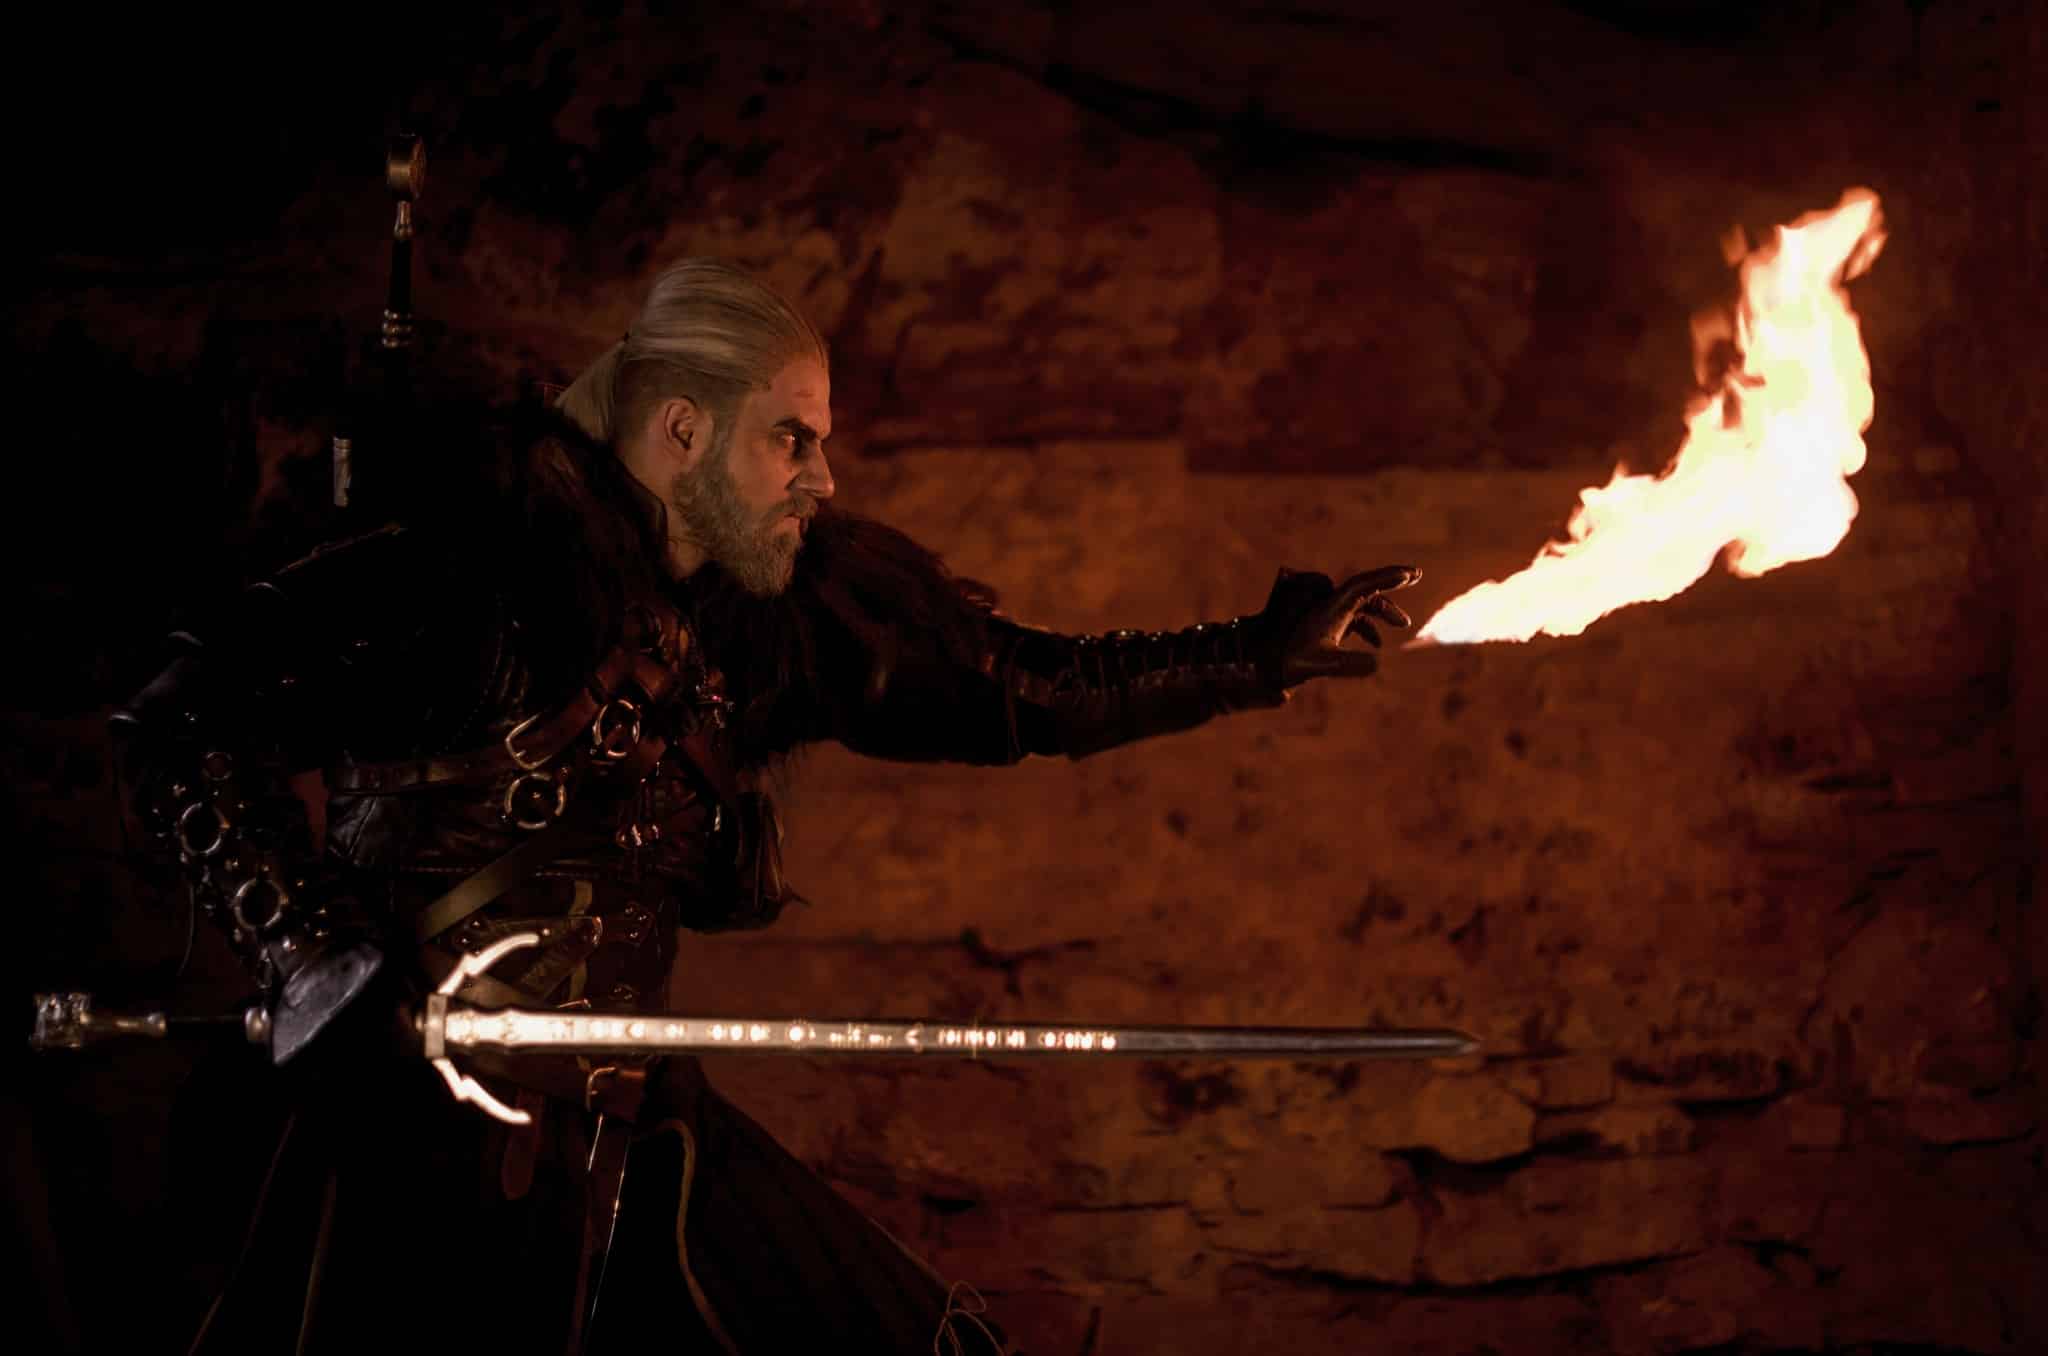
Model @the_don_esteban. Nikon D750, Nikon 50mm f/1.4 AF-S NIKKOR G, 1/125s, f/1.4, ISO 400, focal length 50mm.
Don’t be afraid to use effects in your photography!
Lighting is important to think about when it comes to any type of photography. You can always change colors and make adjustments to many other things after shooting. Lighting, on the other hand, is much less forgiving. It isn’t easy to lighten up dark areas. You’ll always end up having to force the issue, resulting in noise. In the same way, it isn’t easy to darken overly light areas. For these reasons, be sure to plan before you shoot. After shooting, it will be easy to add lightning, a ball of fire, or other magical effects straight out of Harry Potter!
How do you add glowing objects to your photos? Zoner Photo Studio X will help you essentially make a photo montage. We’ve written all about adding various objects to your photos in the article, How to Place One Photo Inside Another: Create Your Own Photo Montage Using Layers.
There are no comments yet.