Discover the Power of Artificial Light in Photography
The major advantage of artificial light sources over natural light is that you have them fully under your control. There are many tools for changing their characteristics. Artificial light lets you photograph topics that would be impossible to handle under natural light.
Artificial Light
The artificial light sources typically used in photography are constant lights (lamps, daytime permanent photographic lights, hand lamps, etc.) and flashes (studio flash generators and flash guns). Taking pictures with a constant light source is similar to taking pictures with natural light; the main difference lies in the fact that you have many more ways to influence the characteristics of that light.
Taking pictures with flashes works differently than taking pictures with a constant light source. Flashes let you produce several effects that you can’t achieve in constant light. Above all there’s the ability to “freeze” motion—and to create various motion studies with help from a flash’s stroboscopic mode.
The Characteristics of Artificial Light
While your options for influencing natural light’s properties are very limited and to a large degree you just have to adapt to the light, for artificial light sources, there are almost endless ways to affect its properties.

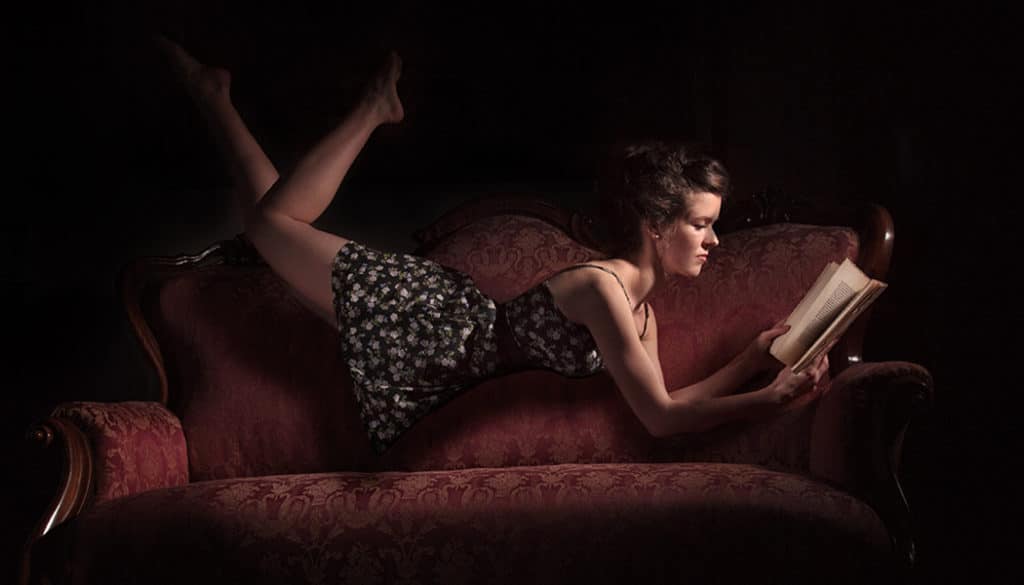
Canon EOS 7D, EF 50/1.8, 1/125 s, f/2.8, ISO 100, focal length 50 mm (80 mm equiv.)
Light Intensity
For artificial light, you have two basic paths for how to adjust the intensity of the artificial light source directly:
- Setting Light Intensity
- The Light’s Distance
The first path is to set the light’s intensity right at its source. For permanent sources, you can do this for example by choosing the outputs of the bulbs you install, and for studio flashes and flash guns, by directly choosing their output.
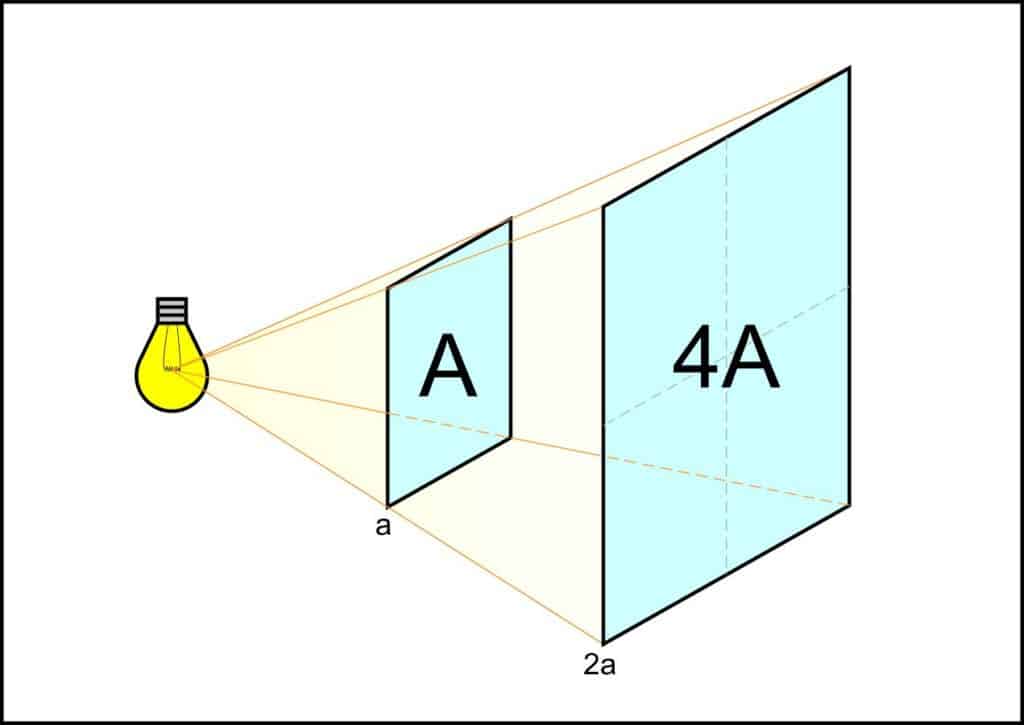
The other way to influence light intensity is through your choice of how far the light is from the scene. Here the inverse-square law comes into play. The inverse-square law states that light’s intensity drops at the square of its distance from the source. That means that two meters from the source, the light intensity is one fourth of what it is at one meter from the source.
Light Quality
Light quality entirely depends on the relative size of your light source. When using artificial light sources, you have many ways available to control this relative size. The light source itself has a certain absolute size, of course. And where a light bulb would be a very small light source in a given situation, a large LED panel would be a large light source in that same situation. In future articles we’ll take a closer look at how to fine-tune the size of a light source.
Light Color
The color of a flash is usually balanced to match daylight. Among permanent lights, you’ll encounter classical incandescents with their warm (orange) hue, and fluorescents (with a green hue). But today ordinary fluorescents and compact fluorescents are both available in daylight versions. Modern LED panels are also balanced for daylight.
Light Direction
While sunlight’s direction depends on the time of the year and day, for an artificial light source, you can choose its direction precisely to fit your photographic goals.
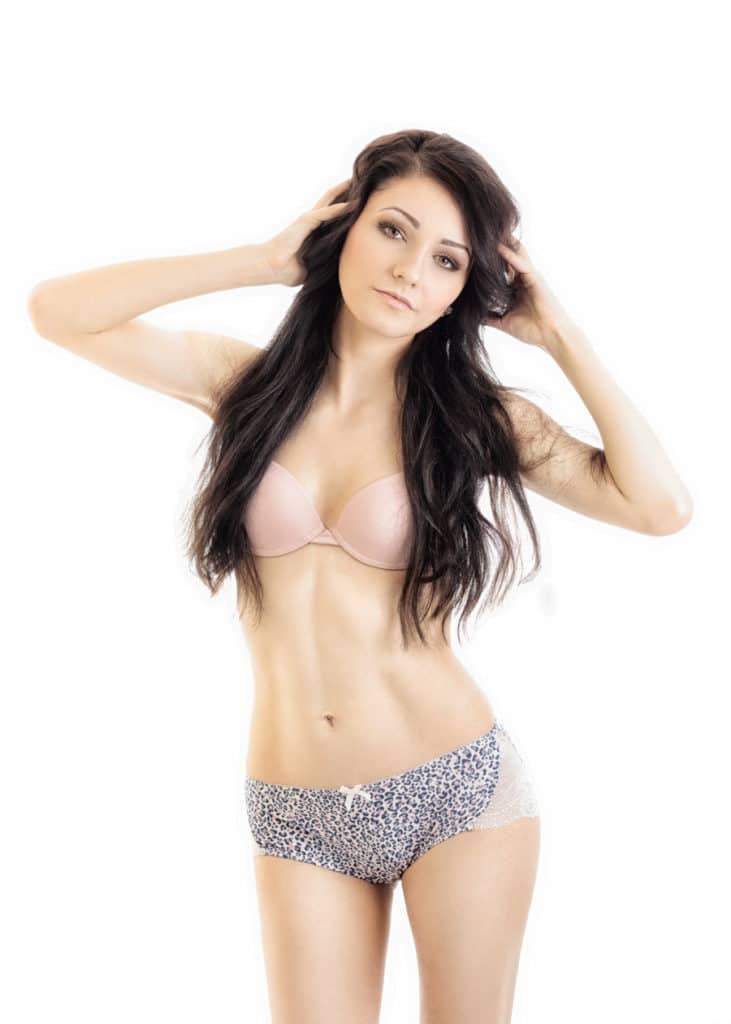
Canon EOS 7D, EF 50/1.8, 1/125 s, f/4, ISO 100, focal length 50 mm (80 mm equiv.)
Experiment with the Properties of Artificial Lights
You don’t need expensive studio equipment to master work with artificial light sources. Even a cheap off-brand flashgun will serve you well as a studio flash. And even an ordinary desk lamp can be your constant light source.
Do you want to know more about the light? Continue reading one of these articles:
5 Techniques for Shooting in Natural Light
Light in Photography? Light Is Photography
Adapt Your Photography to Natural Light
There are no comments yet.