Maximize Your Video Editing in ZPS X
As you already know, Zoner Photo Studio X can be used to put together and edit video clips and slideshows. You can add text, music, and transitions. But these are only some of the video editing capabilities in ZPS X.
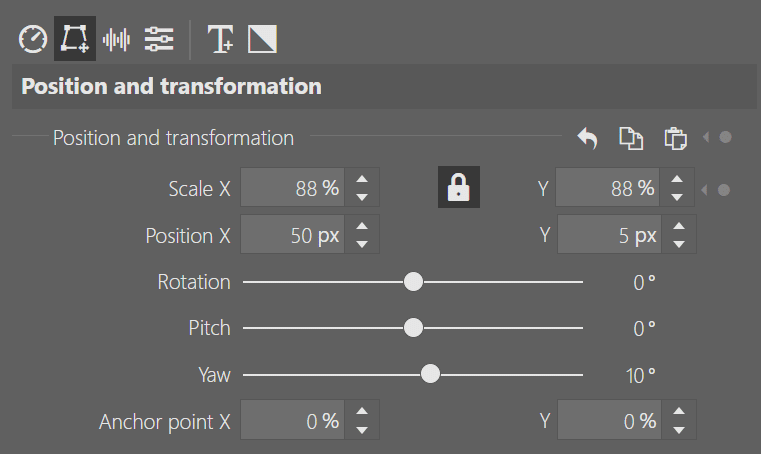
Let’s take a look at the Position and Transformation control options that allow you to do advanced editing on your videos. This can bring the quality of your videos a step further.
The Position and Transformation tools can be found in the right panel of the Video module with an active text or image clip. This means that Position and Transformation adjustments can be applied to videos, photos, and text. Simply put, these tools can be applied to anything you add to your video timeline.
In addition to the parameters in the right panel, you can control these functions directly in the video preview. This makes working with the parameters more intuitive and user-friendly. In the video preview, controls appear around the active clip. This gives you greater control over the final look of your video project.

Adjust video clip size
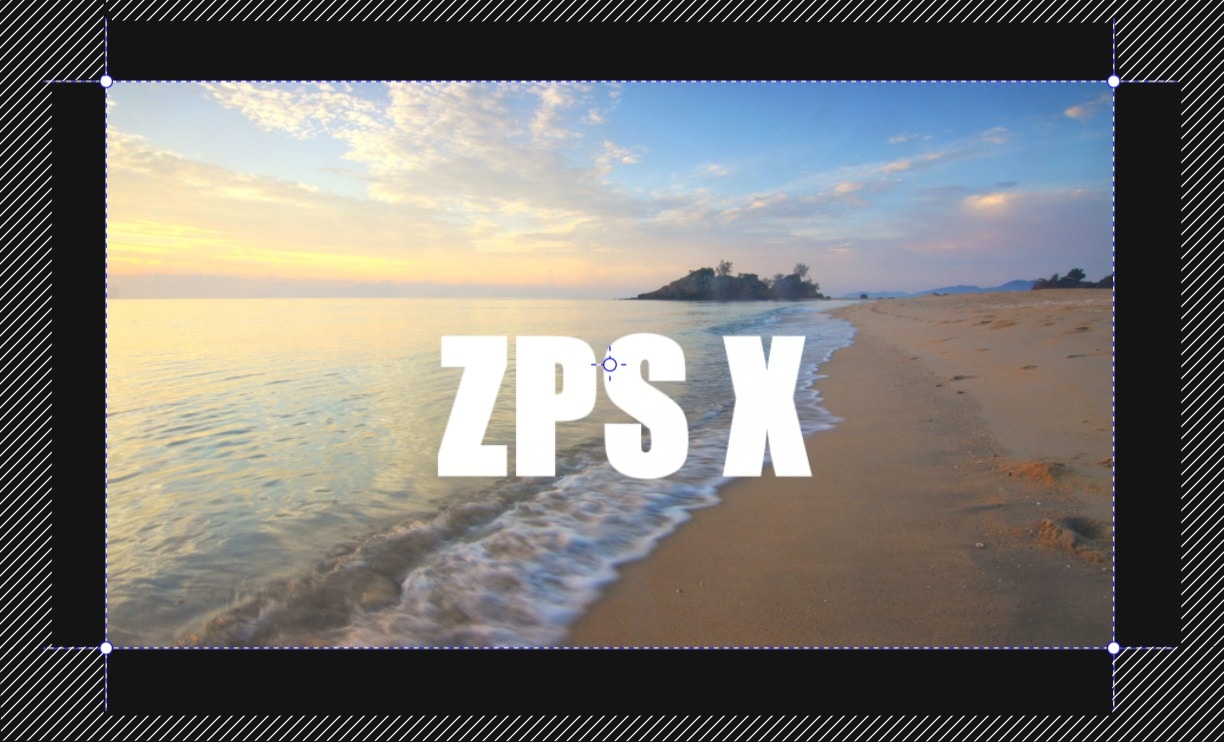
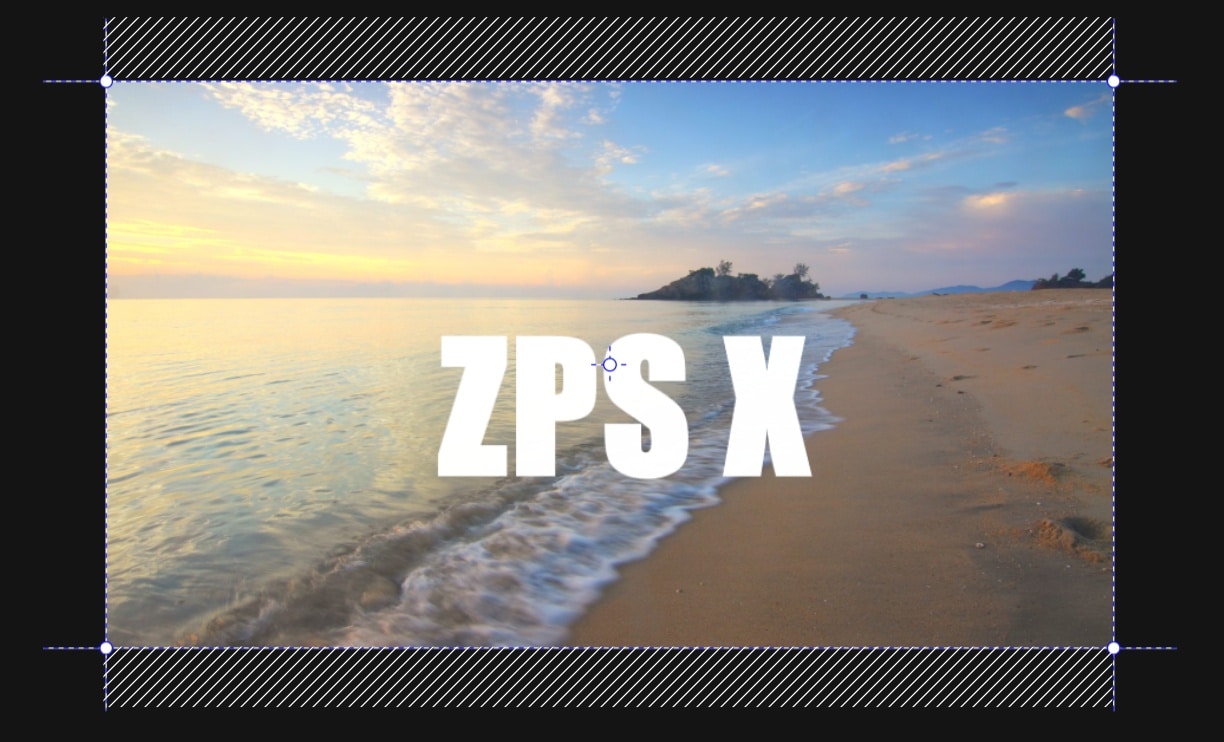
Whether you need to zoom in on a detail in a photo, or zoom out, the Scale X and Scale Y functions can come in handy. To control it directly in the preview, drag one of the corner grip points.

In the right panel, notice the lock icon located between the X and Y scales. When the lock is activated, changing the scale affects both values equally. When it is deactivated, the image can be stretched or flattened at will. In the preview, these adjustments can be made by dragging the edges of the rectangle around the clip.
Experiment with clip placement in the preview
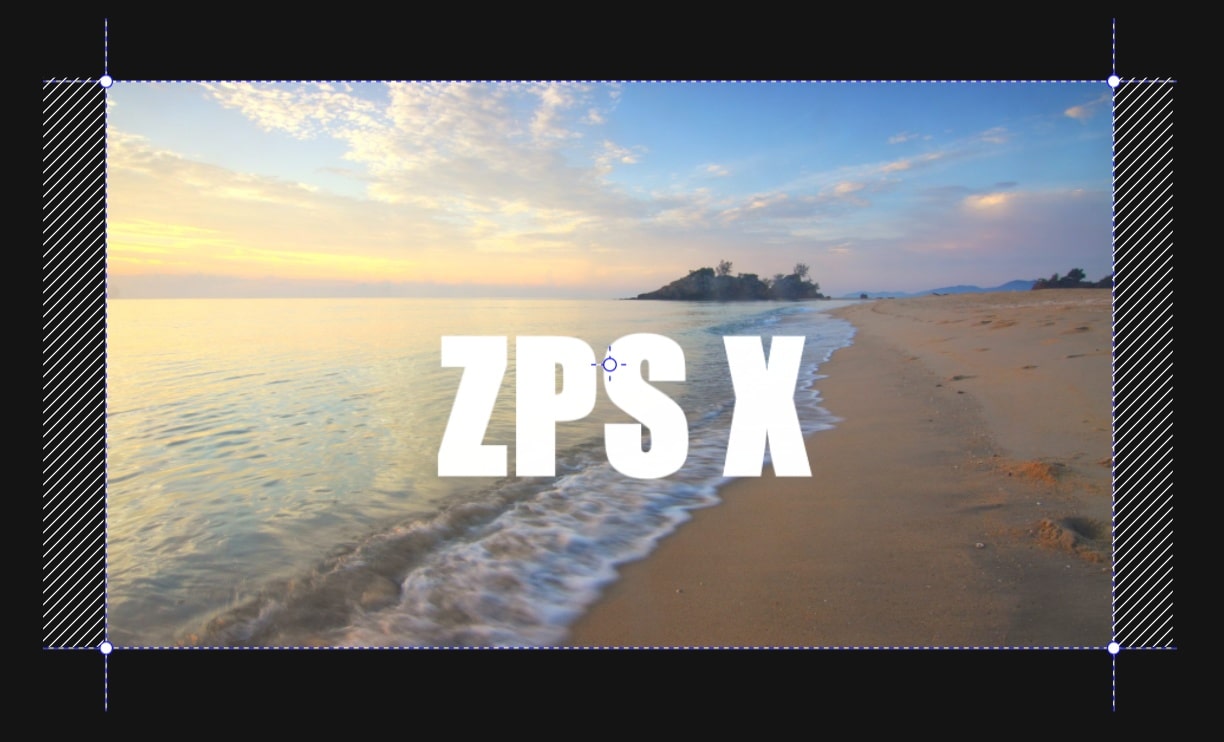
If you ever wondered how to add a logo to the corner of your video, or wanted to place two images side by side and don’t know how, Position X and Position Y can help.
(learn) Position X determines the position of the clip on the horizontal axis, while Position Y determines the position on the vertical axis.
However, if you are using the controls in the preview, no axes need to be chosen. Just click inside the rectangle and move it where you want.


Be careful if you click the point in the middle. This changes the position of the Anchor point, not the position of the clip.
Try rotating clips
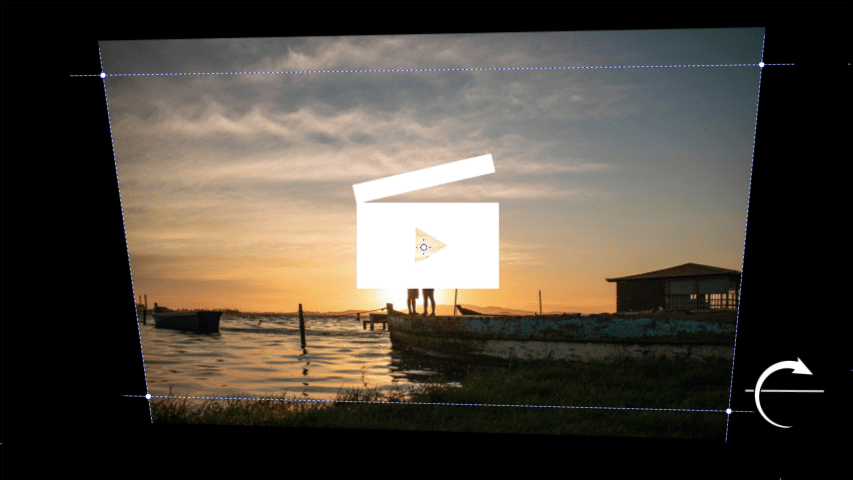
When you have transform control activated, the cursor changes in different ways in the area around the rectangle. Click and drag to adjust Rotation, Pitch, and Yaw. Let’s take a look at what can be adjusted and how this is done.
When you hover over the marked area, a rounded arrow appears next to the cursor to indicate that the Rotation value can be adjusted.
An arrow appears by the cursor above the horizontal line. Moving the mouse up and down in this area adjusts the Pitch value.
When the cursor has an arrow over a vertical line, it means you are adjusting the Yaw value.
For example, if you accidentally crop out the horizon when rotating, use Yaw to bring it back into alignment. Combined with keyframing, the options for rotating your clips reveal an entire host of creative uses.
Don’t forget about Anchor points
By default, the Anchor point is centered in the clip. Click and drag to move it. The position of the anchor point affects the result of the settings described above. When working with scale, the image zooms to the location marked by the anchor point. When rotating, the clips rotate around the anchor point.
A video editing example
Are you wondering what all these functions look like in practice? To get inspired, take a look at the short demonstration at the end to see the opening title for a video swinging like a hanging sign. The result was achieved by moving the Anchor point and setting different values for Pitch over time using keyframes.
Download Zoner Photo Studio X free for 7 days. Get full support for all functions and more. Try video editing in ZPS X today!
There are no comments yet.